House Tours
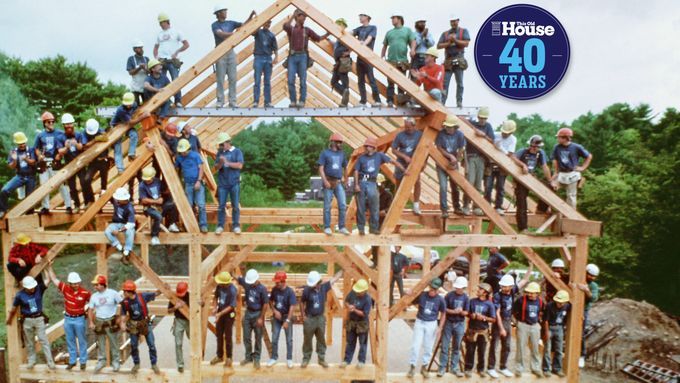
Fans’ Favorites from Four Decades of This Old House
We asked, and boy, did you answer! From our TOH Insiders to our website users and Facebook followers, loyal This Old House fans eagerly weighed in with what they’ve loved most from the past 40 years. As Kathy Warner of Marietta, GA, told us: "It may be called This Old House, but it never gets old."
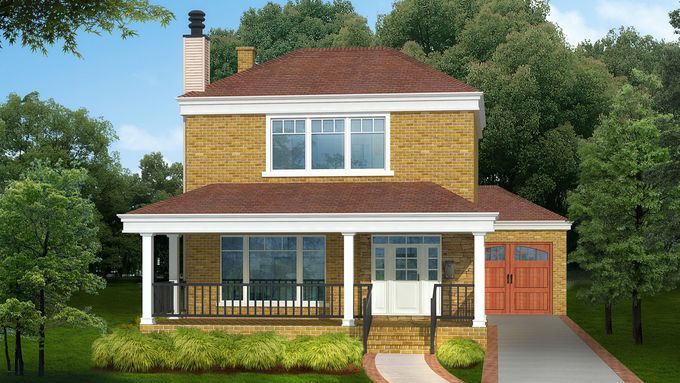
Photoshop Redo: From No Character to Classic
A boxy brick house from 1950 gets a timeless redesign
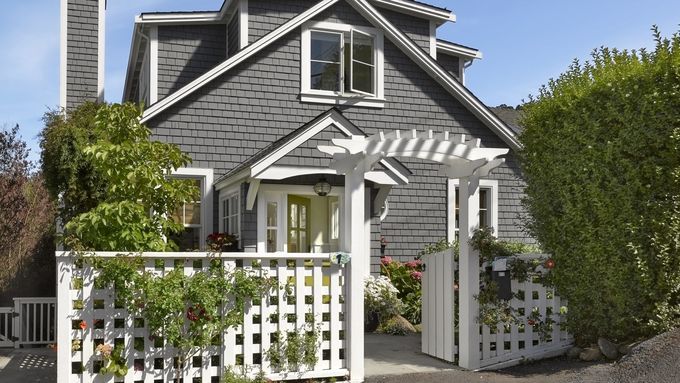
Louisiana Cottage | Save This Old House
Charming cottage in central Louisiana!

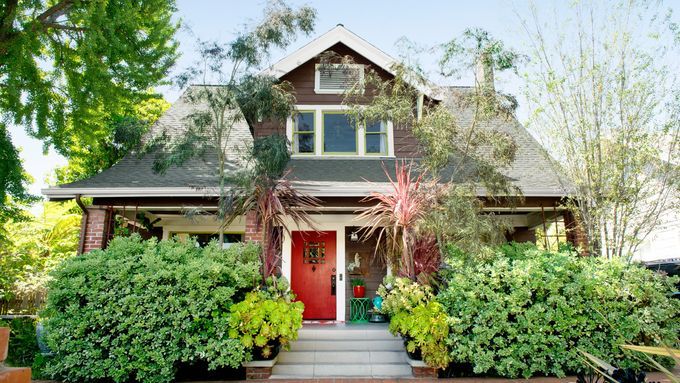
1940s Cottage Remodel Fit for a Growing Family
With a little help from relatives—and a lot of late hours—a young couple preserve and expand a tiny cottage to create a cozy home for their brood
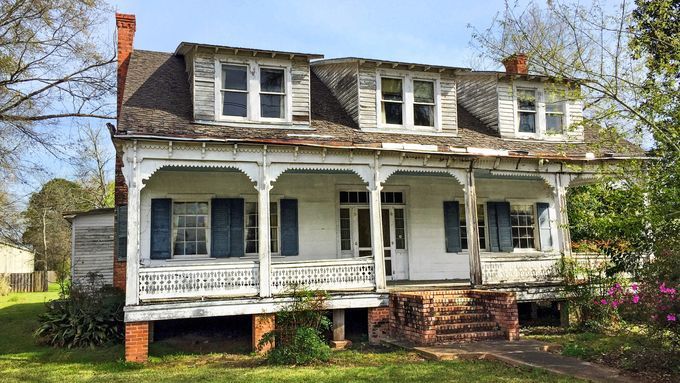
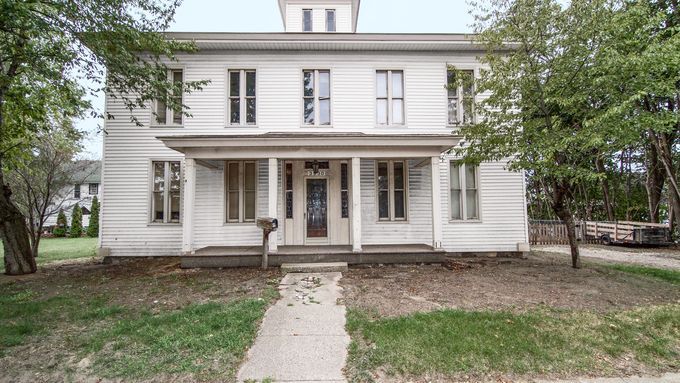
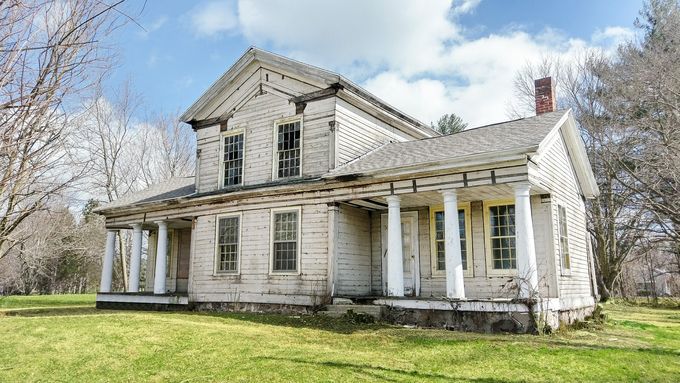
North Carolina Federal | Save This Old House
Stately relic in a Civil War historic district for $60,000

'Save This Old House' Update 2018
What has happened to some of your favorite 'Save This Old House' homes from 2018? Read on to find out
A 1920s Bungalow Remodel: Room to Grow
A tucked-back addition preserves a 1920s bungalow’s historical facade, while providing plenty of gathering space for a young family
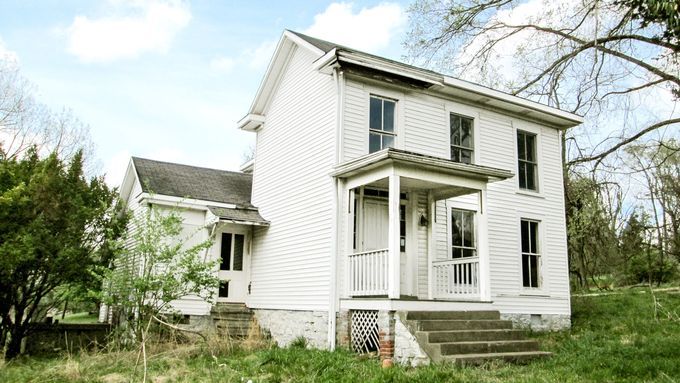
Kentucky Italianate for $9,990 | Save This Old House
Up to the challenge of moving (and rescuing!) an old farmhouse? Consider this opportunity in Louisville
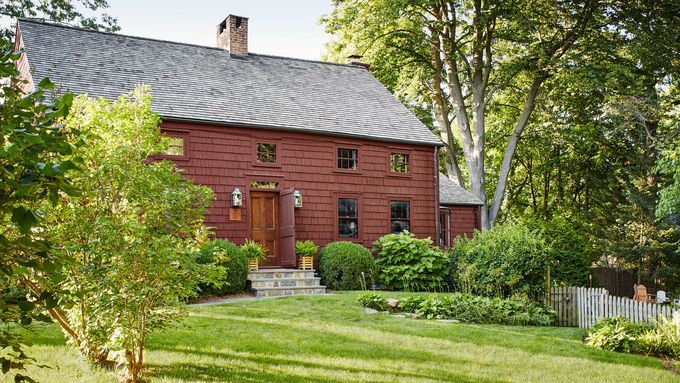
18th-century Saltbox Remodel
A DIYer builds her skills—and an online following—filling her family’s 18th-century saltbox with handmade charm
Best of TOH Before and Afters
Here's our latest round up of the most popular old-house transformations at ThisOldHouse.com
Mid-century Mastery House Tour
A free-flowing 1959 house with a lofty interior rises to the next level in the hands of two detail-obsessed owners
A DIY Renovation Becomes a Family Project
A dilapidated 1927 house regains its serene period spirit, thanks to a meticulous do-it-yourself remodel
South Carolina Georgian with Acreage | Save This Old House
Built circa 1832, the Caleb Coker house would make a beautiful country escape
Custom Fit for a Rebuilt 1870s House
With a few floor-plan fixes, a couple with an eye for design tailor a meticulously rebuilt 1870s house to how they live today
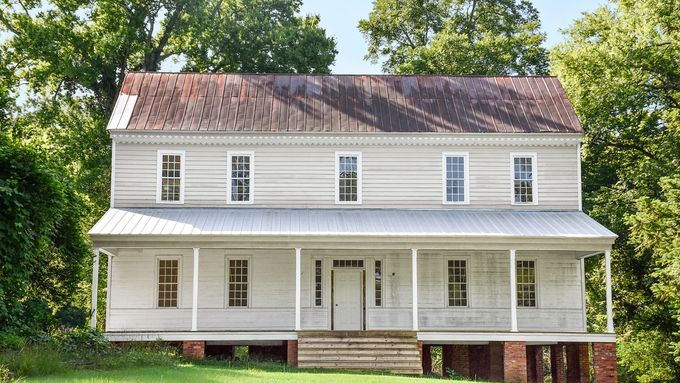
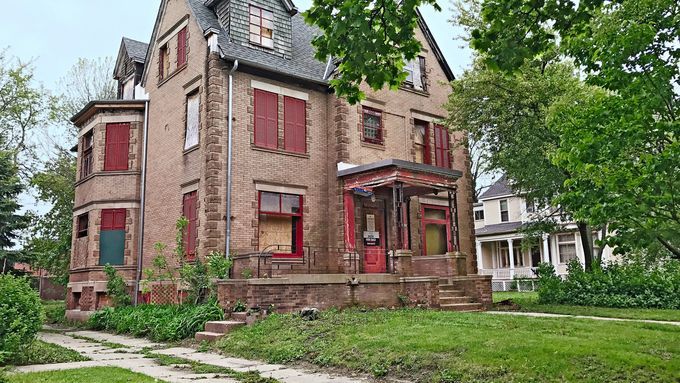
Save This Old House: Impressive Michigan Italianate
Built circa 1872, this Italianate near Detroit and Ann Arbor is believed to be the oldest house in town
Craftsman "Sears Kit House" Remodel
A meticulous reno brings out the beauty in a 1925 Craftsman, from its quarter-sawn oak to its built-in charm

Southern Gothic: A Folk Victorian Remodel
A writer puts his creative energies—and practical building skills—to work, turning a weathered 100-year-old house in Savannah into a unique and magical retreat
Save This Old House: Tudor Revival in Milwaukee
Pick up this property for just $28,500 and become an old house-saving superhero!
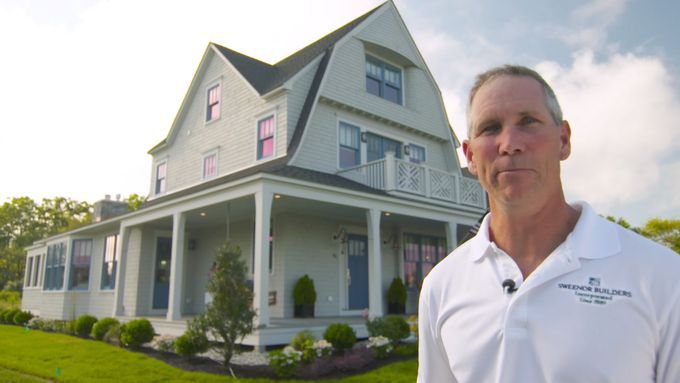
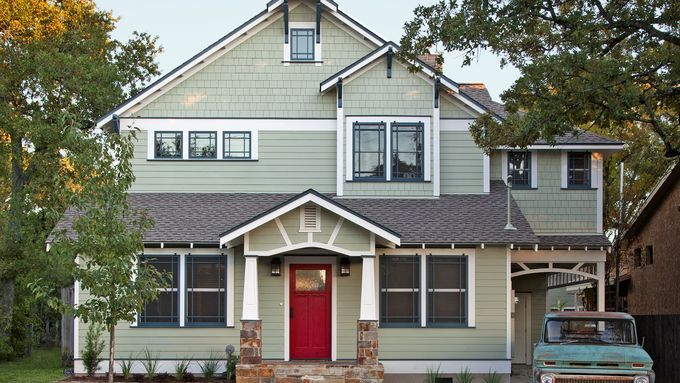
Idea House 2017 | Beach House Tour
Inside and out, and throughout every floor—take a complete tour of the TOH Idea House, with builder Jeff Sweenor
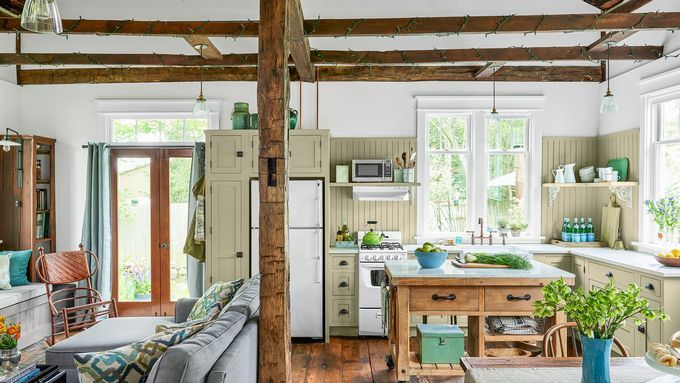
Schoolhouse Renovation: Heirloom in the Making
A hands-on couple totally transform a 179-year-old former schoolhouse, creating a cozy cottage home for their daughter
A 1908 Bungalow Opens Up for More Family Space
A design-savvy bungalow owner finally gets her free-flowing family space-with a great room that's part great outdoors
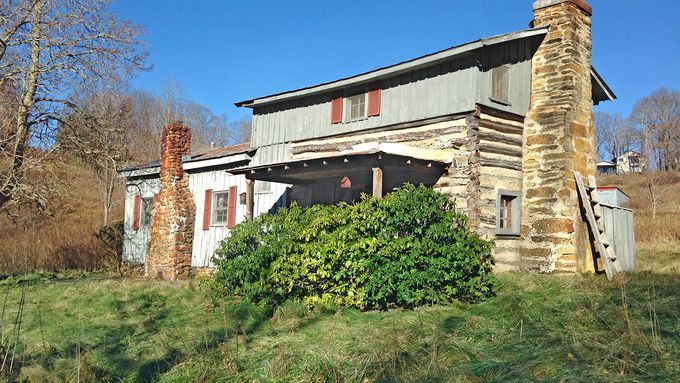
Save This Old House: North Carolina Log Cabin
Famed frontiersman Daniel Boone slept here!
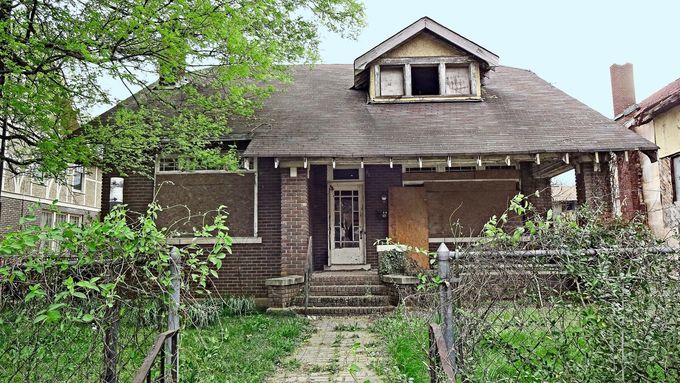
Save This Old House: Historic Arkansas Bungalow
Save this oversize bungalow on the National Register!
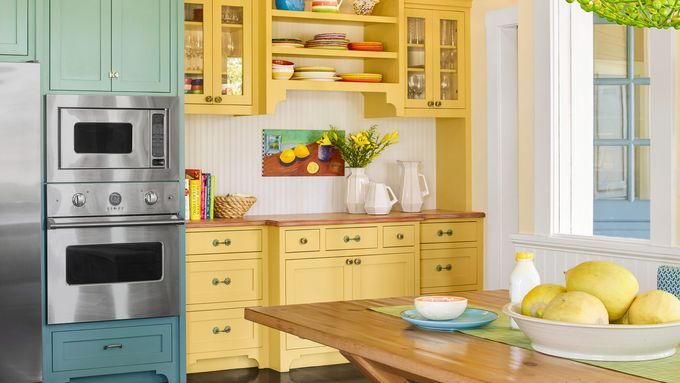
Bright Ideas for a Colorful Whole House Remodel
A lively yet restrained paint palette turns a century-old white box into a cheerful family home
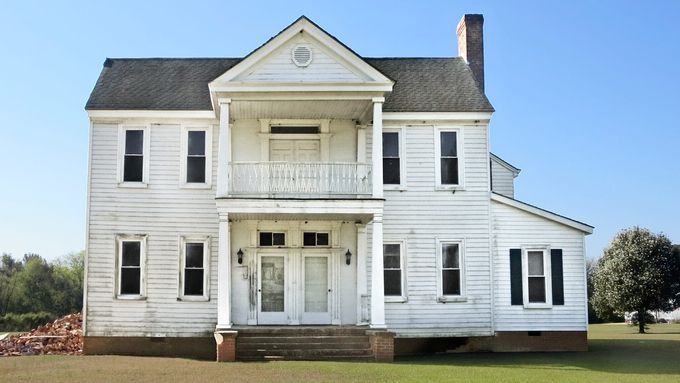
Save This Old House: Indiana Greek Revival
Save a handsome Greek Revival rich in history!
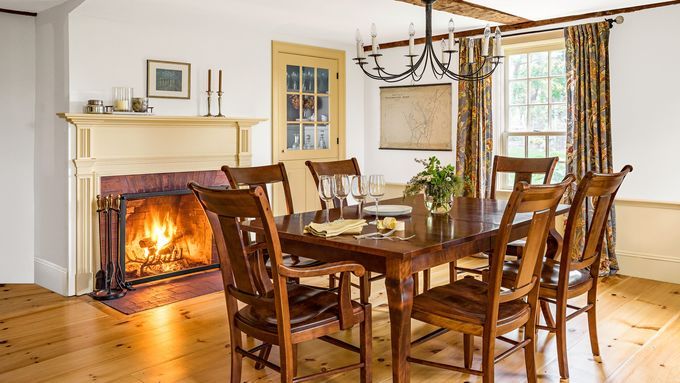
An Artful Restoration for a 300-Year-Old Landmark
A 1750 Georgian gets a preservation-minded redo with smart expansion to serve a family of seven
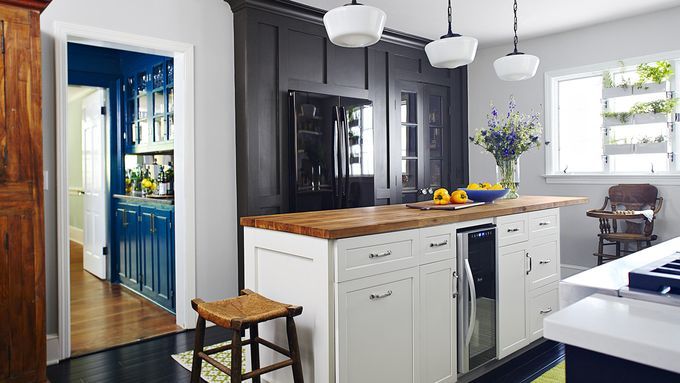
Neat Trick for a Family-Friendly Kitchen
New parents create a spacious cook space by borrowing some square footage from an adjacent den
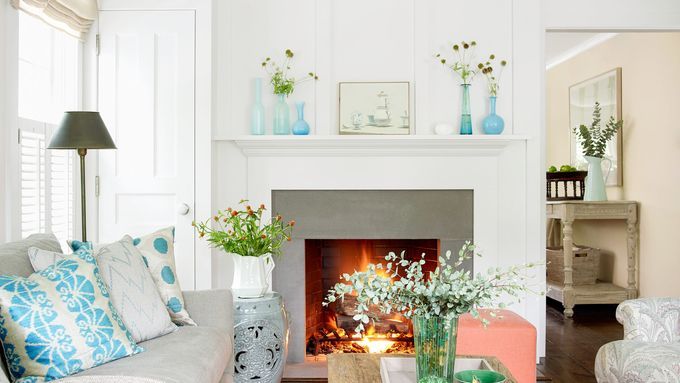
Graceful Rejuvenation for a Water-Damaged Living Room
An interior nearly untouched since 1944 is our top living area pick—and recipient of a $1,000 Delta prize—in our 2016 Reader Remodel Contest
A Shipshape Makeover for a 1903 Cottage
A 1903 cottage gets a neat-and-trim makeover inspired by its bayside location
True Colors for an Interior Designer's 1930s House
A pro channels the past of her 1930s house—and comes up with its meant-to-be paint scheme
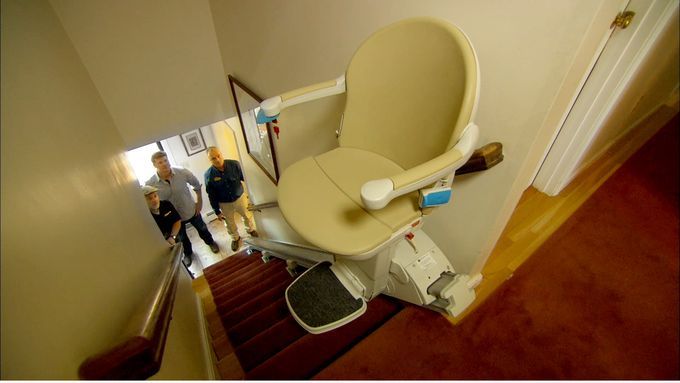
How to Retrofit a Home and Make it More Accessible
This Old House host Kevin O’Connor and Rick Castino from Operation Independence remodel a home for a wheelchair-enabled homeowner.
Opening Up a Snug 1941 Cottage
A cottage expands its living space downstairs—and gains a second story—without losing its charm