The ability to add color to concrete countertops is a game-changer in kitchen design. Pigmentation allows for endless customization, helping homeowners match their countertops to any color scheme or design vision.
“A lot of people associate concrete countertops with a dull, industrial look,” says Christian Lincoln, owner of Counter Culture Concrete in Saugerties, New York. “But half of my clients these days are putting them in older houses.”
In this guide, we’ll cover all the basics of concrete countertops so you can decide if it’s the right choice for your kitchen.
How Pigments Affect Concrete Color
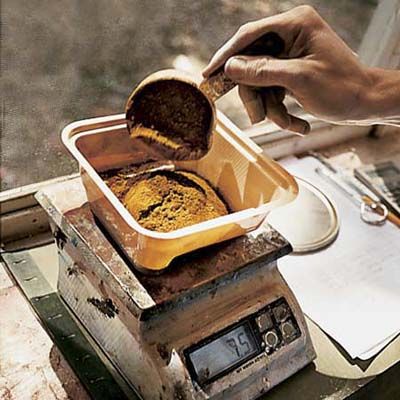
Pigments are added to the concrete mix during the creation process. These can be in powder or liquid form, and the timing of their addition affects the final appearance. “Some customers prefer a blotchier look. It creates more character,” Lincoln explains.
The amount of pigment used typically ranges from 1%–10% of the Portland cement in the mix, although higher percentages sometimes compromise the countertop’s strength.
Popular Color Trends in Different Regions
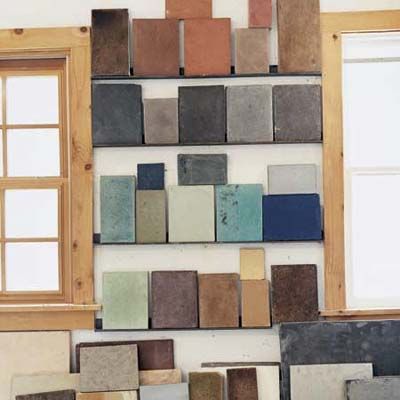
Color preferences for concrete countertops often vary by region. Lincoln says that East Coast clients tend to favor steely grays and snowy whites, while West Coast homeowners are more likely to choose bolder hues like reds, blues, and vibrant oranges. This regional variation showcases the flexibility of concrete as a design material, capable of creating diverse style preferences.
Customization Options for Concrete Countertops
One of the best aspects of concrete countertops is their customizability. From colors to textures, the options are nearly limitless.
Textures and Edge Profiles
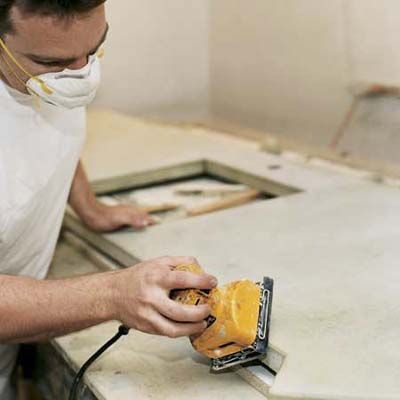
Concrete can be troweled to various textures and given any edge profile. This allows the countertop to complement a wide range of kitchen styles, from rustic to modern. The surface can be smooth and polished or intentionally textured for a more organic feel.
Incorporating Aggregates for Unique Looks
Aggregates can be added to the concrete mix for those who want a more distinctive appearance. These can range from colorful glass pieces to stones, creating natural-looking effects. “If you want a terrazzo look, for example, the counter surface can be ground down to expose aggregates as varied as red volcanic rock or colorful ground-up glass, depending on the desired effect,” Lincoln explains.
Artistic Concrete Customization and Add-Ons
Incorporating artistic elements into your concrete countertop can enhance its uniqueness and even its effectiveness. Custom shapes and inlays, such are the ones listed below, are popular options.
Custom Shapes and Designs
Concrete countertops can be designed with custom shapes, integrated accessories, or artistic inlays. Inlays such as metal or wood strips can add a touch of elegance, while custom shapes can make the countertop fit perfectly into unique spaces. Features such as integrated sink basins or trivets can further personalize the countertop.
Decorative Inlays
Decorative inlays can range from fossils and artifacts to custom logos or family crests. These elements are embedded in the surface during the pouring process and then polished smooth. This level of customization makes each countertop a personal and unique piece of art.
Pros and Cons of Colored Concrete Countertops
Concrete countertops offer many benefits but also come with drawbacks to consider. On the plus side, they’re highly customizable, durable, and can be shaped to fit any space. They also have an artisanal quality that mass-produced materials lack. However, they require regular maintenance, can be prone to staining if not properly sealed, and may develop hairline cracks over time. The cost is also comparable to high-end materials like granite, which may be a con for budget-conscious homeowners.
Maintenance and Care for Concrete Countertops
Good upkeep is key to preserving the beauty and integrity of concrete countertops. With the right care, these surfaces can maintain their appearance for years.
Sealing and Protecting Your Countertop
Sealing is a must-do for concrete countertops. While penetrating sealers offer a more natural look, topical sealers provide better stain resistance and create a glossier finish. Regular resealing is necessary to maintain protection against stains and moisture.
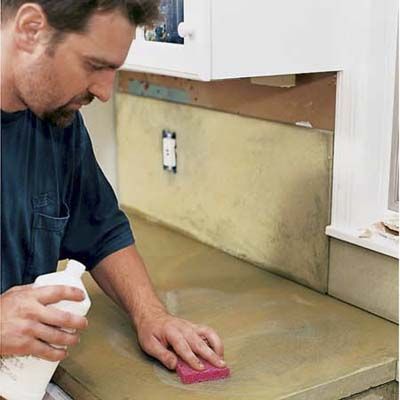
Regular Cleaning and Upkeep
Clean your counters daily with a mild soap and water mixture, and avoid harsh chemicals that can damage the sealant. Lincoln recommends applying furniture or bowling alley wax every two to three months for added protection. This simple maintenance routine helps preserve the countertop’s appearance and lifespan.
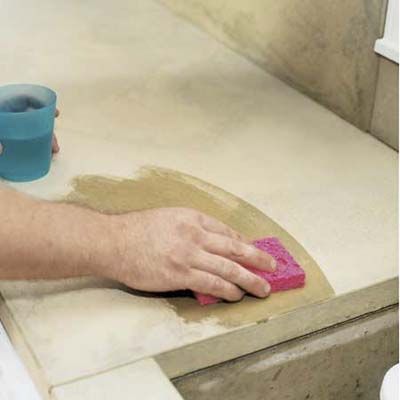
Troubleshooting Color Issues in Concrete
Despite careful preparation, concrete countertops may experience color changes over time. Understanding why this happens and how to address it is important to keep your counters looking beautiful.
Why Concrete Changes Color Over Time
Concrete can change color for a variety of reasons, including exposure to sunlight, moisture, and certain chemicals. The curing process itself can also cause slight color variations. In most cases, these changes are subtle and considered part of the material’s natural aging process.
If uneven coloration becomes an issue, solutions range from resealing to more extensive refinishing. In some cases, a professional may need to grind down the surface and reapply color. For minor issues, waxing or applying a tinted sealer can often restore uniformity.
Cost Considerations for Concrete Countertops
Concrete countertops are priced similarly to high-end materials like granite, ranging from $50–$150 per square foot installed.* The cost can vary based on your design complexity, color choices, and customization. While the initial investment is higher, the durability and overall style can make it worthwhile for many homeowners.
*Cost information based on contractor estimates used by Angi.
Comparing Concrete To Other Countertop Materials
When considering concrete countertops, it’s helpful to compare them with other popular materials. Unlike quartz countertops, which are engineered for consistency, concrete is more artisanal and customizable. Granite has natural variation but isn’t moldable like concrete. For those interested in exploring more about concrete options, read our guide to concrete countertops for more in-depth information.
Environmental Impact and Sustainability
Concrete countertops can be eco-friendly, especially when produced using sustainable practices and recycled materials.
Recycling and Sustainable Practices
Using recycled aggregates and eco-friendly pigments can significantly reduce the environmental footprint of concrete countertops. Some manufacturers offer countertops made with recycled glass, metal shavings, or fly ash, which reduce reliance on virgin materials and minimize waste.
Longevity and Reusability
The durability and longevity of concrete countertops also contribute to their sustainability. Unlike other materials that may need replacing more frequently, a well-maintained concrete countertop can last for decades. When properly sealed and maintained, these countertops resist wear and tear, reducing the need for replacement and landfill waste.
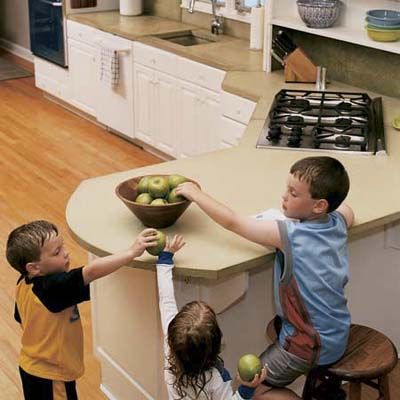
Our Conclusion
Concrete countertops offer a great blend of utility and design in kitchens. Their ability to be customized in color, shape, and texture makes them a versatile choice for a wide range of home styles. While they require more maintenance than some alternatives and come with a premium price tag, the result is a one-of-a-kind surface that can become the centerpiece of your kitchen.