Project details
Skill
Cost
Estimated Time


” I love adding wainscoting to a home,” says This Old House general contractor Tom Silva. “I install it in pantries, hallways or anywhere walls could get damaged,” he says. “It protects the wall and looks great.”
Wainscoting has protected walls since the 1600s, when it consisted of wood panels framed by stiles and rails. With the advent of industrial milling machines in the 1850s, however, less-formal beadboard wainscoting became available. So called because of regularly spaced bumps along the edge of each piece, beadboard has hardly changed in appearance or installation: The tongue-and-groove strips are snugged together and nailed in place, one after the other.
Installation is easy, yes, if you know how to handle obstacles, such as doorways, windows, or electrical outlets. Or, how to make beadboard gracefully turn corners. Says Tom, “With a little know-how, this is a project you can easily tackle yourself.”
Step 1
Beadboard Wainscoting Overview
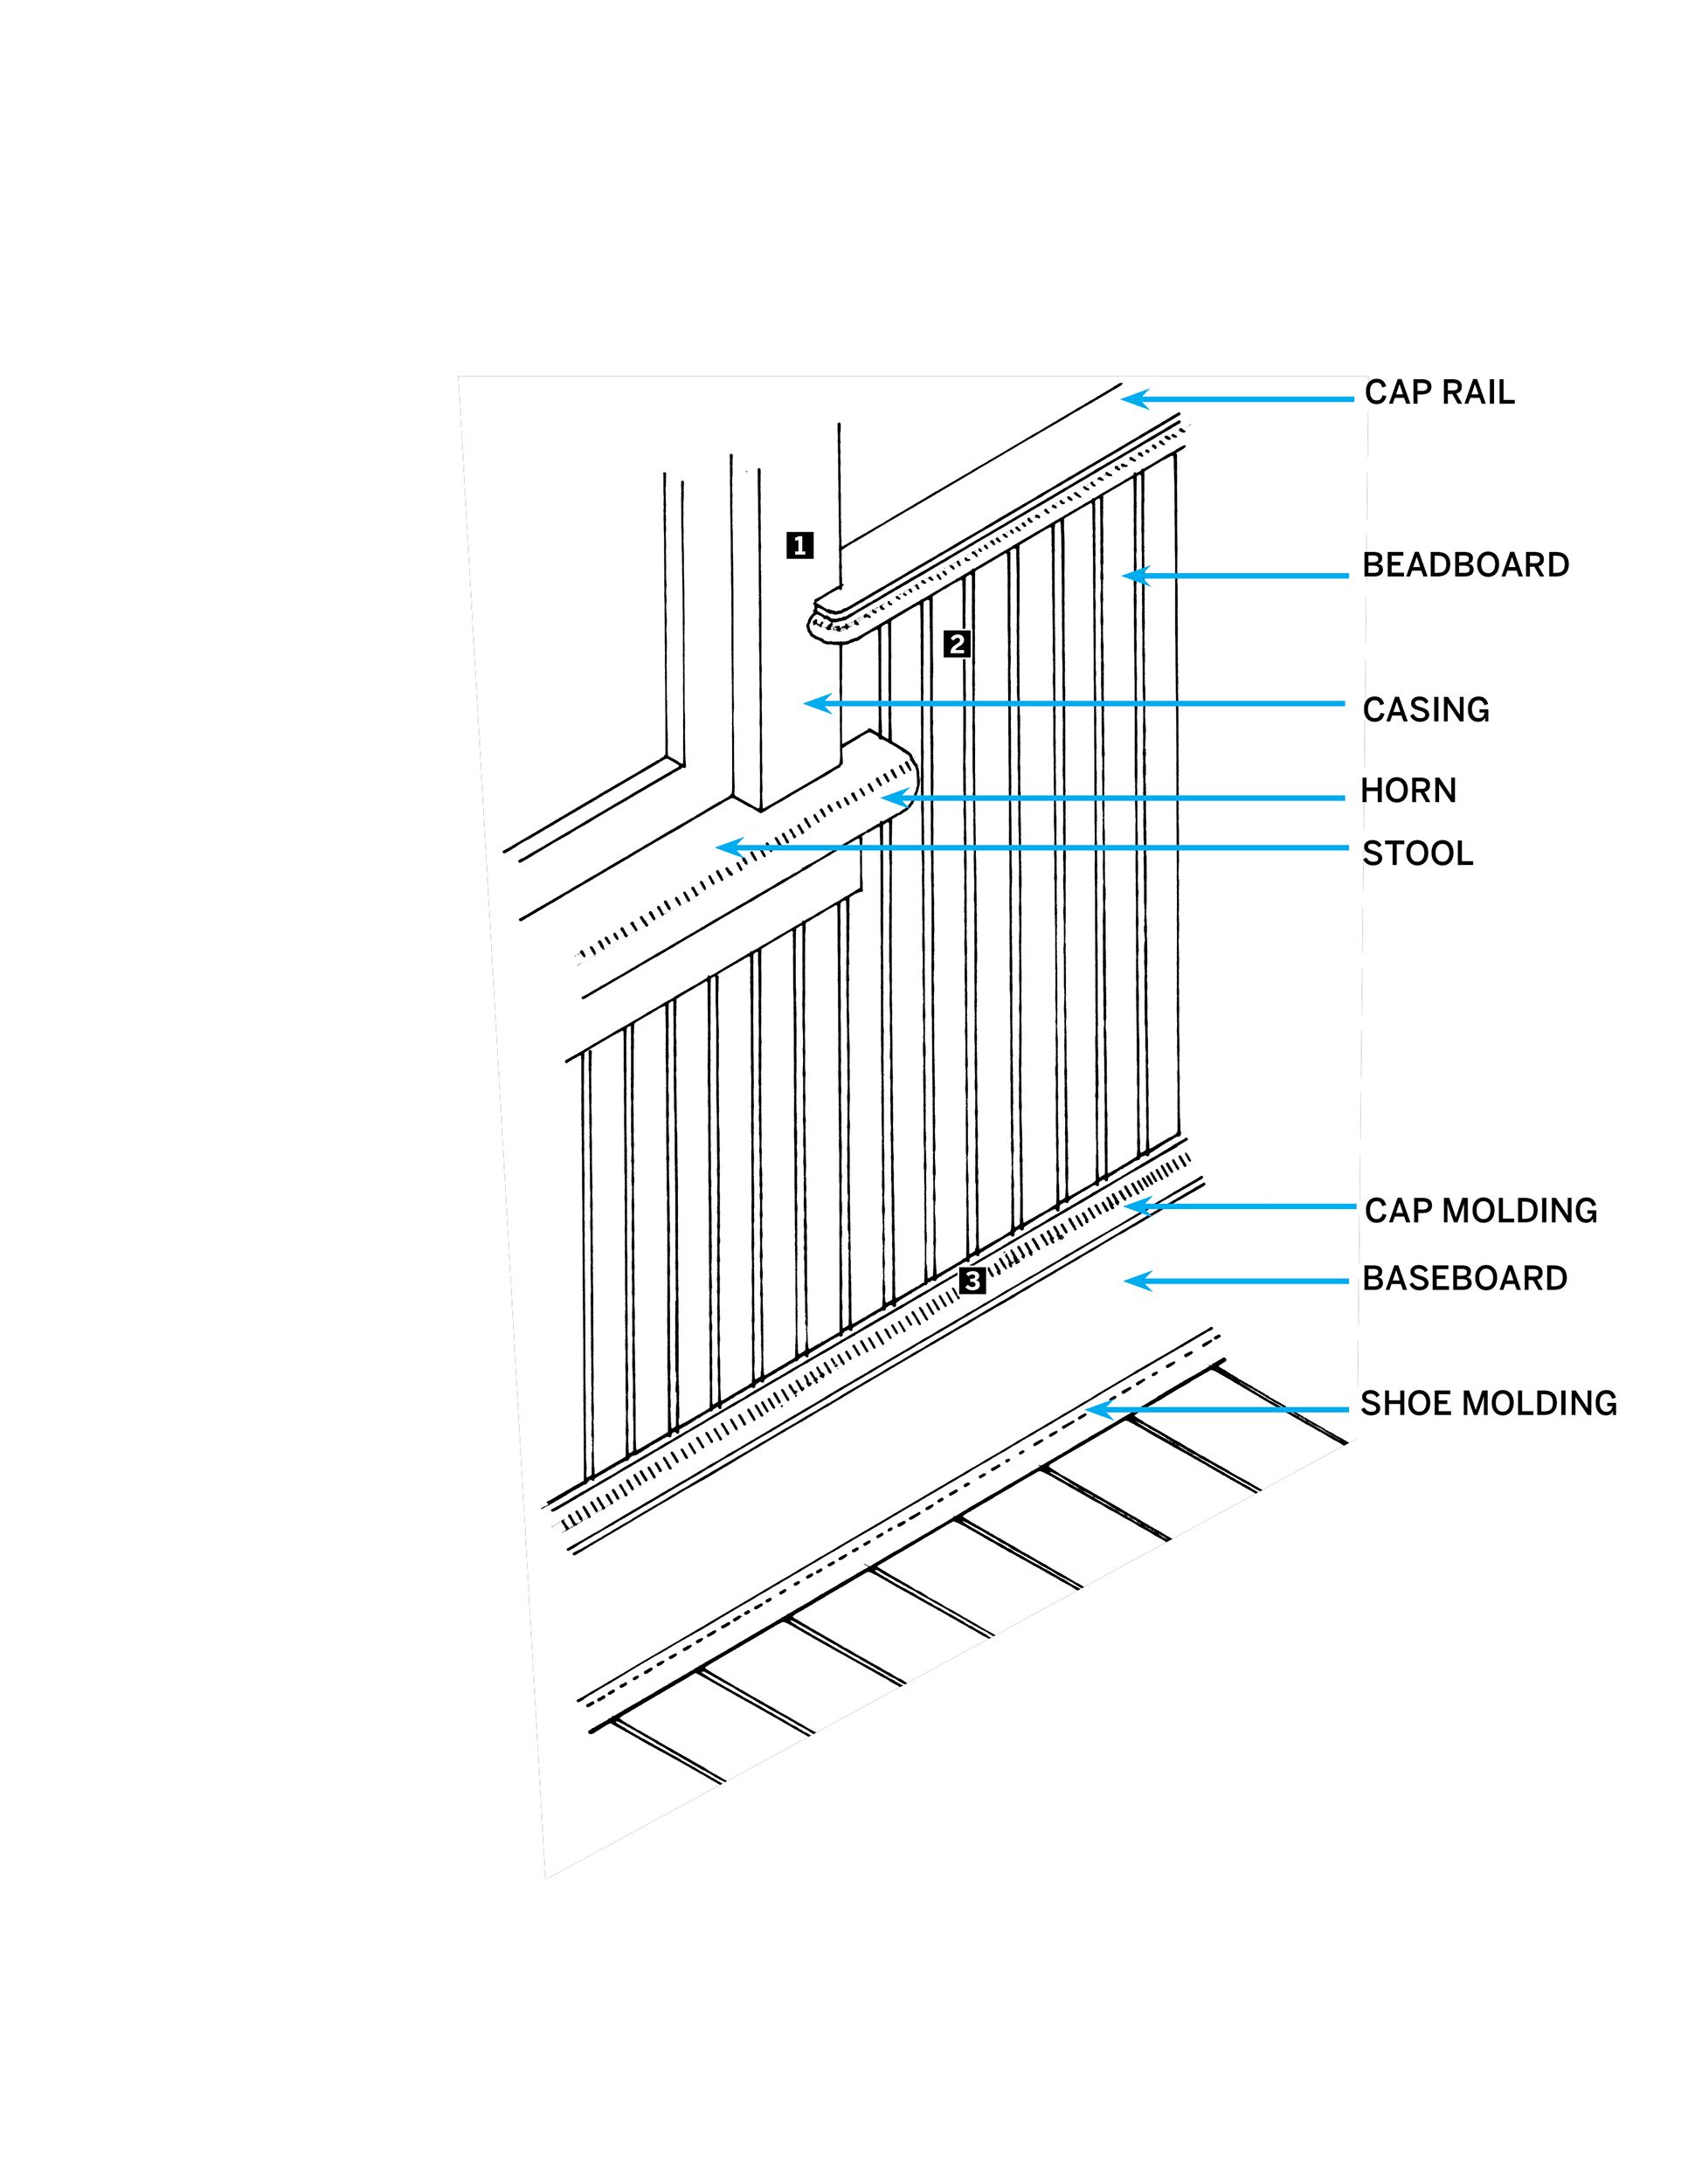
What to do at Doors , Windows, and Floors
Where a cap rail meets a door or window casing, Tom notches the rail so it overlaps the casing. (As a rule of thumb, the overlap should extend the width of the rail minus the casing thickness). Sandpaper and a dab of finish is enough for simple rails, and more complicated rails may require a miter or cope.
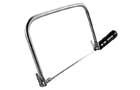
When beadboard meets the horn of a stool, notch out the back of the horn (where it meets the wall) and slip the boards behind it. The best tool for making this cut is a backsaw with a offset handle to save knuckles from getting banged.
For added trim detail, set the wainscot on a baseboard and cover the joint with a cap molding.
Step 2
Draw Layout Line
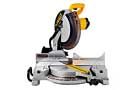
Cut all the wainscot pieces to length. Tom commonly sets his height at 32″ to 36″ and then cuts all the pieces he needs on a miter saw.
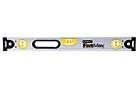
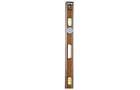
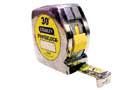
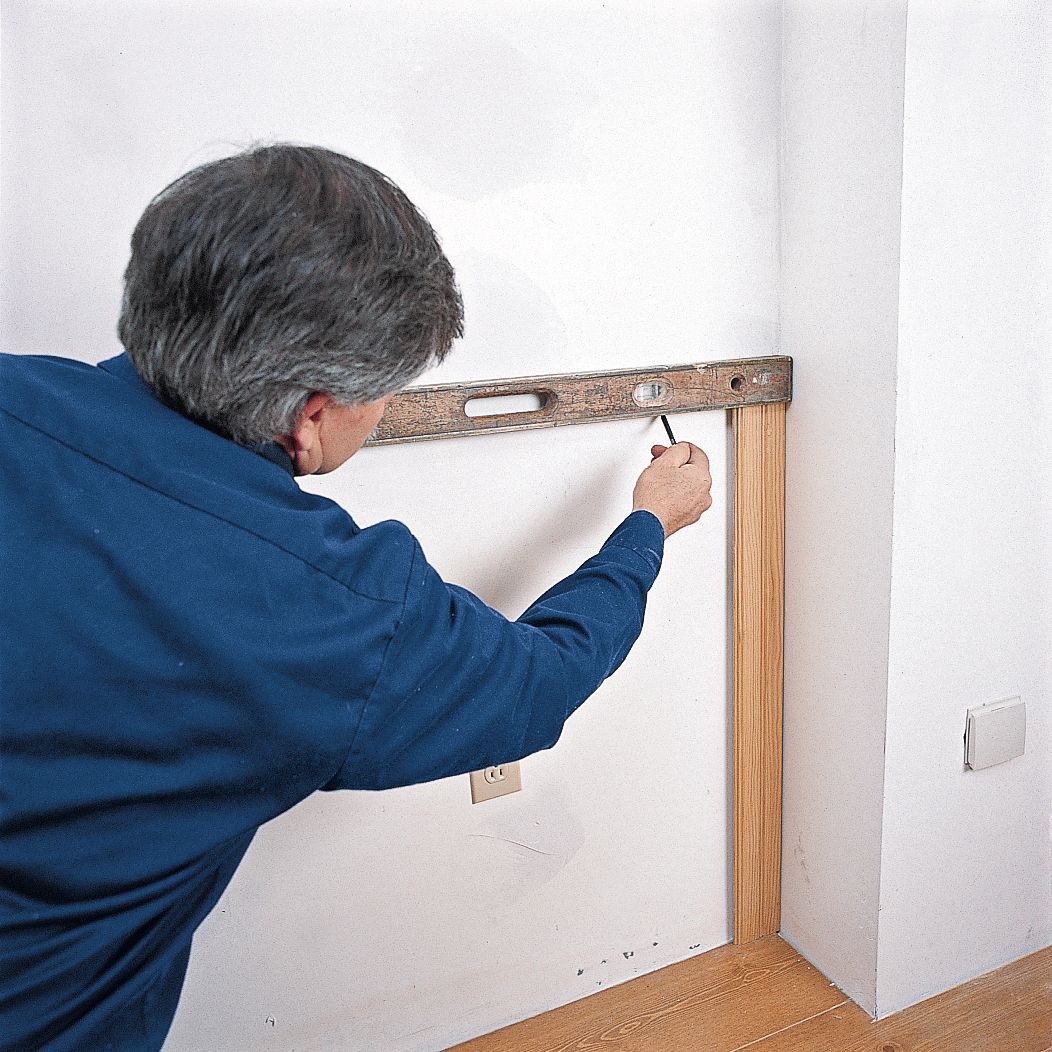
Using a 4-foot level (or longer), find the floor’s highest point along the wall. At this high spot, place a cut board vertically against the wall and set the level on top so that the bubble is centered in the vial.
Pencil a layout line on the wall using the level’s underside as your guide. The top of each beadboard will land on this line.
Move the level around the entire room, drawing a continuous layout line.
Tip: For large rooms, a water level and chalk line make it easier to create a layout line.
Step 3
Start at a Corner
Most installations begin at an inside corner. But, if a room has an outside corner, you should start there.
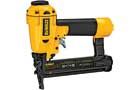
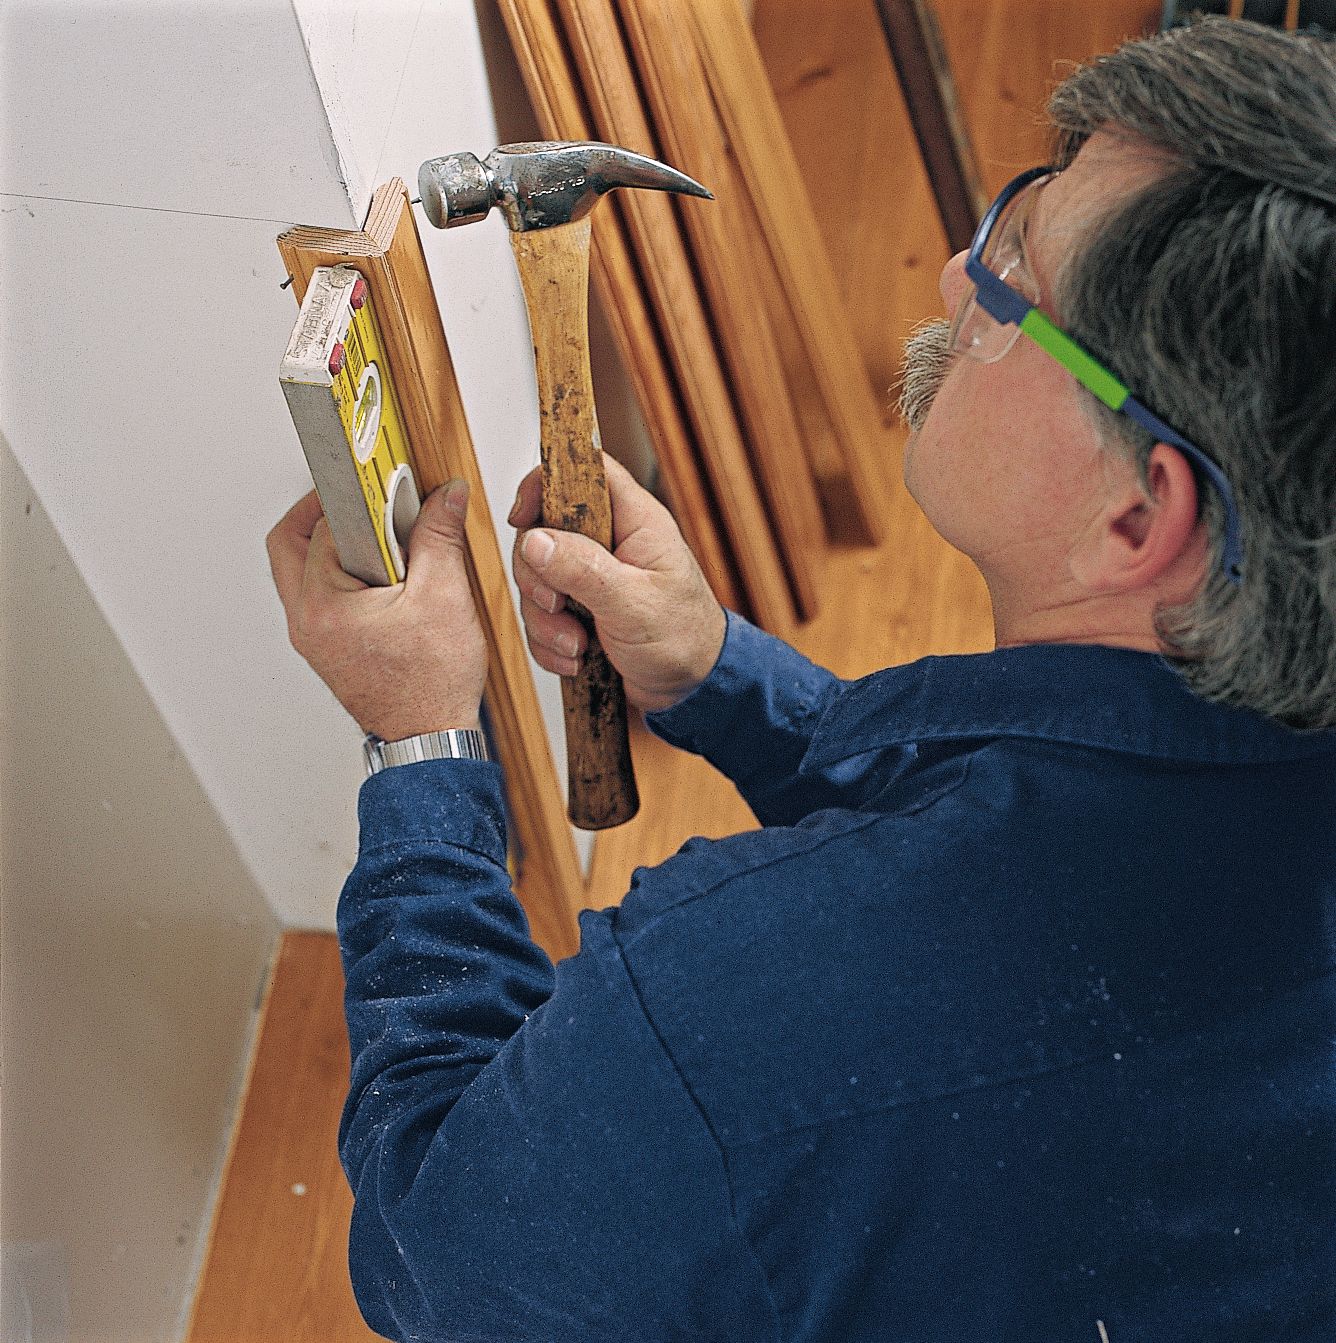
Stick a mitered corner piece (assembled earlier) to the wall with some construction adhesive. Insert shims if the piece isn’t plumb. Toenail 4d nails nails through both tongues to hold the piece in place while the adhesive sets.
Use the level while nailing to make sure the piece isn’t knocked out of plumb.
Tip: Start a wainscot installation where it’s most visible, and try to end it where it’s least conspicuous.
Step 4
Glue and Nail
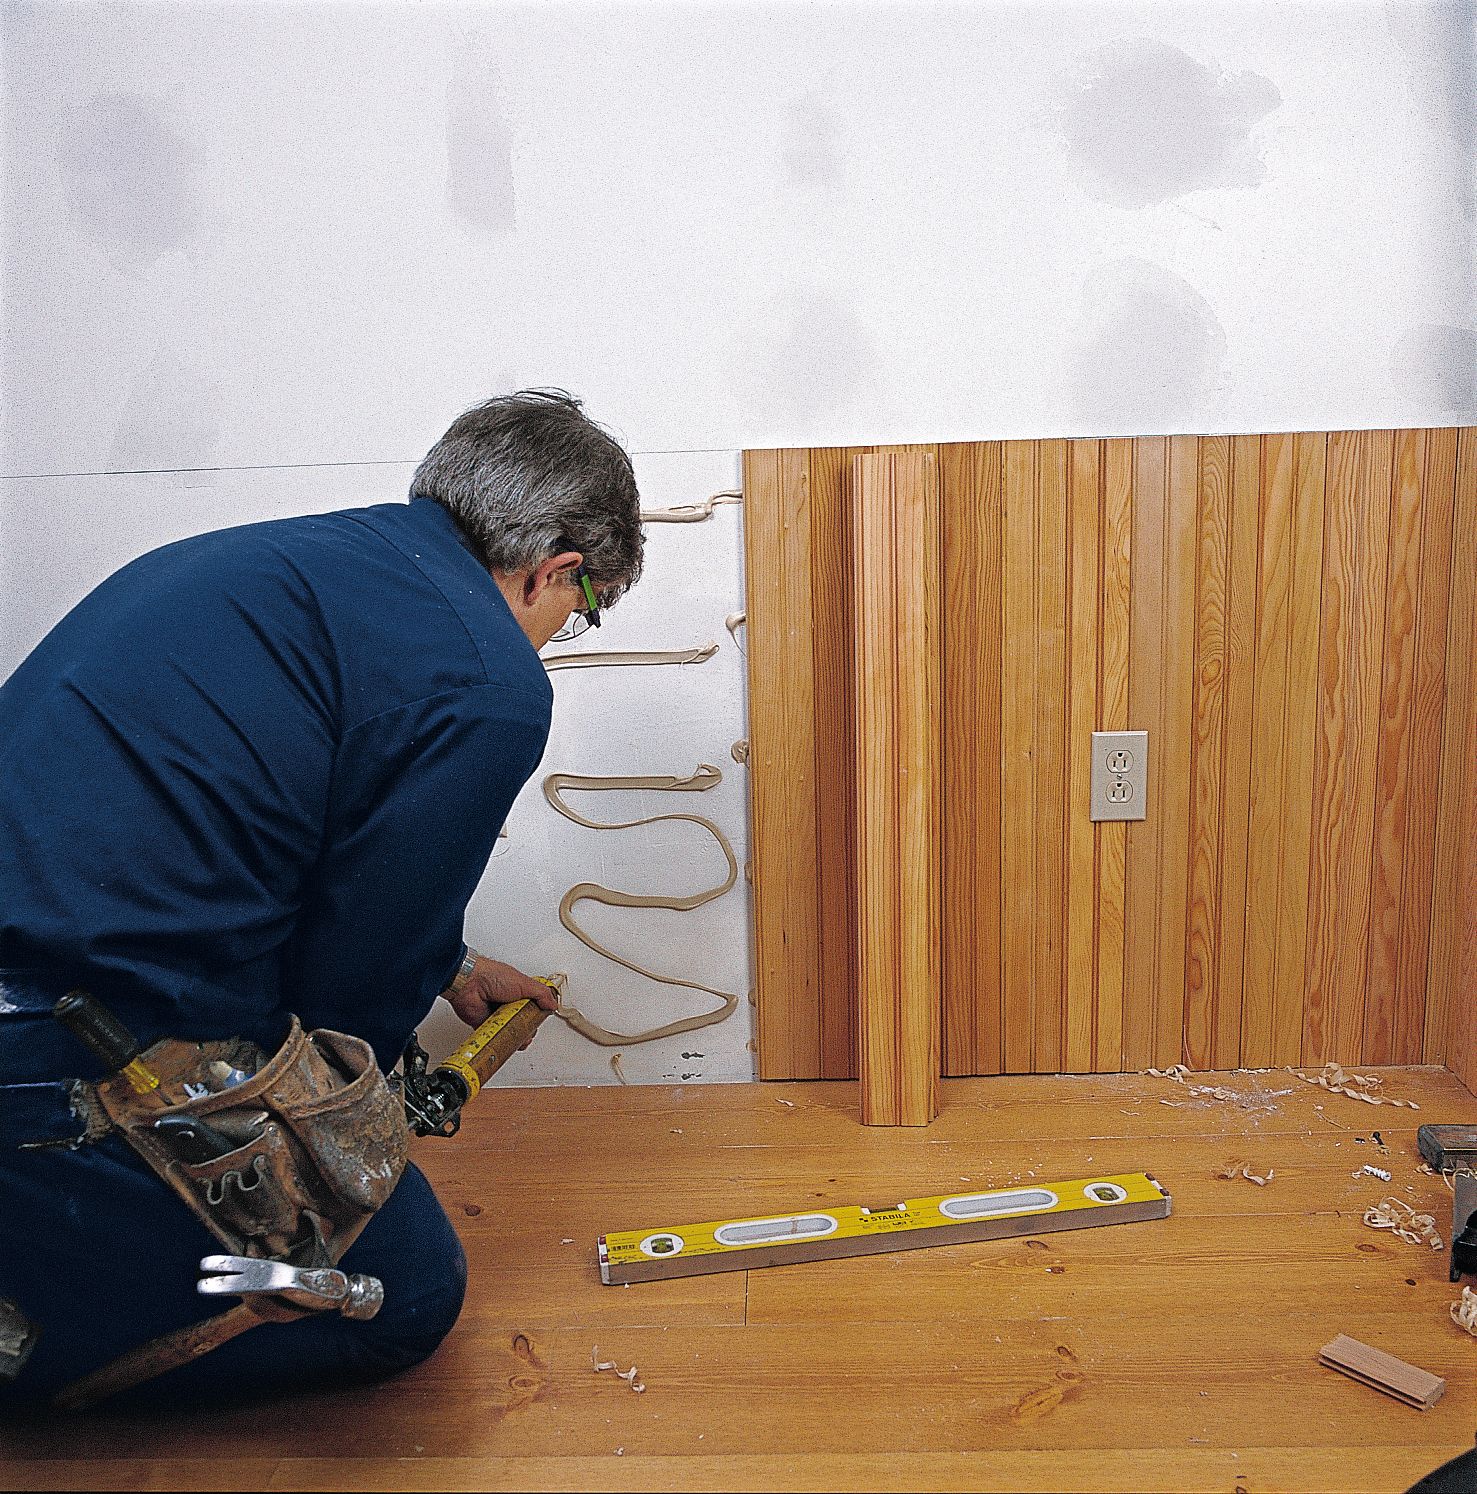
Apply 4 or 5 horizontal stripes of adhesive, each about a foot or two long. Slip each board’s groove over the tongue of the previous one and align top edge with the layout line.
Step 5
Nail up Beadboard Planks
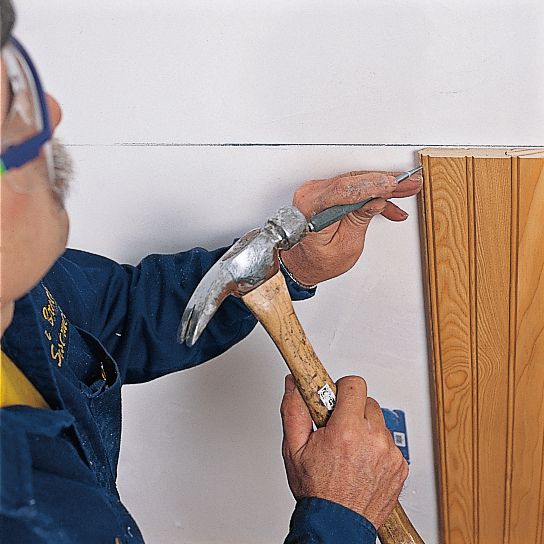
Press wood into adhesive and toenail the tongue, top and bottom. If hammering, drill pilot holes first and use a nail set. Bowed strips may need a third nail halfway down.
Check every third or fourth board for plumb with a level. If necessary, make slight corrections in subsequent pieces until plumb is regained.
Tip: Don’t apply too much adhesive at once. It won’t hold the beadboard after it skins over.
Step 6
Cut Around Electrical Outlets
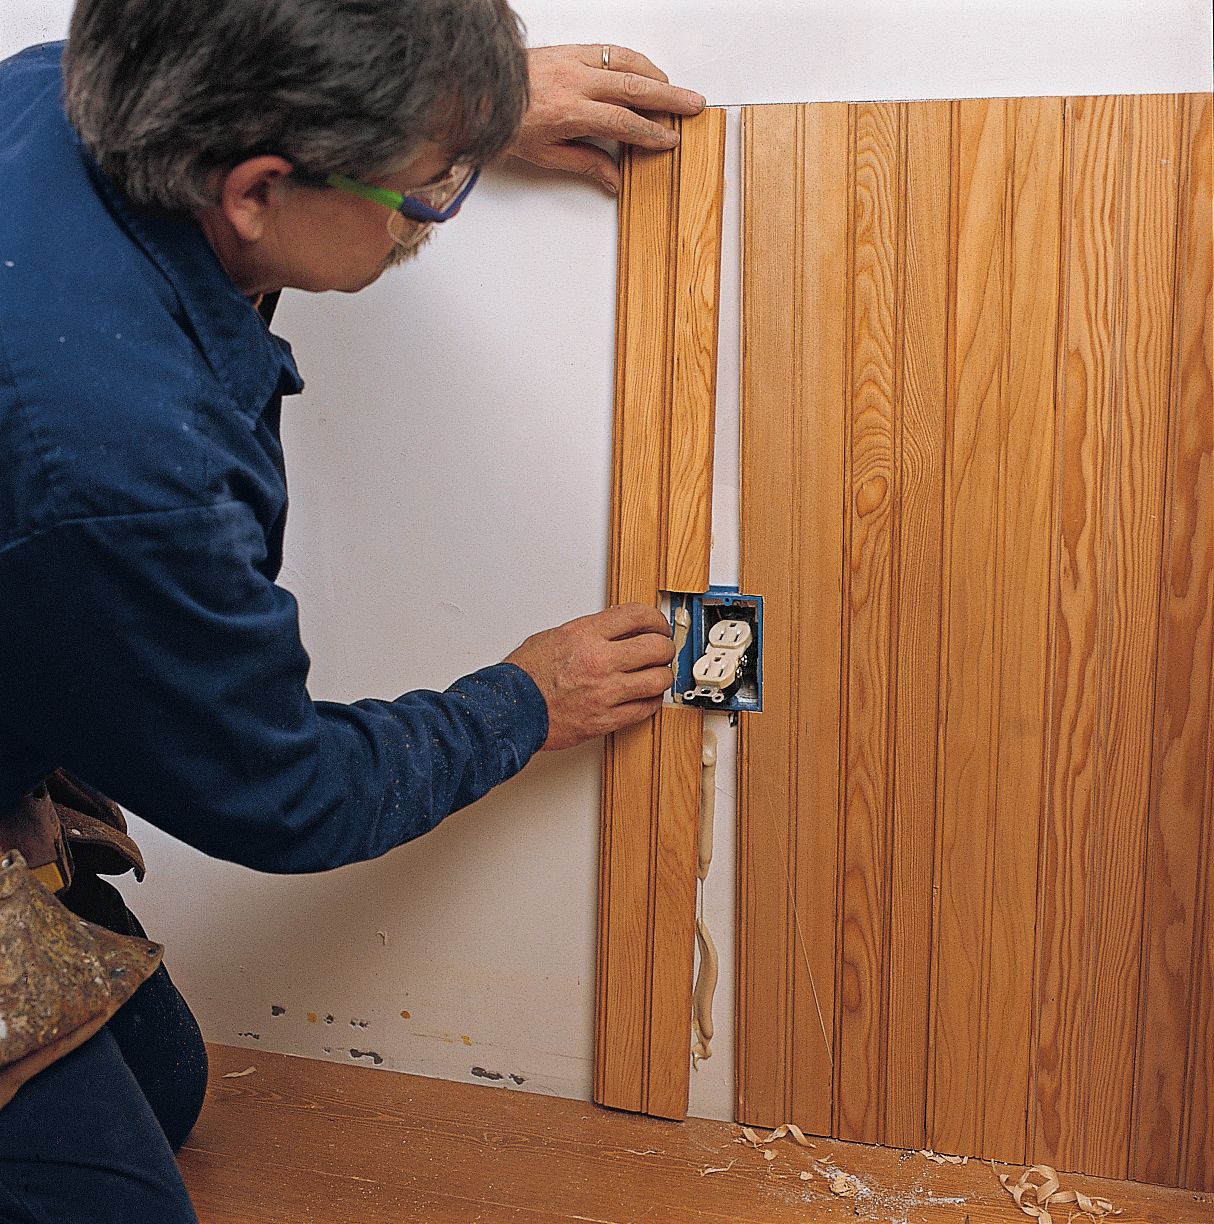
When a board must be notched around an outlet, rest the board’s bottom edge on the upper lip of the outlet box. Hold it tight against the previous board and mark the board where it meets the corner of the outlet.
Hold the same board alongside the outlet so the board’s top edge touches the layout line. Mark the board’s edge where it touches the top and bottom of the outlet.
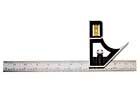
With a combination square, draw horizontal lines out from the marks on the side and connect them to a vertical line running up from the bottom mark. The connected lines outline the notch where the outlet will go.
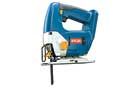
Cut out the notch with a jigsaw, then glue and nail the board as in Step 3.
Repeat on opposite side of the outlet, if necessary.
Tip: “When cutting boards with a jigsaw, use a metal-cutting blade to reduce splintering.”
Step 7
Fit Against Door Casing
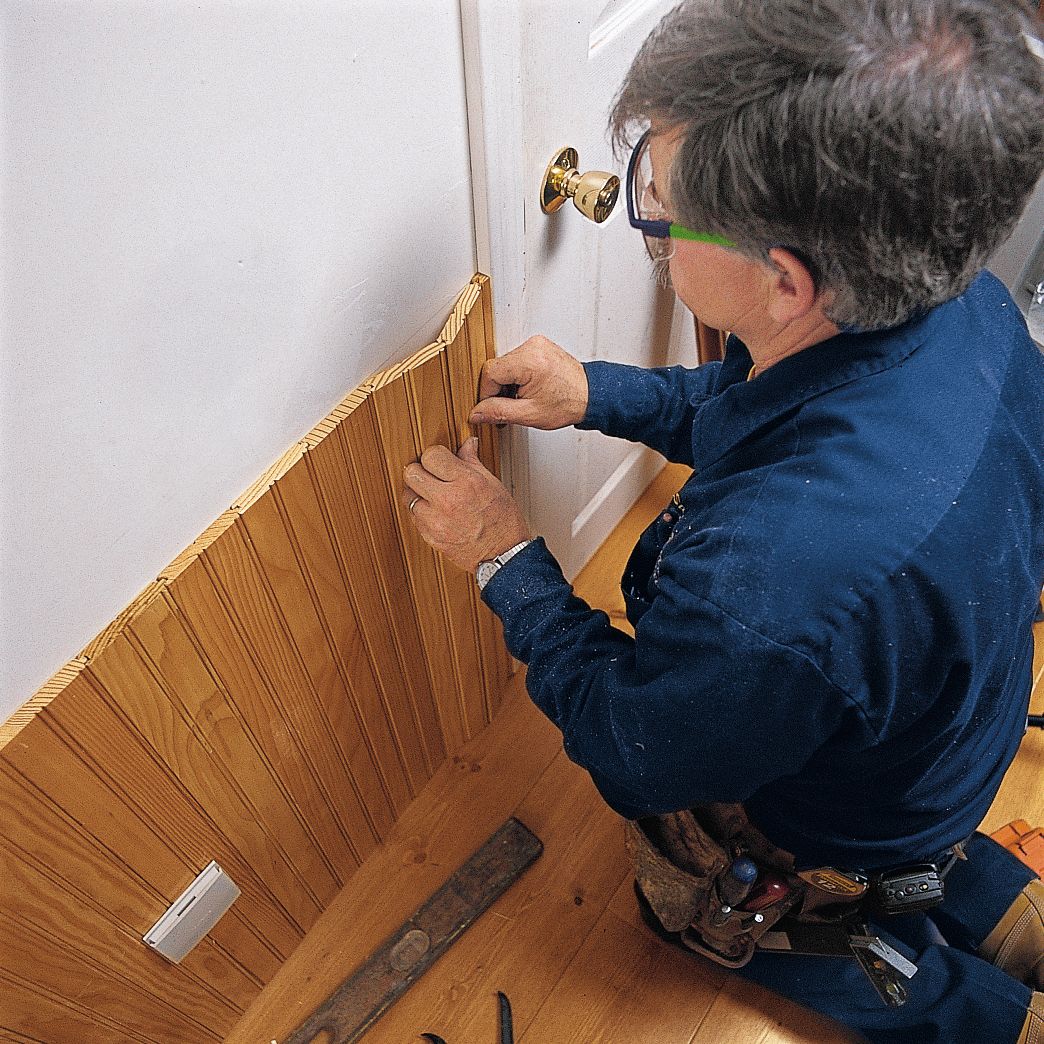
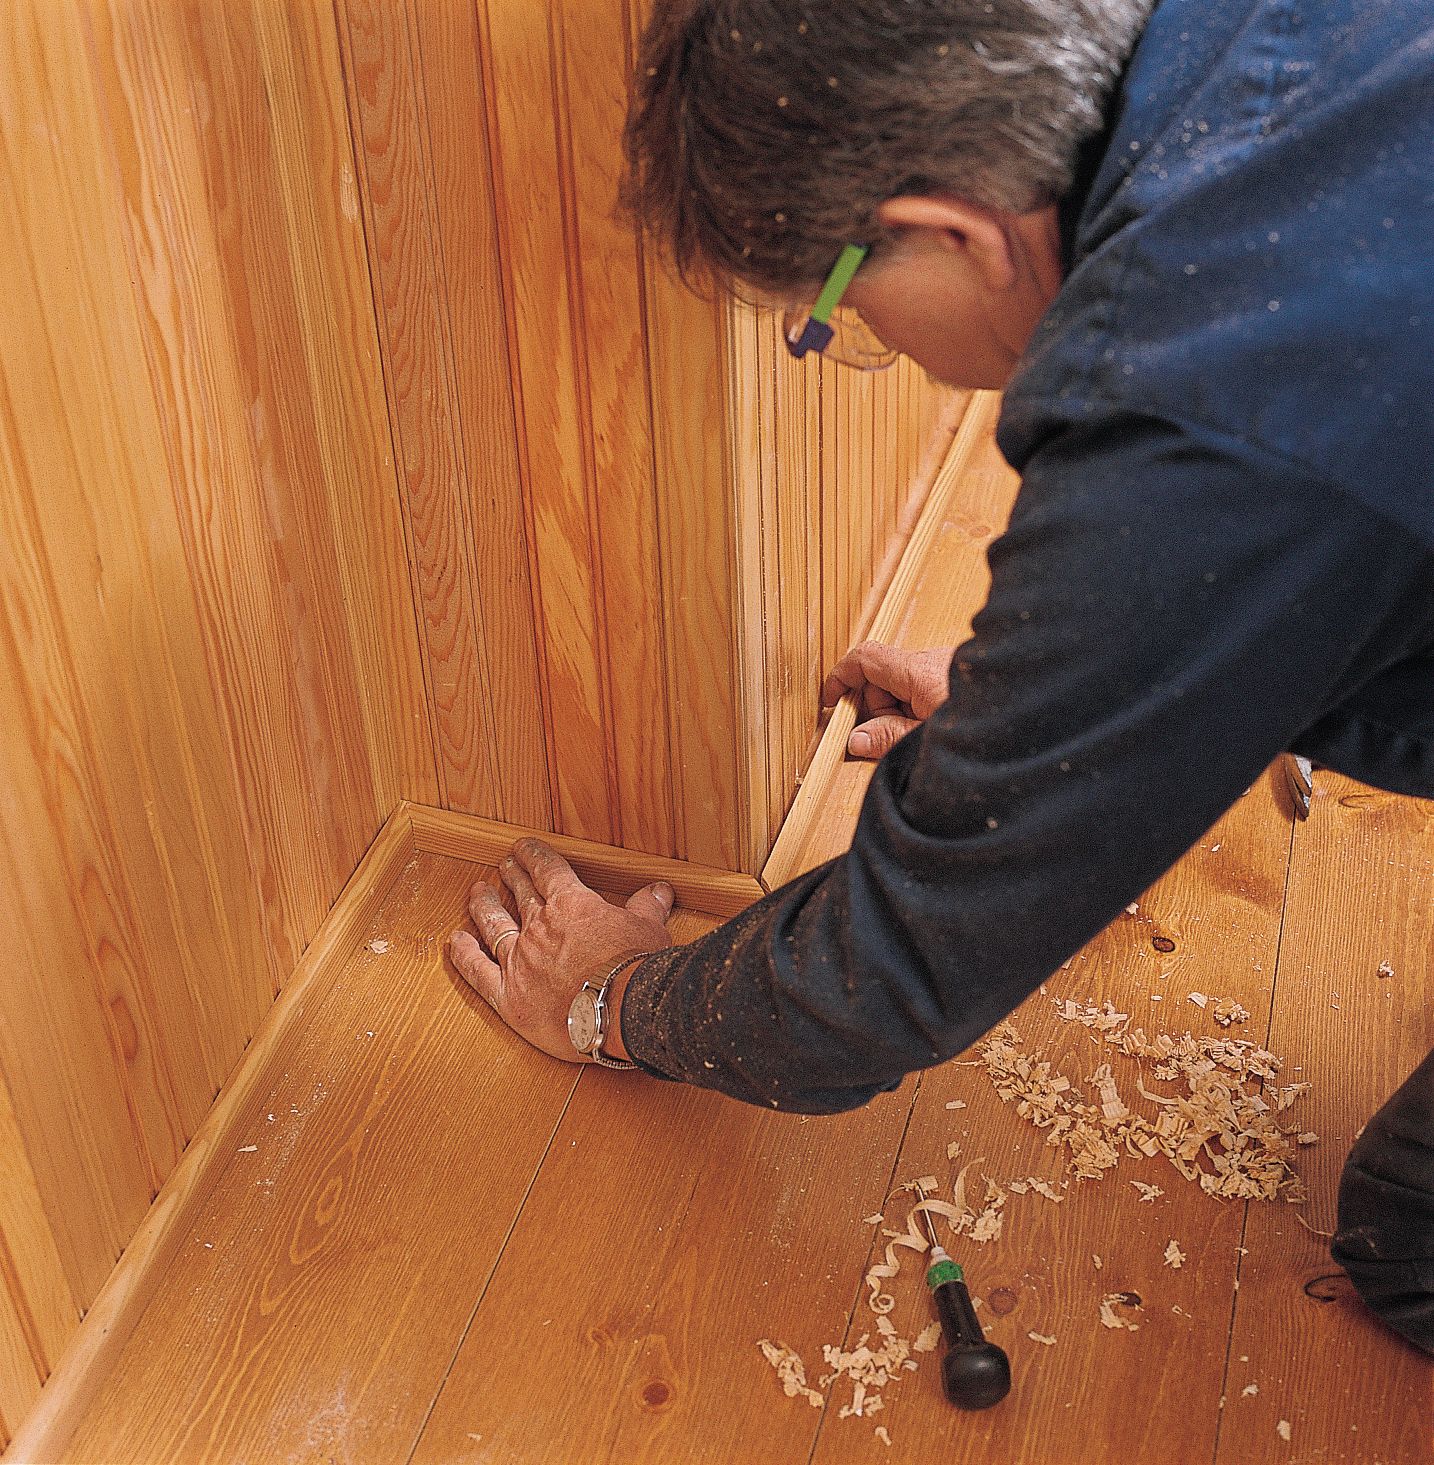
Within 2 feet or so of a doorway, measure how far the casing is from the top and the bottom of the beadboard. If there’s a difference between these measurements, gradually fan out successive pieces until they become parallel with the casing.
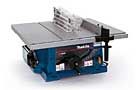
Dry fit the last two full-width boards and measure the remaining distance to the casing. Cut the third piece to that width on a table saw.
Apply adhesive to the wall. Then put all three pieces together, bent to form a slight curve, and press them all at once between the casing and wainscot.
The same approach works for inside corners, but doesnâ?™t demand the same precise fit; any gap with the wall will be covered by the next piece
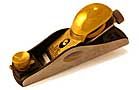
Tip: A back bevel, planed along the edge of the board that touches the casing, ensures a tight fit.
Step 8
Mark Cap Rails to Length
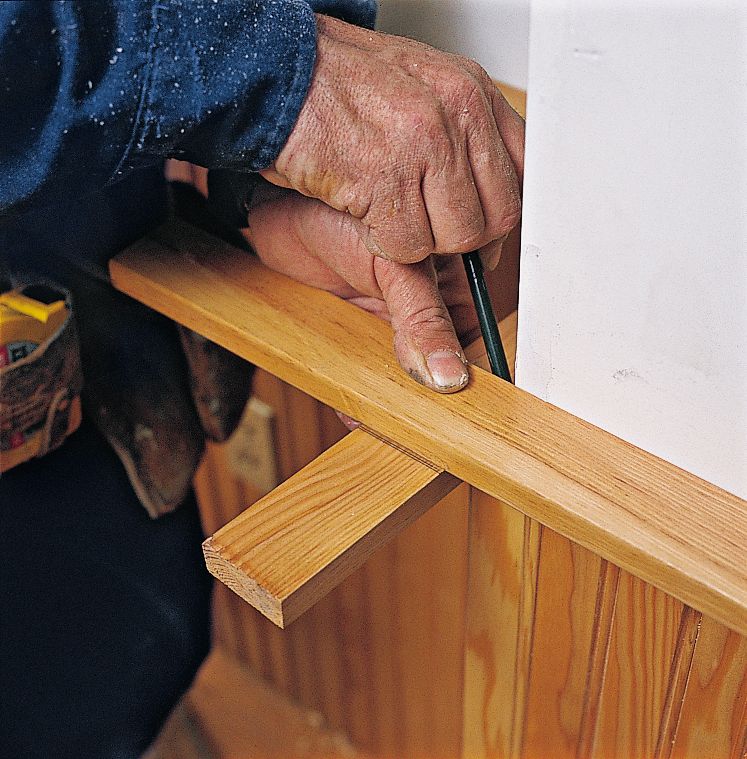
When an outside or inside corner isn’t exactly 90 degrees, use this technique find the precise miter angle:
-Hold two pieces of 1×2 cap rail in place, overlapping them at the corner.
-Draw a pencil line on both sides of where the upper rail overlaps the lower one.
Step 9
Mark Miter-Cut on Cap Rails
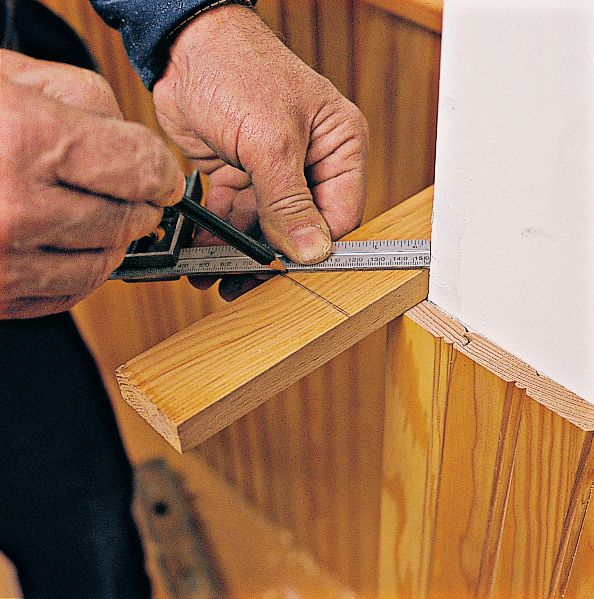
Move the upper rail aside and hold the line-marked lower rail in place atop the beadboard.
Use a combination square to connect the two lines, creating a diagonal line that represents the angle of the miter joint.
Cut the first miter, then use that rail to mark the angled cut on the adjoining cap rail.
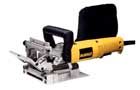
Join the two rails at the corner with glue and compressed wood biscuits.
Step 10
Nail on Cap Rail
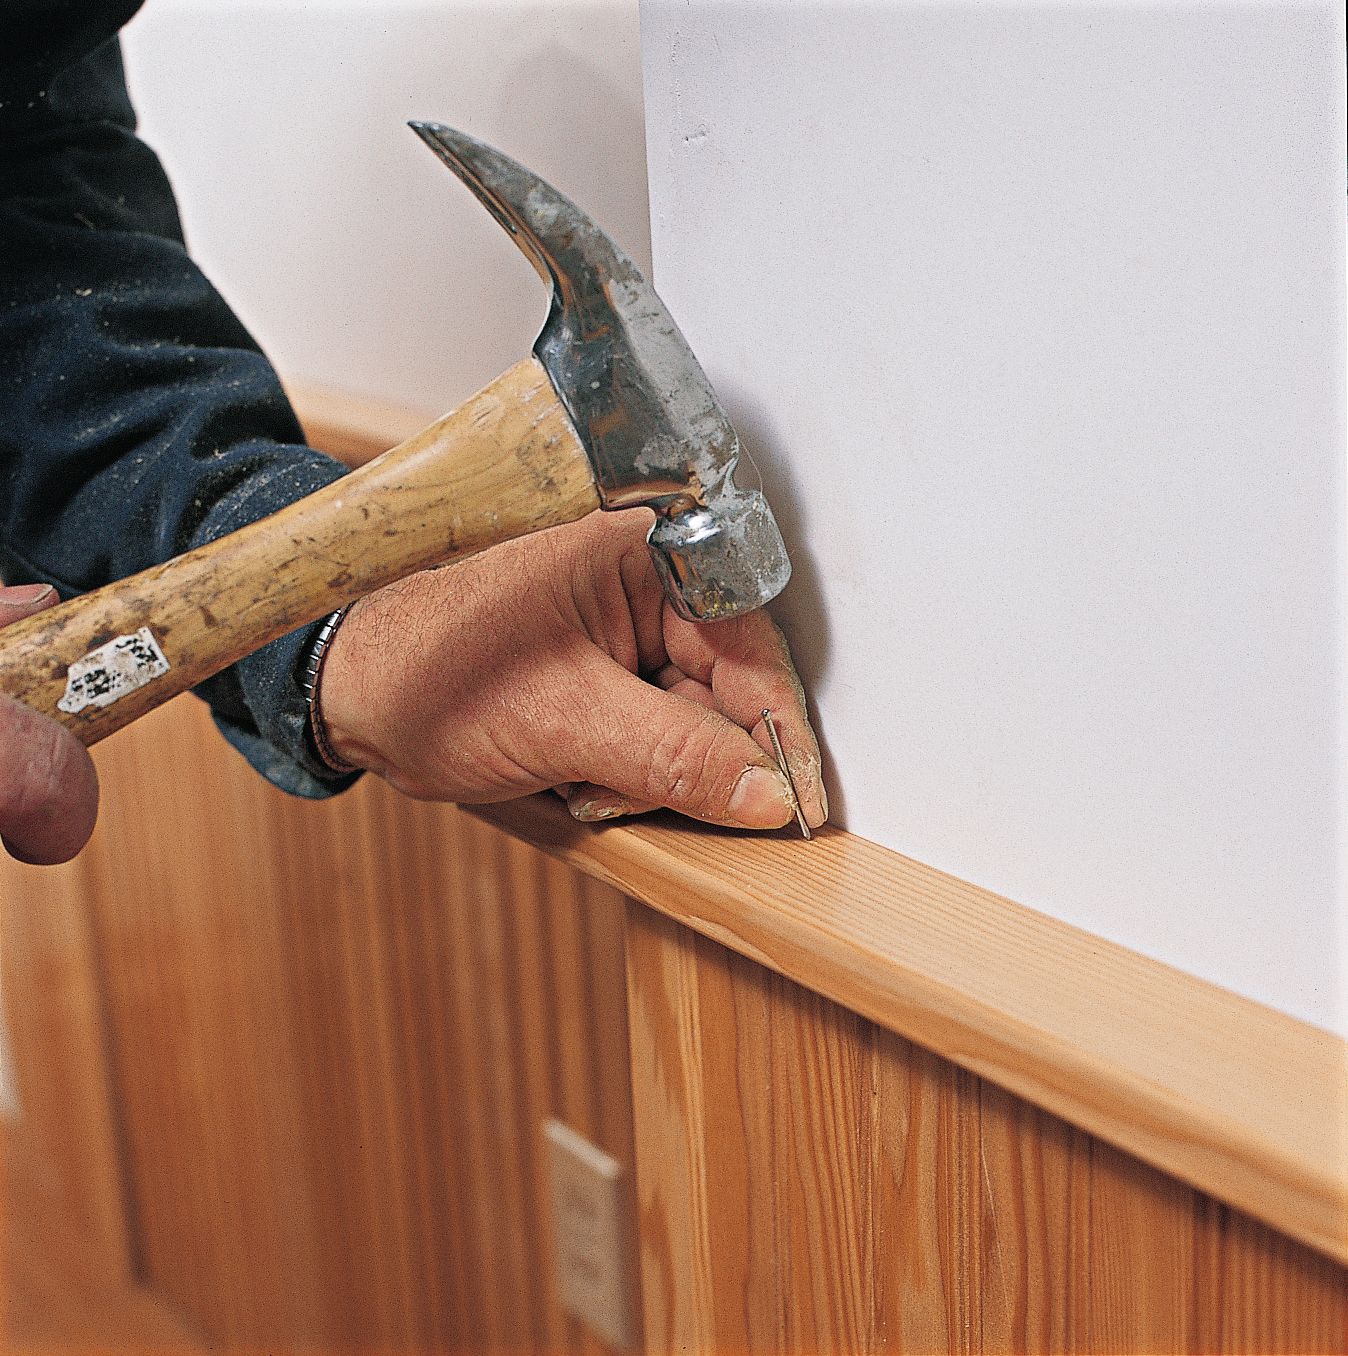
Start by fitting the cap rail between inside corners. Miter and glue all joints.
Toenail cap into edge of beadboard with 4d finish nails.
Tip: For fast, accurate cuts, Tom uses a miter saw. For strong joints, he uses a biscuit joiner to scoop out matching slots for “0”-size biscuits.
Step 11
Attach Moldings
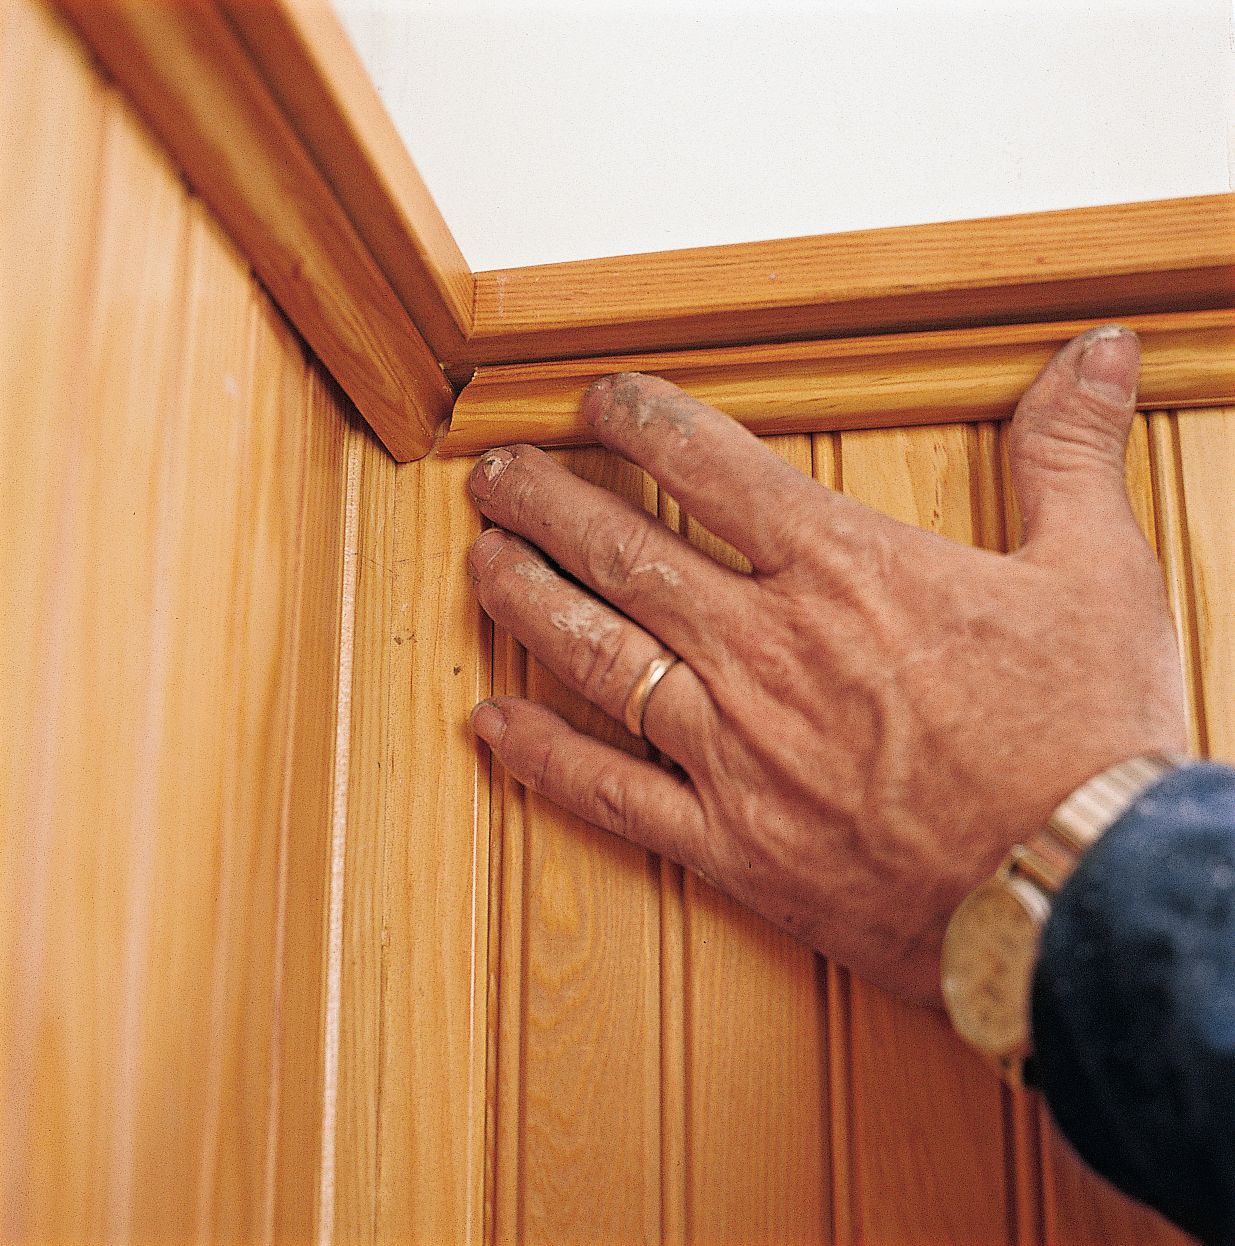
As with cap rails, start between inside corners.
Secure ogee molding to the underside of the cap with ¾-inch brads. (Tom easily pushes them in with a hand-held brad driver.) At outside corners, join moldings with miters. On inside corners, use cope joints, which stay tight as wood moves.
Follow the same steps to install shoe molding against floor.
Tip: Before coping, make relief cuts into the mitered end to reduce the chance that the blade will wander.