Breathing new life into old furniture doesn’t have to be a time-consuming process. With the right techniques, you can create a beautifully aged look that typically takes years to develop naturally. In this guide, we’ll explain various do-it-yourself (DIY) methods to achieve a painted patina and help you transform dated pieces into charming focal points for your home.
Painting Patina
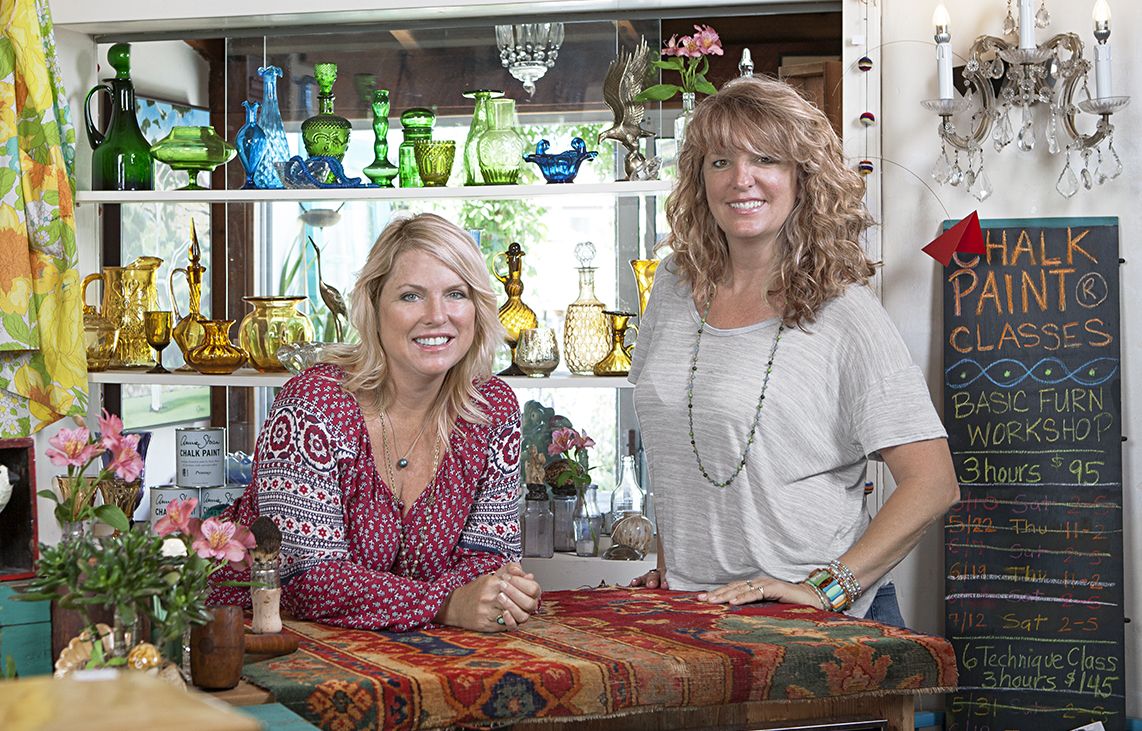
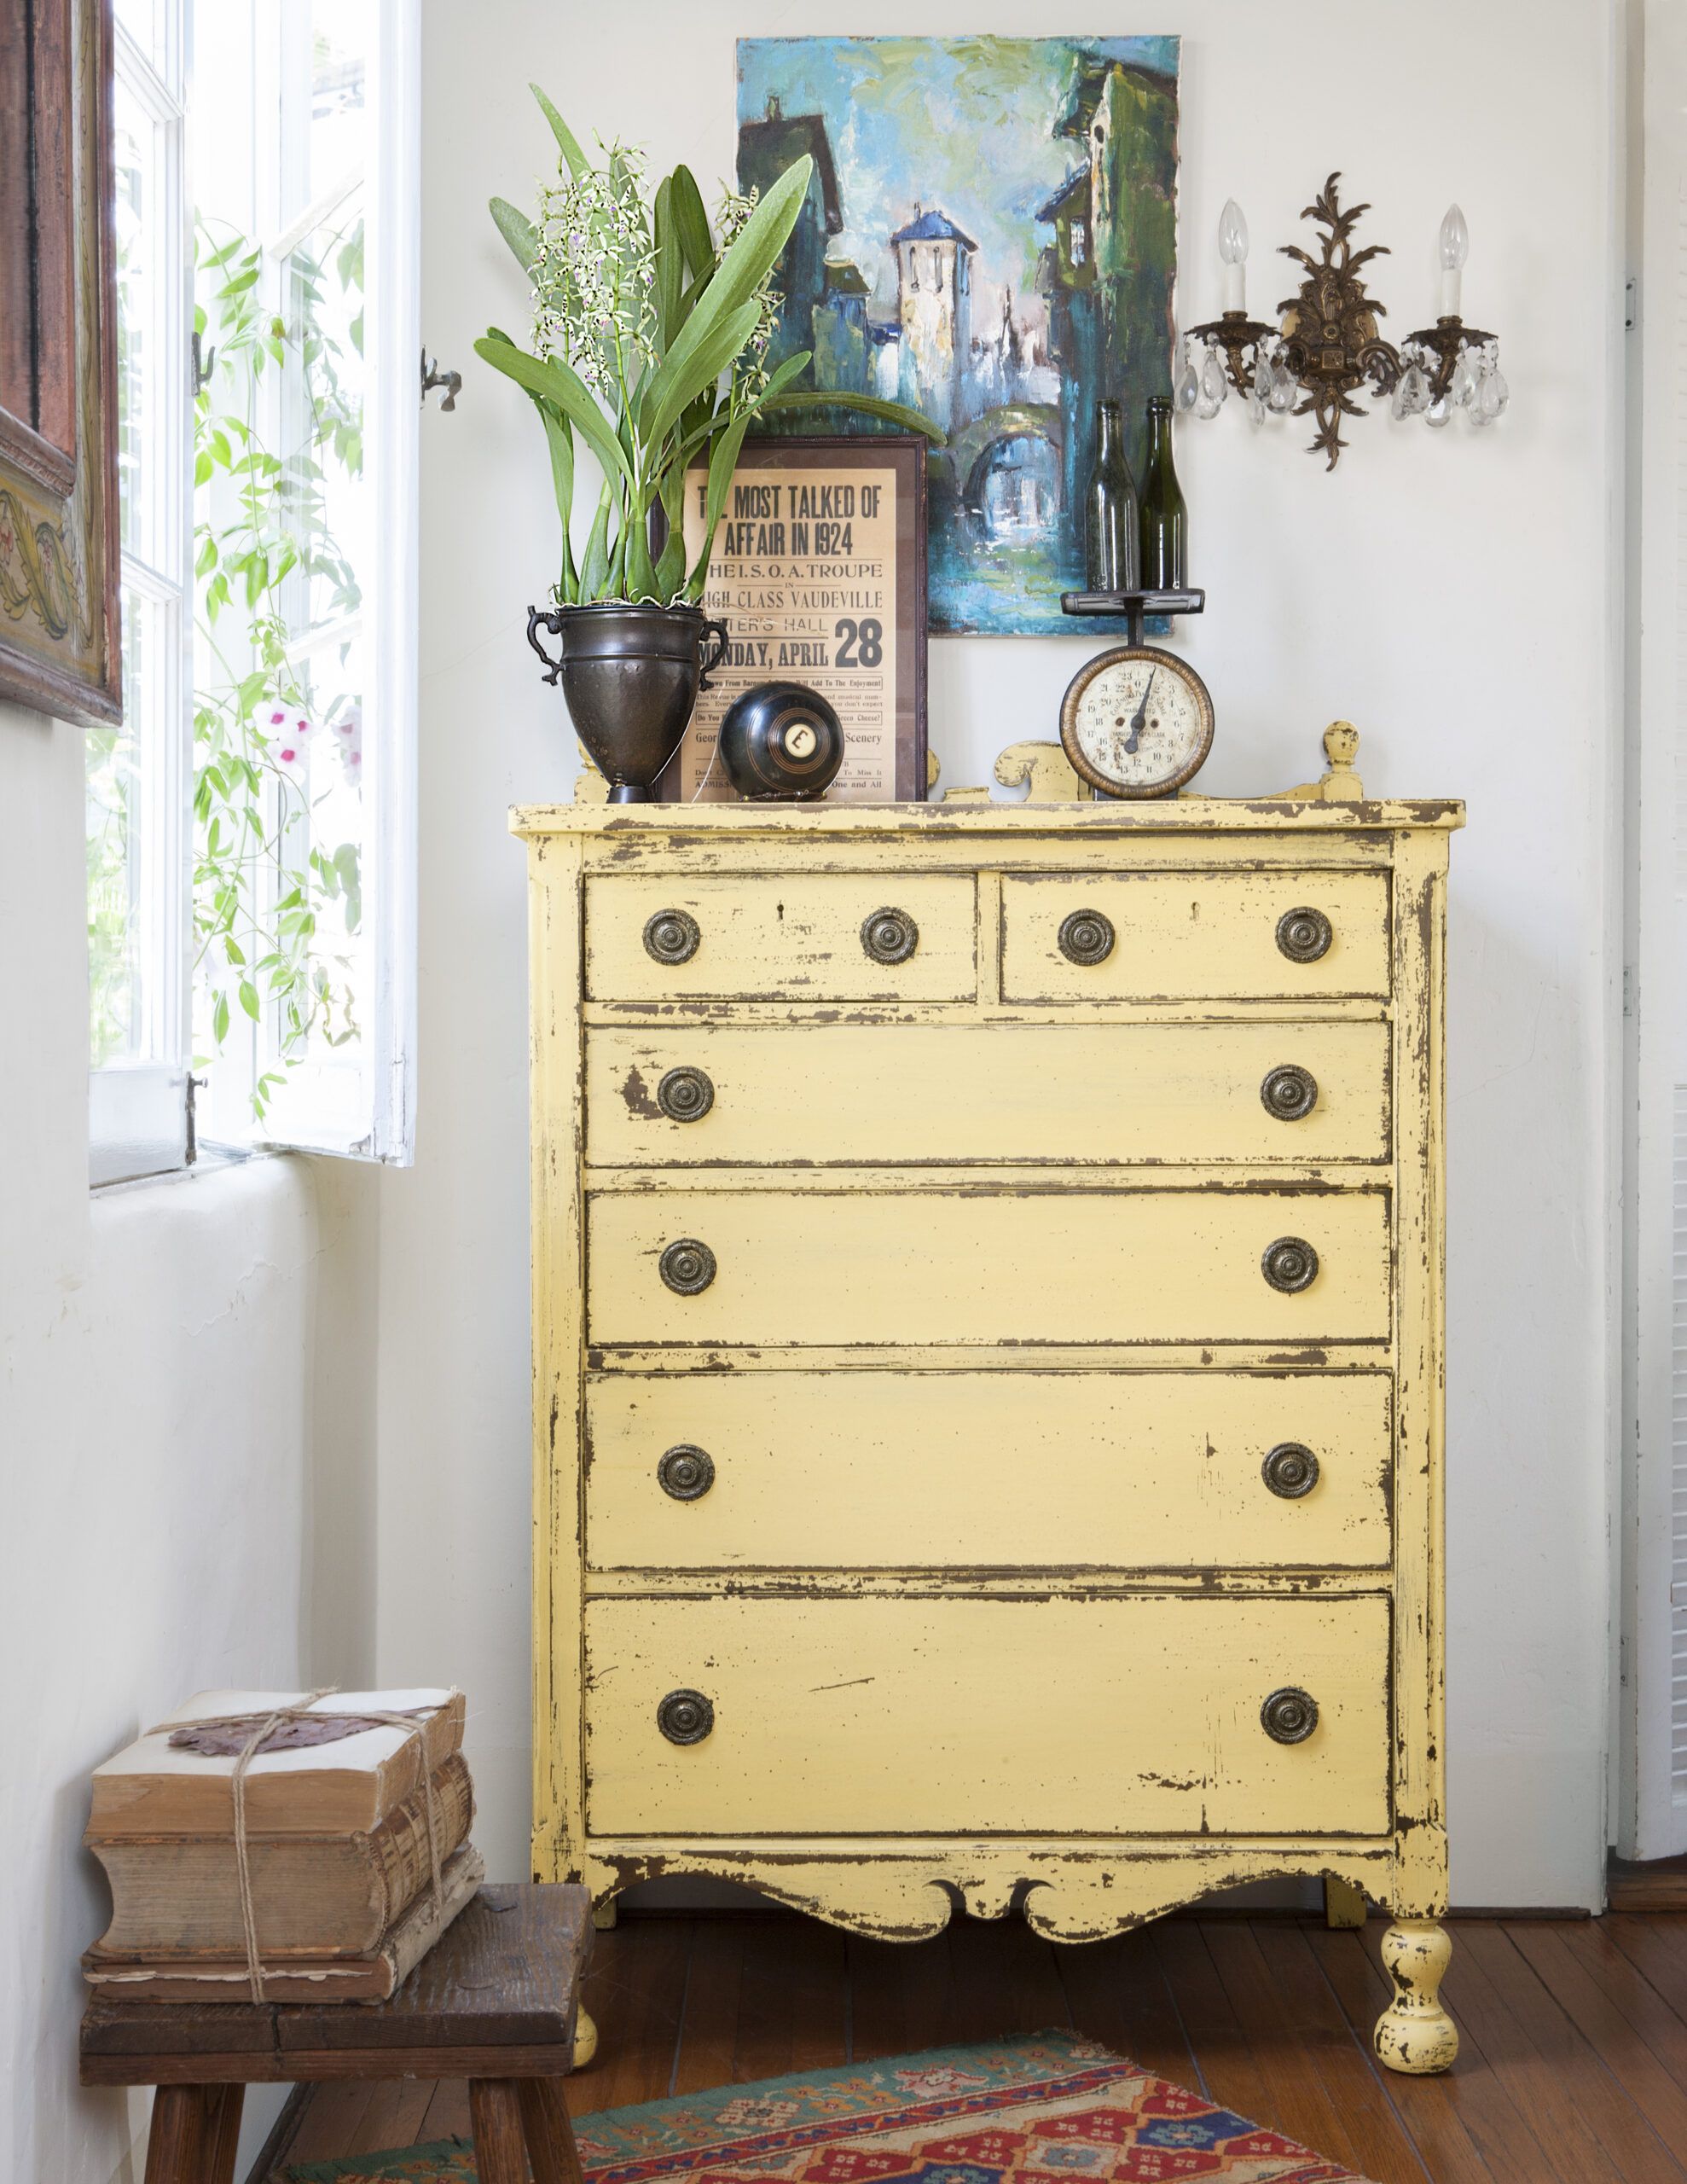
As the owners of a home store and design-services business in San Clemente, California, Marjee Ann Kress and Jill Wilson perfected the process of giving furniture the kind of layered patina it would once have taken decades to develop. “We’re taking dated pieces that have been gathering dust in the garage and giving them new life,” says Wilson. “We’ve always been drawn to older furniture,” adds Kress. “It has a history, is built solid, and has great detail.”
These childhood friends and early adopters of furniture upcycling have spent years refining their methods. Today, they rely primarily on two types of matte paint for fast results with minimal sanding or priming: chalk paint for a velvety finish and milk paint for an authentic, old-world look.
Aged Milk Paint
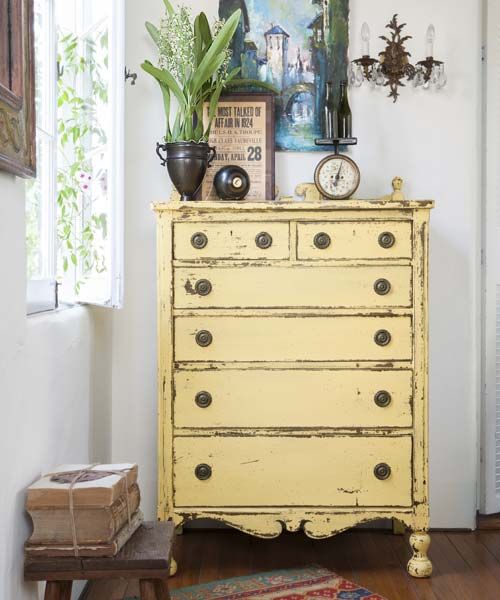
Using an aged milk paint technique is great for unvarnished wood furniture. This method mimics the dings and scrapes that would naturally occur on a painted wood piece from decades of use, and the result is a beautifully weathered finish that adds character and charm to your furniture.
To achieve this look, you’ll need the following tools:
- Chip brush
- Clear finishing wax
- Clean rag
- Paint scraper
- Round wax brush
- Solid beeswax
- Yellow milk paint
Aged Milk Paint: Before
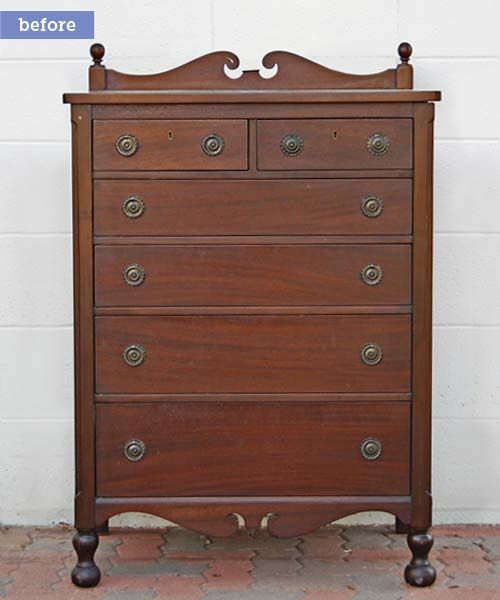
Before you begin the transformation, prepare your piece. Use a paint scraper or chip brush to remove any existing finishes or debris, and wipe the surface with a clean rag.
Once you’ve prepared the piece, apply beeswax and focus on areas with potential natural wear. Then, use the milk paint to distress the surface and reveal the underlying wood. You can apply milk paint directly to raw wood without primer, making it an excellent choice for this technique. After painting, apply a clear wax finish with a wax brush to protect and enhance the aged appearance of your furniture.
Since milk paint contains natural proteins that can spoil after a few days, mix only as much as you need for your project to avoid waste. This ensures you’re working with fresh paint and reduces unnecessary expenses.
Review these step-by-step instructions on how to do a milk paint patina.
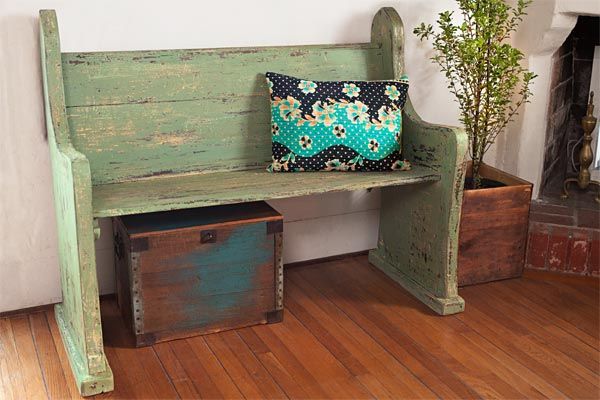
Color Wash
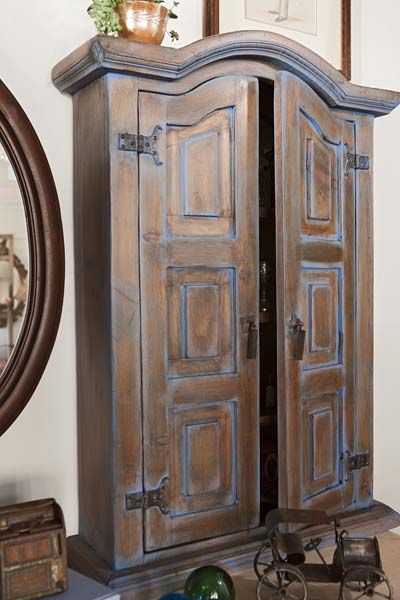
The color wash technique is ideal for adding subtle color while allowing the natural beauty of the wood to shine through. This method works particularly well on unfinished pieces with paneling or other textural details that the wash can accentuate. The result is a soft, ethereal look that adds depth to your furniture.
To create a color wash, gather the following tools:
- Chalk paint in your chosen color
- Clean rag
- Dark finishing wax
- Round natural-bristle brush
- Round wax brush
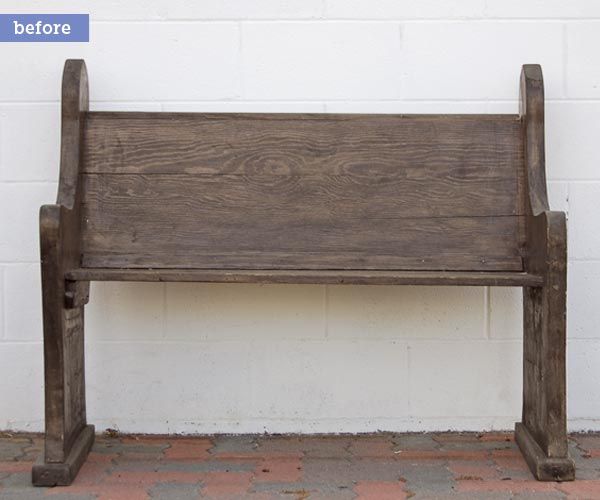
Color Wash: Before
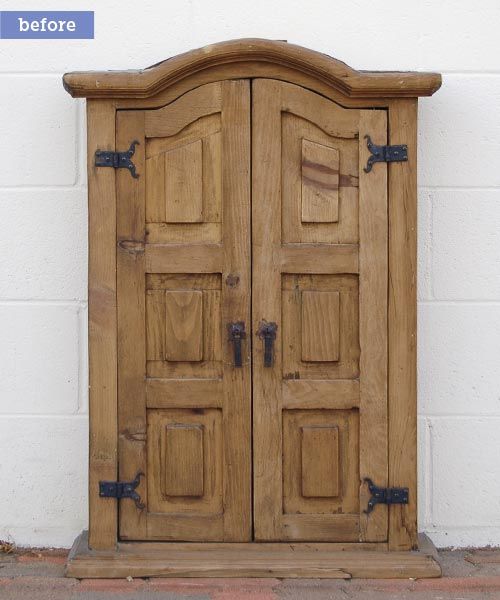
When preparing for a color wash, consider the natural tone of your wood and how it will interact with your chosen paint color. Lighter woods may require less thinning of the paint to achieve the desired effect, while darker woods might benefit from a more translucent wash.
Start by thinning the chalk paint with water and applying it to the wood with a round brush, allowing the paint to seep into the grain. For brand-new wood, you may need to adjust the paint-to-water ratio. Start with four or five parts paint to one part water, which will allow for better coverage on new wood.
Next, use a rag to wipe away excess paint from any flat surfaces, leaving color in the crevices and details. Add a coat of dark wax with a round wax brush for the final touch, creating a rustic, antiqued appearance.
Get full instructions for how to achieve a color wash patina.
Boat-Wood Effect
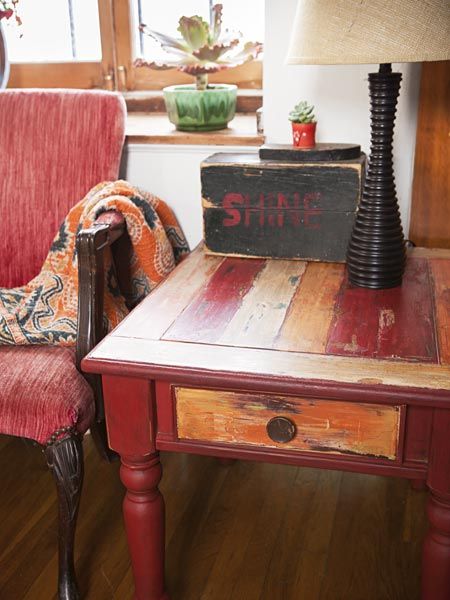
The boat-wood effect is inspired by reclaimed wood furniture made from retired Indonesian fishing boats. This striking finish features multiple layers of paint, creating a textured, weathered look that’s perfect for pieces with a bit of existing wear, such as side tables or decorative shelves.
To achieve this unique look, you’ll need the following materials:
- Chalk paint in four colors
- Dark and clear finishing wax
- Paint scraper
- Round wax brush
- Sandpaper
Boat-Wood Effect: Before
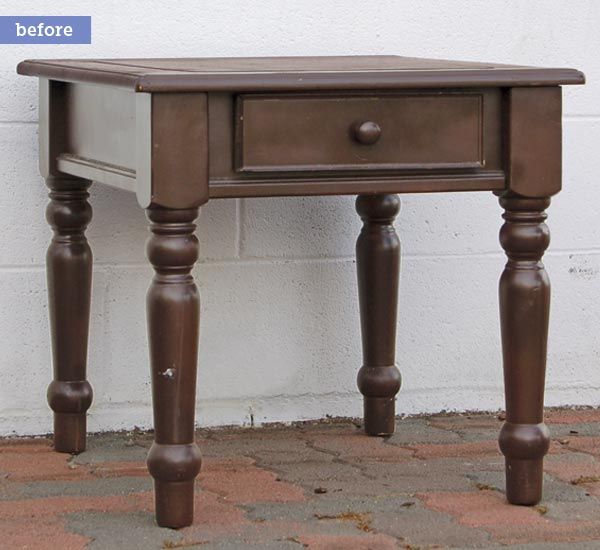
Before starting your project, clean off any loose paint or varnish with a paint scraper and sandpaper. Then, think about the color palette and experiment with different color combinations to find the perfect match for your decor style. While bright, bold colors can create a vibrant, coastal look, more muted tones can result in a subtler, vintage appearance.
Once you’ve decided on your colors, allow the paint to thicken by leaving the containers open overnight. This creates an impasto-like consistency that adds to the textured, layered effect of the final piece. Test your thickened paint on a scrap piece of wood to become familiar with its consistency before applying it to your furniture.
See instructions for how to paint a boat-wood patina.
Layered Finish
A chippy, layered finish is a good option for creating the illusion of a piece that has been painted multiple times. This technique is ideal for worn wood pieces with a less-than-perfect finish or even minor cracks, as these imperfections add to the overall aged appearance.
To create a chippy layered finish, you’ll need the following tools:
- Clear finishing wax
- Hemp oil
- Milk paint in three colors
- Paint scraper
- Round wax brush
- 150-grit sandpaper
Layered Finish: Before
When preparing for a chippy, layered finish, start with a clean surface. If your piece has an existing finish, you may need to sand it lightly to ensure the milk paint adheres properly. After smoothing the surface, apply multiple layers of milk paint, strategically distressing each layer to reveal the colors beneath. Remember that milk paint chips and flakes naturally, especially on previously finished surfaces, which can add to the authenticity of your aged look.
For outdoor pieces finished with this technique, consider using hemp oil instead of wax for the final coat. Apply only what the surface will absorb and allow it to cure for 30 days before placing the furniture outside. This will provide better protection against the elements than finishing wax, which is better for indoor use.
Get step-by-step instructions on how to paint a layered patina.
Refined Crackle
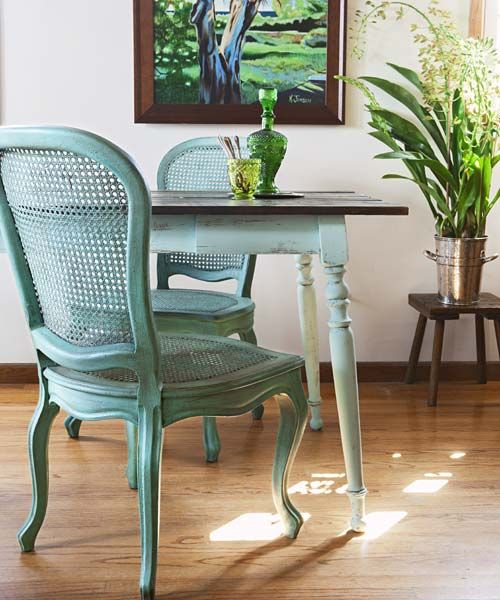
The unique aspect of the refined crackle technique is the use of a blow-dryer to create a crackle effect, eliminating the need for specialized crackle mediums. The heat from the dryer causes the paint to dry unevenly, resulting in fine, delicate cracks across the surface. This elegant finish is perfect for pieces with graceful lines, such as French Provincial-style furniture or ornate picture frames.
To achieve this sophisticated look, you’ll need the following materials:
- Blow-dryer
- Chalk paint in two contrasting colors
- Clear finishing wax
- Rag
- Round natural-bristle brush
- Round wax brush
Refined Crackle: Before

Before starting the refined crackle technique, ensure your piece is clean and free from any loose paint or debris. The base color you choose will show through the cracks, so consider how it will contrast with your top color for the best effect.
This technique requires a bit of practice to perfect the timing and heat application. Start with a small, inconspicuous area to get a feel for how quickly the paint crackles and how much heat you need. Remember, less is often more when it comes to creating a refined, elegant crackle finish. Pay attention to how the paint reacts as it heats, and adjust your technique accordingly to achieve the best results.