Building a pallet wood shed is a great way to store firewood, garden tools, and other lawn equipment. Pallets are often available from local businesses for free or at a low cost. This DIY project is cheap, eco-friendly, and can be finished in a weekend with some basic skills. If you’re unsure about a pallet wood shed, check out some other shed design ideas.
This article will guide you through each step of building a pallet wood shed, from the materials to the finishing touches.
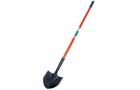
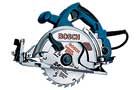
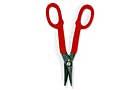
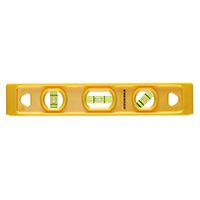
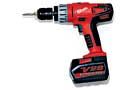
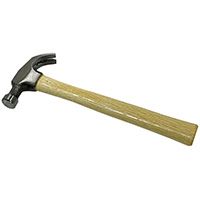
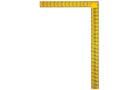
Tools
First, gather the tools for the project and set up your workspace. Here’s what you’ll need:
Shed Building Materials
You’ll also need the following materials:
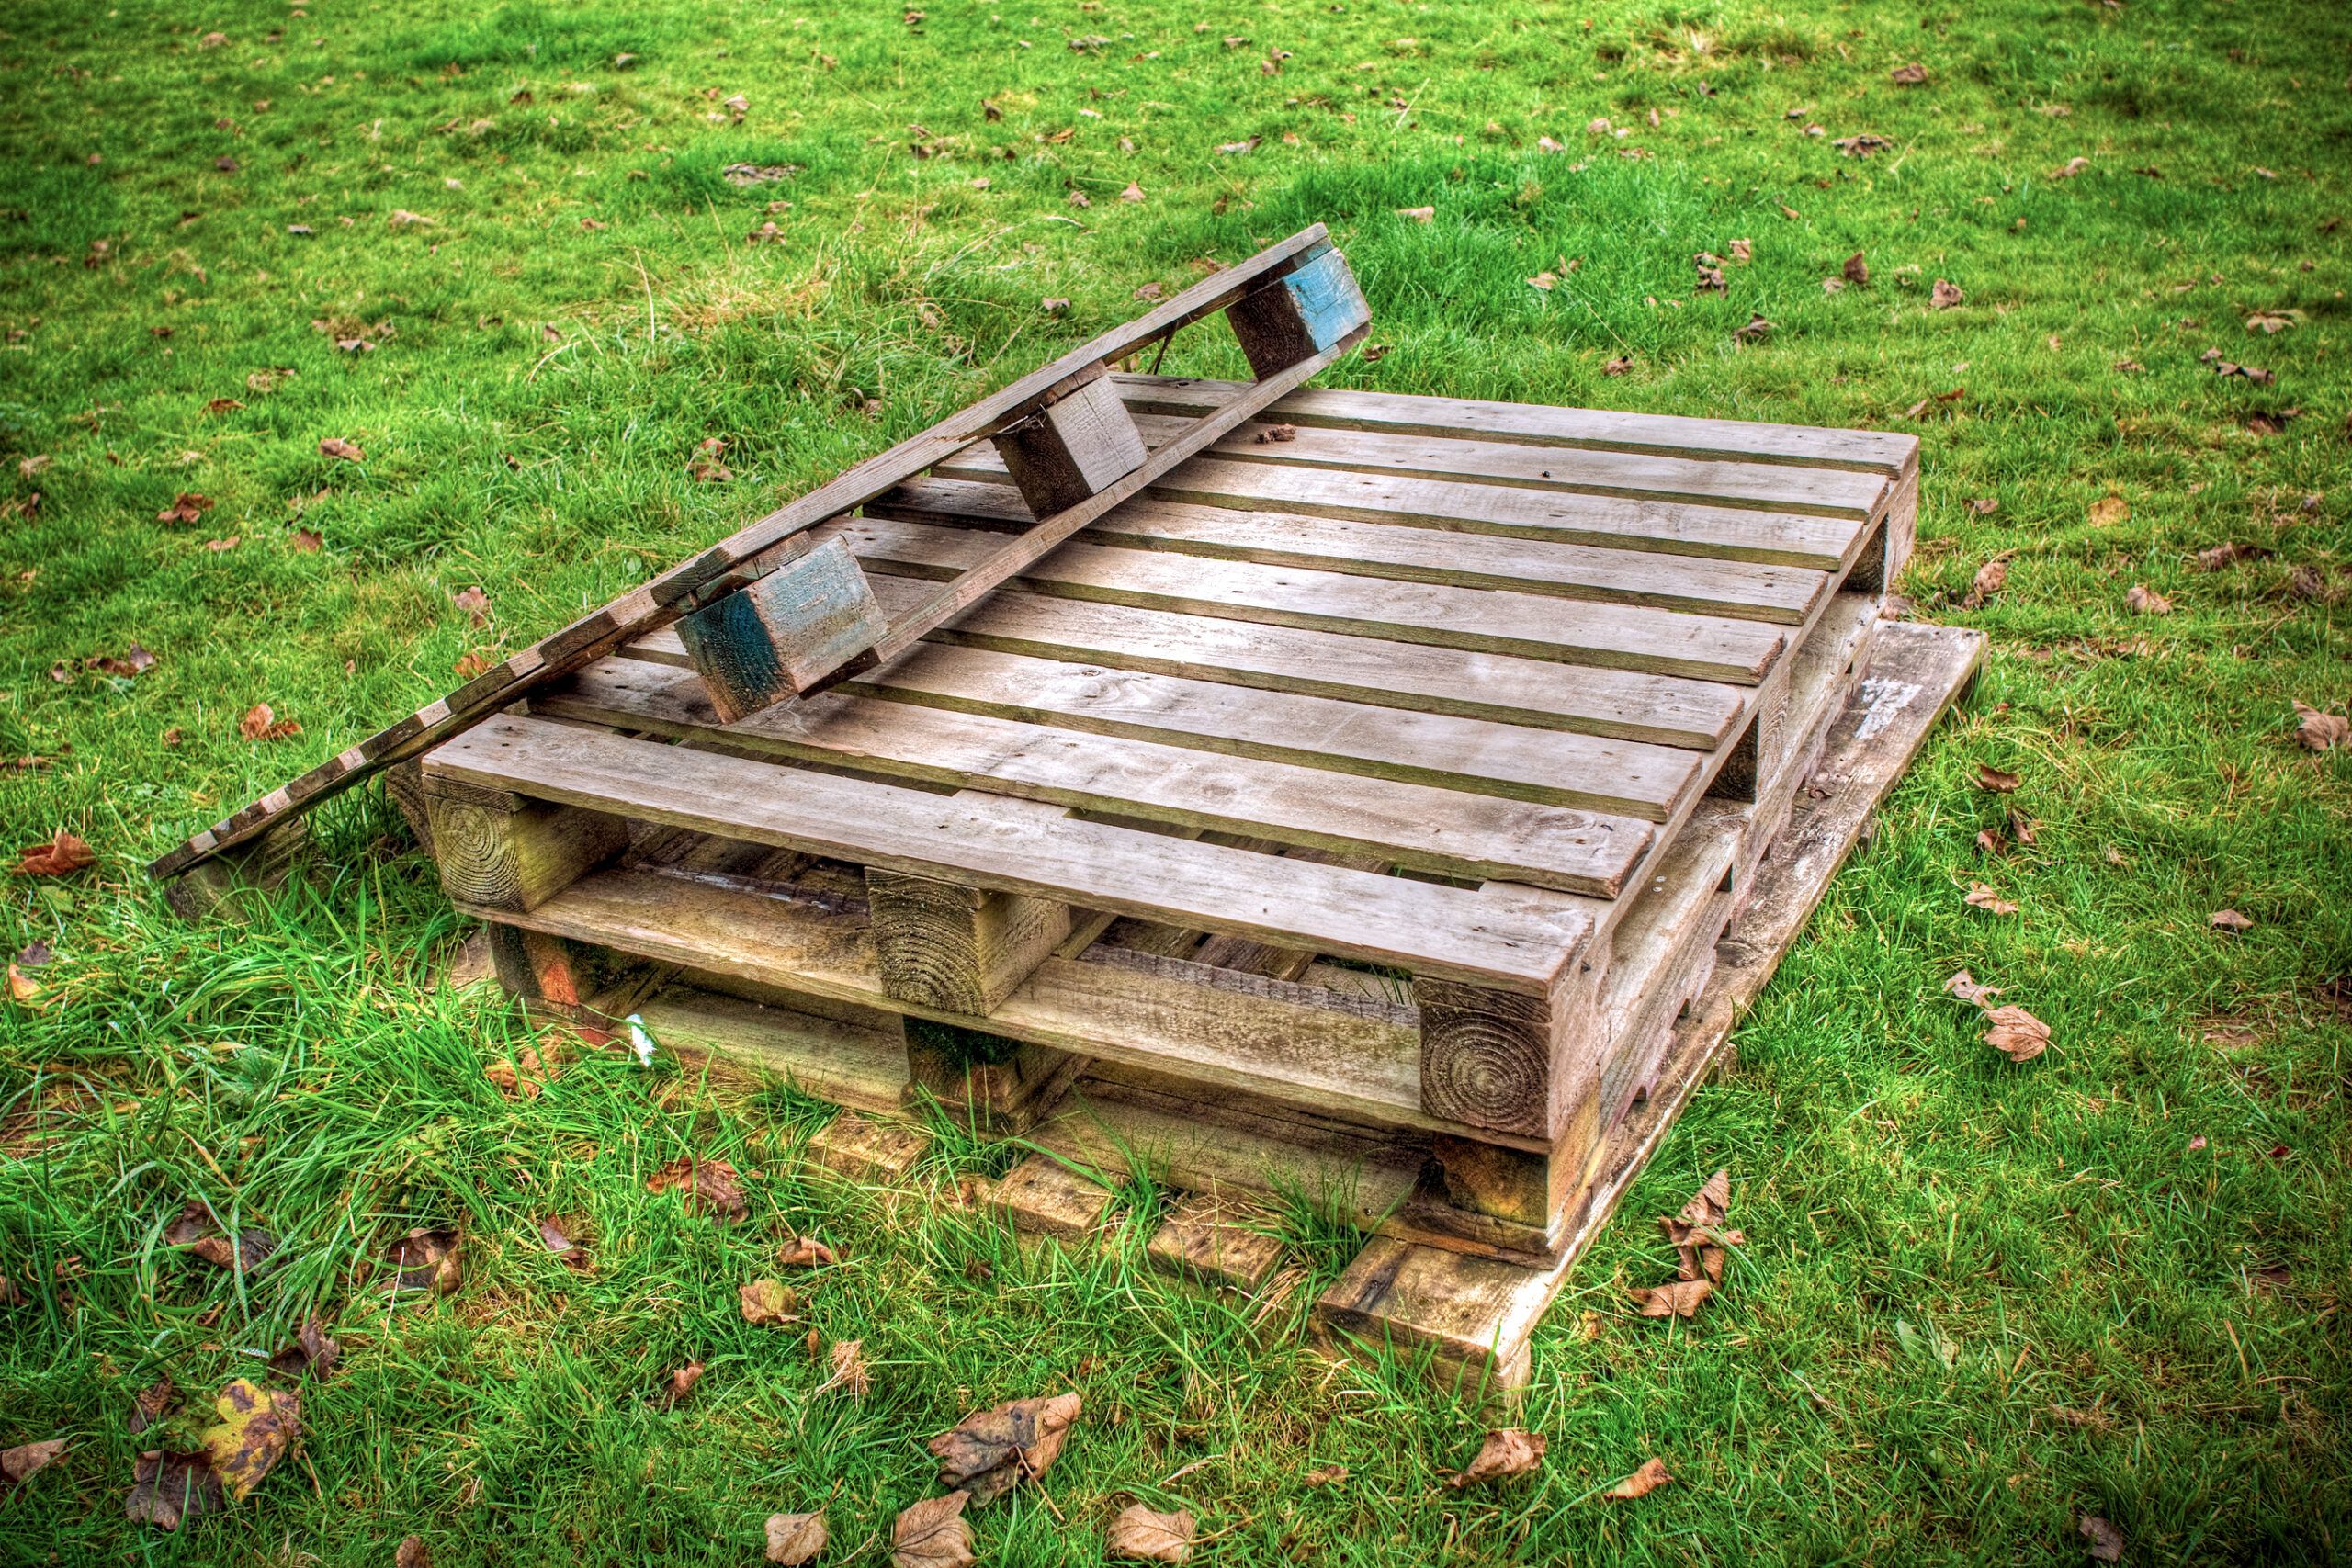
- Nine 48-inch by 40-inch pallets in good condition, stained to preserve the wood
- Four 4-inch by 4-inch by 10-foot pressure-treated posts
- Six 2-inch by 4-inch by 8-foot pressure-treated boards for rafters
- Three 1-inch by 4-inch by 10-foot pressure-treated boards for purlins and joiners
- Four 2-inch by 4-inch by 8-foot boards for bracing
- Two 26-inch by 10-foot sheets of galvanized roofing metal
- Six galvanized rafter ties
- Box of 3-inch deck screws
- Box of 11/2-inch metal roofing screws
- Four wooden stakes
- Fast-drying concrete mix
- A can of brightly colored spray paint
Steps for Building a Pallet Wood Shed
The standard size of a pallet is 48 inches by 40 inches. For this wood shed build, we’ll use nine pallets to create a structure that is 4 feet deep by 6.5 feet wide.
Step 1: Choose a Location
Choose a flat, level area of your yard or grade the area by removing soil with a shovel. Save any removed topsoil to use around your property or add to your compost.
Step 2: Assembling the pallets
- Cut one of your 1-by-4-inch pieces of lumber into ten 1-foot-long pieces to use as joiners for your pallets.
- Join two pallets along the 48-inch side to create your floor by screwing two of your joiner pieces where they meet.
- When done, the floor will measure 48 inches by 80 inches.
- Using a circular saw, cut one of the pallets in half, creating two halves measuring 24 inches by 40 inches.
- Join these halves to two of the other pallets to create two wall pieces measuring 40 inches by 72 inches. These pieces will make the back wall.
- Using your circular saw, cut a 32-inch section off two other pallets to create two pieces measuring 32 inches by 48 inches.
- Join these pieces to two separate pallets along the 48-inch length. These will be your two side walls.
Step 3: Setting your posts
- Before digging the holes for your posts, consult your local utility company to ensure you won’t damage power, gas, or cable lines.
- Lay your floor in the area you leveled out.
- Mark the ground at the corners with brightly colored spray paint.
- Remove the floor and dig post holes 9 inches in diameter with your post hole digger or an auger.
- Set the 4-by-4-inch posts in the holes. Have someone hold the post upright while you check for plumb with a level.
- To accommodate the pitch of the shed roof, set the two posts in the front 12 inches higher than the two posts in the back.
- Brace each post with a two-by-four by nailing one end to the post and securing the other end with a stake in the ground.
- Follow the manufacturer’s directions to mix fast-drying cement in a wheelbarrow.
- Pour it into the holes around the posts to within an inch of the surface. Resist filling it to the top because it expands as it dries.
- Work up any air bubbles as you pour using a shovel.
- Allow it to cure for 48 hours.
Step 4: Attaching your walls
- Once the concrete is set, remove the braces and lay the floor pallets back in place.
- One by one, screw your wall pieces to the posts using the 3-inch deck screws.
- Use one of your 1-by-4-inch pieces to join the two pieces of the back wall.
- Create top sills by setting pressure-treated two-by-fours, cut to length, on edge along the front and rear of the shed.
- Screw to the posts.
Step 5: Install the rafters and purlins
- Cut the remaining pressure-treated two-by-fours to the correct length to use as rafters.
- Using the galvanized roof ties, attach each rafter to the top sills 24 inches apart from the center. The final one will be about 8 inches from the sidewall.
- Screw the remaining pressure-treated 1-by-4-inch piece to the rafters perpendicular down the middle, dividing the rafters in half as a purlin.
- If you live in an area with a lot of snow, add additional rafters.
Step 6: Install the roof
- Use your metal snips to cut the sheet metal panels to length.
- Lay the pieces on the rafters, overlapping the edges by 2 inches.
- Screw in place to the rafters and purlin using the roofing screws.
- You’ll need to cut the final piece to fit the narrower space.
Pallet Wood Shed: Finishing Touches and Optional Features
Add some finishing touches and other features to enhance the appearance, lifespan, and utility of your shed, such as the following:
- Staining and sealing: Apply a wood stain or sealant to all exposed wood surfaces to protect the wood from moisture, UV rays, and pests. Choose a product made for outdoor use and follow the manufacturer’s application instructions.
- Organization: Install shelving, add hooks for hanging tools, or create a workbench along one wall. If you’re using the shed for firewood storage, install a simple rack system to keep logs off the ground and well-ventilated.
Shed Maintenance Tips
Inspect the shed annually for wear, damage, or pest infestation. Check the roof for leaks or loose panels, especially after severe weather, and repair them. Keep the area around the shed clear of debris and trim any overhanging branches that could fall and damage it. Restain or reseal the wood every few years to protect it from weathering.