Project details
Skill
Cost
Estimated Time
Sash windows are a charming feature of many older homes, but they can present some maintenance challenges. Over time, these windows may become difficult to open or close, or they may develop drafts that reduce your home’s energy efficiency.
In this guide, we’ll walk you through the process of repairing sash windows step-by-step, providing expert tips and practical advice to help you maintain this beautiful architectural feature. For older windows, check out our guide to restoring antique windows.
Types of Sash Windows
Sash windows consist of one or more movable panels, known as sashes, that hold panes of glass. These panels are typically framed in wood and operate by sliding vertically or horizontally. The key components of a sash window include the sashes, the frame, the counterweights, the sash cords, and the pulleys.
There are several types of sash windows, each with its own unique characteristics. The most common types include:
- Single-hung windows: Only the bottom sash is movable, while the top sash remains fixed.
- Double-hung windows: Both the top and bottom sashes are movable, providing better ventilation. For double hung windows, a window sash replacement kit might be ideal.
- Horizontal sliders: The sashes slide horizontally instead of vertically.
Common Issues With Sash Windows
Some common issues with sash windows include:
- Broken sash cords: Sash cords can wear out over time, causing the sashes to become unbalanced and difficult to operate. Broken sashes can be resolved by purchasing replacement sashes.
- Drafts: Gaps between the sashes and the frame can lead to drafts, reducing your home’s energy efficiency.
- Rot and decay: Wooden sash windows are susceptible to rot and decay, particularly if they’re not properly maintained.
- Sticking sashes: This occurs when the sashes become difficult to open or close due to paint buildup, dirt, or warped wood.
- Broken Sash Lock: A broken sash lock can prevent a sash window from closing properly. Check out our guide to repairing sash locks if you think that’s the issue with your window.
Step-by-Step Guide To Repairing Sash Windows
Follow these steps to solve your sash window issue, starting with making sure you have all the necessary tools for the job. Before making a large repair, you should check for smaller issues that you can fix, such as replacing a window sash spring balancer.
Tools and Materials Needed
You’ll need some of these basic tools and materials. Having these on hand will ensure you’re prepared to tackle any issues that arise during the repair process.
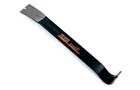
 Flat pry bar
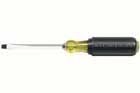
- Slotted screwdriver
- Heat gun (with nozzle shield)
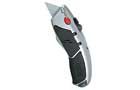
- Utility knife
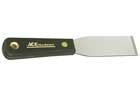
- Putty knife
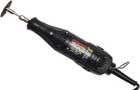
- Dremel with carving bit
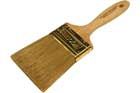
- Natural bristle paint brush
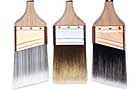
- Synthetic filament brush

Removing the Sashes
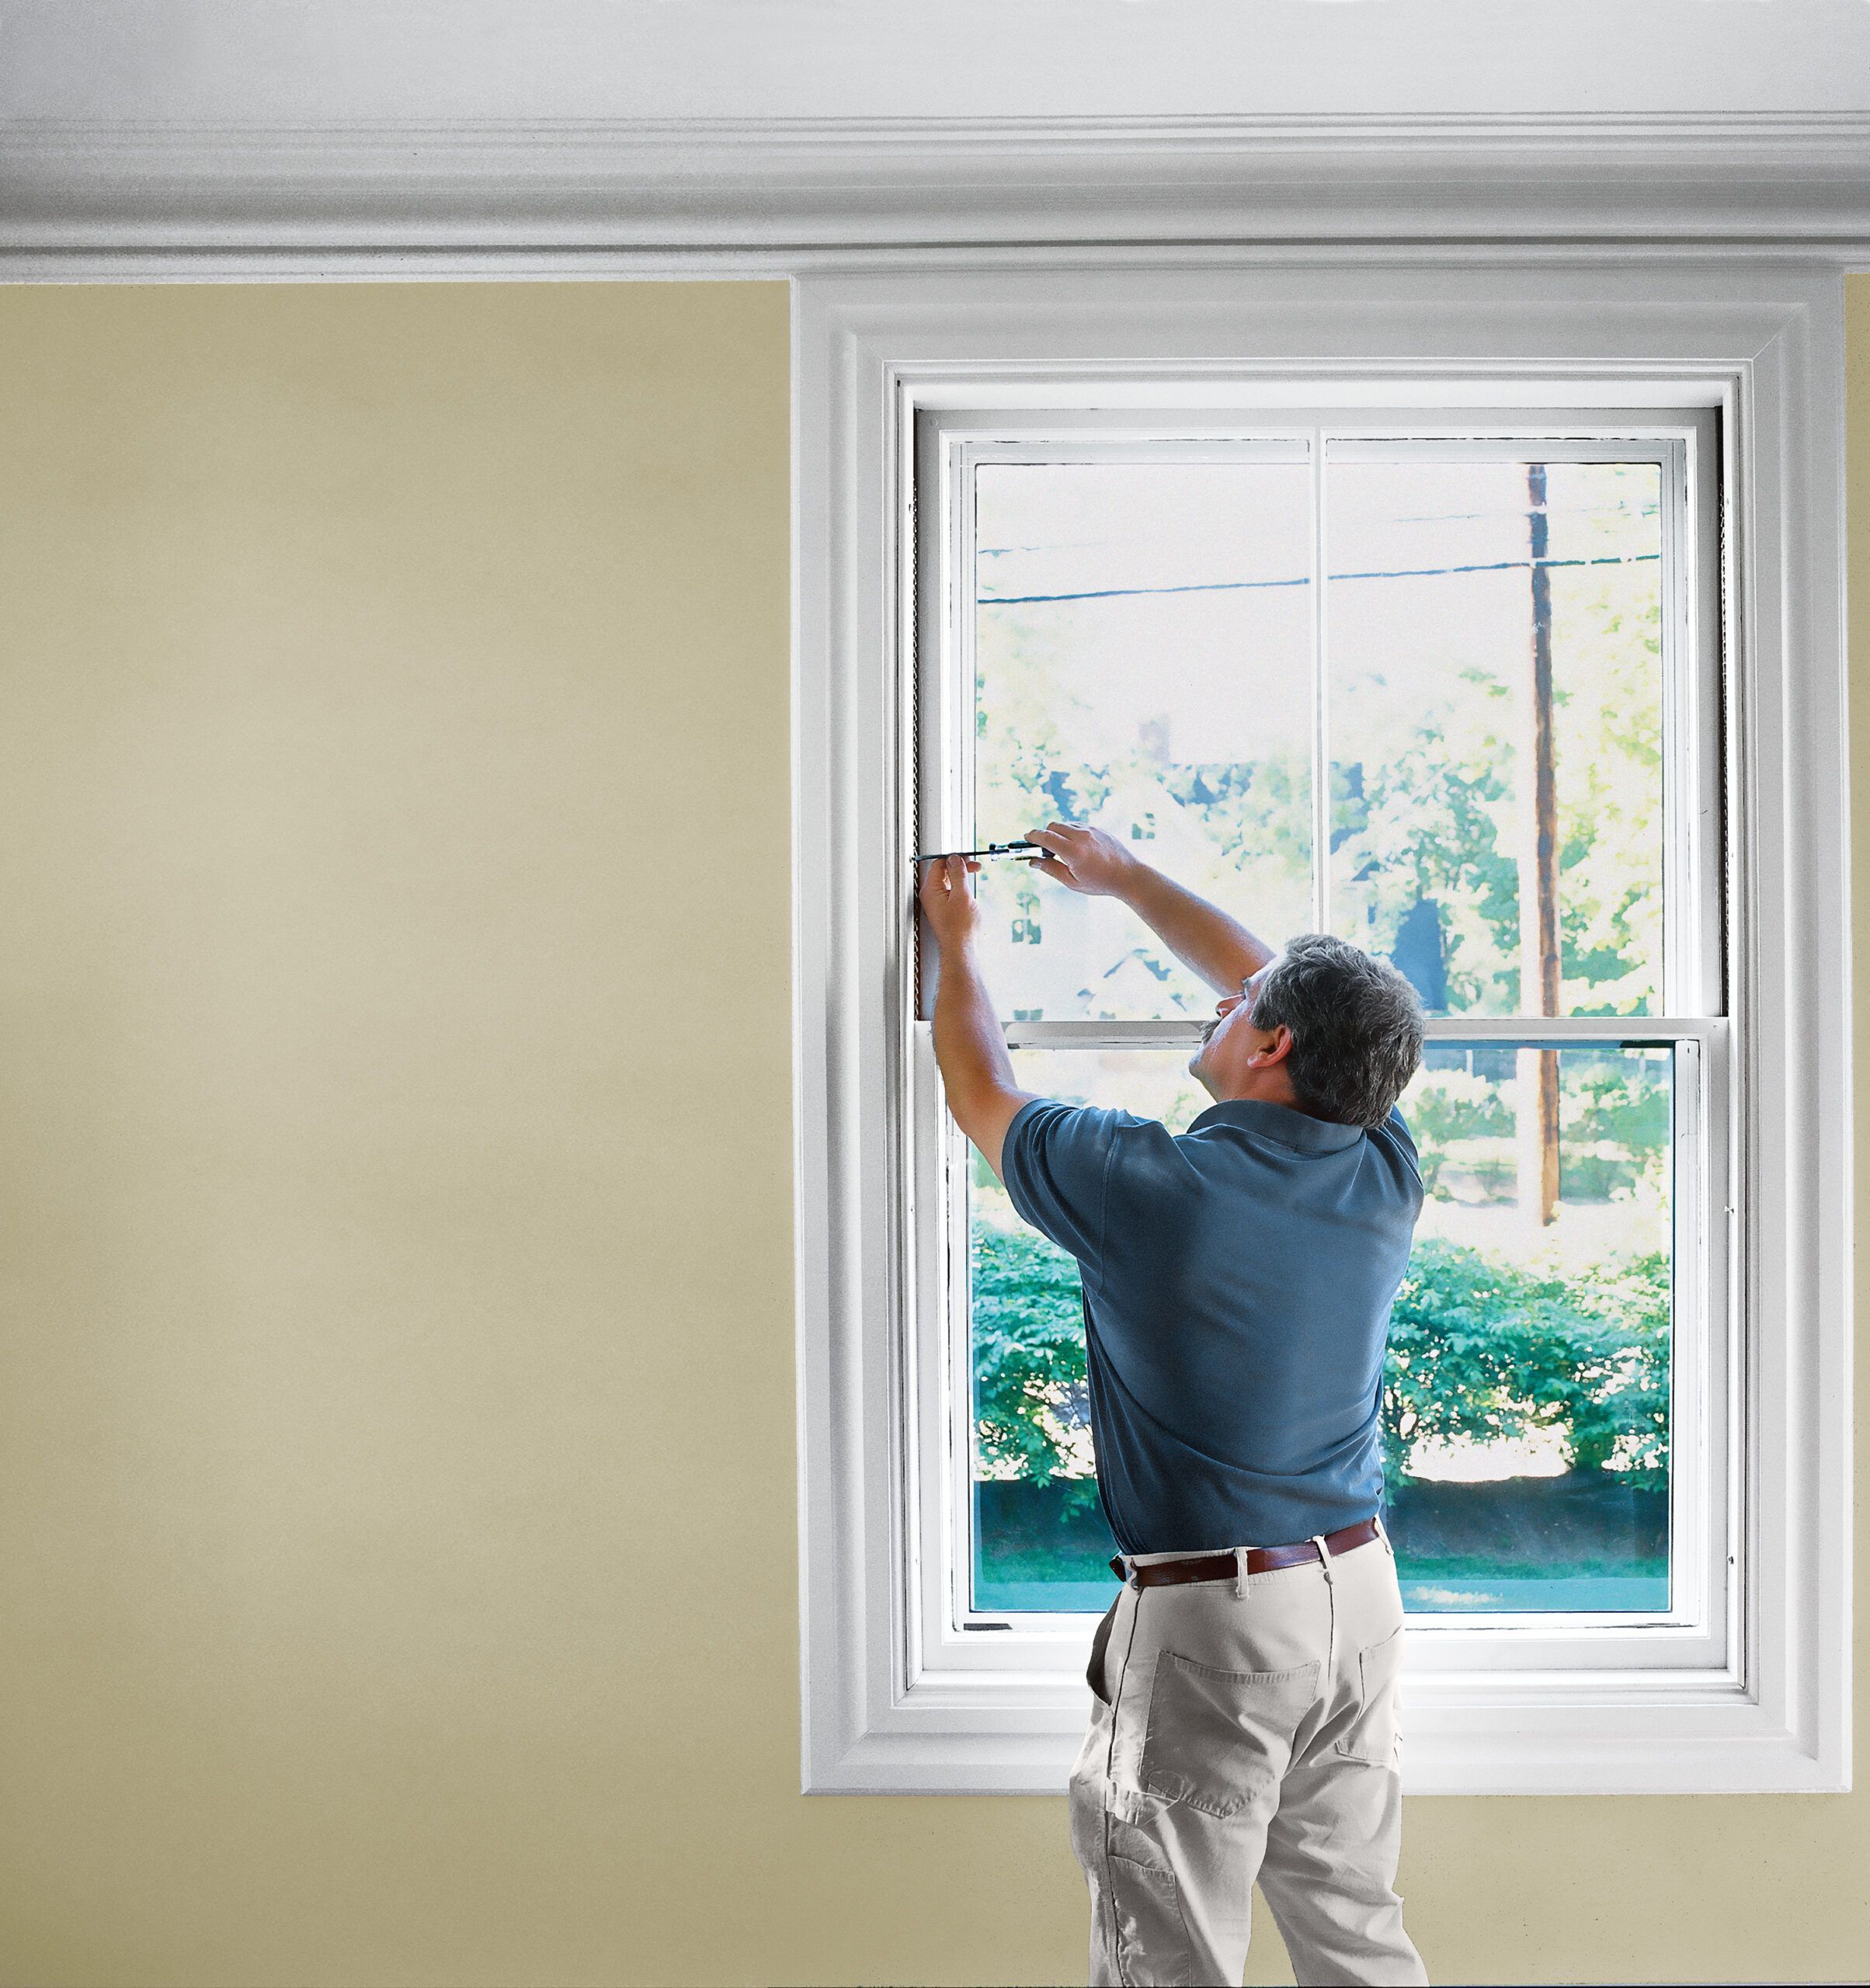
The first step in repairing your sash windows is to remove the sashes from the frame. Here’s how to do it:
- Remove the stops: Carefully pry off the interior stops (the thin strips of wood that hold the sashes in place) using a utility knife and a chisel. Be gentle to avoid damaging the wood.
- Take out the lower sash: Once the stops are removed, you can lift the lower sash out of the frame. If it’s painted shut, you may need to use a utility knife to cut through the paint and free the sash.
- Detach the cords: Cut the sash cords or chains that are attached to the lower sash. Be sure to hold the sash weight to prevent it from falling into the wall.
- Remove the upper sash: Repeat the process for the upper sash, if applicable. You may need to remove additional stops or parting beads to access the upper sash.
Repairing the Sashes
With the sashes removed, you can now address any issues with the wood, glass, or hardware. Here are some common repairs you may need to make:
- Checking hardware: Inspect the hinges, locks, and other hardware for any signs of wear or damage. Replace any broken or worn-out parts as needed.
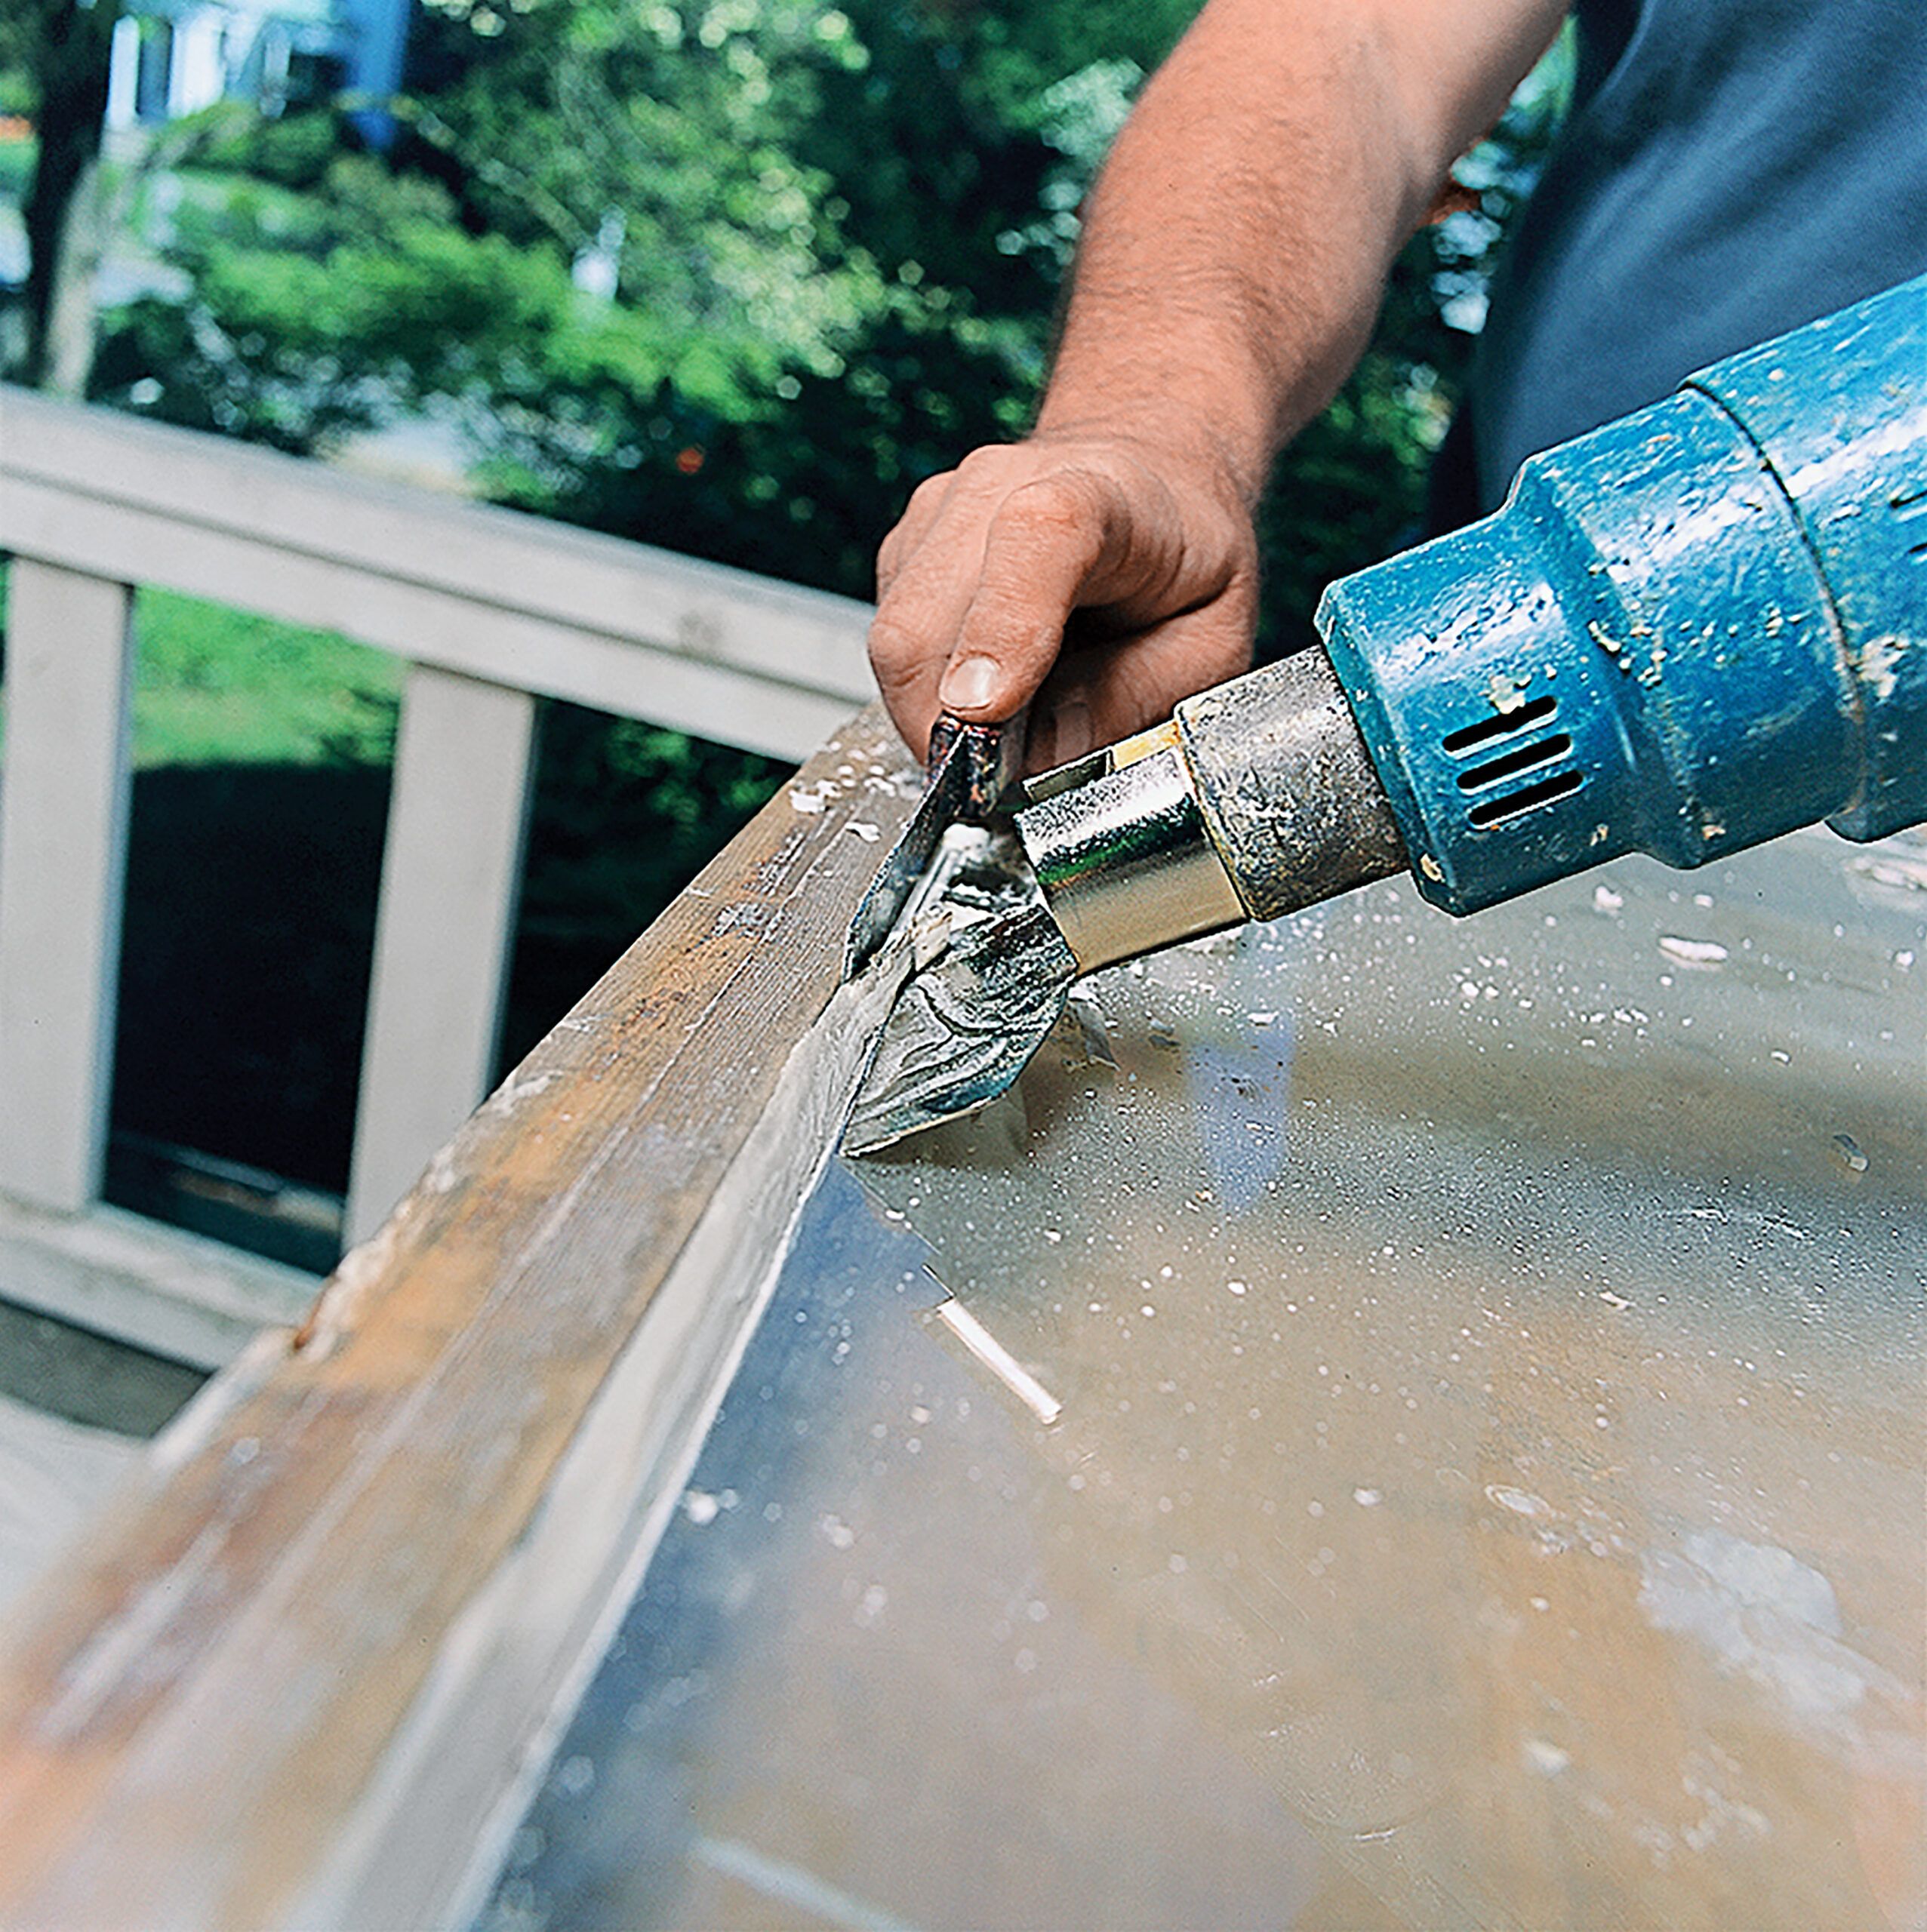
- Removing old paint: Use a paint stripper or a heat gun to remove any old paint from the sashes. This will make it easier to identify and fix any damage.
- Repairing wood damage: Inspect the sashes for any signs of rot, decay, or damage. Use wood filler to repair small cracks and holes. If the damage is extensive, you may need to replace entire sections of the sash.
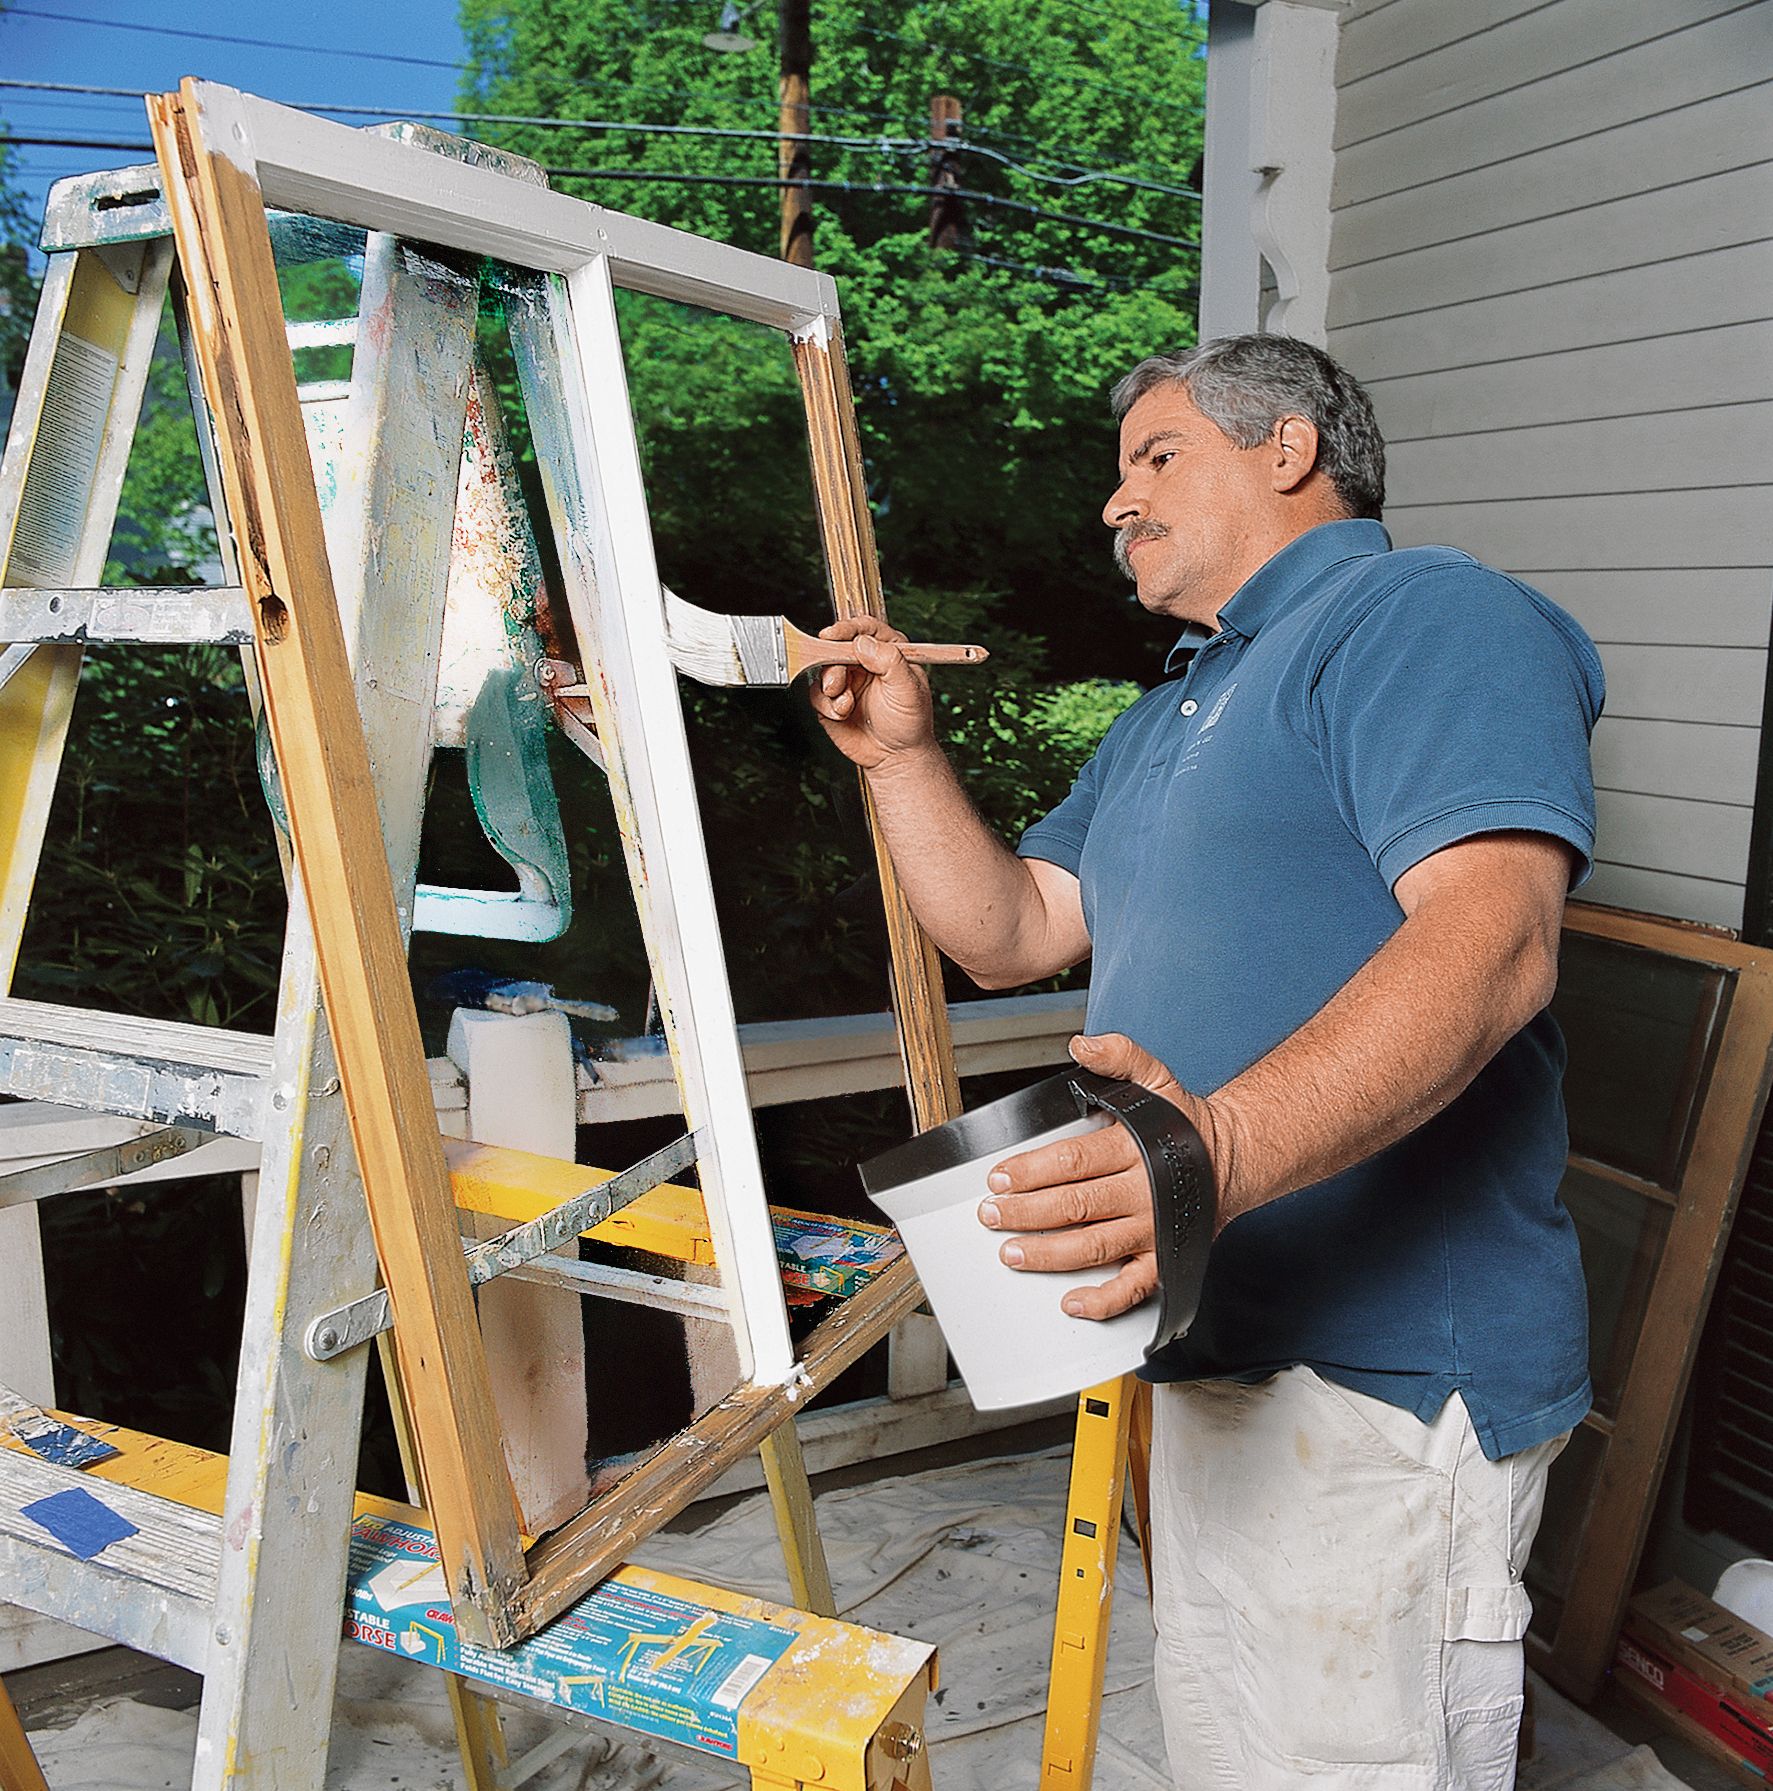
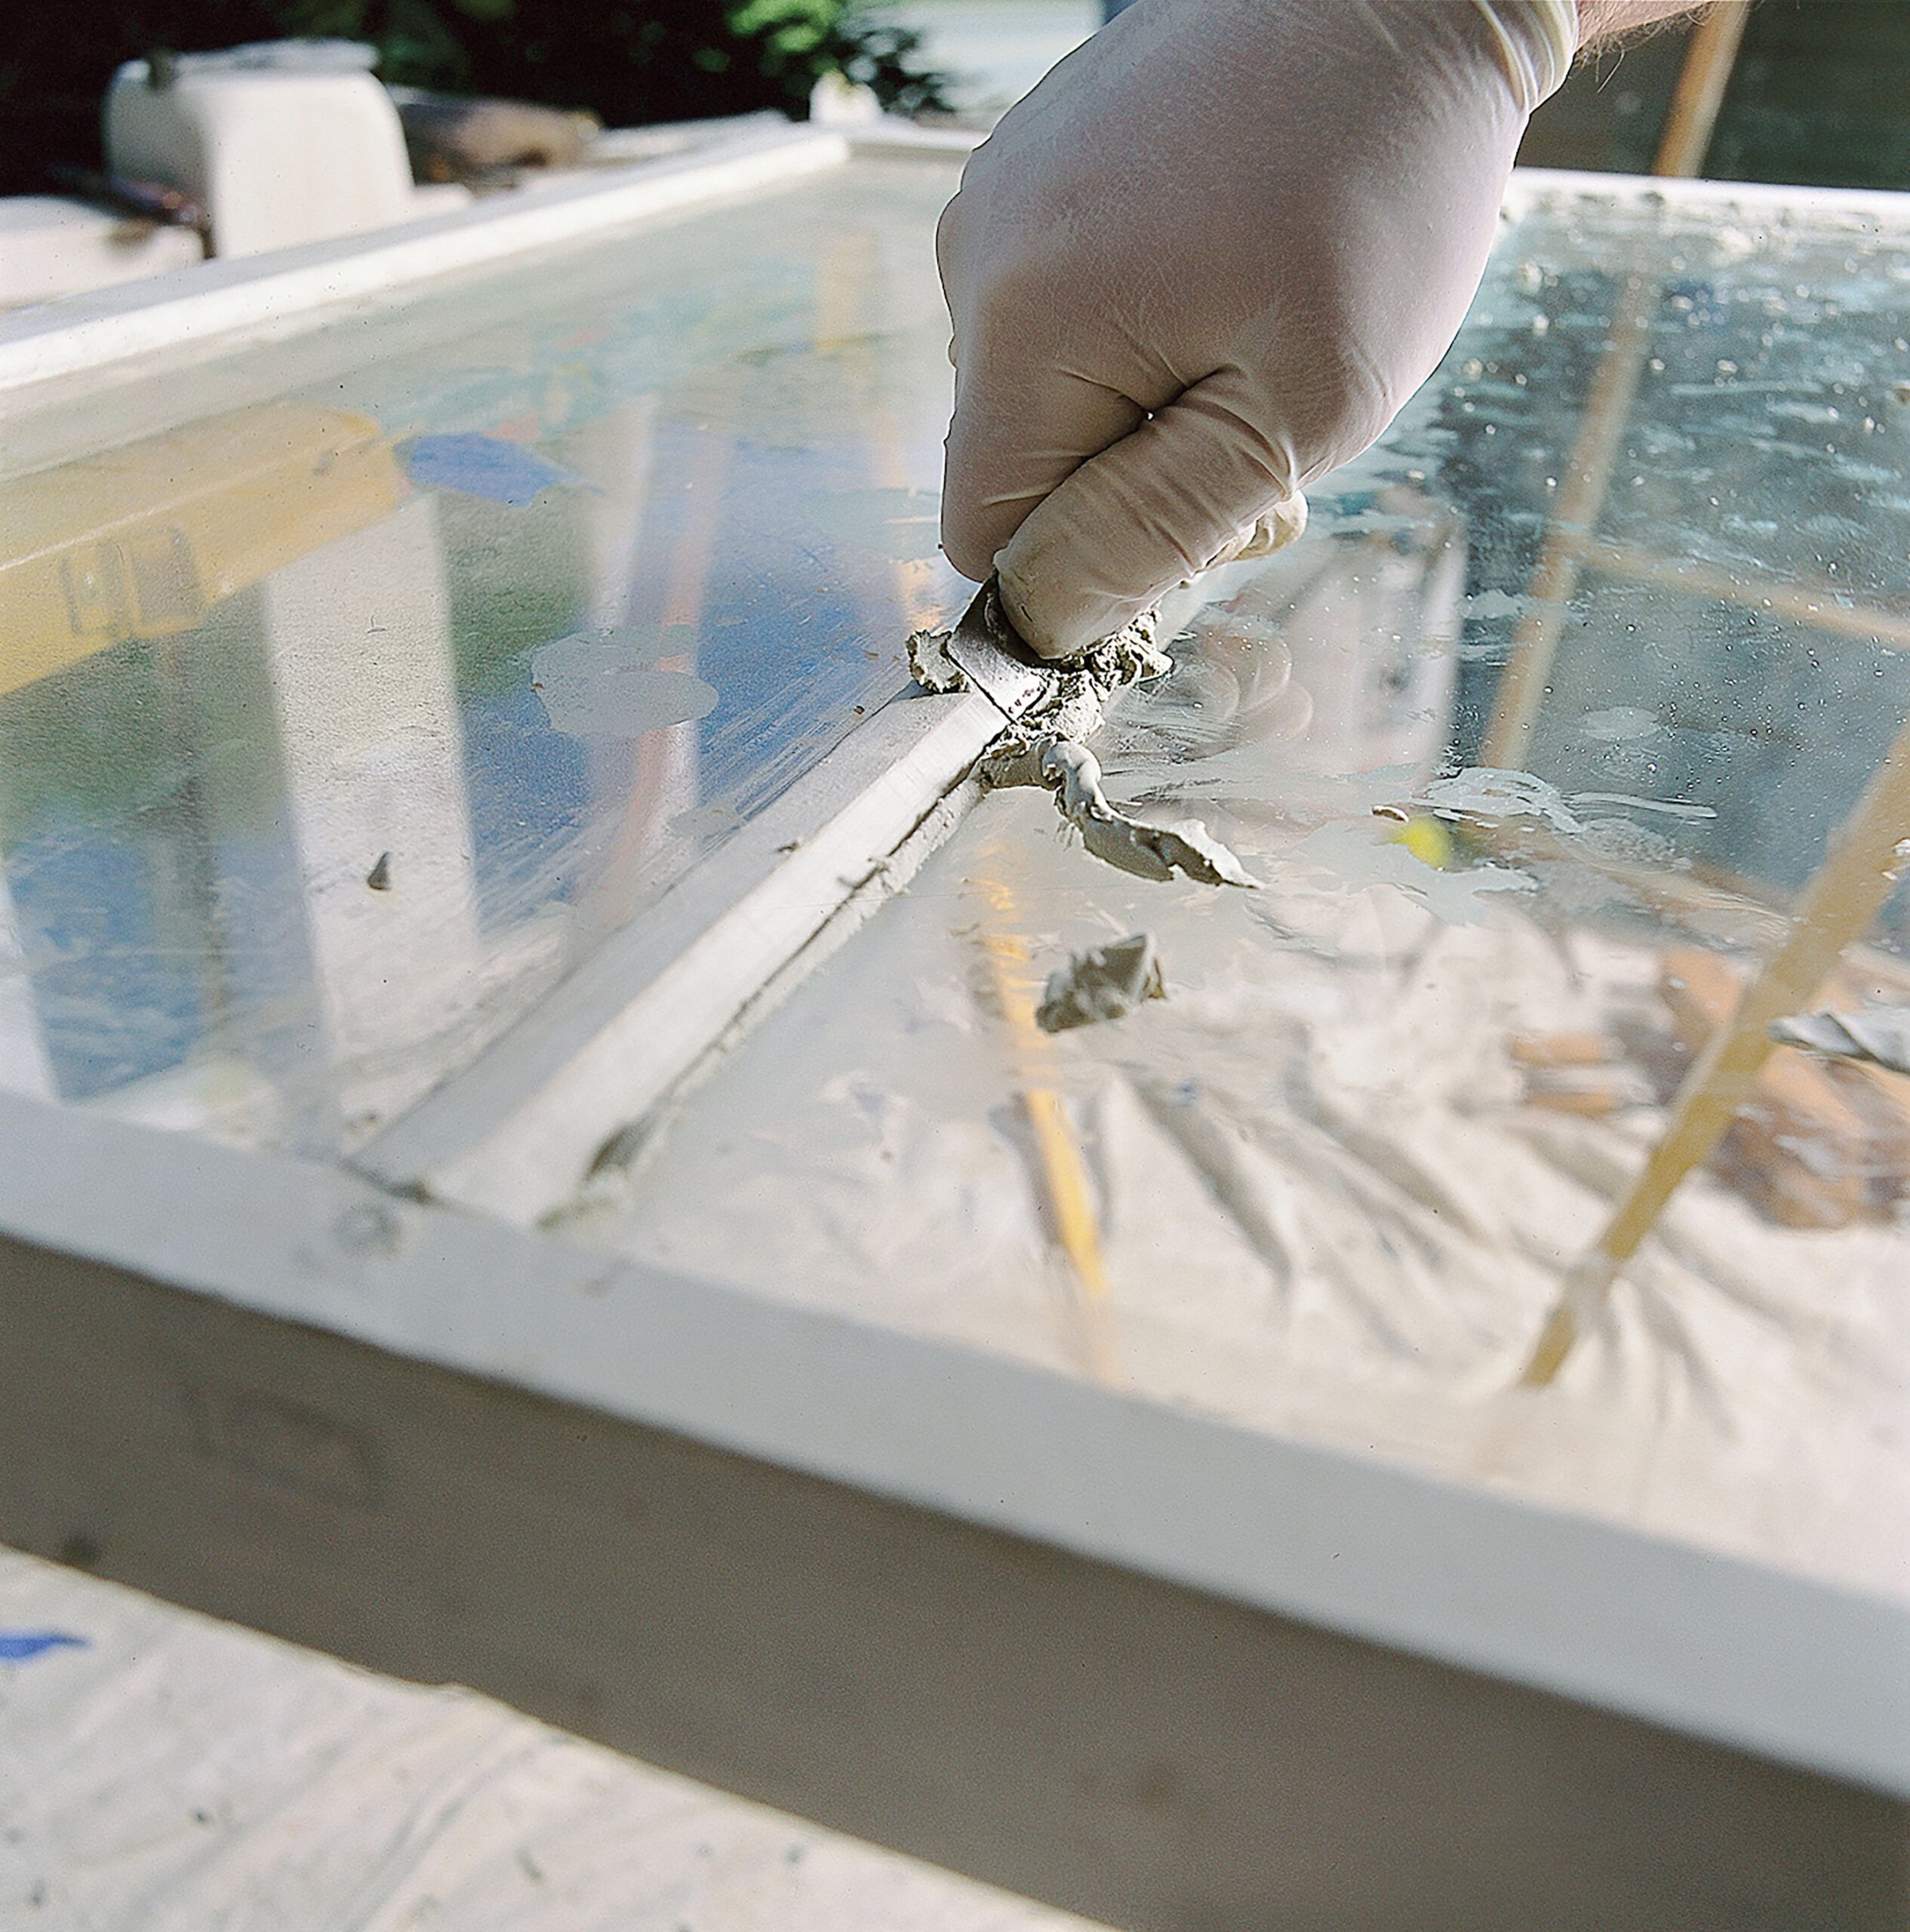
- Replacing broken glass: If any of the panes are cracked or broken, carefully remove the old glass and glazing compound. Measure and cut a new piece of glass to fit the opening, then secure it in place with fresh glazing compound.
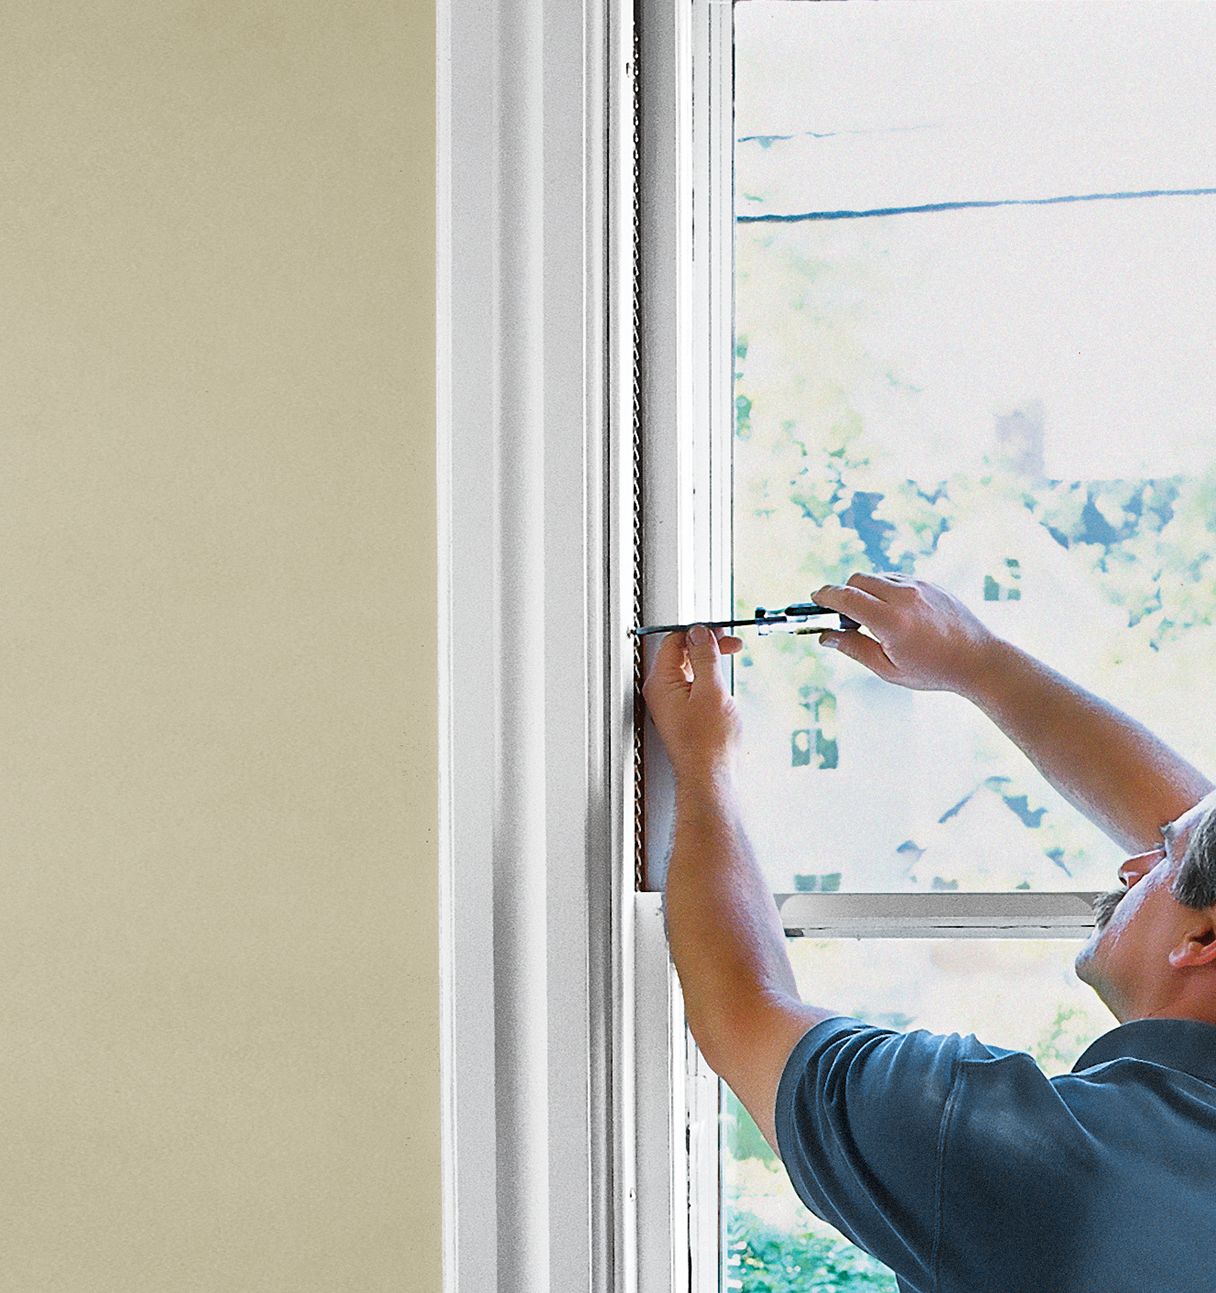
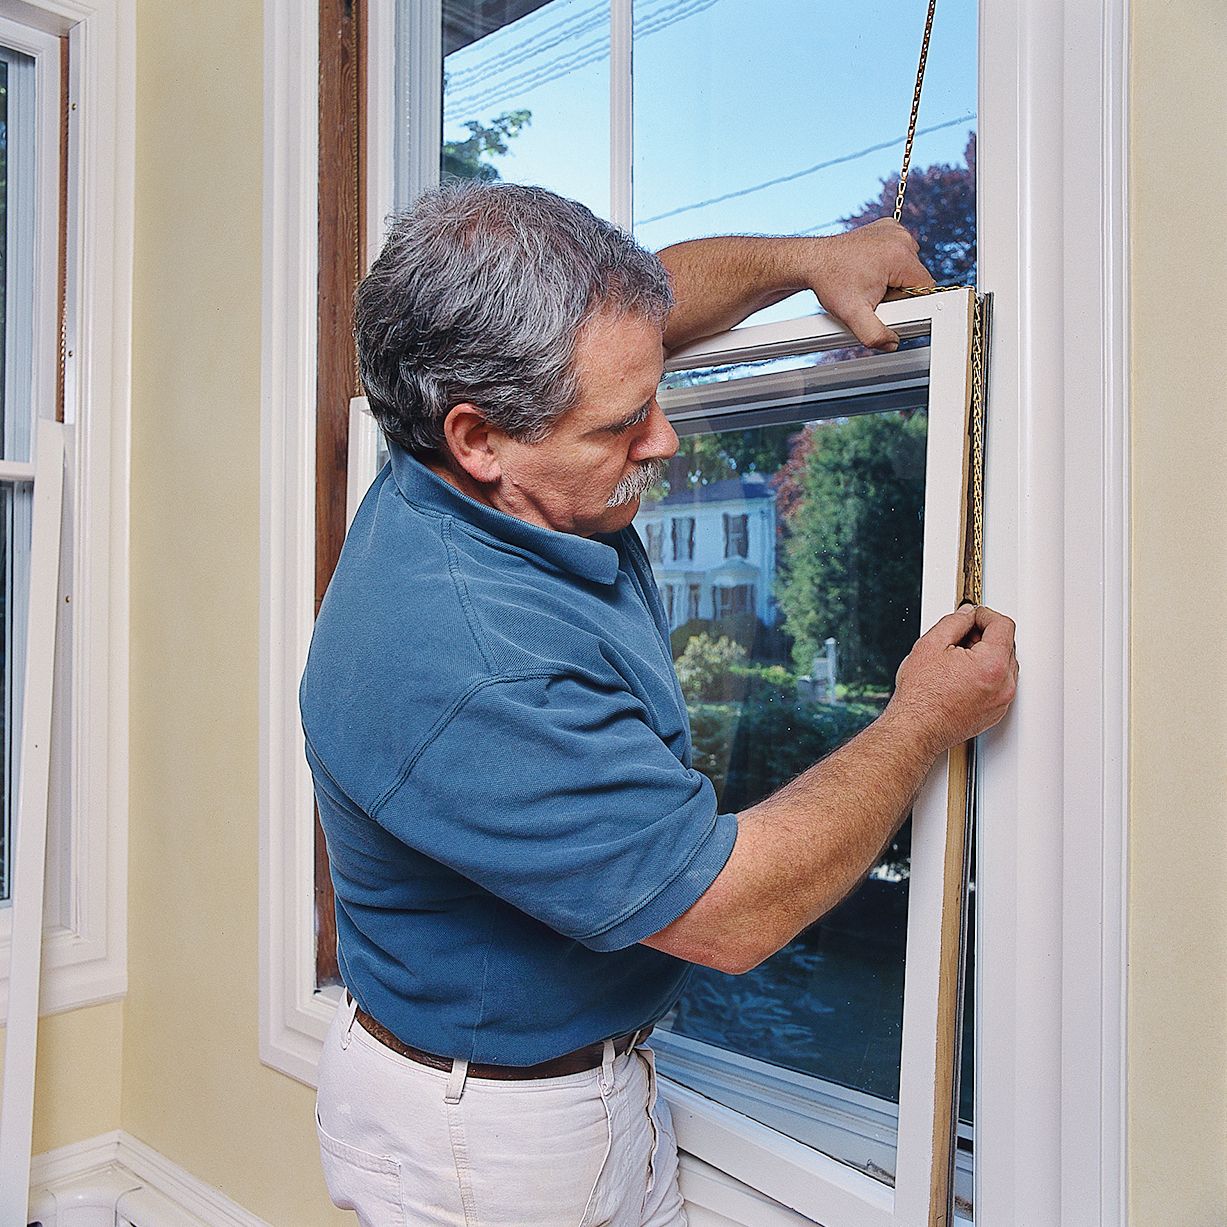
Replacing the Sash Cords
If your sash cords are broken or worn, you’ll need to replace them to restore proper function to your windows. You can check out our dedicated guide for more detail on replacing sash cords.
- Access the weights: Open the access panel or remove the pocket cover to reach the sash weights inside the window frame.
- Remove old cords: Cut and remove the old sash cords or chains, being careful to hold the weights to prevent them from falling.
- Attach new cords: Thread the new sash cords or chains through the pulleys and attach them to the sash weights. Tie secure knots to ensure they won’t come loose.
- Reattach the cords: Attach the other end of the new cords to the sashes. Make sure the sashes are balanced and move smoothly.
Reinstalling the Sashes
Once you’ve repaired the sashes and replaced the cords, you can reinstall the sashes in the window frame by following these steps:
- Replace the upper sash: If you removed the upper sash, start by reinstalling it in the frame. Make sure it’s properly seated and moves smoothly.
- Reattach the cords: Reattach the sash cords to the upper sash, ensuring they’re properly balanced.
- Install the lower sash: Place the lower sash back in the frame, reattaching the cords and checking that it operates smoothly.
- Replace the stops: Reinstall the interior stops to hold the sashes in place. Be careful not to overtighten the screws, as this can cause the sashes to bind.
Troubleshooting Common Sash Window Problems
While repairing sash windows, you may encounter some common problems. Here are troubleshooting tips for addressing these issues.
Sticking Sashes
Sticking sashes can be a frustrating issue, but there are a few simple solutions. Try applying a small amount of wax or silicone spray to the window tracks to help the sashes slide more easily. If paint buildup is causing the sashes to stick, use a utility knife to carefully cut through the paint layers and free the sashes. If the wood has swollen due to moisture, lightly sand the edges of the sashes to create a smoother fit.
Sash Weight Issues
If your sashes won’t stay open or are difficult to move, the counterweights may be the problem. Make sure the sash weights are properly balanced. If they’re too heavy or too light, the sashes won’t operate smoothly. As mentioned, broken sash cords can cause imbalance. Replace any broken or worn cords to restore proper function. You can also replace sash weights with with spring balances by following our guide.
Drafts and Air Leaks
Drafts and air leaks can reduce your home’s energy efficiency and make it uncomfortable. Use weatherstripping, rope caulk, or foam tape to seal any gaps around the sashes and frame. Ensure the glazing compound is intact and properly sealed around the glass panes.
Preventing Sash Windows From Sticking in the First Place
Preventing sticking sashes can save you a lot of trouble in the long run. Clean the window tracks and sashes regularly to remove dirt and debris that can cause the windows to stick.
When painting sash windows, avoid applying too much paint. Thin coats are best. Ensure the windows are fully dry before closing them.
Lastly, use a dehumidifier to control moisture levels in your home, which can reduce the likelihood of wooden sashes swelling and sticking.
When To Seek Professional Help
While you can likely handle many sash window repairs on your own, some situations may require professional assistance. Consider calling in help from a professional if you’re dealing with any of the following:
- Complex repairs: If the repairs are beyond your skill level or require specialized tools, it’s best to hire a professional to ensure the job is done safely and effectively.
- Extensive wood rot: If the wood is severely rotted or damaged, a professional can assess whether the window needs to be rebuilt or replaced.
- Historical preservation: If your home is a designated historic property, there may be guidelines and regulations for repairing and preserving original windows. A professional with experience in historical preservation can ensure the repairs are done correctly and in compliance with local regulations.
Our Conclusion
Repairing your sash windows keeps them functioning properly for you and future homeowners. Addressing issues before they become larger problems will save you money in the long run, especially if the issue affects your home’s energy efficiency. Don’t forget to follow safety precautions when handling glass and tools. Consult a professional if you feel out of your depth.