We may be compensated if you purchase through links on our website. Our team is committed to delivering honest, objective, and independent reviews on home products and services.
Project details
Skill
Cost
Estimated Time
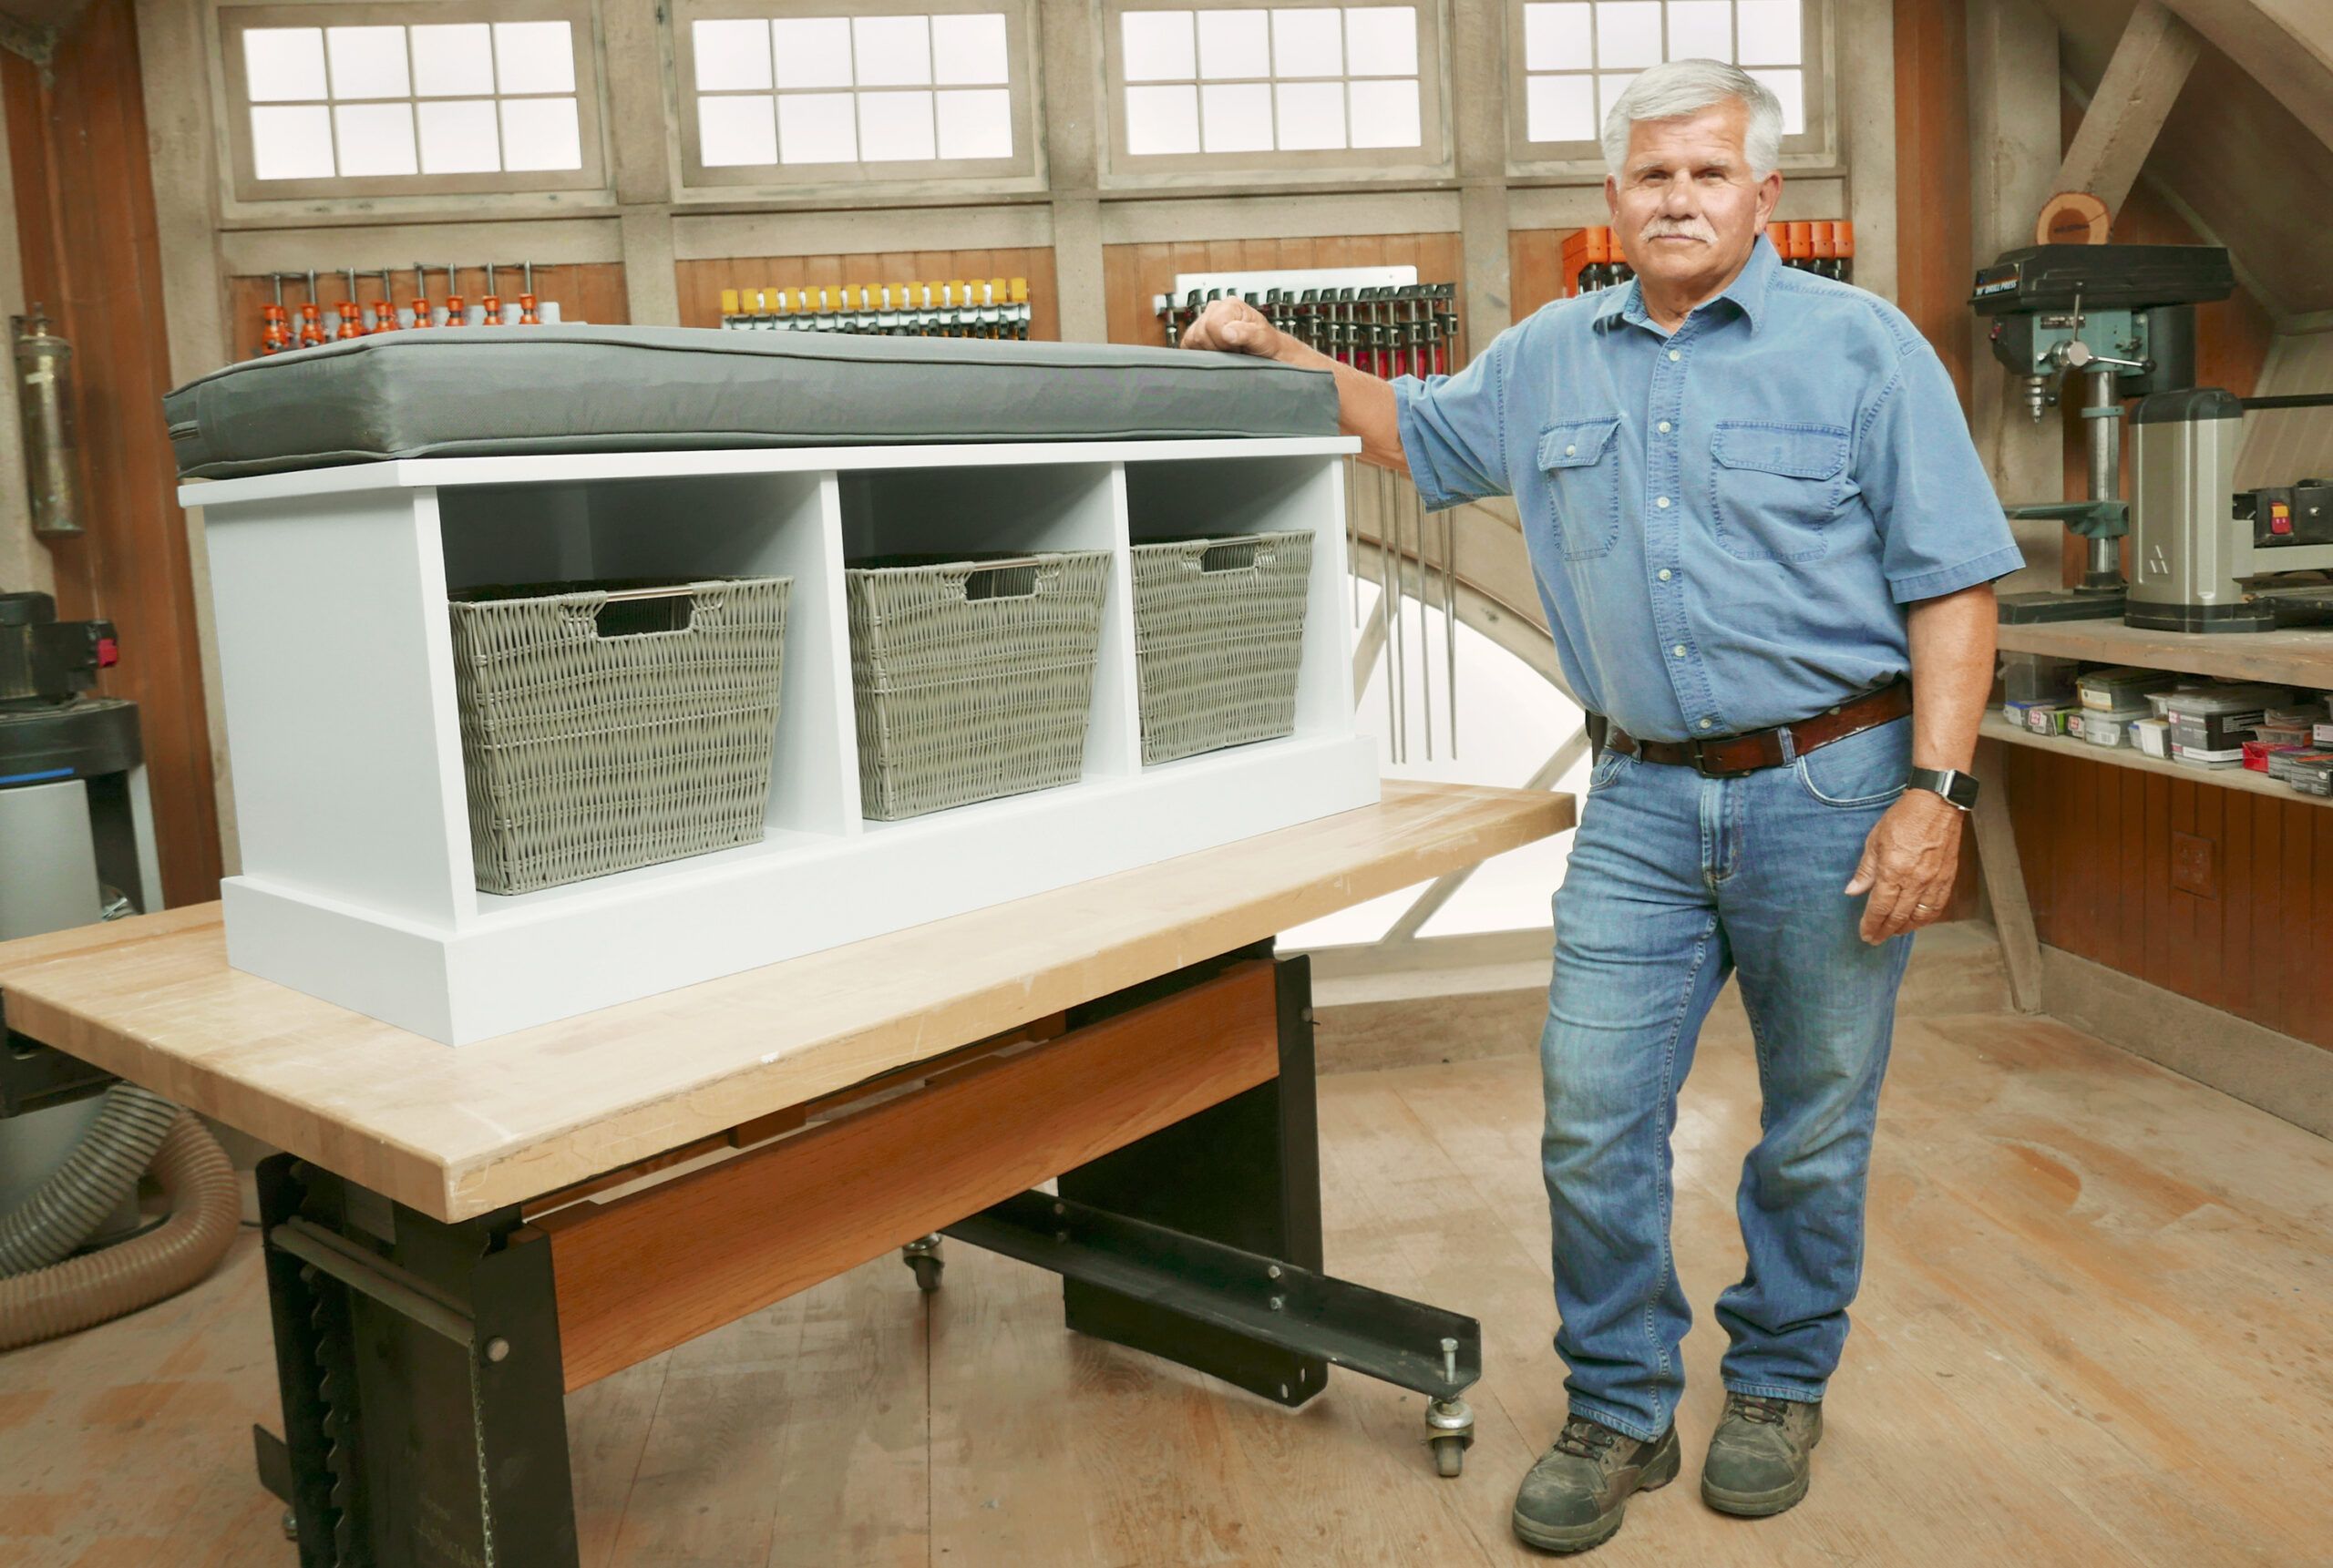
Shoes, boots, and all sorts of messes tend to accumulate in our houses’ rear entrances and mudrooms as we transition from the outdoors to the indoors. The pileup peaks in winter when gloves, hats, and other outerwear become daily fixtures.
That’s why mudroom benches make great additions to residential entryways. They give guests a convenient spot to sit while putting on or removing shoes and can also serve as storage solutions for seasonal items.
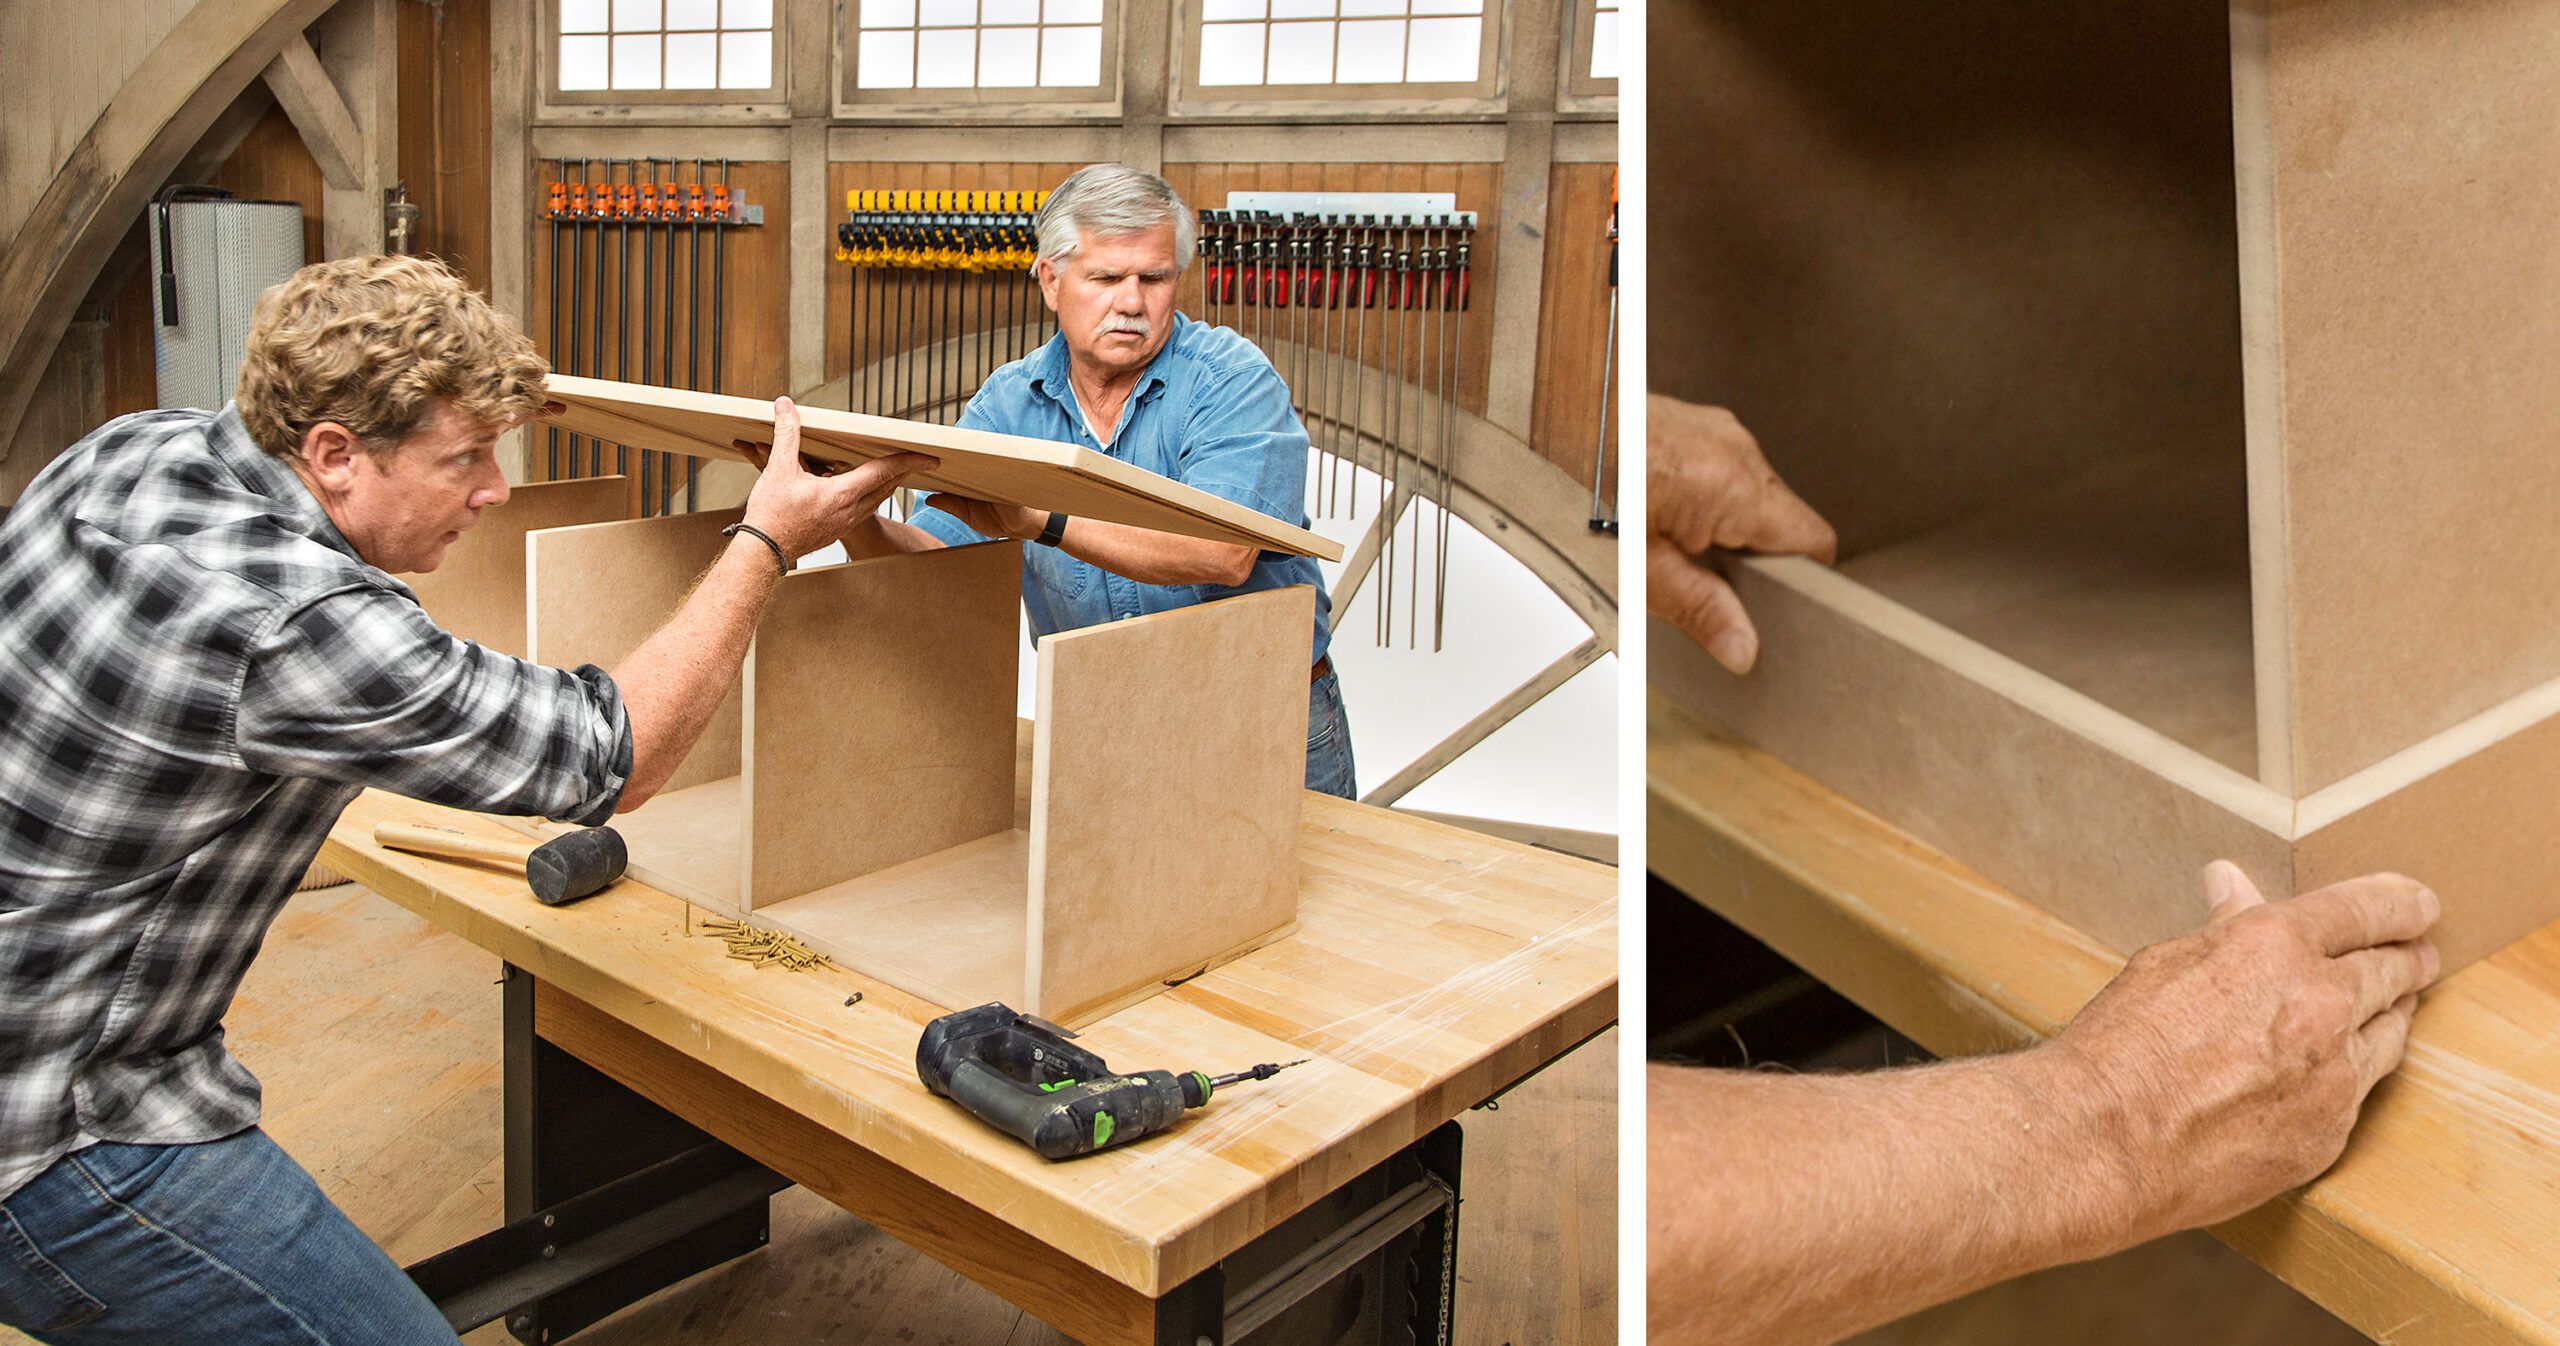
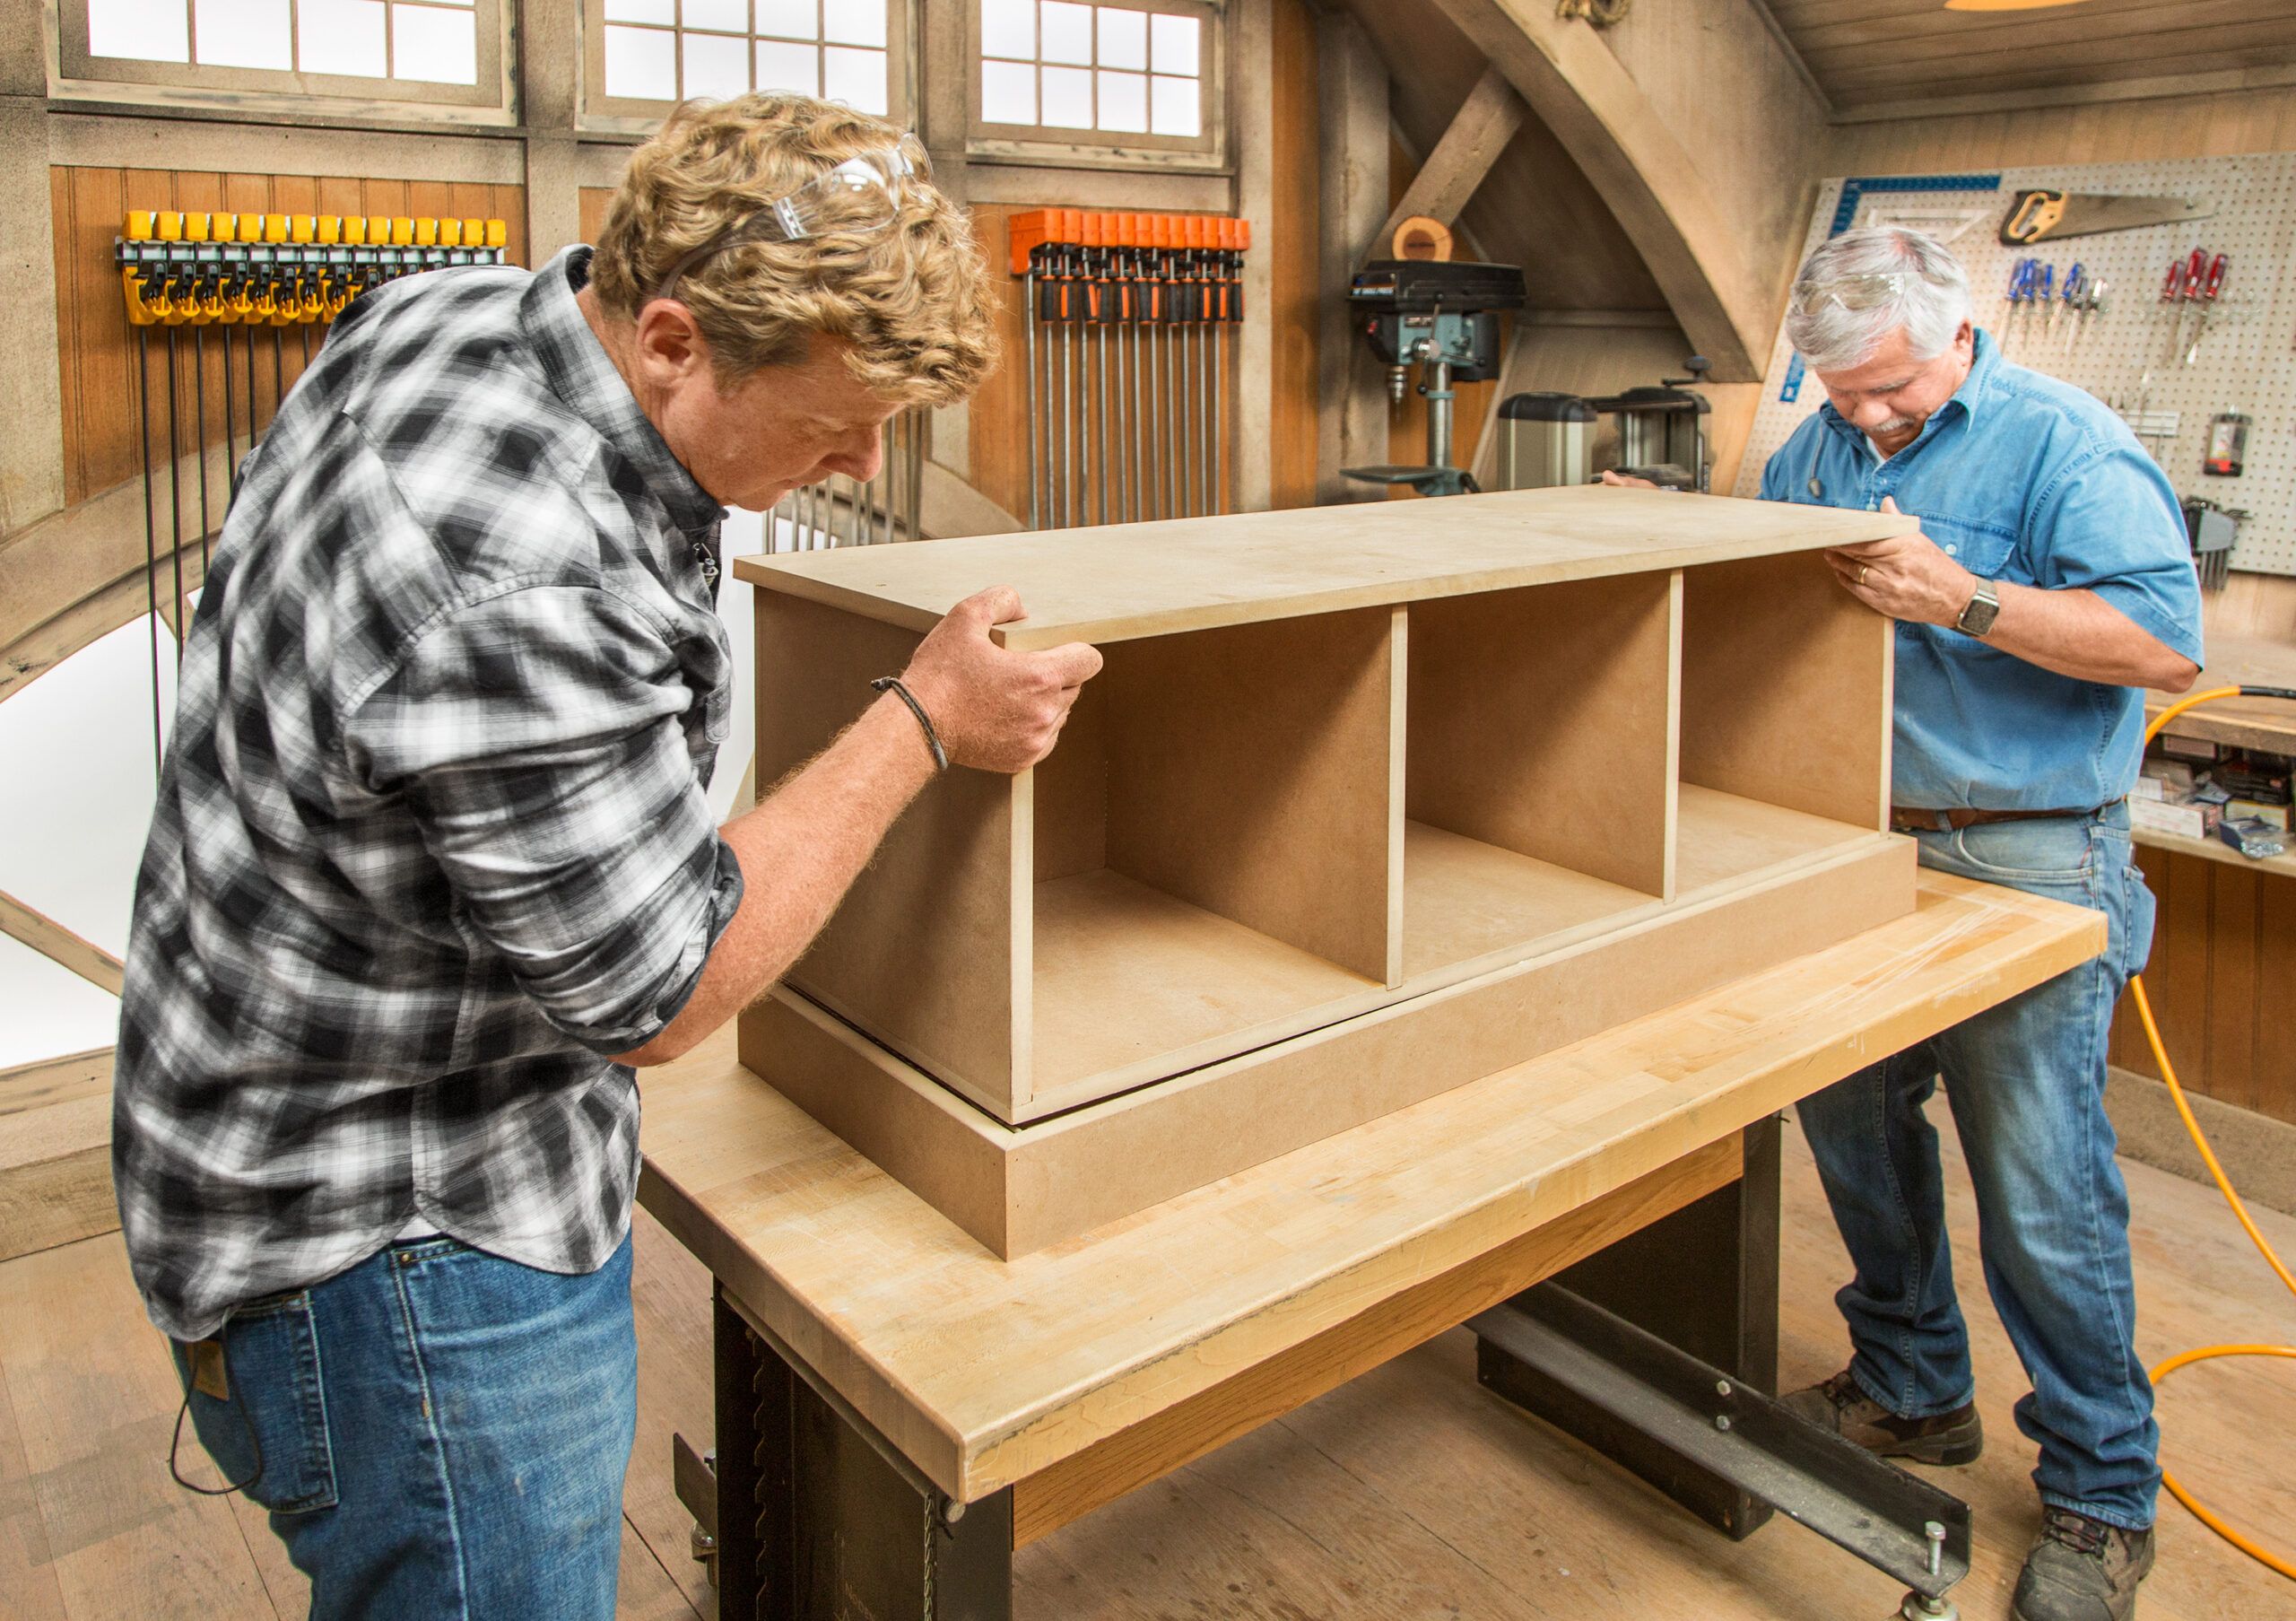
In this video above, This Old House general contractor Tom Silva and host Kevin O’Connor craft a mudroom bench from start to finish using medium-density fiberboard. Below, we’ll walk you through the process of building a three-cubby storage bench that’s perfect for keeping your mudroom organized.
*Cost information in this article sourced from Angi.
Materials and Tools Needed for a Mudroom Bench
Before starting your mudroom bench project, gather the following materials:
- 4×8 sheet of medium-density fiberboard (MDF)
- Cushion for seating (optional)
- Deck screws
- Paint and primer
- Wood glue
You’ll also need these tools:
- Bar clamps
- Brad nailer
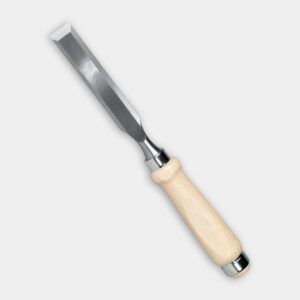
- Chisel
- Drill with countersink bit
- Random orbit sander
- Router with a 3/4-inch straight bit
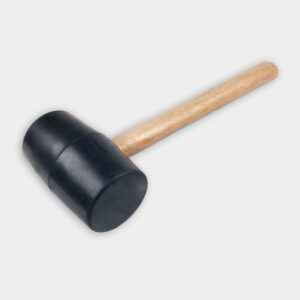
- Rubber mallet
- Sandpaper (180-grit and 220-grit)
- Table saw or circular saw with guide
Project Overview
To begin, you’ll need to cut the MDF sheet into the components of your mudroom bench.
Here’s a breakdown of the pieces you’ll need:
- Back: 14 1/8 inches x 46 1/2 inches
- Bottom: 16 1/2 inches x 46 1/2 inches
- Center support: 3 inches x 16 1/2 inches
- Dividers (4): 14 inches x 16 1/2 inches each
- Front base: 3 1/2 inches x 48 inches
- Front fillers (2): 3 inches x 22 inches each
- Side base (2): 3 1/2 inches x 18 1/8 inches each
- Side fillers (2): 3 inches x 16 1/2 inches each
- Top: 18 x 48 inches
You can download the cut list here.
Cutting the MDF
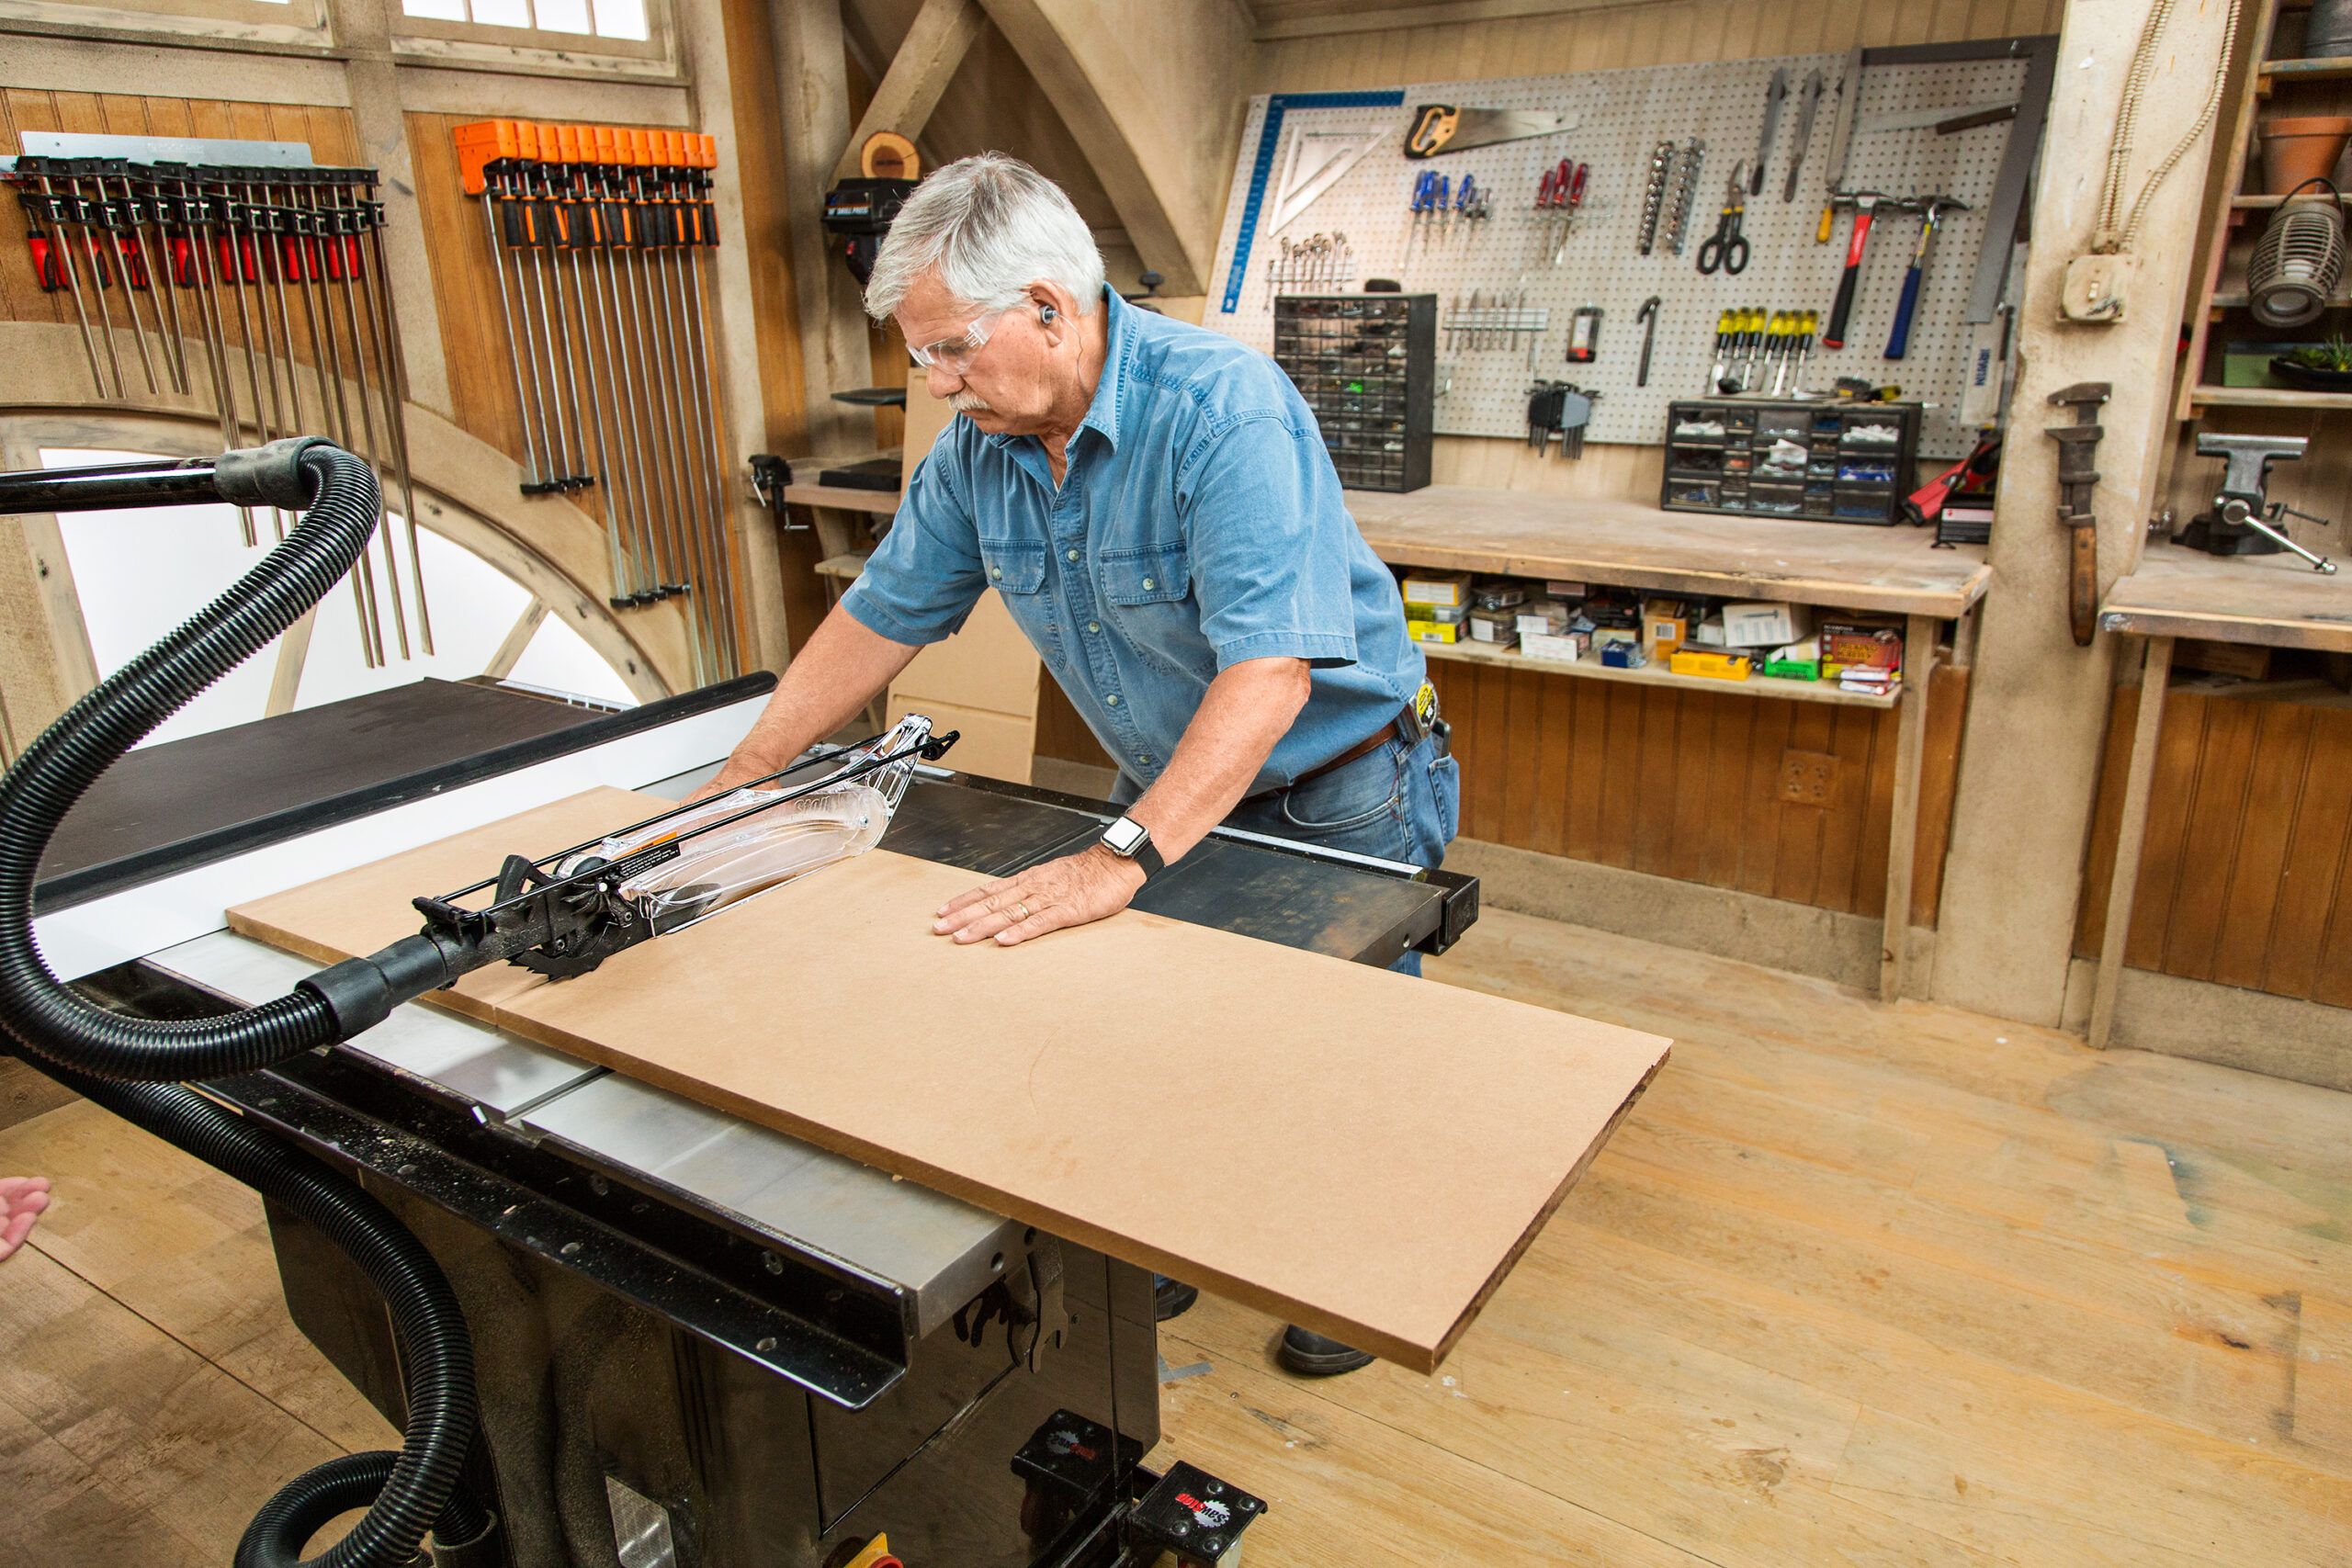
First, use a table saw or circular saw with a guide to make precise cuts. For now, leave the top and bottom as a single 3-by-4-foot panel. Wear safety glasses and follow proper safety procedures when operating power tools. Smooth the faces and edges with 180-grit sandpaper.
Creating Dadoes and Rabbets
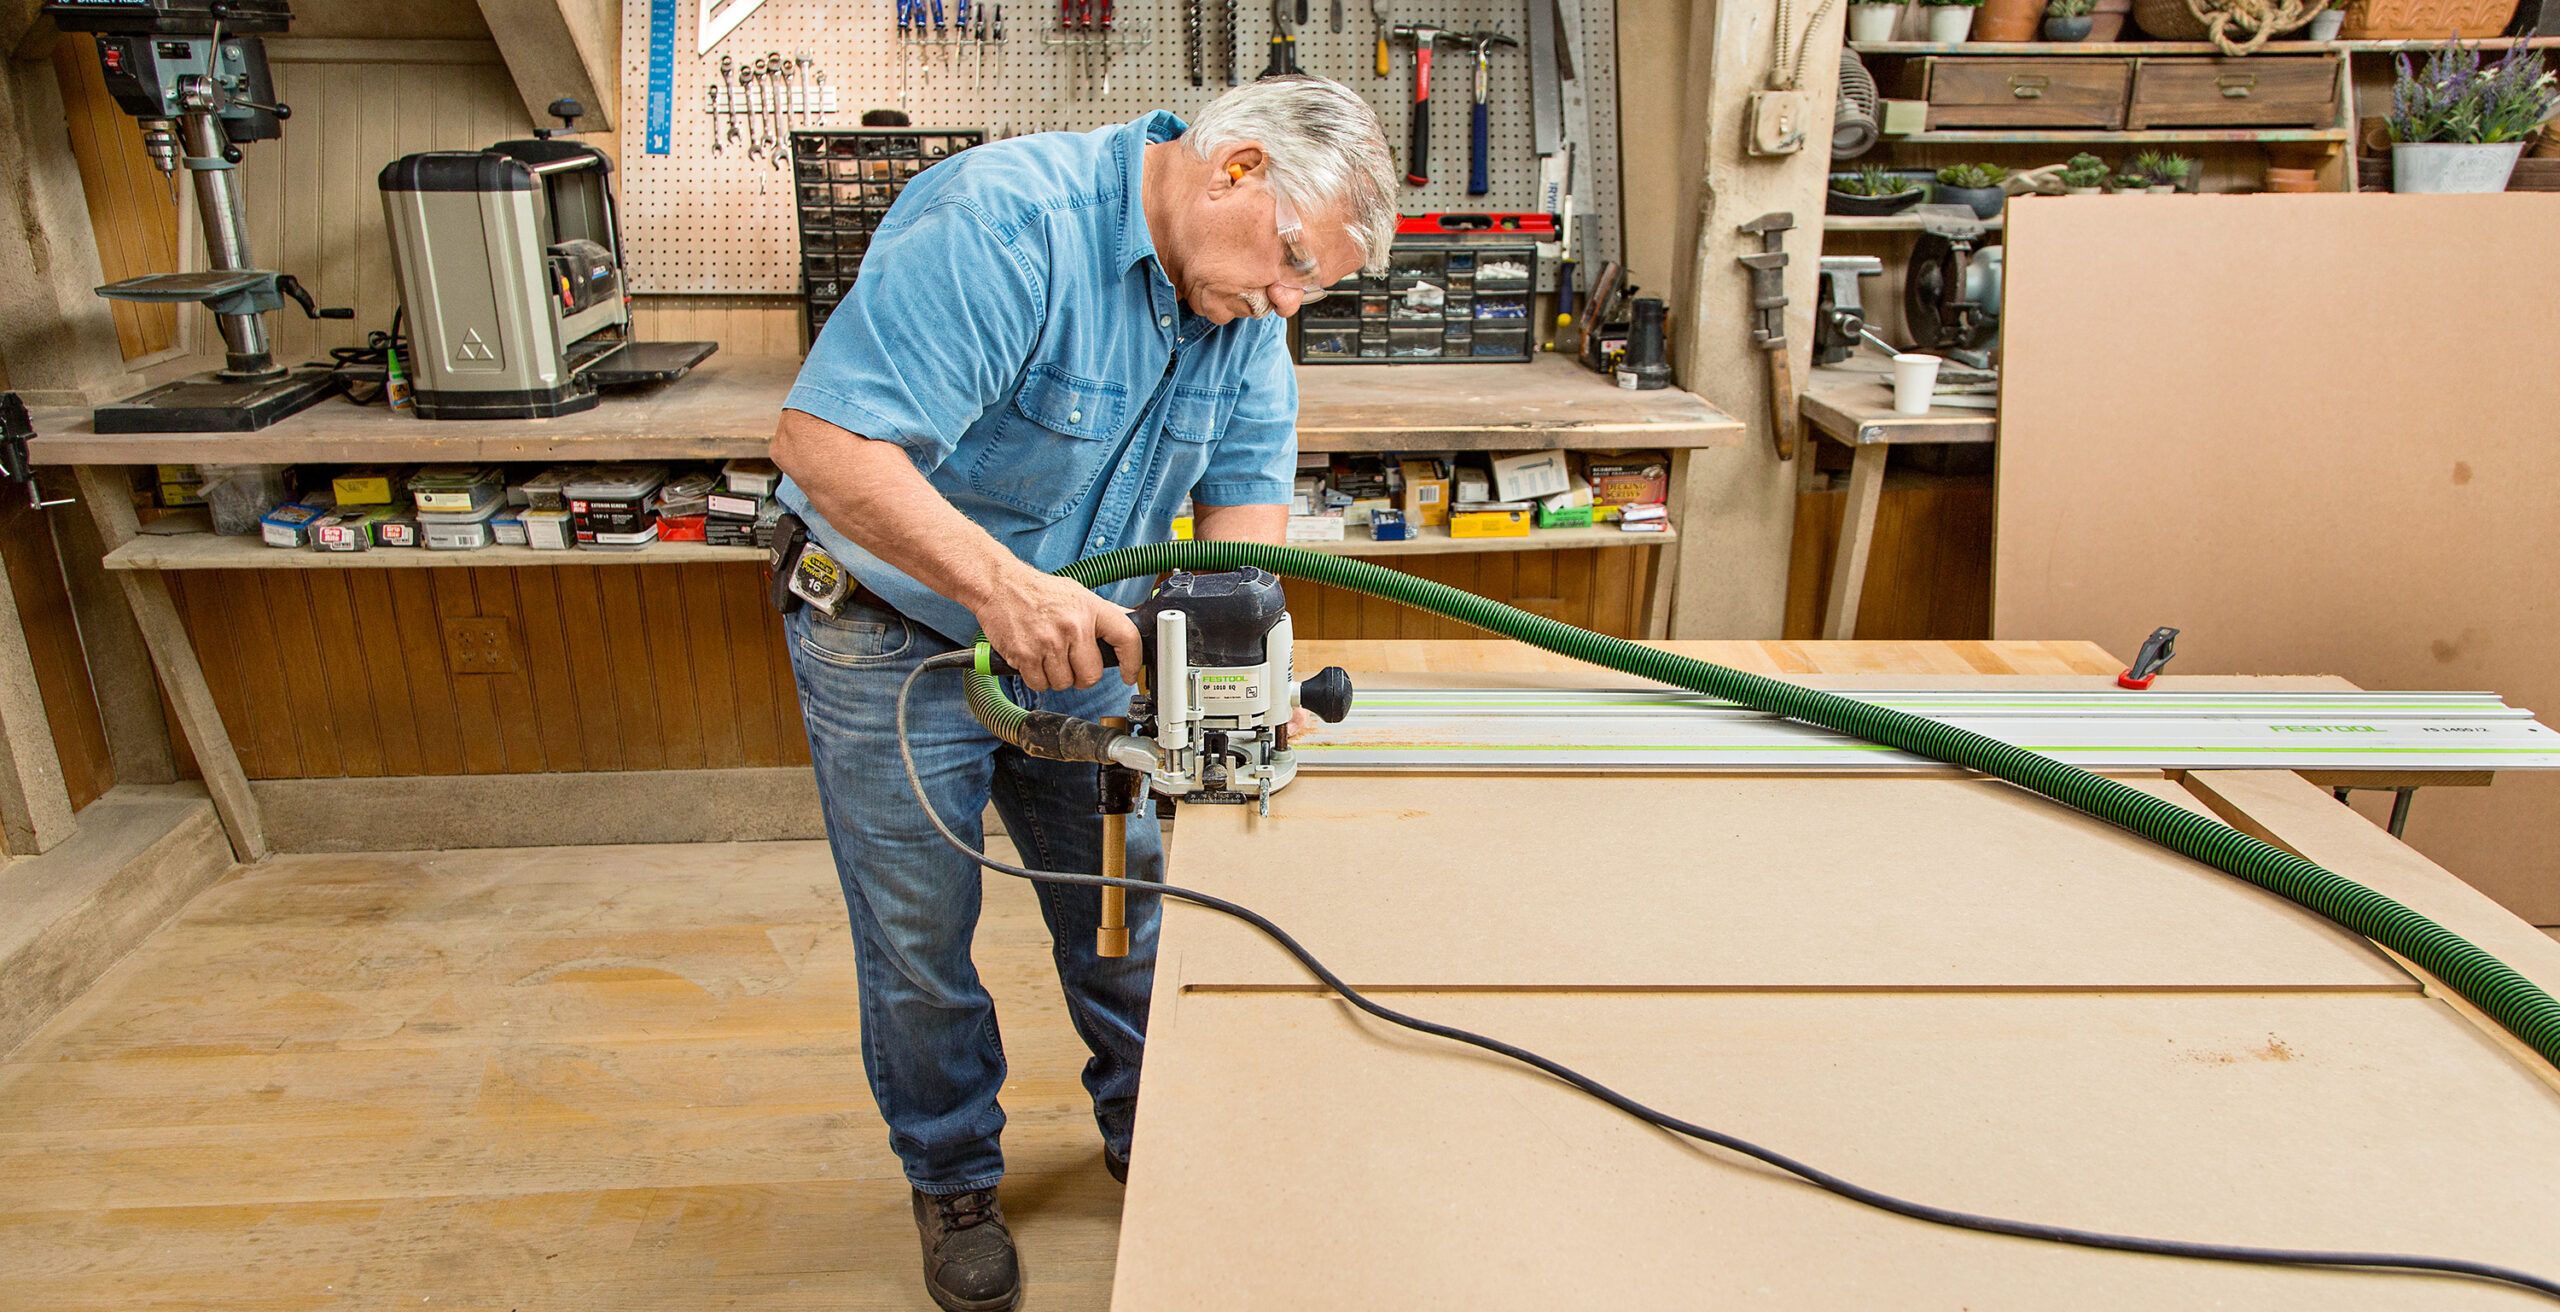
Dadoes and rabbets are the key to creating strong joints in your mudroom bench. Follow these steps to make them:
- Mark lines on the 3-foot by 4-foot panel for the dadoes, leaving 3/4 inch from each end and two evenly spaced lines between them.
- Use a router with a 3/4-inch straight bit to cut 5/16-inch-deep dadoes along the marked lines, stopping 3/4 inch from one edge.
- Square the ends of the dadoes with a chisel.
- Cut the panel lengthwise into two pieces—the top and bottom of the bench.
- On the bottom piece, create rabbets by removing one side of each dado at the ends.
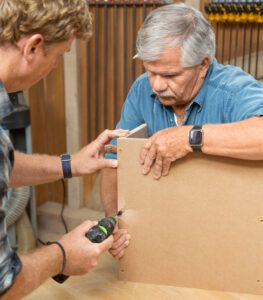
Pre-Drilling and Assembly
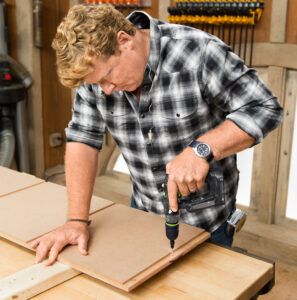
Pre-drilling holes will help you achieve proper alignment and prevent splitting during assembly. Here’s how to do it:
- Use a countersink bit to drill three evenly spaced pilot holes into every dado and rabbet on both the top and bottom pieces.
- Drill pilot holes along the back edge of the top piece.
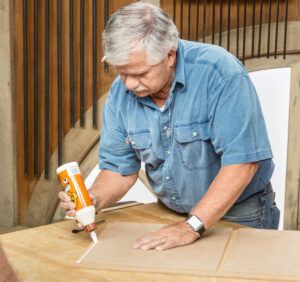
- Apply wood glue to the rabbets and dadoes before inserting the dividers.
- Secure the dividers with deck screws, driving them through the pre-drilled holes.
- Attach the top piece to the dividers using glue and screws.
- Fasten the back piece to the assembly using glue and screws.
Tip: Put away the tape measure.
How To Make Tight Miters
For tight miters in trim, line up your base pieces against the cubby assembly, then mark the cuts directly on the pieces themselves.
This method ensures your miters stay tight and the cubby assembly fits snugly in its base.
How To Align Dadoes Perfectly
For perfectly aligned dadoes, run the router across both top and bottom pieces at the same time. In this case, Silva carved long dadoes across the face of one panel, then cut the panel in two lengthwise, creating two pieces with matched dadoes.
This same technique also comes in handy when building cabinets with fixed shelves.
Creating the Base
The base of your mudroom bench provides stability and a finished look. Here’s how to construct it:
- Cut miters on both ends of the front base piece and one end of each side piece.
- Assemble the base by gluing and nailing the mitered joints together.
- Attach the center support and front fillers to the base.
- Glue and nail fillers to the inside of each side piece.
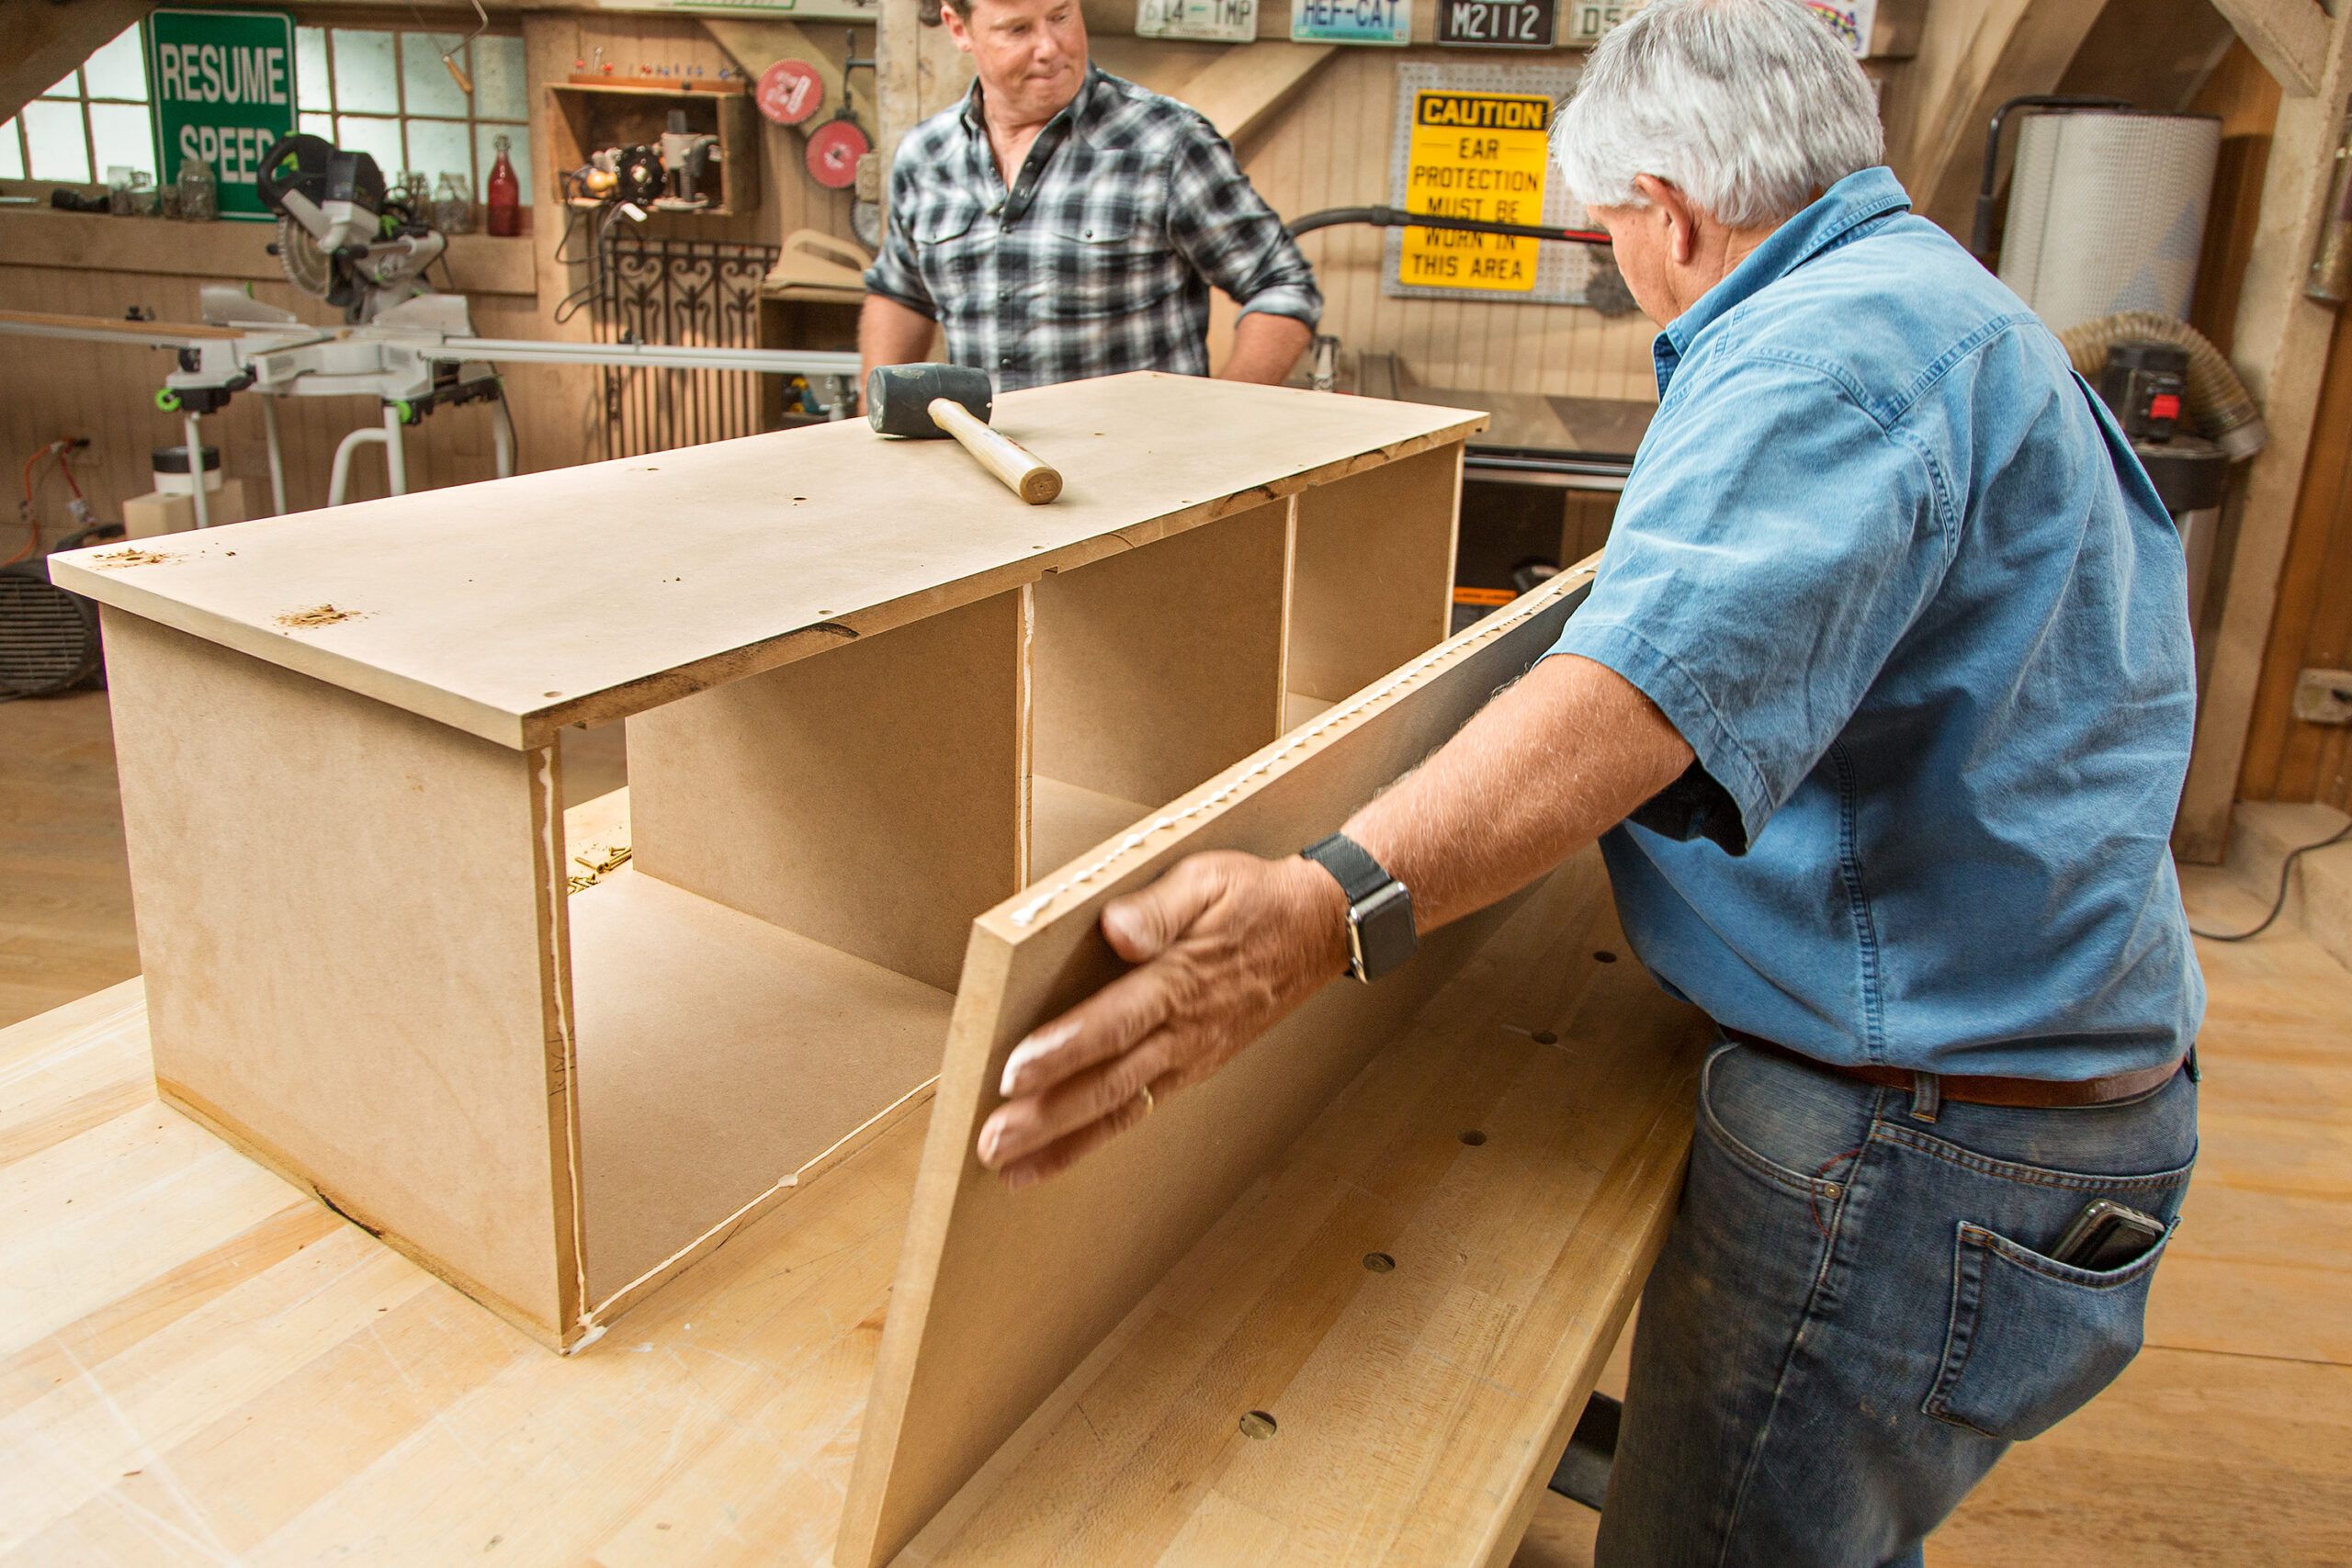
Final Assembly and Finishing
With all the components ready, it’s time to bring your mudroom bench together. Follow these final steps:
- Apply glue to the top edges of the base fillers and center support.
- Carefully lower the cubby assembly onto the base.
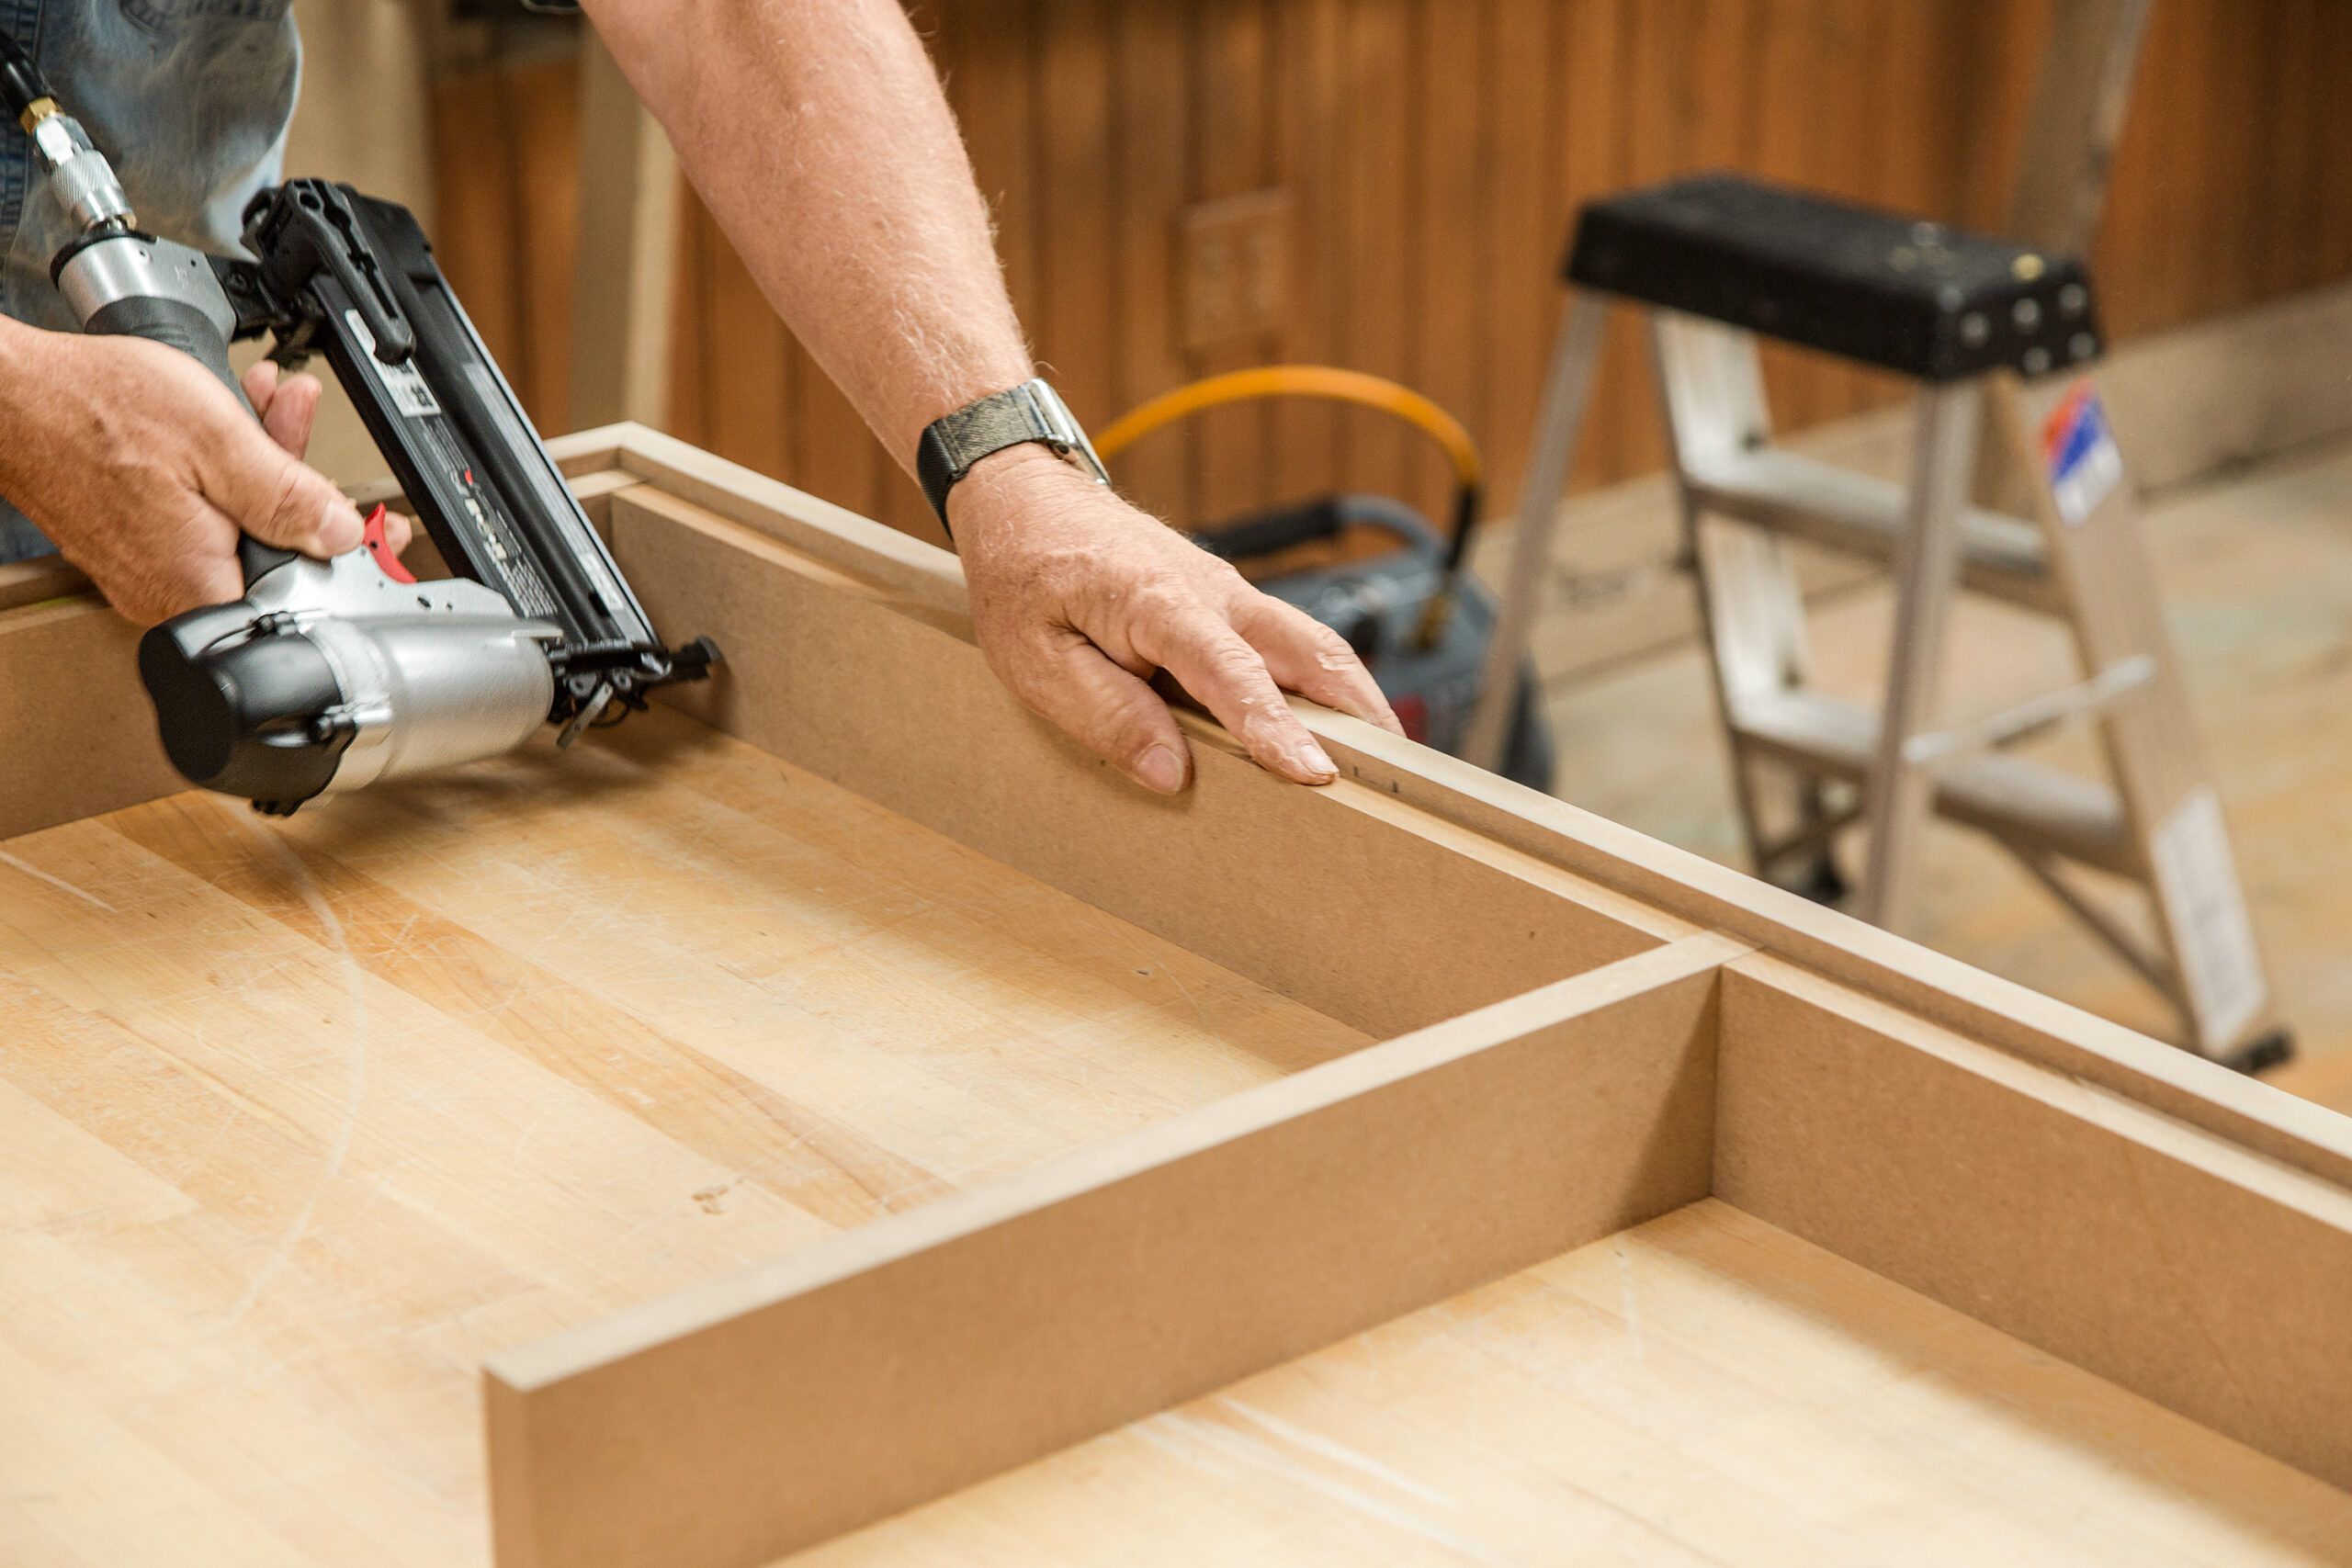
- Secure the cubby to the base using brad nails through the front of each cubby into the front fillers.
- Sand any rough areas or glue residue with 220-grit sandpaper.
- Apply a coat of primer followed by two coats of semi-gloss acrylic-latex paint for a durable finish.
For added comfort, consider adding a cushion to the top of your bench.
Tips for Success
Here are a few tips to keep in mind as you tackle this do-it-yourself (DIY) project:
- Apply wood glue sparingly, as MDF tends to absorb it quickly.
- Add hooks or a coat rack above the bench for additional storage.
- Sand all edges and surfaces before assembly for a smoother finish.
- Use a track or circular saw guide for straighter, more accurate cuts on large MDF sheets.