Creating an umbrella stand out of concrete is a simple yet rewarding DIY project that provides a durable and practical addition to your entryway. With its ability to withstand the elements and its potential for personalization, a concrete umbrella stand is an excellent choice for homeowners looking to enhance their space while solving a common storage problem. This guide will walk you through the process of how to build your very own concrete umbrella stand.
This project was part of our #DIYDARE challenge from 2016, where TOH magazine editors created projects with scraps that they had lying around, supplemented with a few supplies from their local home improvement store. Then our readers shared their own projects tagged with #DIYdare and posted the pictures to our Facebook, Twitter, or Instagram.
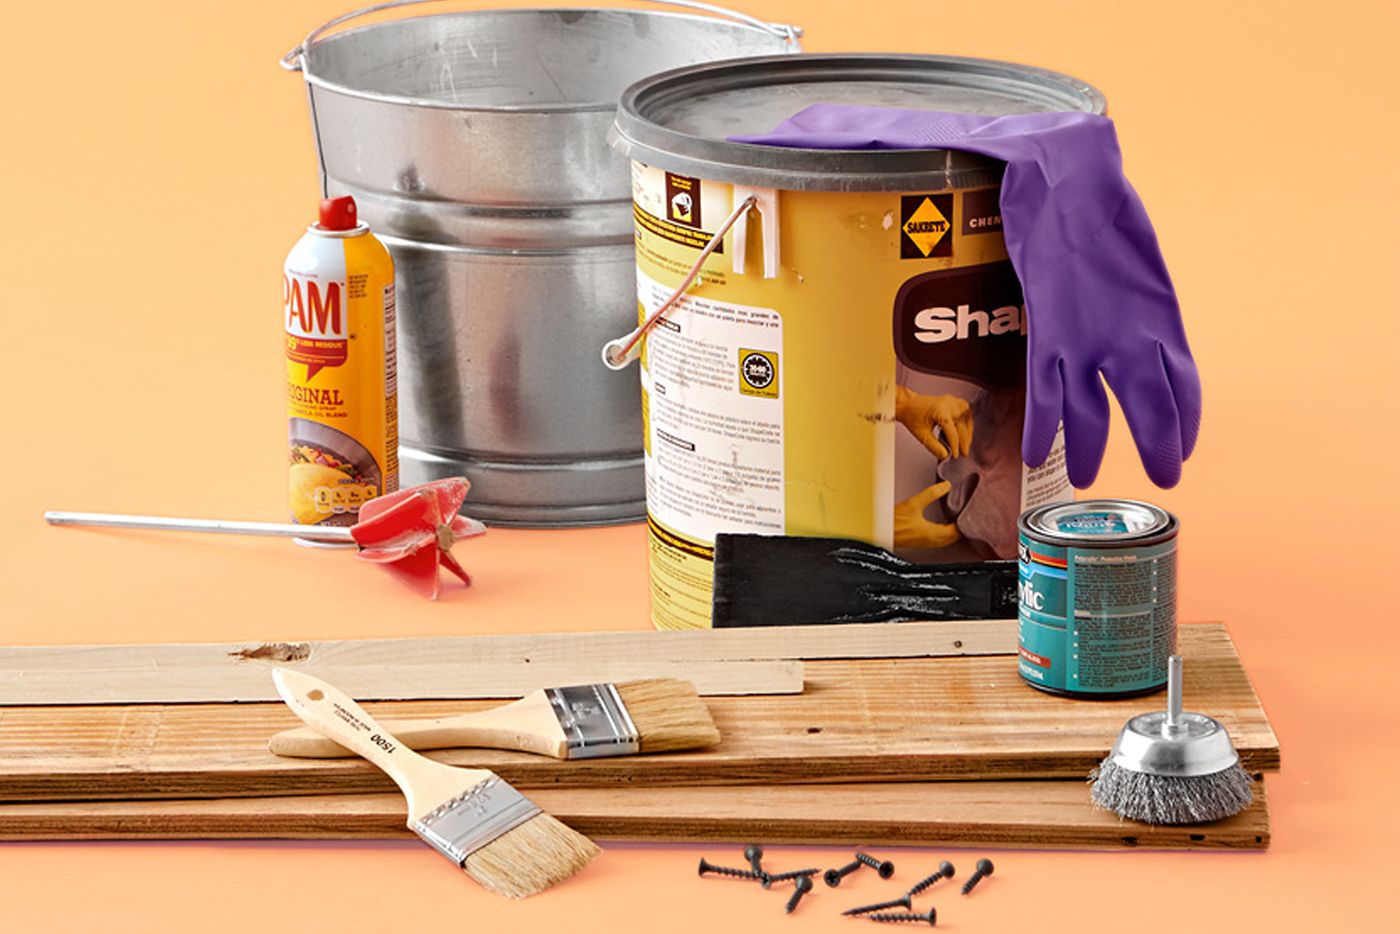
Tools Needed To Make a Concrete Umbrella Stand
When embarking on your concrete umbrella stand project, having the right tools at hand will make the process smoother and more enjoyable. Here’s a comprehensive list of the tools and materials you’ll need:
- Circular saw
- Concrete dye
- Concrete mix (look for one that will have a clay-like consistency)
- Cooking spray (as a release agent)
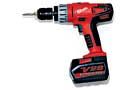
- Drill/driver
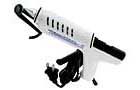
- Hot glue gun
- Mixing bucket and trowel
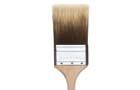
- Paintbrush
- Pencil
- Plastic sheeting
- Plywood sheets
- Safety gear (gloves, dust mask, safety glasses)
- Sandpaper (for final touches)
- Tape measure
- Wire brush wheel
Concrete Umbrella Stand Project Overview
As soon as her dad, Bob, told her the tub of concrete they were given molds like clay, 12-year-old Ivy started rolling up her sleeves.
Bob had worked with concrete in the past and knew the material could be embossed. “If we make a form from distressed plywood, it will give the concrete shape and imprint the grain,” he said. Ivy was fine with that but still wanted to know what to make. “Leave it to me,” said Bob, who proceeded to look for a circular saw.
Bob cut strips of plywood for the sides, and Ivy scrubbed out the grain with a wire brush before screwing the parts together to create the form. After mixing up a batch of concrete, Ivy, with a whole lot of glee, used it to pack the walls of the form. Once it cured, they applied a concrete dye.
“Who knew you could use concrete like clay?” Ivy said.
“Who knew I could trick you into making an umbrella stand so we can clean up the front hall?” Bob answered back, with a grin.
Steps for Creating a Concrete Umbrella Stand
Step 1: Distress the Plywood
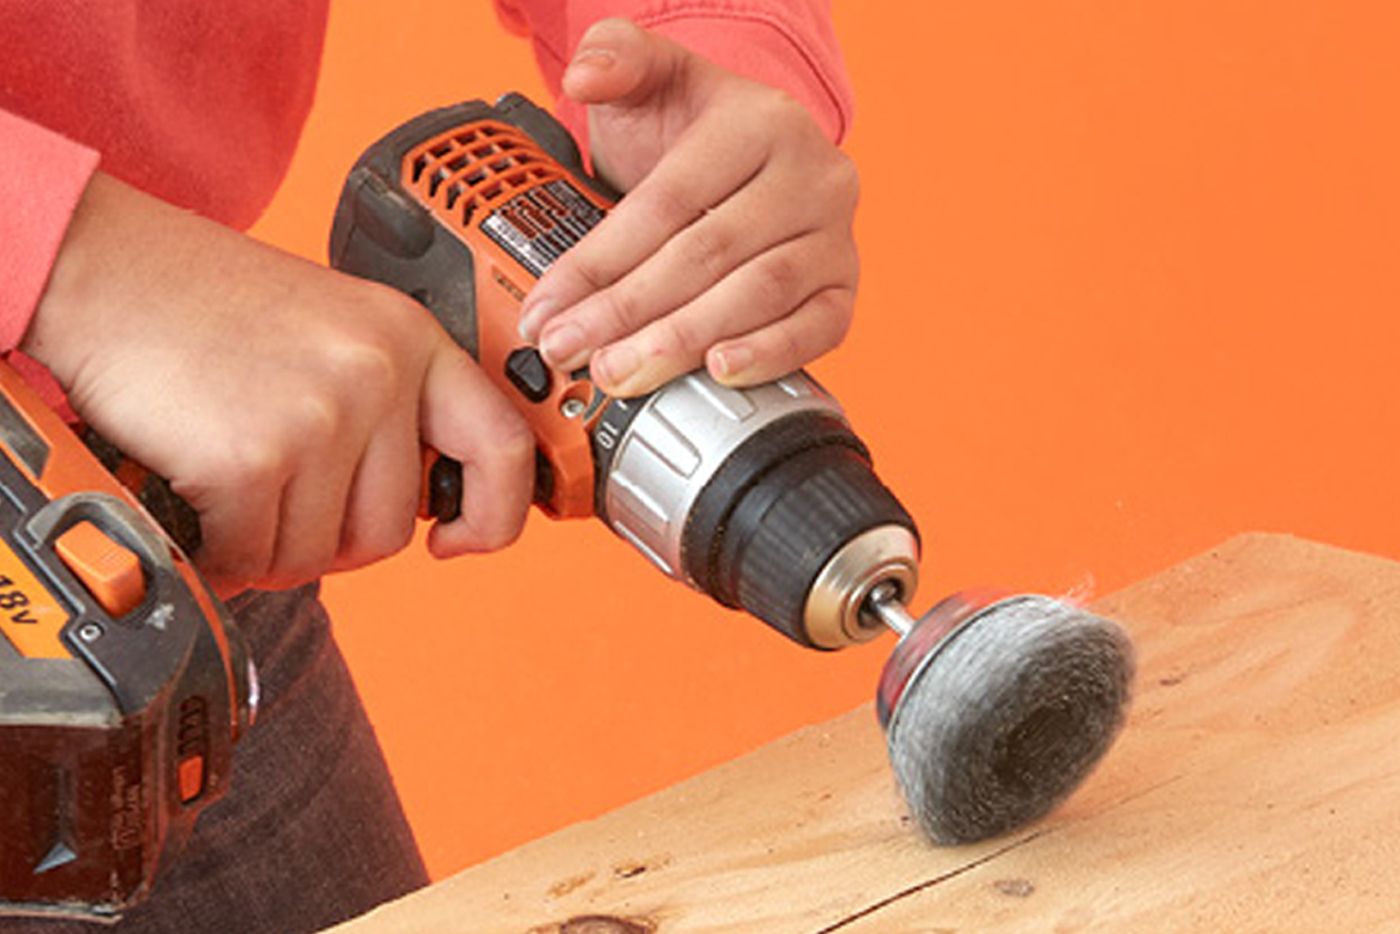
Distressing the plywood involves intentionally roughing up the surface of the wood to create an interesting pattern that will be imprinted on the concrete. To distress the plywood:
- Cut the plywood boards to the desired dimensions for your umbrella stand form.
- Add a wire brush attachment to a drill/driver, scrubbing the surface in various directions to enhance the distressed look.
- Pay special attention to the edges and corners, as these areas can create interesting details in the final product.
The goal is to create a surface that will leave an appealing texture on the concrete once it’s cured. The distressed texture can add a weathered, rustic feel that many homeowners find particularly charming.
Step 2: Spray the Parts
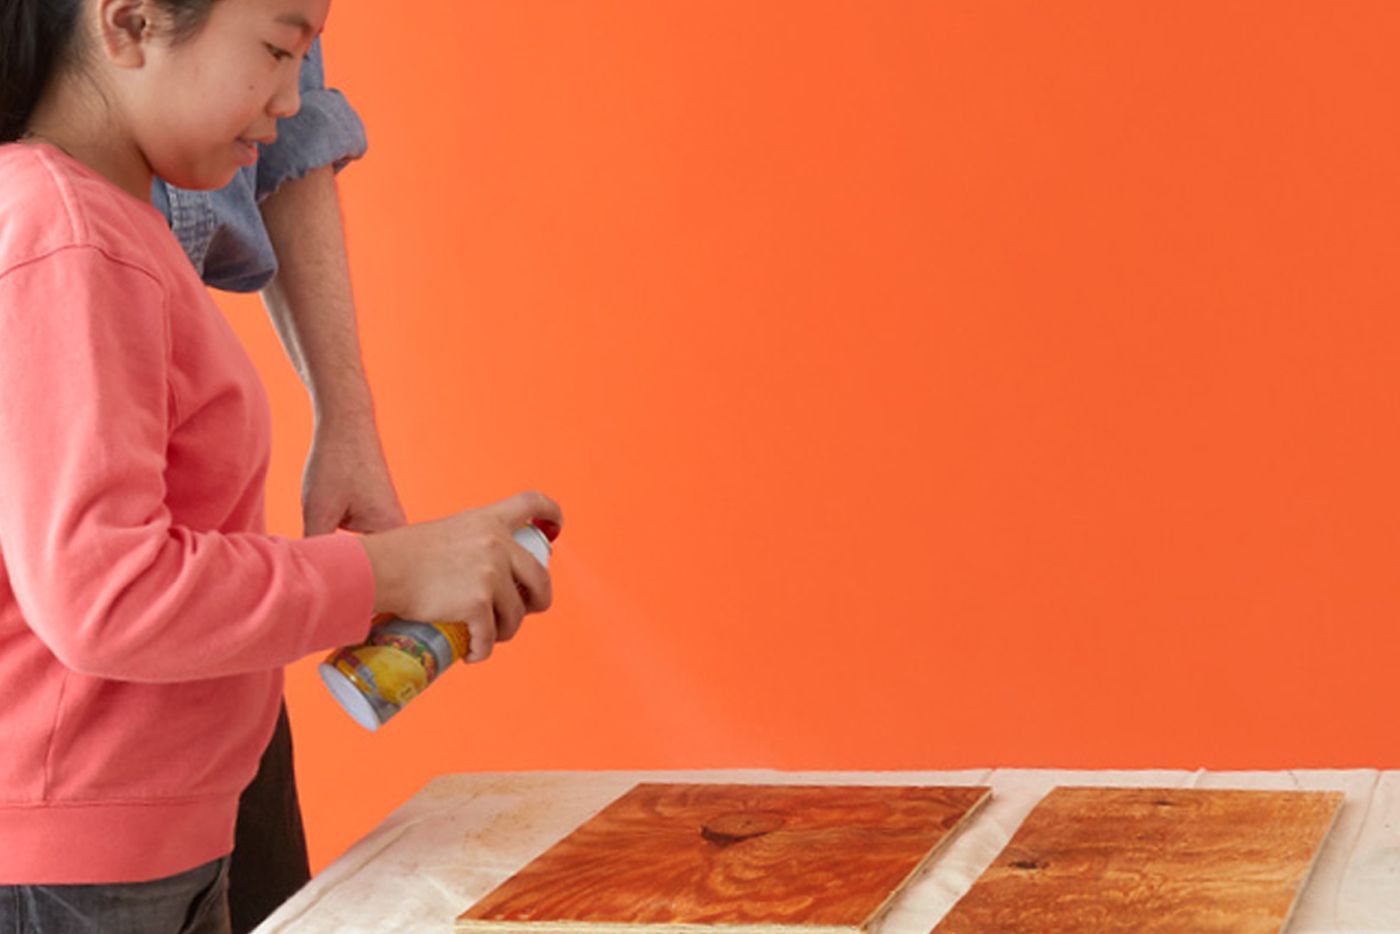
After distressing the wood, spray the inside panels with cooking spray. Coating the interior surfaces of your form with a release agent prevents the concrete from adhering to the wood, making it easier to remove the finished product without damaging it. This preparation step will also help preserve the intricate textures and details imparted by the distressed plywood.
To prepare your form:
- Clean the distressed plywood pieces to remove any dust or debris from the distressing process.
- Apply a thin, even coat of cooking spray to all interior surfaces of the form, including the sides and bottom.
- Use a paper towel to spread the spray evenly, ensuring complete coverage without pooling.
- Pay extra attention to corners and any intricate details in your distressed surface, as these areas are more prone to sticking.
Step 3: Build the Form
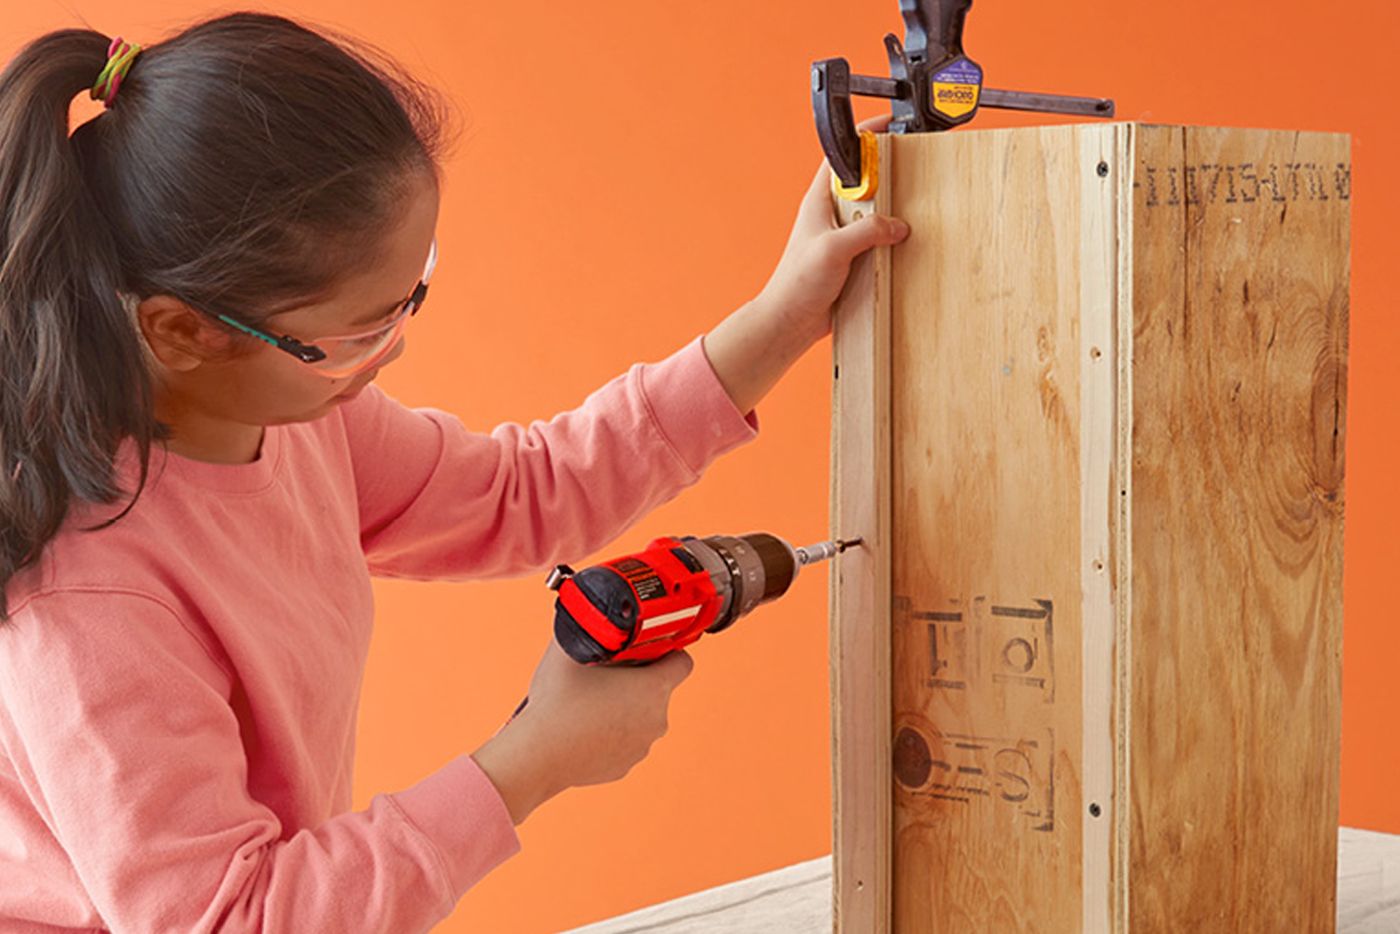
Assembling the form will give you the desired shape and structure of your concrete umbrella stand. A properly built form will ensure that the concrete cures evenly and maintains its structural integrity.
To build your form:
- Arrange the four distressed plywood sides in the shape of your desired umbrella stand.
- Use wood strips to reinforce the corners, ensuring they’re square and aligned properly.
- Secure the strips to the plywood sides using screws, making sure they’re tight and flush.
- Double-check that all joints are secure and that the form is stable.
Remember that the interior dimensions of your form will determine the size of your finished umbrella stand, so measure carefully and adjust as needed before finalizing the construction.
Step 4: Glue the Form to the Base

Attaching the form securely to its base ensures that your concrete umbrella stand maintains its shape during the packing and curing process.
Follow these steps to glue the form to the base:
- Place the assembled form on the prepared base board, ensuring it’s centered and positioned correctly.
- Use a hot glue gun to apply a generous bead of glue along the bottom edge of the form where it meets the base.
- Work quickly but carefully, as hot glue sets rapidly.
- Apply pressure to ensure good contact between the form and the base as the glue cools.
- Inspect the seal all around the form, adding more glue to any gaps or weak spots.
This step creates a watertight seal that will contain the wet concrete and prevent it from seeping out during the curing process.
Step 5: Pack in the Concrete
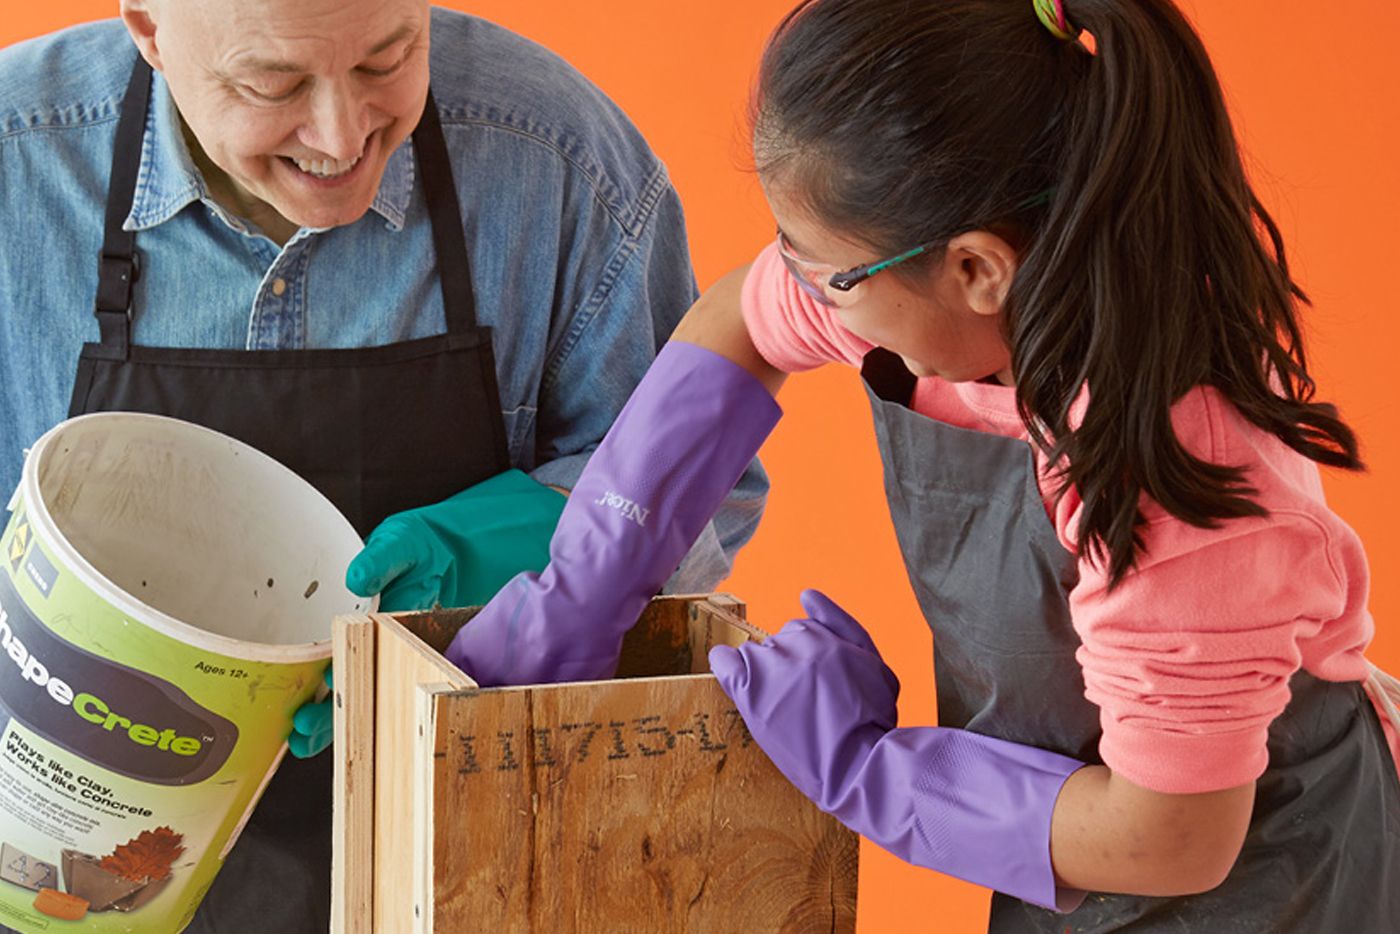
Packing the concrete into your prepared form is where your umbrella stand truly begins to take shape. Properly packing the concrete helps eliminate air pockets, which can weaken the structure.
To pack your concrete effectively:
- Mix your concrete to a clay-like consistency, following the manufacturer’s instructions.
- Begin by adding a layer of concrete to the bottom of the form, using a trowel to spread it evenly.
- Use your hands or a tamping tool to pack the concrete firmly, eliminating air pockets.
- Gradually add more concrete, working your way up the sides of the form.
- Continue packing and smoothing as you go, ensuring the concrete fills all corners and crevices.
- Pay special attention to the edges and corners, as these areas are prone to weakness if not properly filled.
Remember, the texture of your distressed plywood will be imprinted on the concrete, so press the mixture firmly against the sides of the form to capture all the details.
Step 6: Let It Cure
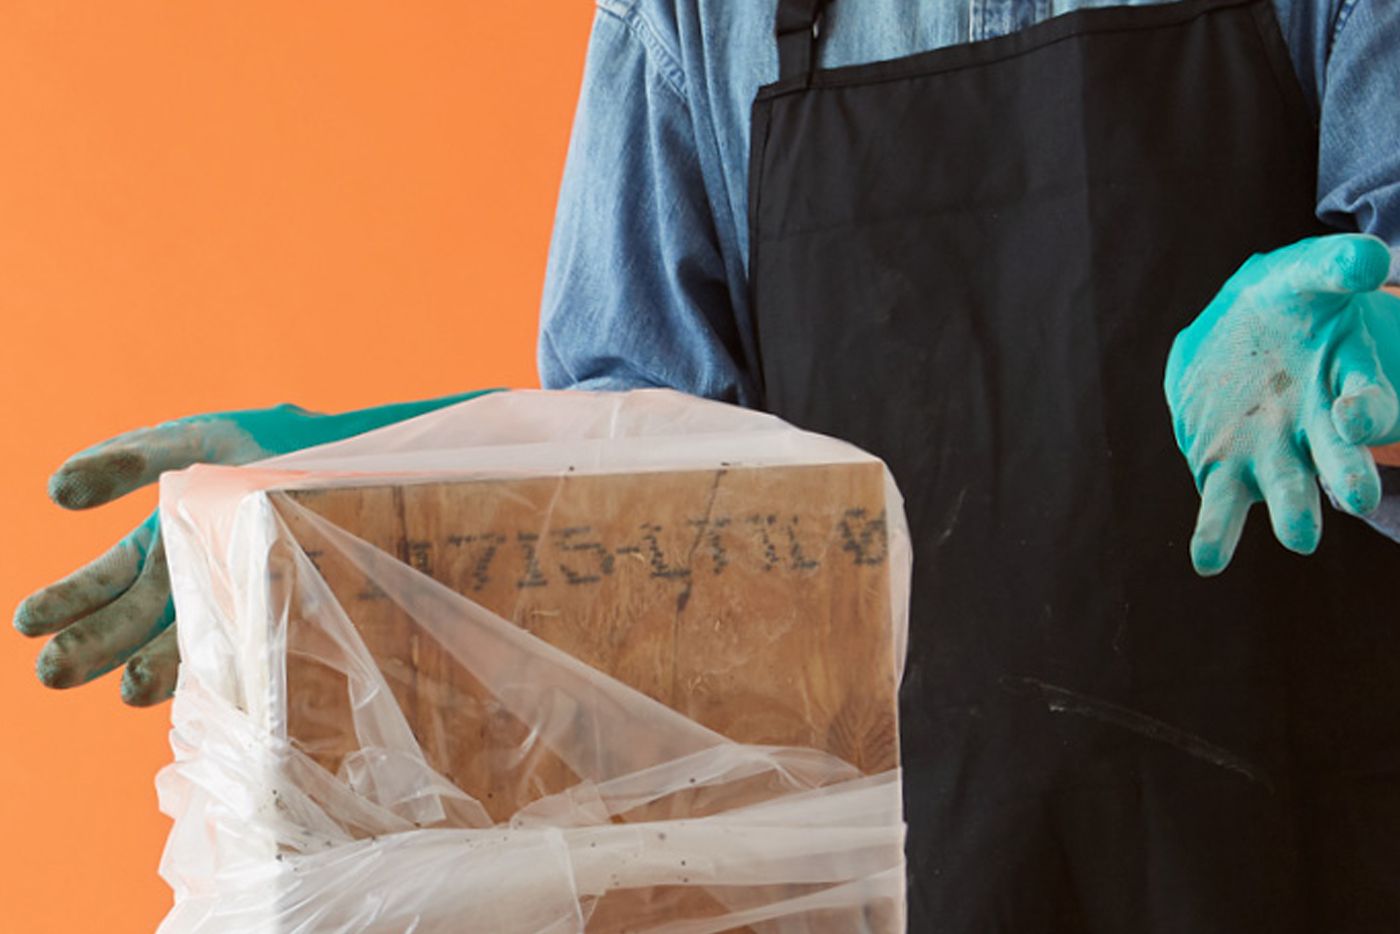
Proper curing allows the concrete to harden gradually, reducing the risk of cracking and making the final product stronger.
To cure your concrete umbrella stand:
- Cover the filled form with plastic sheeting to retain moisture.
- Secure the plastic around the edges to create a humid environment.
- Place the form in a cool, shaded area away from direct sunlight.
- Allow the concrete to cure for at least 24 to 48 hours, or as recommended by the concrete manufacturer.
- Periodically mist the concrete through the plastic to maintain moisture levels.
During this time, resist the urge to remove the form or disturb the curing process. The gradual curing process helps the concrete achieve its maximum strength and reduces the likelihood of imperfections.
Step 7: Add a Dye
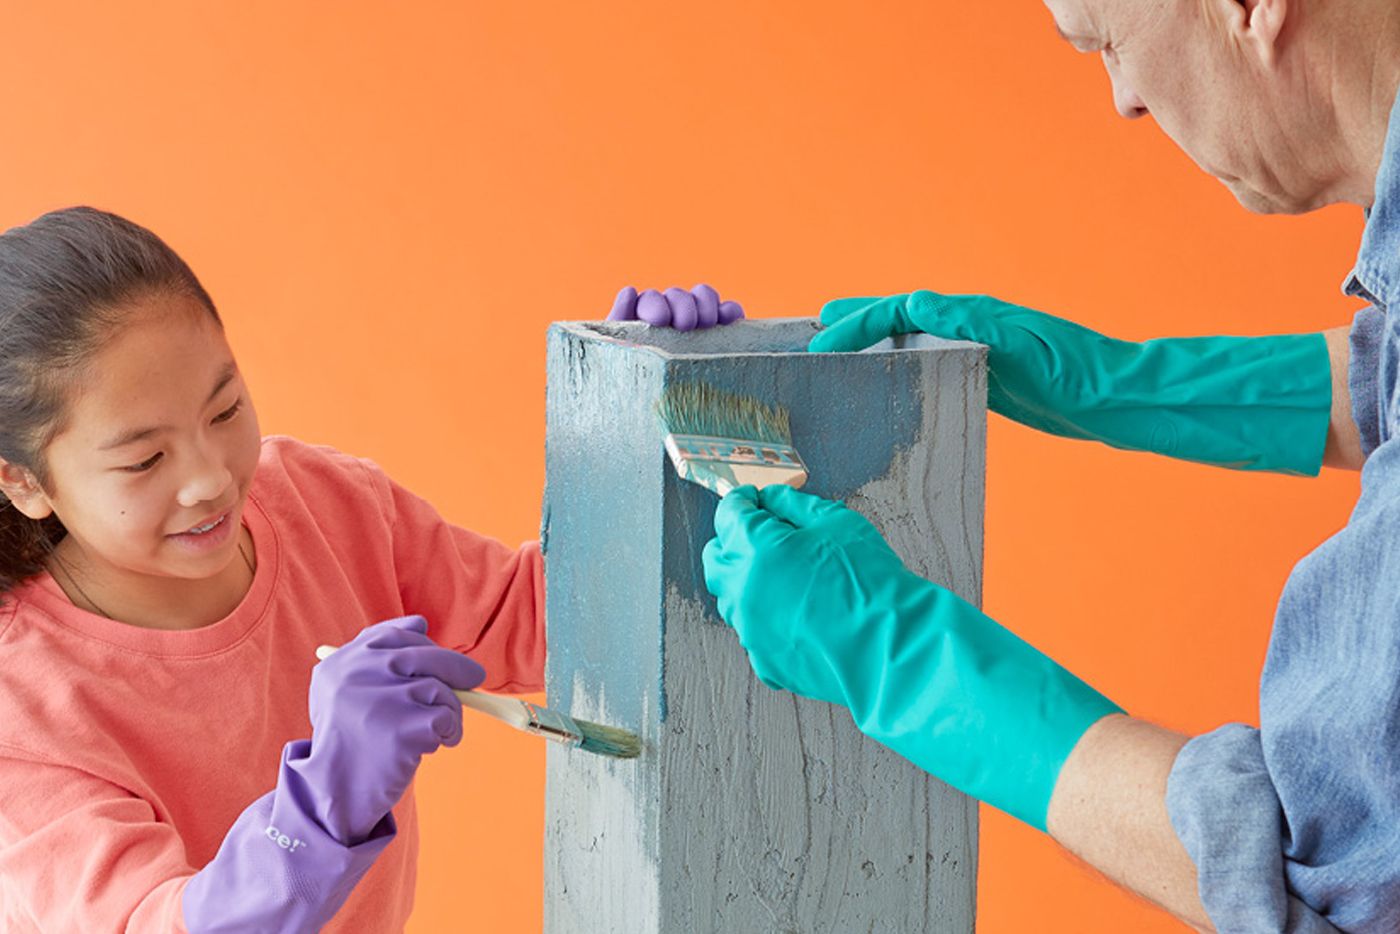
Adding color to your concrete umbrella stand is the final step in personalizing your creation. Concrete dyes offer a wide range of color options, allowing you to match your stand to your decor or create a bold accent piece.
To add dye to your cured concrete stand:
- Remove the stand from its form once fully cured.
- Clean the surface of any dust or debris.
- Choose a concrete dye in your desired color.
- Apply the dye according to the manufacturer’s instructions, typically using a brush or sprayer.
- Work in thin, even coats to avoid oversaturation.
- Allow each coat to dry before applying additional layers if a deeper color is desired.
Remember that concrete is porous, so the final color may appear slightly different from the dye in its liquid form. Consider testing the dye on a small, inconspicuous area first to ensure you’re happy with the result.
Tools
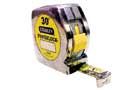
 Tape measure
- Pencil
- Circular saw
- Drill/driver
- Wire brush wheel
- Hot glue gun
- Paintbrush