We may be compensated if you purchase through links on our website. Our team is committed to delivering honest, objective, and independent reviews on home products and services.
Project details
Skill
Cost
Estimated Time
Building a custom tool storage cabinet is an excellent way to organize your workspace and keep your tools easily accessible. This project will help you stay organized and add a professional touch to your garage or workshop.
In this guide, we’ll walk you through the process of constructing a wall-mounted cabinet with adjustable shelves and pegboard doors, perfect for storing and displaying your tools. Watch the video above to see This Old House general contractor Tom Silva and host Kevin O’Connor build a tool storage cabinet.
*Cost information in this article sourced from Angi.
Materials and Tools Needed
Before diving into the construction process, gather the following materials and tools.
Materials
- 1/4-inch perforated hardboard (pegboard)
- 1/2-inch plywood for the back
- 3/4-inch A-C plywood (4-foot by 8-foot sheet)
- 1-inch by 3-inch pine boards
- Door pulls
- Metal shelf standards and clips
- Piano hinges
- Screws (2-inch pocket screws and 1 5/8-inch screws)
- Wood glue
Tools
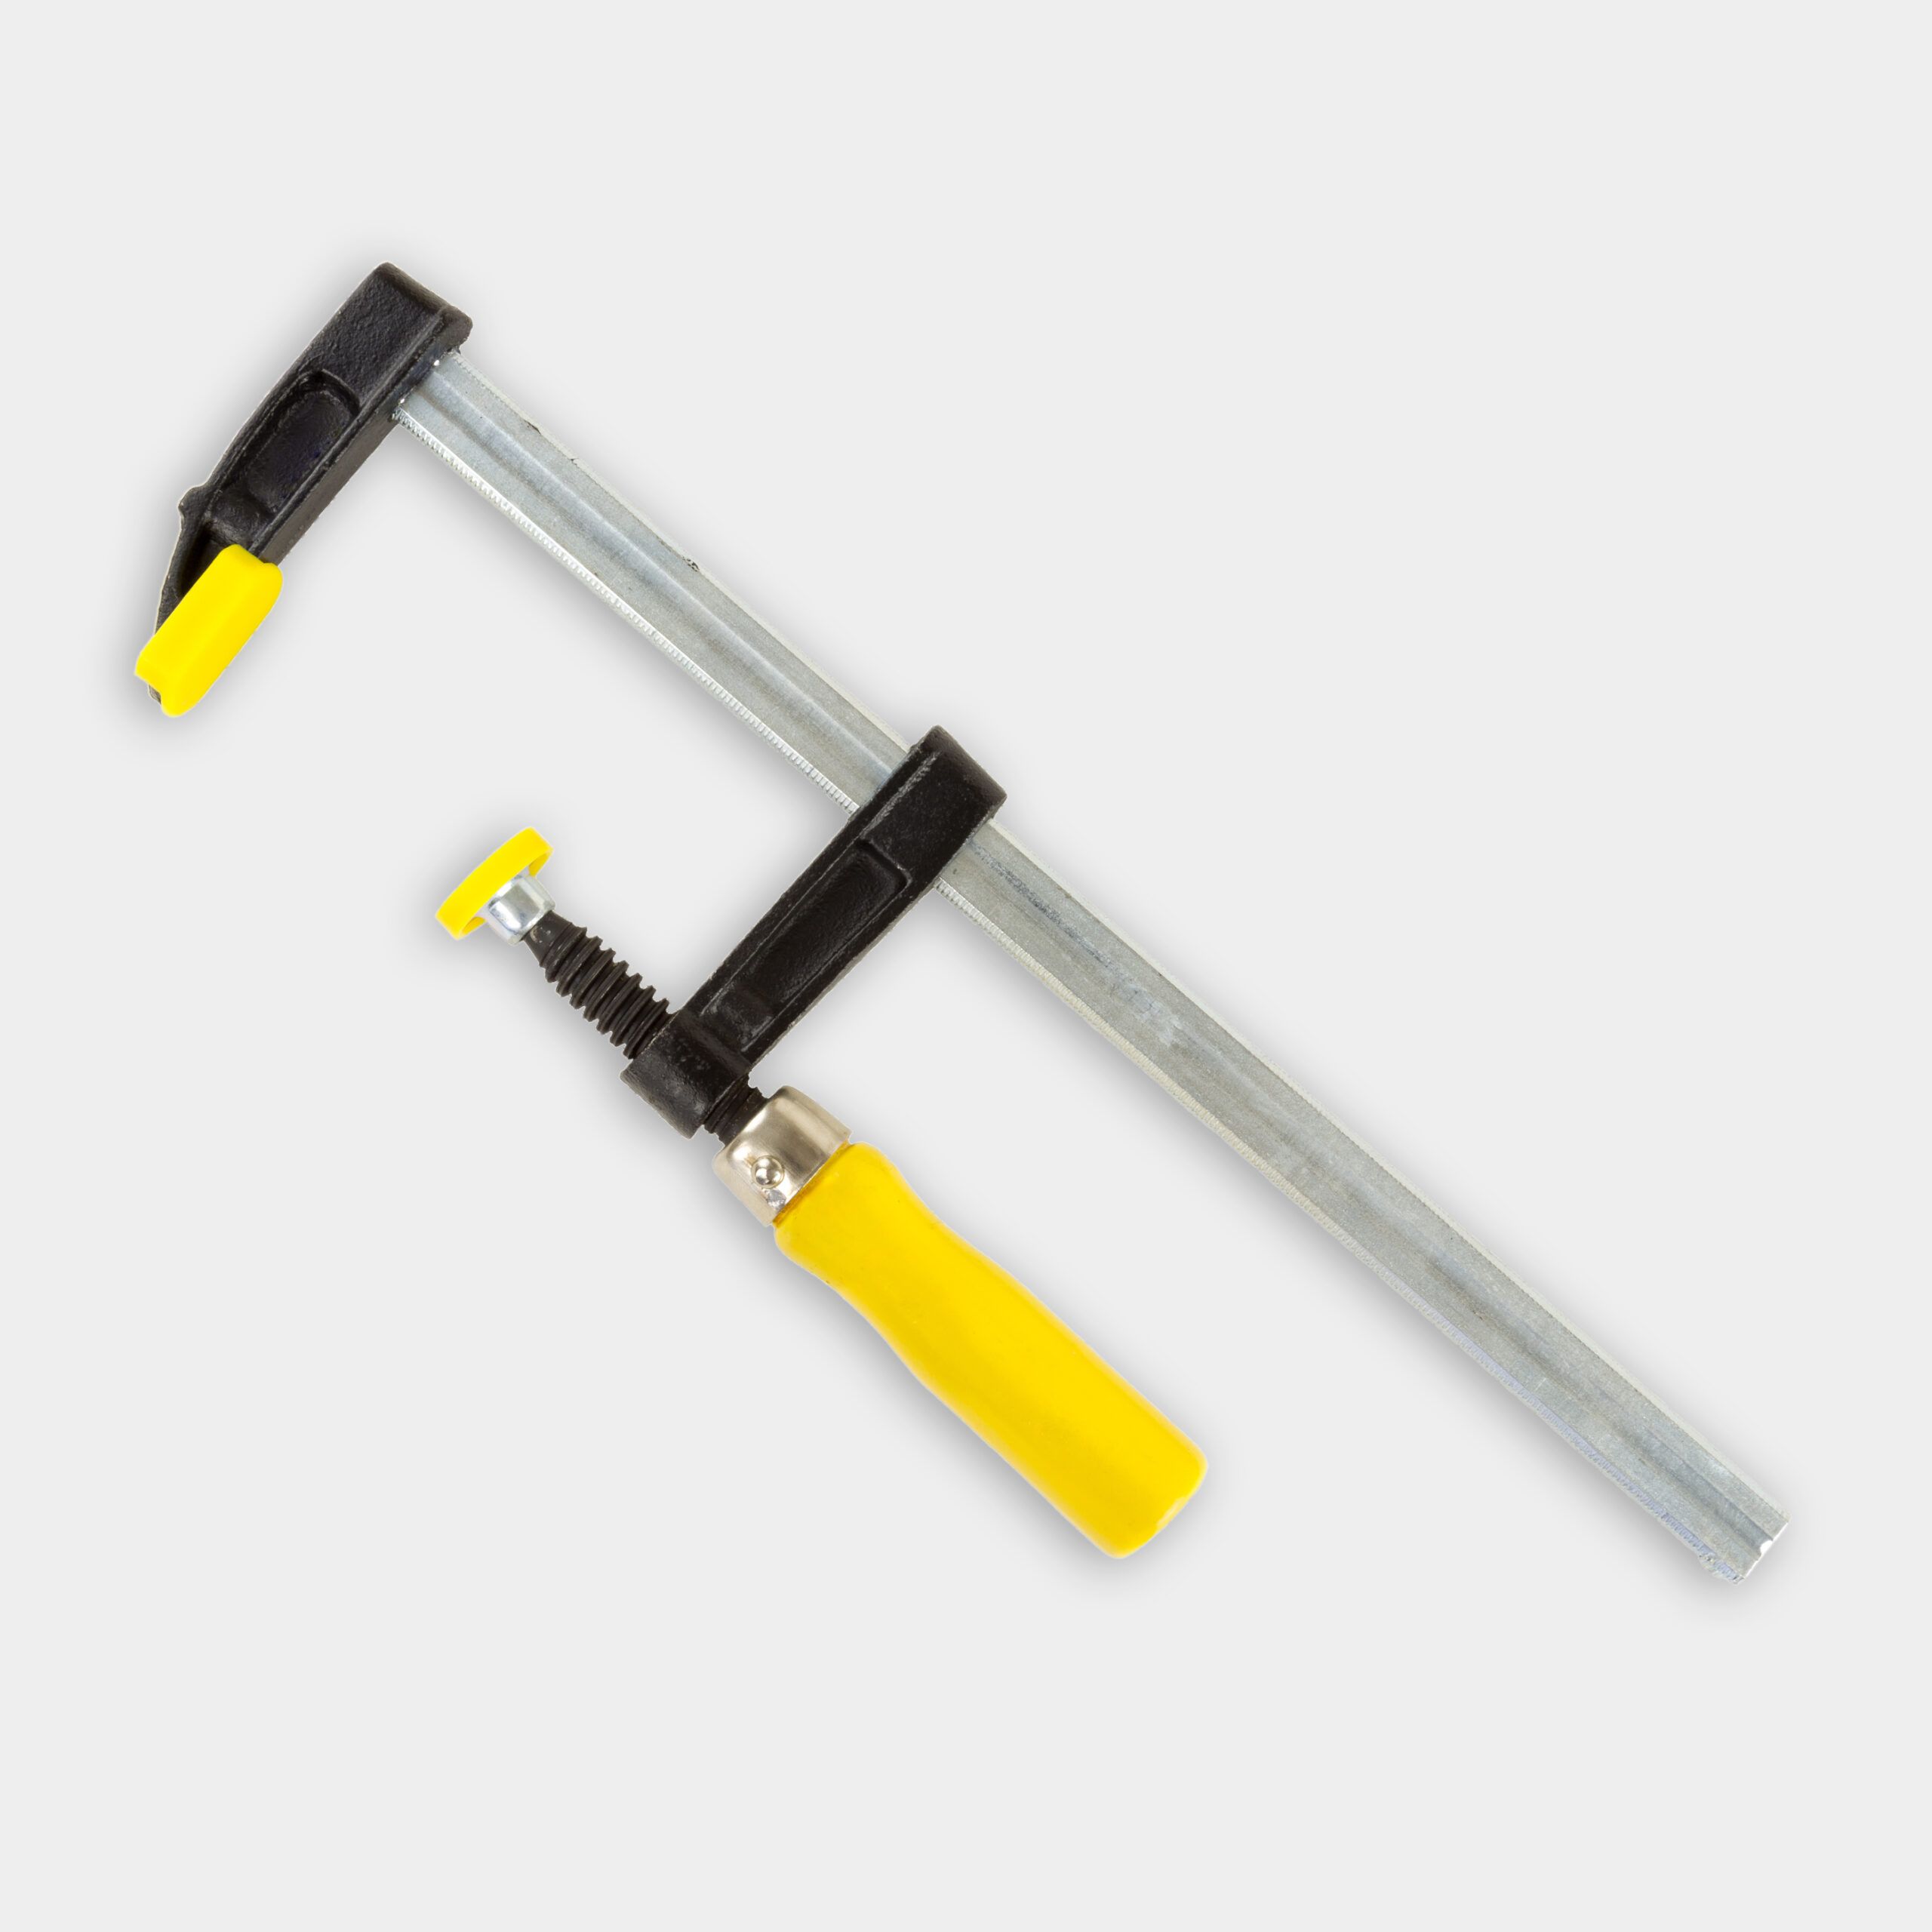
- Bar clamps
- Circular saw
- Drill/driver
- Impact driver
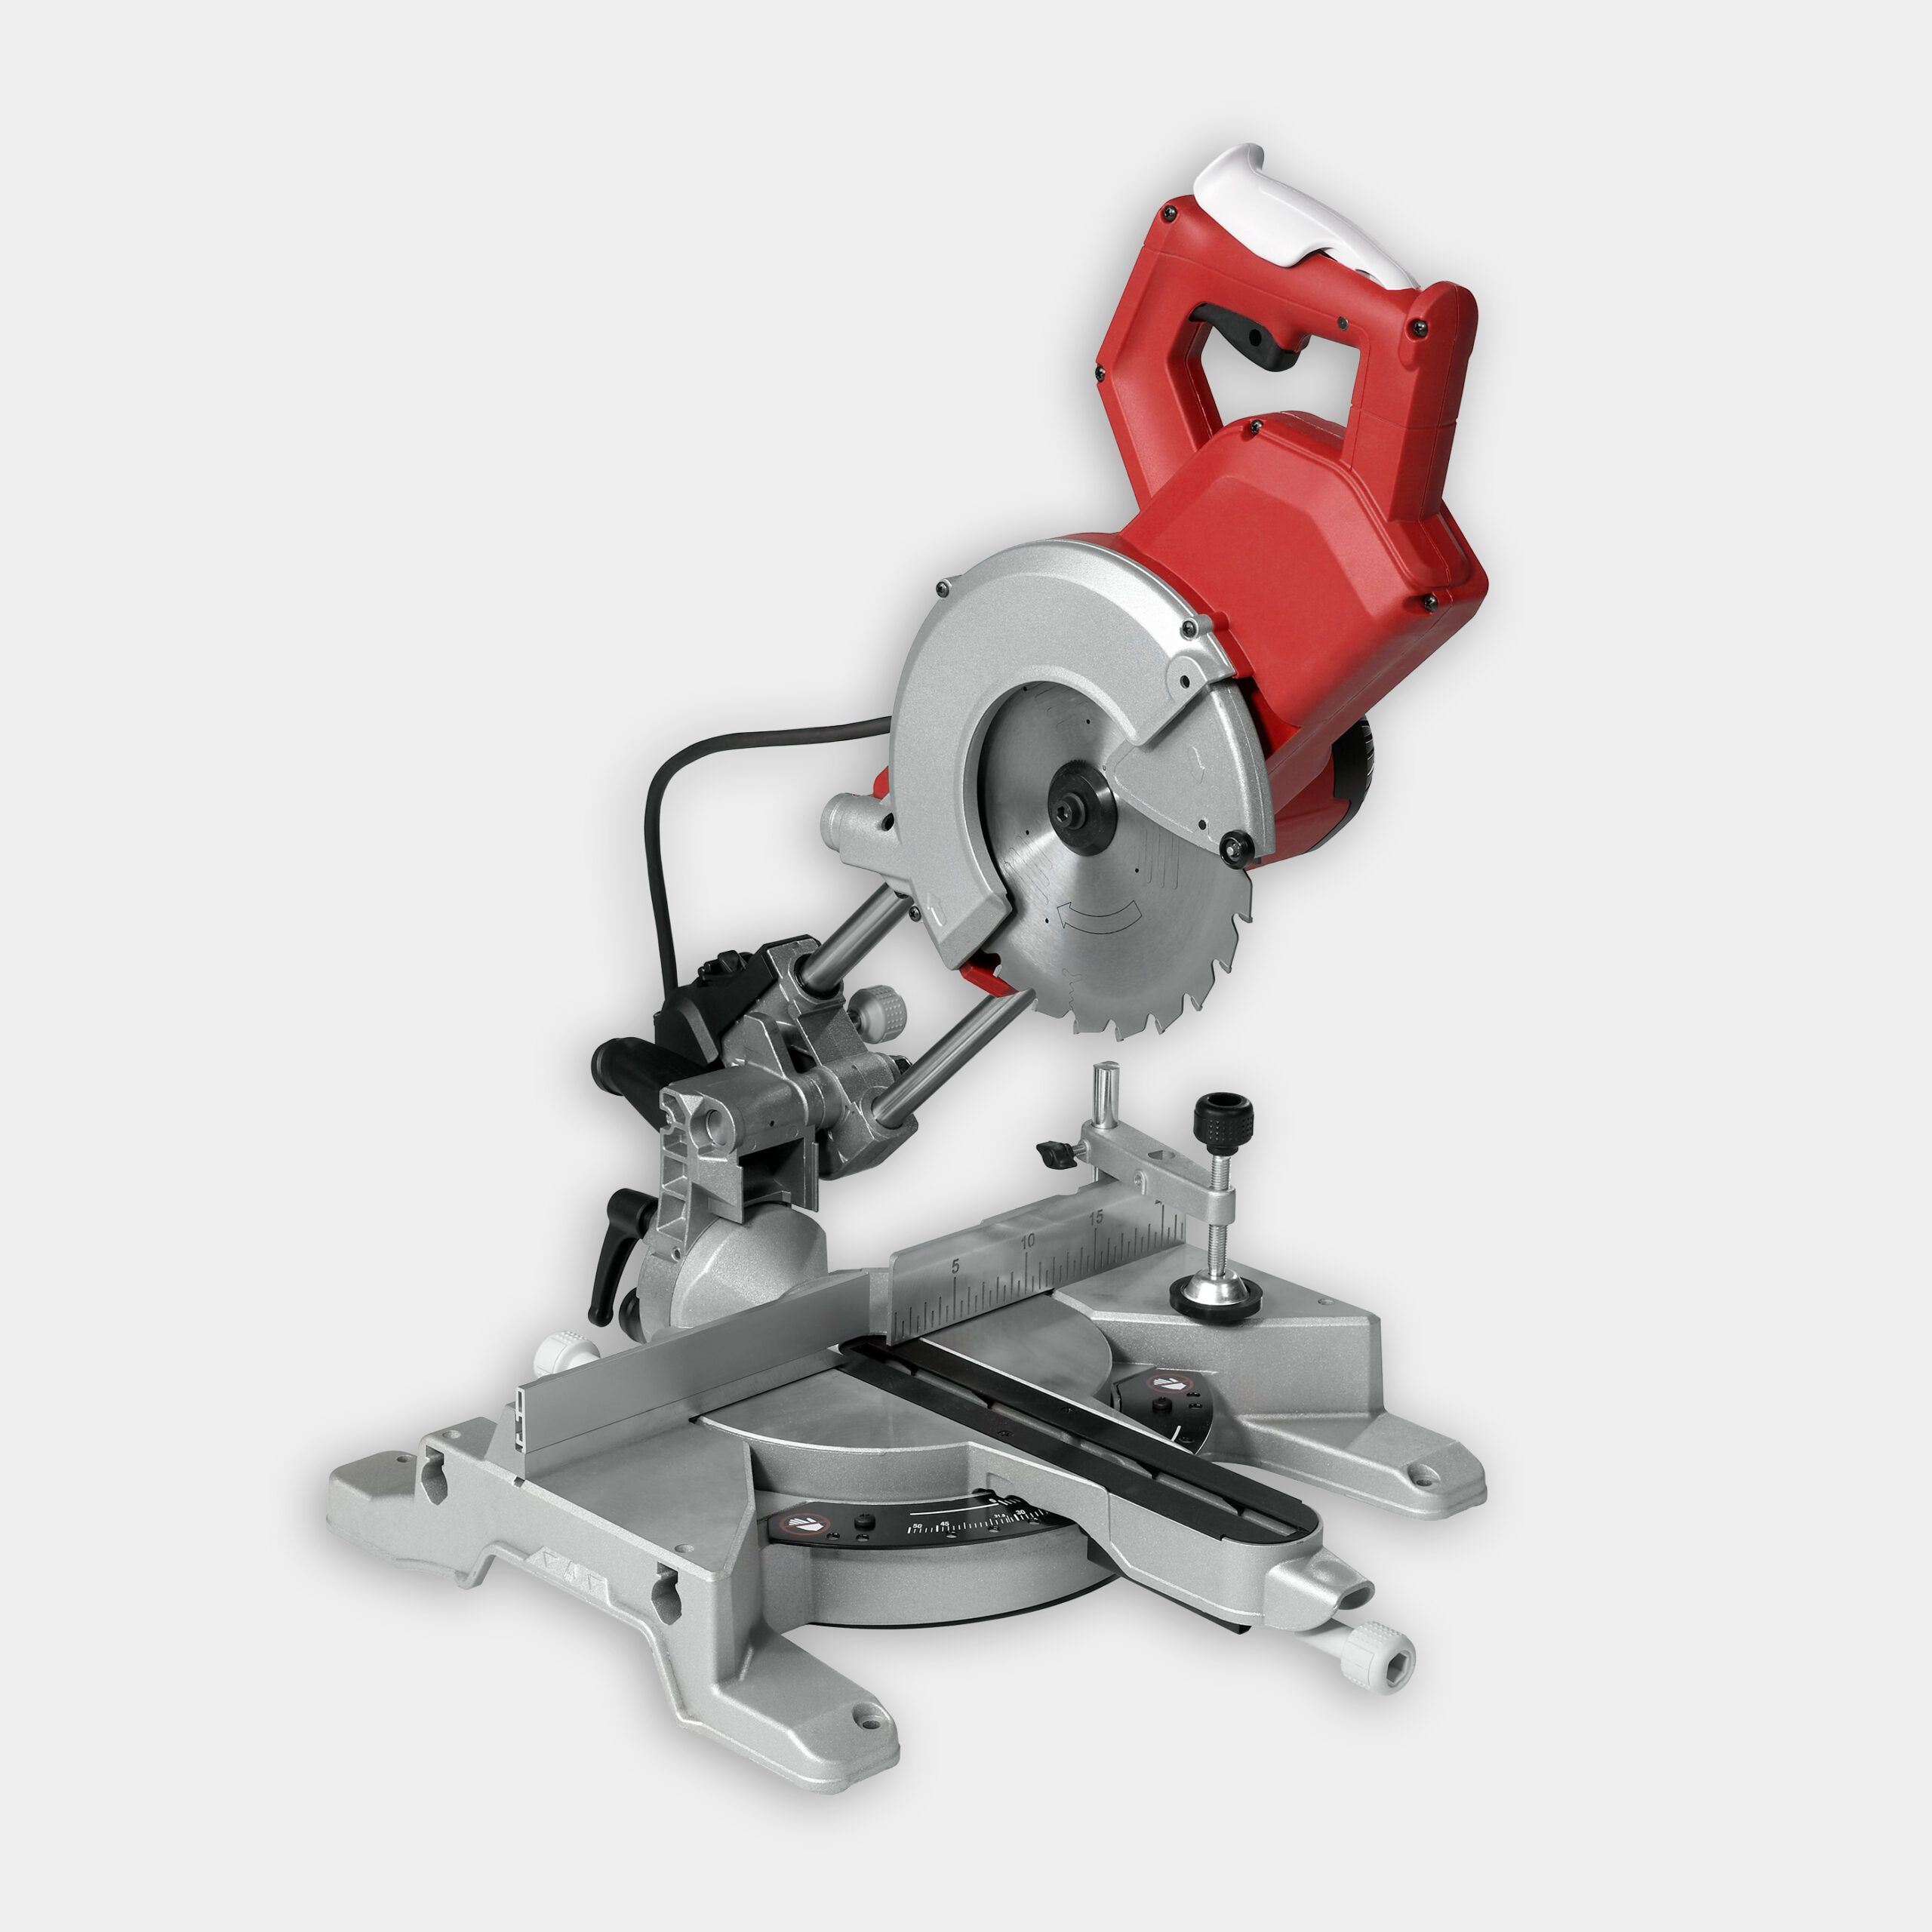
- Miter saw
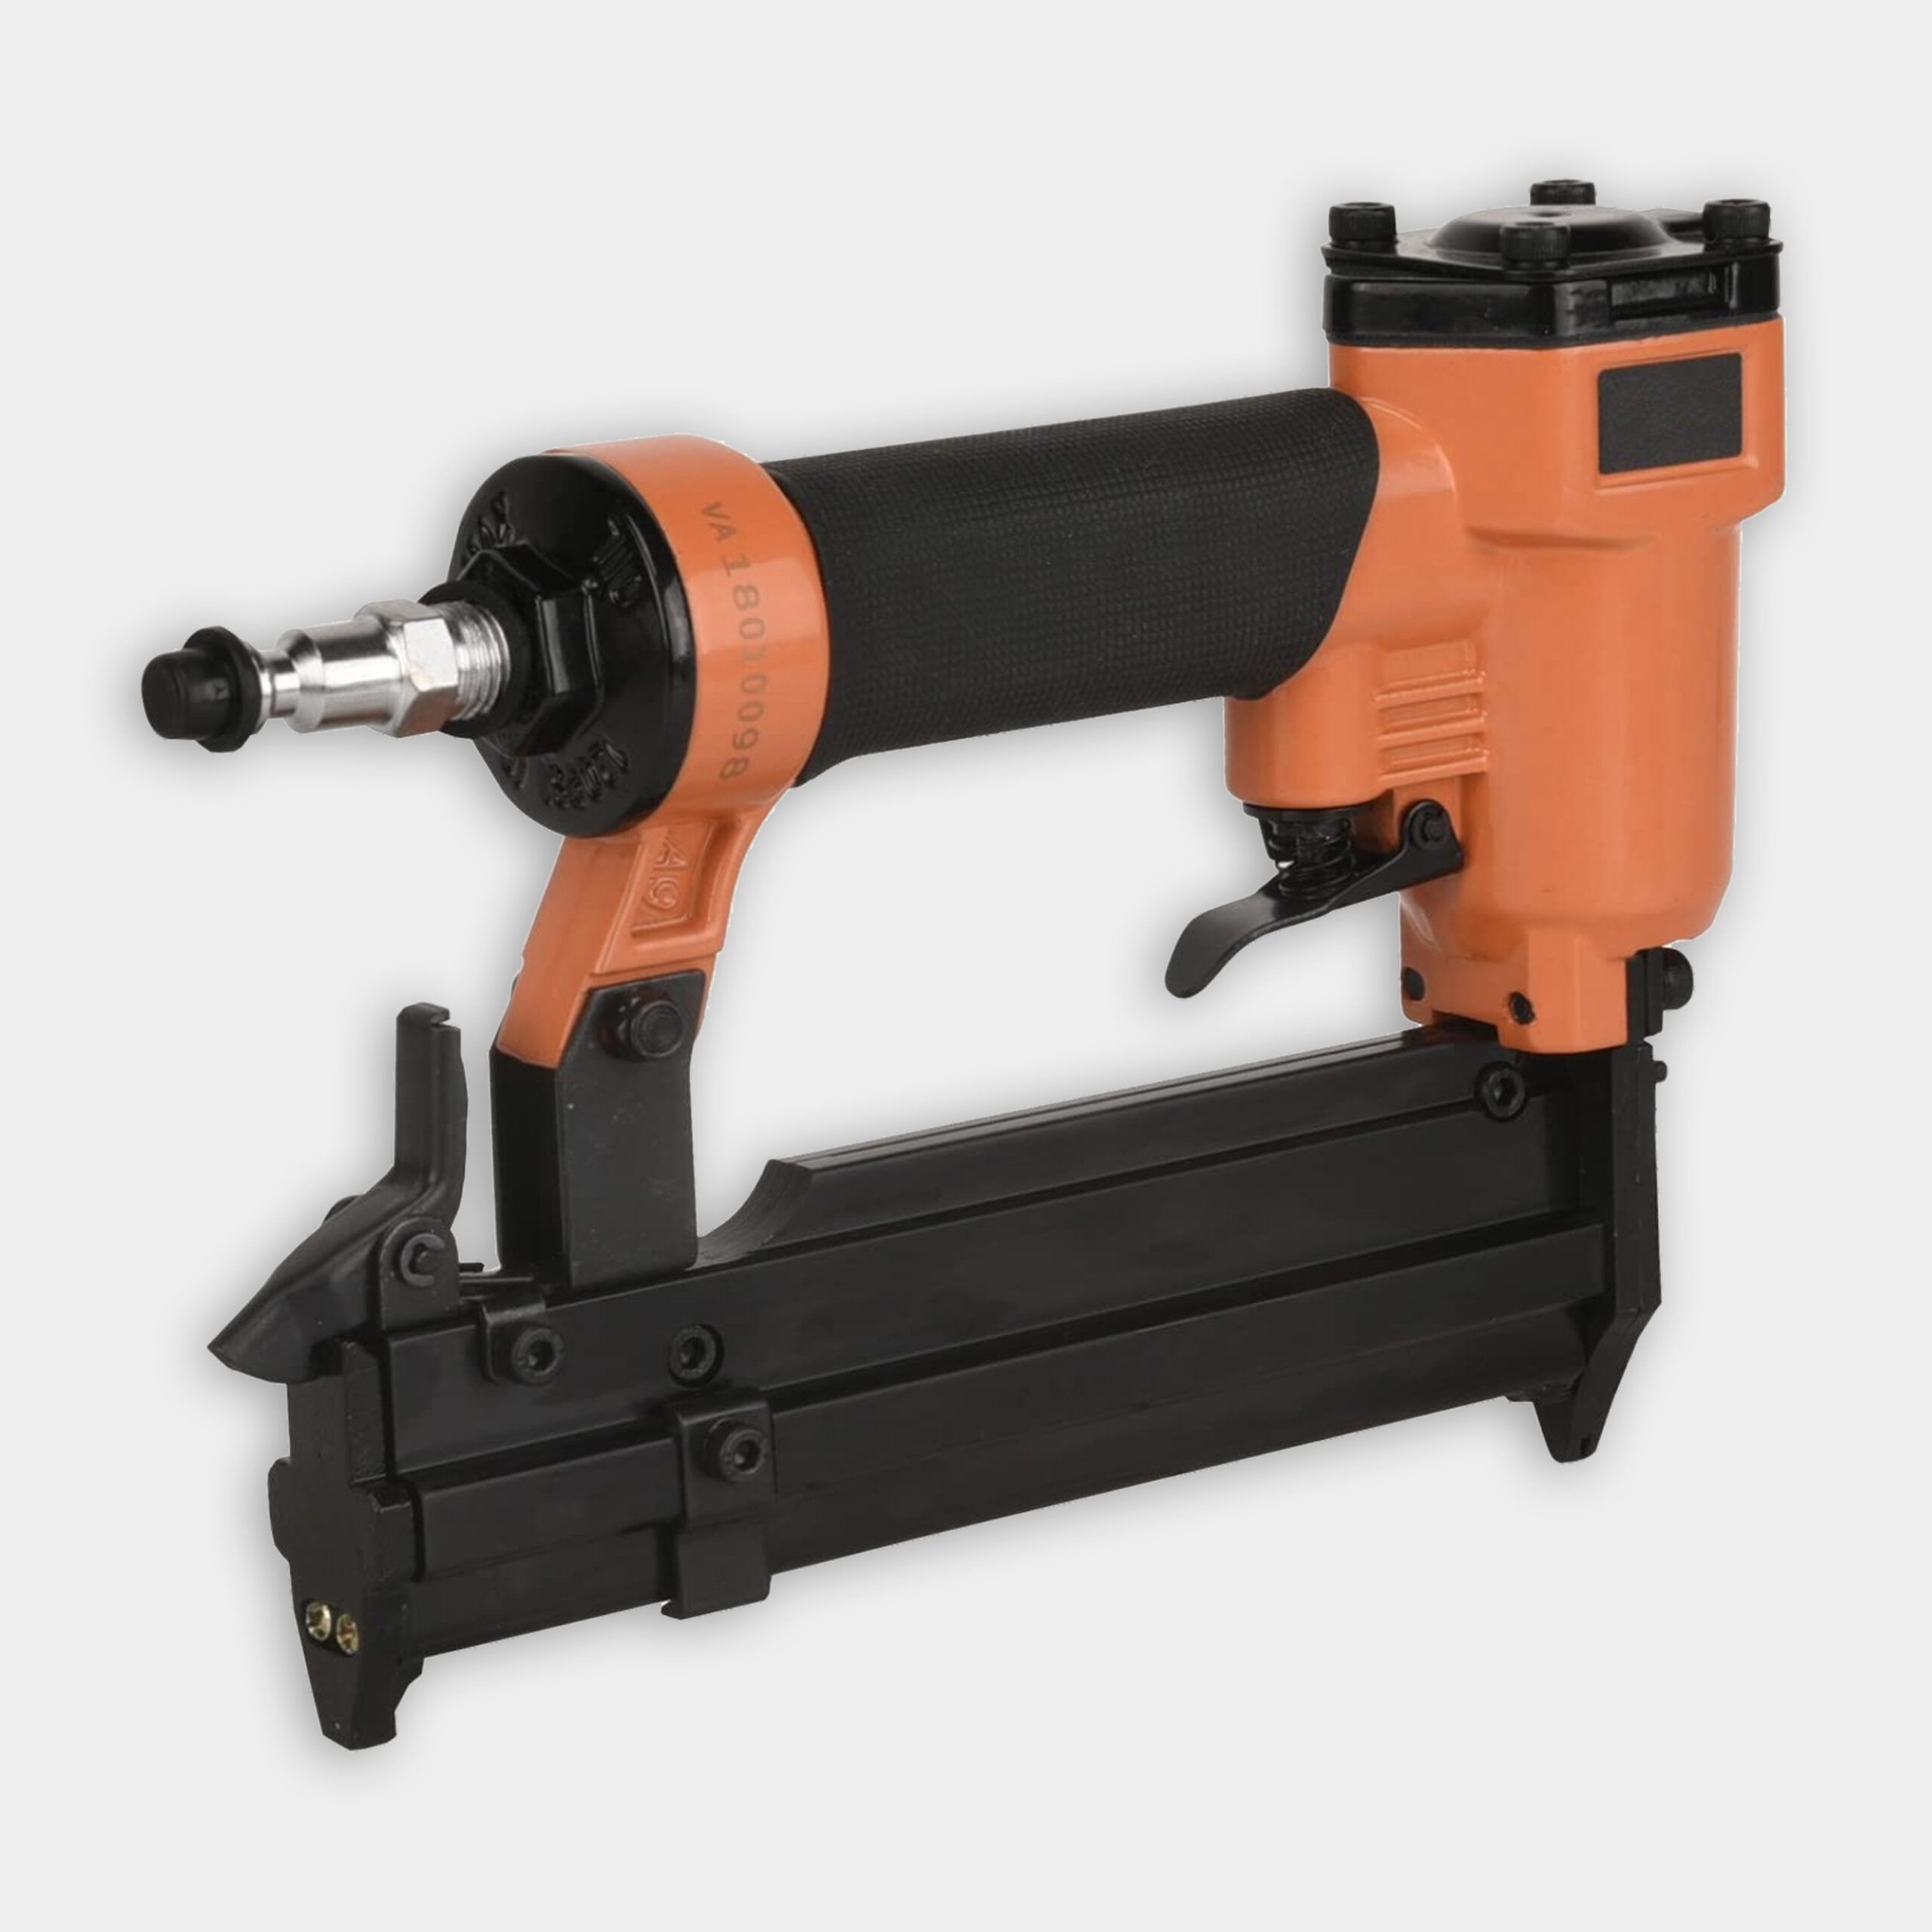
- Pneumatic pin nailer
- Pocket hole jig
- Table saw with Dado blade
Preparing the Cabinet Components
Preparing the components for the cabinet involves cutting plywood and creating dados to get a seamless fit. This phase requires precision and attention to detail to guarantee a sturdy construction.
Cutting the Plywood
Here’s how to cut your plywood:
- Use a circular saw to cut the 4-foot by 8-foot sheet of 3/4-inch A-C plywood down to 5 feet long.
- Rip the plywood on a table saw to create the cabinet’s top, bottom, sides, and center divider.
- Cut the cabinet back from 1/2-inch plywood to fit the dimensions of your cabinet.
Creating Rabbets and Dados
For a sturdy construction and proper fit, you’ll need to create rabbets and dados in the plywood pieces. Adjust the table saw blade and rip fence to cut a 1/2-inch-deep rabbet into the rear edge of both cabinet sides. Install a stacking dado blade in the table saw to cut shallow grooves in the cabinet sides and center divider for the metal shelf standards.
Silva emphasizes the importance of precise cuts when creating these joints because they’re a significant element of the cabinet’s overall strength and appearance.
Preparing the Door Components
Use a miter saw to cut 1-inch by 3-inch pine boards to length for the door frames (two vertical stiles and two horizontal rails for each door). Set up the table saw to cut grooves into the edges of the stiles and rails. These grooves will hold the pegboard panels. Adjust the table saw blade and rip fence, then use a miter gauge to cut tenons into both ends of each rail. Cut two door panels from the 1/4-inch perforated hardboard to fit within the door frames.
Assembling the Cabinet
Use a pocket-hole jig to drill pocket-screw holes into the ends of the cabinet’s top and bottom pieces. Apply wood glue to the joints and fasten the top and bottom to the sides using 2-inch pocket screws. Position the center divider between the top and bottom, secure it with a bar clamp, and attach it using 2-inch screws.
To attach the back panel, lay the cabinet face down and apply the carpenter’s glue to the rabbets in the rear of the cabinet and the edges of the top, bottom, and center divider. Place the 1/2-inch plywood back into position and tack it with a pneumatic pin nailer using 1-inch pins. Secure the back panel with the 1 5/8-inch screws for added strength.
To install shelf standards, screw them into each groove cut by the dado blade in the cabinet sides and center divider. Make sure the standards are level and securely fastened to support the adjustable shelves.
Constructing and Mounting the Cabinet Doors
Follow these steps to assemble the door frame:
- Spread glue onto the tenons of the rails and clamp two rails to one stile for each door.
- Tack each corner joint with a pin nailer using 5/8-inch pins for added stability.
- Slide the pegboard panel into the grooves cut in the door frame.
- Glue and nail on the remaining rail to complete each door frame.
To hang the doors, attach them to the cabinet using continuous piano hinges for maximum strength. Fasten one pull handle to each door for easy opening and closing.
Adding Shelves
Cut four 3/4-inch plywood shelves to fit inside the cabinet. Install shelf clips into the metal standards at your desired heights, and place the shelves onto the clips, ensuring they’re level and secure.
Additional Tips for Tool Storage Cabinet Customization
Enhance the functionality and appearance of your tool storage cabinet with these additional customization tips:
- Painting or staining the cabinet: Choose a paint or stain that matches your workshop’s decor. Apply a primer before painting and a clear coat of polyurethane after to protect the wood.
- Adding hooks and accessories: Install hooks on the pegboard for hanging small tools and accessories and add magnetic strips for metal tools. A power strip could also come in handy for charging power tools.
- Labeling shelves and bins: Use adhesive labels or a label maker to mark each shelf and bin. Clearly label each section to help you locate your tools. quickly
Mounting the Cabinet
You’re almost done! Follow these steps to secure your tool storage cabinet to the wall:
- Locate the wall studs using a stud finder.
- Mark the positions for mounting screws, making sure they align with the studs.
- Use a level to hang your cabinet straight.
- With assistance, lift the cabinet into place and secure it to the wall studs using appropriate screws and washers.
Organizing Your Tools
With your new cabinet in place, it’s time to organize your tools for maximum efficiency. Here’s how:
- Add small bins or containers on the shelves for organizing smaller items like screws and nails.
- Arrange heavier tools on the bottom shelves and lighter items on top.
- Group similar tools together for quick retrieval.
- Use the pegboard doors to hang frequently used tools for easy access.
Maintenance Tips
To keep your tool storage cabinet in top condition, follow these maintenance tips:
- Apply a coat of wood sealant or paint to protect the cabinet from moisture and wear.
- Clean the pegboard and shelves regularly to prevent dust buildup.
- Periodically check and tighten any loose screws or hardware.