Project details
Skill
Cost
Estimated Time
We may be compensated if you purchase through links on our website. Our team is committed to delivering honest, objective, and independent reviews on home products and services.
Installing a shower door is a simple way to give your bathroom a sleek, modern look. With some basic DIY skills, you can complete this installation in just an afternoon. Whether you’re replacing an old shower curtain or upgrading an existing door, our step-by-step guide covers everything from choosing the right door type to applying finishing touches.
Types of Shower Doors
Before you start the installation, it’s helpful to understand the different types of shower doors available. Each type has installation considerations, so let’s explore the options to help you decide which shower door best suits your needs.
Framed Shower Doors
Framed shower doors are a popular and affordable option for many homeowners. Thanks to the metal frame surrounding the glass panels, these doors are especially stable. The frame also helps create a watertight seal to stop leaks. Framed doors are typically the easiest to install and are a good DIY project for those with basic skills. For our tutorial below, we installed a traditional framed shower door.
Frameless Shower Doors
Frameless shower doors offer a modern, minimalist look that makes your bathroom feel more spacious. These doors use thick tempered glass and don’t require a metal frame for support. However, they’re more difficult to install because of their weight and the precision needed for a proper fit. They’re also more expensive than framed options.
Sliding Shower Doors
Sliding or bypass doors are an excellent space-saving solution for smaller bathrooms. These doors, whether framed or frameless, have two or more glass panels that slide along tracks at the top and bottom of the shower opening. They’re particularly useful in bathrooms where a swinging door might interfere with other fixtures or limited floor space.
Tools and Materials Needed for Shower Door Installation
Gathering the below tools and materials before starting your installation.
Essential Tools
- Tape measure
- Level (4-foot recommended)
- Drill with masonry bit
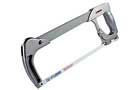
- Hacksaw
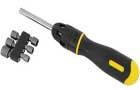
- Screwdriver (both flathead and Phillips)
- Caulking gun
- Utility knife
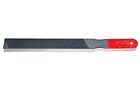
- File
- Pencil
- Hammer
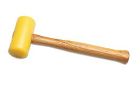
- Plastic mallet
- Safety glasses and work gloves
Required Materials
Besides your shower door kit, which typically includes the door, tracks, and hardware, you’ll need the following:
- Clear, mildew-resistant silicone caulk
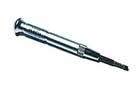
- Wall anchors
- Stainless steel screws (various sizes as specified in the kit)
- Post-installation cleaning supplies


Preparing for Shower Door Installation
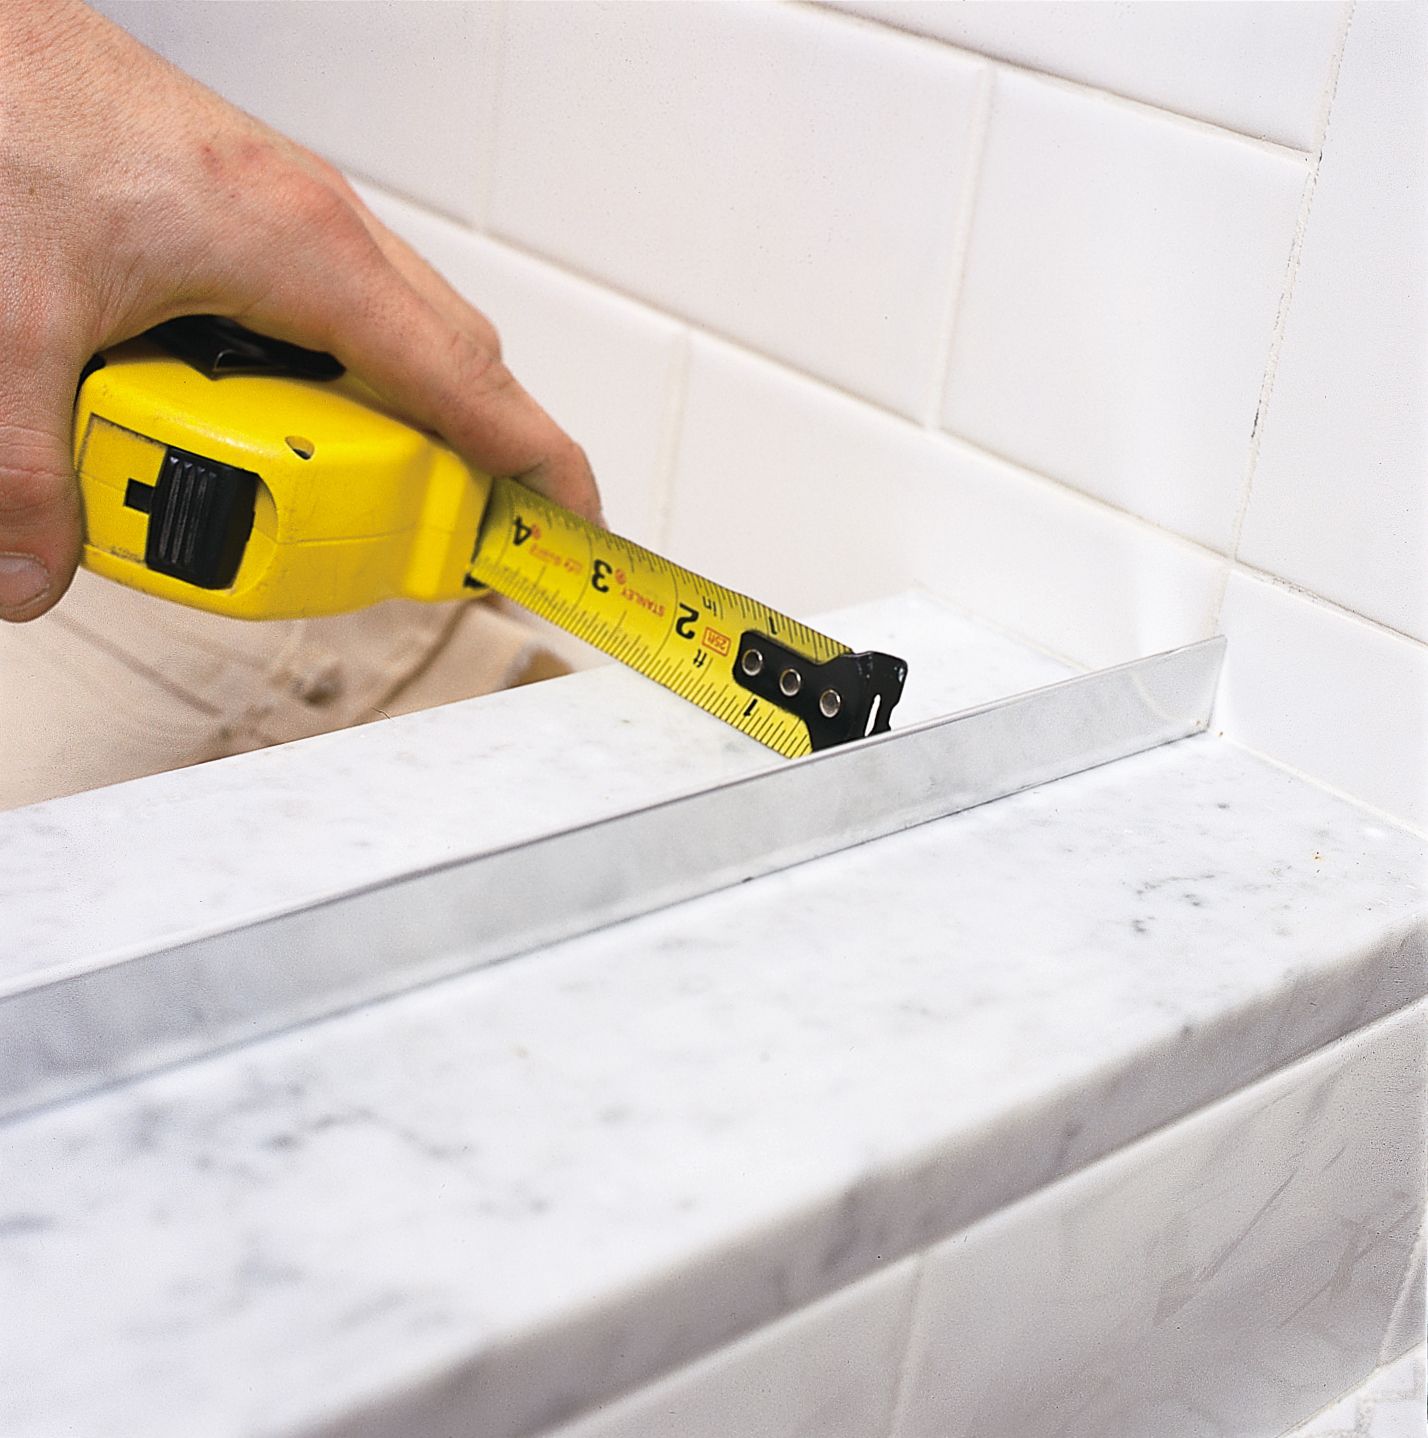
Measure the width of the shower opening in three places: at the threshold, at 5 feet high, and halfway in between. Use the smallest measurement when ordering your door to ensure it will fit. We also recommend measuring from the door’s pivot point to any potential obstacles. Verify that the door can swing freely without hitting your fixtures or walls.
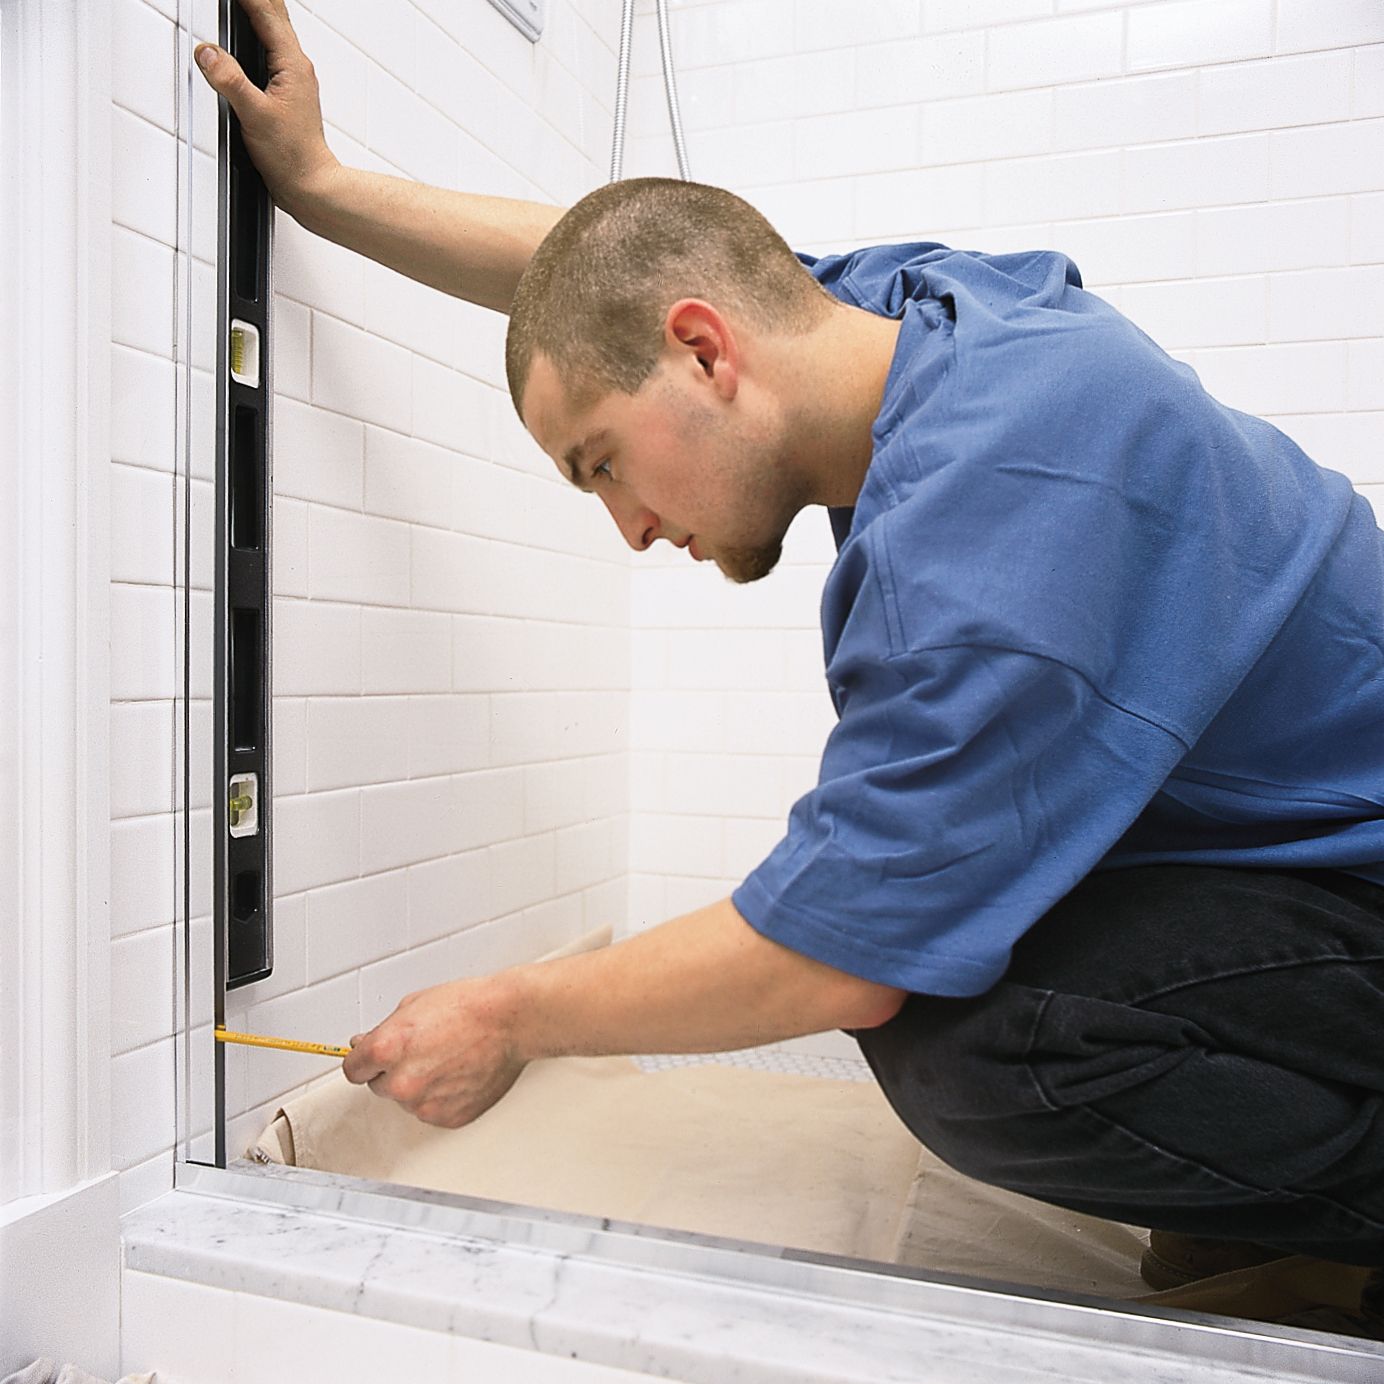
Use a level to check if your shower walls are plumb (perfectly vertical). Any wall over half an inch out of vertical over 5 feet may require a filler strip to make sure you can install the door plumb. This step is required for the door to function properly and create a watertight seal when closed.
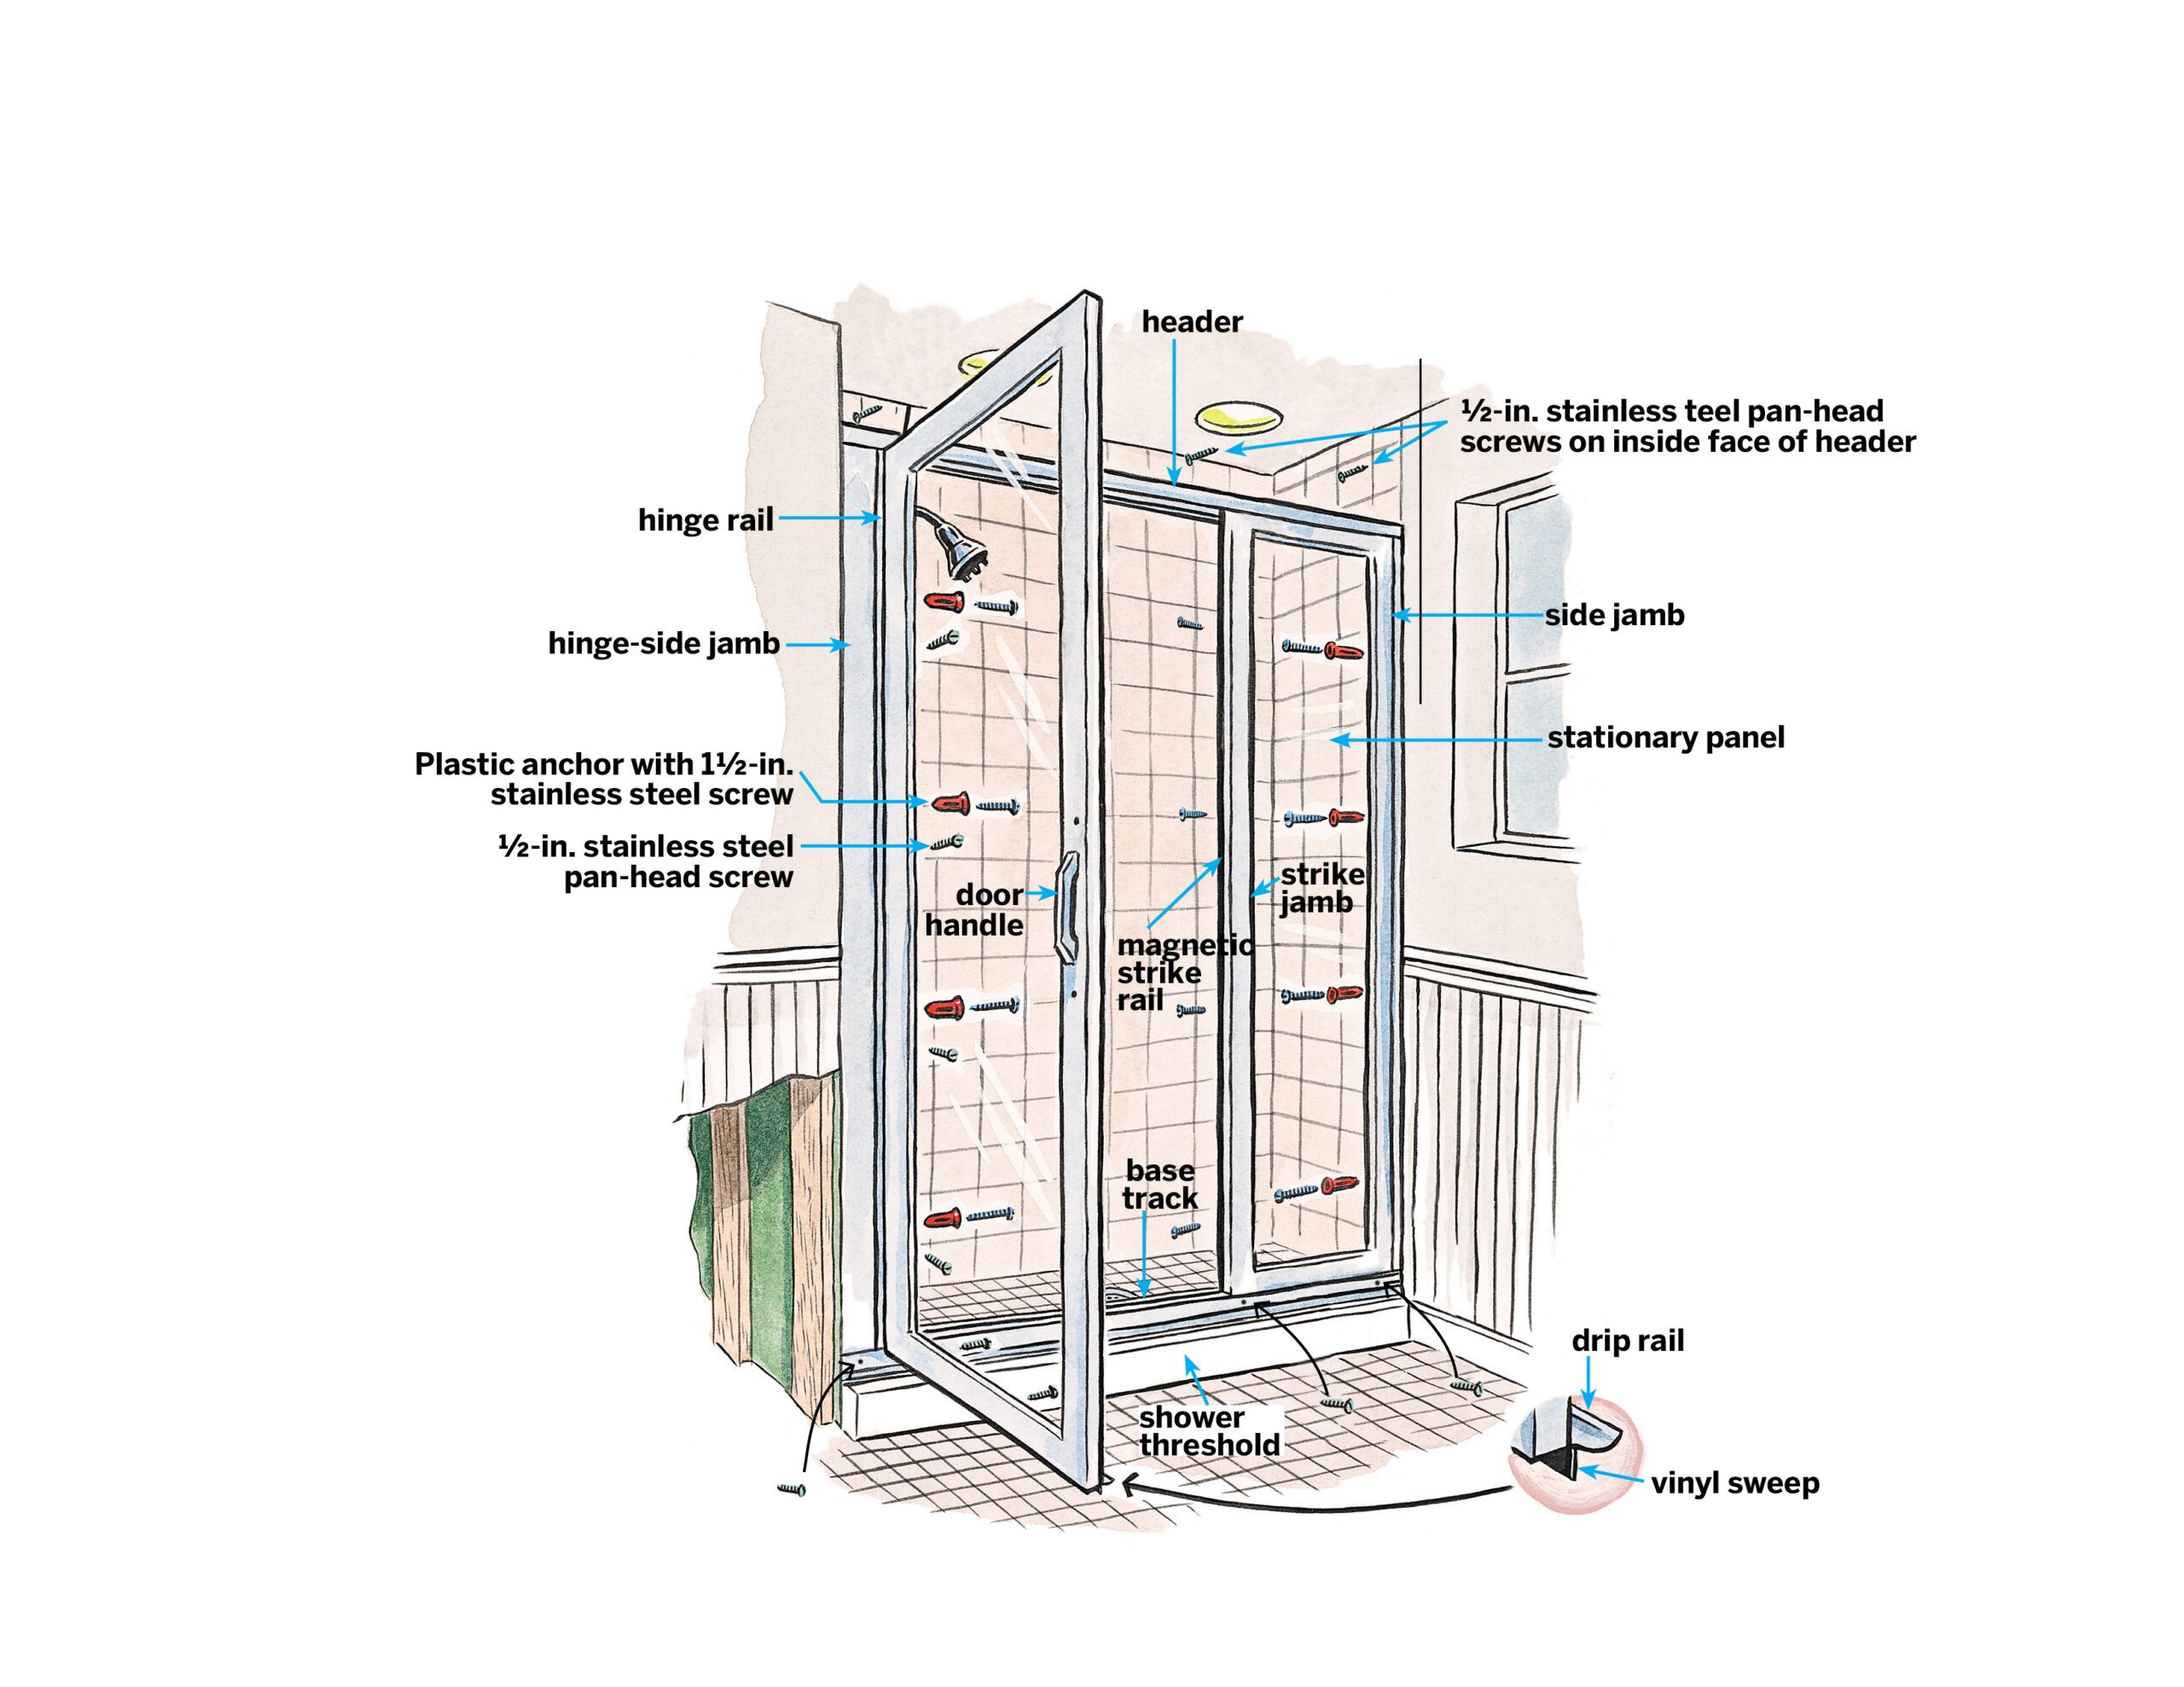
Installing the Shower Door Base Track
The base track is the foundation of your shower door’s overall stability and functionality.
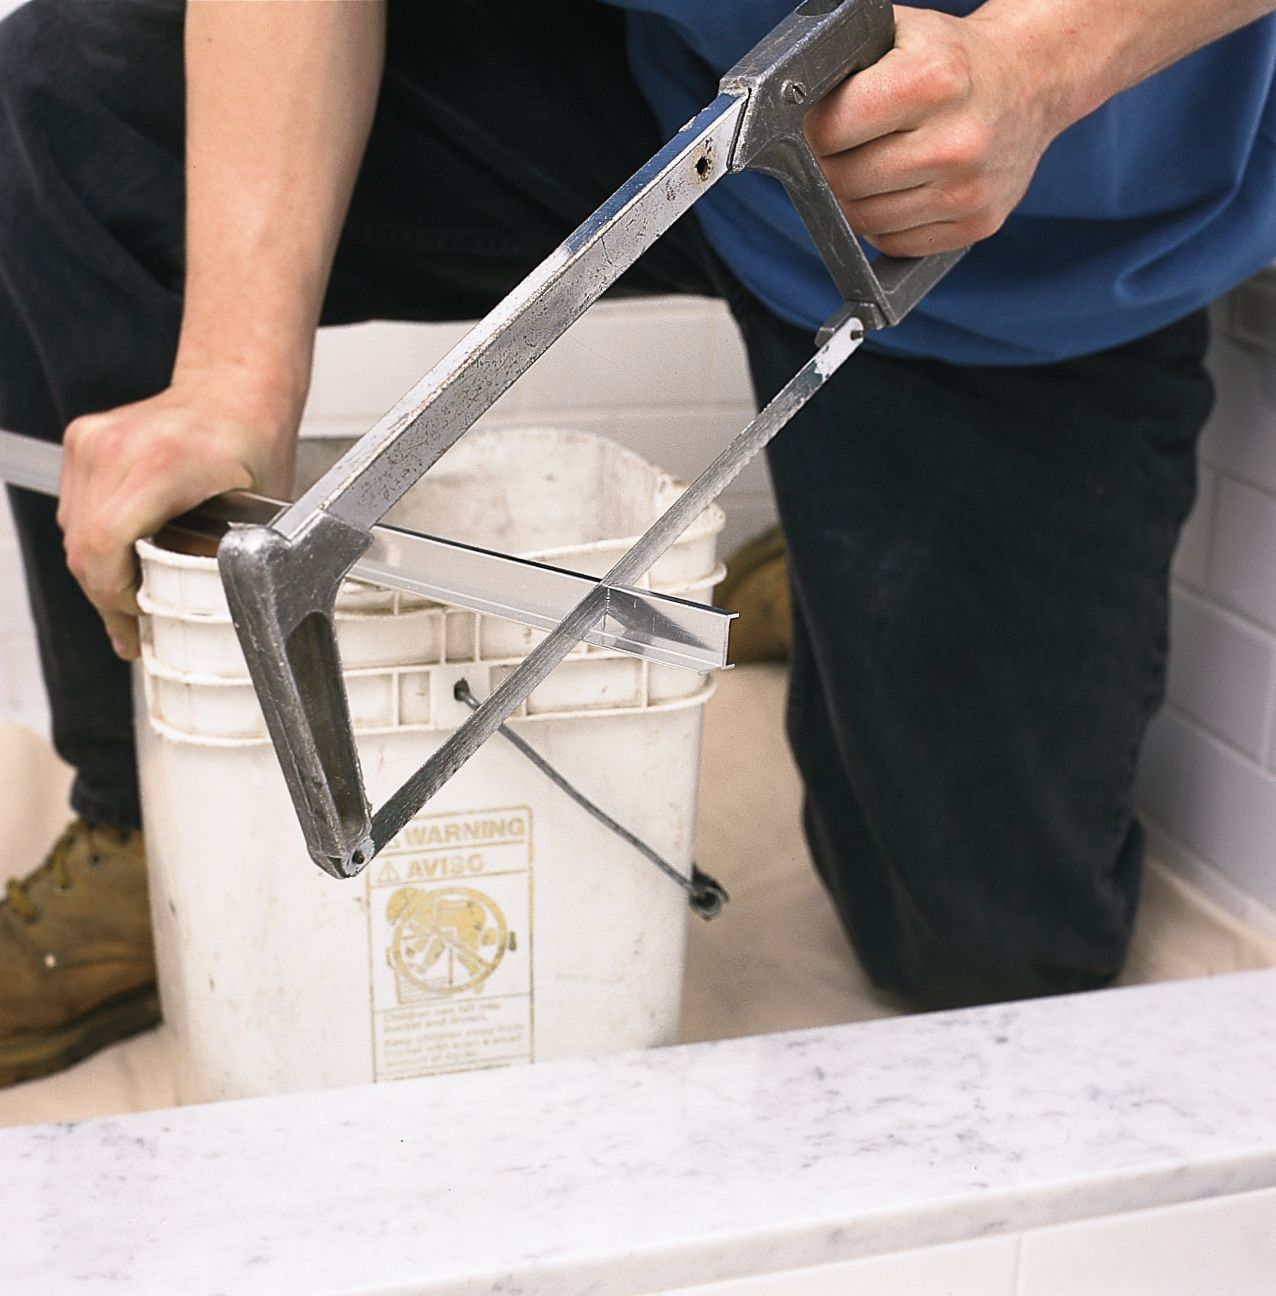
Cutting the Base Track
Measure the length of your shower threshold carefully. Using a hacksaw, cut the aluminum base track to fit snugly between the stall walls. Then, use a file to smooth any rough edges. Vacuum up the metal filings immediately so they don’t scratch the bathroom floor or shower base.
Positioning and Securing the Track
Place the cut base track centered from front to back on the threshold. We like to mark its position near each end with a pencil for easy repositioning if it shifts during installation. Some installers also recommend applying a thin bead of silicone caulk under the track before final placement to create a watertight seal. But check your manufacturer’s instructions—some advise against this step to allow for drainage.
Mounting the Side Jambs for the Shower Door
The side jambs provide the vertical structure for your shower door and must be installed plumb for proper door operation. This step requires precision to ensure a secure and level installation.
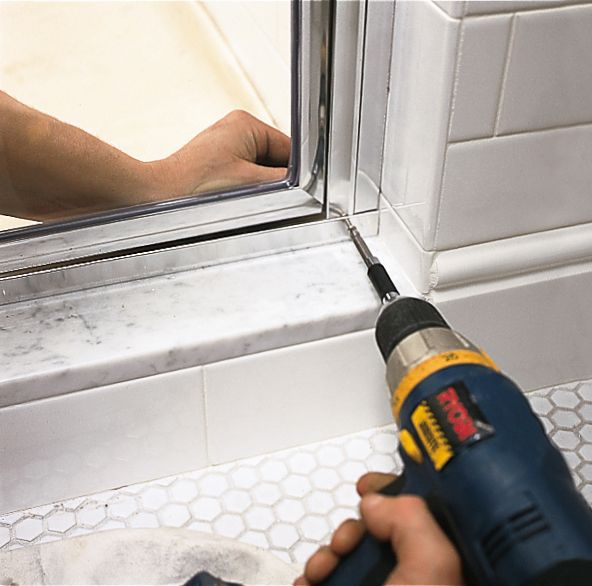
Installing the Hinge-Side Jamb
Start with the jamb that will support the door. Holding it against the wall, fit its lower end into the base track. Use a level to adjust the jamb until it’s perfectly upright, then mark the screw hole spots on the wall through the jamb.
Remove the jamb and create small divots at each mark using an automatic punch or nail set to prevent drill bit wandering. Drill holes at each mark with a 3/16-inch masonry bit, then insert plastic wall anchors. Reposition the jamb and secure it with stainless steel screws.
Setting Up the Strike-Side Jamb
The process is similar for the opposite side, but you’ll need to account for the door’s alignment. If you’re installing a door without a side panel, attach the magnetic strike rail to this jamb before positioning. Close the door to align the jamb, mark its position, and secure it to the wall like you did with the hinge-side jamb. For installations with a glass side panel, you’ll need to fit the panel into place before marking and securing this jamb.

Hanging the Shower Door
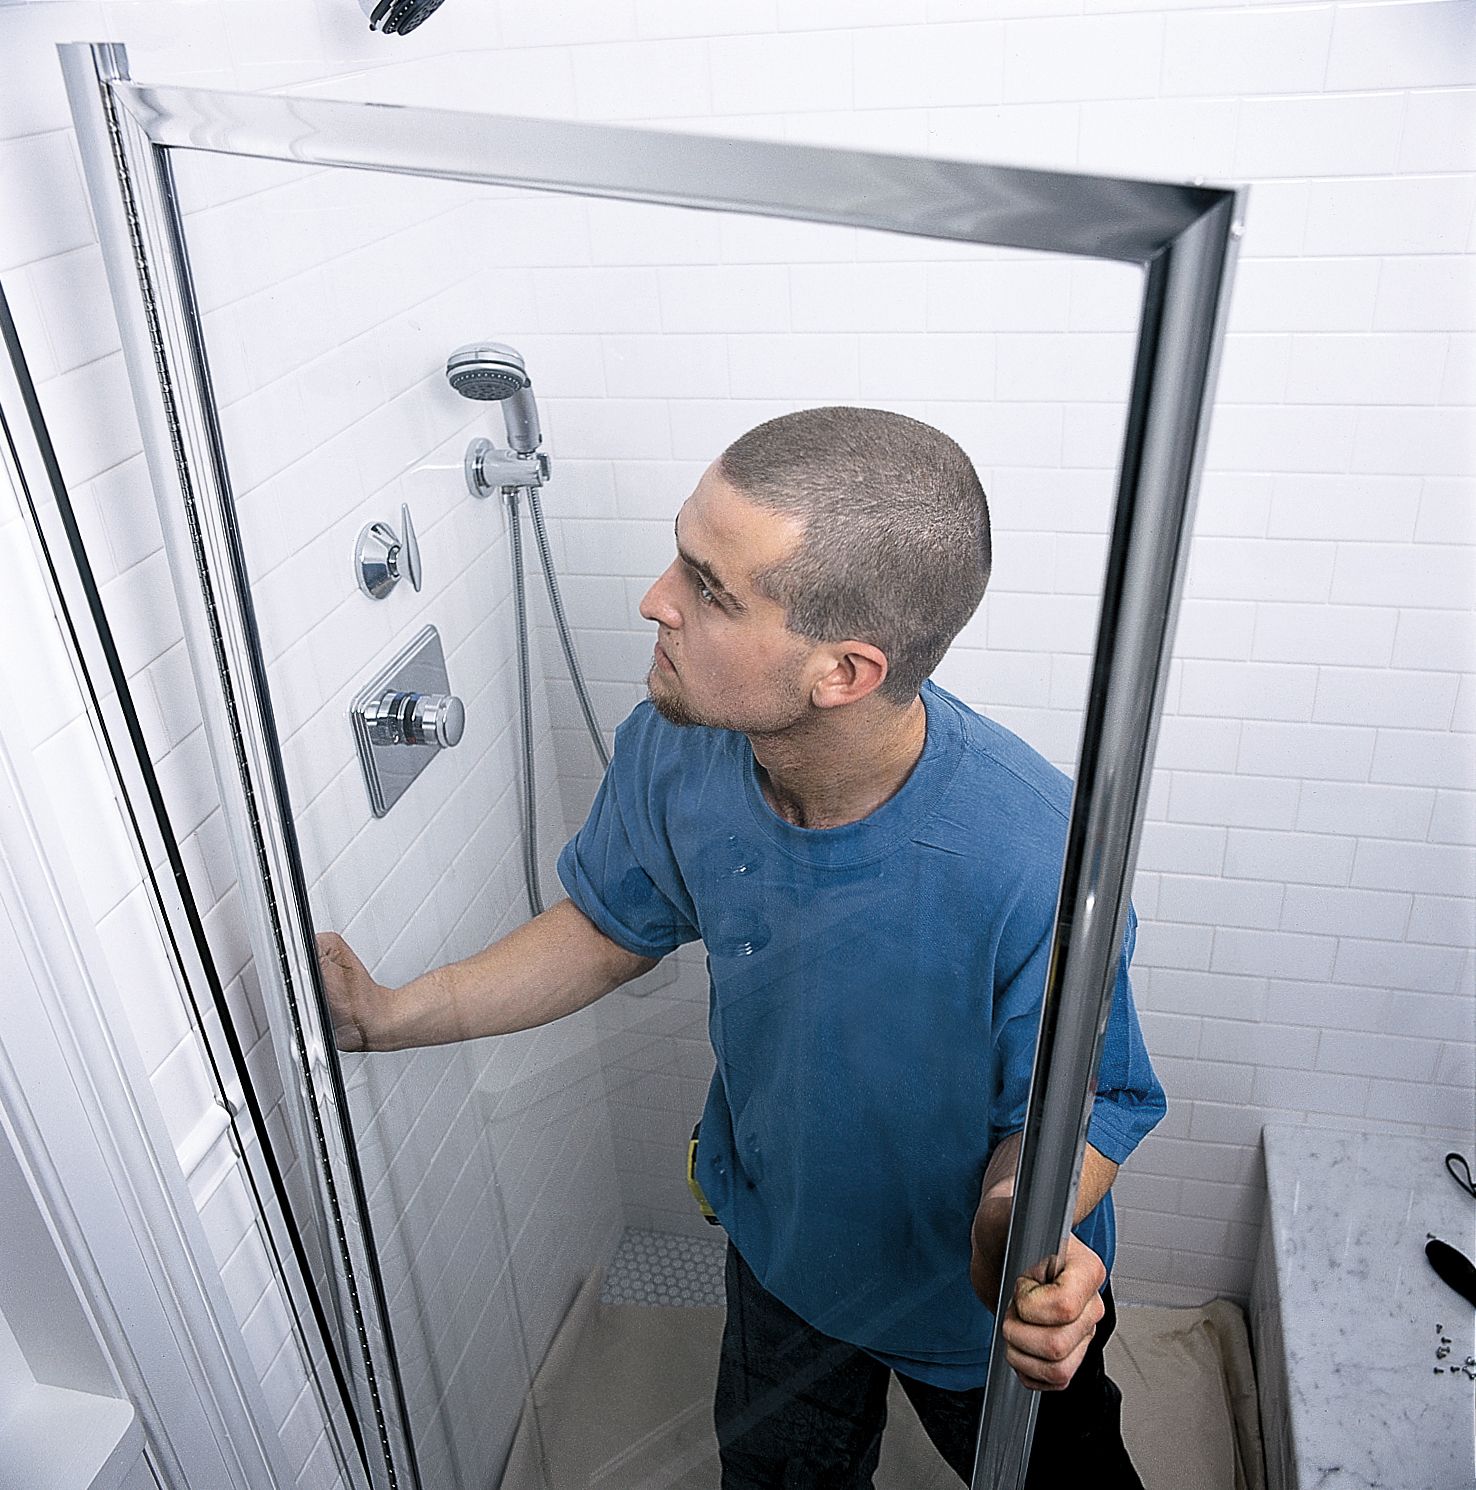
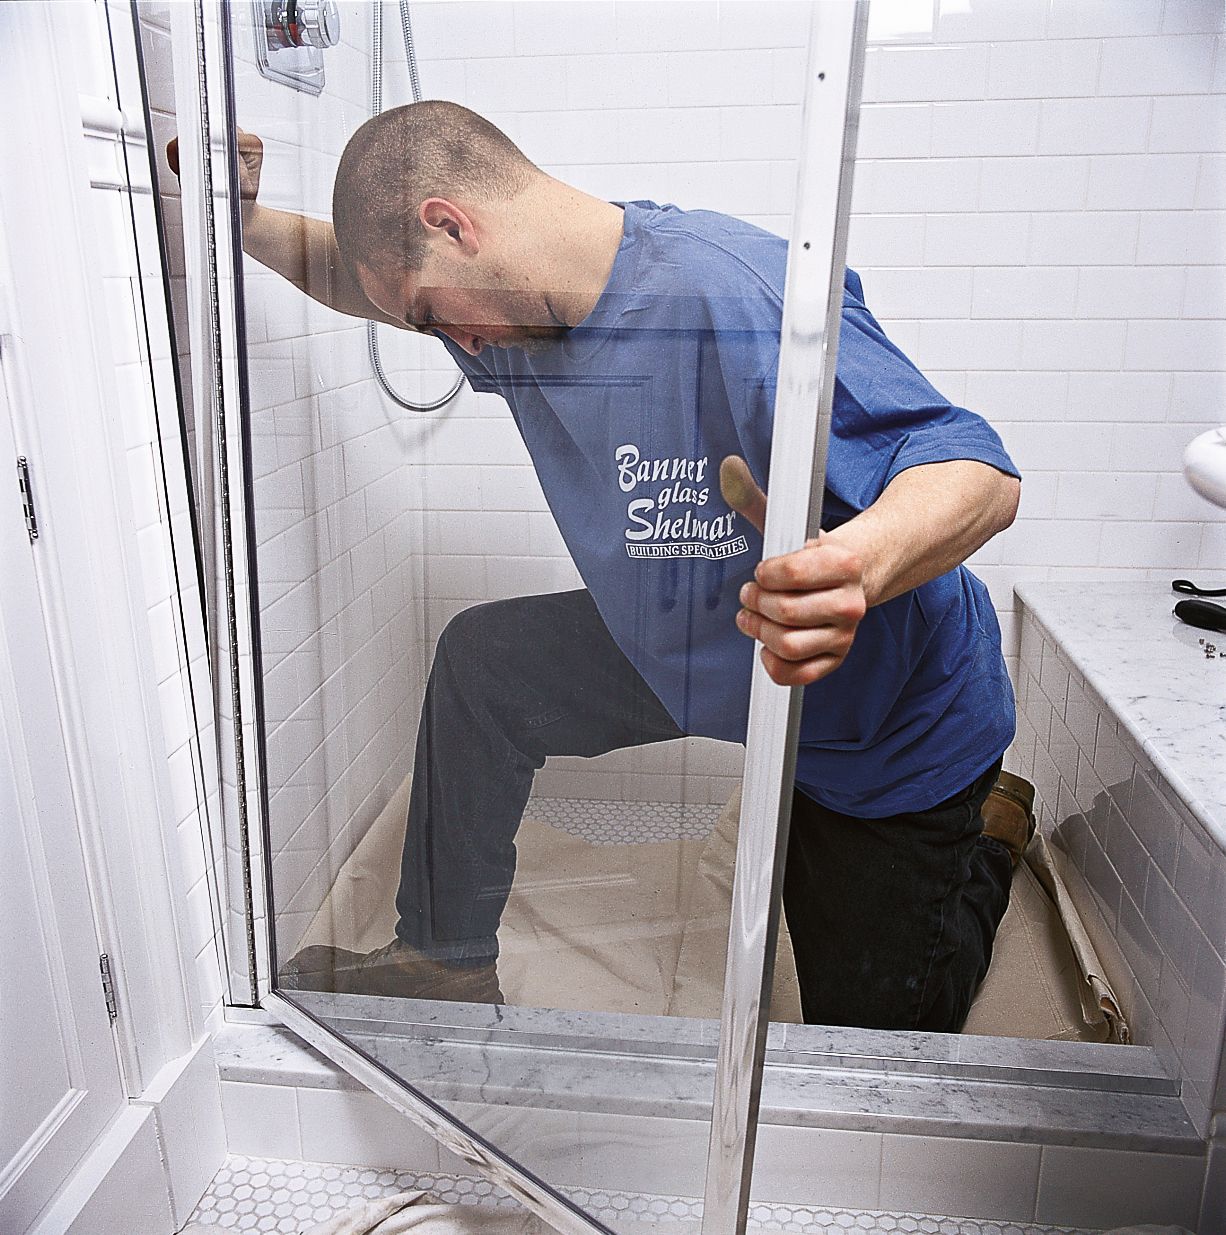
Take your time hanging the shower door. This step requires careful alignment for proper function and a watertight seal. It’s helpful for someone else to hold the door in place while you make adjustments.
Attaching the Shower Door to the Hinge Rail
Lift the door with the attached hinge rail positioned to swing out from the shower. Next, slip the hinge rail into the installed jamb. Maneuvering heavy shower doors can be awkward, so we recommend having someone help. Don’t bump the glass against any hard surfaces during this process.
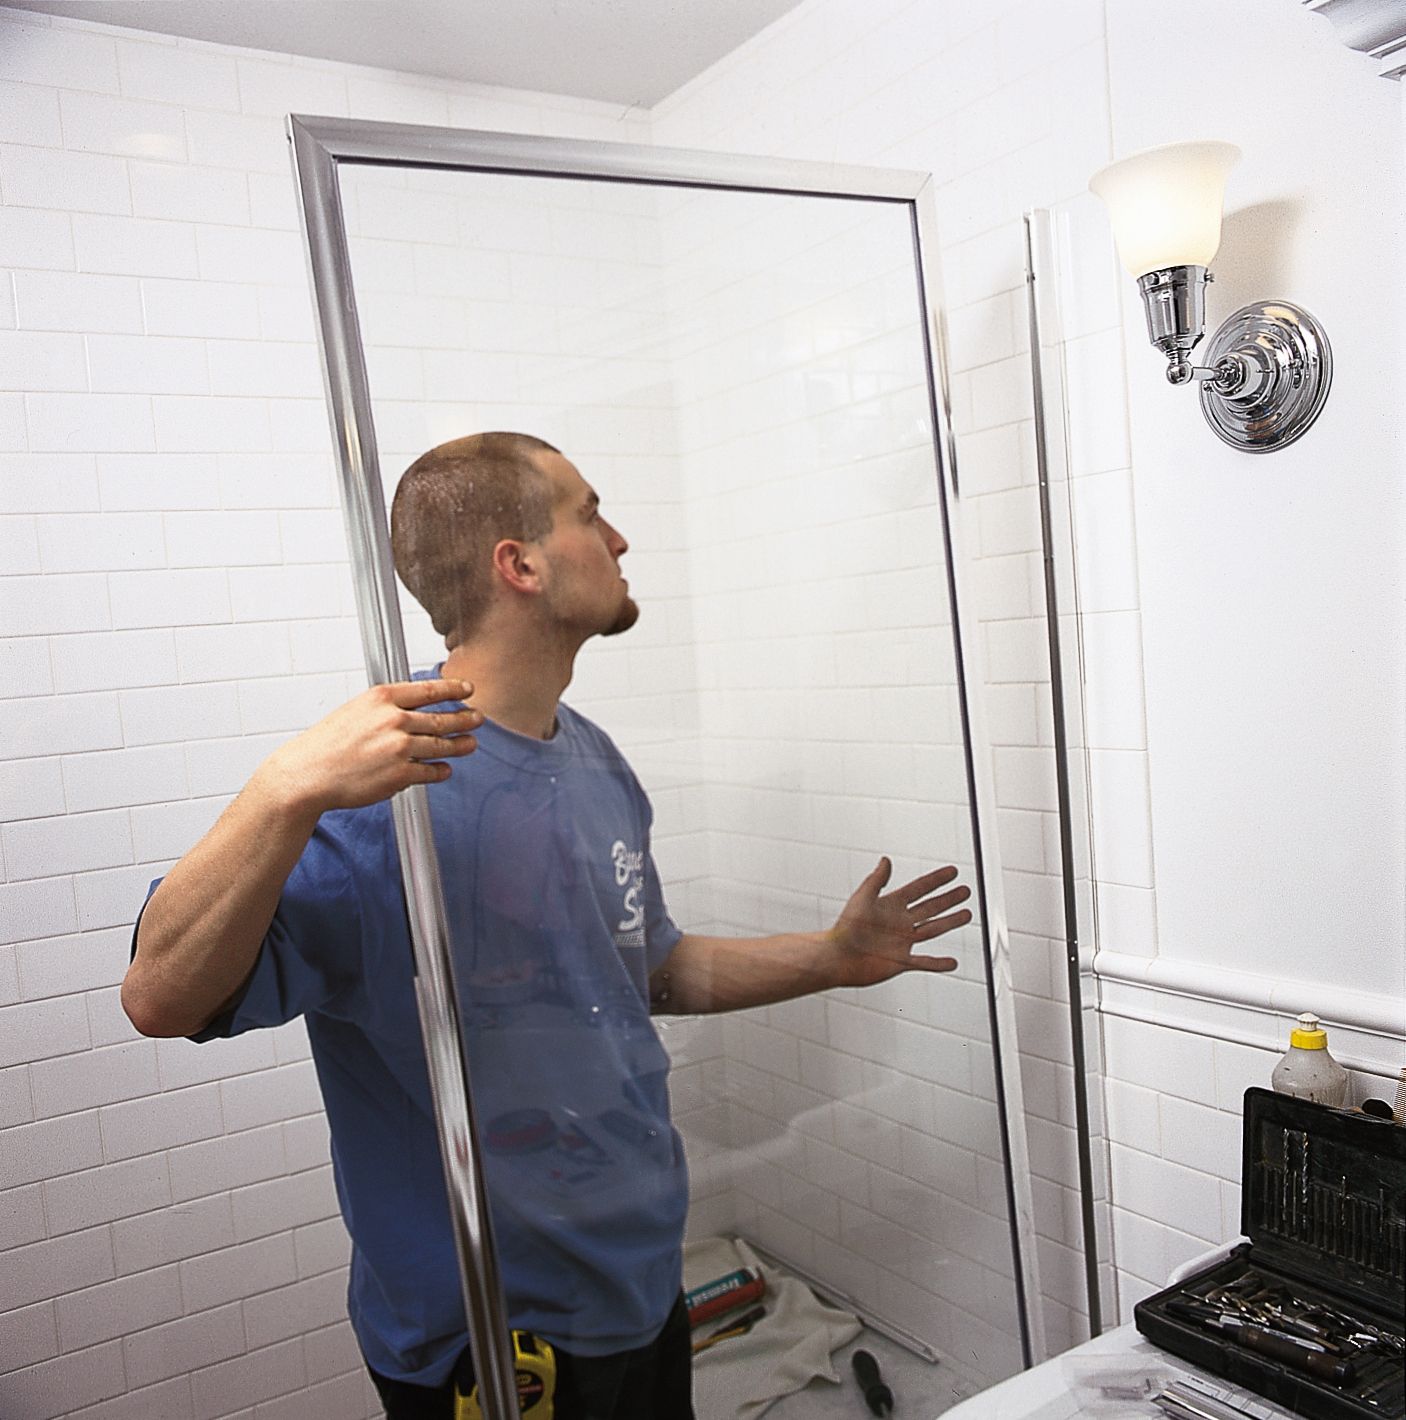
Adjusting for Plumb
Once the door is in place, use a level to check if the strike-side edge is plumb. If it’s not, make slight adjustments by pulling the hinge rail out of the jamb slightly at the top or bottom. There’s typically about half an inch of adjustment available between these pieces.
When the door is upright and the hinge rail is still engaged in the jamb, have a helper hold the door steady while you drill pilot holes through the hinge rail into the mounted jamb. Use the screws that came with your door to attach the hinge rail to the jamb.
Installing Additional Shower Door Components
You might have to install several additional components to complete your shower door setup.
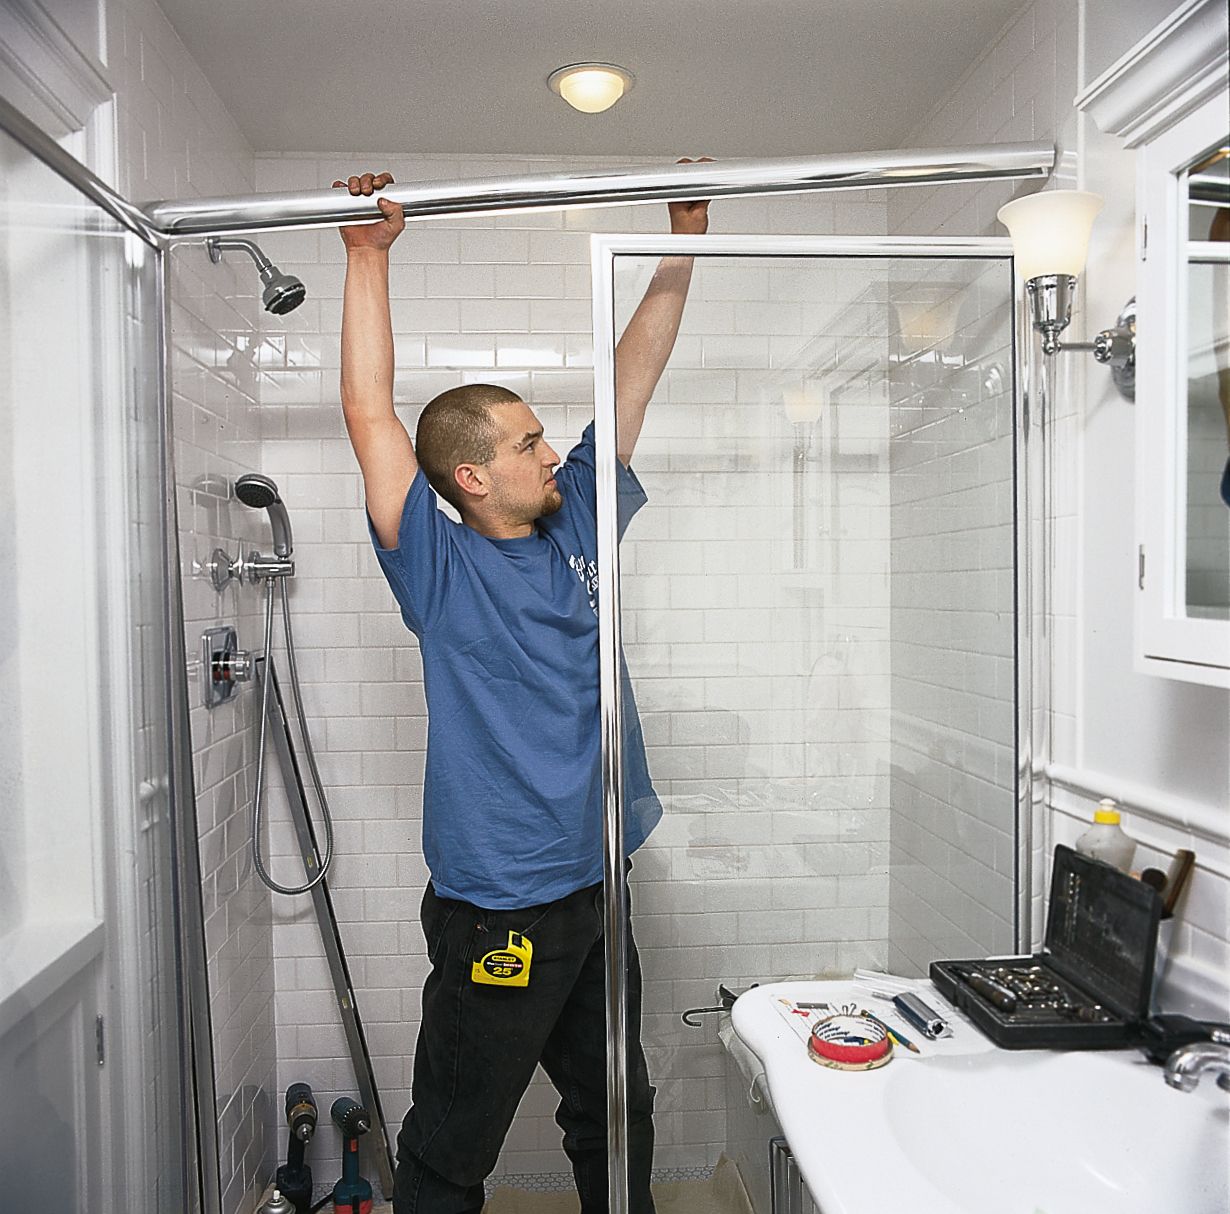
Setting the Header
Your shower door kit might include a header to stabilize the enclosure. Measure and cut the header to length, then slip it over the top of the hinge jamb (and the side panel if it has one). Drill pilot holes through the inside face of the header at each end and into the corresponding jambs. Secure with screws to create a rigid frame structure.
Attaching the Drip Rail
The drip rail directs water back into the shower and prevents leaks. Using a hacksaw, cut the drip rail to match the width of the door and file the ends smoothly. Install the vinyl sweep into the rail’s groove, crimping the ends to hold it in place. Attach the drip rail to the bottom of the door, tilting it slightly towards the hinge side for proper drainage.
Shower Door Sealing and Finishing Touches
The final steps of installation involve sealing the door properly to prevent water leakage and adding any finishing touches.
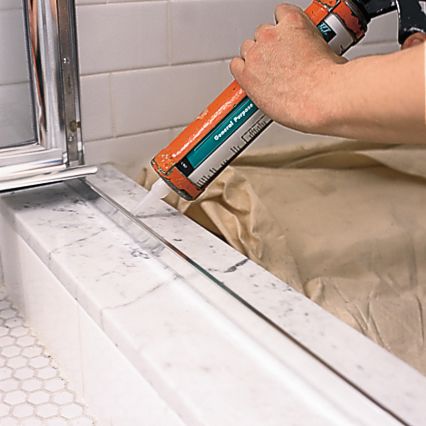
Applying Silicone Caulk
To make your shower enclosure completely waterproof, apply a bead of clear, mildew-resistant silicone caulk along the inside and outside edges of the base track. Run a bead along the inside edges of both side jambs. Smooth the silicone immediately after application for a neat, even finish. This step prevents water from seeping under the tracks or behind the walls, which could lead to water damage and costly bathroom repairs in the future.
Installing Door Handles
Finally, install the door handles that come with your shower door kit. Align the outside handle with the pre-drilled holes in the door frame, then attach the interior handle and tighten any set screws.
Troubleshooting Common Shower Door Installation Issues
Even with careful planning and installation, you may encounter some challenges. Here’s how to fix them:
- Dealing with uneven walls: If your shower walls are significantly out of plumb, you may need to use shims behind the jambs to create a level surface. In extreme cases, you might need to install a filler strip along the entire wall length to provide a flat mounting surface for the door frame.
- Fixing leaks and gaps: After installation, run a water test to check for leaks. Check the caulking around the base track and jambs if you notice water escaping. You may need to apply additional silicone in problem areas. For gaps between the door and the frame, adjust the door’s alignment or consider adding a sweep or additional weatherstripping.
In the video below, This Old House general contractor Tom Silva shows how to fix a sticky shower door.
Shower Door Cost Considerations
Shower doors cost between $530 and $1,390, but can dip as low as $162.* Several factors influence where your project falls in that price range:
- Door type (framed, frameless, or sliding)
- Glass thickness and quality
- Size of the shower opening
- Customization options
- Complexity of installation (non-standard shower shapes)
DIY vs. Professional Shower Door Installation
Do-it-yourself (DIY) installation can save you some money on labor costs. The primary expense is the shower door kit itself, which you can find in a hardware store for about $400–$648* for a standard 5-foot-wide enclosure. However, professional installation ensures expertise and often comes with a warranty. Professional shower door installation costs vary widely but generally range from $500–$1,000, depending on door type.
*Cost information based on 2024 reports from Angi and The Home Depot.
Our Conclusion
With careful planning, the right tools, and attention to detail, you can install a shower door yourself. It might seem daunting at first, but following the steps outlined in this guide can yield professional-looking results. If you’re unsure about any aspect of the installation or encounter difficulties, don’t hesitate to consult a professional.