Project details
Skill
3 out of 5ModerateN/A
Cost
$100
Estimated Time
3-4 hours
Steps for trimming an interior window
- Remove any existing casing, stool, or apron molding.
- Use the table saw and miter saw to cut a piece of stool molding to fit between the windows. Leave the ends long.
- To determine the finished length of the stool, hold the extension jamb and casing in place, leaving a ¼” reveal between them. Then set the distance from the face of the casing to the face of the stool and transfer that measurement from the side of the casing to the stool.
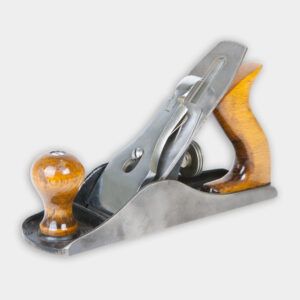
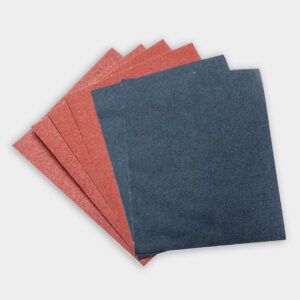
- Ease the edges of the stool with a block plane and sandpaper.
- Use shims to make the stool square to the window.
- Use a nail gun to nail the stool in place.
- Rip the extension jamb pieces to the correct width, then cut them to length.
- Cut the casing to length, mitering the corners at 45 degrees.
- Make a mark ¼” from the edge of the extension jamb where the casing will sit.
- Assemble the extension jambs and window casings as a single unit on a workbench or sawhorses using screws, wood glue, and nails.
- Dry fit the trim assembly in the window opening. Shims may need to be added or the plaster may need to be taken down slightly.
- Use minimally expanding foam in any joints around the window and around the extension jambs.
- Nail the trim assembly in place.
- Attach the window stool to the casing with a screw.
- Cut the apron to the correct length, which is the distance from the outside of the casing to the outside of the casing.
- Glue and nail the apron in place.
Resources
Tom installed 3½” Colonial casings and used stock lumber for the remaining pieces.
All of the wood and tools used can be found at a home center.
Special assistance with this project was provided by Cleveland Lumber Co.