Project details
Skill
Cost
Estimated Time
Patching holes in drywall is a common task every homeowner should know how to do. Walls and ceilings can get damaged by accidental bumps, picture hanging, and intentional renovations, resulting in holes that mar their appearance.
Fortunately, repairing drywall is a relatively simple process that doesn’t require specialized tools or extensive experience. In the video above, This Old House’s Tom Silva shows host Kevin O’Connor how to patch holes of all shapes and sizes in drywall.
Patching Drywall: Tools and Materials
Before starting your drywall repair project, gather these tools and materials:
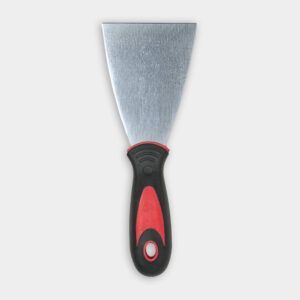
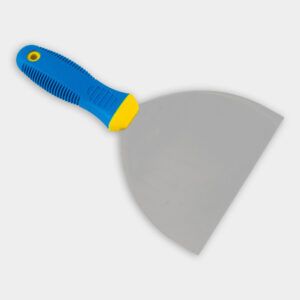
- Drywall knife
- Drywall patch (for medium to large holes)
- Drywall tape
- Putty knife
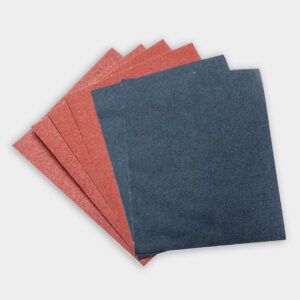
- Sandpaper
- Screws and screwdriver
- Spackling compound or joint compound
- Scrap drywall (for large holes)
- Utility knife
Patching Small Holes in Drywall
Small holes, typically those less than 1/2 inch in diameter, are the easiest to repair. Nails, screws, or small accidents often cause these.
How To Patch Drywall
Here’s a breakdown of how to patch small holes:
- Clean the area around the hole for good adhesion.
- Apply a spackling compound to the hole using a small putty knife.
- Smooth the compound, feathering the edges to blend with the wall.
- Allow the compound to dry completely.
- Sand the area lightly to achieve a smooth finish.
- Apply additional coats if necessary, sanding between each coat.
Silva emphasizes the importance of applying thin coats and not overworking the compound. “After two or three strokes, leave it alone until it’s dry,” he says.
Repairing Medium-Sized Holes in Drywall
You need to use a different approach for holes between 1/2 inch and 6 inches in diameter. Doorknobs or other moderate impacts often cause these holes.
Using Self-Adhesive Patches
In the video, Silva demonstrates how to repair holes with self-adhesive patches. These patches can effectively cover medium-sized holes without the need for additional support behind the wall.
Follow these steps to do it yourself:
- Purchase a metal-reinforced, self-adhesive patch slightly larger than the hole.
- Clean the area around the hole.
- Remove the backing and center the patch over the hole.
- Press the patch firmly against the wall for good adhesion.
- Apply joint compound over the patch, feathering the edges.
- Allow the compound to dry, then sand smooth.
- Apply additional coats as needed, sanding between each coat.
Fixing Large Holes in Drywall
Large holes, typically those larger than 6 inches, require a more involved repair process. These often result from significant impacts or intentional removals.
The California Patch Method
Silva demonstrates an innovative technique called the California Patch. Here’s how to do it:
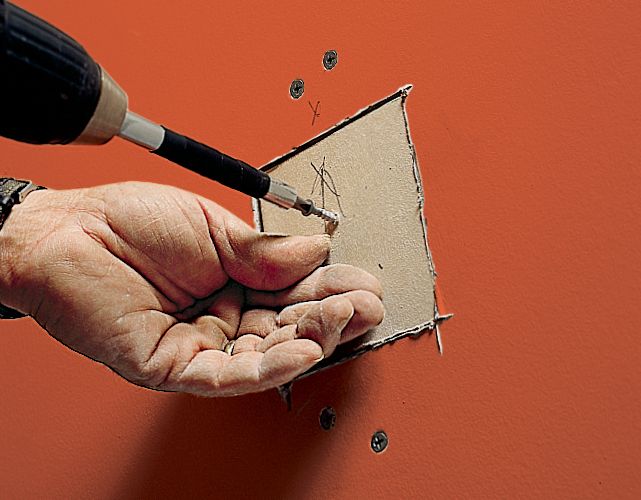
Step 1: Cut out the patch
Score and remove the gypsum from the patch’s edges, leaving the paper backing. Cut a piece of drywall slightly larger than the hole.
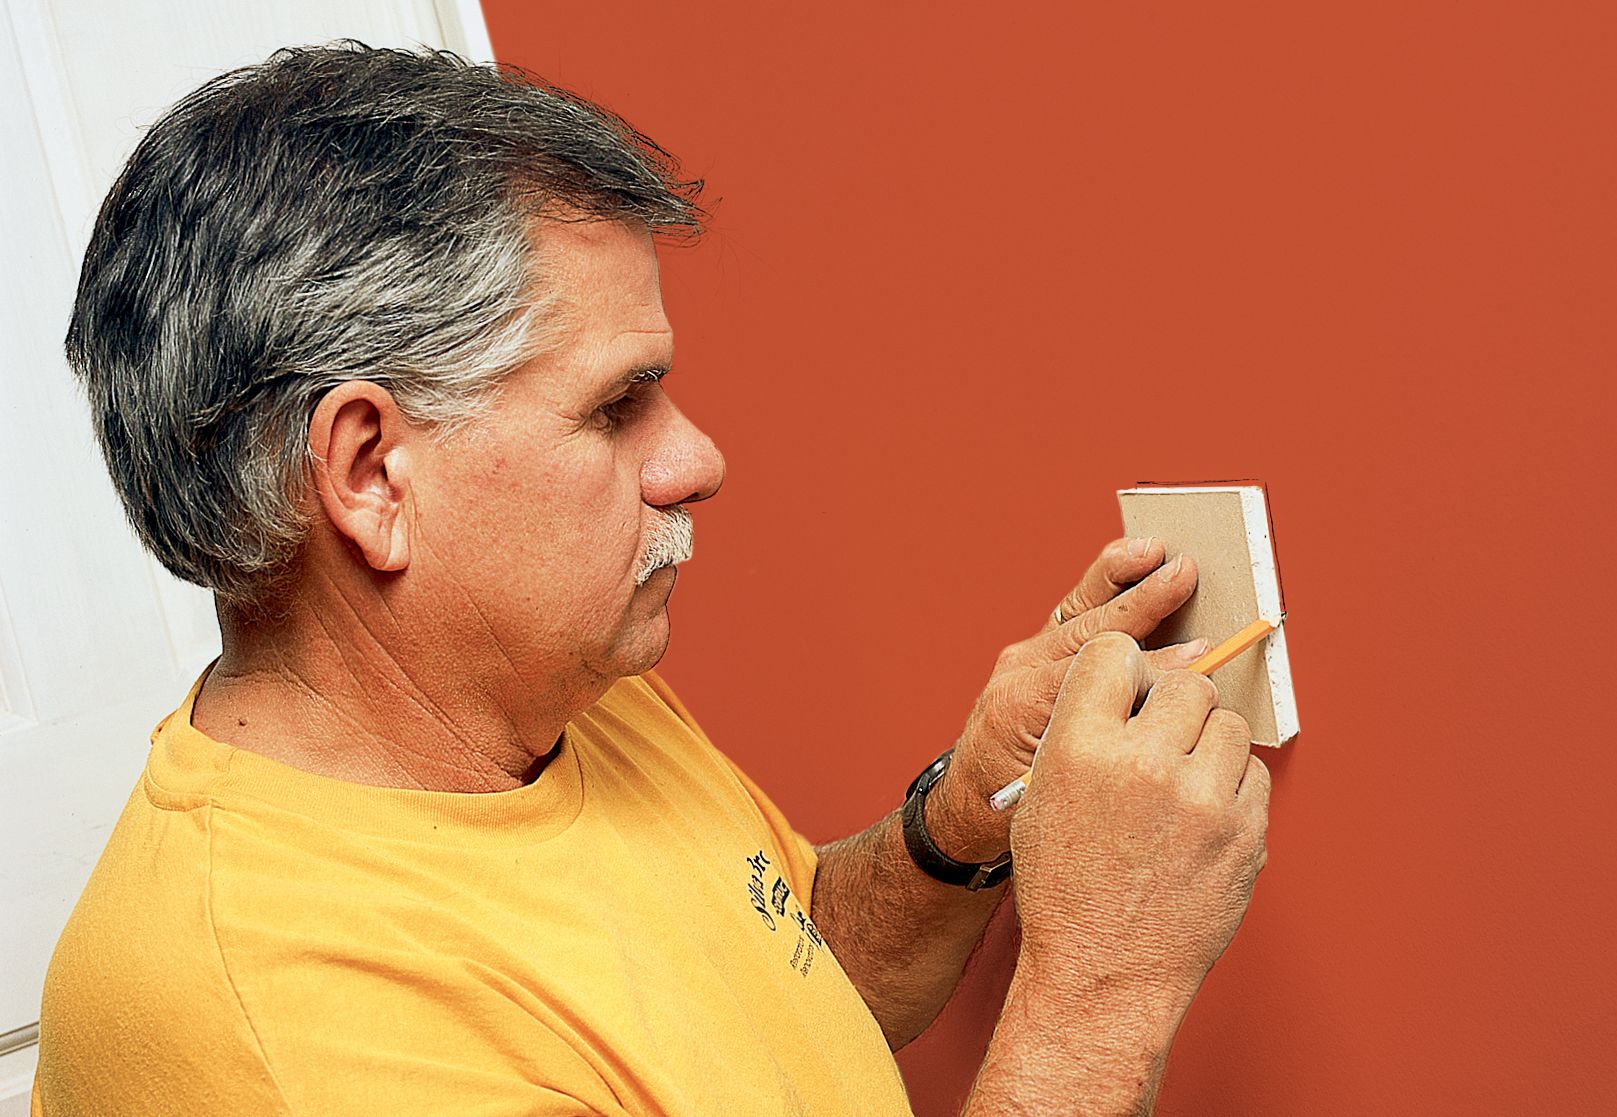
Step 2: Prep the hole
Trace the patch onto the wall and cut out the damaged area.

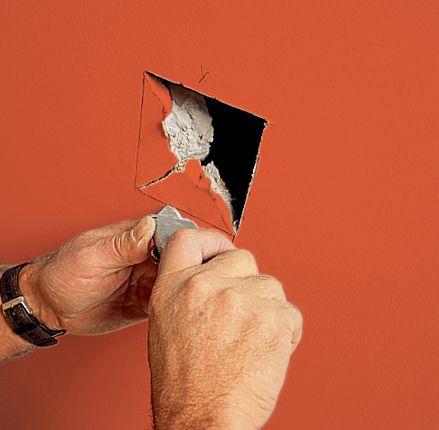
Step 3: Snap back the drywall
Snap back the drywall pieces inside the outline, then cut each one free with the knife.
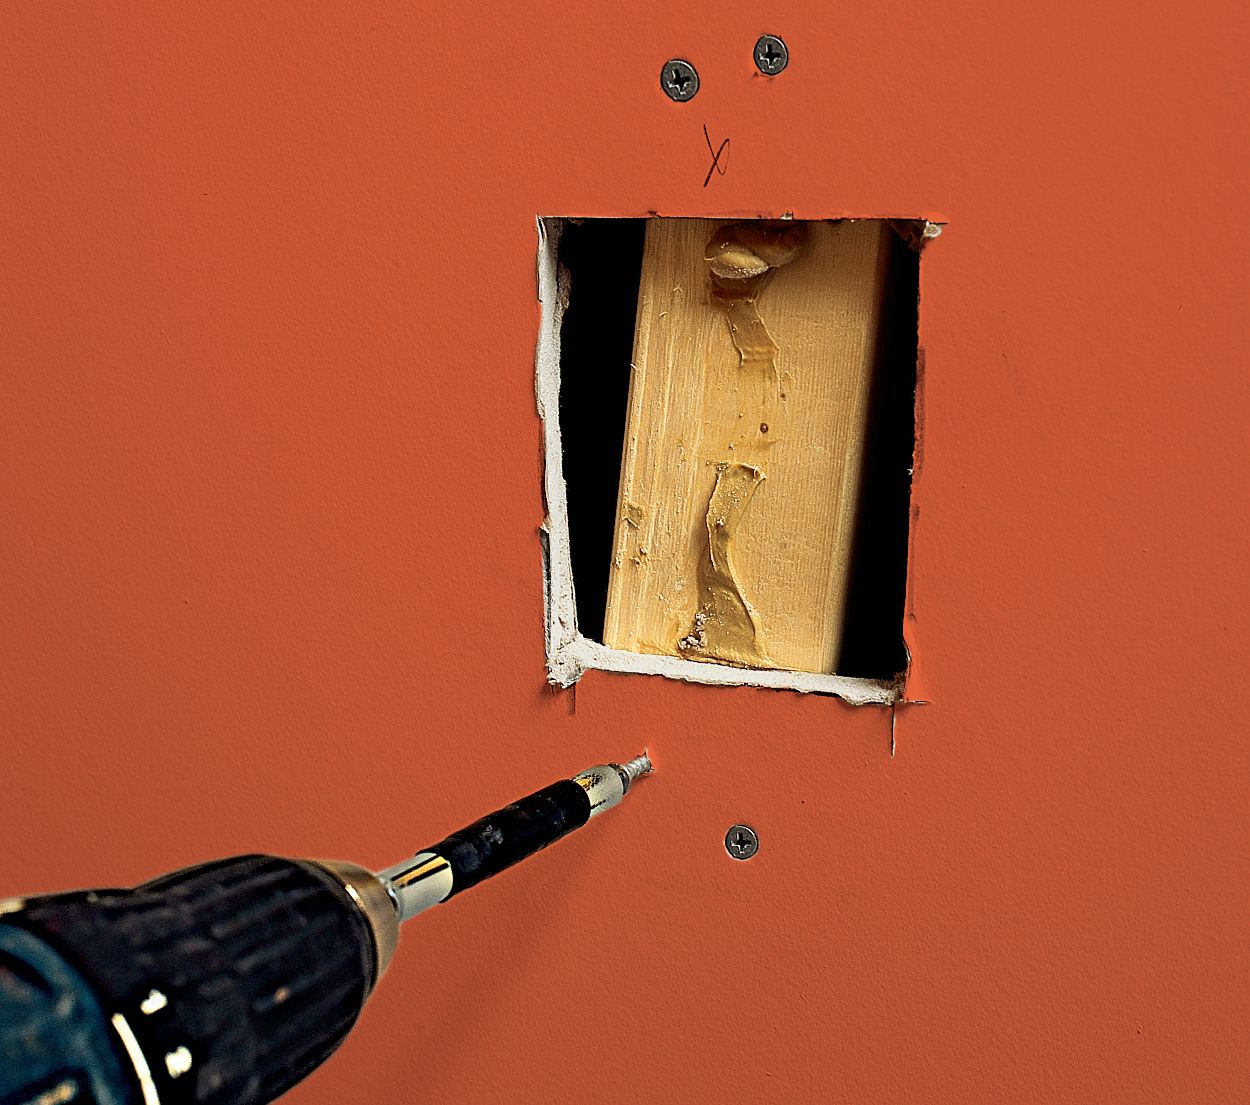
Step 4: Add strapping
Take a scrap of wood a few inches longer than the hole and slide it behind the drywall. Secure it in place by driving screws through the drywall and into the wood. Place the scrap drywall in the hole and screw it to the wood. Apply joint compound around the hole’s edges.
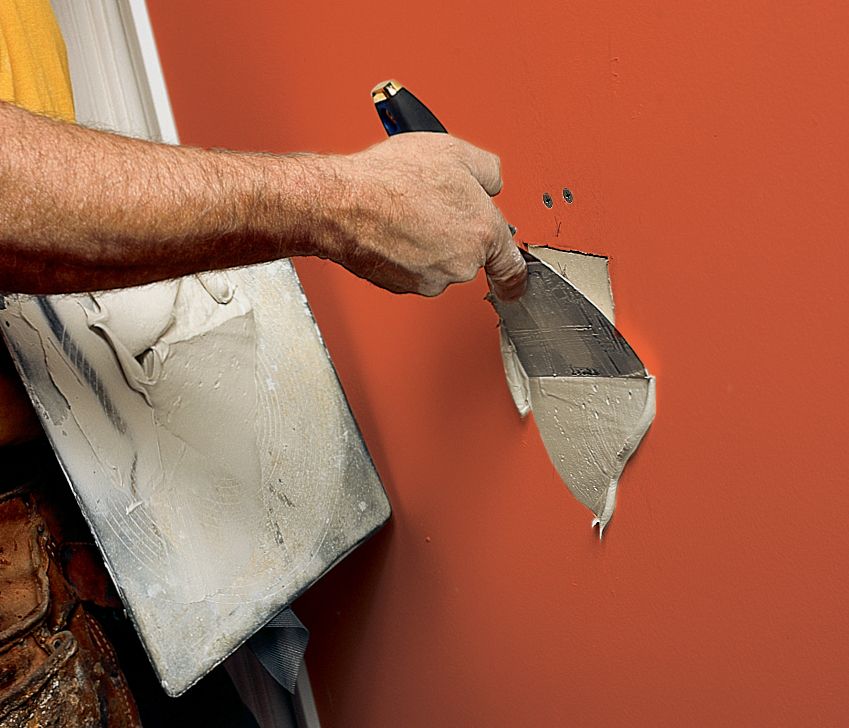
Step 5: Attach the patch
Place the patch into the hole, with the paper overlapping the wall. Press the patch firmly and smooth out any air bubbles.
Step 6: Cover the seams with joint compound
Apply joint compound over the seams and paper edges. Allow to dry, then sand and apply additional coats as needed. This method provides a strong, seamless repair without the need for additional backing support.
Using Drywall Clips
For very large holes, Tom shows an alternative method using drywall clips. Follow these steps:
- Install drywall clips around the perimeter of the hole.
- Cut a piece of drywall to fit the hole precisely.
- Insert the drywall piece and secure it to the clips with screws.
- Apply joint compound and tape over the seams.
- Feather out the compound, allow it to dry, and sand smooth.
- Apply additional coats as necessary for a seamless finish.
Drywall Patch: Tips for a Professional Finish
Achieving a professional-looking repair requires attention to detail and patience. Here are some tips to make sure your patch blends seamlessly with the surrounding wall:
- Feather the edges of the compound well beyond the repair area.
- Prime and paint the entire wall section for a uniform appearance.
- Sand between coats for a smooth finish.
- Use thin coats of compound to minimize sanding.
- Use a bright light at an angle to spot imperfections.
Patching Holes in Drywall: Common Mistakes to Avoid
When patching drywall, be aware of these common pitfalls:
- Applying the compound too thickly leads to excessive shrinkage and cracking.
- Failing to secure large patches causes future sagging or cracking.
- Insufficient sanding between coats results in visible bumps.
- Neglecting to prime the patched area before painting leads to visible differences in sheen.
Other Considerations
The type of room and its use can determine the kind of repair required. High-traffic areas such as hallways may require sturdier repairs than seldom-used spaces such as storage rooms. In high-traffic rooms, reinforce patches with additional layers of compound or use robust backing materials.
Environmental issues, such as moisture, also play a role. Use moisture-resistant drywall and compounds in bathrooms and basements to avoid mold and further deterioration. If your home has older drywall, treat it with care to avoid exacerbating any existing issues.
Our Conclusion
With the right tools, materials, and techniques, you can easily patch a drywall hole. Choose the appropriate method based on the size of the hole and take your time with each step for the best outcome. Preparation and patience are key for a seamless, durable repair.