
Project details
Skill
Cost
Estimated Time
We may be compensated if you purchase through links on our website. Our team is committed to delivering honest, objective, and independent reviews on home products and services.
Interior shutters are a great way to control the light and get more privacy in your home. They’re easy to install on any window because they attach to a thin frame that either sits inside the window opening or around the outside of the casing. As long as the frame is positioned correctly, the shutters will swing freely and close out the day’s distractions with a satisfying click. Learn how to install your own in our step-by-step guide.
Interior Shutter Types
There are a few different types of interior shutters, each with their own benefits and architectural features. Below are some common ones:
- Cafe shutters: Covering only the lower portion of a window, cafe shutters provide privacy while allowing light through the top.
- Wood shutters: This style features wide louvers and is popular for its classic, elegant appearance.
- Solid panel shutters: Solid panel shutters offer maximum light blockage and insulation.
- Traditional shutters: With narrower slats, traditional interior shutters offer a more colonial or cottage-style look.
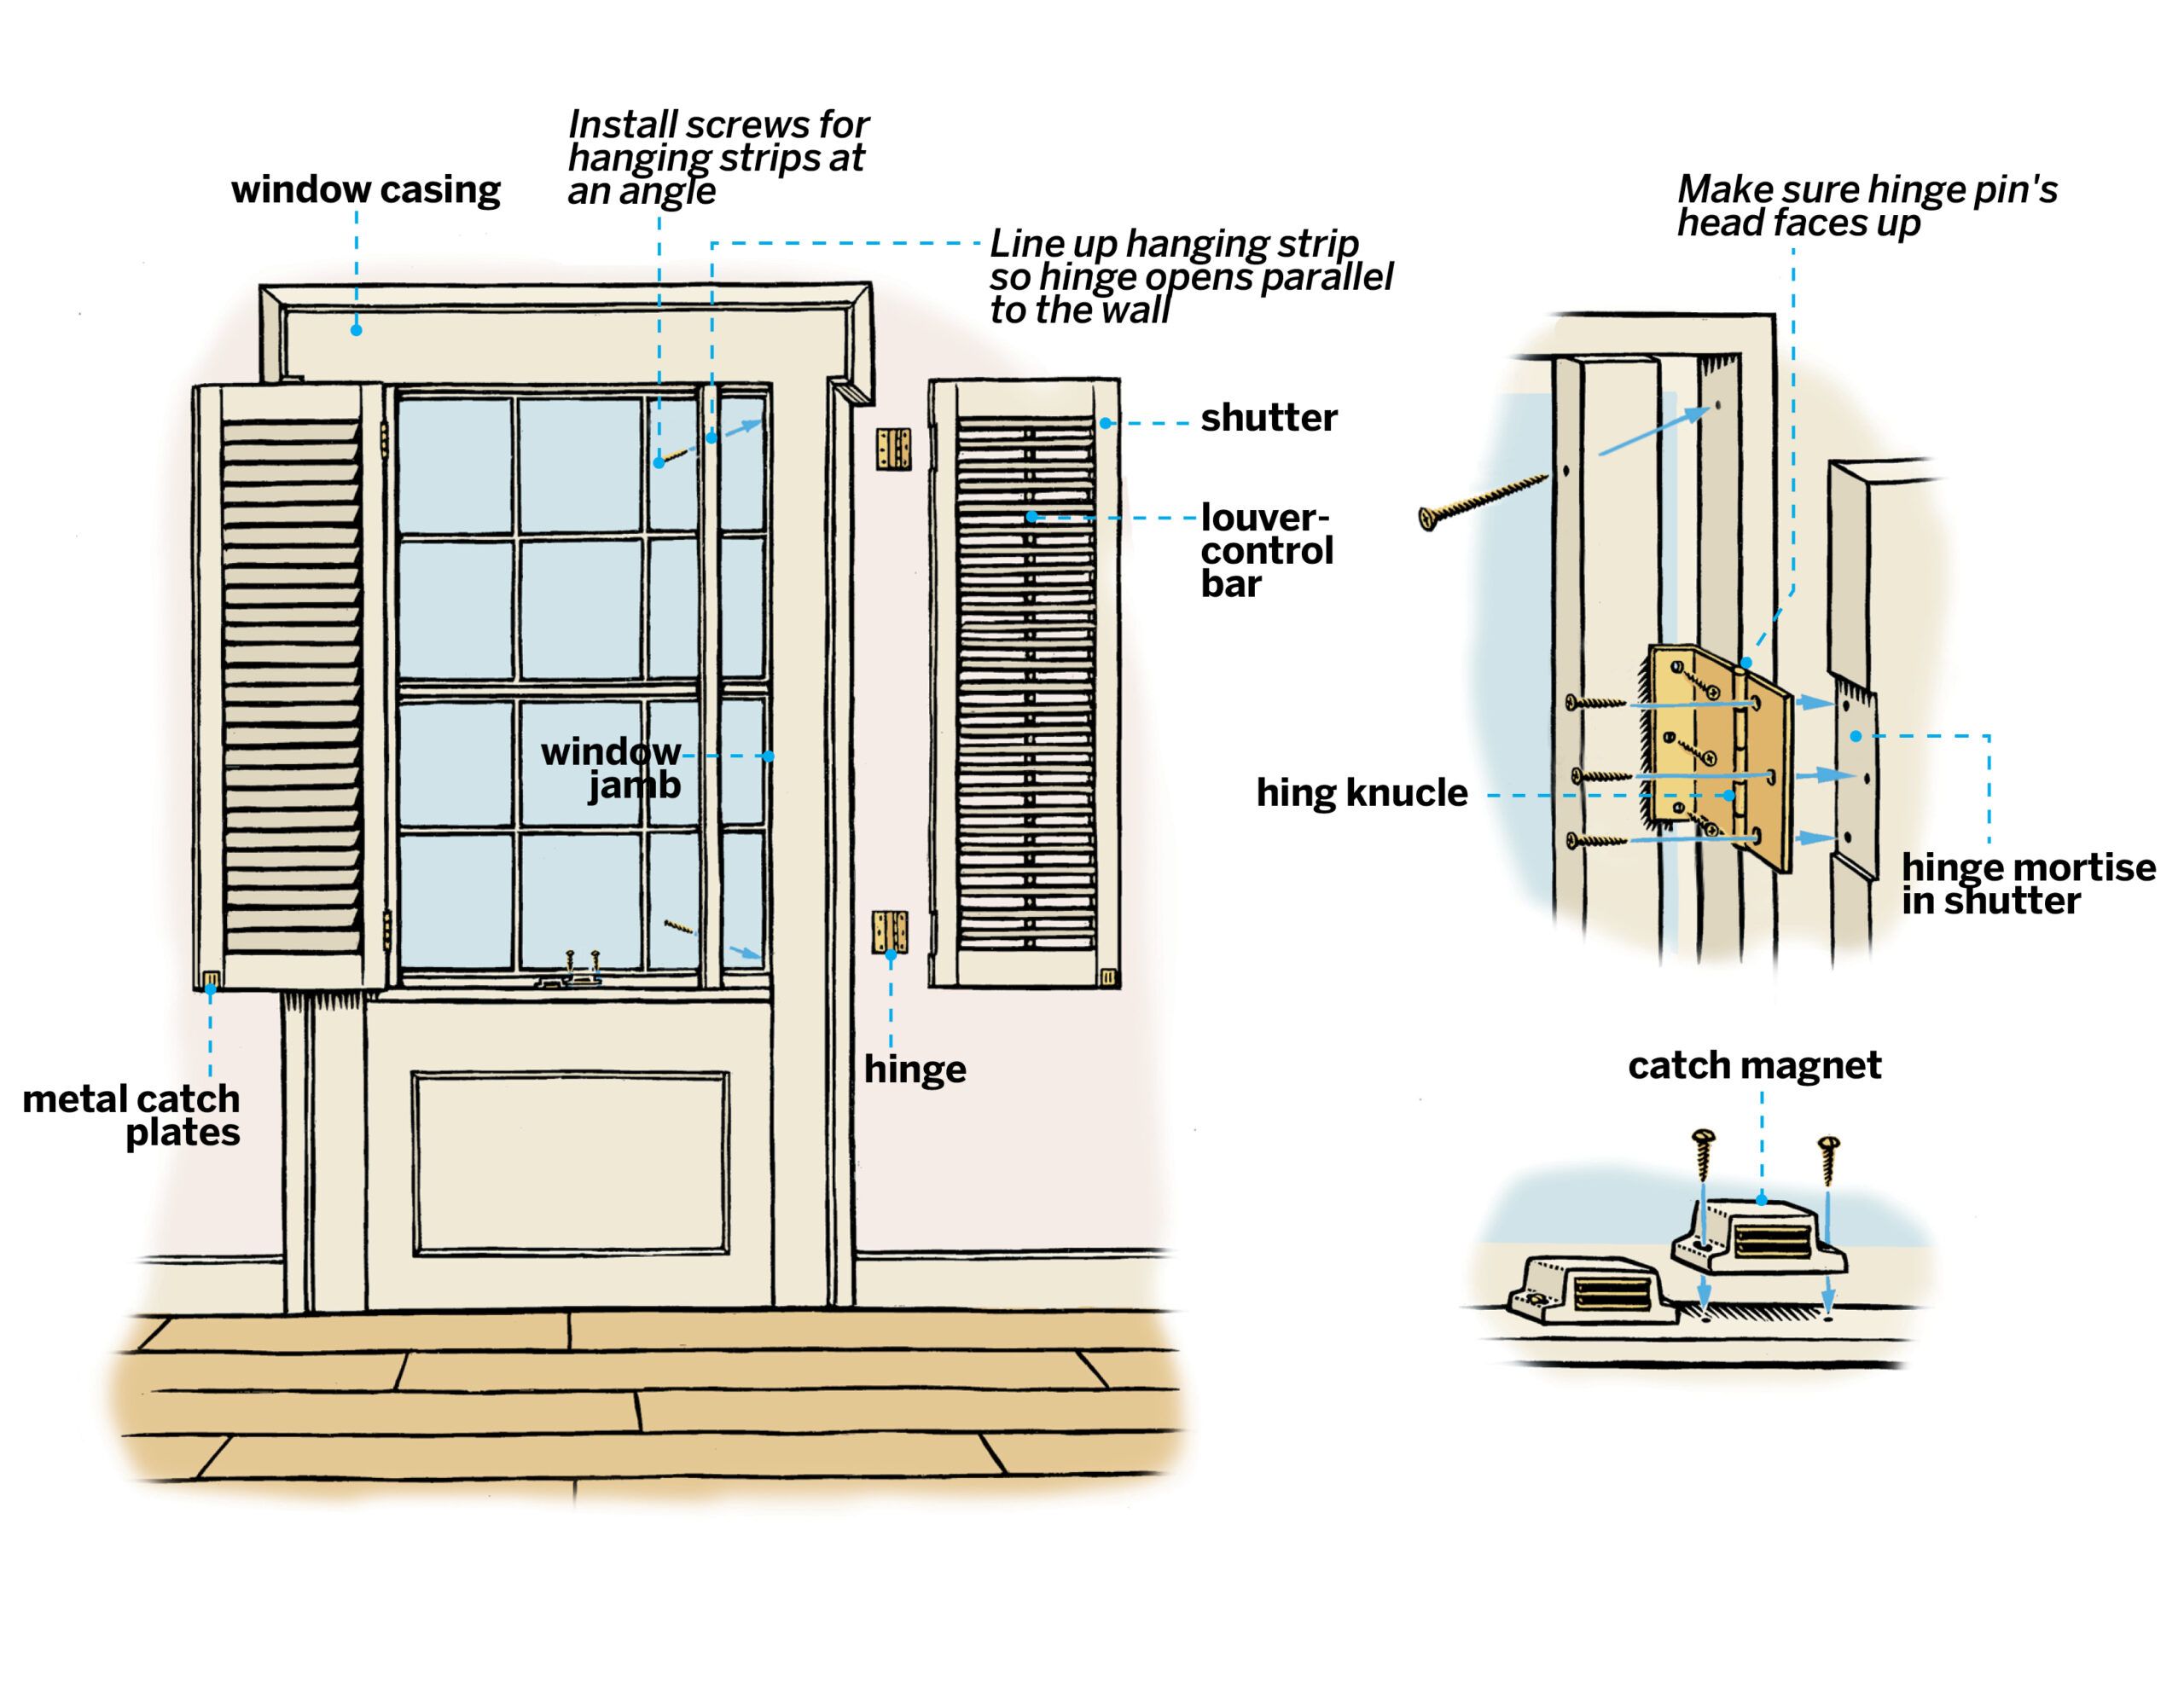
Interior Shutter Diagram
Here’s an overview of the parts you’ll need to be familiar with to complete your installation.
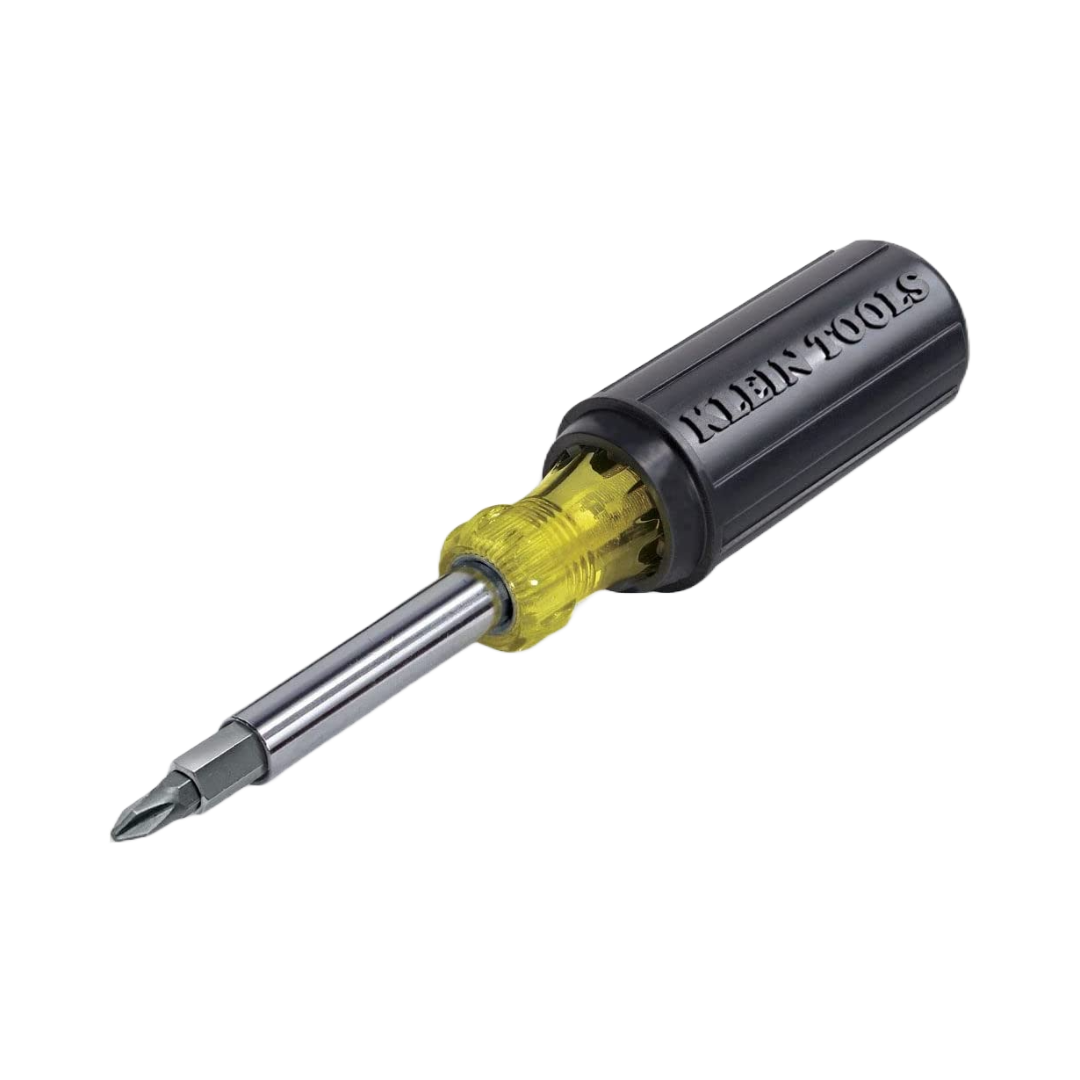
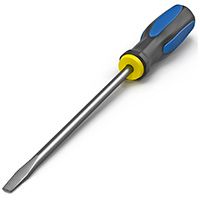
Tools To Install Interior Shutters
Here’s what you’ll need on hand for this project.


Taking Measurements and Ordering Your Shutters
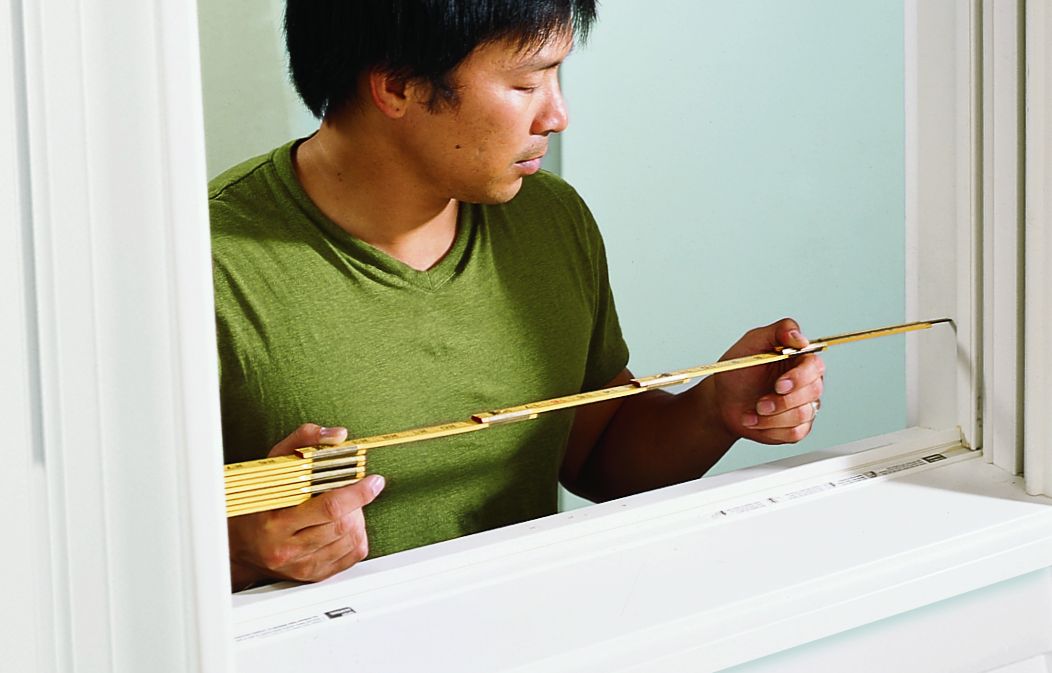
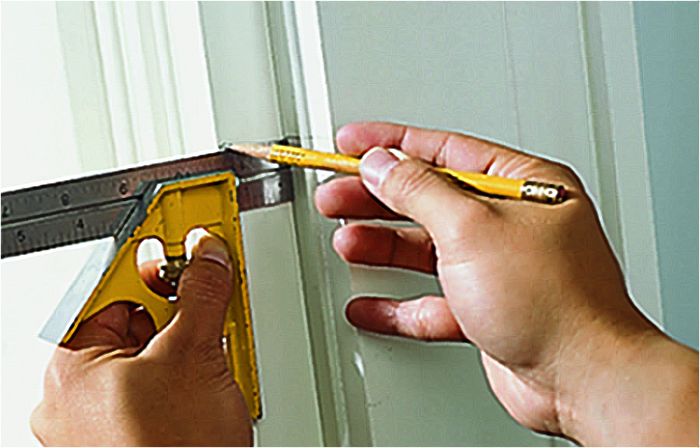
Inaccurate measurements will lead to installation issues later, so take as much time as necessary to measure correctly. To get the most accurate results, use a folding rule with a sliding extension instead of a tape measure.
Start by measuring horizontally between the window jambs at the top, middle, and bottom. Measure in three places vertically as well. Use the smallest of both sets of measurements and provide them to the shutter company when you place your order.
Choosing the Right Shutter Mounting Method
Once you receive your shutters, you can use one of two primary mounting methods.
Inside Mount
Inside mount shutters fit within the window frame. They have a clean, built-in look that keeps trim visible. If you’d prefer an inside mount, measure your window frame’s depth to make sure there’s enough space.
Outside Mount
Outside mount shutters are installed on the wall surrounding the window. They make the windows appear larger and are a flexible choice for shallow frames or windows that aren’t perfectly square. If you’re considering an outside mount, determine whether your walls will be sturdy enough to support the shutters.
In the video below, Norm Abram and Tom Silva walk through how to hang new shutters.
Installing the Shutter Hinges
Some shutters come with pre-installed hinges, while others don’t. If yours don’t, it’s time to drill some holes and screw them on.
Position each pair of shutters on its edge, with hinge mortises facing up and the louver-control bars oriented toward each other. (This assures that the bars face the room while the shutter is hung and allows one shutter in each set to open right while the other opens left.)
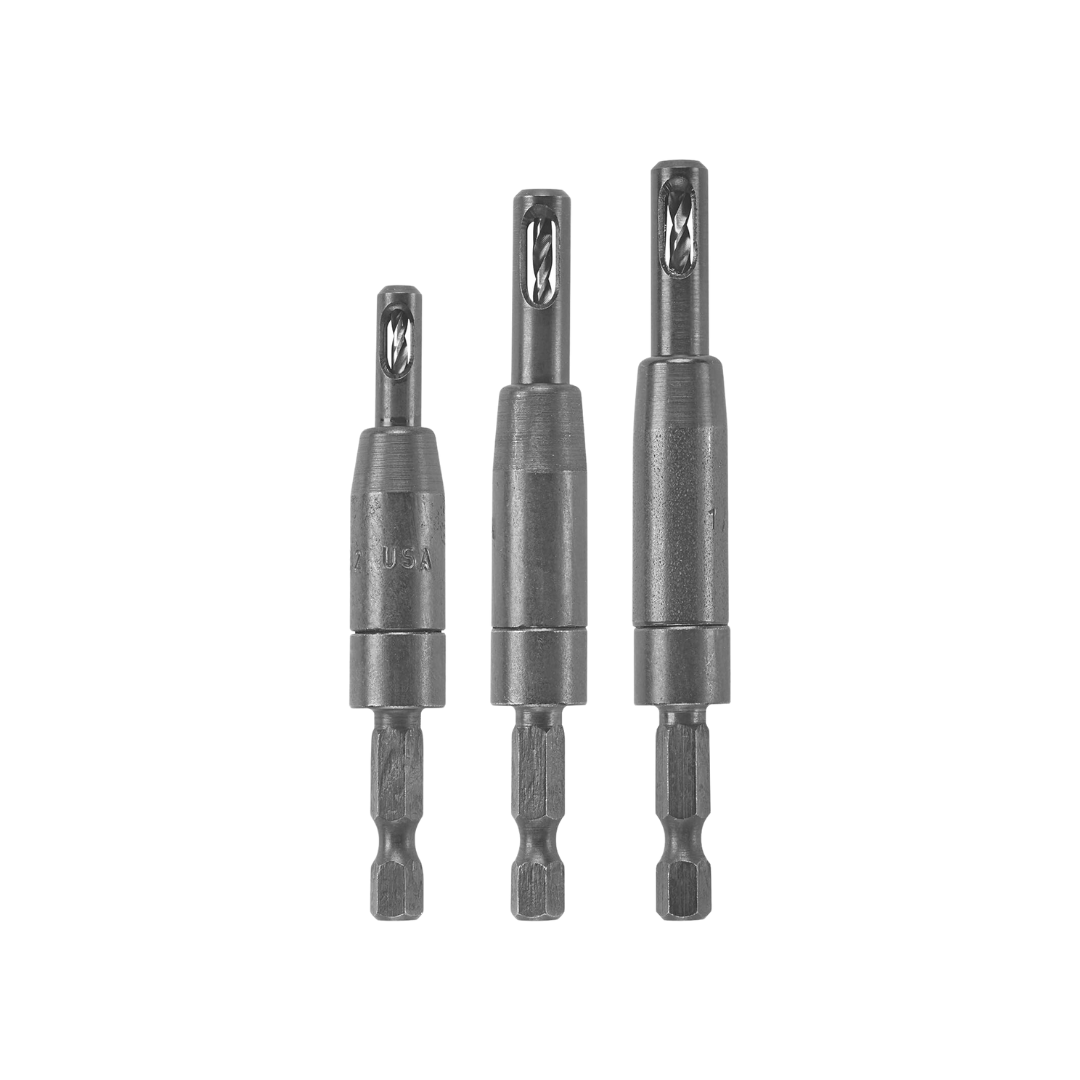
Seat a hinge in a mortise. Fit your drill/driver with a Vix bit and position it in a hinge screw hole. Drill a pilot hole into the shutter, repeating for all hinge holes.
Note that many shutter hinges are factory-configured to open to the right, meaning you’ll likely need to remove pins from half and reinsert them upside down so that each right-side hinge has a left-side counterpart.
With a Phillips-head bit in the drill/driver, screw all hinges to the shutters.
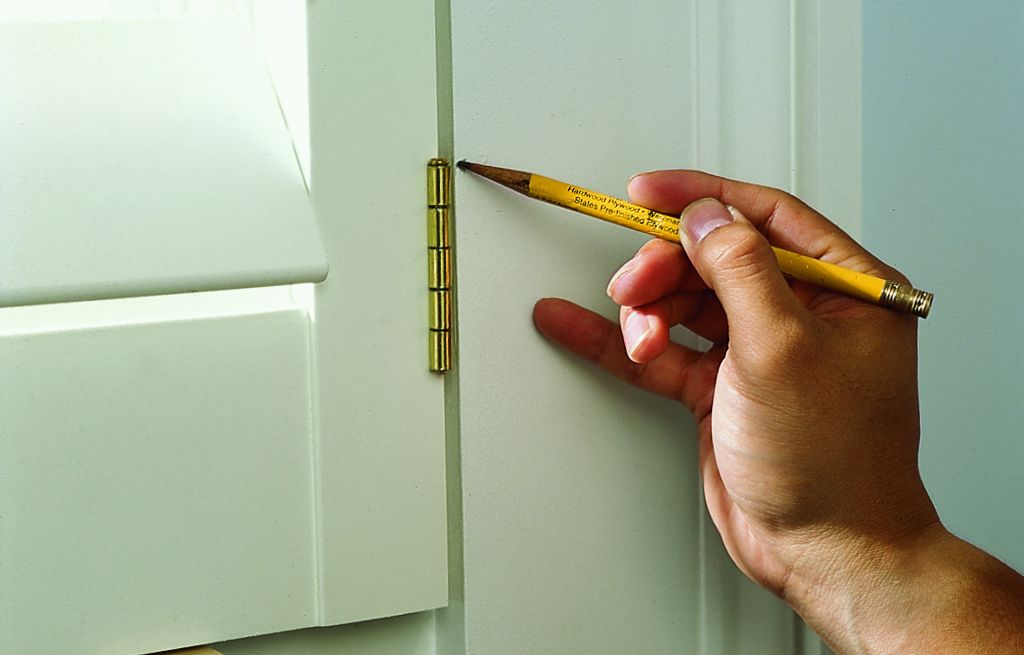
Installing the Hanging Strips for Your Shutters

Hanging strips provide a secure foundation for your shutters. The process gets a little trickier starting here, so we recommend having a helper with you.
Have the helper hold a shutter in the open position against the wall. Its hinges should be flipped out so they sit inside the jamb. Adjust the entire unit so its hinges protrude from the jamb just enough to let the shutter clear the casing when it’s parallel to the wall. Draw a line on the jamb behind each hinge.
Hold the hanging strip against the lines. Using a 1/8-inch bit, drill pilot holes through the top and bottom of the strip and into the jamb. Then, screw the strips in place. We recommend driving the screws at an angle so they won’t be as likely to loosen over time.
Positioning the Shutter in the Opening
With your helper, place both shutters in the window opening. Slip shims in on top and bottom to hold everything in place. Adjust the shutters as necessary so there’s even spacing along the window jamb and between the shutters.
Mark the casing at the top of each hinge knuckle, then set the shutters aside.
Marking the Shutter Hinge Positions on the Casing
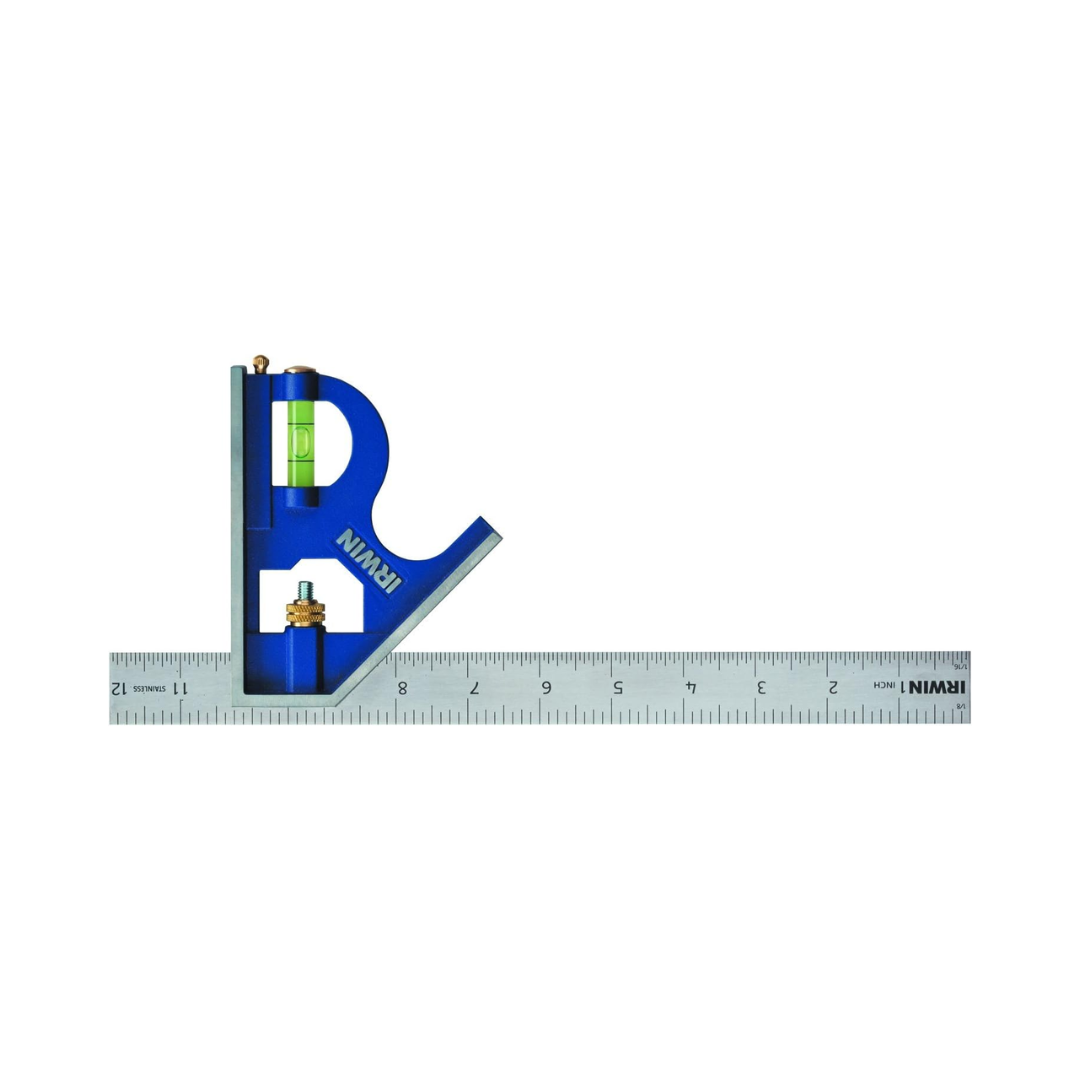
Use a combination square to transfer the mark on the casing to a line on the jamb, then the hanging strip. Use the top of the knuckle, not the pin, as a guide. This will correspond to the top of the hinge plate and show you where to line the hinges up on the window.
Attaching the Shutters to the Hanging Strips

Once everything’s aligned, you’re almost ready to attach the shutters. Prepare by screwing magnetic catch plates to their bottom (or top) inside corners.
Open a shutter and position it so the L-shaped hinges sit snugly in the corner the hanging strip created. Align the top of each hinge plate with its line.
Mark the screw holes, then set the shutter aside. Drill pilot holes at your marks with a ⅛-inch bit. Loosely screw the hinges to the strip with a handheld Phillips screwdriver. Close the shutter and ensure it’s even all around. Once you’ve made these adjustments, tighten the screws.
Adding Magnetic Catches for Your Shutters
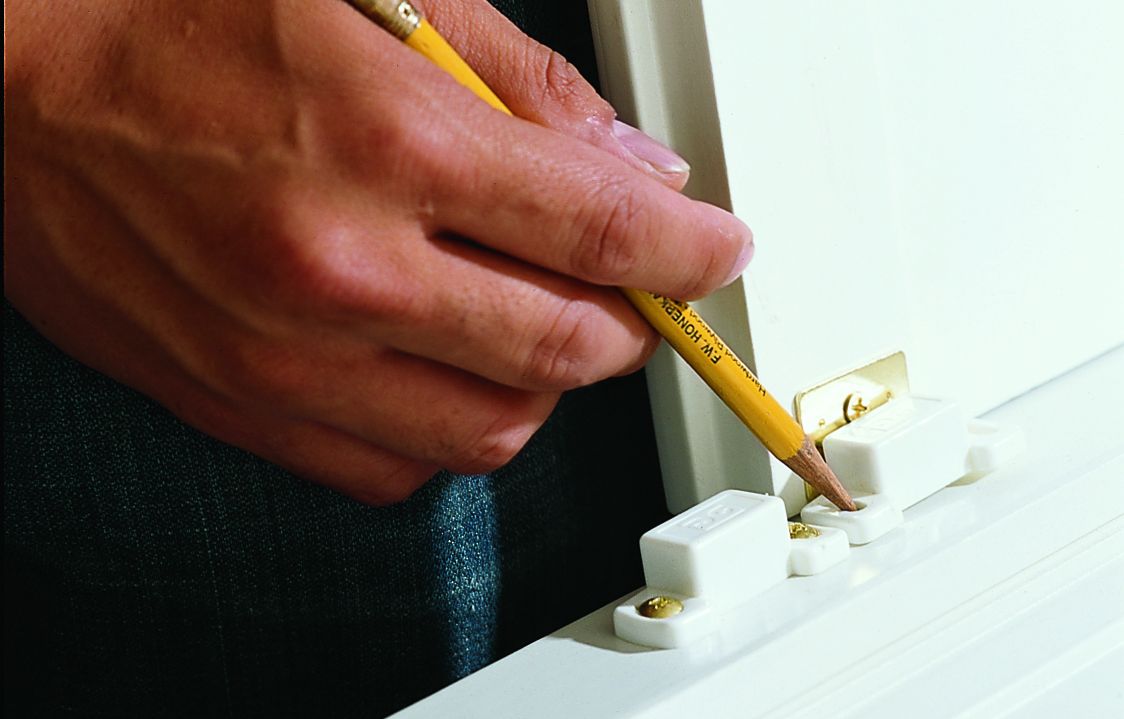
The final step is to add magnetic catches to hold the window closed. Stick a catch magnet to the metal plate on the shutter, then close the shutter to see if it’s flush with the front of the window.
If everything checks, mark and drill the catch’s screw holes. Remove the catch from the shutter and position it on top of the marks on the sill. Screw the catch to the sill with a Phillips screwdriver.
Repeat the process for the other catch. When you close the shutters, the two halves of each hinge should rest fully and squarely against each other.
Finishing Touches for a Shutter
The hardest part is done, and now you can focus on adding visual appeal and protection. If your shutters aren’t prefinished, you can add paint or stain. You might also add decorative hinges or knobs, cutouts for solid panels, or different hardware that completes the look.