A track saw combines the precision of a table saw with the portability of a circular saw, which makes it incredibly useful for professional carpenters and do-it-yourself enthusiasts. These tools are more affordable than full-sized table saws, can make multiple types of cuts, and are relatively easy to maintain. Read how to select, set up, and safely use a track saw in the guide below, and watch carpenter Nathan Gilbert offer related tips in the video above.
Understanding Track Saws
Track saws include a plunge-style saw that rides along a companion track. This allows the user to make accurate rip cuts, crosscuts, and bevel cuts. Track saws also offer splinter-free, ruler-straight cuts, which makes them ideal for precision work such as breaking down plywood for cabinets, trimming doors, and making plunge cuts for flooring repairs.
Key Components of a Track Saw
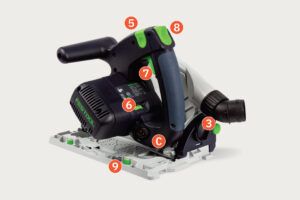
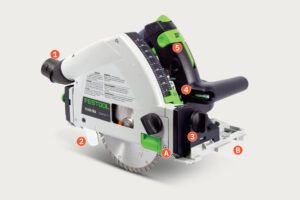
Track saws include two main parts: the saw and the track on which it rides. They also have smaller, unique components that are included below.
Saw Components
Below is a list of saw components:
- Bevel adjustment
- Blade guard
- Depth adjustment
- Dust collection port
- Guide slots
- Power source (corded or cordless)
- Speed control
- Splitter
Track Components
Below are the tool’s track components:
- Clamp slots
- Grip pads
- Splinter guard
- Varying lengths
Advantages of Using a Track Saw
Track saws have several advantages over traditional cutting methods, including the following:
- Cost-effectiveness: Track saws are more affordable than full-sized table saws.
- Portability: You can easily transport track saws to your workplace.
- Precision: Track saws deliver accurate, splinter-free cuts.
- Safety: An enclosed blade design reduces the risk of injury.
- Versatility: Track saws can make rip cuts, crosscuts, and bevel cuts.
Selecting the Right Track Saw
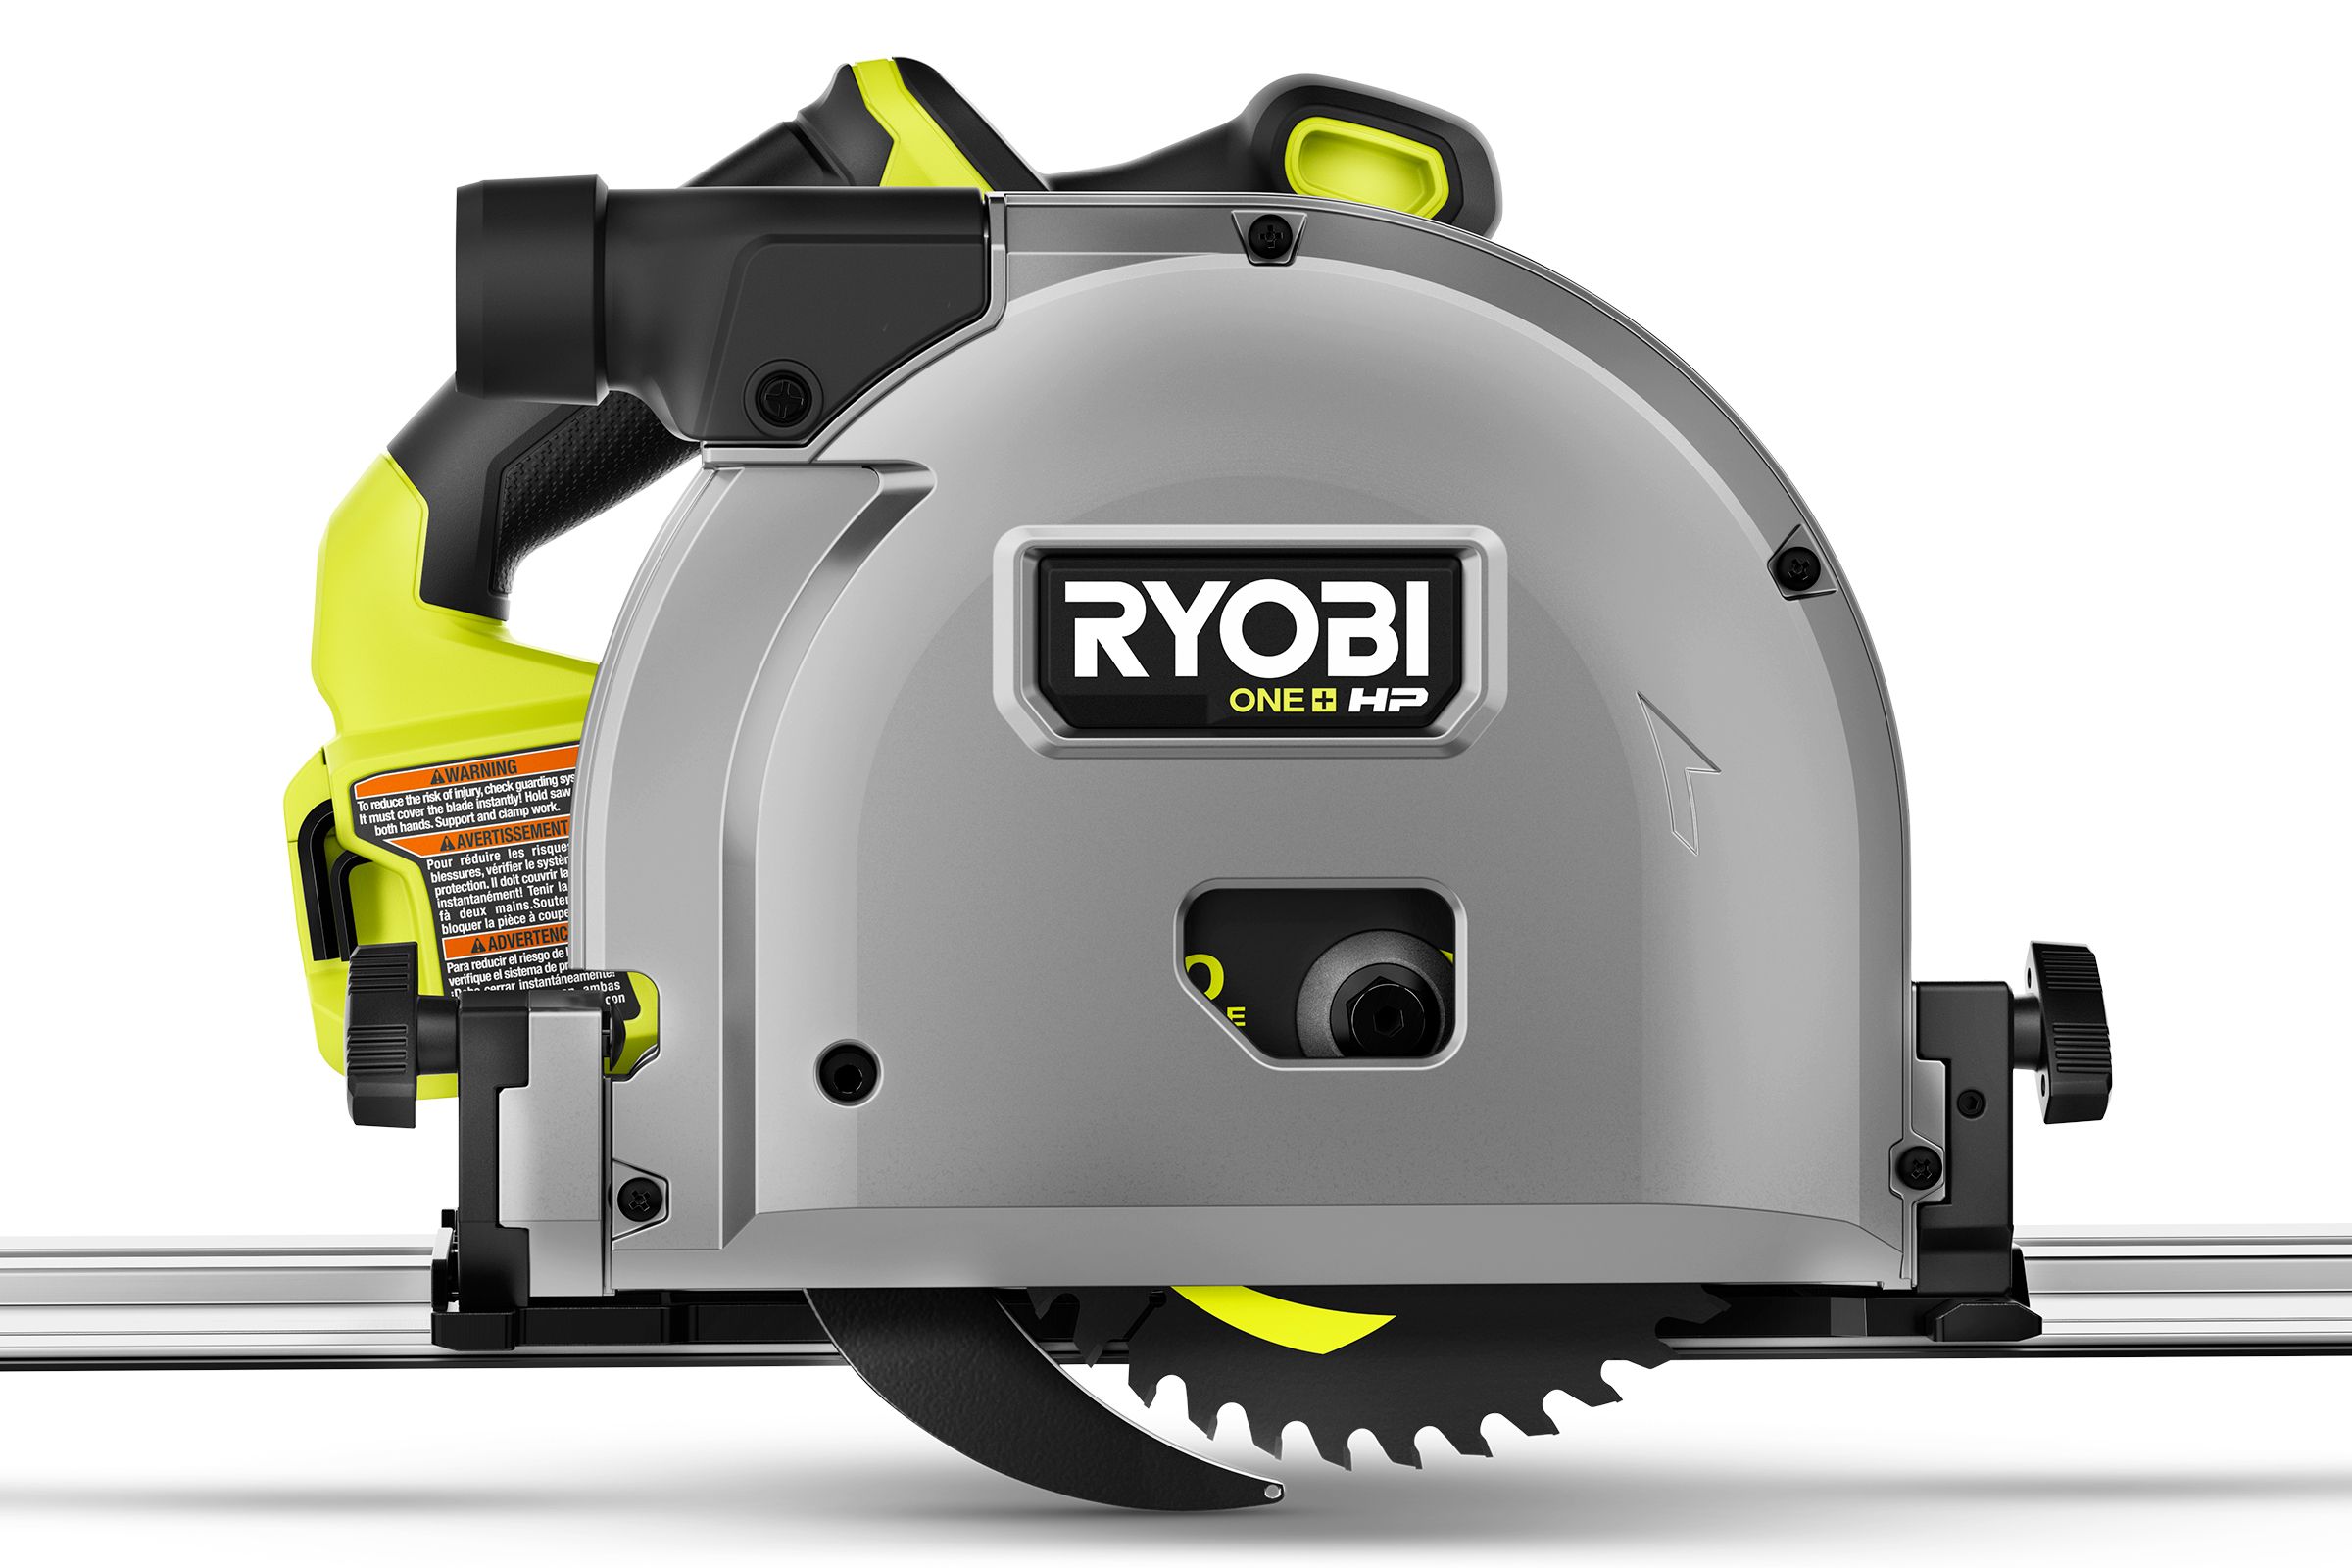
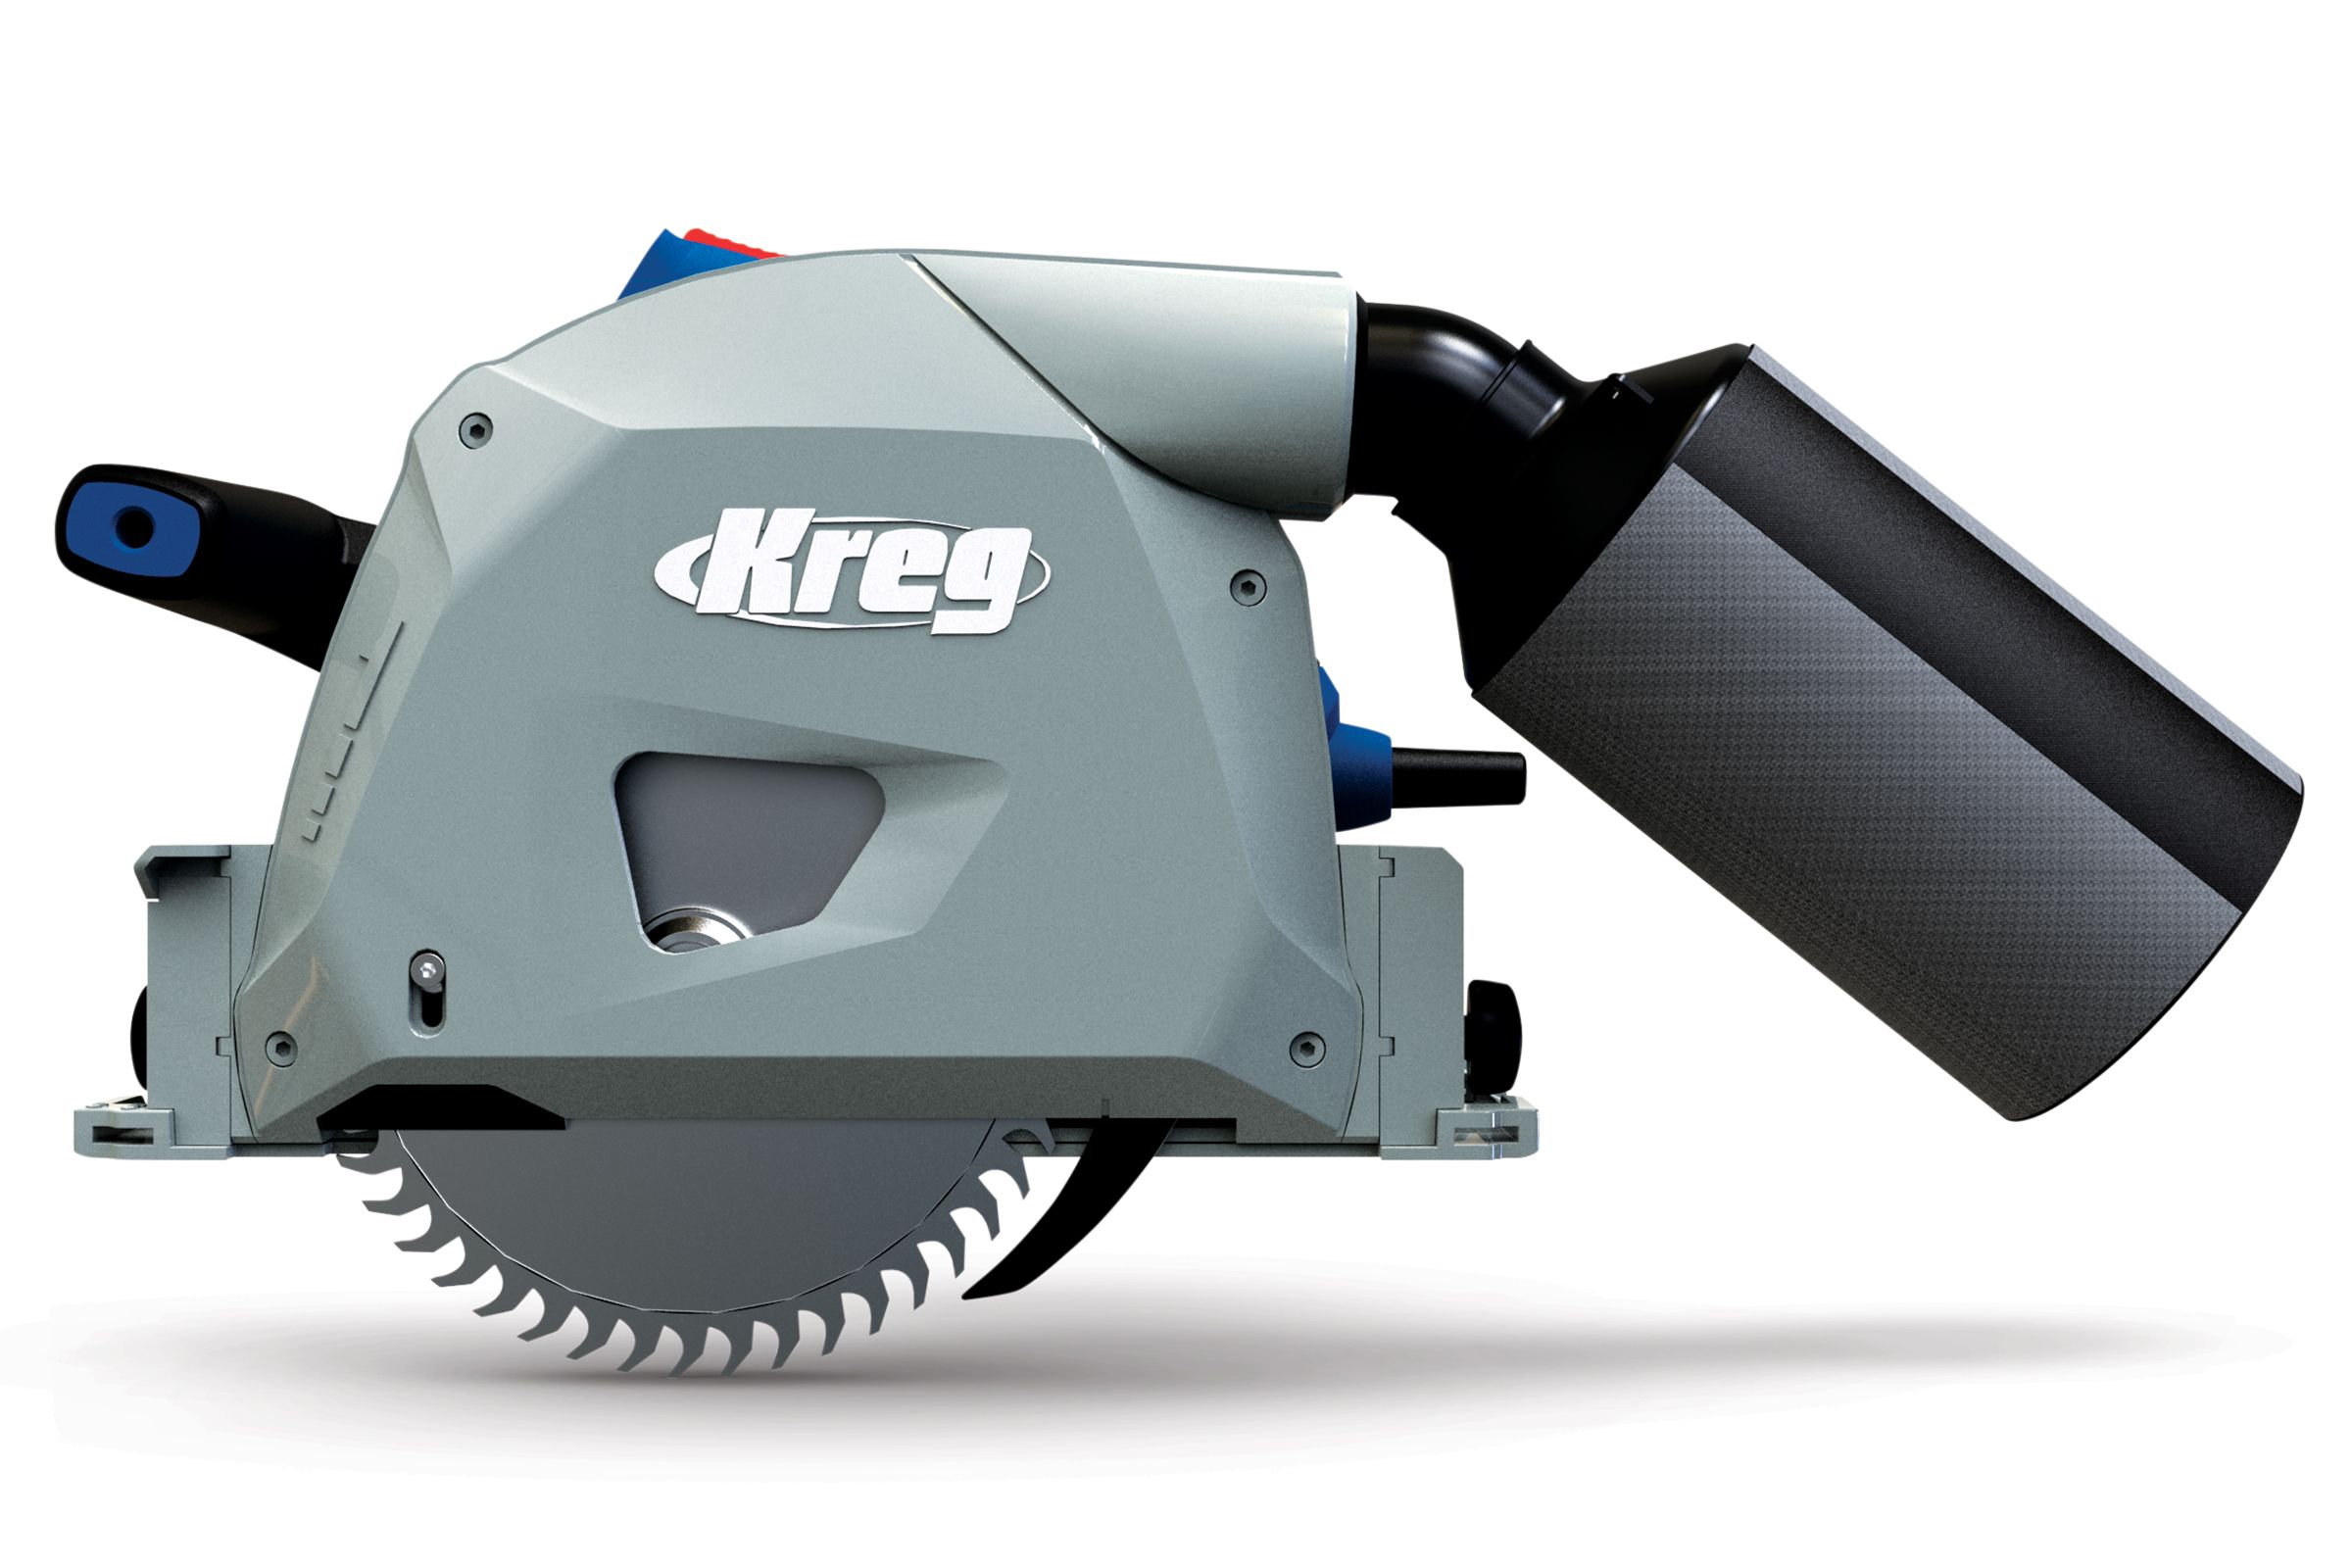
Think about your needs, budget and the types of projects you plan to tackle when you’re choosing a track saw. The Ryobi 18V ONE+ HP Brushless 6 1/2-inch Track Saw is an affordable cordless option that’s ideal for DIY enthusiasts and budget-conscious professionals, for example, while the Kreg Adaptive Cutting System Saw and Guide Kit is a great corded option. Consider the DeWalt Corded Track Saw, too, since you can use it with tracks from other manufacturers.

Setting Up and Using a Track Saw
Follow the steps below to set up your track saw:
- Place the track on a sacrificial surface, such as rigid foam on a workbench.
- Adjust the saw on the track to keep it from wobbling.
- Set the blade depth to about 1/4 inch.
- Turn on the saw and slowly lower the blade into the splinter guard.
- Push the saw along the track to trim the splinter guard to size.
To make precise cuts with your track saw, measure and mark your cutting line on the workpiece and align the track’s splinter guard with your marks. Secure the track using its grip pads or clamps, then set the saw’s depth and bevel adjustments. Start the saw, allow it to reach full speed, and plunge it into the material. Push the saw smoothly along the track to complete the cut.

Advanced Techniques for Track Saws
Once you’re comfortable making basic cuts, you can make more advanced cuts, such as bevel or plunge cuts.
Making Bevel Cuts
Follow the steps below to create long, precise bevel cuts:
- Measure to the long point of the bevel angle you want.
- Adjust the saw’s bevel to the appropriate angle.
- Set the cutting depth for your material’s thickness.
- Align and secure the track.
- Make the cut, and push the saw smoothly along the track.

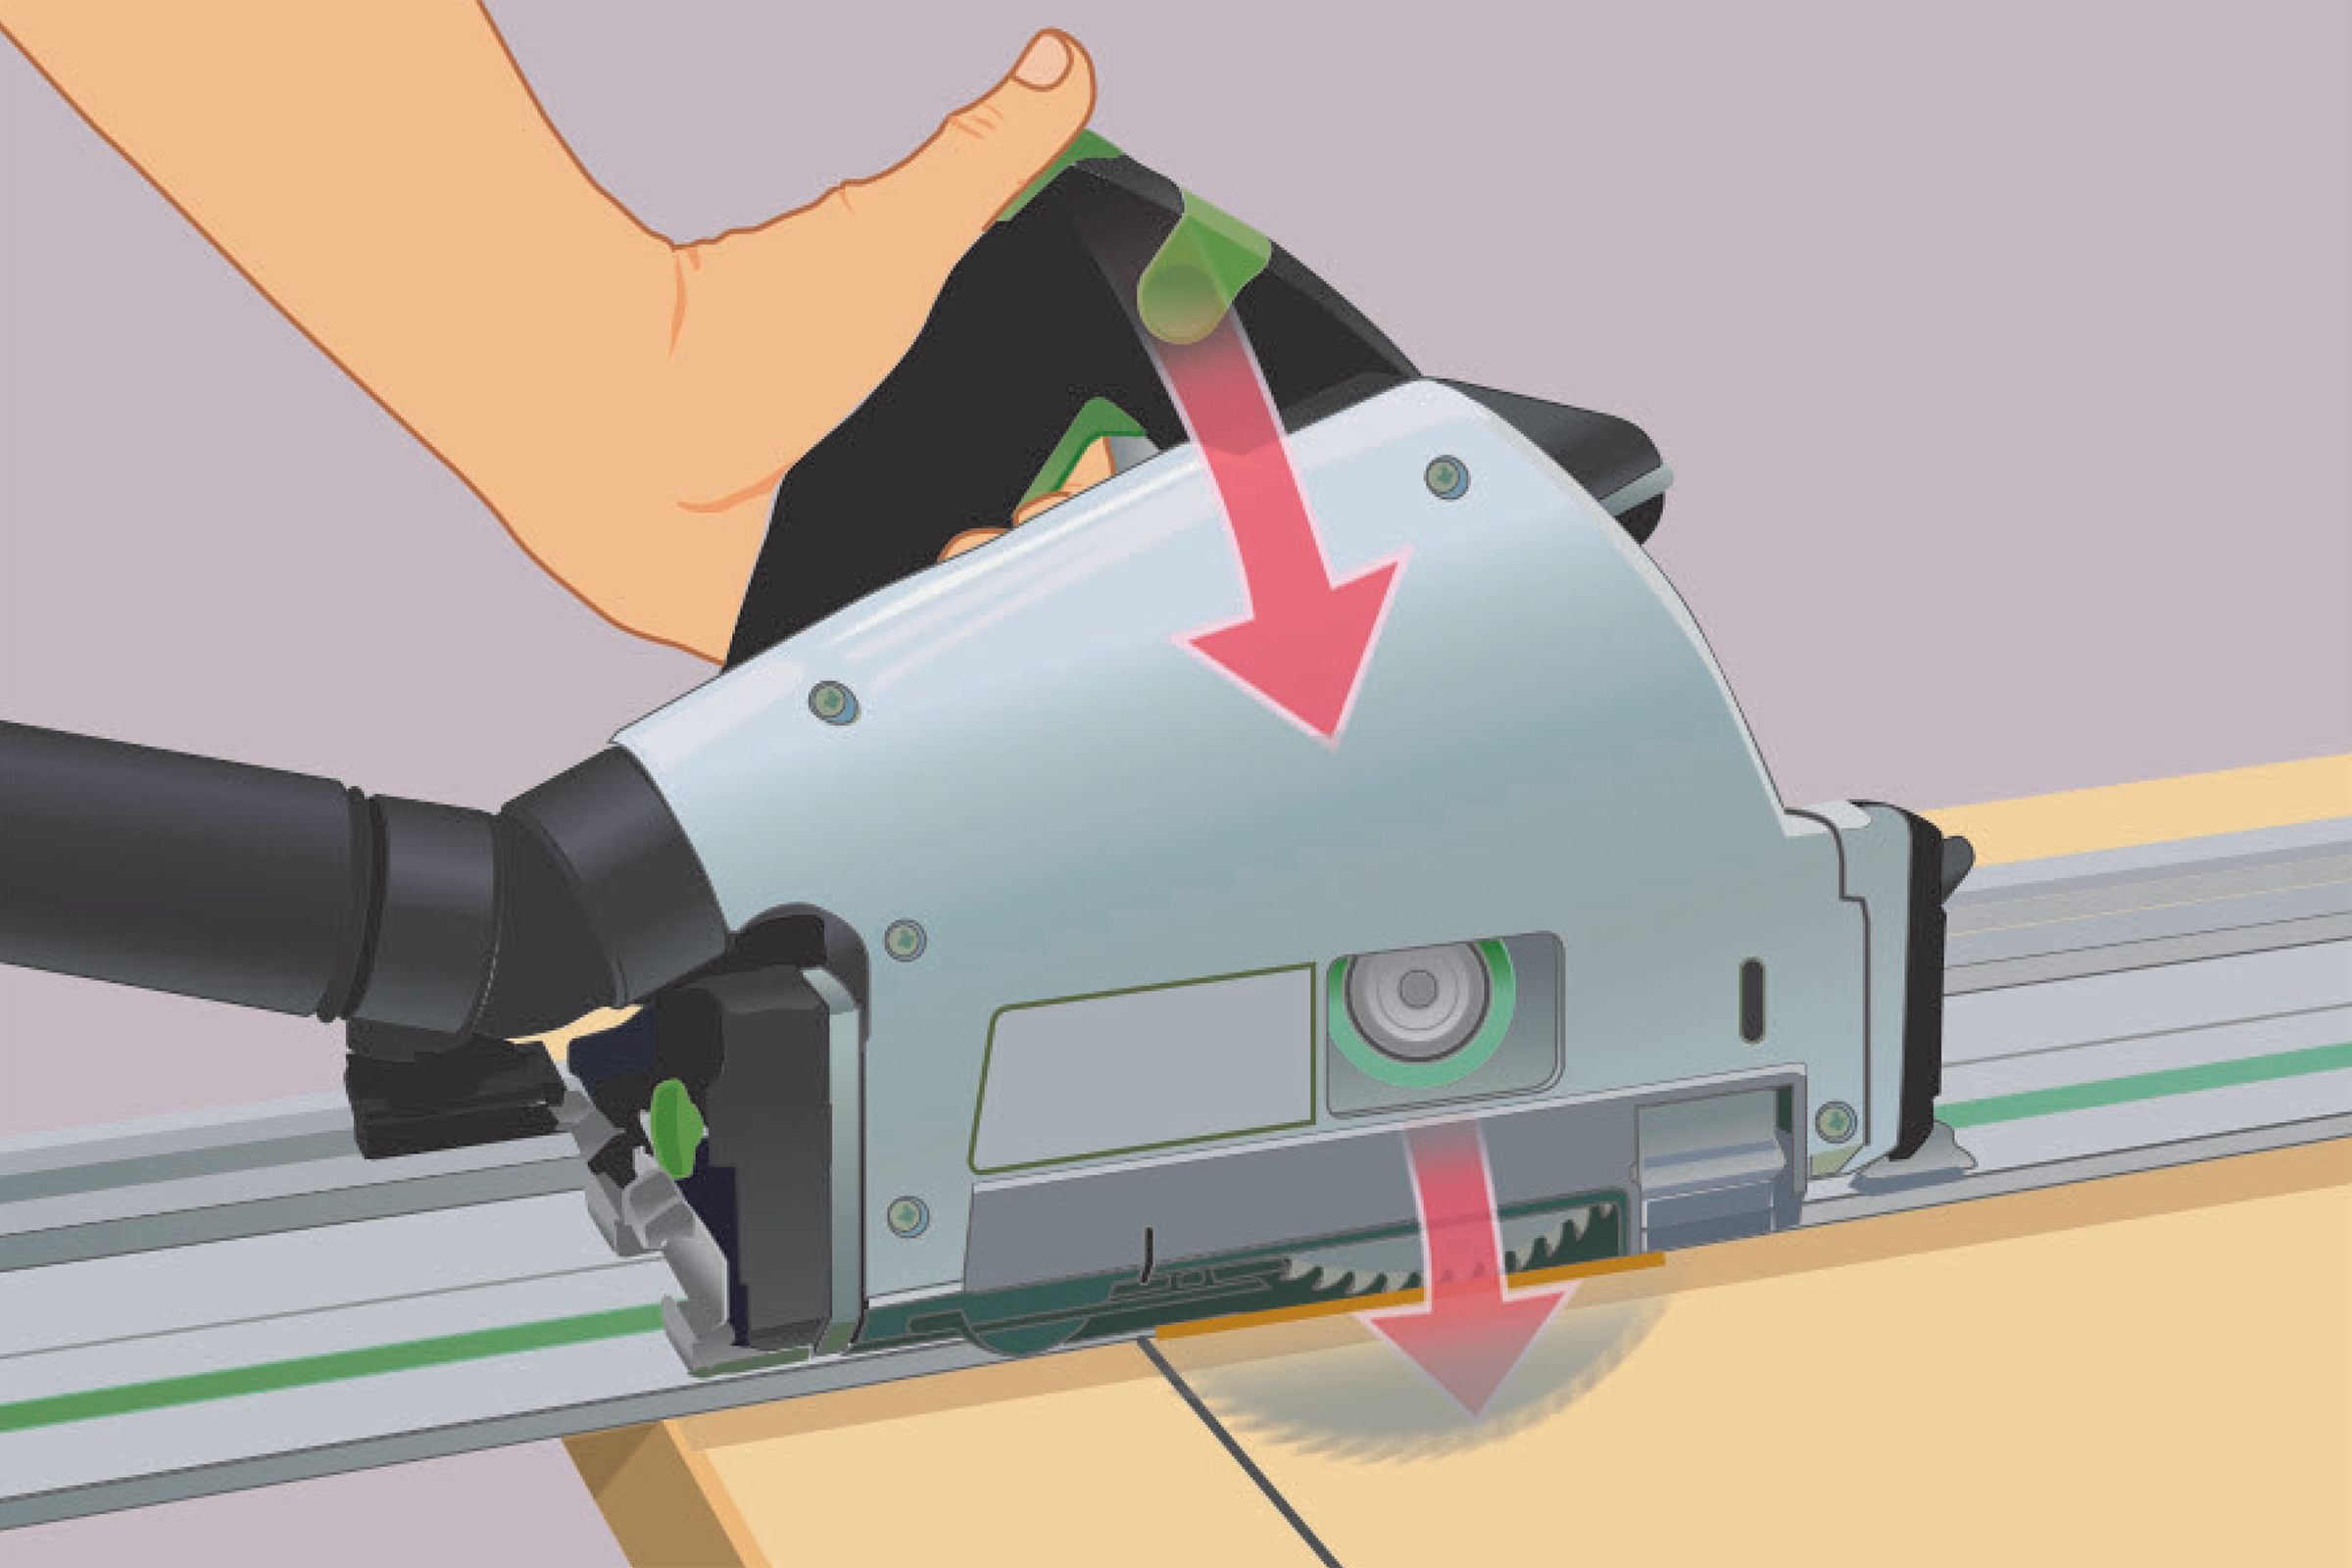
Executing Plunge Cuts
Use plunge cuts for projects such as installing wood flooring or cutting openings in countertops. Follow the steps below to make plunge cuts:
- Adjust the depth stop to the cutting depth you want.
- Align the saw’s plunge mark with your starting point.
- Engage the antikick-back lock.
- Start the saw and slowly plunge the blade into the material.
- Push forward to complete the cut.
- Stop at the end of the link you’ve marked, allow the blade to stop, then raise it.
Creating Straight Edges on Rough Lumber
You can use track saws to create a straight edge on rough-sawn lumber. Place the board on a stable work surface, and position the track along the board’s length. Make sure the rough edge is on the waste side. Secure the track to the board, then make your cut along the track. Use the edge you’ve straightened as a reference for other cuts.
Additional Track Saw Features and Considerations
Learn more about some of the track saw’s additional features below.
Dust Collection
Many track saws include a dust collection port that can help you to keep your work area clean. It also extends the tool’s life. Connecting the saw to a dust extractor can reduce airborne particles and keep your cutting line free of debris.
Speed Control and Blade Types
The speed control feature on some track saws allows you to adjust the blade’s speed according to the material you’re cutting. You can buy different kinds of blades that are designed to cut wood, metal, plastic, or other materials.
Maintenance and Care
Follow the tips below to keep your saw in top condition:
- Clean the track and saw housing to remove dust and debris.
- Keep the blade clean and sharp.
- Regularly check and tighten all bolts and screws.
Safety Considerations for Track Saws
Prioritize safety when you’re using a track saw. Wear appropriate personal protective equipment, such as eye and ear protection. Support any overhanging track when you’re cutting smaller pieces, and use clamps to secure the track when you’re working with slick materials.
Make sure the riving knife is engaged, except for when you’re plunge-cutting. Never reach under the workpiece while you saw. Disconnect power or remove the battery when you’re changing blades or accessories.