Flat roofs are common in modern architecture and urban buildings. While they may not seem as logical as sloped roofs for shedding rain and snow, flat roofs offer unique design possibilities and practical advantages. This guide will walk you through the essentials of building a flat roof to be durable, functional, and long-lasting.
Flat Roof Basics
Flat roofs aren’t actually completely flat. They have a slight slope for drainage, typically between 1/4 inch and 1/2 inch per foot. Flat roofs are common in commercial buildings and modern residential architecture and as partial roof sections in traditional homes, such as over porches or garages. There are several flat roof types available.
Flat roofs offer several benefits, including additional usable space, easier maintenance access, and a modern look. They’re also ideal for installing solar panels or creating rooftop gardens. However, they can be more prone to leaks and may require more frequent maintenance than pitched roofs.
Essential Components of a Flat Roof System
A flat roof system is made up of several distinct layers, each serving a specific purpose in the roof’s overall performance.
Structural Deck
The structural deck is the foundation of your flat roof. It’s typically made of plywood or oriented strand board (OSB) and supports the entire roofing system.
Insulation Layer
Proper insulation promotes energy efficiency, helps maintain indoor temperatures, and prevents condensation issues. Common insulation materials include polyisocyanurate (polyiso), extruded polystyrene (XPS), and expanded polystyrene (EPS).
Waterproofing Membrane
The waterproofing membrane is the most critical component of a flat roof. It prevents water infiltration and protects the underlying structure.
Drainage System
An effective drainage system prevents water pooling that can lead to leaks and structural damage. This system typically includes scuppers, internal drains, or gutters to channel water off the roof.
Flashing
Flashing is used to seal and protect joints and edges on a flat roof. It prevents water infiltration by directing water away from seams and transitions. Metal flashing is common and should be installed around roof edges, chimneys, and vents.
Proper Slope and Drainage for Flat Roofs
A minimum slope of 1/4 inch per foot is recommended for flat roofs. This slight incline allows water to flow toward drainage points. A slope of up to 1/2 inch per foot may be necessary for larger roofs to maintain water runoff.
There are several drainage options for flat roofs:
- Gutters: Traditional gutter systems can be used on the low side of a sloped flat roof.
- Interior drains: These are located at low points on the roof and connect to internal plumbing.
- Scuppers: These are openings in the roof’s parapet walls that allow water to drain off the sides.
Step-by-Step Process To Build a Flat Roof
Building a flat roof requires careful planning and execution. Here’s a step-by-step guide to help.

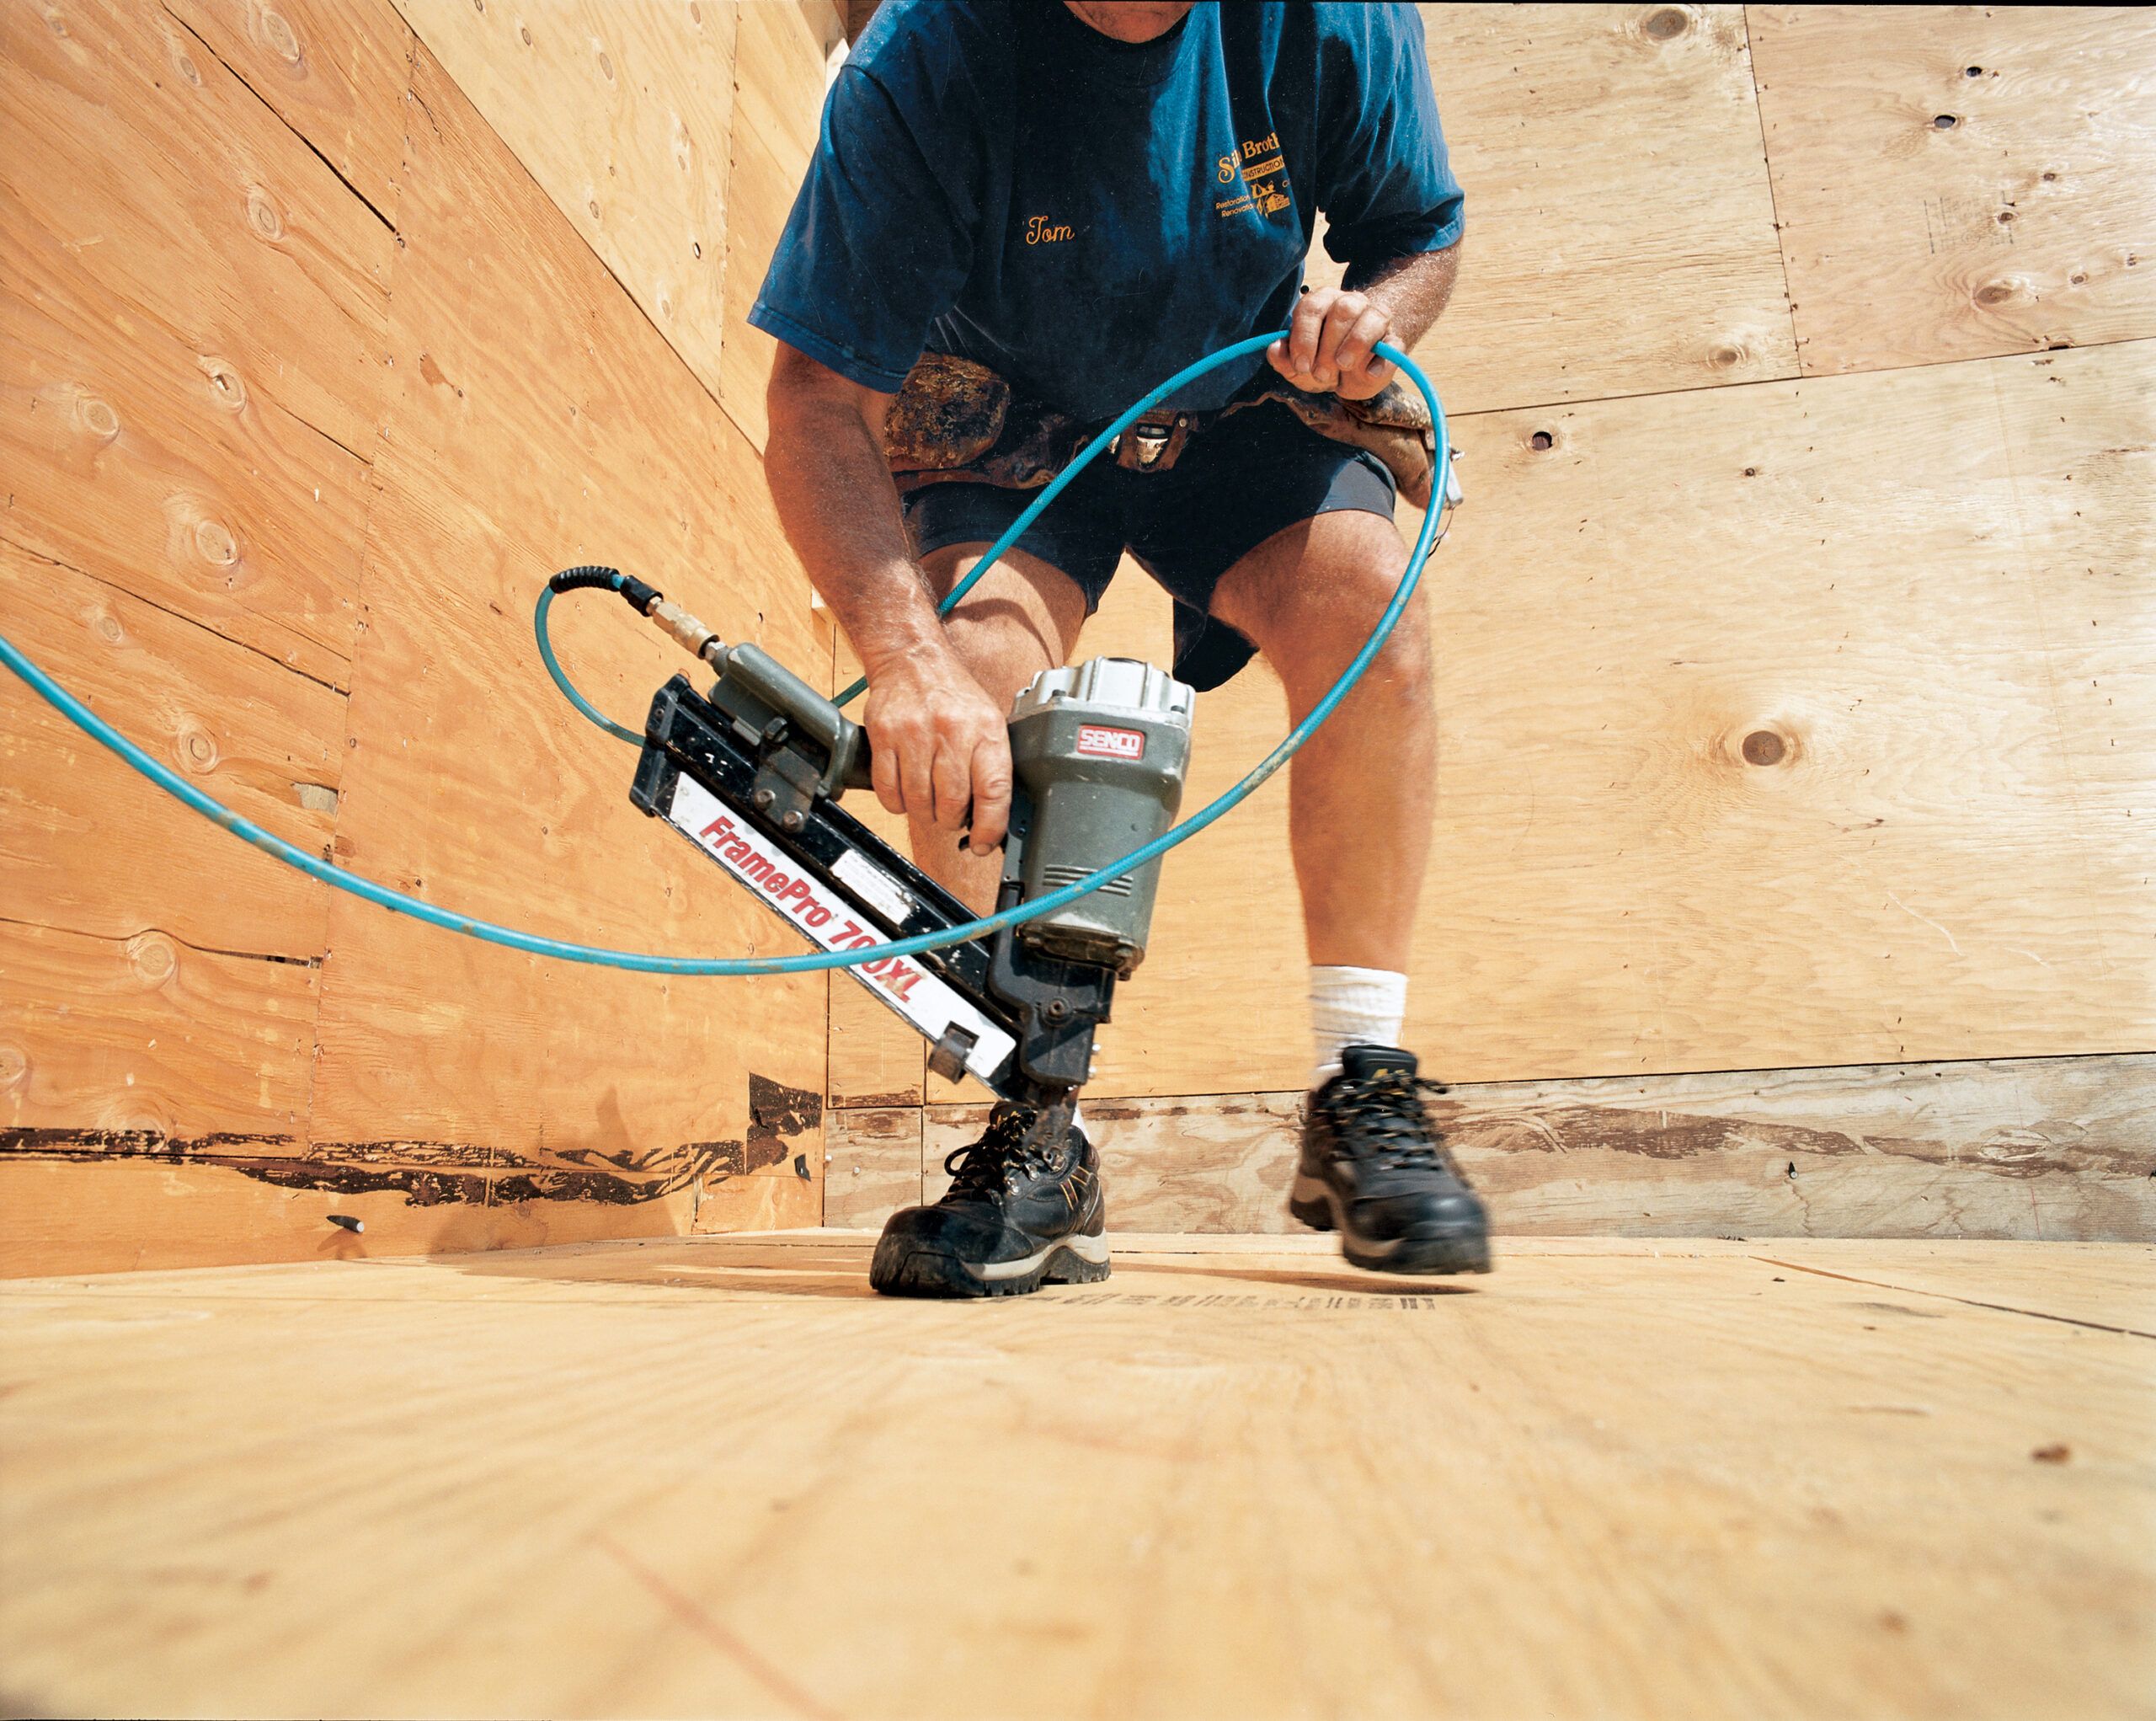
1. Framing the Roof
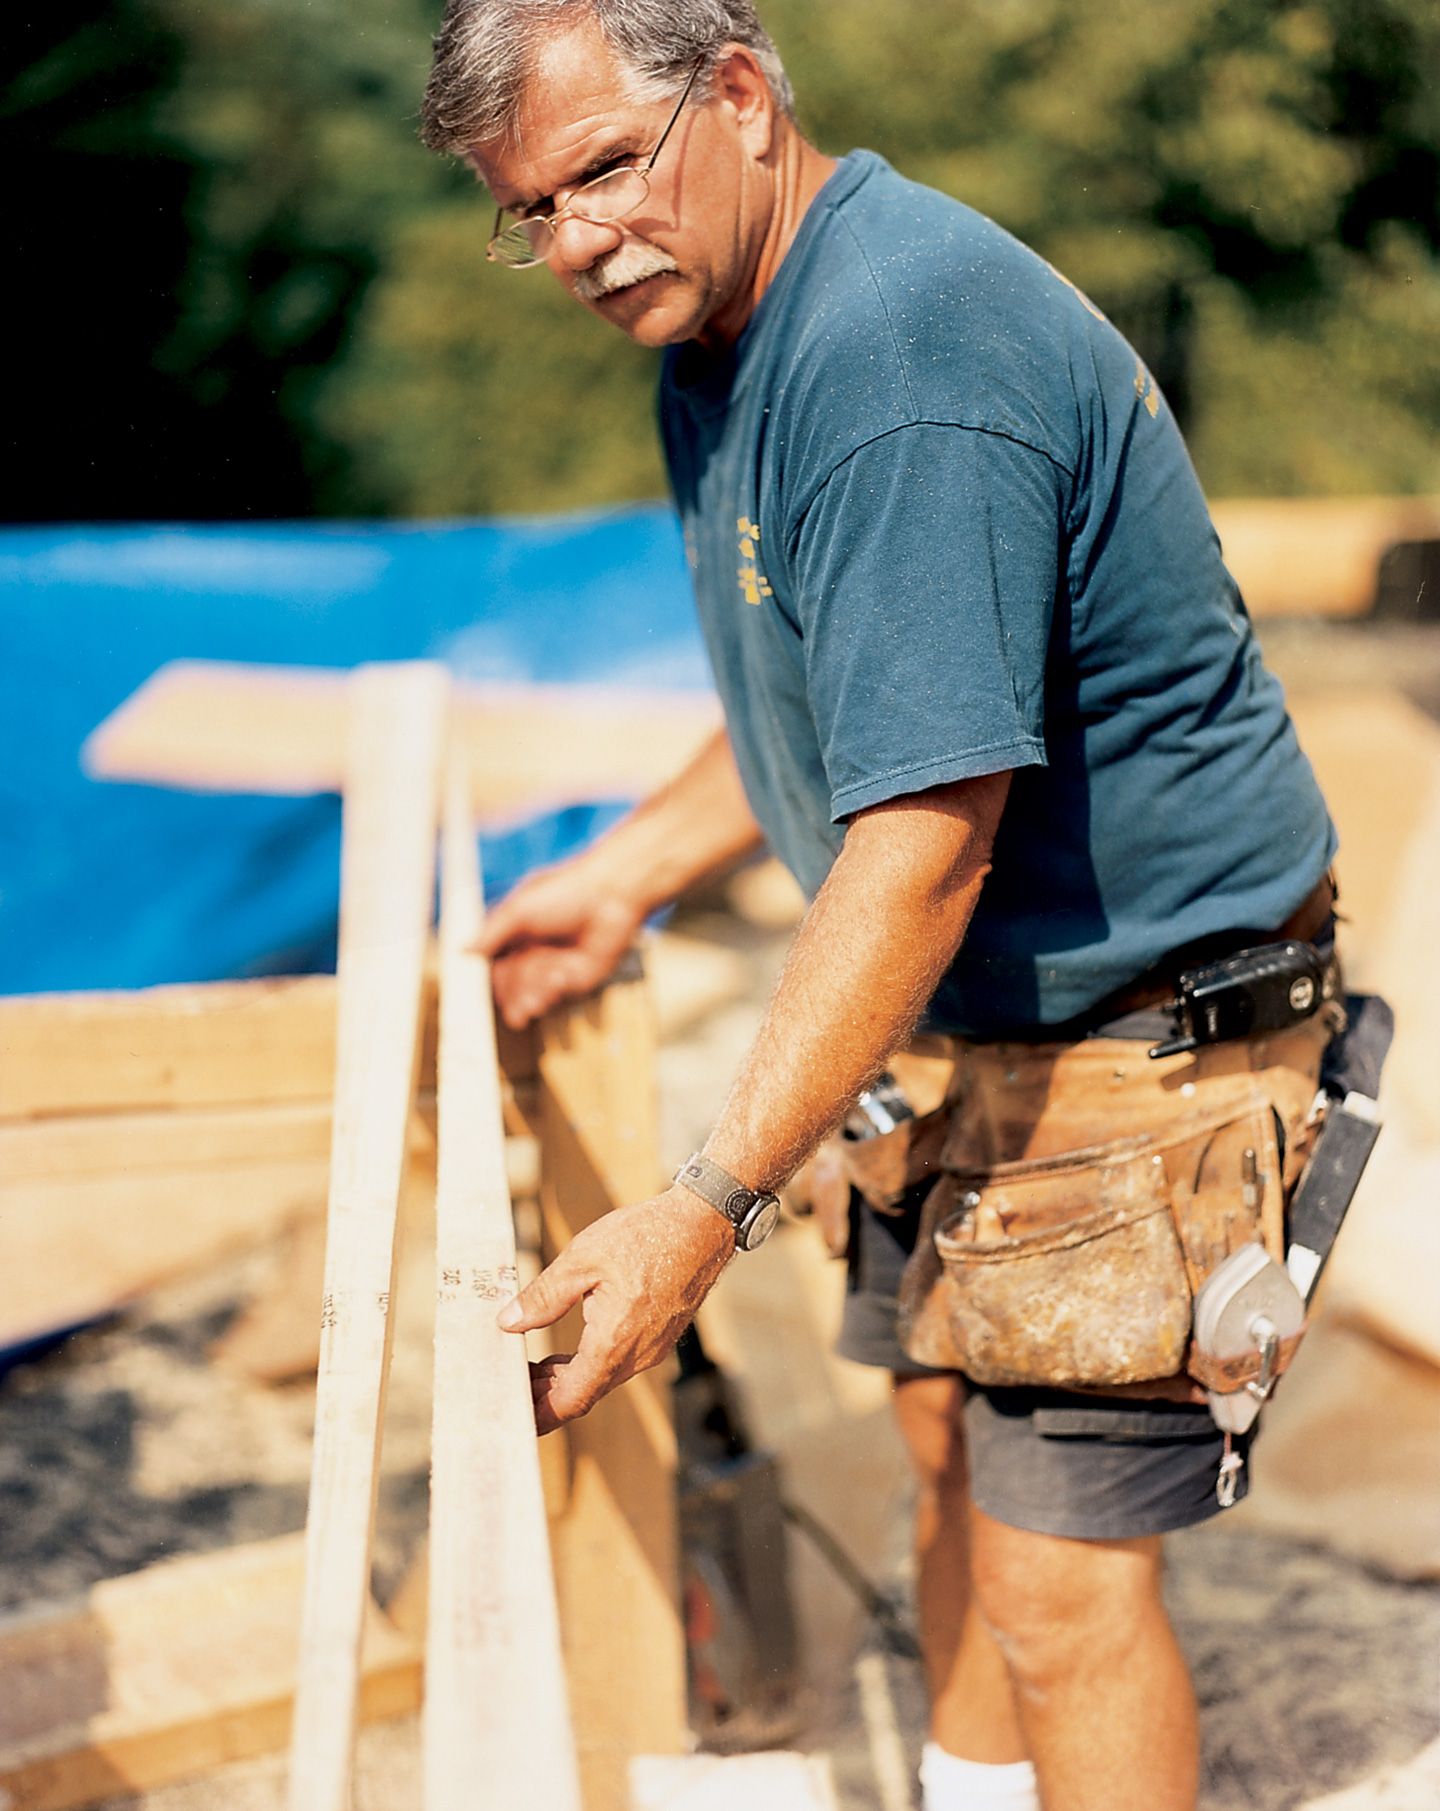
The first step is to frame the roof structure. As Tom Silva, This Old House general contractor, points out, “The most important thing to know about a flat roof is that it’s not flat.” The framing should incorporate enough slope for drainage. Some roofs slope in several directions, like squashed hip roofs, toward scupper holes that connect to downspouts.
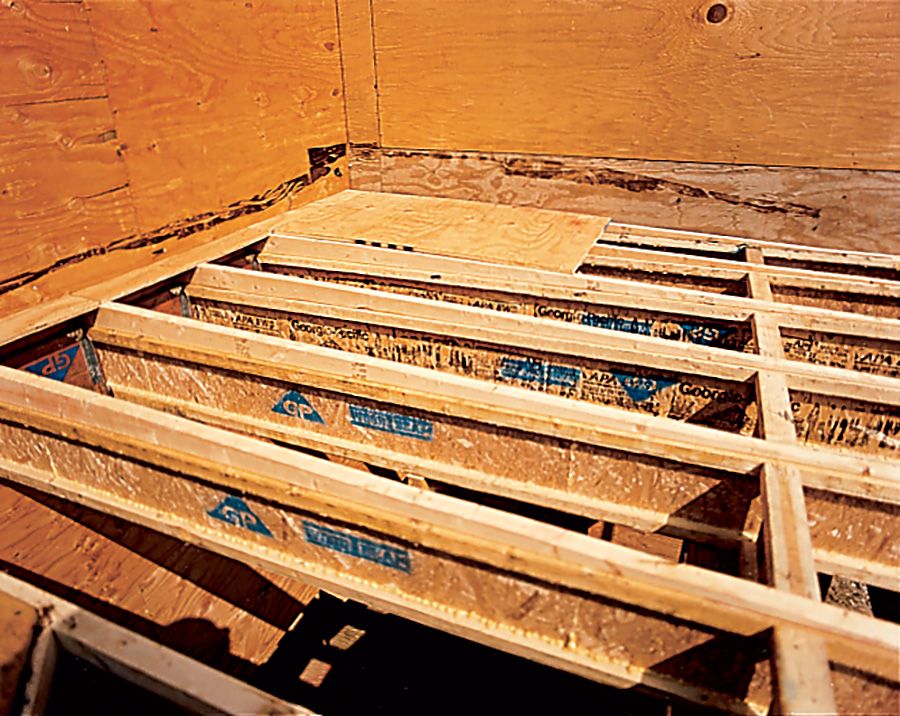
2. Installing the Sheathing
Once the framing is complete, install the roof sheathing. Use 5/8-inch plywood or OSB, leaving a 1/8-inch gap between sheets to allow for expansion and contraction.
3. Applying the Underlayment
Apply a layer of underlayment over the sheathing. This provides an additional water barrier and can help protect the roof during construction.
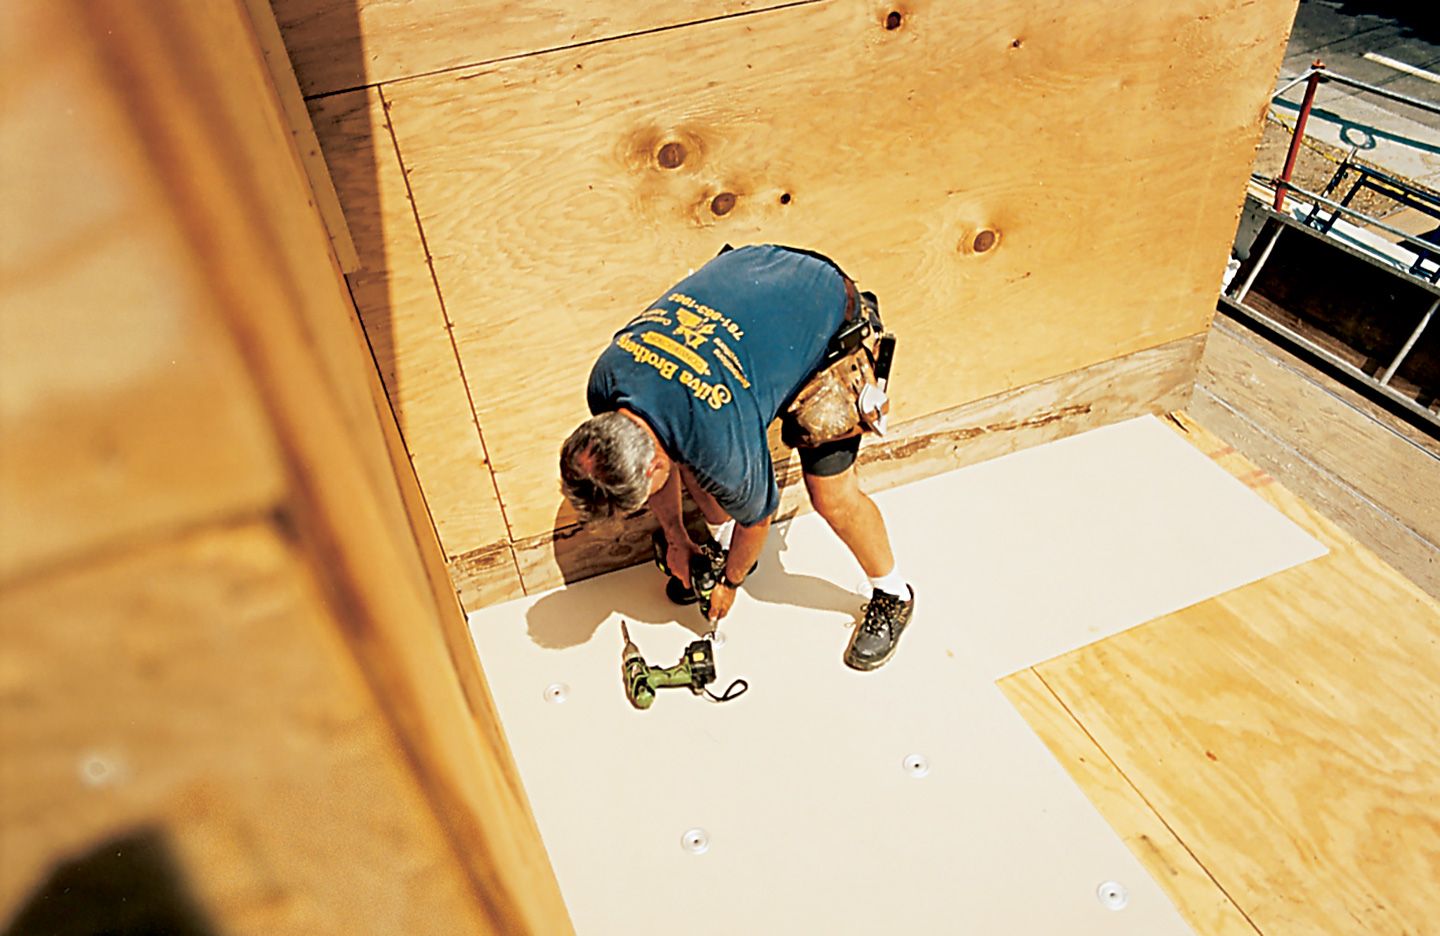
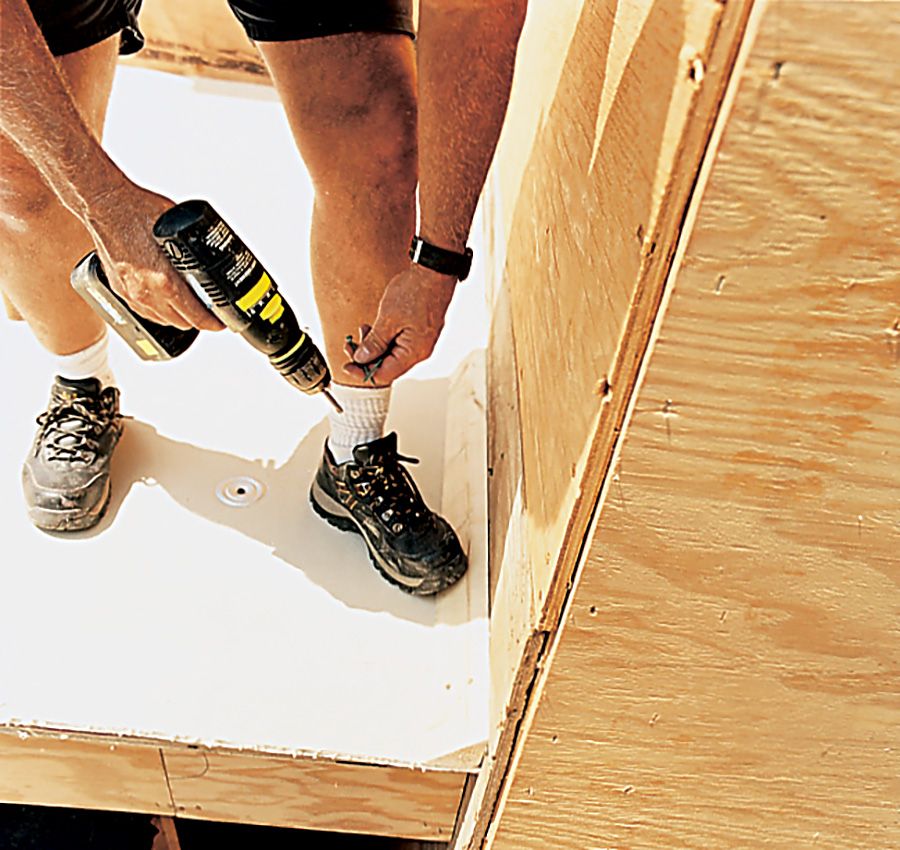
Screw down the underlayment. The sheet-rubber roofing material that Silva is using requires a substrate called iso board: 1/2-inch-thick rigid foam (made of polyisocyanurate) with a special fiberglass backing. The iso board (a flat version of the same material he orders custom-fitted for larger roofs) cuts easily with a utility knife and anchors to the plywood sheathing with screws and large galvanized steel washers. It provides a soft, protective base for the rubber. Silva staggers the joints and fits the pieces tightly against each other, as iso board doesn’t expand and contract like plywood.
To keep water from pooling at the inside corners of a parapet (a short wall common around flat roofs), Silva rips 2x4s lengthwise on a 45-degree bevel with a table saw. Then, he screws them into the joint between the roof and the wall to create a gradual transition.
4. Dry-Fitting the Roofing
Before putting down the rubber, do a quick sweep-down to remove any debris that could puncture the new roof. EPDM (ethylene propylene diene monomer) comes in 10-foot-wide rolls and cuts easily with shears or a utility knife.
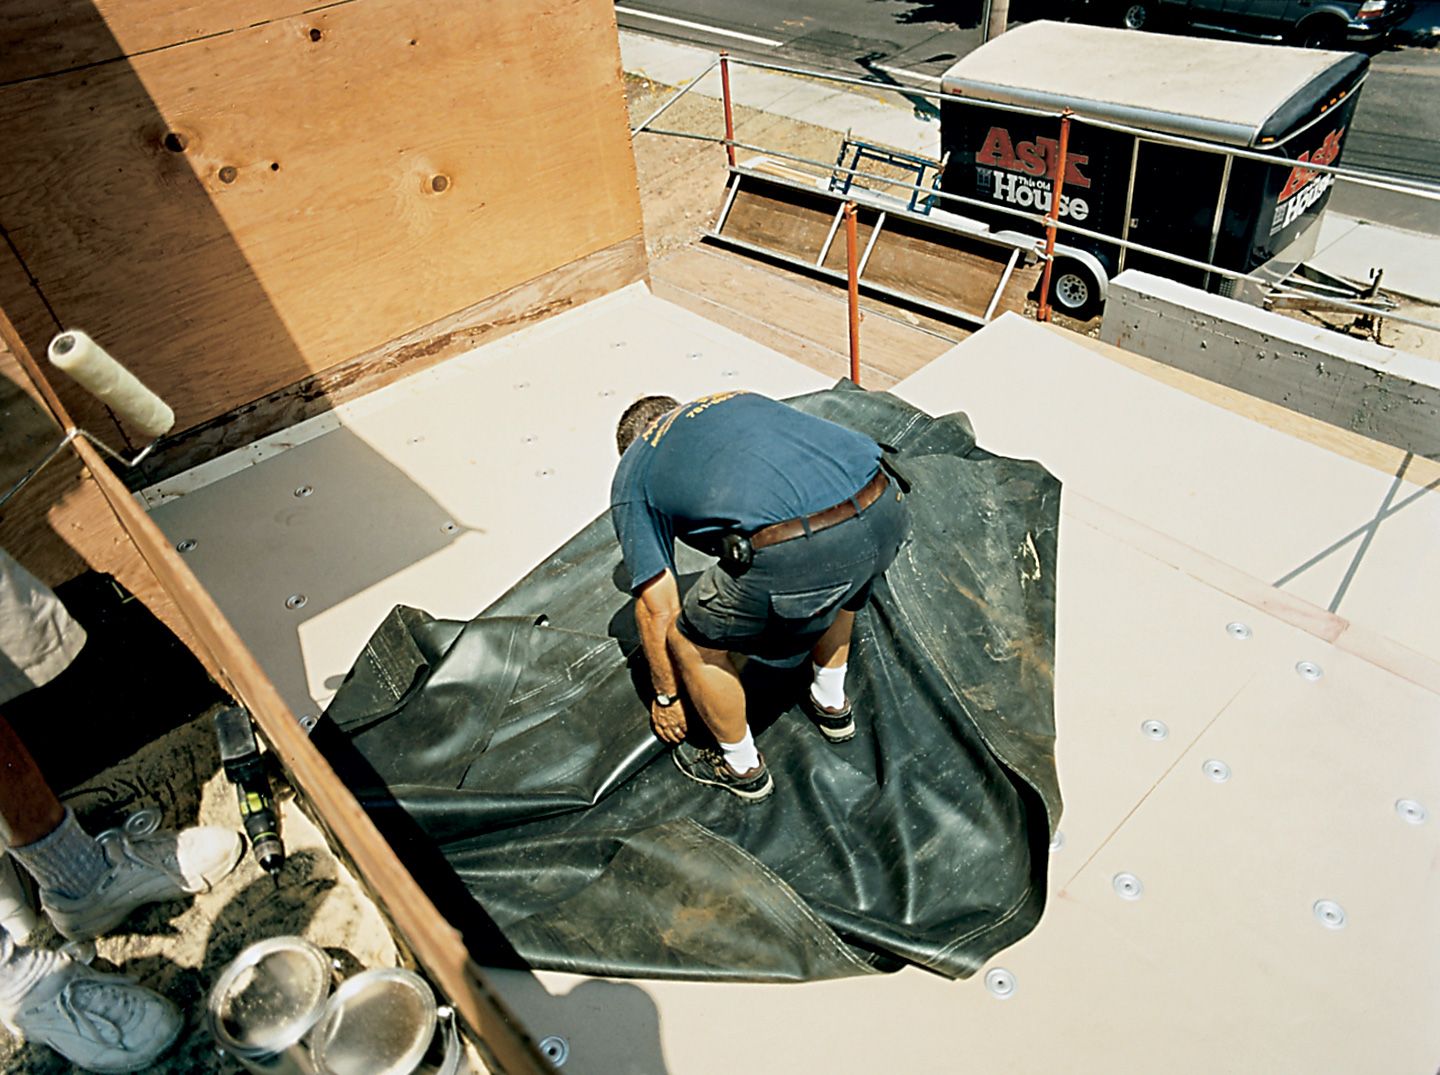
Silva cuts a piece large enough to cover the roof, plus an extra 9 inches all around. He spreads the piece into place and folds it back in half. Small roofs may only require a single sheet. On larger roofs, Silva overlaps sections about 6 inches but doesn’t glue the seams until the end. To negotiate a vent stack, cut a hole in the rubber slightly larger than the pipe, then slide the rubber down over it.
5. Installing the Waterproofing Membrane
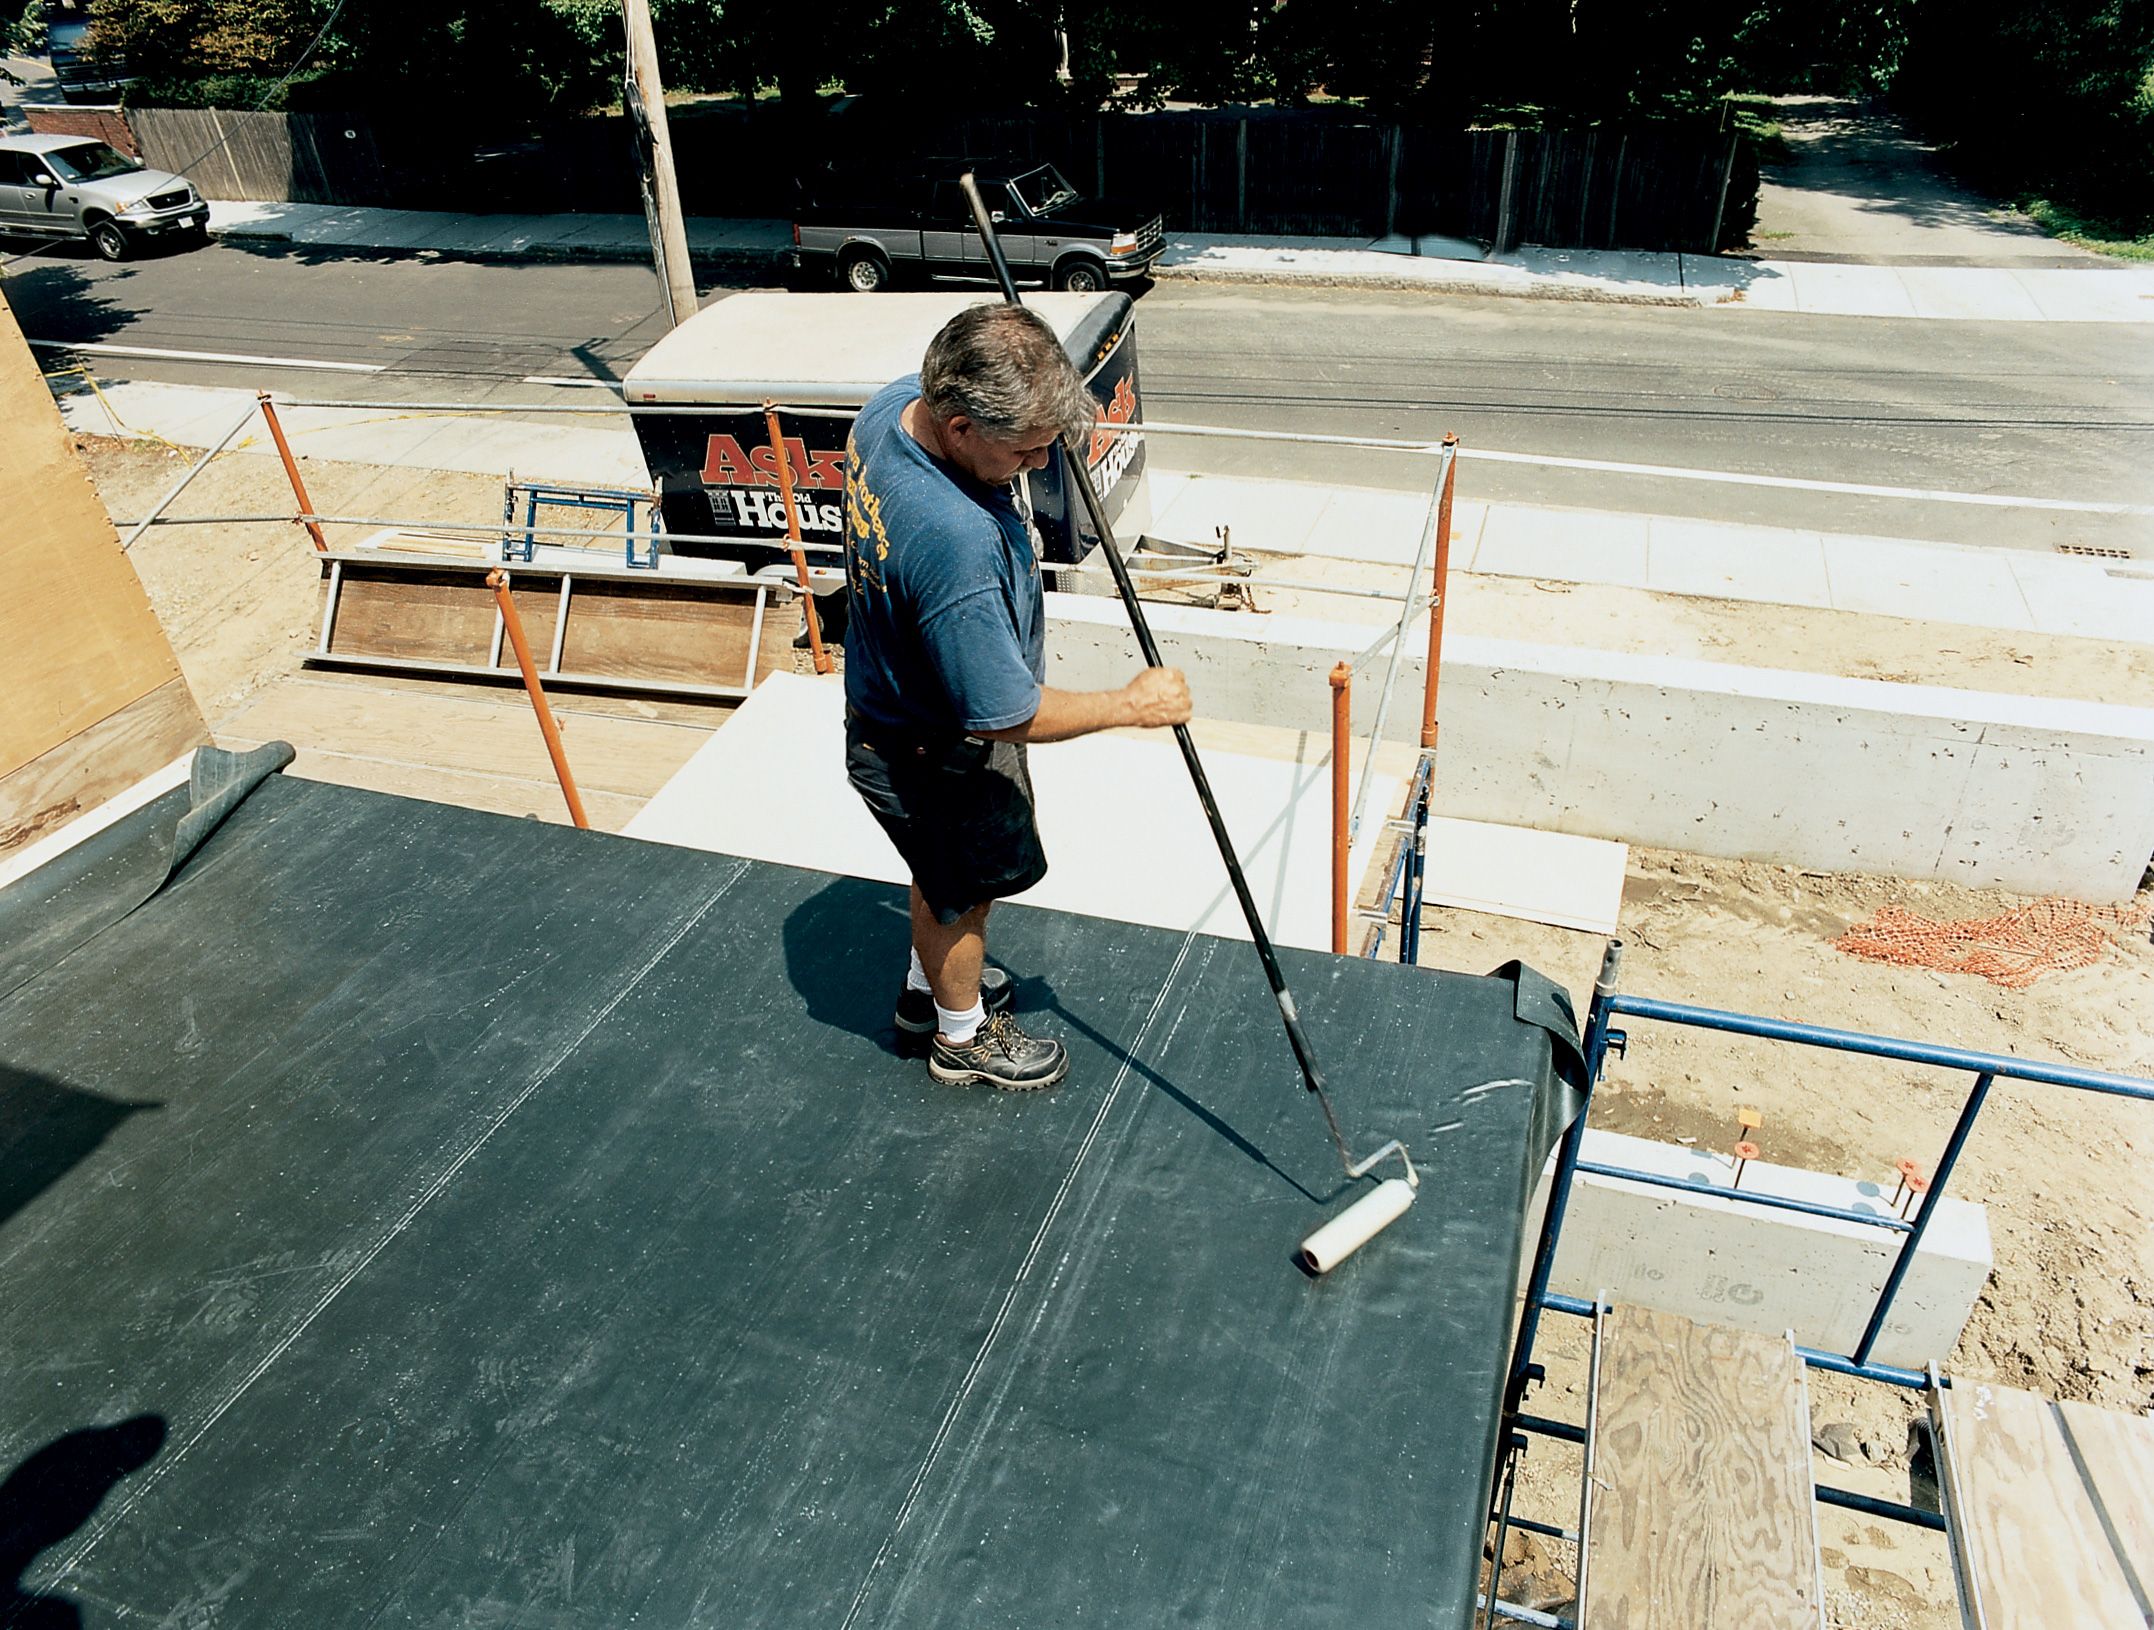
The final step is installing the waterproofing membrane. For EPDM systems, this involves carefully laying and adhering the rubber membrane to the insulation layer. “You only get one shot,” Silva says. Work in sections, smoothing out air bubbles with a dry roller before gluing the edges up the wall and parapet and 6 inches down over the front of the roof.
If there’s a seam, clean it with a special solvent, then apply a black rubber-to-rubber adhesive. Because seams are so vulnerable, glue a 12-inch-wide strip of uncured rubber (which, unlike EPDM, has no “memory,” meaning it can be stretched without springing back and wrinkling) onto the seam itself. At vent stacks, stretch a special rubber collar over the pipe and glue it to the EPDM, then seal it with glued strips of uncured rubber and a bead of tri-polymer caulk.
6. Finishing the Edges
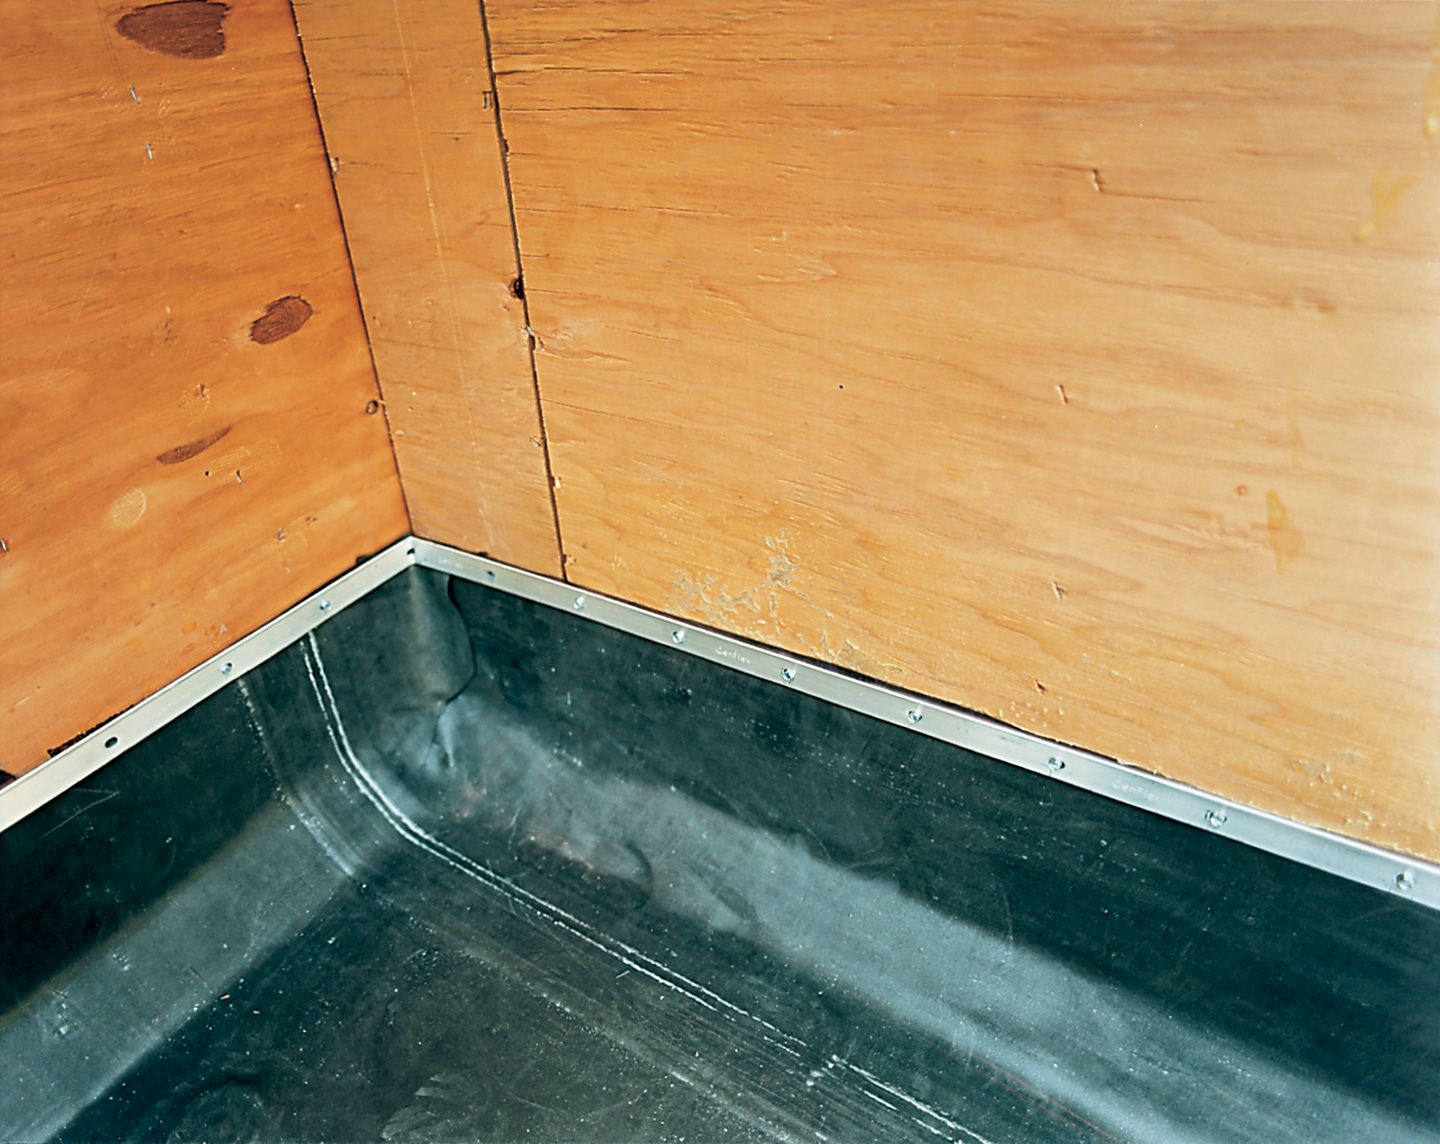
At inside vertical corners, cut and overlap the EPDM, then use rubber adhesive to glue it down tightly. Silva also seals this seam with uncured rubber. To keep the vertical sections from peeling off the walls, screw on metal brackets called termination stops, then cut off the excess above the brackets. Run a bead of tri-polymer caulk along the top edge of the brackets to seal them.
Later, nail down a custom lead-coated copper flashing over the front edges of the roof, then glue down a 12-inch strip of uncured rubber over the flashing’s top nail edge. This off-the-rack alternative to custom flashing is a galvanized drip edge specially made for flat roofs. Called a gravel stop, it works on any kind of flat roof and comes in many colors. Once the flashing is in place, the roof is ready to face the elements.
Choosing the Right Materials for Your Flat Roof
Here are some of the most popular materials used for flat roofing systems.
EPDM Rubber Membrane
Ethylene propylene diene monomer (EPDM) is a popular choice for flat roofs. It’s durable, weather-resistant, and relatively easy to install. EPDM comes in large sheets, reducing the number of seams and potential leak points.
TPO Roofing
Another common flat roofing material is thermoplastic polyolefin (TPO). It’s known for its energy efficiency and resistance to UV rays and chemical exposure.
PVC Roofing
PVC (polyvinyl chloride) roofing is widely used for its durability and resistance to chemicals, fire, and wind. It’s also highly reflective, which can improve the building’s energy efficiency. PVC roofing typically comes in white, reducing cooling costs by reflecting much of the sun’s heat.
Built-Up Roofing (BUR)
Built-up roofing, often called tar and gravel roofing, consists of alternating layers of bitumen and reinforcing fabric. It’s durable and provides excellent waterproofing, but it can be heavy and odorous during installation.
Modified Bitumen
Modified bitumen is an asphalt-based system reinforced with polymers. It offers good flexibility in cold temperatures and is resistant to foot traffic.
Considerations for Flat Roof Construction
When you’re building a flat roof, there are a few things to keep in mind. Here are the most important things to remember to make your roof strong and long-lasting.
Load-Bearing Capacity
Flat roofs must be designed to handle both dead loads (the weight of the roof itself) and live loads (such as snow, rain, or foot traffic). Ensure your roof structure can support the expected loads in your area.
Climate and Weather Factors
Consider your local climate when choosing roofing materials and designing your flat roof. Areas with heavy snowfall may require a steeper slope, while hot climates might benefit from reflective roofing materials.
Building Codes and Regulations
Always check local building codes and regulations before starting your flat roof project. These may dictate minimum slope requirements, insulation values, and acceptable roofing materials.
Ventilation
Proper ventilation prevents moisture buildup within the roof structure. Incorporating vents or ventilation systems can help regulate temperature and prevent condensation that could lead to mold or rot.
Flat Roof Maintenance and Longevity
Proper maintenance extends the life of your flat roof and prevents costly repairs, ultimately saving you the cost of flat roof replacement prematurely. This section covers inspection routines, common problems and solutions, and tips for extending your roof’s lifespan.
Regular Inspection Routine
Inspect your flat roof at least twice a year, ideally in spring and fall. Look for signs of damage, pooling water, or debris accumulation. Properly maintaining a flat roof is the best way to extend its lifespan.
Common Flat Roof Problems and Solutions
Common issues with flat roofs include ponding water, blistering, and seam separation. Regular inspections can help catch these problems early. For ponding water, consider adding additional drainage or building up low spots. Blisters and seam issues often require professional repair.
Extending the Lifespan of Your Flat Roof
To maximize the lifespan of your flat roof, keep the roof clean and free of debris. Ensure proper drainage and address any damage or leaks promptly. Consider applying a reflective coating to improve energy efficiency and protect the roofing material.
Preventive Maintenance
Regular maintenance can help you identify and address minor issues before they escalate into larger problems. The best way to extend the life of your roof is to perform scheduled inspections, cleaning, and maintenance tasks regularly. This can help save you money in the long run.