Project details
Skill
3 out of 5ModerateBasic plumbing skills required, including soldering
Cost
About $80 to $100
Estimated Time
1 to 2 hours
In this video, This Old House plumbing and heating expert Richard Trethewey renders shower water temperatures safe.
Steps:
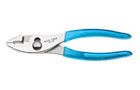
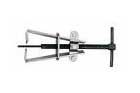
- Turn off the water leading to the bathroom. Then use pliers and a manual handle puller to remove the faucet handles and escutcheons from the hot- and cold-water faucets.
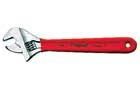
- Unthread the faucet stems from the shower wall using an adjustable wrench.
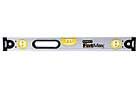
- Using a level, mark level and plumb lines onto the shower wall, indicating the horizontal and vertical centers of the existing shower valve.
- Take the paper template that came with the new shower valve and hold it against the shower wall.
- Align the template with the centerlines marked in Step 3, then trace the outline of the template onto the shower wall.
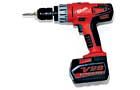
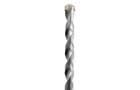
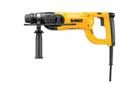
- Use a drill/driver and 3/16-inch-diameter masonry bit to drill a series of closely spaced holes through the tiled wall. Be sure to drill the holes just inside the template outline.
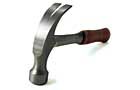
- Next, connect the holes by cutting through the tile using a hammer and ½-inch-wide cold chisel.
- After chiseling through the tile, pull away the tiled wall section to expose the old shower valve. Use a drywall saw to trim away any ragged edges of drywall.
- Use pliers to carefully twist off the tub spout. If there’s a setscrew beneath the spout, loosen it first before trying to remove the spout.
- Remove the access panel from the rear of the shower wall. Then, use a reciprocating saw fitted with a metal-cutting blade to cut through the pipe connecting the old valve to the showerhead.
- Using pliers, loosen the threaded unions that secure the shower valve to the water-supply pipes. Then, remove and discard the old valve.
- Cut short lengths of copper pipe to join the new shower valve to the existing water-supply pipes, tub faucet and shower riser.
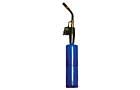
- Brush flux onto the pipes and fittings, then solder the new valve into place.
- With the new pressure-balance valve installed, move around to the tub side and screw on the finished escutcheon plate.
- Wrap Teflon tape around the tub-spout stub-out, then thread on the new tub spout; tighten the spout by hand, don’t use pliers.
- Screw the handle onto the center of the new shower valve.
- Snap the index onto the handle to conceal the screw head.