
Rewiring a light fixture might seem intimidating, but it’s a task many homeowners can handle with the right tools and guidance. Whether you’re updating an old fixture or fixing electrical issues, understanding the process is key to doing the job safely and effectively. This guide will walk you through everything you need to know, from identifying components to connecting wires.
Light Fixture Wiring Basics
Before you start, it’s helpful to get familiar with the basic parts and wiring setup of a typical light fixture. Knowing how everything fits together will make the task easier and safer.
Common Light Fixture Components
A light fixture consists of several parts that work together to light up your space, typically including:
- Fixture body or housing: The main part that holds everything together.
- Electrical box: Mounted in the ceiling or wall, this box houses the wiring connections.
- Mounting bracket or crossbar: Attaches the fixture to the electrical box.
- Wire connectors (wire nuts): Used to connect wires securely.
- Grounding wire: Provides a path for electrical current in case of a fault.
- Hot and neutral wires: Carry electrical current to and from the fixture.
Identifying Existing Wiring
Before diving in, take a look at the existing wiring in your home. Most modern fixtures have three wires:
- Black wire: The “hot” wire that carries electricity to the fixture.
- White wire: The “neutral” wire that completes the electrical circuit.
- Green or bare copper wire: The grounding wire for safety.
In older homes, the color codes might differ—or there might not be a ground wire at all. Understanding your specific wiring setup is important for making the right connections.
Tools and Materials for Rewiring a Light Fixture
Having the right tools and materials will save time and prevent unnecessary trips to the hardware store.
Must-Have Tools
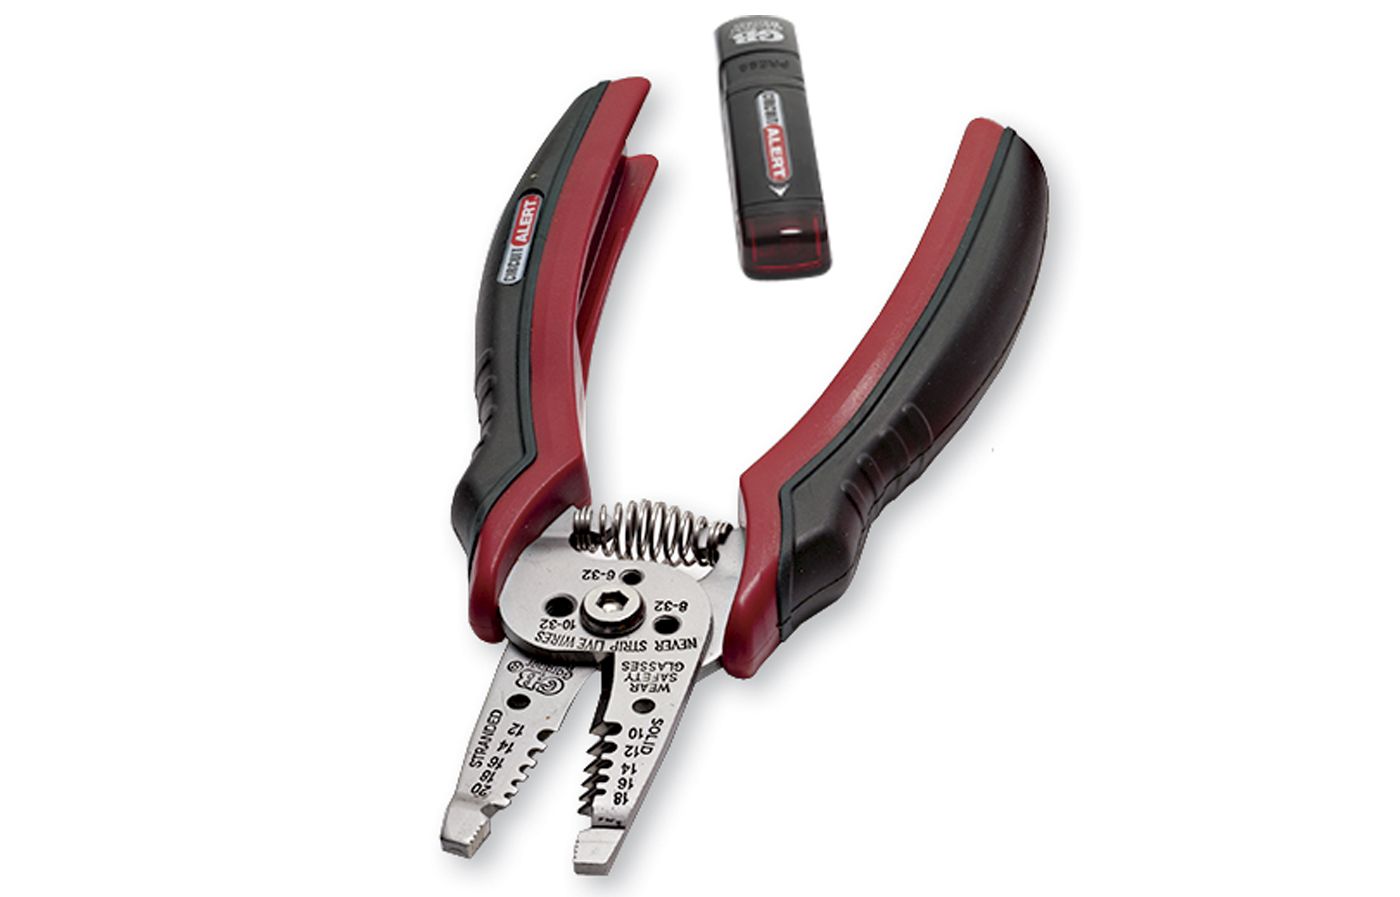
Wire Strippers
For removing insulation from wires. This pair has a snap-in voltage detector for testing the wires before you work.
Needle-Nosed Pliers
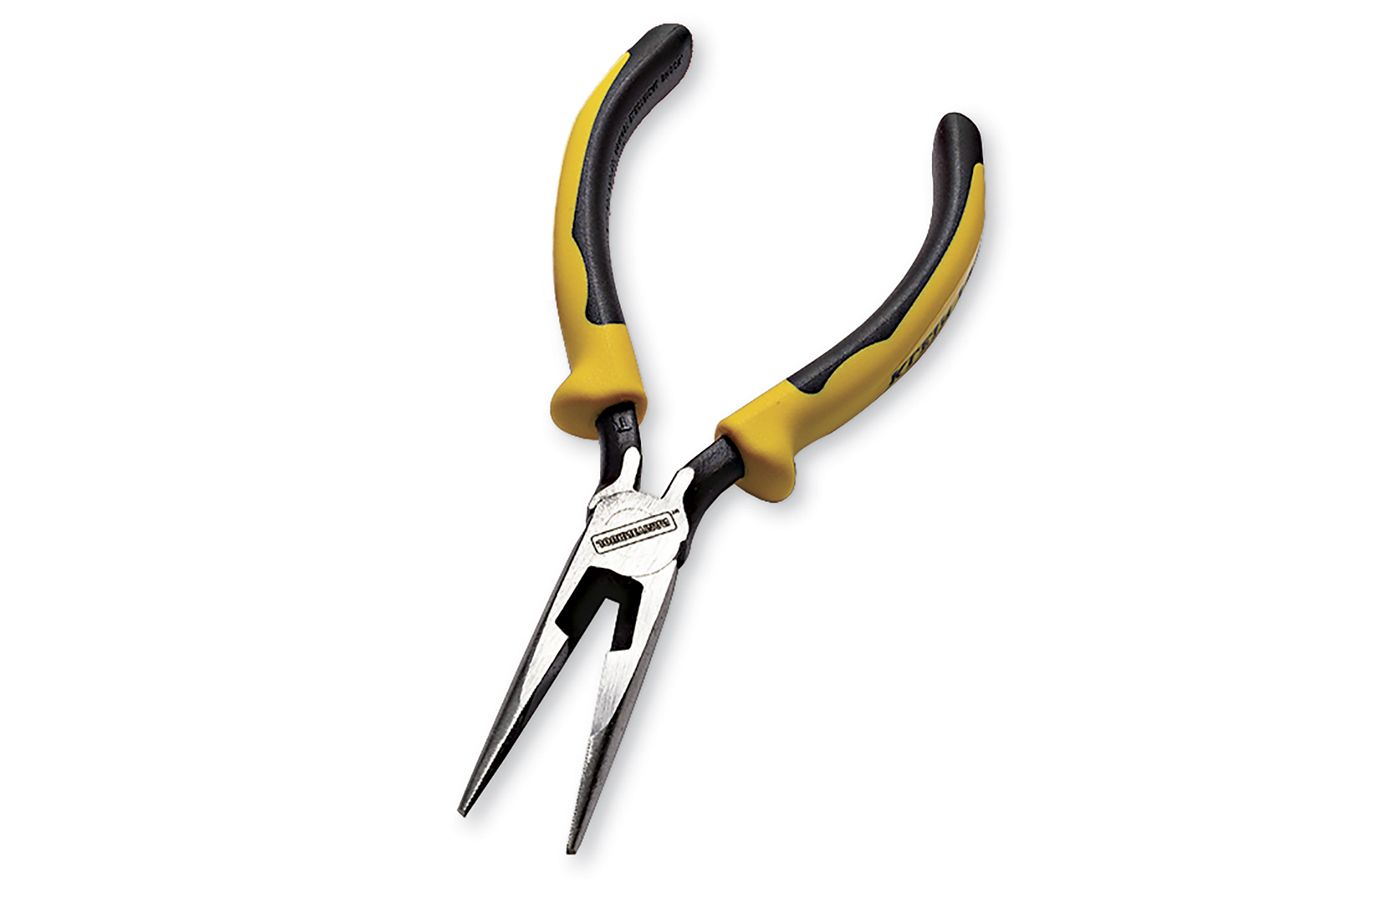
Useful for bending wires, crimping wires together, and reaching tight spaces.
Screwdrivers
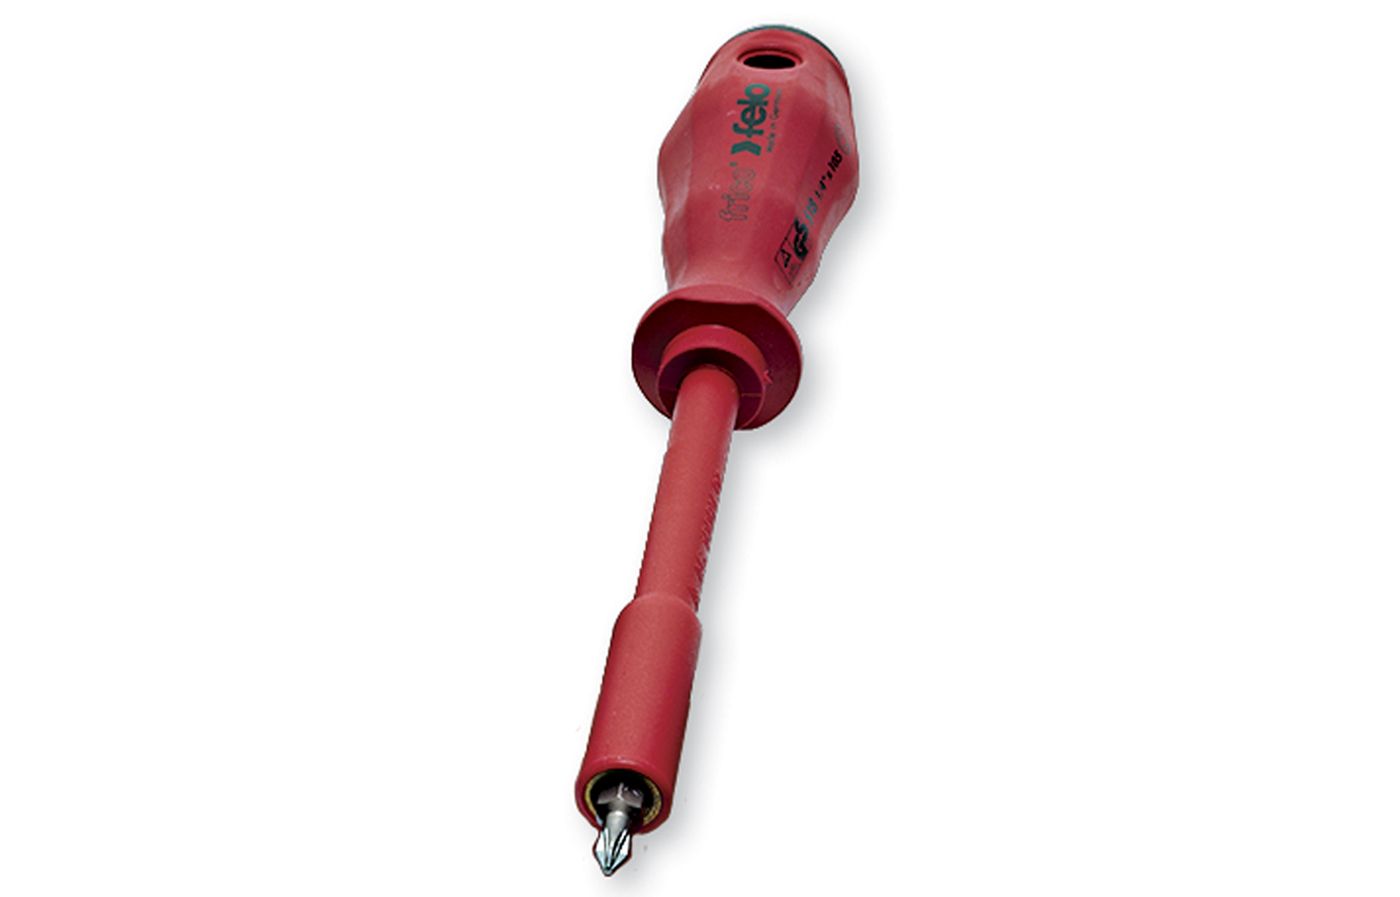
Both flathead and Phillips for various screws. We recommend those with rubber or insulated handles to protect against shock.
Materials
In addition to the tools, you’ll need a few common materials.
Electrical Tape
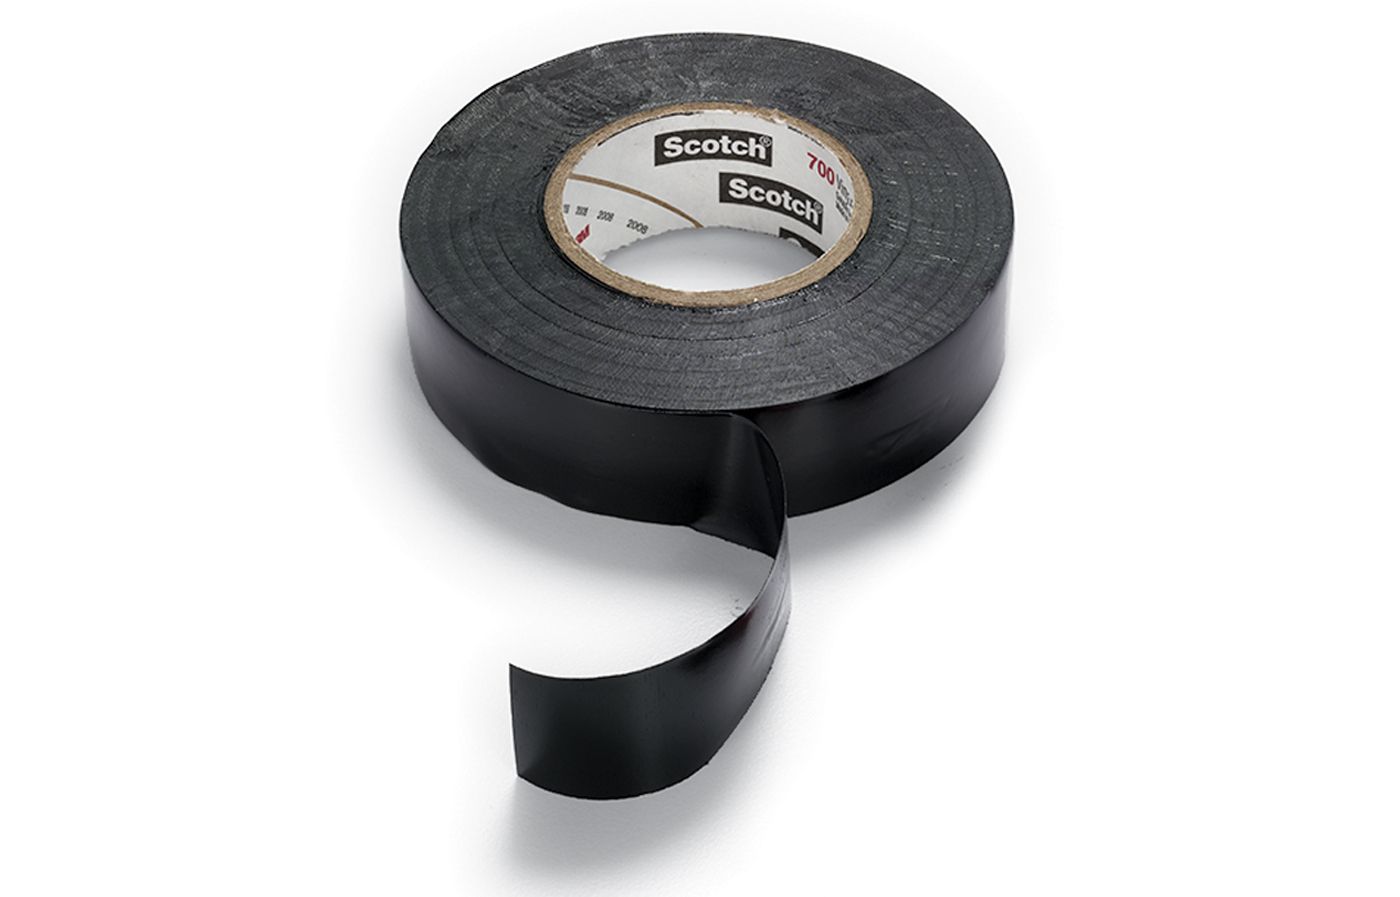
Wrap a layer around the wire nuts and the wires to make sure they won’t loosen over time.
Wire Nuts

Oversized grips make these easier to twist on.
18-Gauge Electrical Wire
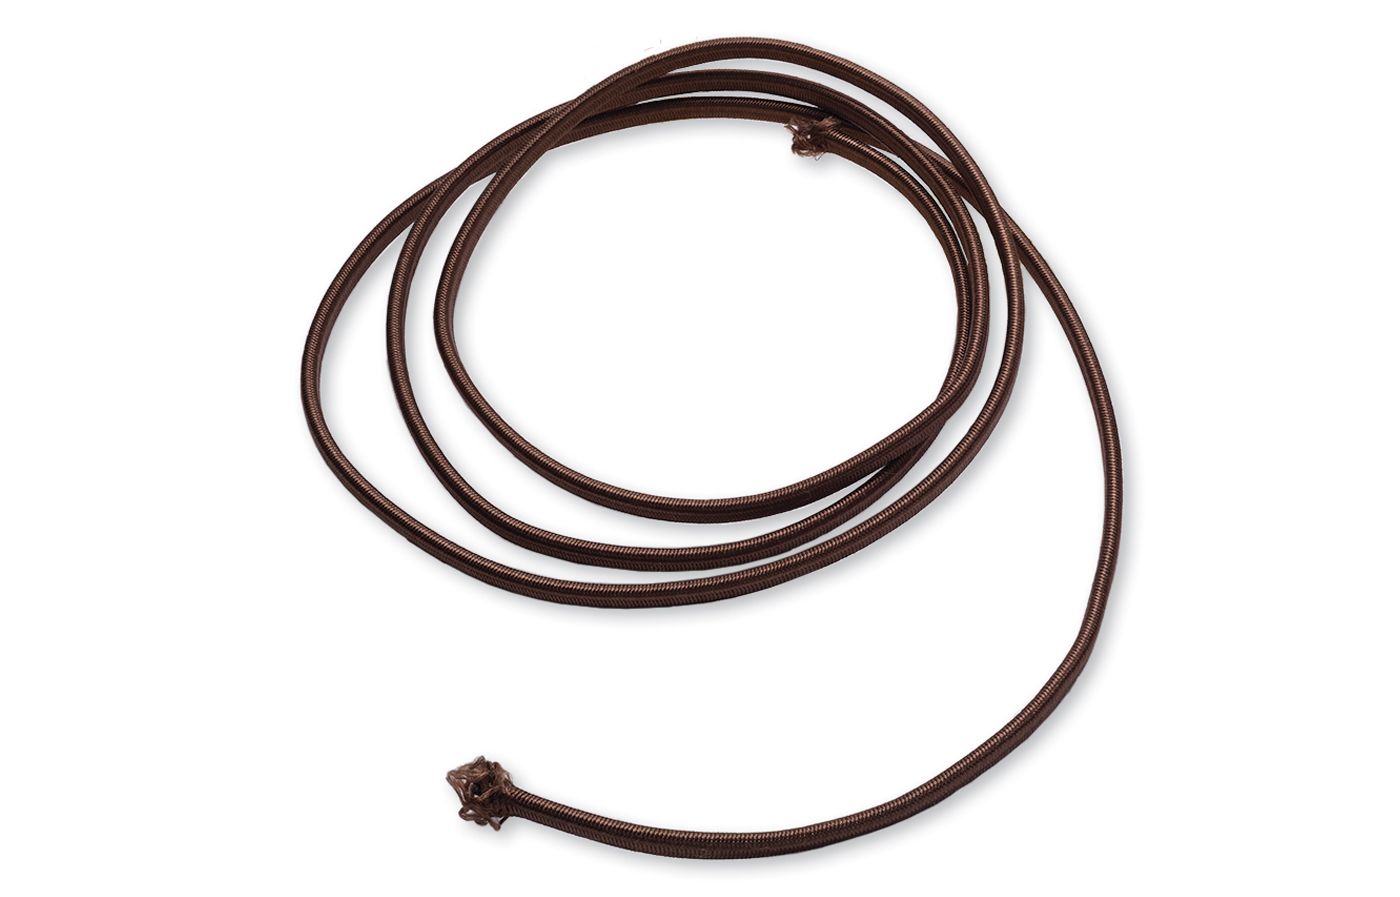
Because it’s covered in rayon instead of PVC, the wire above gives a fixture with exposed wiring a more finished look.
Socket and Insulator
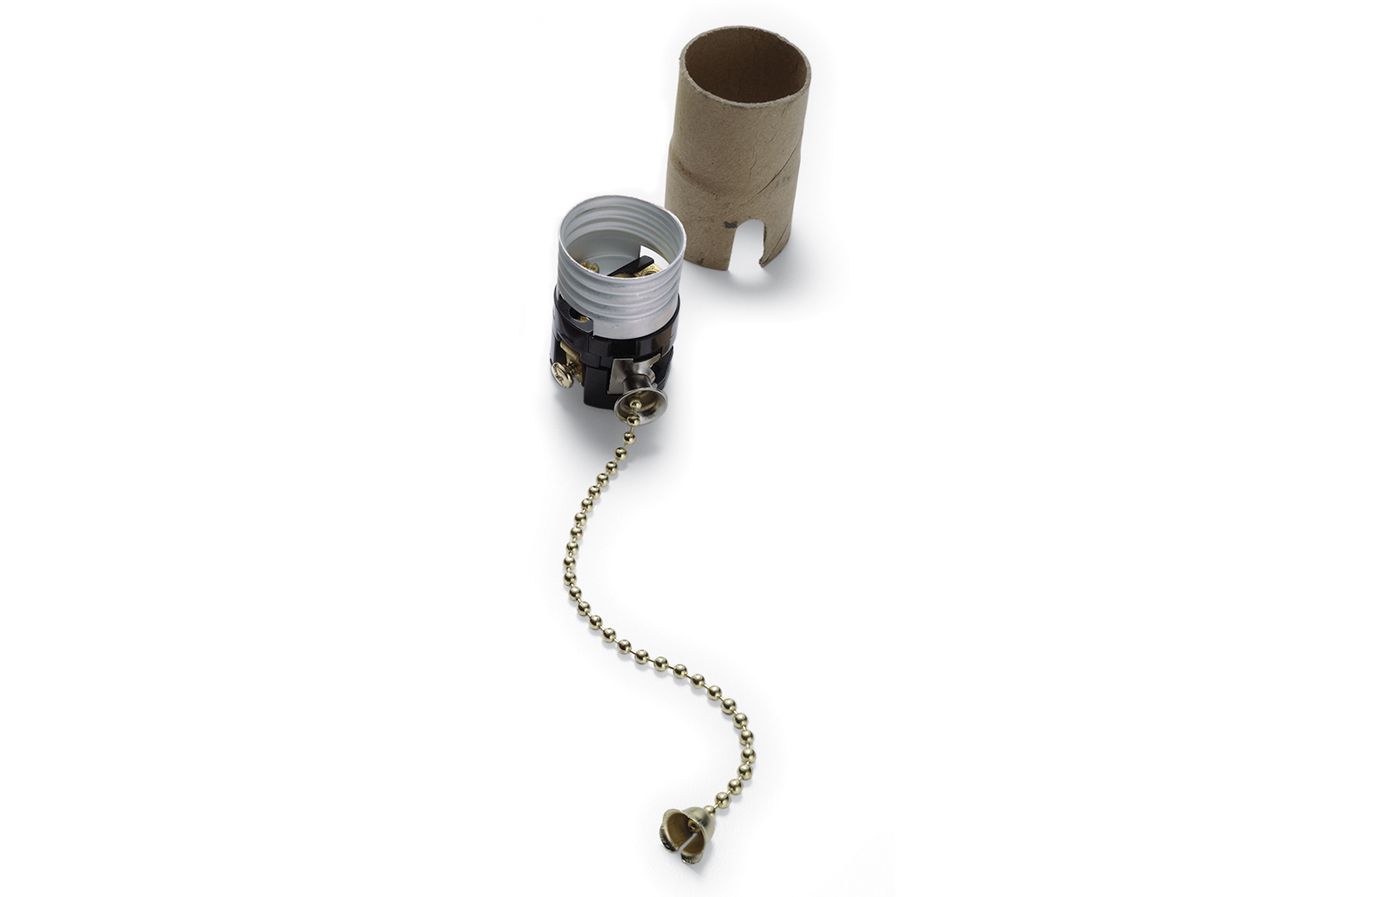
A new home for the bulb; the cardboard tube covers the socket to keep it cool to the touch.
Safety Precautions Before You Begin Rewiring a Light Fixture
Safety should be your top priority when working with electricity. Take proper precautions to prevent accidents, and always err on the side of caution.
Turning Off the Power
Always turn off the power before working on any electrical project. Here’s how:
- Locate your home’s main electrical panel.
- Identify the circuit breaker or fuse controlling the light fixture.
- Switch off the circuit breaker or remove the fuse.
- Test the light switch to make sure the power is off.
Never work on live wires—it can be extremely dangerous.
Testing for Live Wires
Even after turning off the power, double-check for live wires using a voltage tester. This step keeps you safe and prevents accidental shocks. Here’s how to test for live wires:
- Turn on the voltage tester.
- Touch one probe to the black (hot) wire and the other to the white (neutral) wire.
- Repeat the test with one probe on the black wire and the other on the ground wire.
- If the tester lights up or beeps, the circuit is still live. Double-check the breaker and repeat the process.
Step-by-Step Guide to Rewiring a Light Fixture
With safety precautions in place and tools at the ready, you’re set to start rewiring. Follow these steps carefully.
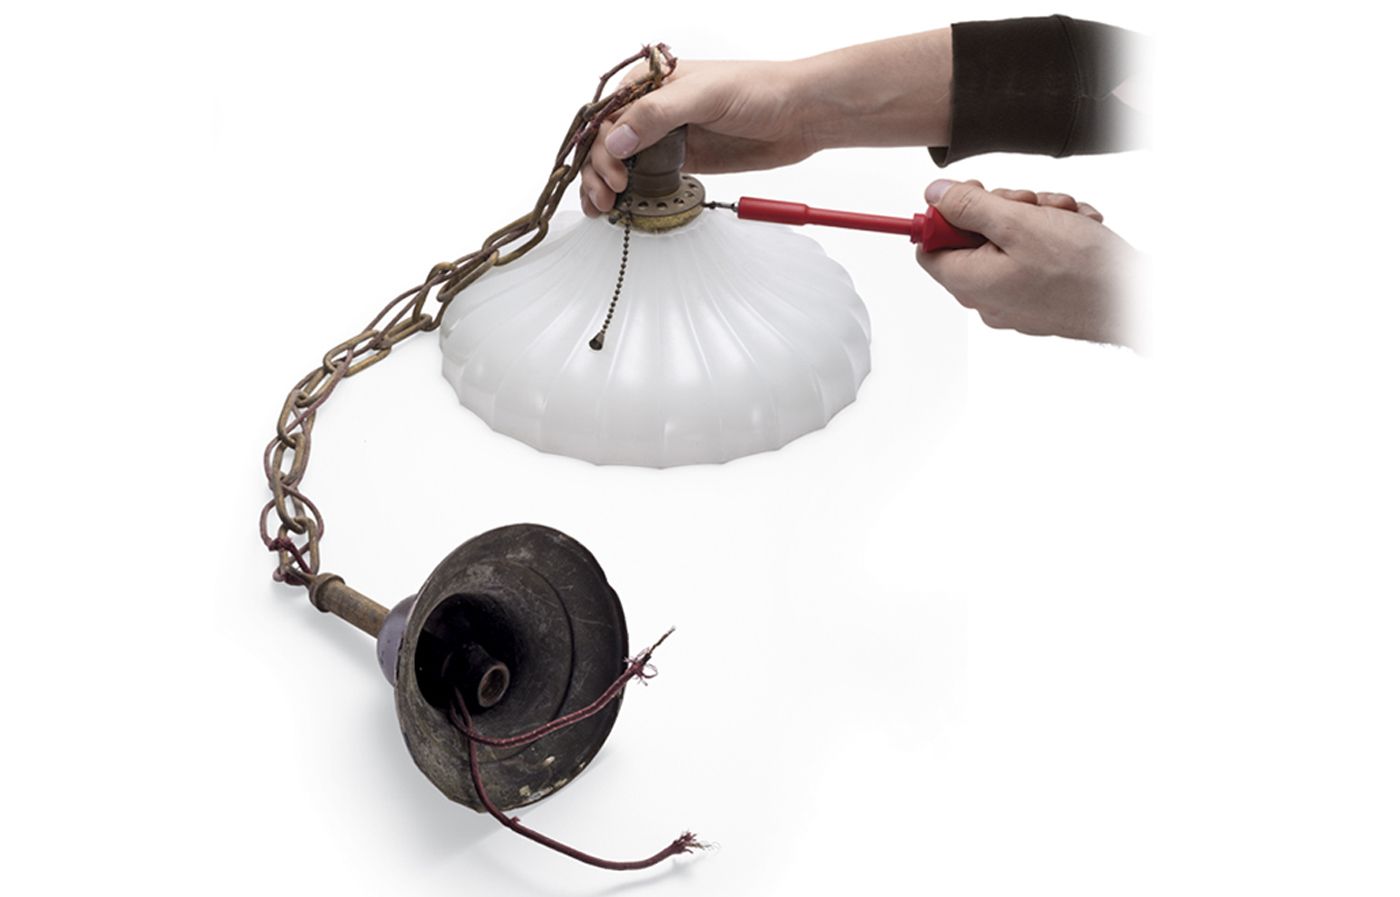
Removing the Old Fixture
Start by removing the existing light fixture:
- Unscrew the light bulbs and remove all detachable parts.
- Loosen the mounting screws and carefully lower the fixture.
- Disconnect the wire nuts connecting the fixture to the house wiring.
- Set the old fixture aside.
Note how the old fixture was connected; this can help when installing the new one.
Inspecting and Preparing the Electrical Box
With the old fixture removed, inspect the electrical box:
- Check for any signs of damage or wear.
- Check that the box is securely fastened to the ceiling joist.
- Clean out any debris or old wire pieces.
If the electrical box is damaged or outdated, you’ll need to replace it with a new one that meets current code requirements.
Installing the New Wiring
If you’re completely rewiring the fixture, follow these steps:
- Measure and cut the new wires to the right length, leaving a little extra to work with.
- Strip about 3/4 inch of insulation from the ends of each wire.
- Thread the new wires through the electrical box.
- Secure the wires to the box using a cable clamp if needed.
Connecting the New Light Fixture
With the new wiring in place, it’s time to connect your light fixture.
Matching Wire Colors
Connect the wires according to their colors:
- Black (hot) wire from the house to the black wire on the fixture
- White (neutral) wire from the house to the white wire on the fixture
- Green or bare copper (ground) wire from the house to the green wire on the fixture
If your fixture lacks a ground wire, connect the house ground to the fixture’s mounting bracket.
Securing Wire Connections
To maintain safe and lasting connections:
- Twist the stripped ends of matching wires together clockwise.
- Secure each connection with a wire nut, twisting it clockwise until it is tight.
- Wrap electrical tape around the wire nuts for added security.
- Gently tug on each wire to check that the connection is secure.
Properly secured connections prevent loose wires and potential electrical hazards.
Troubleshooting Common Rewiring Issues
Even with careful planning, you may encounter some challenges during the rewiring process. Here are some common issues and how to address them.
Dealing With Outdated Wiring
If you discover outdated wiring, such as knob-and-tube or aluminum wiring, it’s best to consult a professional electrician. These older systems may require more extensive updates to meet current safety standards.
Addressing Grounding Problems
In older homes, you may find fixtures without a ground wire. In this case, your first step is to check if the electrical box is metal and grounded. If so, you can connect the fixture’s ground wire to the box. If not, install a ground fault circuit interrupter (GFCI) or consult an electrician for proper grounding solutions.
When To Call a Professional Electrician To Rewire a Light Fixture
While many homeowners can successfully rewire a light fixture, there are situations where professional help is necessary.
We recommend calling an electrician for the following:
- Dimmer switch installations
- Multiple switches controlling one fixture
- Outdated or damaged electrical boxes
- Recessed lighting that requires new wiring runs
These scenarios often require specialized knowledge and tools.
In some areas, a licensed electrician must perform electrical work. Check your local building codes before starting any electrical project. If you’re unsure about any aspect of the rewiring process, it’s always safer to consult a professional.
Cost for Rewiring a Light Fixture
Do-it-yourself (DIY) rewiring typically costs between $8 and $75, mainly for materials. Professional installation can range from $168–$280, depending on the complexity of the job and your location.*
Factors Affecting Total Expenses
Several factors can influence the cost of rewiring a light fixture:
- The complexity of the installation (high ceilings, multiple switches, etc.)
- Local labor rates for electricians
- Necessity for additional wiring or electrical box replacement
- Type and quality of the new fixture
*Cost information based on 2024 reports from Homewyse and HomeAdvisor.