We may be compensated if you purchase through links on our website. Our team is committed to delivering honest, objective, and independent reviews on home products and services.
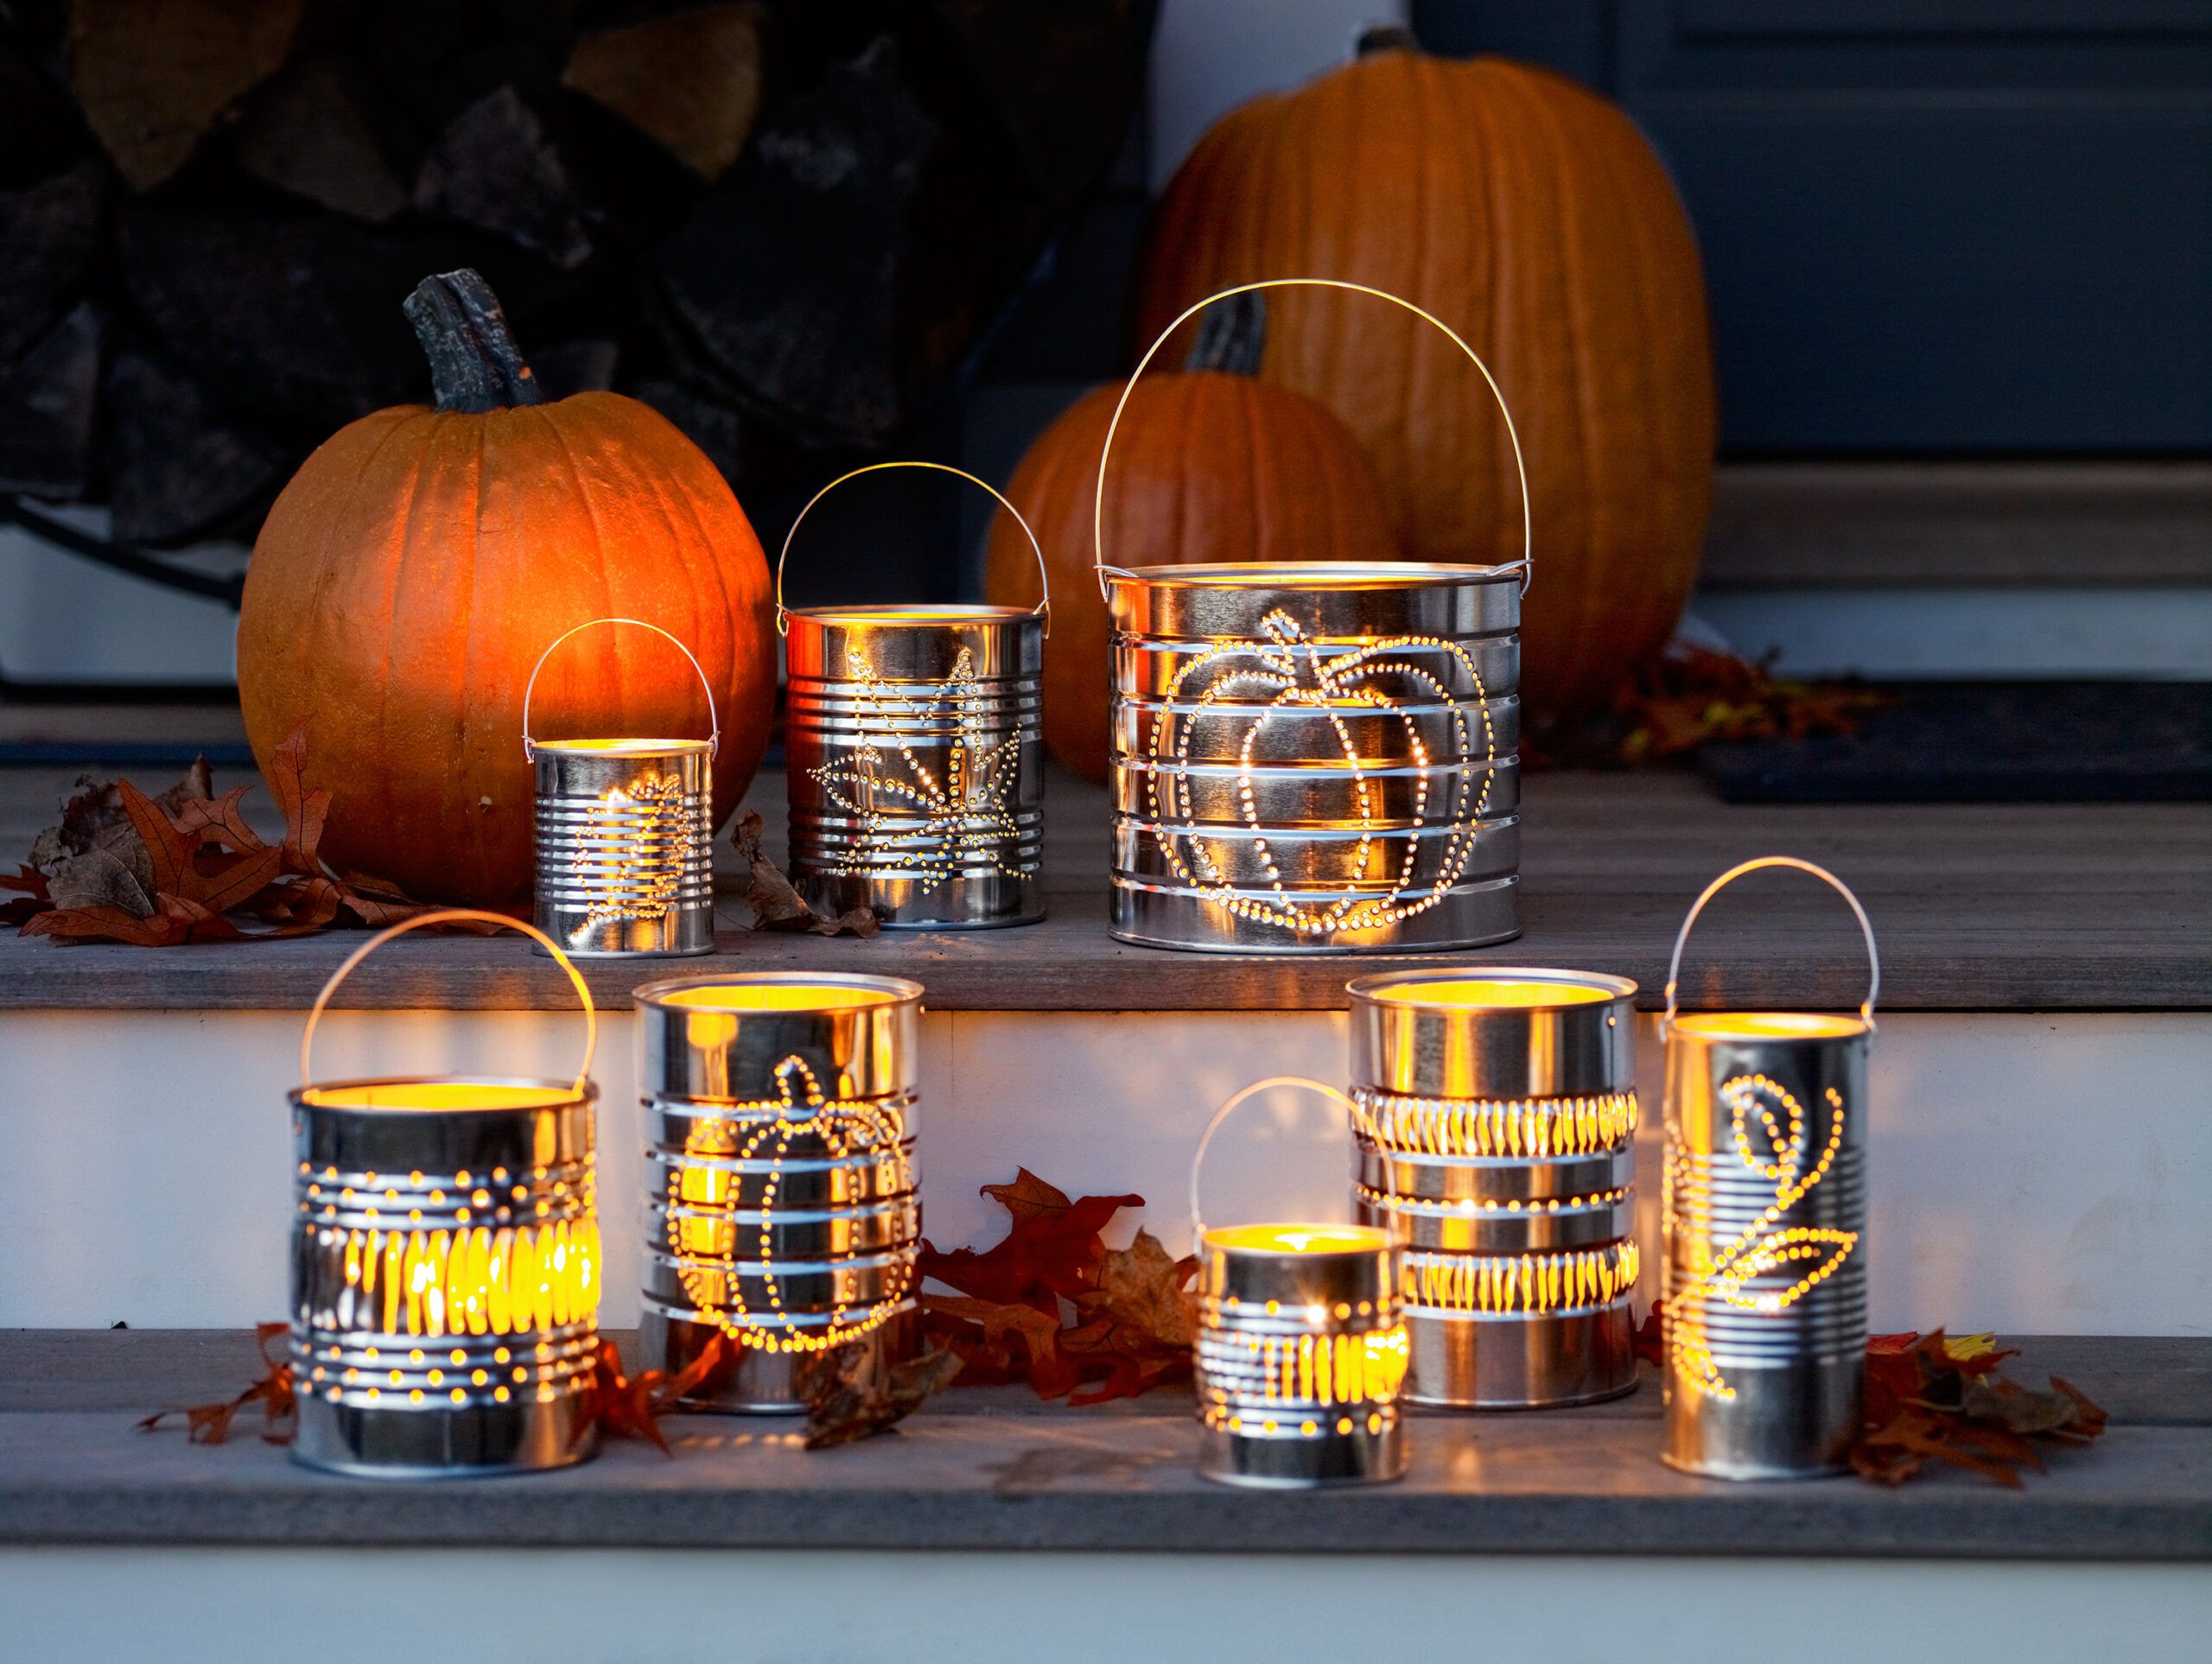
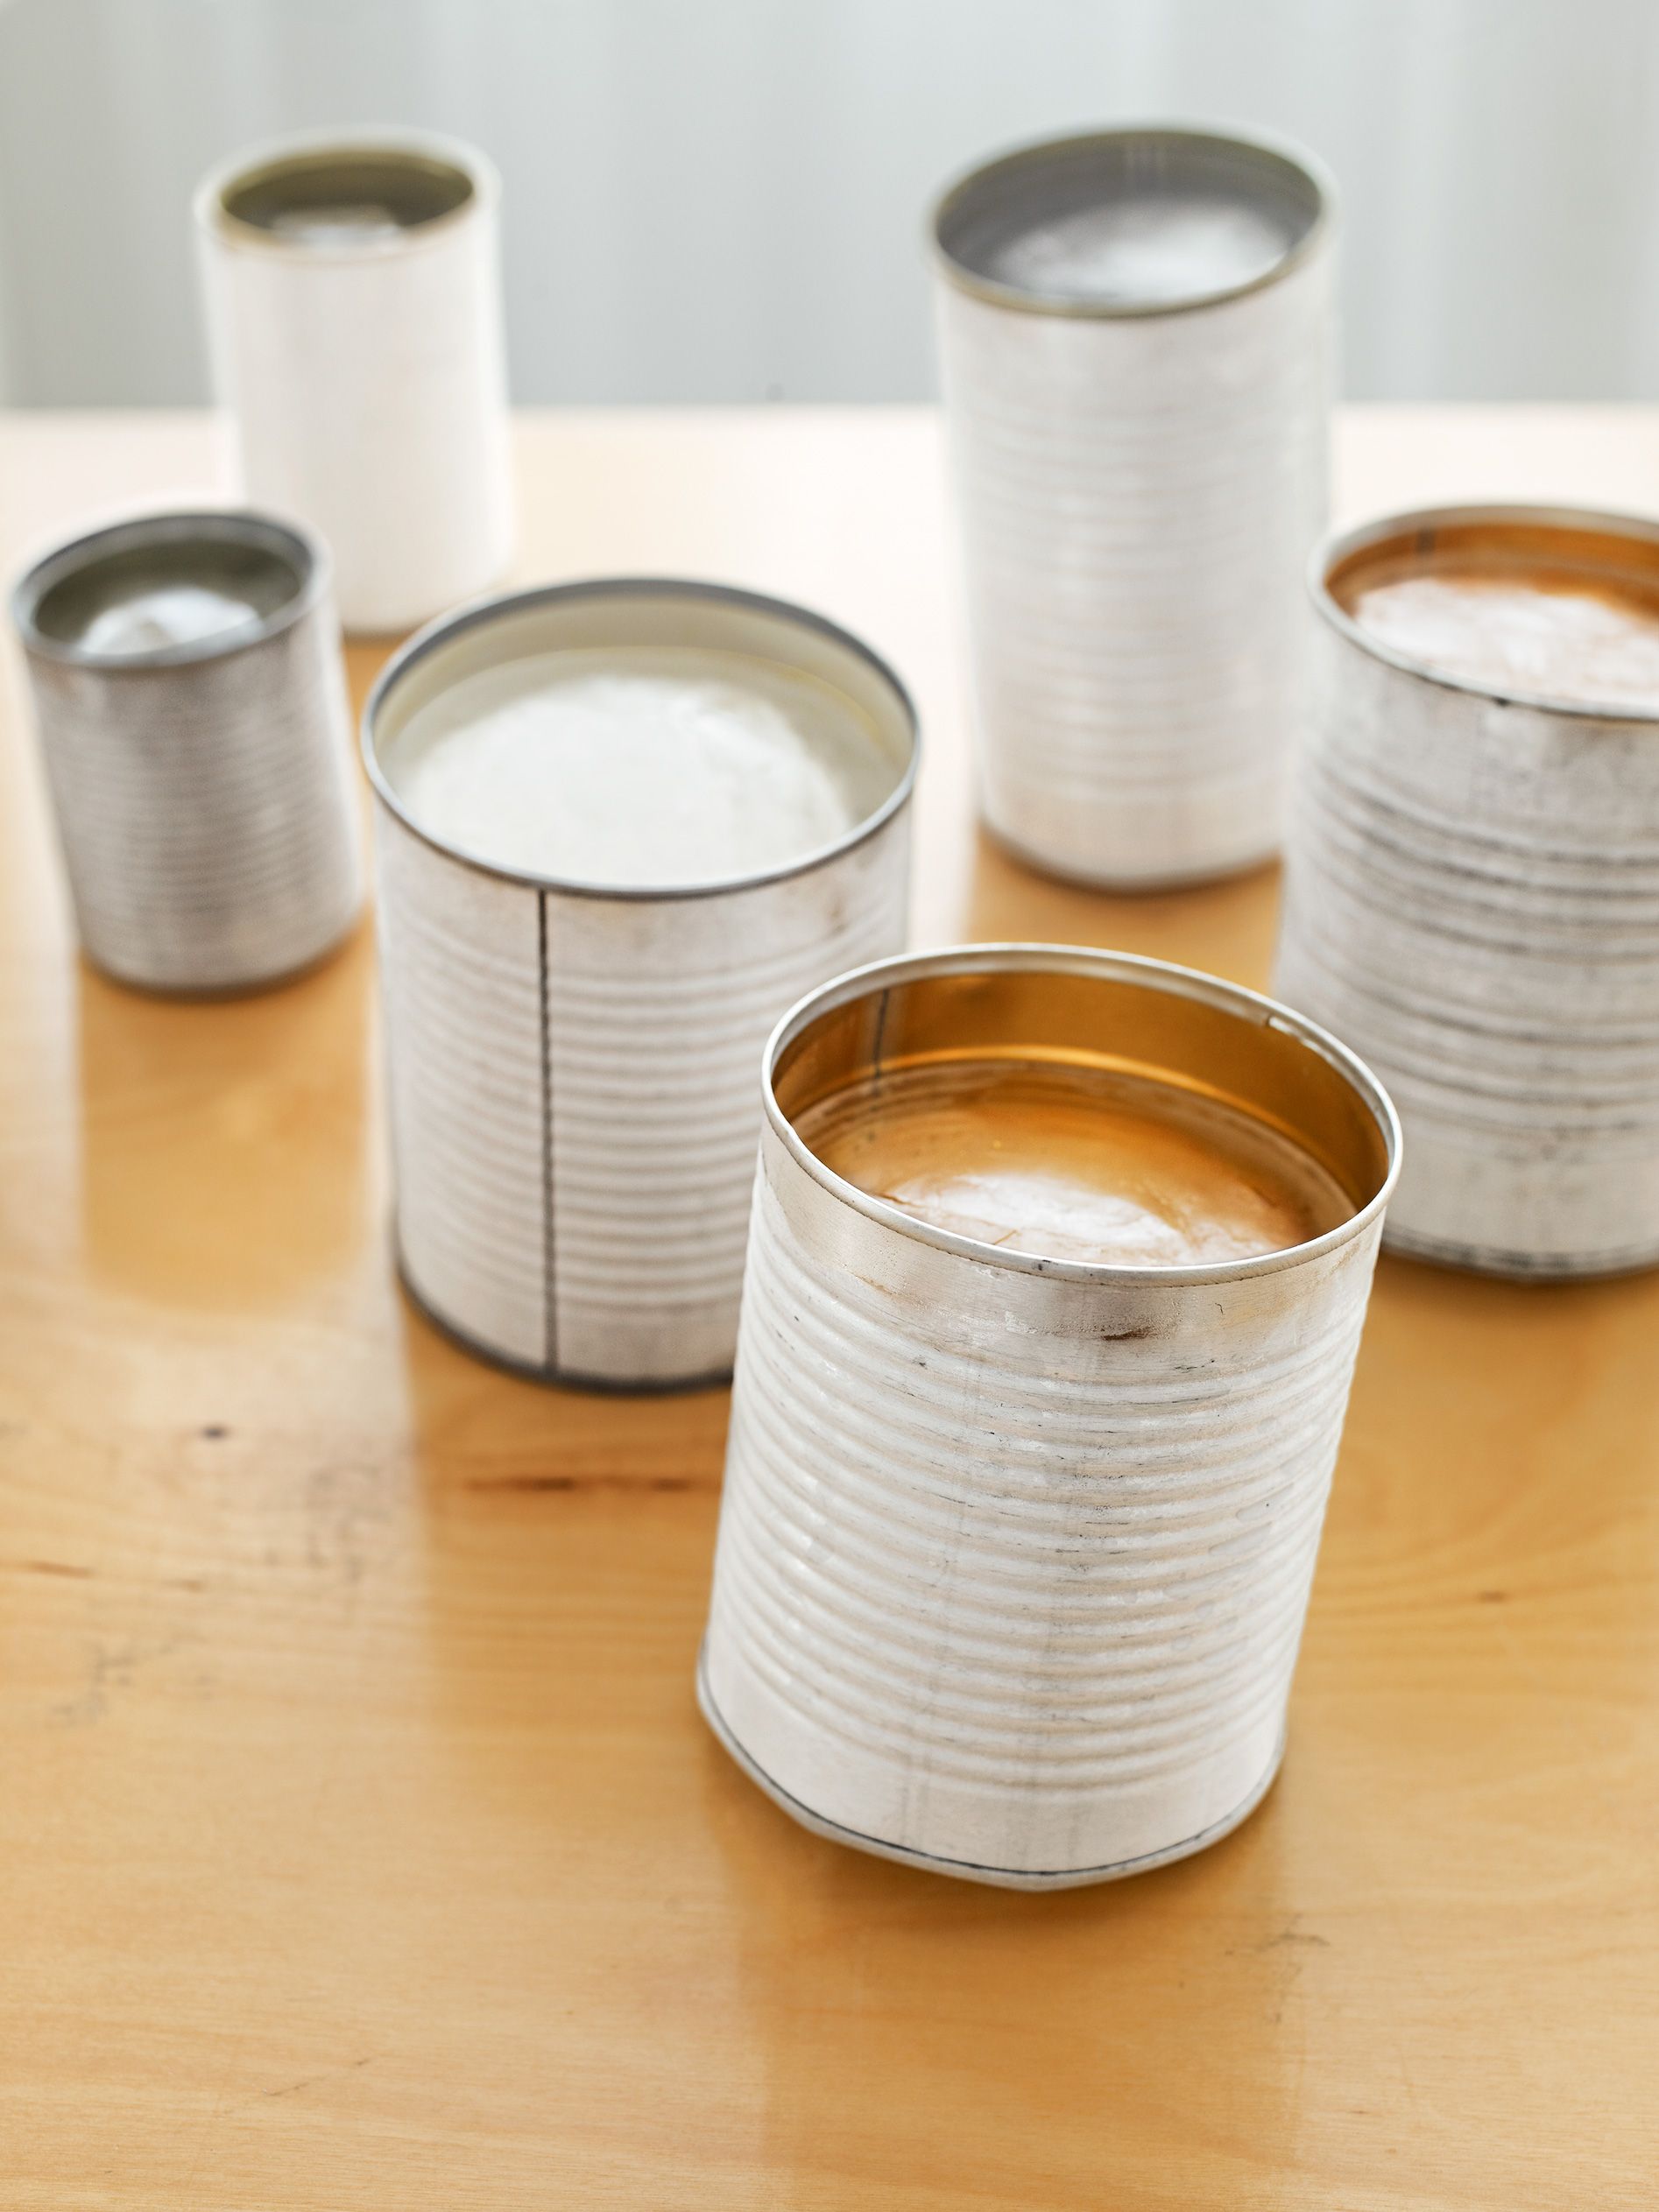
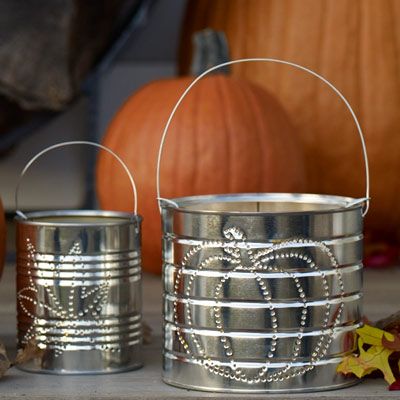
Transform ordinary tin cans into charming, luminous works of art with this simple DIY project. Tin can lanterns offer a creative way to repurpose everyday items while adding a warm, inviting glow to your home or outdoor space. Raid the recycling bin for a variety of vessels in different shapes and sizes; those that held tomatoes, soups, or vegetables are all fair game. Remove the labels, and deodorize the insides by wiping them with a damp sponge dipped in baking soda. Steer clear of containers that once held flammable materials, and don’t bother with the fuss of cleaning out old paint cans; empty ones can be found cheaply at a crafts store. Keep reading to learn how we banged them out.
Tools Needed for Tin Can Lanterns
To create your tin can lanterns, you’ll need the following tools:
- Hammer
- Awl or chisel
- Pliers
- Wire cutters
- Marker or pencil
- Ruler or measuring tape
- Work gloves
Safety Considerations for Creating Tin Can Lanterns
To ensure your safety, keep these precautions in mind:
- Wear work gloves to protect your hands from sharp edges
- Use eye protection when punching holes
- Keep a first aid kit nearby
Preparing Your Tin Cans for Crafting
This section will guide you through the initial steps of cleaning and preparing your cans for the crafting process.
Removing Labels and Cleaning
Start by removing any labels from your chosen cans. To do this effectively:
- Soak the cans in warm, soapy water for 15-20 minutes
- Peel off the labels, using a scraper if necessary
- Remove any remaining adhesive with cooking oil or a commercial adhesive remover
- Wash the cans thoroughly with soap and water
- Dry the cans completely with a clean towel
- To deodorize the insides of the cans, wipe them with a damp sponge dipped in baking soda. This will neutralize any lingering food odors.
Step 1: Plug Cans with Ice
Fill cans with water and freeze them. Why? You’ll be making holes with a hammer and an awl or a chisel, and if you just start pounding away, you’ll have a mangled mess. The plug of ice firms the cans for punching.
Step 2: Create a Steady Surface

A jig provides a steady work surface, holding the can in place to help you punch the holes accurately. Here’s how to create a simple jig out of wood:
- Find a sturdy board (a 1×6 works well)
- Cut two pieces of 1×1 scrap wood slightly shorter than the board’s length
- Screw the 1×1 pieces to the long sides of the board, creating a channel
- Place your frozen can between the 1×1 pieces to hold it steady
Step 3: Draw Designs
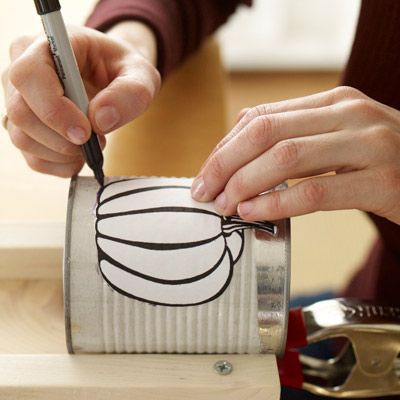
When designing your lantern patterns, think of them as reverse stencils. The lines you draw will become the negative space through which light will shine. To create your own templates:
- Use a piece of paper wrapped around the can to measure its circumference
- Draw your design on the paper, considering how the pattern will wrap around the can
- Keep designs simple for easier punching
- Consider seasonal themes or geometric patterns for year-round use
Step 4: Punch out The Design
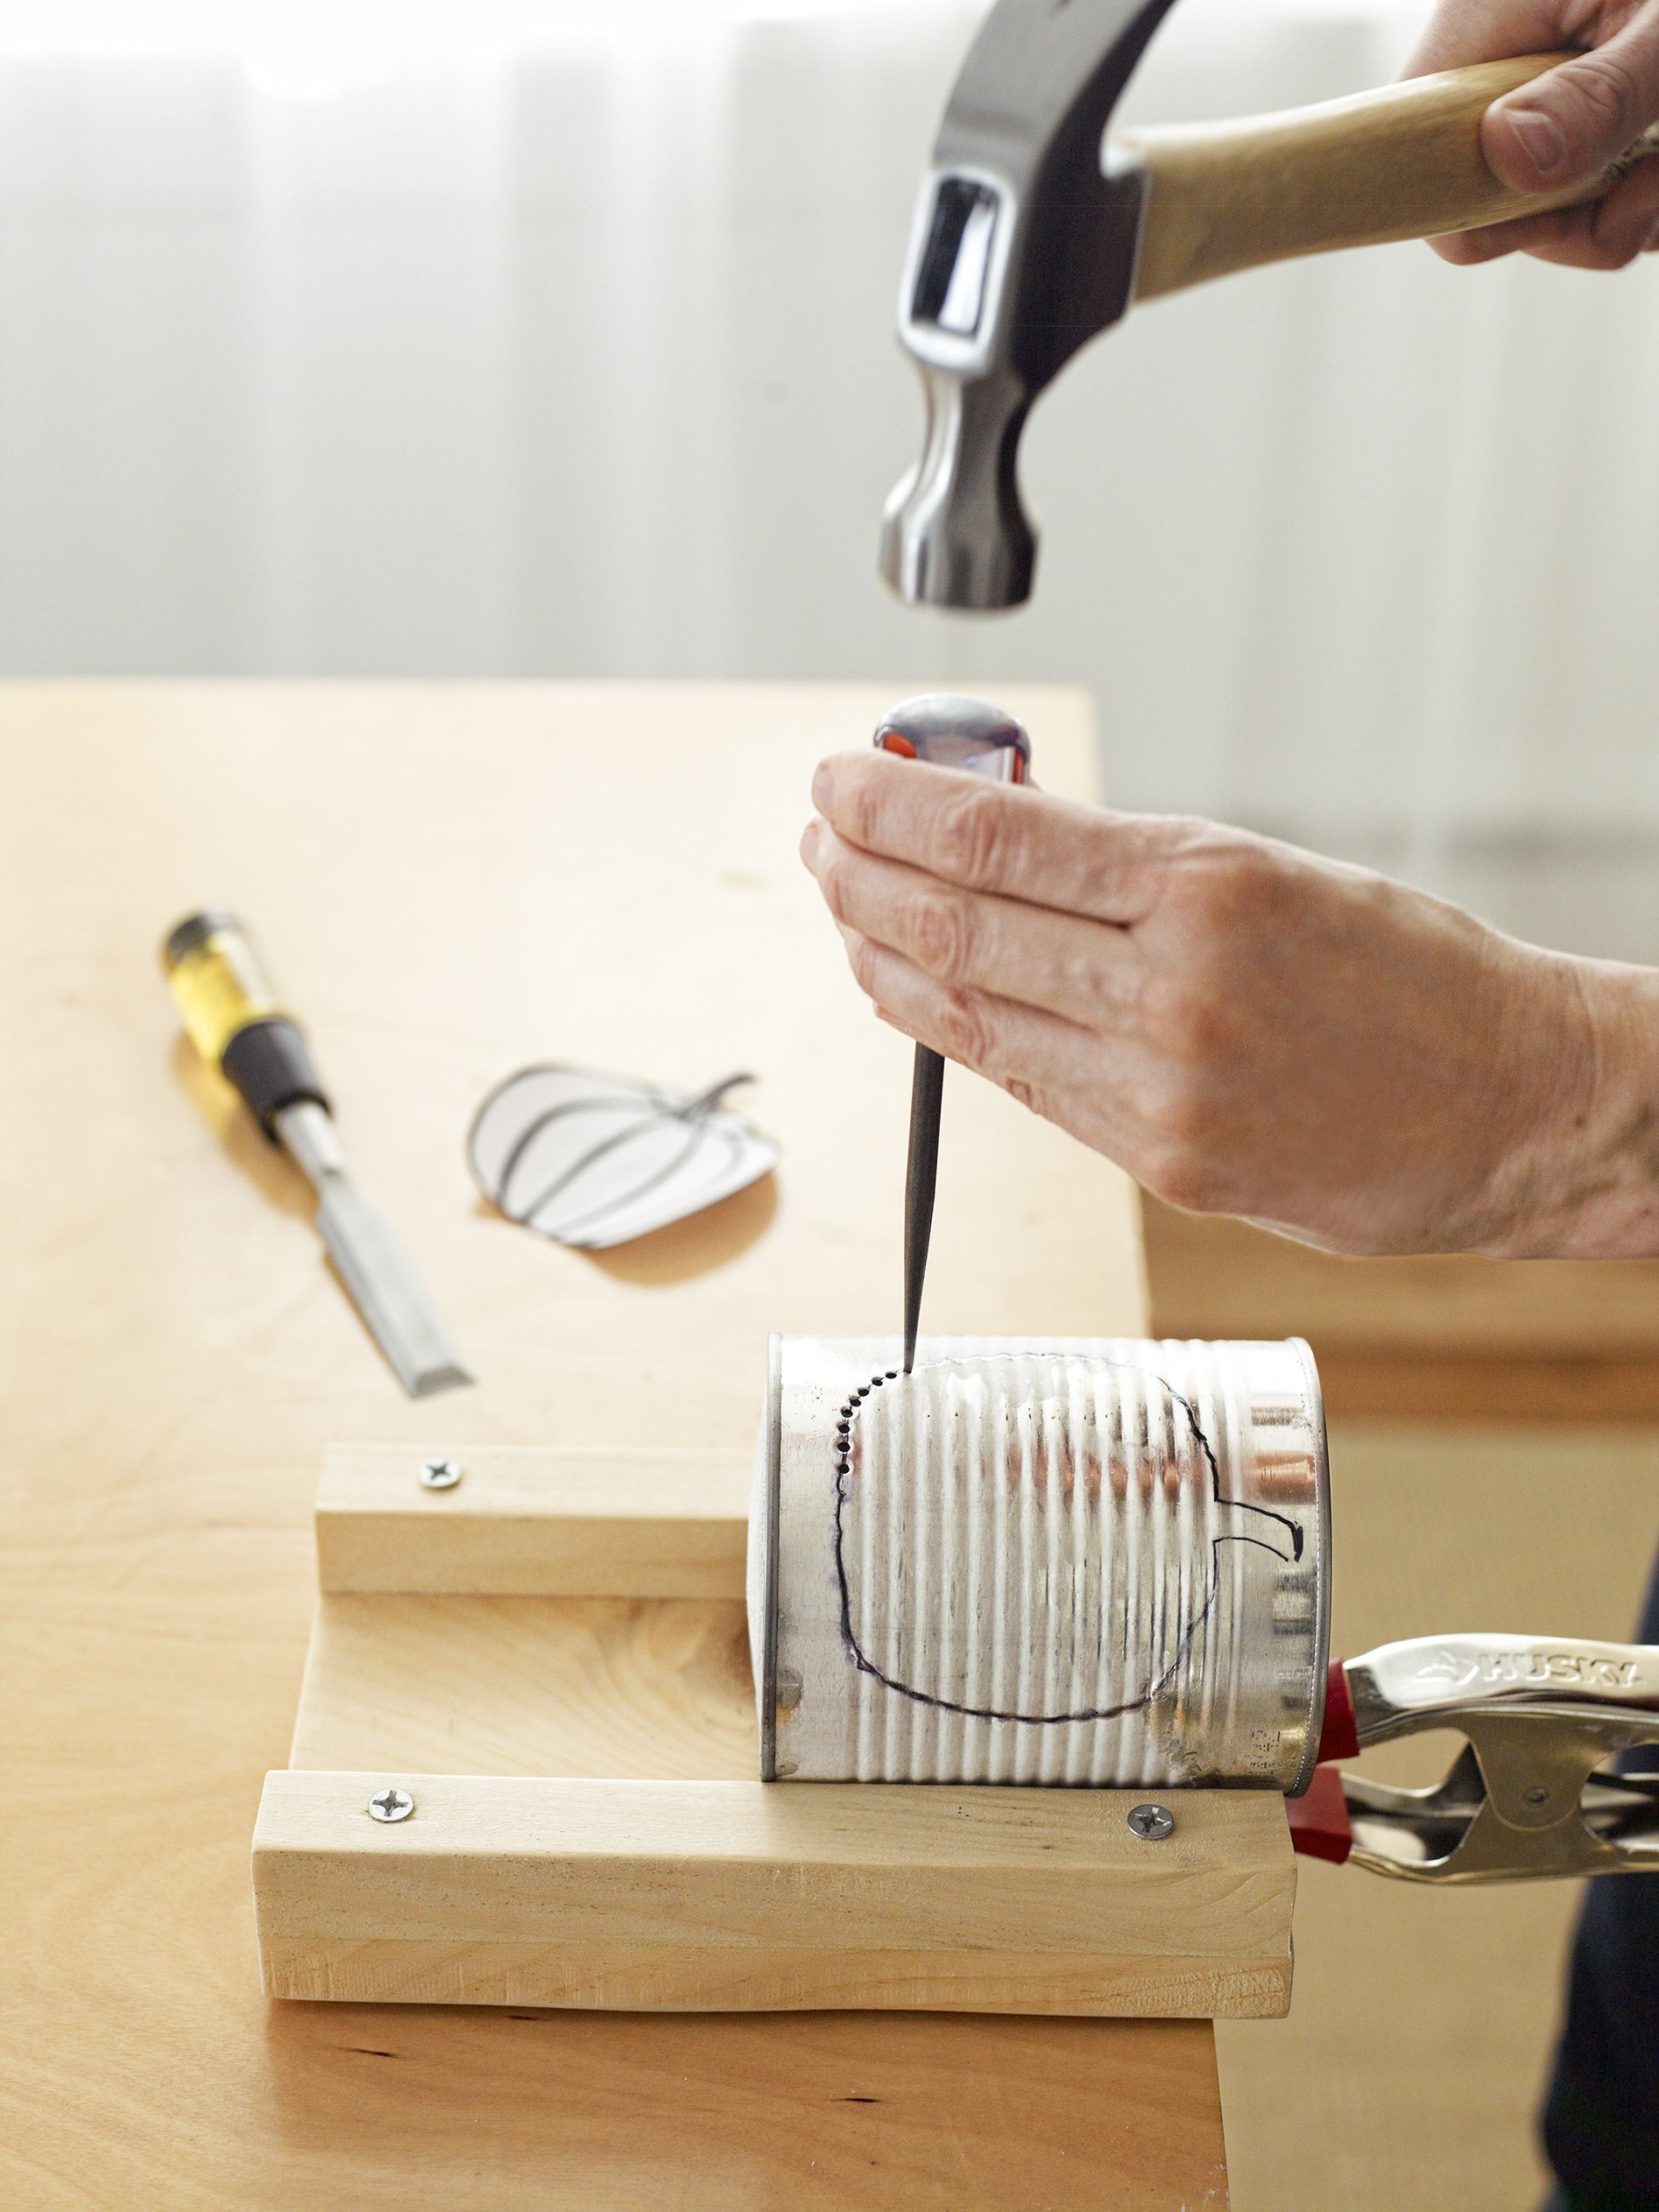
Follow these steps to punch your design into the tin can:
- Clamp the frozen can to your jig.
- Use a marker to trace your chosen design onto the can.
- Begin punching holes along the traced lines using your chosen tool:
- For dotted lines, use an awl and hammer to create small, evenly-spaced holes
- For wider slits, use a chisel and hammer, being careful to maintain control
- Work slowly and steadily, following your design closely.
- Once finished, run the can under hot water to melt the ice.
- Dump out the water and dry the can thoroughly.
- Clean off any remaining ink from your design.
Step 5: Attach a Handle
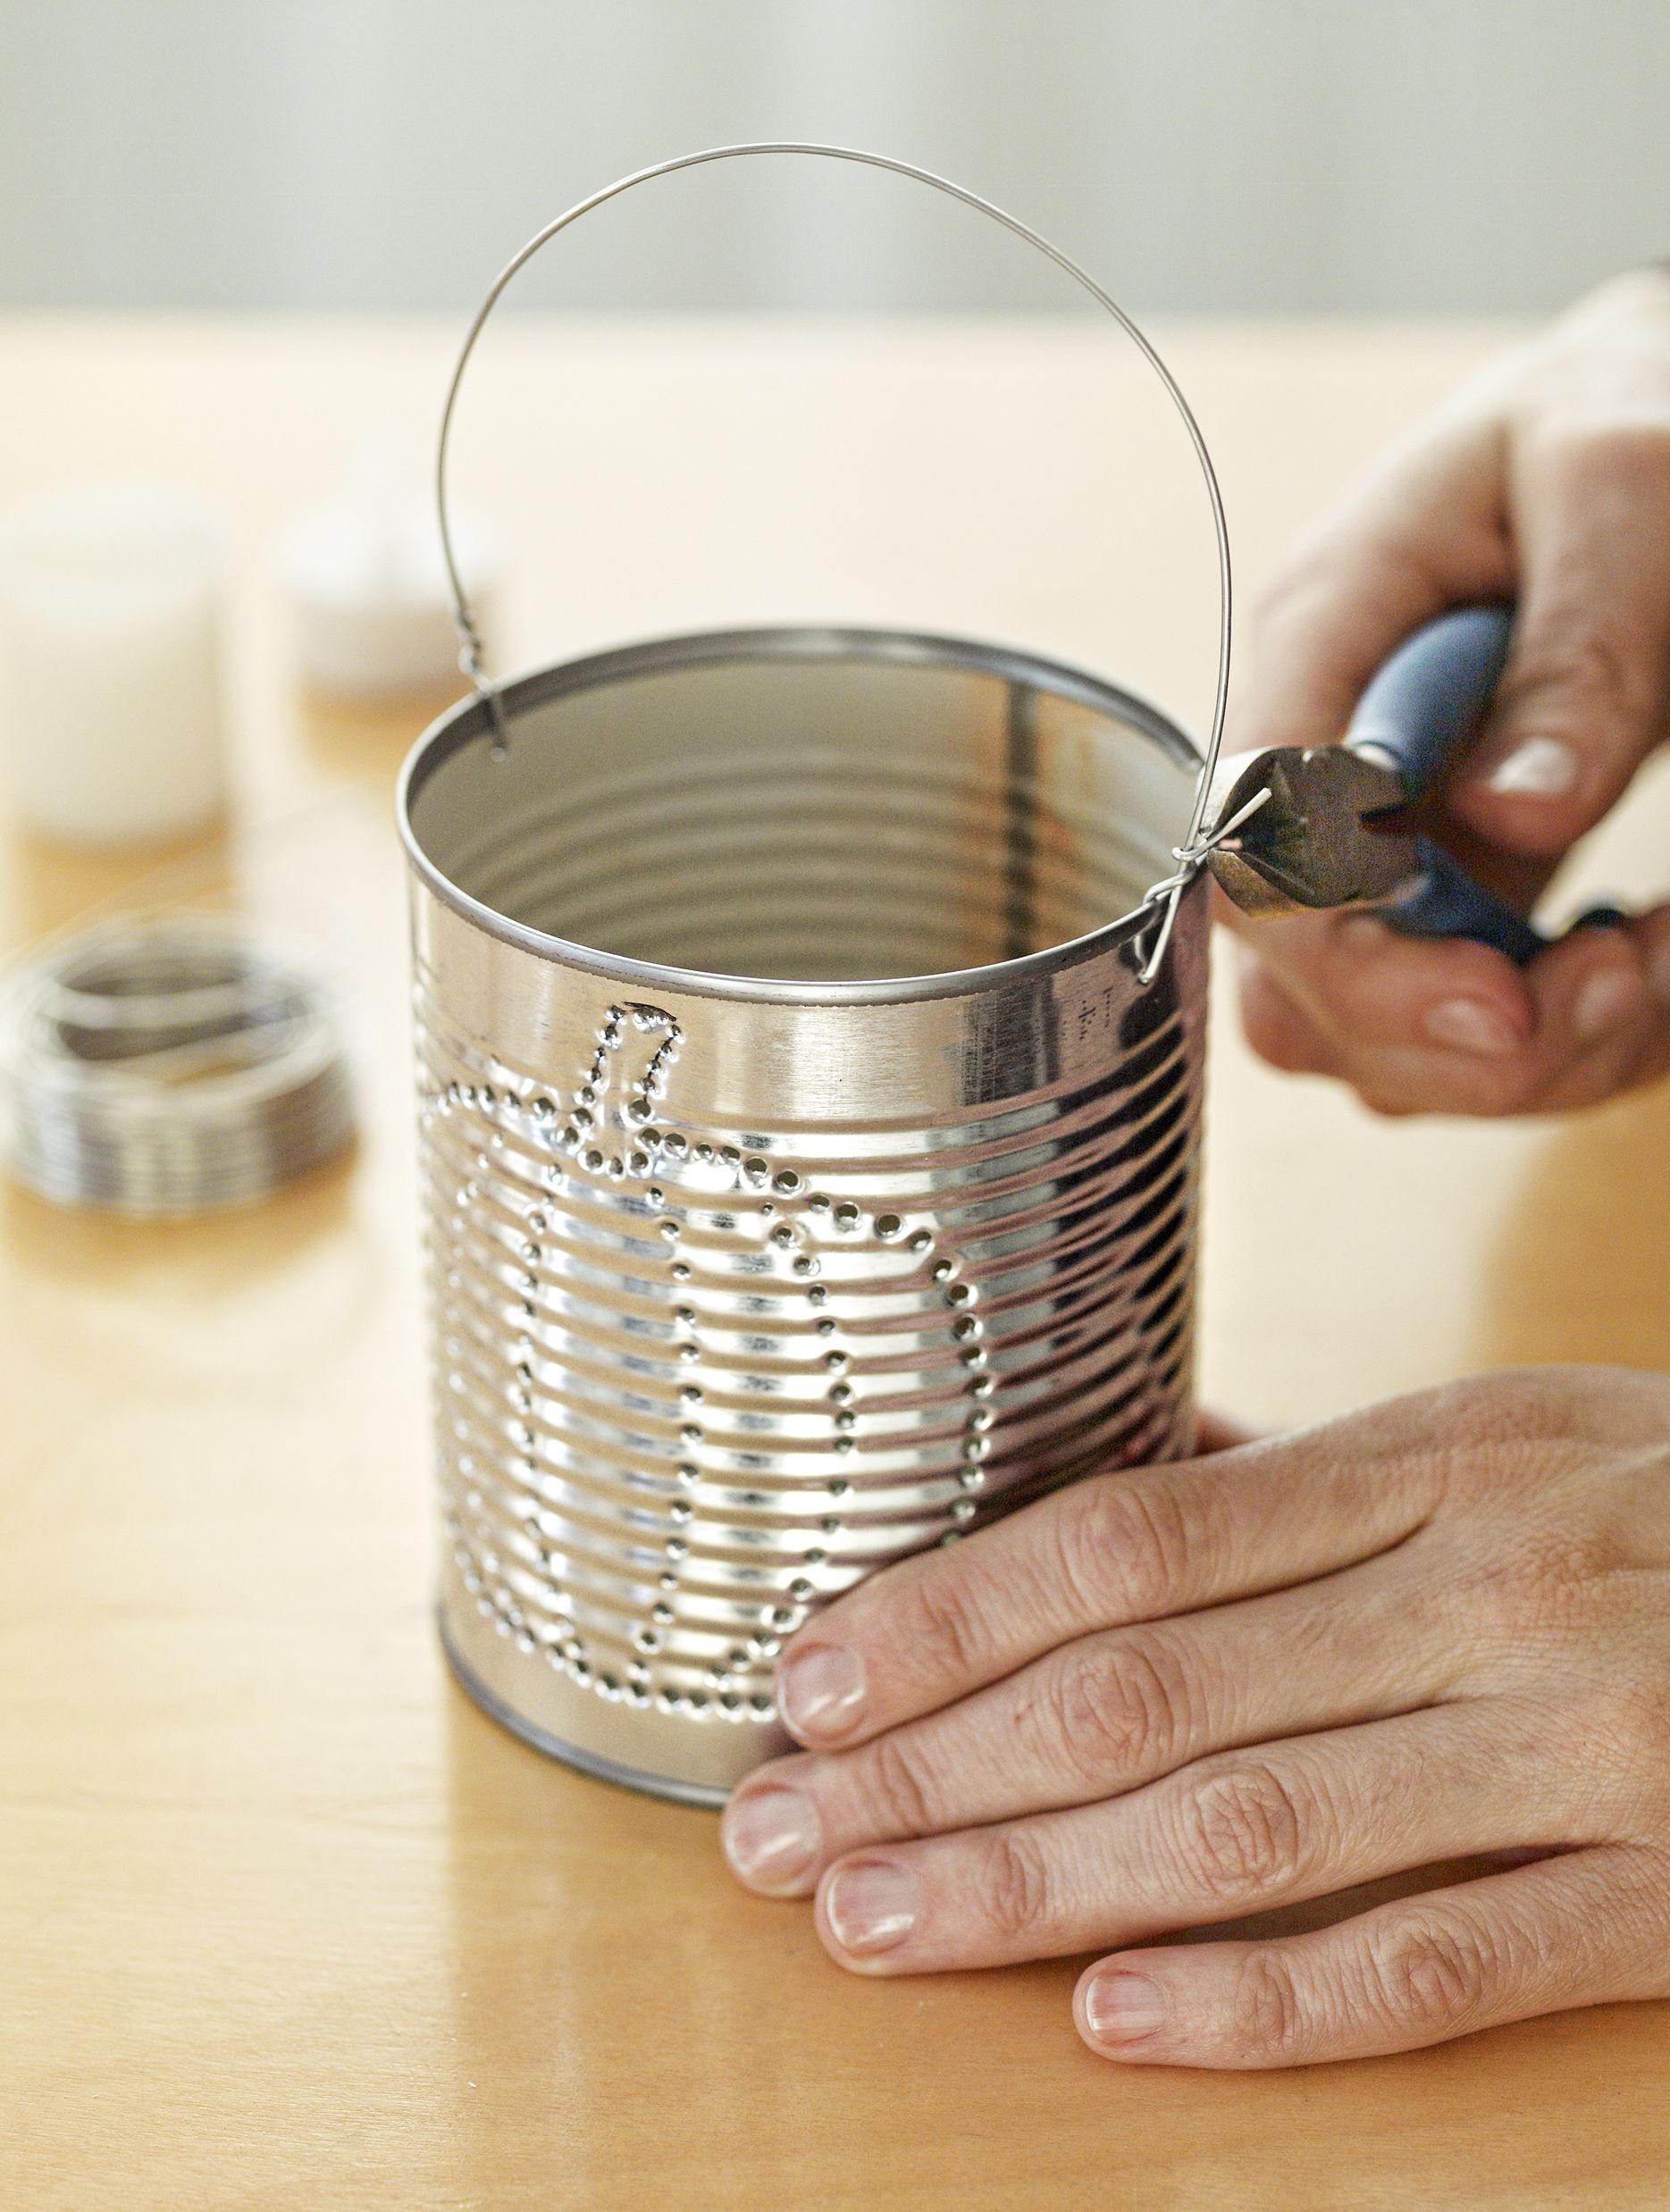
Adding handles to your tin can lanterns makes them portable and easier to hang. Here’s how to attach a simple wire handle:
- Cut a length of 18- to 21-gauge wire, about 12 inches long.
- Use pliers to bend the wire into a U-shape.
- Punch two small holes on opposite sides of the can’s rim.
- Thread the wire ends through these holes.
- Use pliers to crimp the wire ends closed inside the can.
Step 6: Add a Light
There are several lighting options you can choose from, including:
- Tea lights: Traditional and inexpensive, but require more frequent replacement
- LED candles: Safer alternative with a long battery life
- Battery-operated fairy lights: Offer a whimsical, twinkling effect
When placing your light source:
- Ensure it sits securely at the bottom of the can.
- For real candles, use caution and never leave them unattended.
- Consider using a small amount of poster putty to secure battery-operated lights.
Creative Display Ideas for Tin Can Lanterns
Your handcrafted tin can lanterns can enhance various spaces both indoors and outdoors.
Indoor Arrangements
- Group lanterns of different sizes on a mantelpiece or shelf
- Create a centerpiece for your dining table
- Line a staircase with lanterns for a magical effect
- Use them as unique pendant lights in a kitchen or reading nook
- Arrange them on a windowsill for a warm welcome
Outdoor Lighting Options
- Hang lanterns from tree branches for an enchanted garden feel
- Line a pathway or driveway to guide guests
- Create a cozy atmosphere on a patio or deck
- Use them as table decorations for outdoor dining
- Incorporate them into holiday displays, such as Halloween or Christmas decor
Troubleshooting Common Issues
Even with careful preparation, you may encounter some challenges while creating your tin can lanterns.
Dealing with Dents and Damages
If your can becomes dented during the punching process, gently tap the dented area from the inside using a rubber mallet. For stubborn dents, use a wooden dowel to push from the inside. If the can is severely damaged, consider starting over with a new one.
To address uneven or misaligned holes, use a small file to smooth rough edges. For holes that are too large, cover them with a small piece of metal tape on the inside of the can. If holes are too small, carefully enlarge them using your punching tool.