Project details
Skill
Cost
Estimated Time


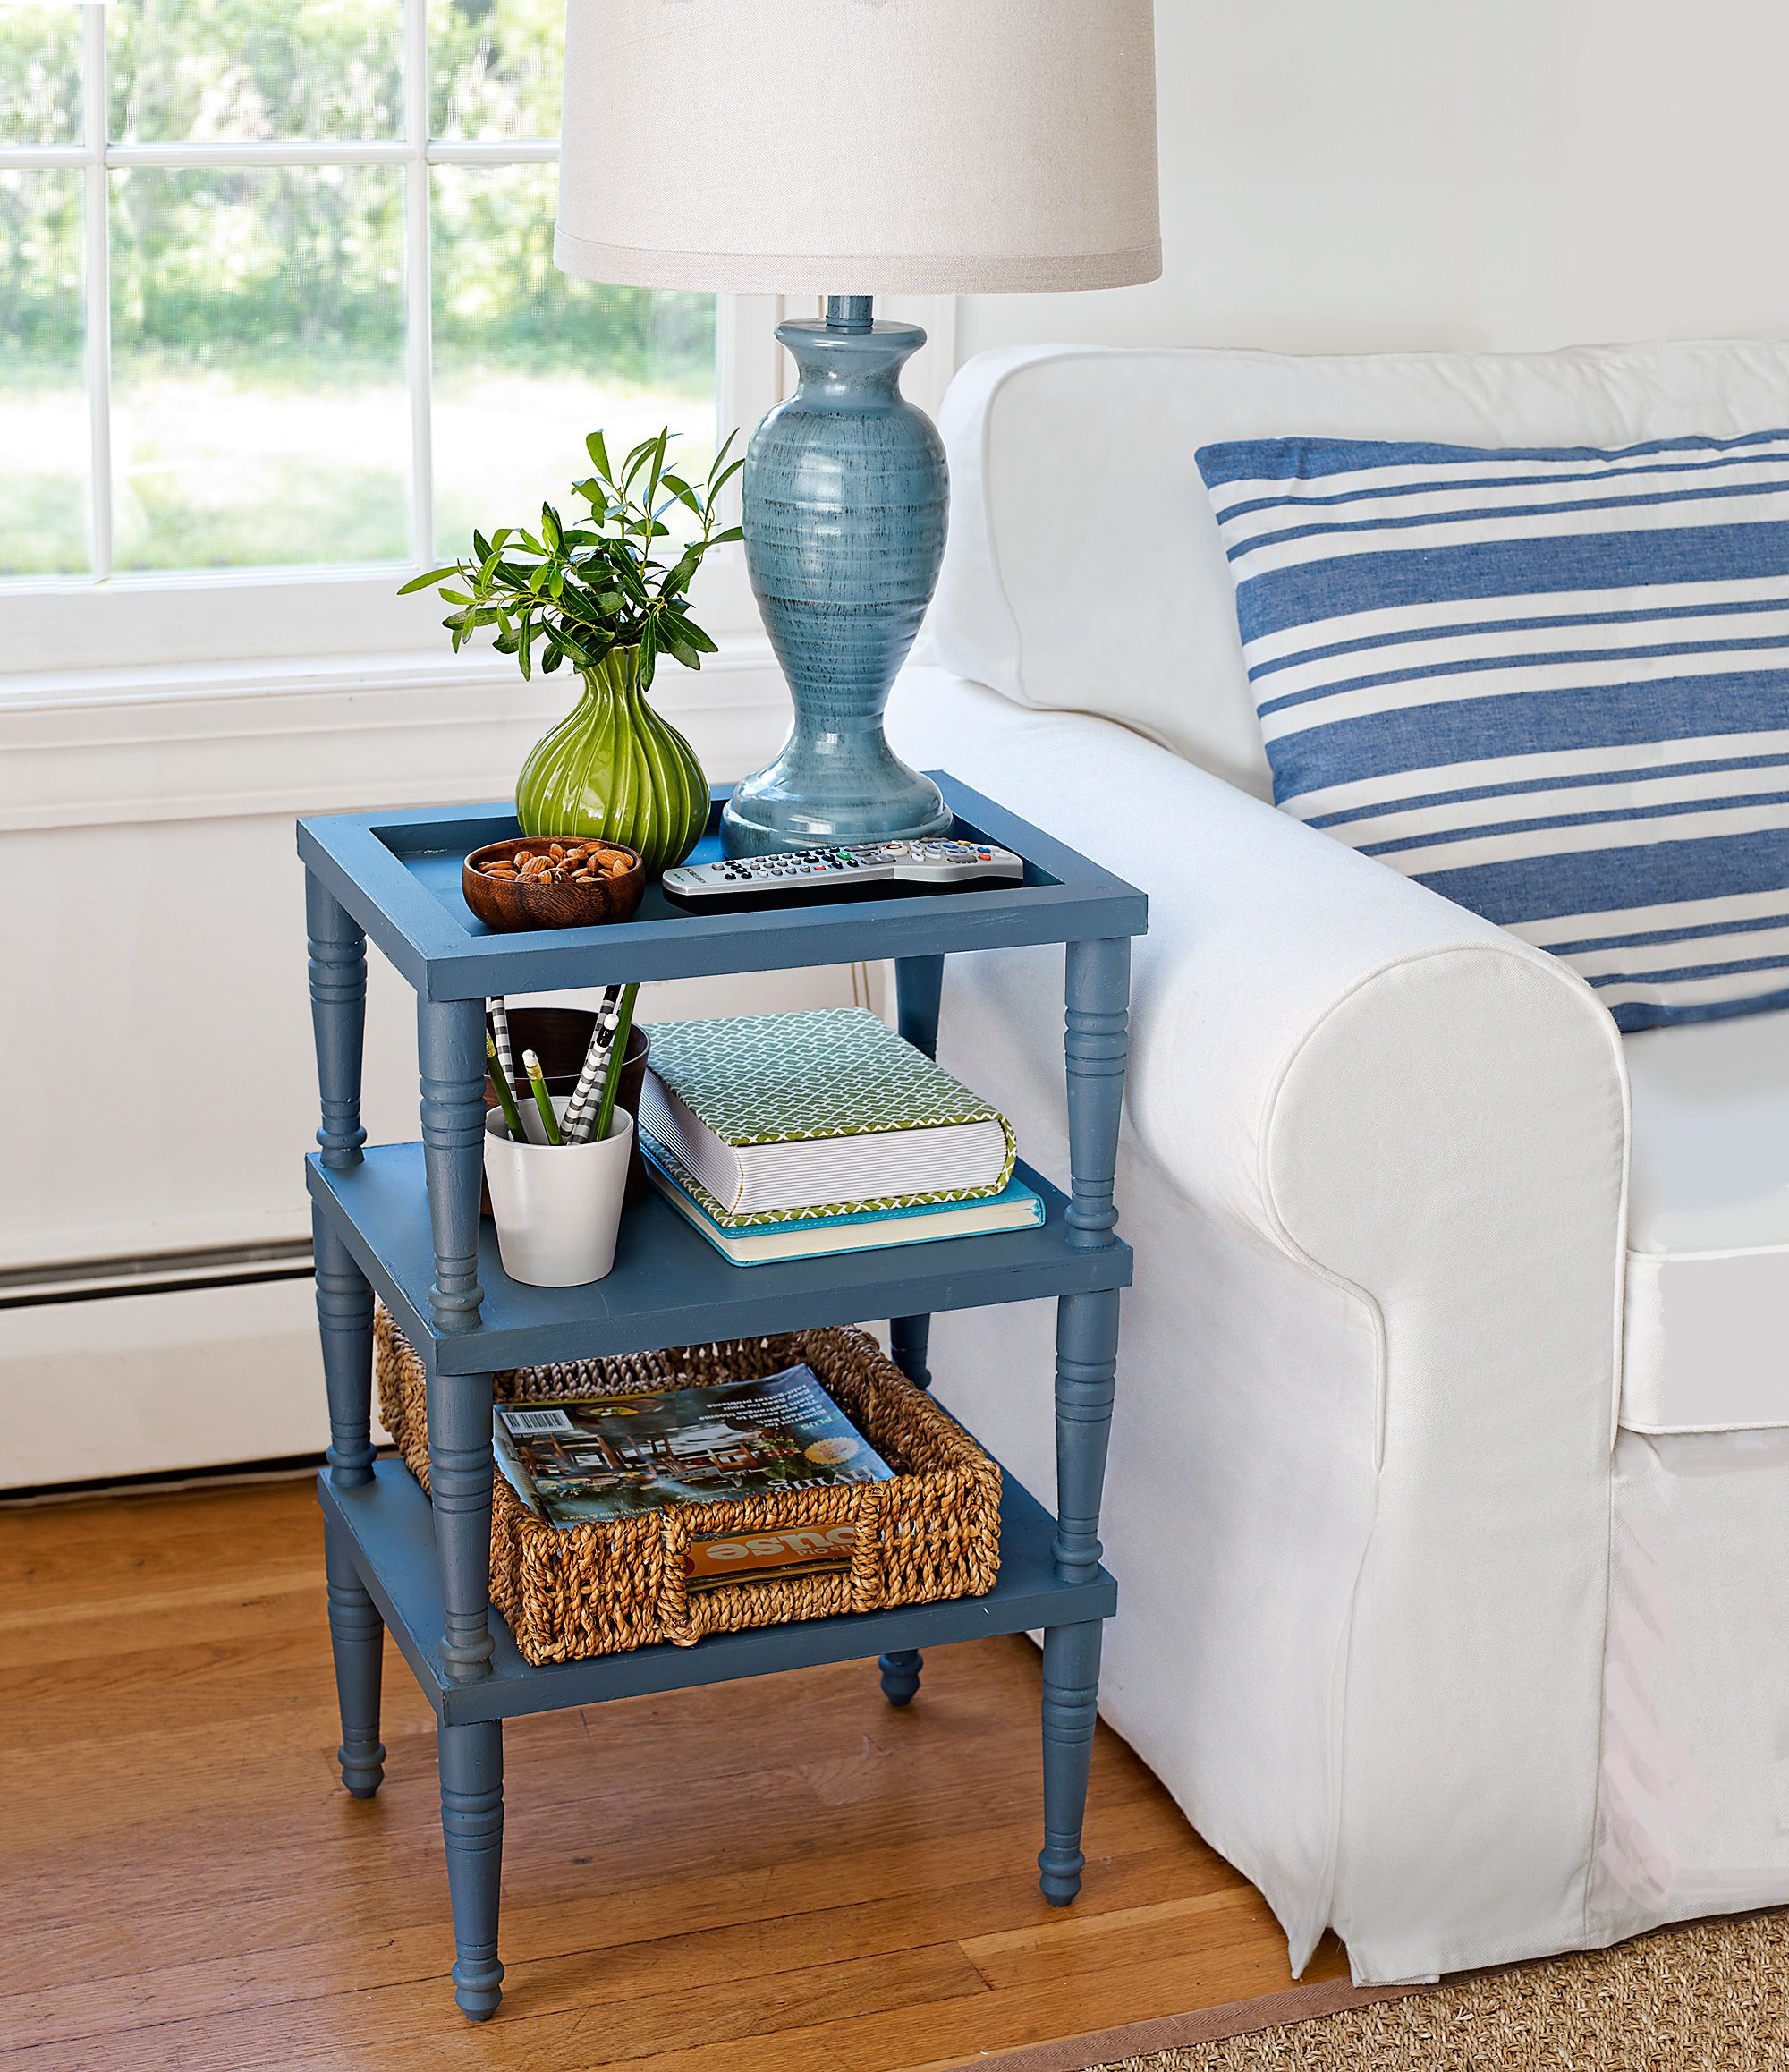
Any couch potato knows that a handy side table is an essential ally for a lazy Sunday morning. You won’t even have to get off your duff for very long to make the one shown here, thanks to a clever design by This Old House general contractor Tom Silva. He reimagined wood panels from an art-supply store as table surfaces, with two flipped upside down and the top one right-side up for a tray-like appearance, and connected them with turned legs to create this yet sturdy DIY side table. With three easy-access surfaces for stashing odds and ends, you’ll have no excuse for losing the remote in the sofa cushions ever again.
Step 1
Build a Three-Tiered Table
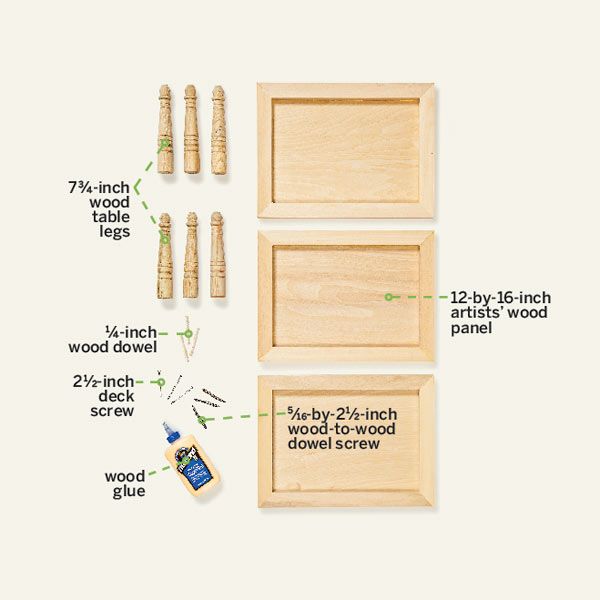
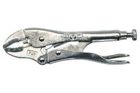
We designed our 25-inch-tall 3 tier side table to be roughly the same height as the arm of the sofa next to it. The table legs we chose were short enough to give us this height with minimal cutting and thin enough to fit within the corners of the panels’ frames. Like many prefab table legs, they came with hanger bolts that screw into metal furniture plates—we simply removed the bolts with locking pliers. You can find the wood-to-wood dowel screws that hold the lower tiers of the table together at larger home centers and lumberyards.
Step 2
Mark Pilot-Hole Locations on the Panels
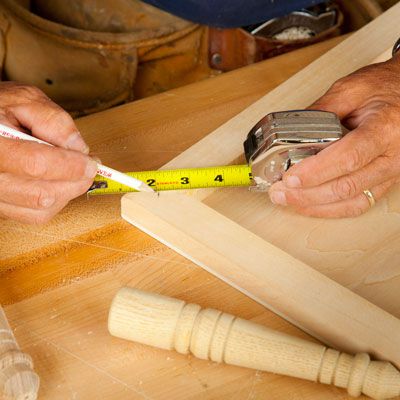
Measure the distance between the outer and inner corners of the panels’ frames, and mark the center points. Use locking pliers to remove the hanger bolts from the legs, and center the top of a leg on each mark to make sure it lands within the frame.
Step 3
Drill Pilot Holes
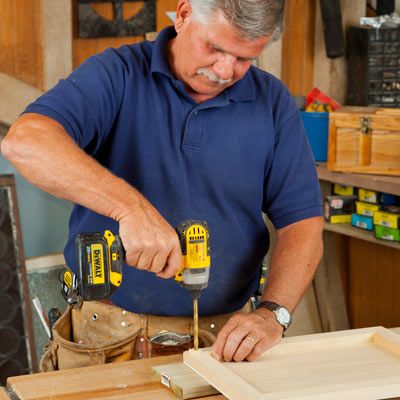
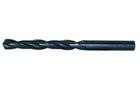
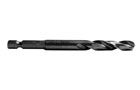
Place a piece of scrap wood under the panel to protect your work surface. For two of the panels, drill ¼-inch pilot holes through the marks you made in Step 2; these will accommodate the dowel screws. For the tabletop, which will be attached with deck screws, drill 3⁄32-inch pilot holes and countersink for the screwheads.
Step 4
Trim Eight Legs to Size
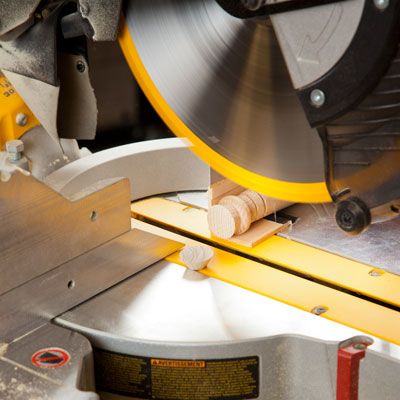
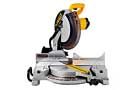
Use a miter saw to slice off the narrow bottoms of eight legs for the top and middle tiers. (The remaining surface should be at least three times the diameter of the dowel screws that hold the tiers together.) If needed, tuck a shim beneath each leg, as shown, to make sure your cut is square.
Step 5
Drill Holes in the Bottoms of the Trimmed Legs
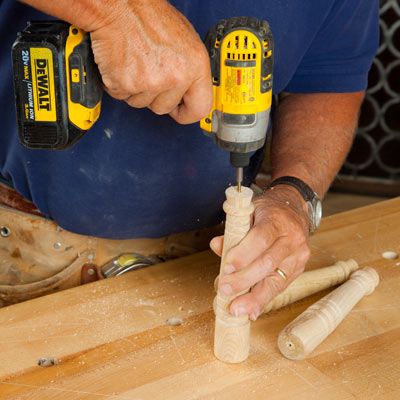
Mark the centers of the bottoms of the legs you cut in Step 4. Drill ¼-inch-diameter, ⅝-inch-deep holes at these marks for the dowel screws. (The tops of the legs will already have holes in them from the hanger bolts you removed in Step 2.)
Step 6
Attach Dowel Screws to Four Legs
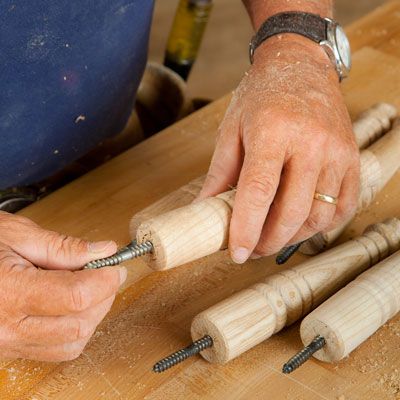
Twist dowel screws into the tops and bottoms of the four legs that you’ll use for the middle tier. Tighten them by hand at first, then use locking pliers to turn them until they’re sunk about halfway into the legs, with the unthreaded portion of the screws exposed.
Step 7
Build the Lower and Middle Tiers
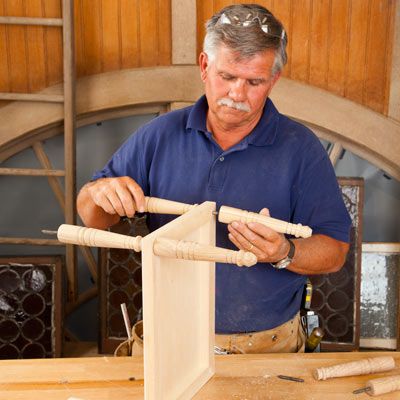
Thread the dowel screw at the bottom of a middle leg through the underside of the lower panel. Hold the leg firmly and twist a lower leg onto the exposed screw until both legs are snug. Repeat for the remaining middle and lower legs.
Step 8
Plug Top Holes in the Upper Legs
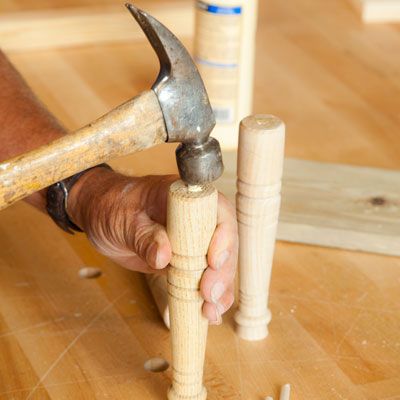
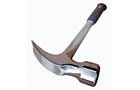
This will let you attach the tabletop with thinner deck screws. Insert a dowel into the top hole of an upper leg, mark the dowel where it meets the leg, and cut the dowel at the mark. Add glue to the leg’s top hole, and hammer in the dowel until it’s flush. Repeat for all legs. Let the glue dry before drilling shallow pilot holes in the dowels for the screws.
Step 9
Finish the Table
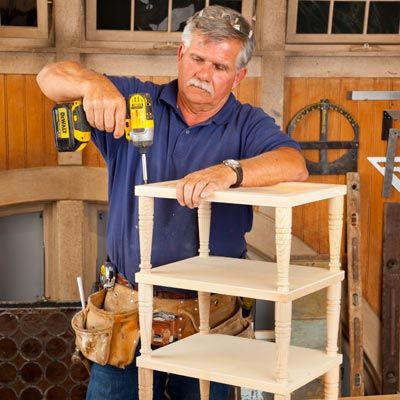
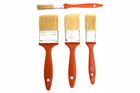
Fit the middle panel frame-side down onto the screws in the middle legs, and twist the upper legs onto the exposed screws. Place the tabletop frame-side up and centered on the legs. Drive deck screws through the pilot holes in the tabletop and into the legs. Cover the screwheads with wood filler, then sand, prime, and paint.