We may be compensated if you purchase through links on our website. Our Reviews Team is committed to delivering honest, objective, and independent reviews on home products and services.
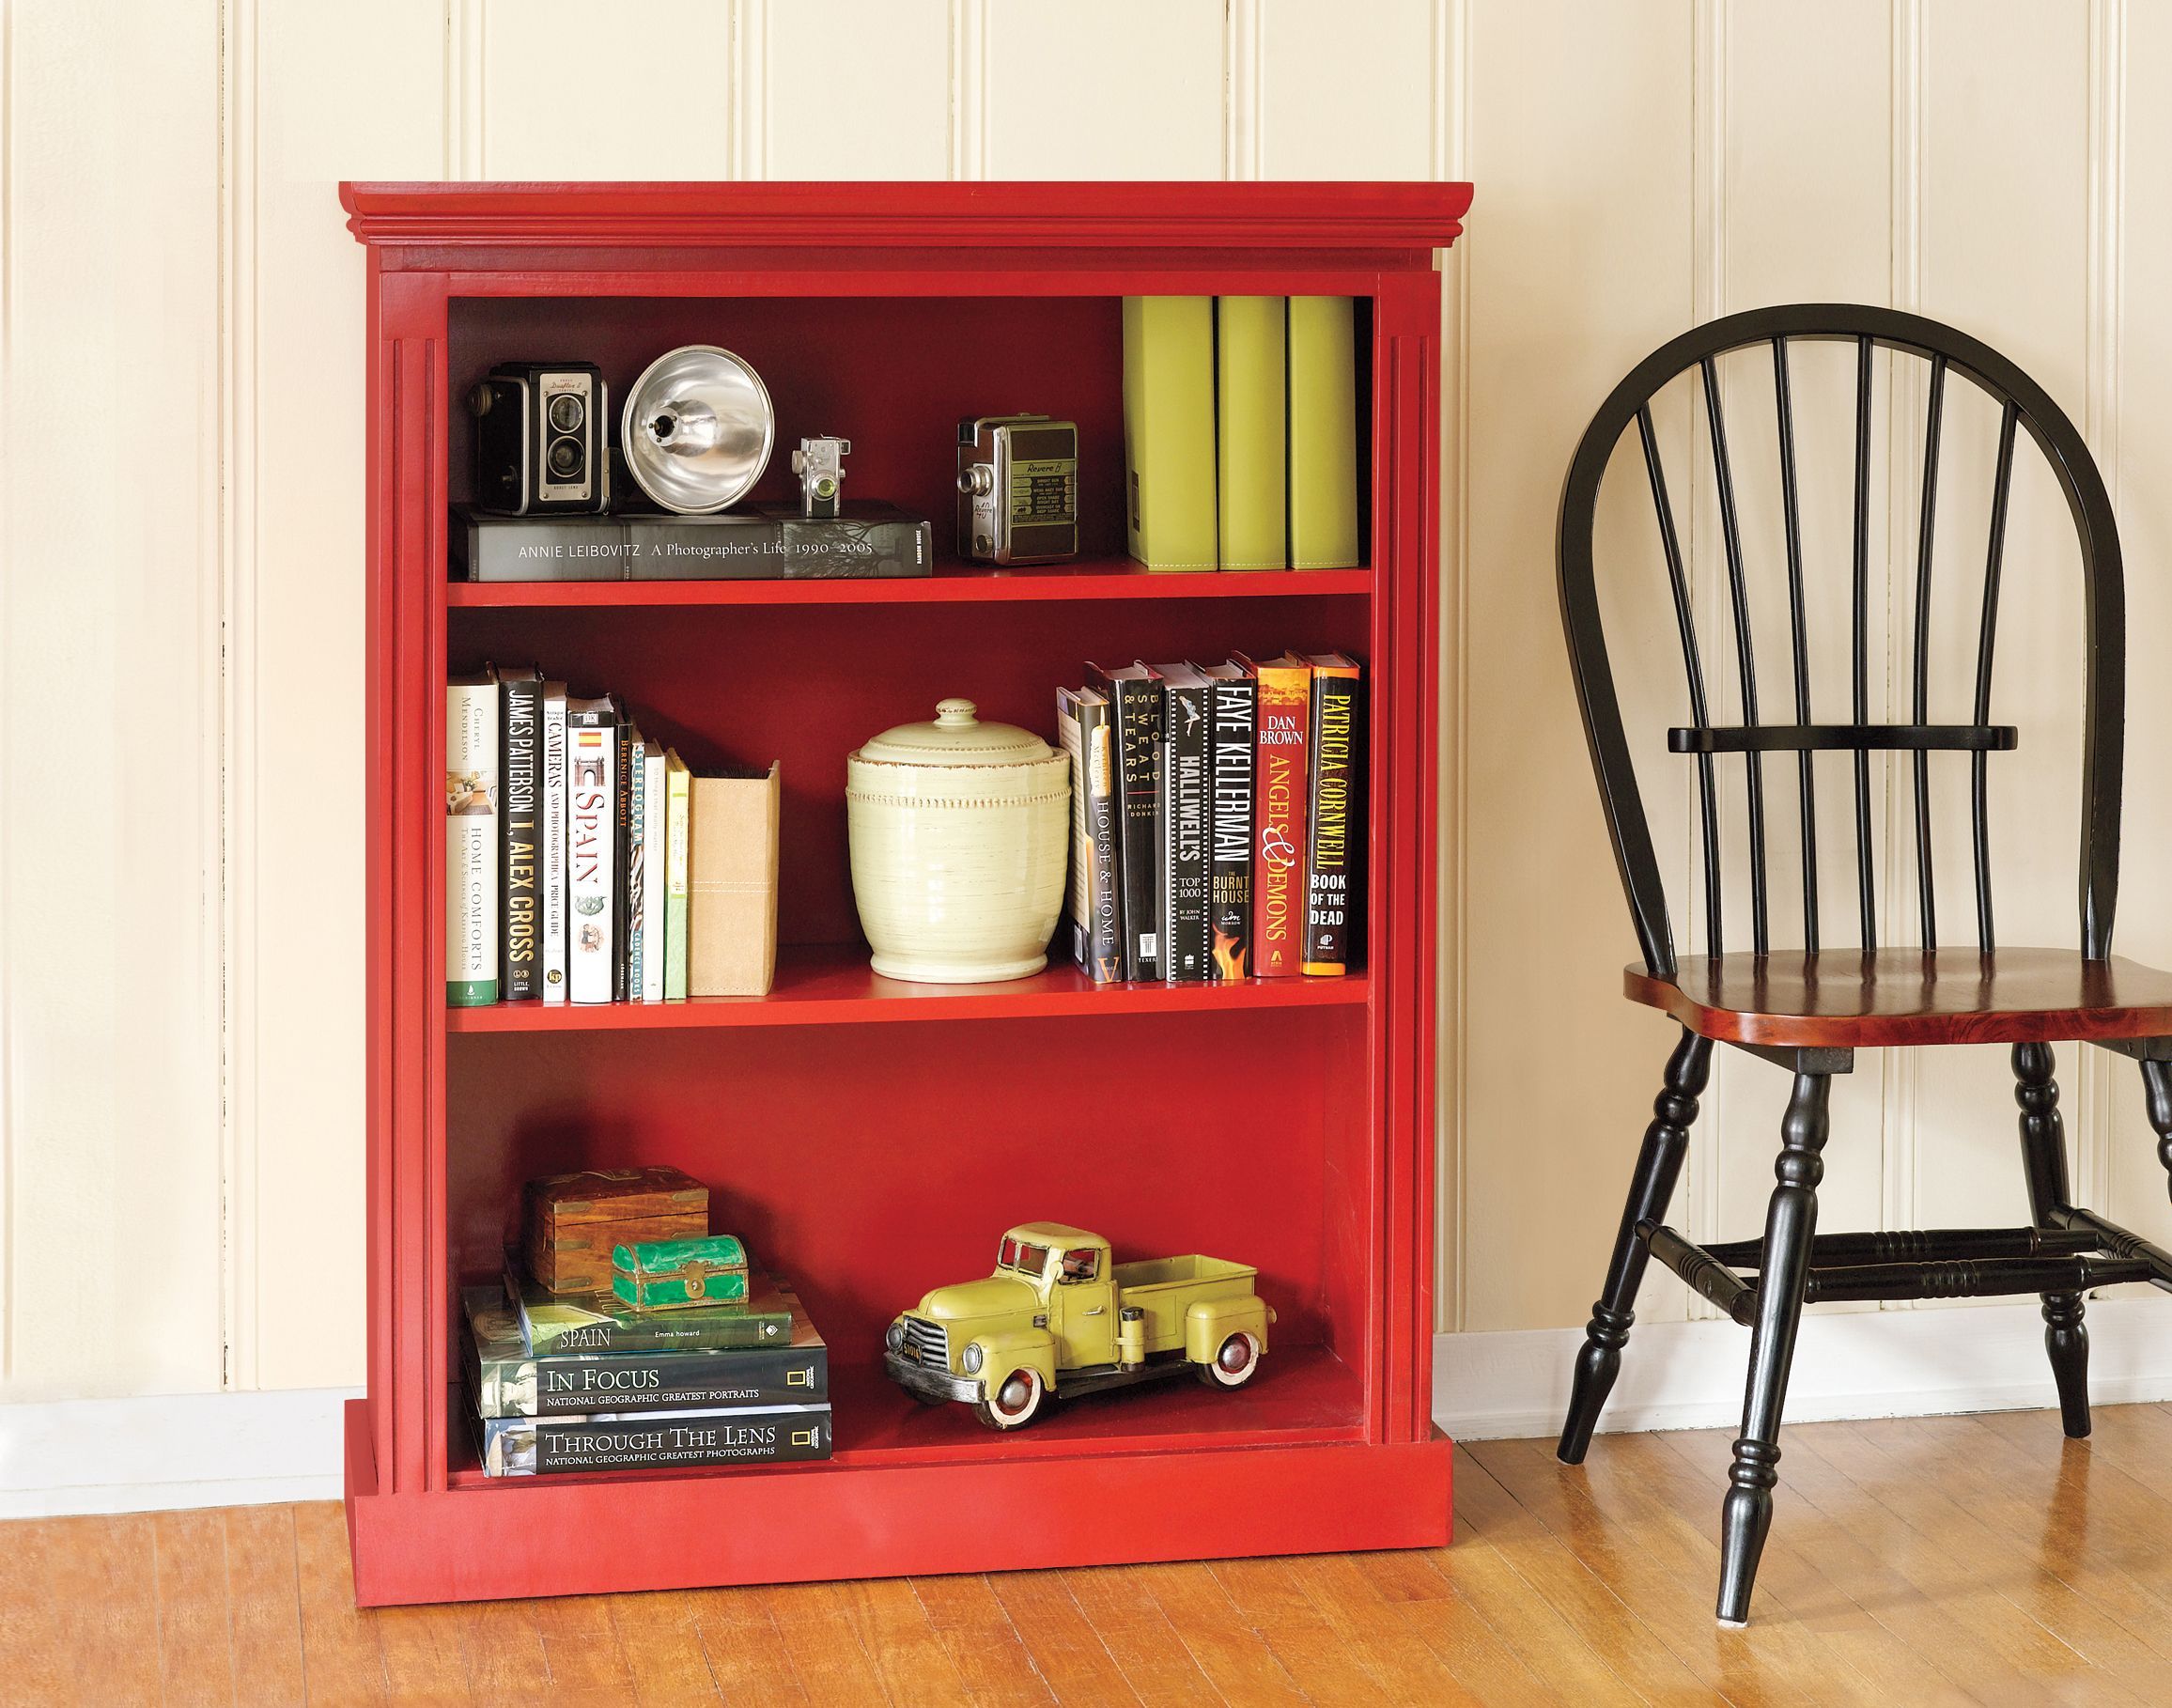
Building a small bookcase with moldings is an excellent way to showcase your favorite books and collectibles while adding a custom touch to your home decor. This project combines basic carpentry skills with decorative elements, resulting in a beautiful and functional piece of furniture. Whether you’re a DIY enthusiast or a beginner looking to expand your woodworking skills, this guide will walk you through the process of creating a stylish bookcase for your home.
Understanding the Basics of Bookcase Construction
A well-constructed bookcase consists of several key elements that work together to create a sturdy and attractive piece of furniture, including:
Materials for Your Bookcase
- 3/4-inch plywood (Get a 4×8 sheet to make the top, sides, and shelf supports)
- 1/2-inch plywood (Get a 4×4 half sheet for the back panel)
- 1×3 board for the crosspiece
- 1×4 board for the base trim
- Fluted casing (Get 8 feet)
- Chair rail molding (Get 8 feet)
- Wood glue
- 1-inch trim head screws
Tools You’ll Need
- Circular saw with a straightedge guide
- Miter saw
- Drill and drill bits
- Sander
- Measuring tape
- Level
- Clamps
- Hammer or nail gun
- Paintbrush or roller (for finishing)
Planning Your Bookcase Design
You’ll need to plan carefully to ensure your bookcase fits your space and meets your storage needs. This stage involves determining the size of your bookcase and selecting the appropriate moldings to complement your home’s decor.
Determining the Ideal Size
When deciding on the size of your bookcase, consider the following factors:
- Available wall space
- Height of your ceilings
- Size of the items you plan to display
- Proportion to other furniture in the room
For this project, we’ll be creating a bookcase with dimensions of approximately 33 inches wide, 43 1/4 inches tall, and 13 inches deep.
Choosing the Right Style of Moldings
Moldings add character and refinement to your bookcase. When selecting moldings, consider:
- The existing trim in your home
- The overall style of your decor (traditional, modern, rustic, etc. )
- The visual weight you want to achieve
For our bookcase, we’ll use a combination of fluted casing, chair rail molding, and simple base trim to create a classic look that complements a variety of interior styles.
Preparing Your Workspace and Materials
Before you begin building your bookcase, set up a safe work area so you’re fully prepared. This includes:
- A clean, well-lit workspace
- Adequate ventilation for sawdust and fumes
- A sturdy work surface or sawhorse
- Safety equipment (glasses, dust mask, hearing protection)
Steps for Building a Small Bookcase
Step 1: Download the cutlist
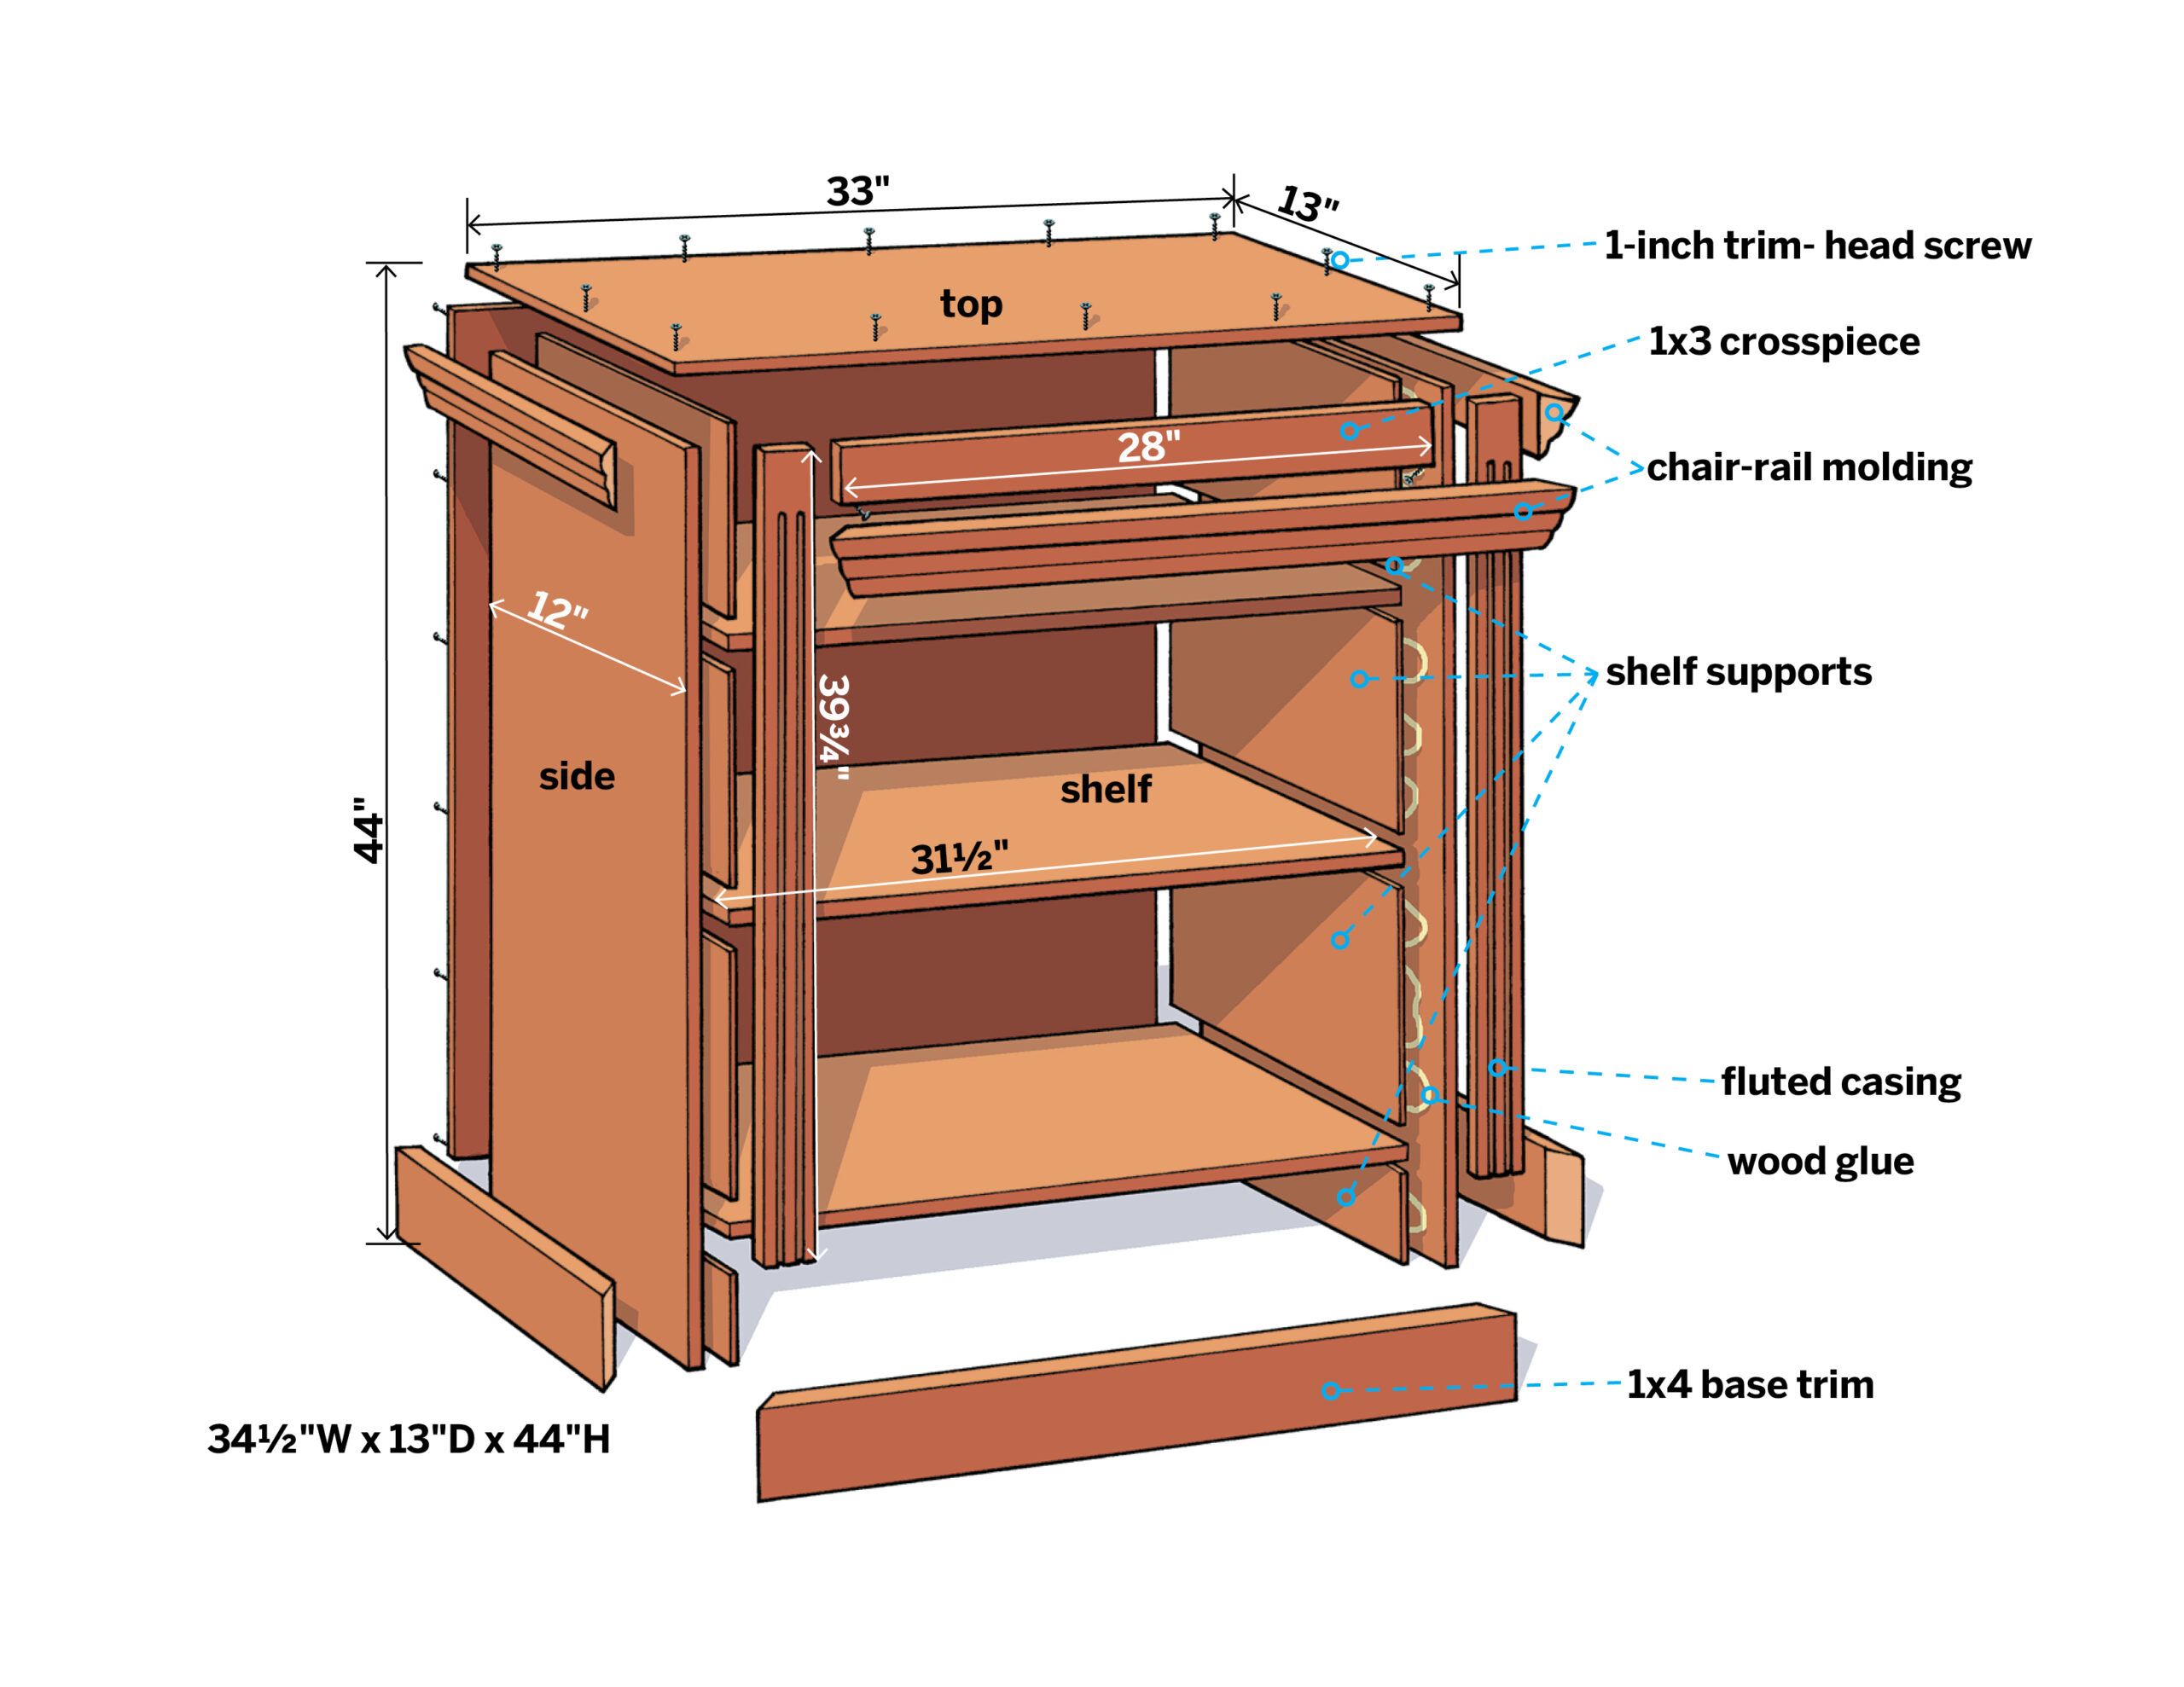
Cut List
Download the printable cut list and plan here.
- ¾ inch plywood top: 1 at 13 by 33 inches
- ¾ inch plywood sides: 2 at 12 by 43¼ inches
- ¾ inch plywood shelves: 3 at 12 by 31½ inches
- ¾ inch plywood shelf supports: 6 at 12 by 12½ inches
- ¾ inch plywood bottom shelf support: 2 at 12 by 3½ inches
- ½ inch plywood back: 1 at 43¼ by 33 inches
- 1×3 crosspiece: 1 at 28 inches
- chair rail molding: 3 at custom cut to size
- fluted casing: 2 at 39¾ inches
- 1×4 base trim: 3 at custom cut to size
Step 2: Cut the Pieces
Using a circular saw and a straightedge, cut the assembly pieces based on the cut list. Sand them lightly.
Step 3: Build the Sides
With the sides laid flat, position the shelf supports and use a strip of scrap to block out a gap for the shelves. Glue and nail the supports to the sides.
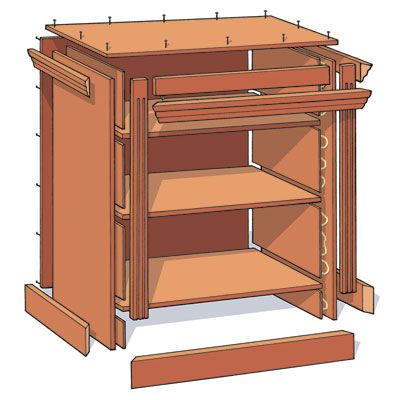
Step 4: Assemble the Sides, Shelves, Back, and Top
Fit the shelves into the side slots, using clamps to hold it all together. Use the back panel to square up the assembly, then glue and screw it to the sides’ edges.
Tip the cabinet upright, apply glue to its top edges, and set the top piece flush with the back and sides but overhanging the front. Screw the top in place.
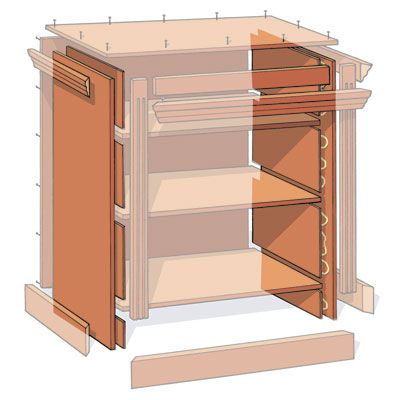
Step 5: Attach the Moldings and Trim
Miter the base trim. Attach the pieces to the front and sides, flush with the floor. Install vertical lengths of fluted casing to the front edges, between the base trim and the overhanging top.
Install a 1×3 crosspiece between the casings, up against the top. Miter and attach the chair-rail molding to the front and sides, flush with the top.
Fill the fastener holes with wood glue, then sand and paint the entire piece.
Finishing Touches for Your Custom Bookcase
The final steps in creating your small bookcase involve filling any visible holes, sanding the entire piece, and applying your chosen finish.
Filling Holes and Sanding
To prepare your bookcase for finishing:
- Fill any visible nail or screw holes with wood filler or putty.
- Allow the filler to dry completely.
- Sand the entire bookcase, paying special attention to filled areas and any rough spots.
- Wipe down the bookcase with a tack cloth to remove all dust.
Painting or Staining Your Bookcase
Decide whether you want to paint or stain your bookcase based on your personal preference and the look you want to achieve. If painting:
- Apply a primer suitable for your chosen paint type.
- Once dry, lightly sand the primed surface.
- Apply two coats of your chosen paint color, allowing proper drying time between coats.
If staining:
- Apply wood conditioner to ensure even stain absorption.
- Apply your chosen stain according to the manufacturer’s instructions.
- Once dry, apply a clear protective topcoat for durability.
Making Adjustments to Your Custom Bookcase
Transforming a basic bookcase into a unique and customized furniture piece may require some adjustments to make it feel just right for your space. Here are a few tips.
Customizing Shelf Heights
To customize shelf heights:
- Measure the desired height for each shelf and mark the locations on the sides of the bookcase.
- Pre-drill holes for shelf support pins or brackets.
- Position the shelves at the marked heights and secure them as needed.
Adding Doors
To add doors to your bookshelf:
- Measure the height and width of the bookcase opening with a tape measure.
- Cut door panels from plywood or purchase pre-made doors.
- Attach hinges to the doors and then to the bookcase frame.
- Add handles or knobs to the doors for easy opening and closing.
Incorporating Lighting
Integrating lighting into your bookcase can enhance the display and add ambiance to the room.
To add lighting:
- Choose LED strip lights or puck lights for easy installation.
- Position the lights on the underside of the shelves or along the sides.
- Conceal the wiring by routing it along the back or inside corners of the bookcase.
- Install a switch or connect the lights to a smart home system for convenient control.
Troubleshooting Common Bookcase Building Issues
Even with careful planning and execution, you may encounter some challenges during the building process, such as:
Dealing With Uneven Surfaces
If your bookcase doesn’t sit level:
- Use shims under the base to level the unit.
- Adjust the floor or surface where the bookcase will be placed.
- Consider adding adjustable feet to the bottom of the bookcase for easy leveling.
Fixing Misaligned Moldings
If your moldings don’t align perfectly:
- Use wood filler to fill small gaps between molding pieces.
- For larger misalignments, carefully remove the molding and reattach it, ensuring proper alignment.
- Sand and touch up any areas where adjustments were made.
Our Conclusion
Building a small bookcase with moldings is a rewarding project that combines practical storage with custom design. By following this guide, you can create a beautiful piece of furniture that showcases your books and collectibles while enhancing your home’s decor.
If you enjoy this project, consider exploring other DIY furniture options, such as building a ladder bookshelf for a modern twist on book storage.


