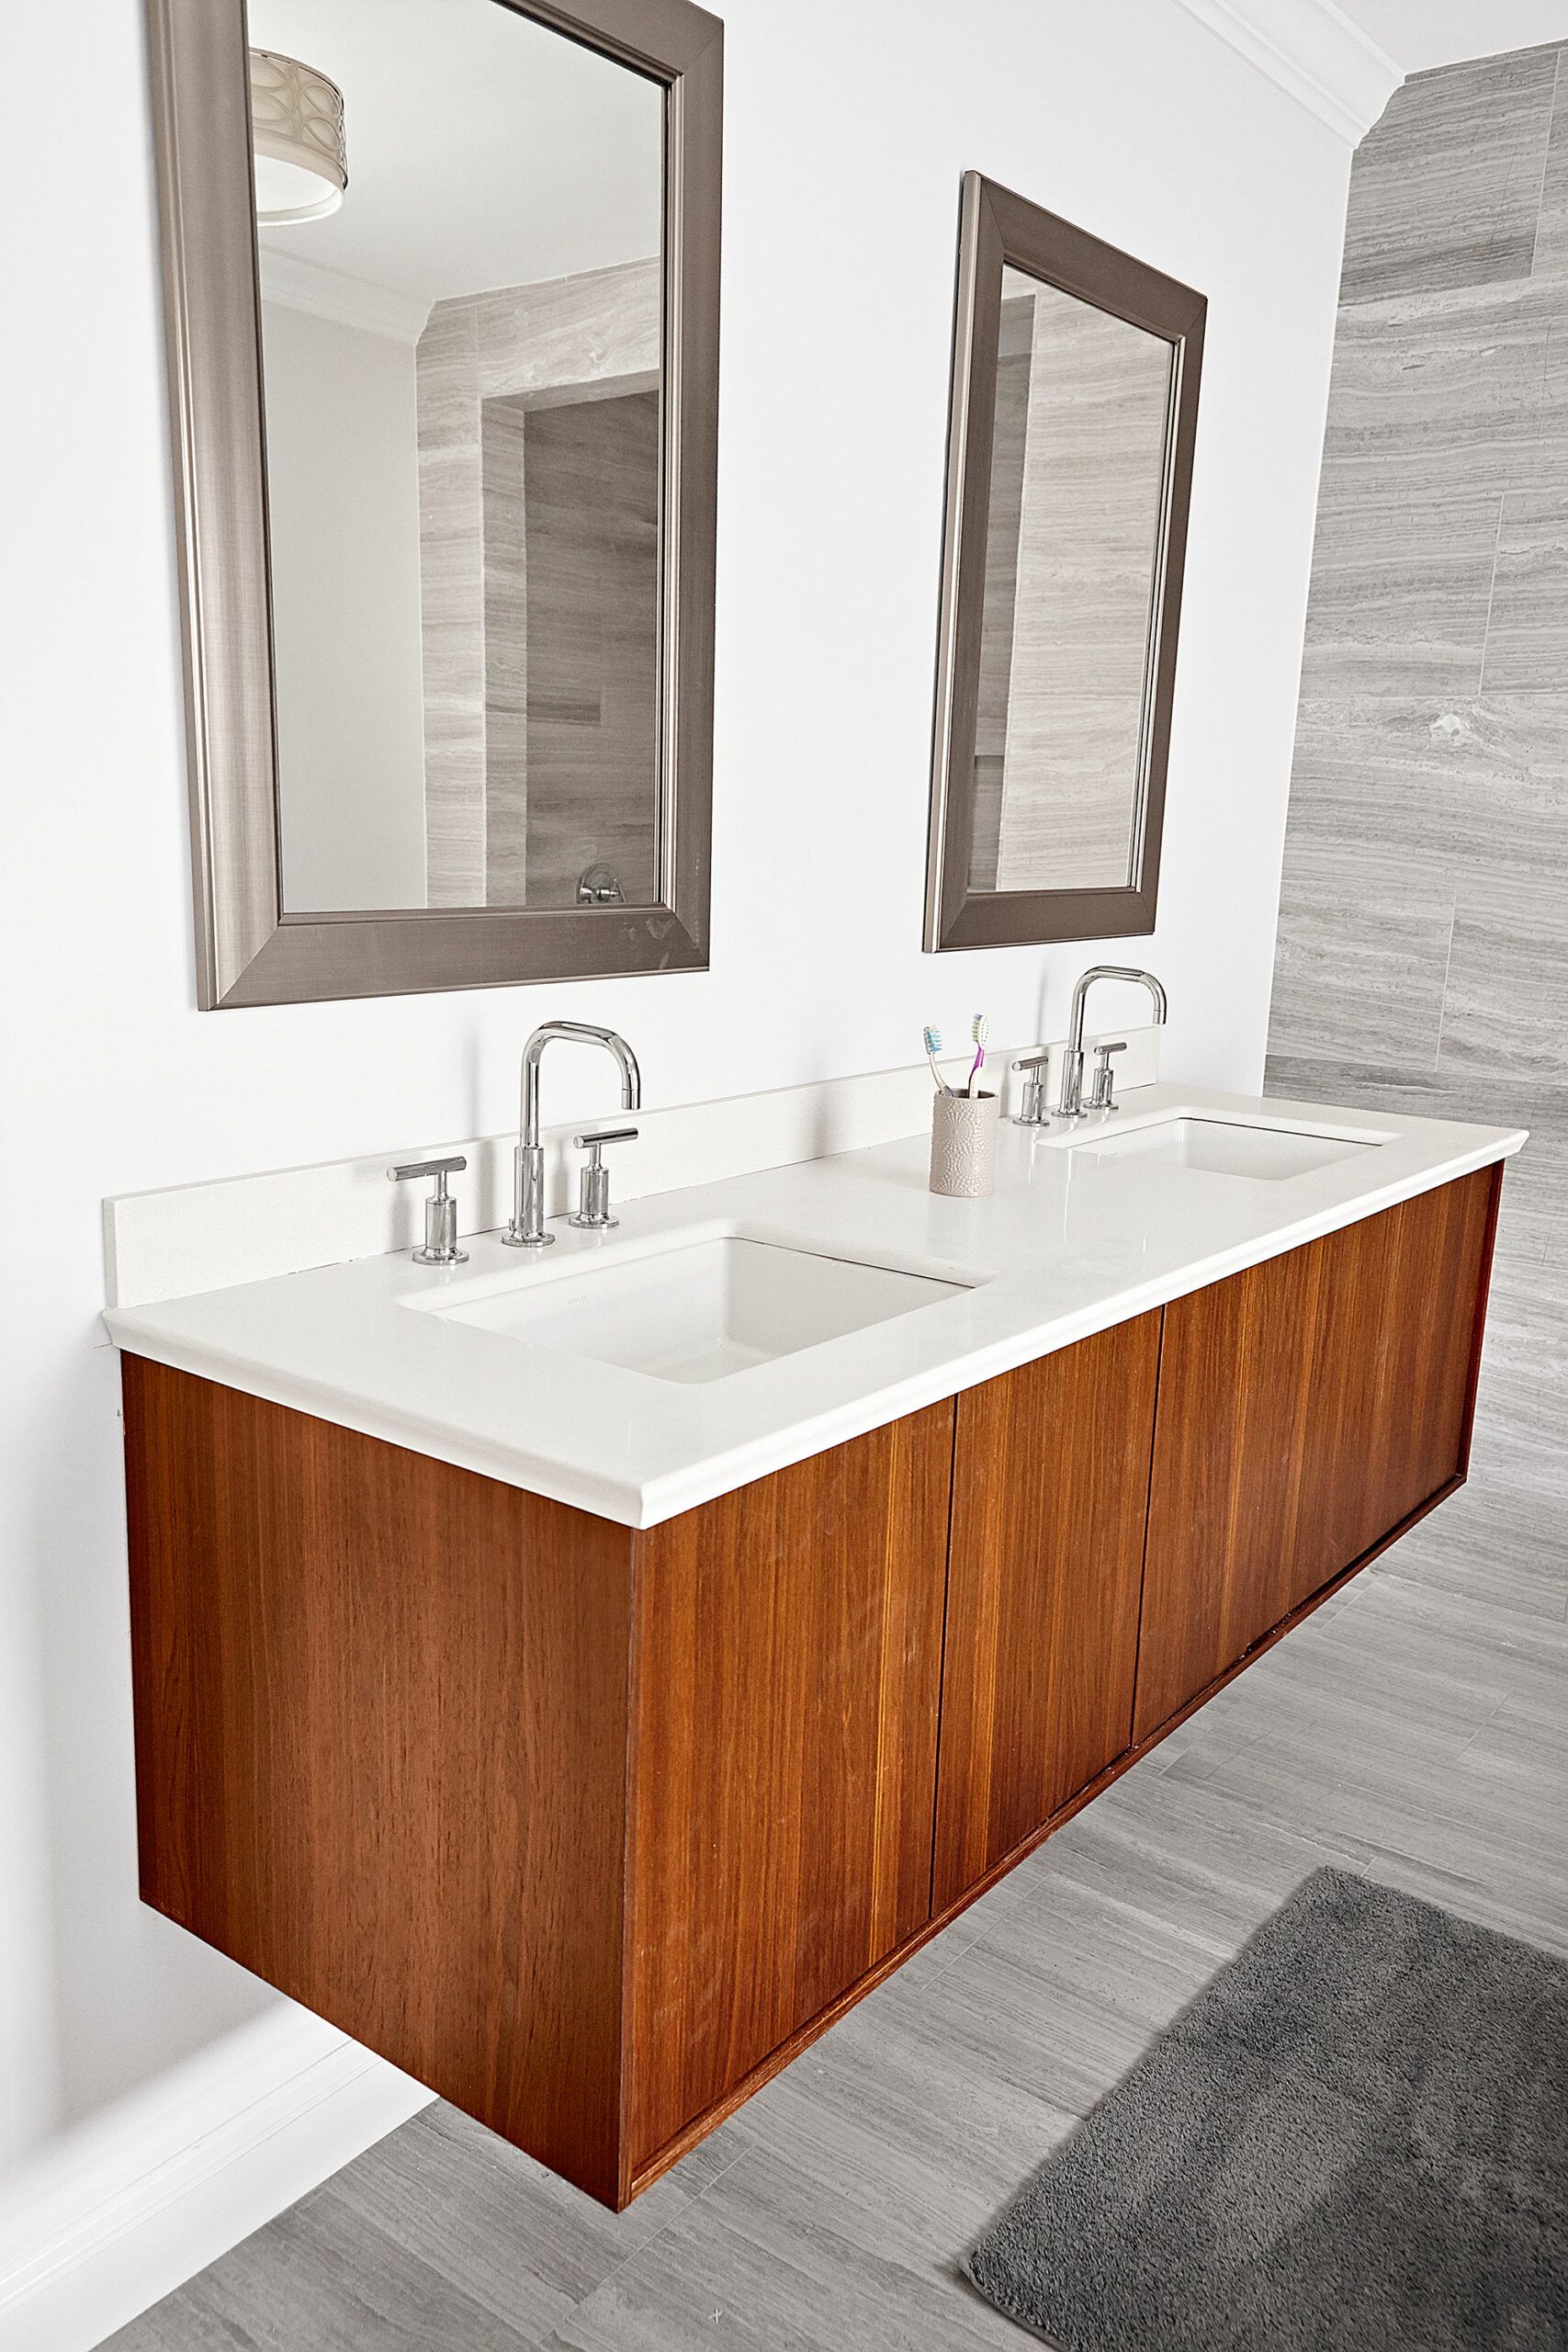
Pictured: 72-inch vanity with dual Kohler sinks.
We may be compensated if you purchase through links on our website. Our team is committed to delivering honest, objective, and independent reviews on home products and services.
Project details
Skill
Cost
Estimated Time
Adding wall-mounted sinks and vanities can greatly improve how your bathroom looks and functions. The floating design means you can install them at any height to free up valuable floor space.
In this guide, Rigo Mocha of Classic Construction Group shares step-by-step how to install a wall-mount vanity and sinks for maximum appeal and performance.
Wall-Mount Vanity and Sinks Project Overview
Installing a wall-mount vanity and sinks is a moderately challenging project that you can complete in a weekend. The process involves securing proper wall support, hanging the vanity, installing the countertop, and setting up the sinks and faucets. While some plumbing work is best left to professionals, many homeowners can tackle the cabinet and fixture installation themselves to save on labor costs.
Here’s a general timeline for the project:
- Day 1: Prepare the wall, install bracing, and hang the vanity.
- Day 2: Install the countertop, sinks, and fixtures.
- Day 3 (if needed): Final adjustments and plumbing connections.
Recommended Tools
Here are the tools you’ll need for the project.
Tools & Materials
 Tape measure
- Pencil
- 4-foot level
- Circular saw
- Hammer
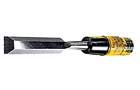
- chisel
- Drill/driver
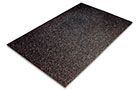
- Protective mat
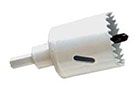
- 3/4-inch hole saw bit
- 1 1/2-inch hole saw bit
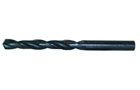
- 1/4-inch drill bit
- Impact driver
- Dust mask
- 13/8-inch hole saw bit
- Rags
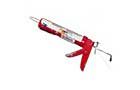
- Caulk gun
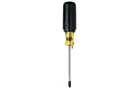
- Screwdriver
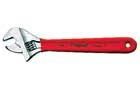
- Adjustable wrench


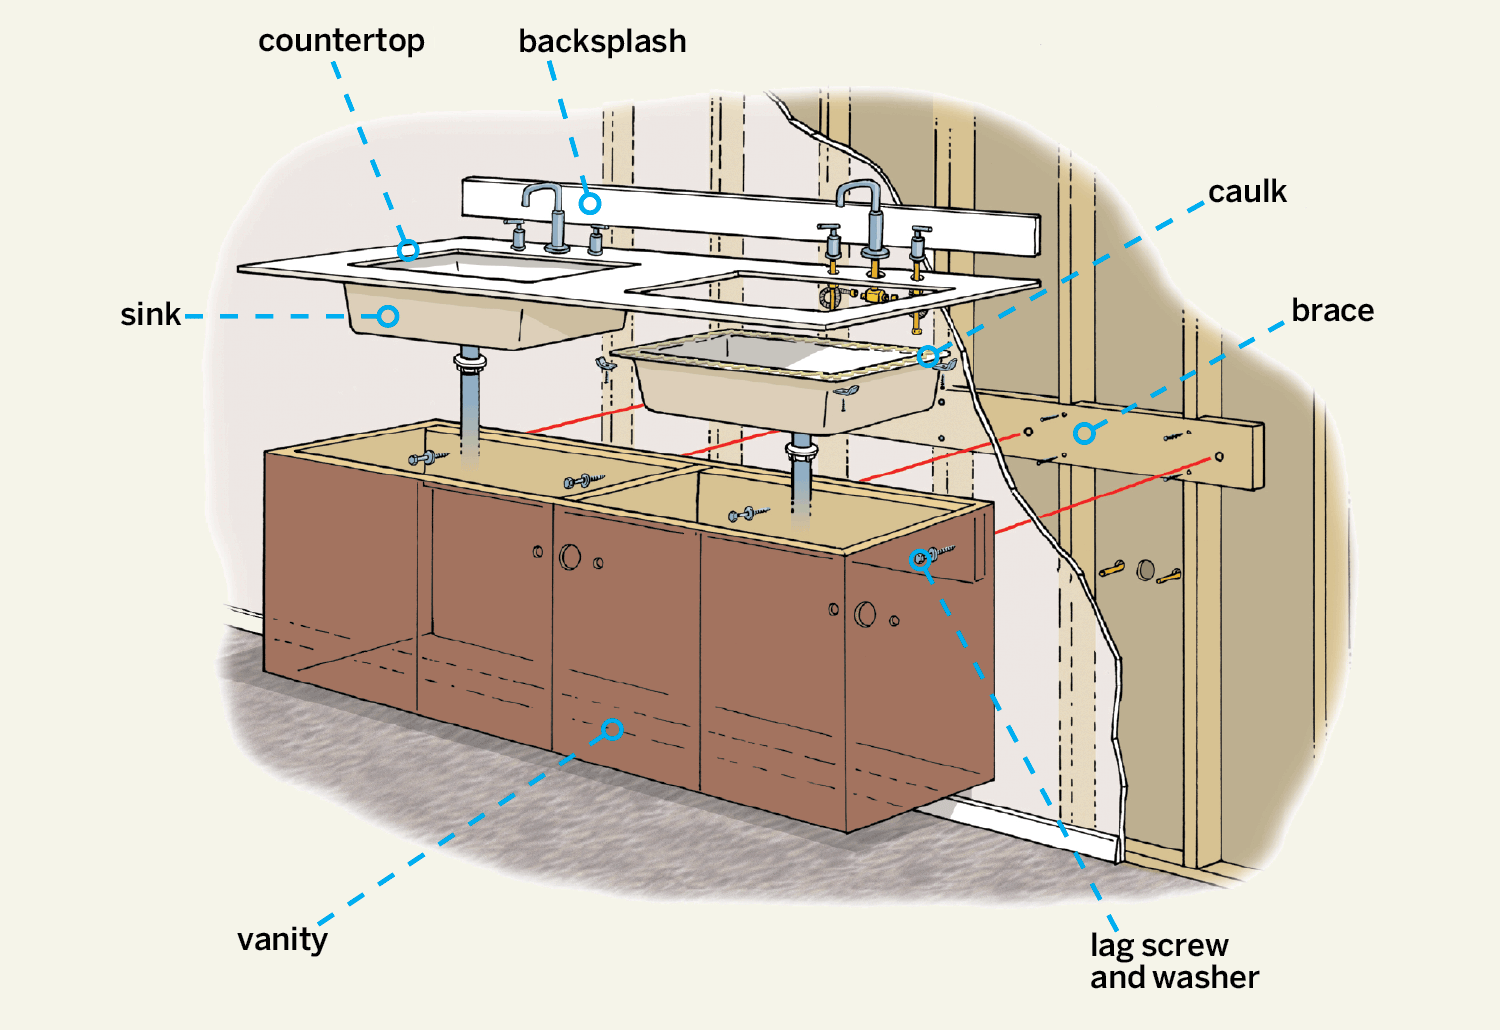
Notch the Studs for the Vanity and Sink
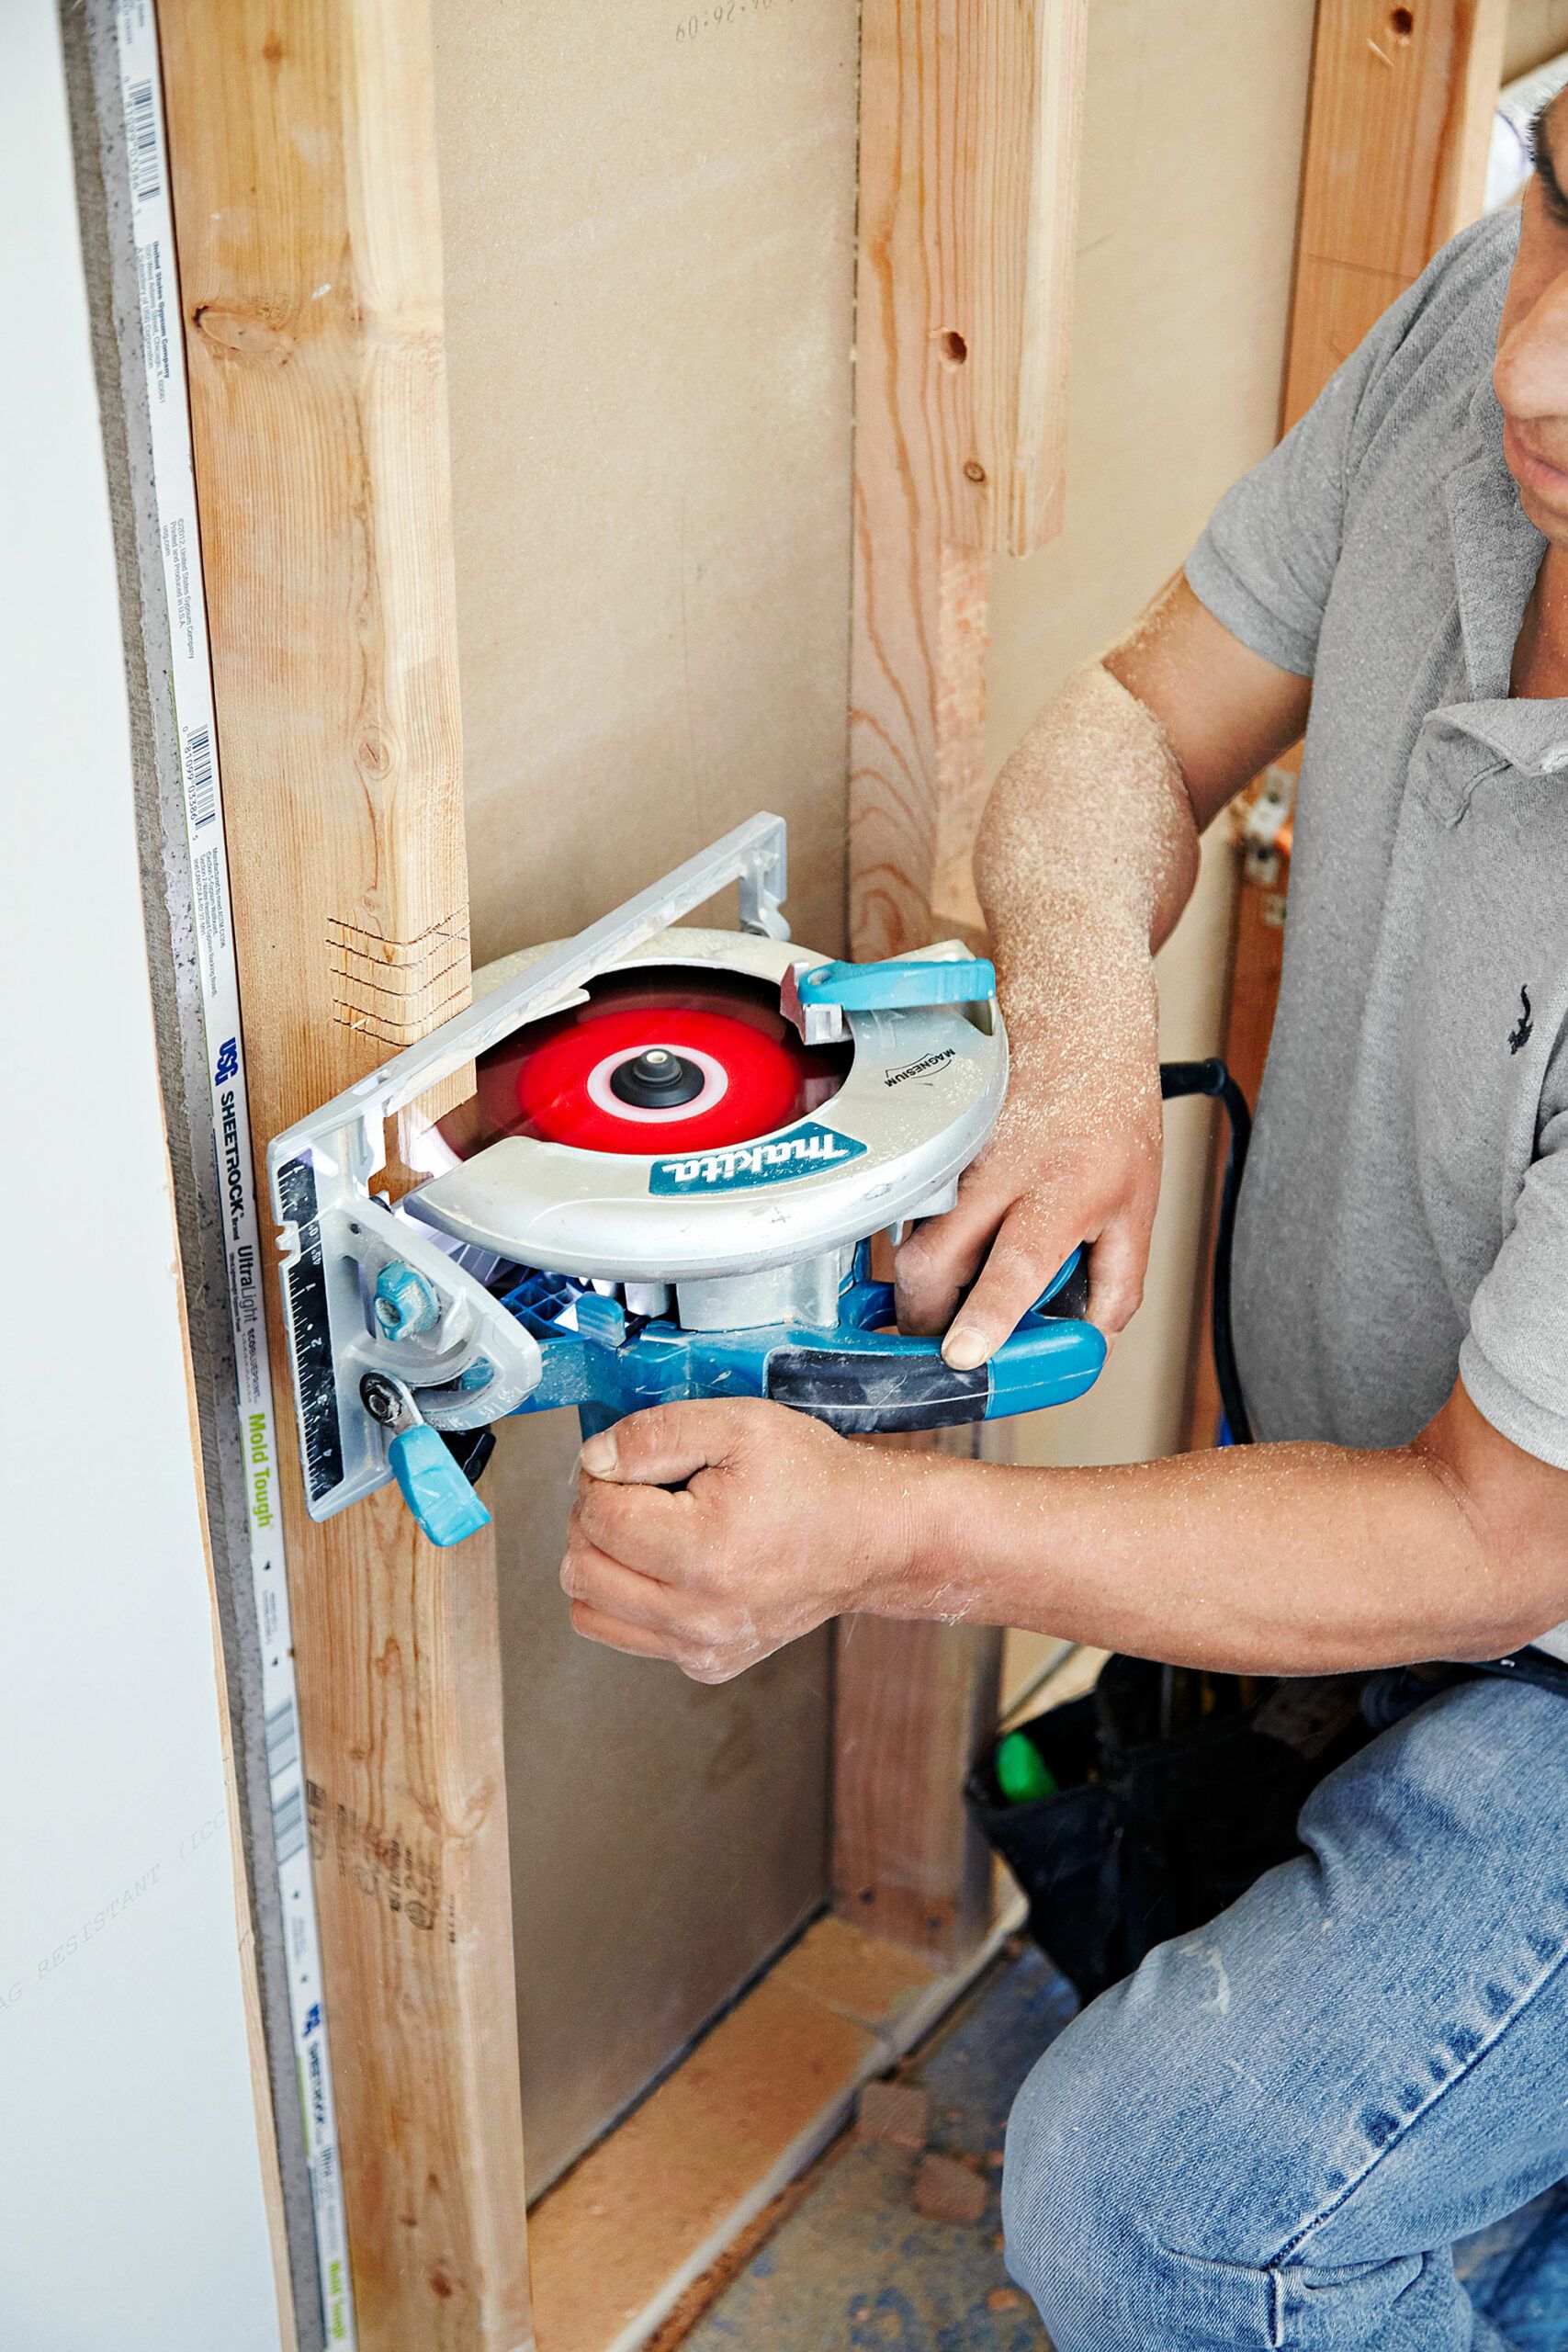
First, you’ll need to create proper support by notching your wall studs so that they can accommodate a sturdy brace. Here’s how to do it:
- Mark the vanity’s width above the rough plumbing.
- For a 36-inch-high countertop, mark 34 1/2 inches above the floor for the top of the 2-by-6 brace.
- Use a level to extend this mark across the installation area.
- Draw a second line 5 1/2 inches below the first to indicate the bottom of the brace.
- Set your circular saw to cut 1 1/2 inches deep and carefully make several passes between the marks to create a notch.
- Use a hammer and chisel to remove the wood slivers and clean up the notch.
- Repeat this process for all studs that will support the brace.
Attach the Vanity Wall-Mount Bracing
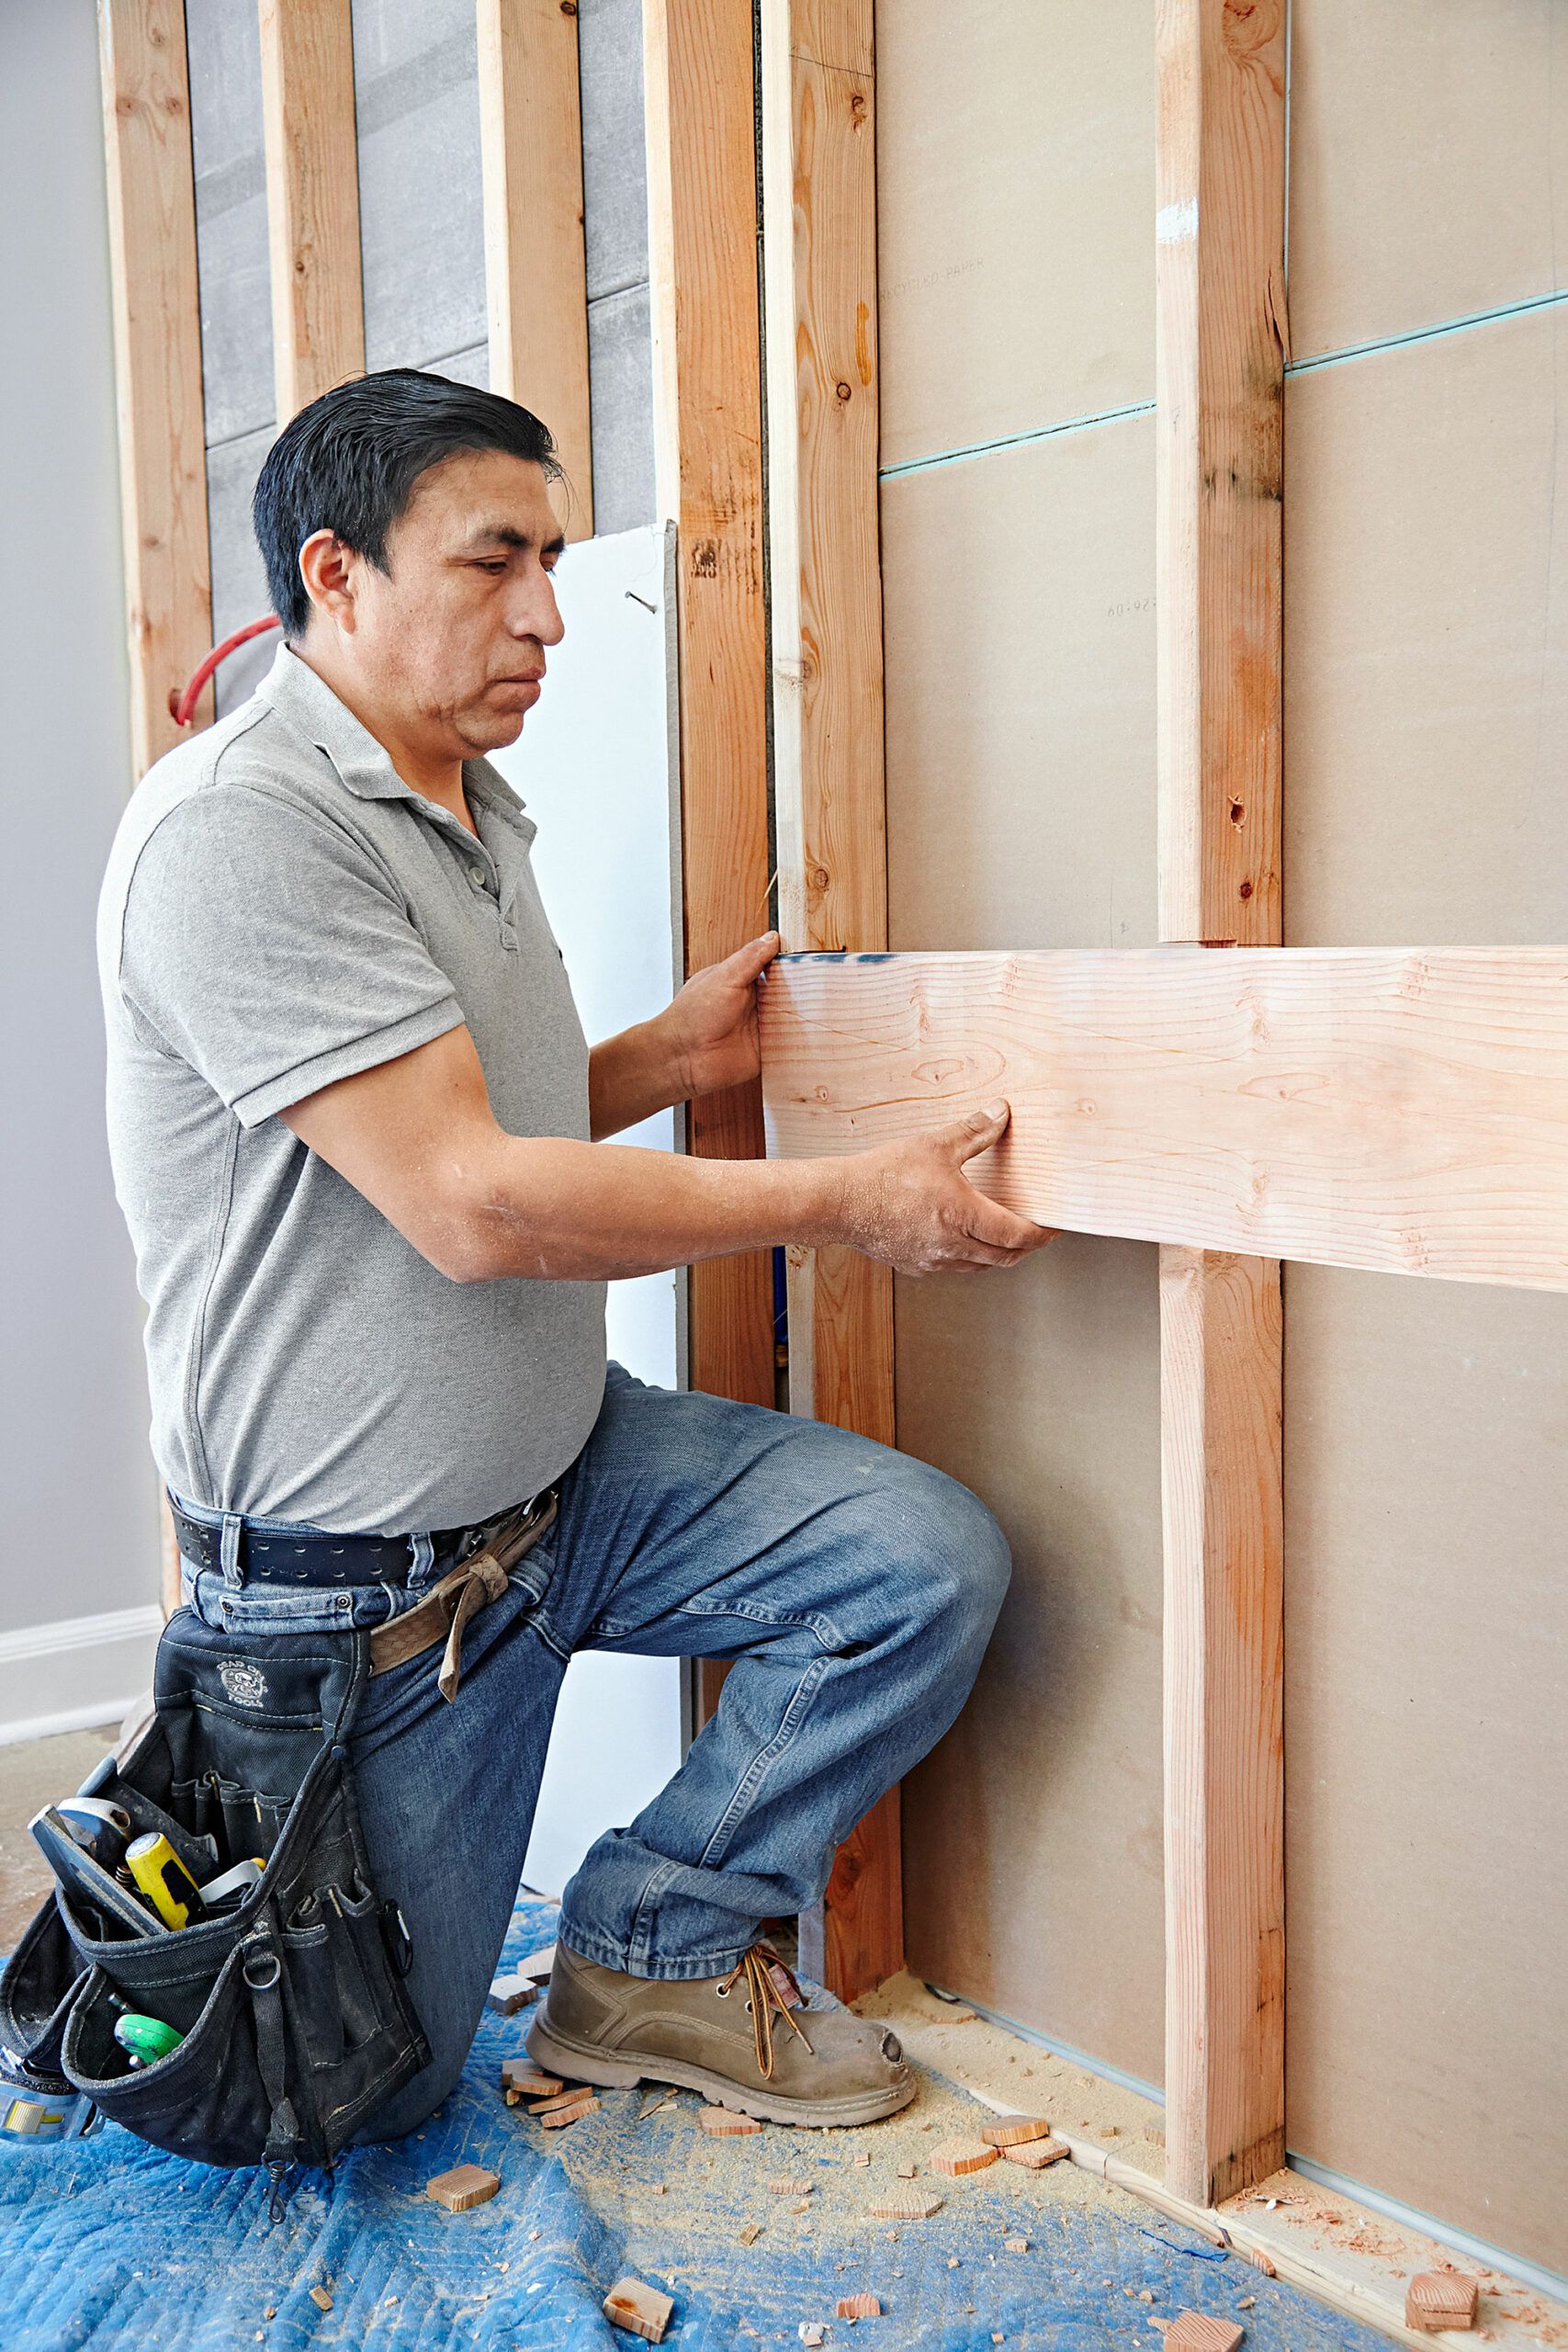
With the studs notched, it’s time to install the brace. Perform the following steps:
- Cut a 2-by-6 brace to the appropriate length (70 inches in our example) using a circular saw.
- Apply construction adhesive to the notches you’ve created in the studs.
- Press the brace into place, ensuring it’s level.
- Secure the brace at each stud using a pair of 3-inch deck screws.
After attaching the brace, have a plumber rough-in the supply lines and drains for each sink. Once the plumbing work is complete, finish the drywall and paint, and add any base molding as desired.
Mark the Wall-Mount Vanity and Sink Location
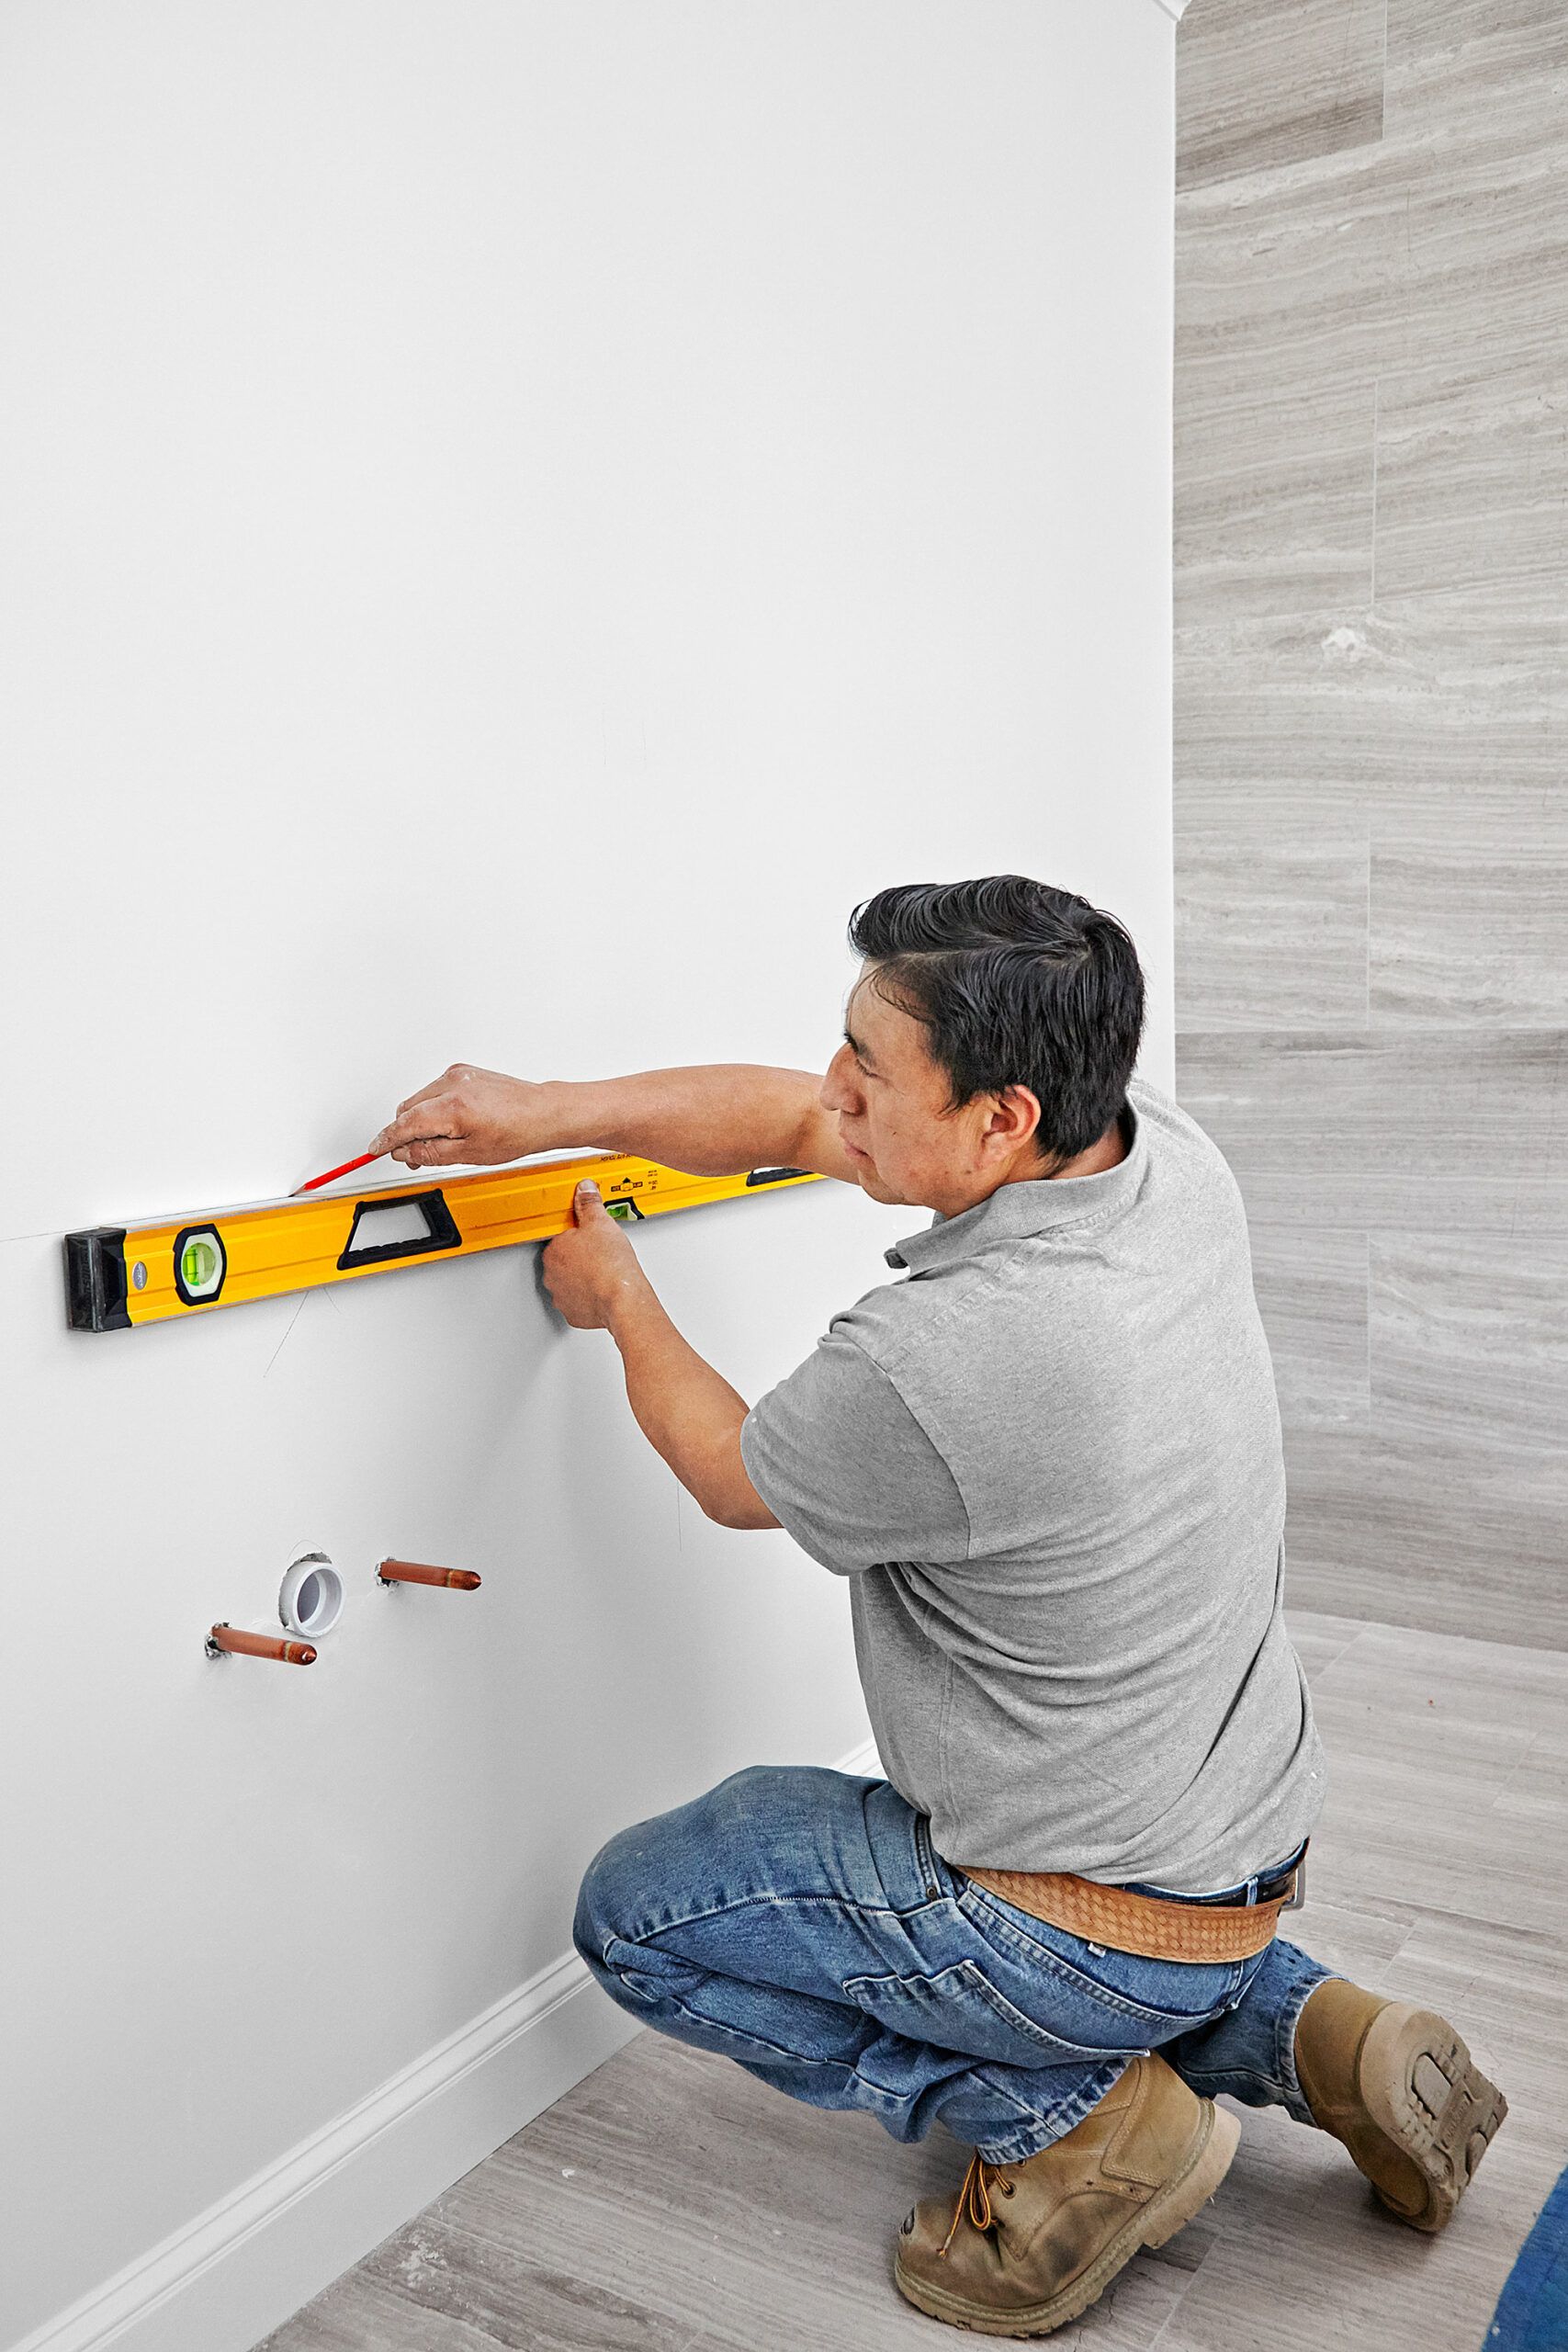
Next, you’ll need to mark the location of your vanity to ensure proper placement. Here’s the best way to go about it:
- Determine the finished height of your vanity.
- Subtract the thickness of the countertop (3/4 inch in our case) from this height.
- Using a level, draw a line at this measurement from the floor.
This line will serve as your guide for positioning the vanity.
Cut Plumbing Holes for the Vanity Sink
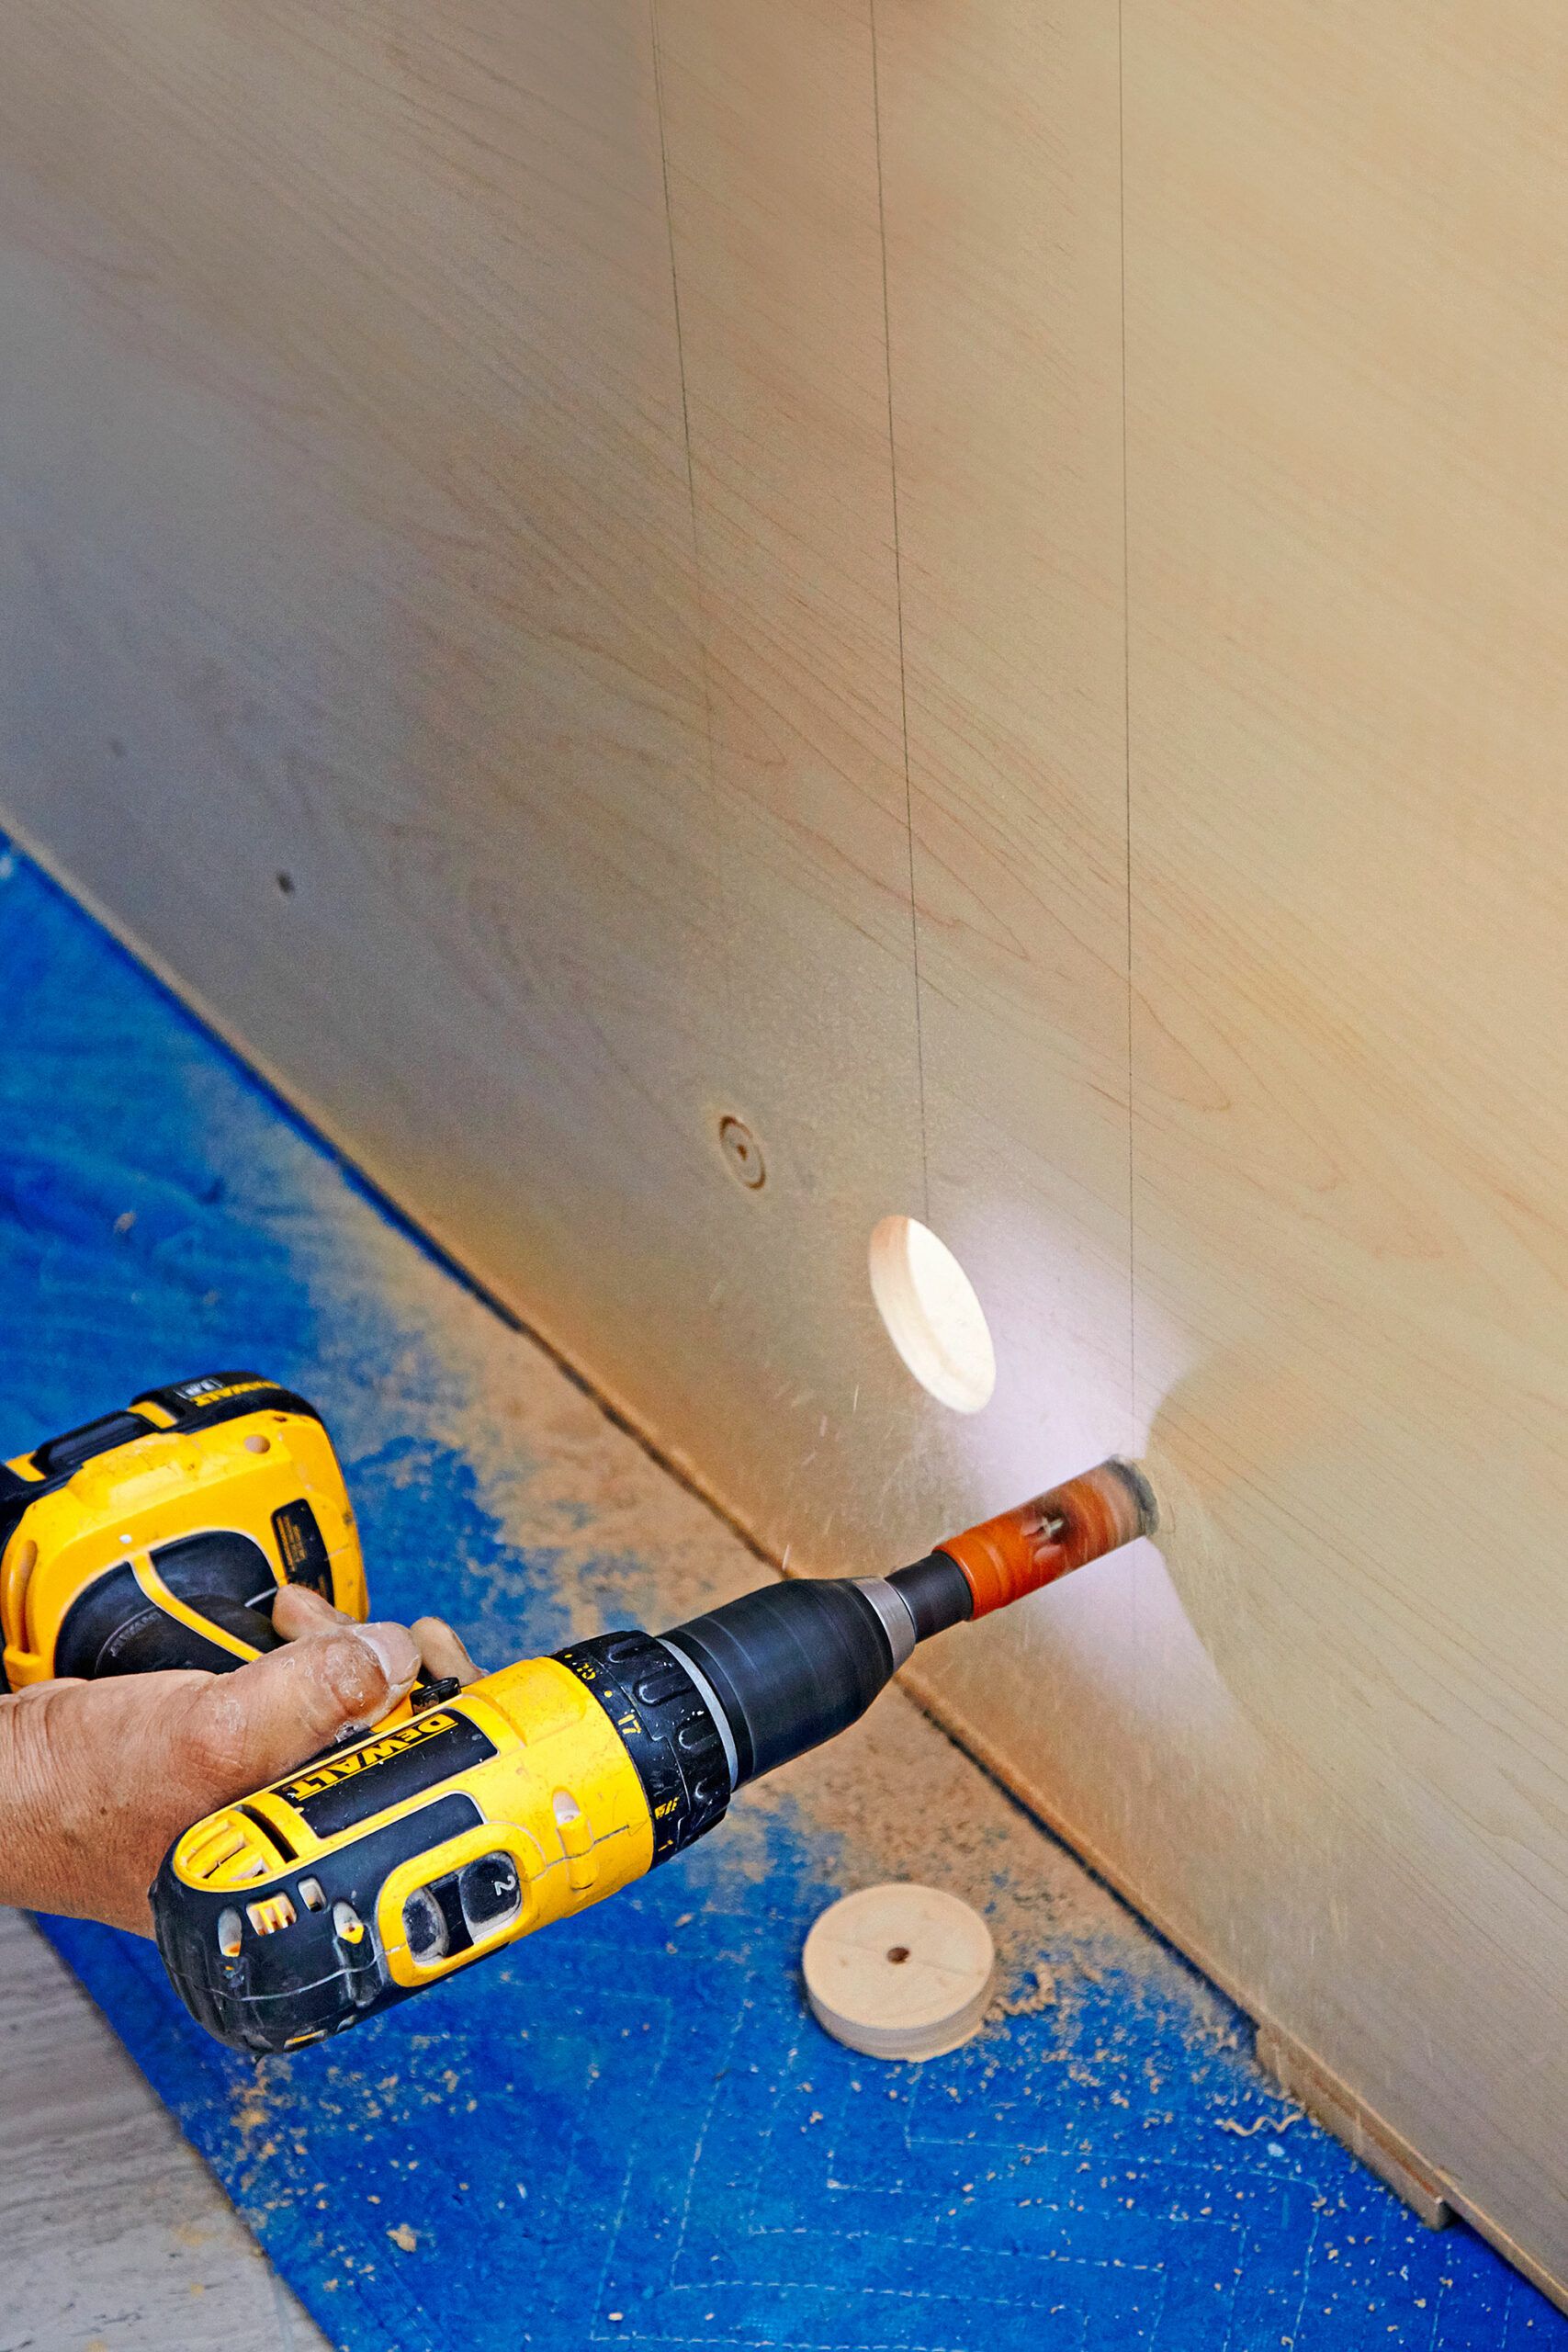
Before hanging the vanity, you’ll need to create openings for the plumbing. We recommend taking the following steps:
- Place the cabinet on a protective mat and remove the doors.
- Measure from your level line down to locate the water supplies and drain.
- Transfer these measurements to the back of the vanity.
- Use a 3/4-inch-diameter hole saw for supply lines and a 1 1/2-inch-diameter saw for the drainpipe.
- Start cutting from the outside, pushing the pilot bit through the plywood back.
- Finish the cut from the inside to prevent tear-out.
During this step, double-check that the holes are accurately placed for easy plumbing connections.
Mount the Vanity
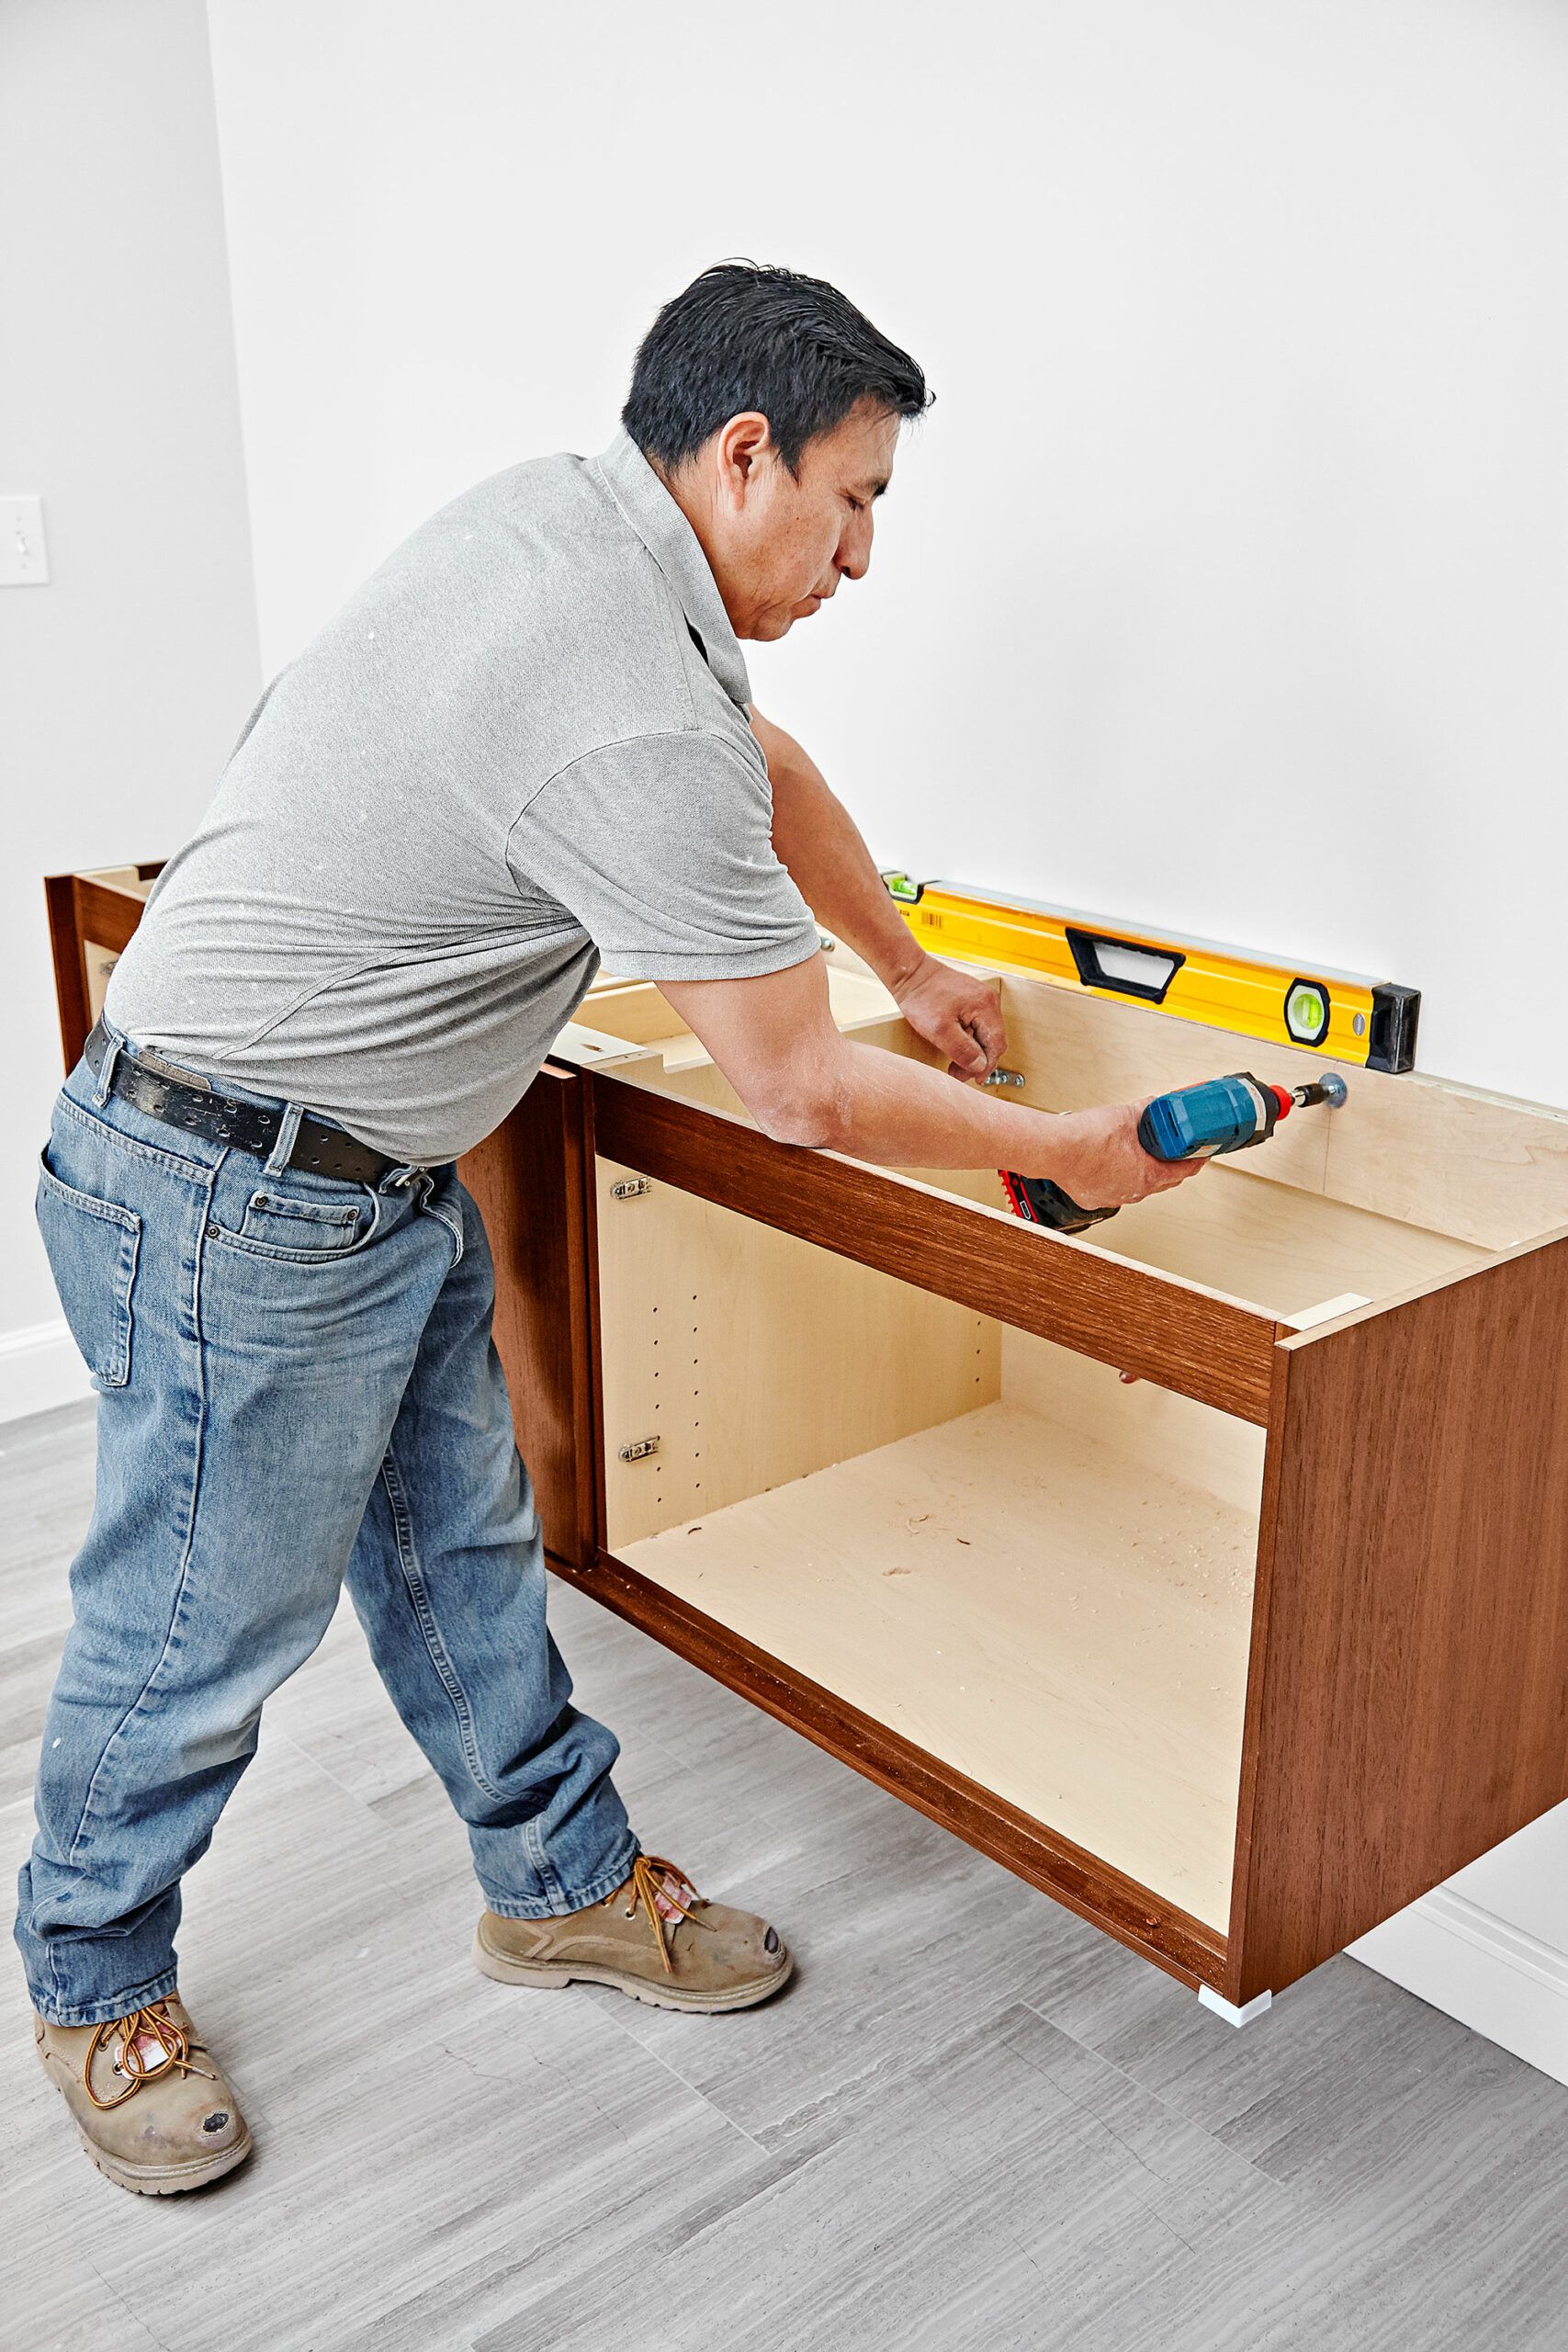
With the preparation phase complete, it’s time to hang the vanity. Here’s how:
- With a helper, rest the vanity on a 5-gallon bucket topped with plywood scraps to raise it to the level line.
- Make pilot holes through the middle of the back rail at each end of the vanity using a 1/4-inch-diameter drill bit.
- Use an impact driver to fasten the cabinet to the wall with 5⁄16-inch lag screws and washers.
- Check for level as you work.
- Once level, make additional pilot holes at each cabinet door bay and secure them with more lag screws.
- Remove the temporary support once the vanity is securely fastened.
Prep for Vanity Sink Faucets
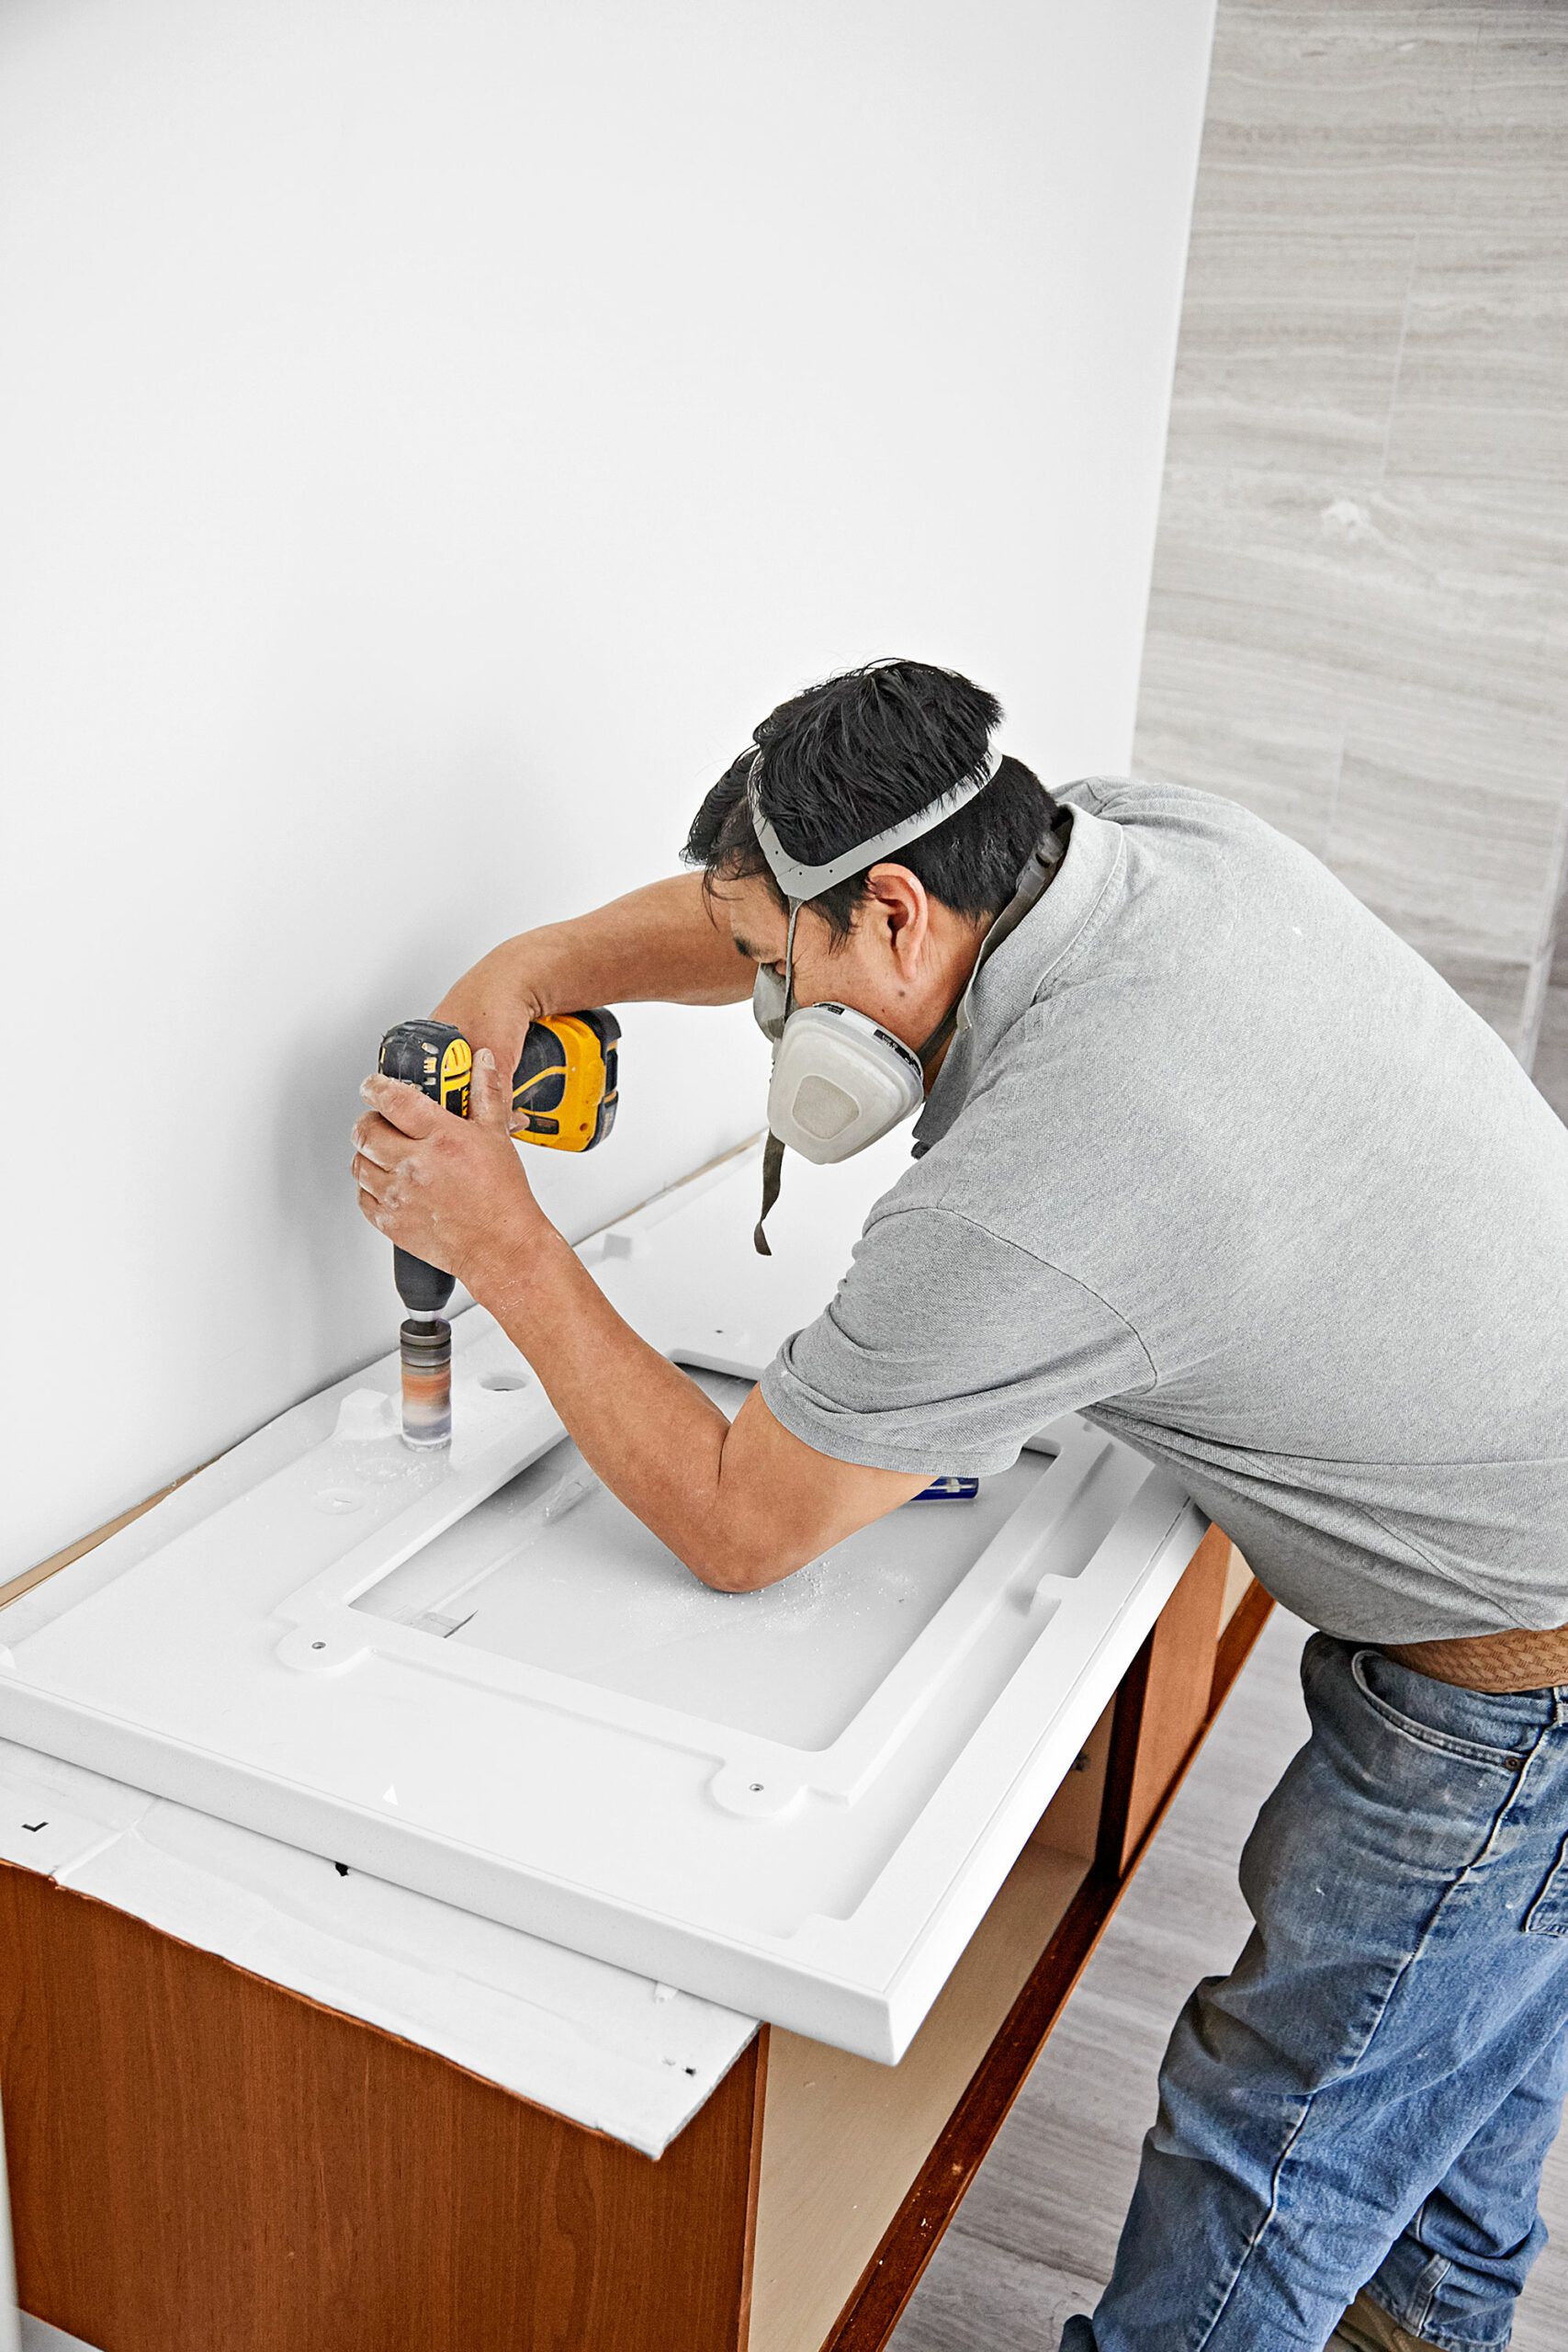
Now that the vanity is in place, take these steps to prepare the countertop for faucet installation:
- With a helper, flip the countertop over so the underside faces up.
- Rest it on the cardboard-covered vanity.
- Locate the indentations for the spout and handle locations for each sink.
- Using a 1 3⁄8-inch-diameter hole saw, carefully cut out the three holes per sink to make room for your faucet and handles.
- Apply even pressure as you work through the countertop to avoid cracking.
Remember to wear a dust mask during this step to protect yourself from airborne particles.
Tip: Use a hole saw for the plumbing cutouts—a paddle bit could crack the countertop.
Apply Adhesive to the Vanity Sink
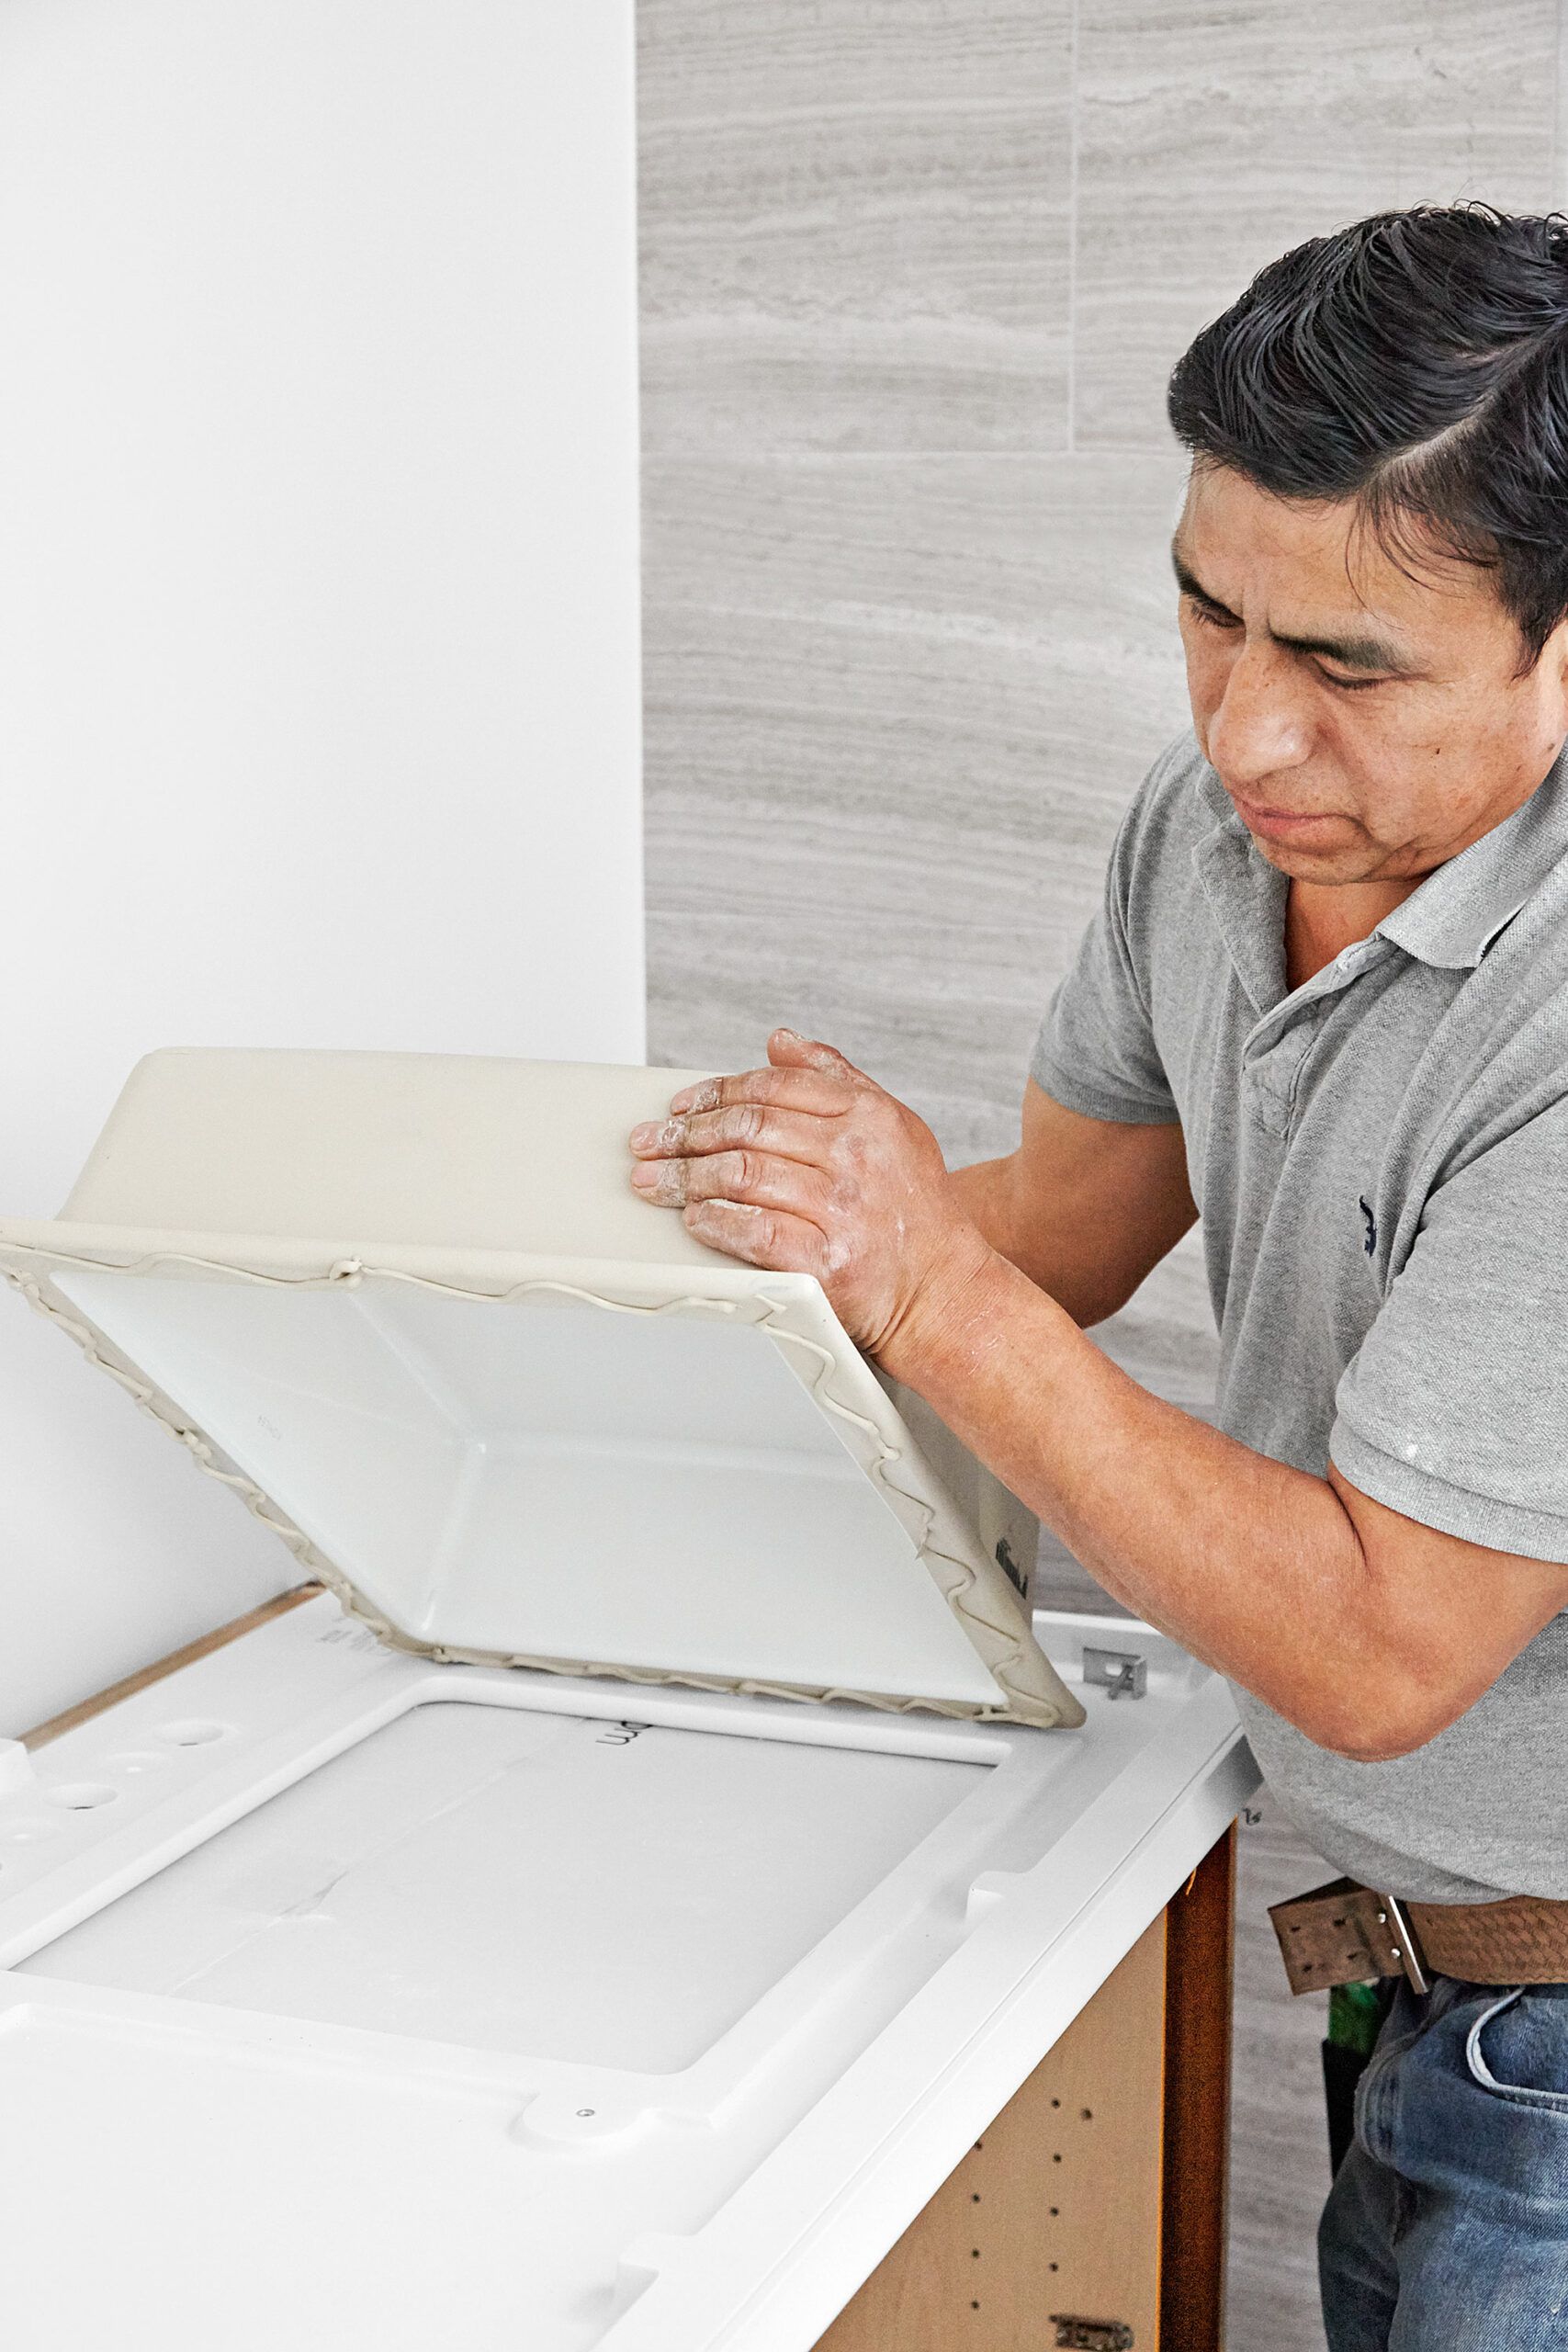
With the holes cut, you can now attach the sinks to the countertop following these steps:
- Thoroughly clean the dust from the countertop surface.
- Apply a continuous bead of silicone caulk along the sink’s flange.
- Carefully position the sink in place, ensuring proper alignment with the pre-cut holes.
Double-check that the sink is firmly in place before moving on to the next step.
Screw on Sink Clips
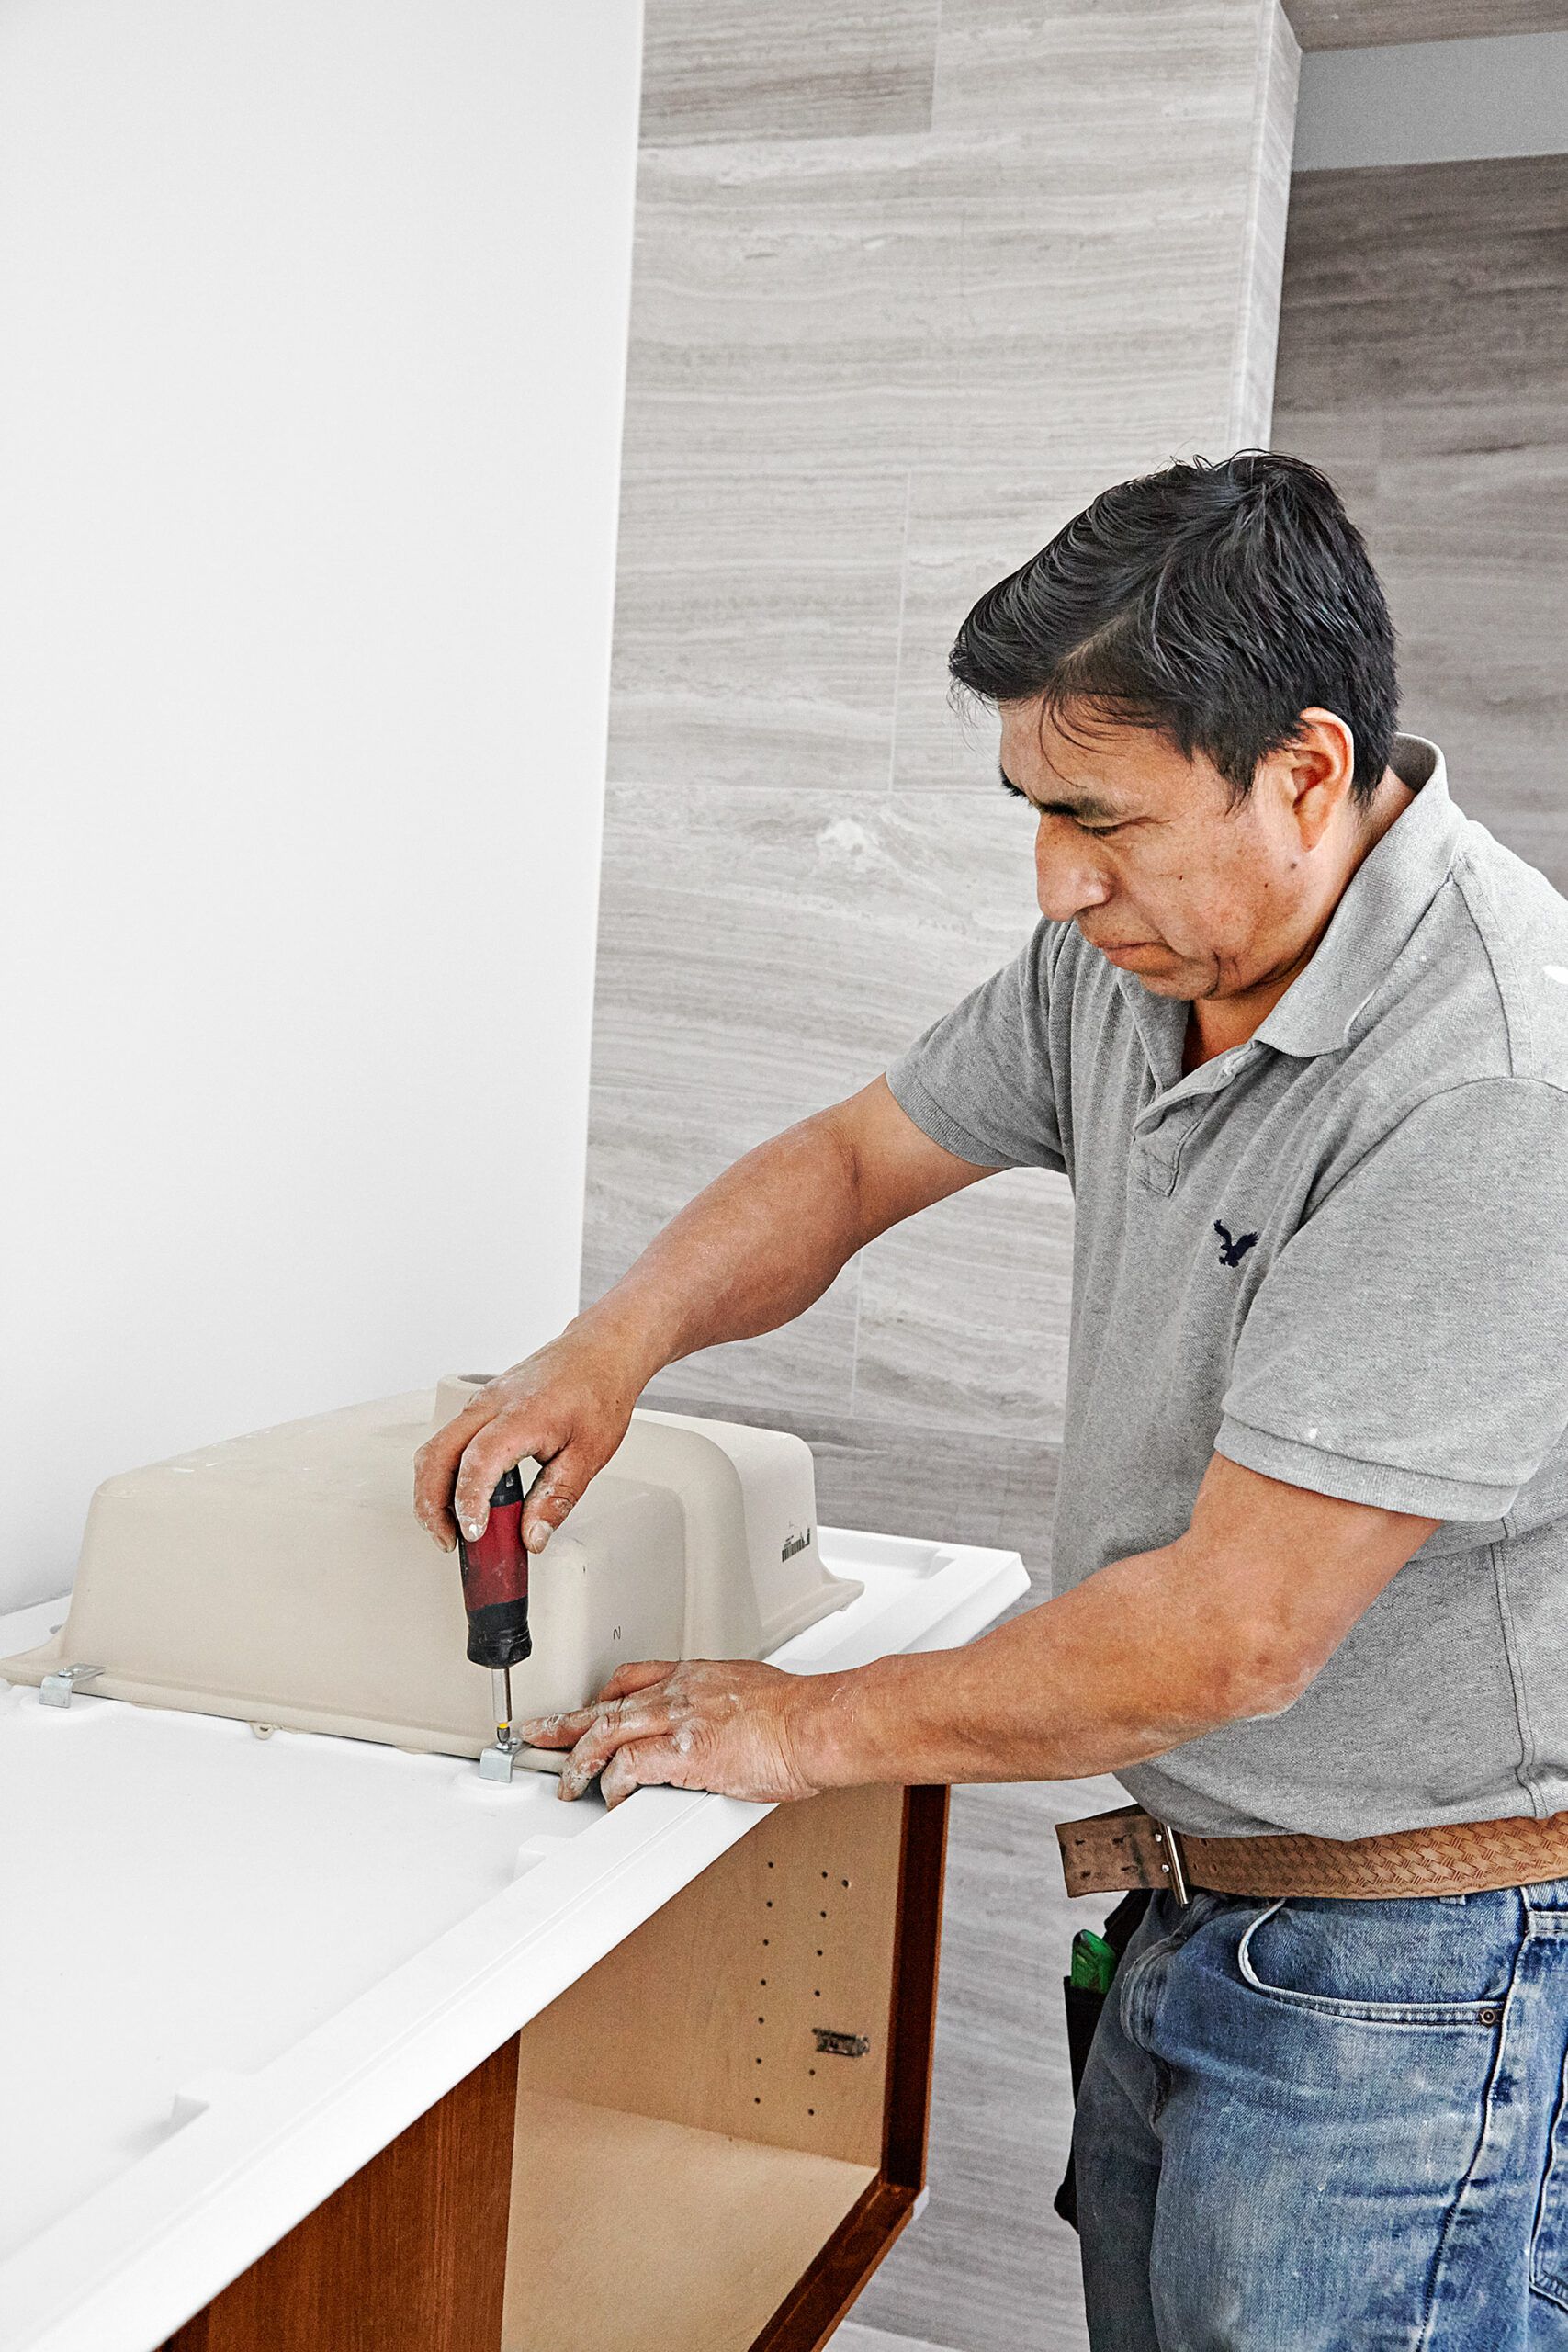
Here’s what you’ll need to do to secure the sink to the countertop:
- Attach steel clips at each corner of the sink using a screwdriver.
- These clips will clamp the sink firmly to the underside of the countertop.
- Use a clean rag to remove excess caulk that may have seeped into the bowl.
Install the Vanity Sink Handles
Now, it’s time to install the faucet components. Here’s the approach we recommend taking:
- Apply plumber’s putty beneath the handles and spout.
- Feed the handles through the outer openings from below.
- Be sure that when installed, hot will be on the left and cold on the right.
- Position the handles so they face away from the spout when in the off position.
- Slip washers over the threaded ends, add lock nuts, and tighten with a screwdriver.
- Insert the spout in the center opening and fit its two-hole washer over it.
- Thread on the nut and tighten with an adjustable wrench.
Properly securing the faucet parts will prevent leaks, so take your time.
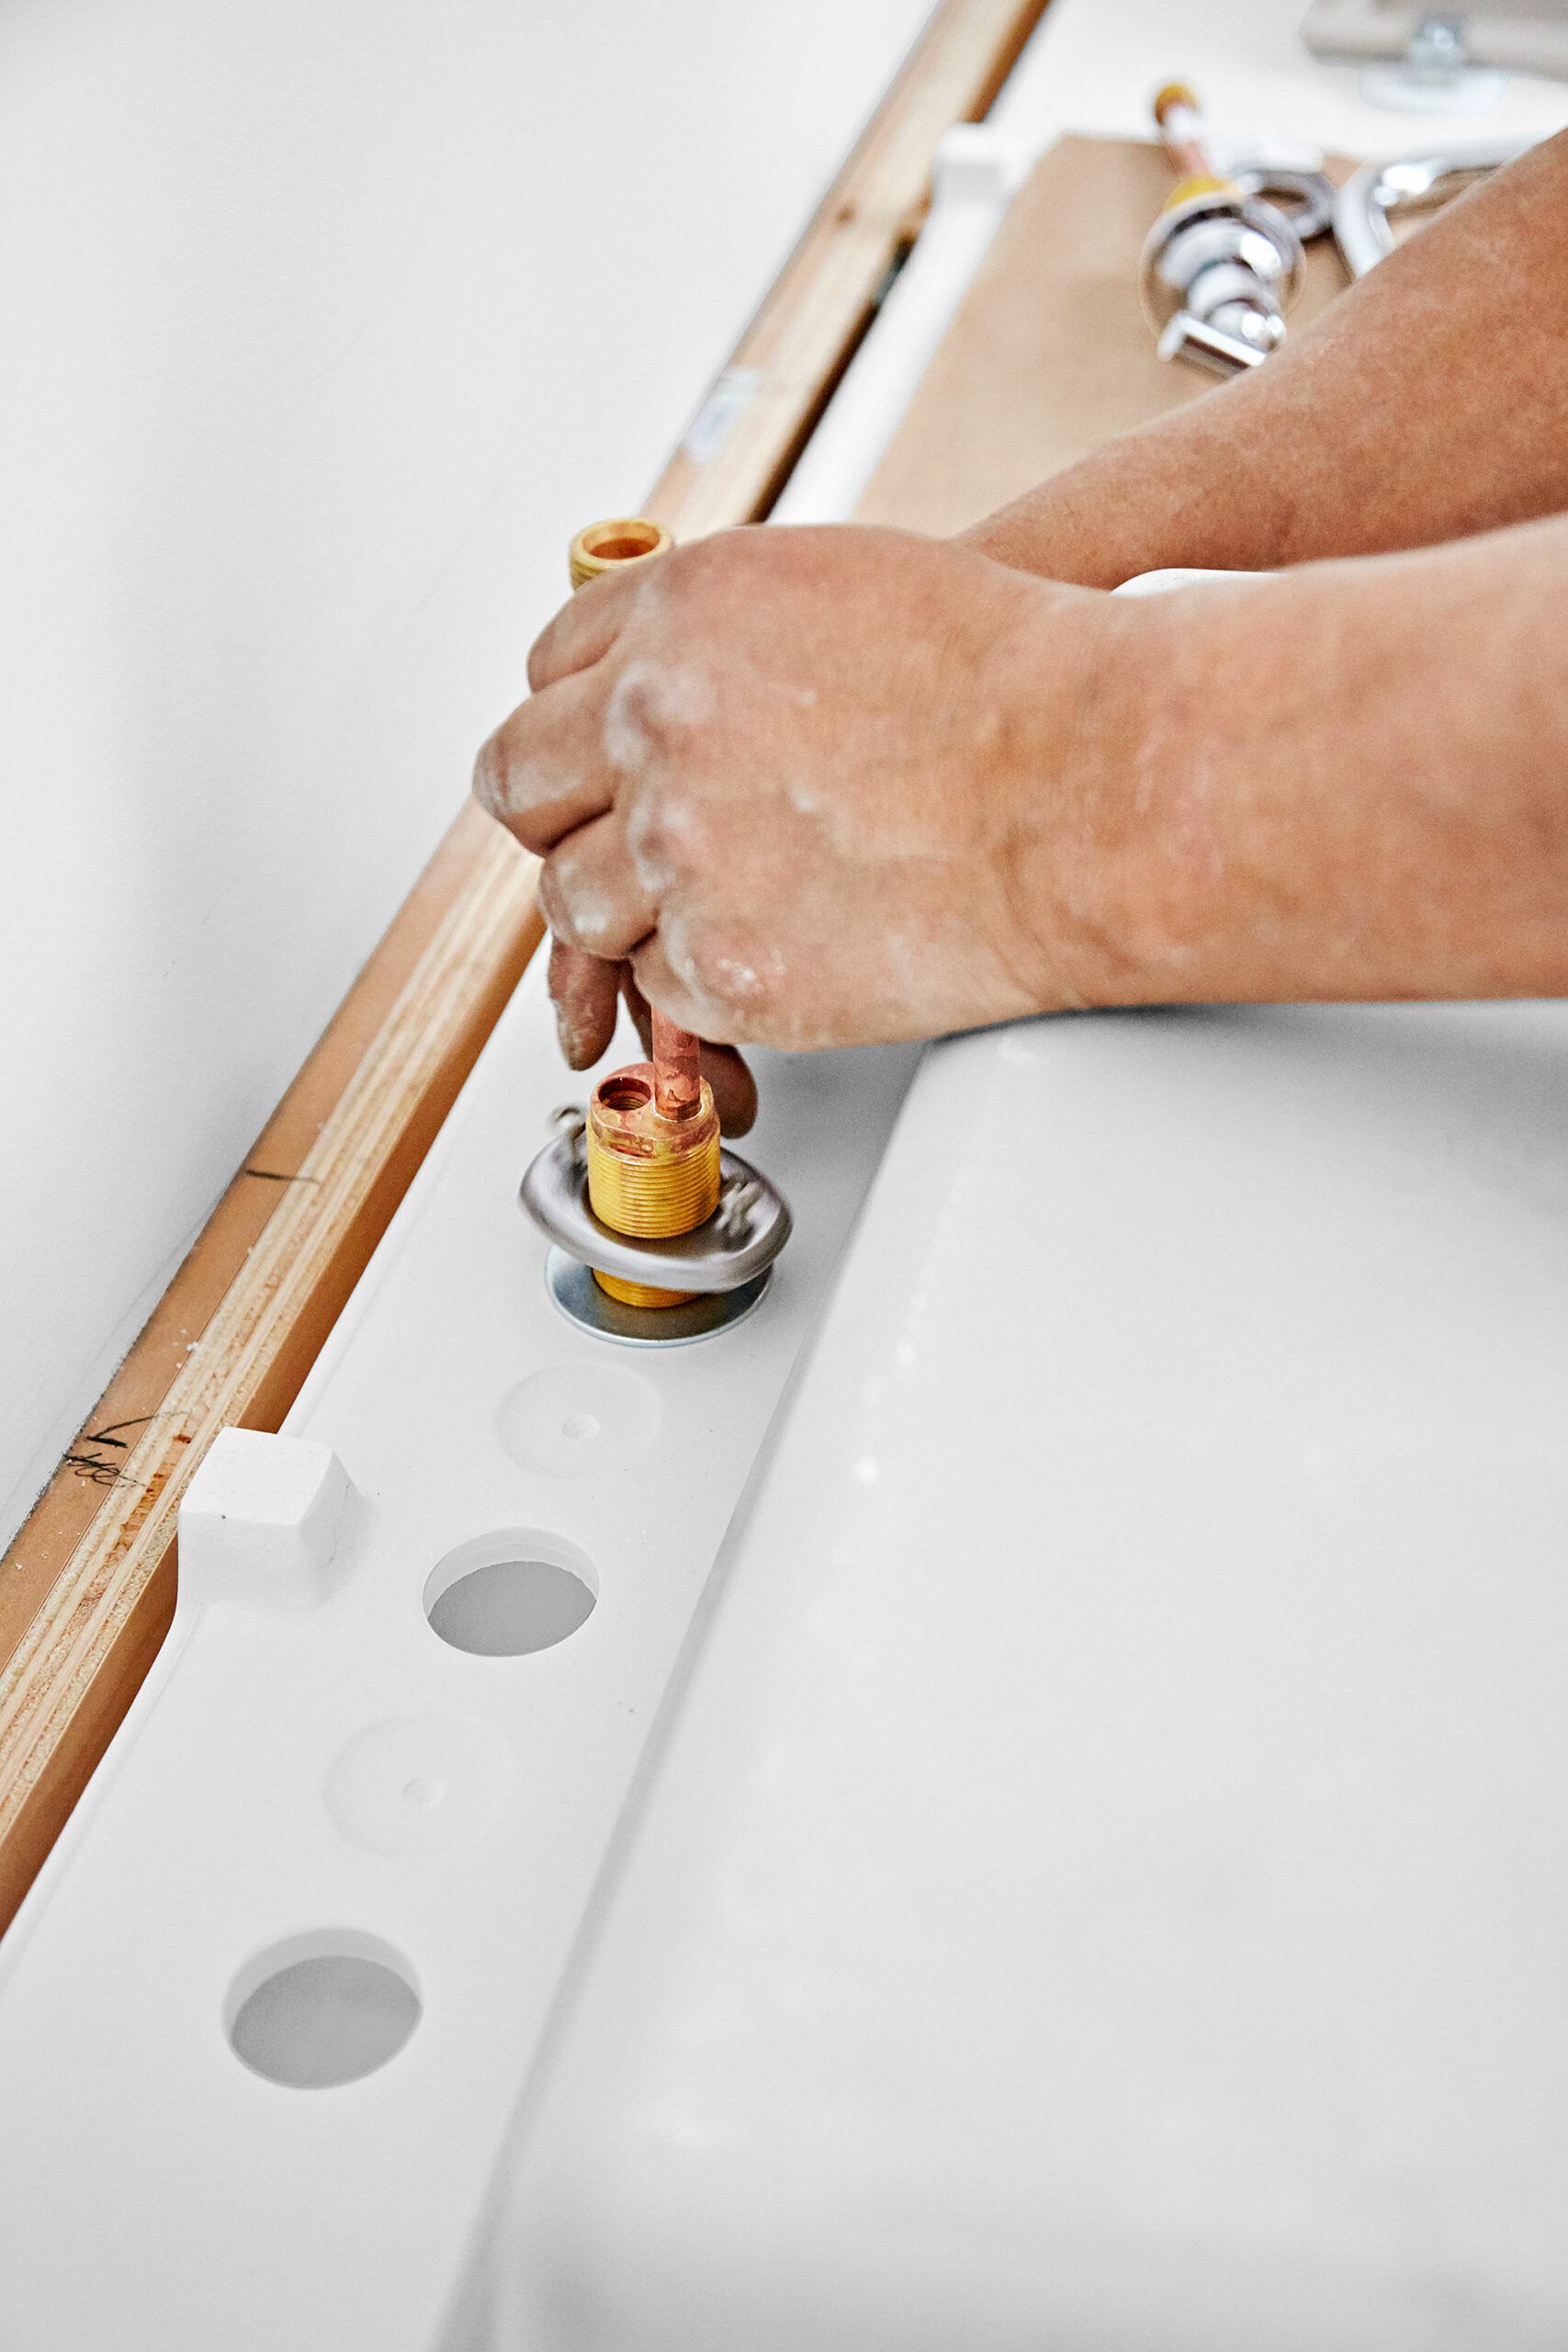
Add Supply Lines to the Wall-Mount Vanity and Sink
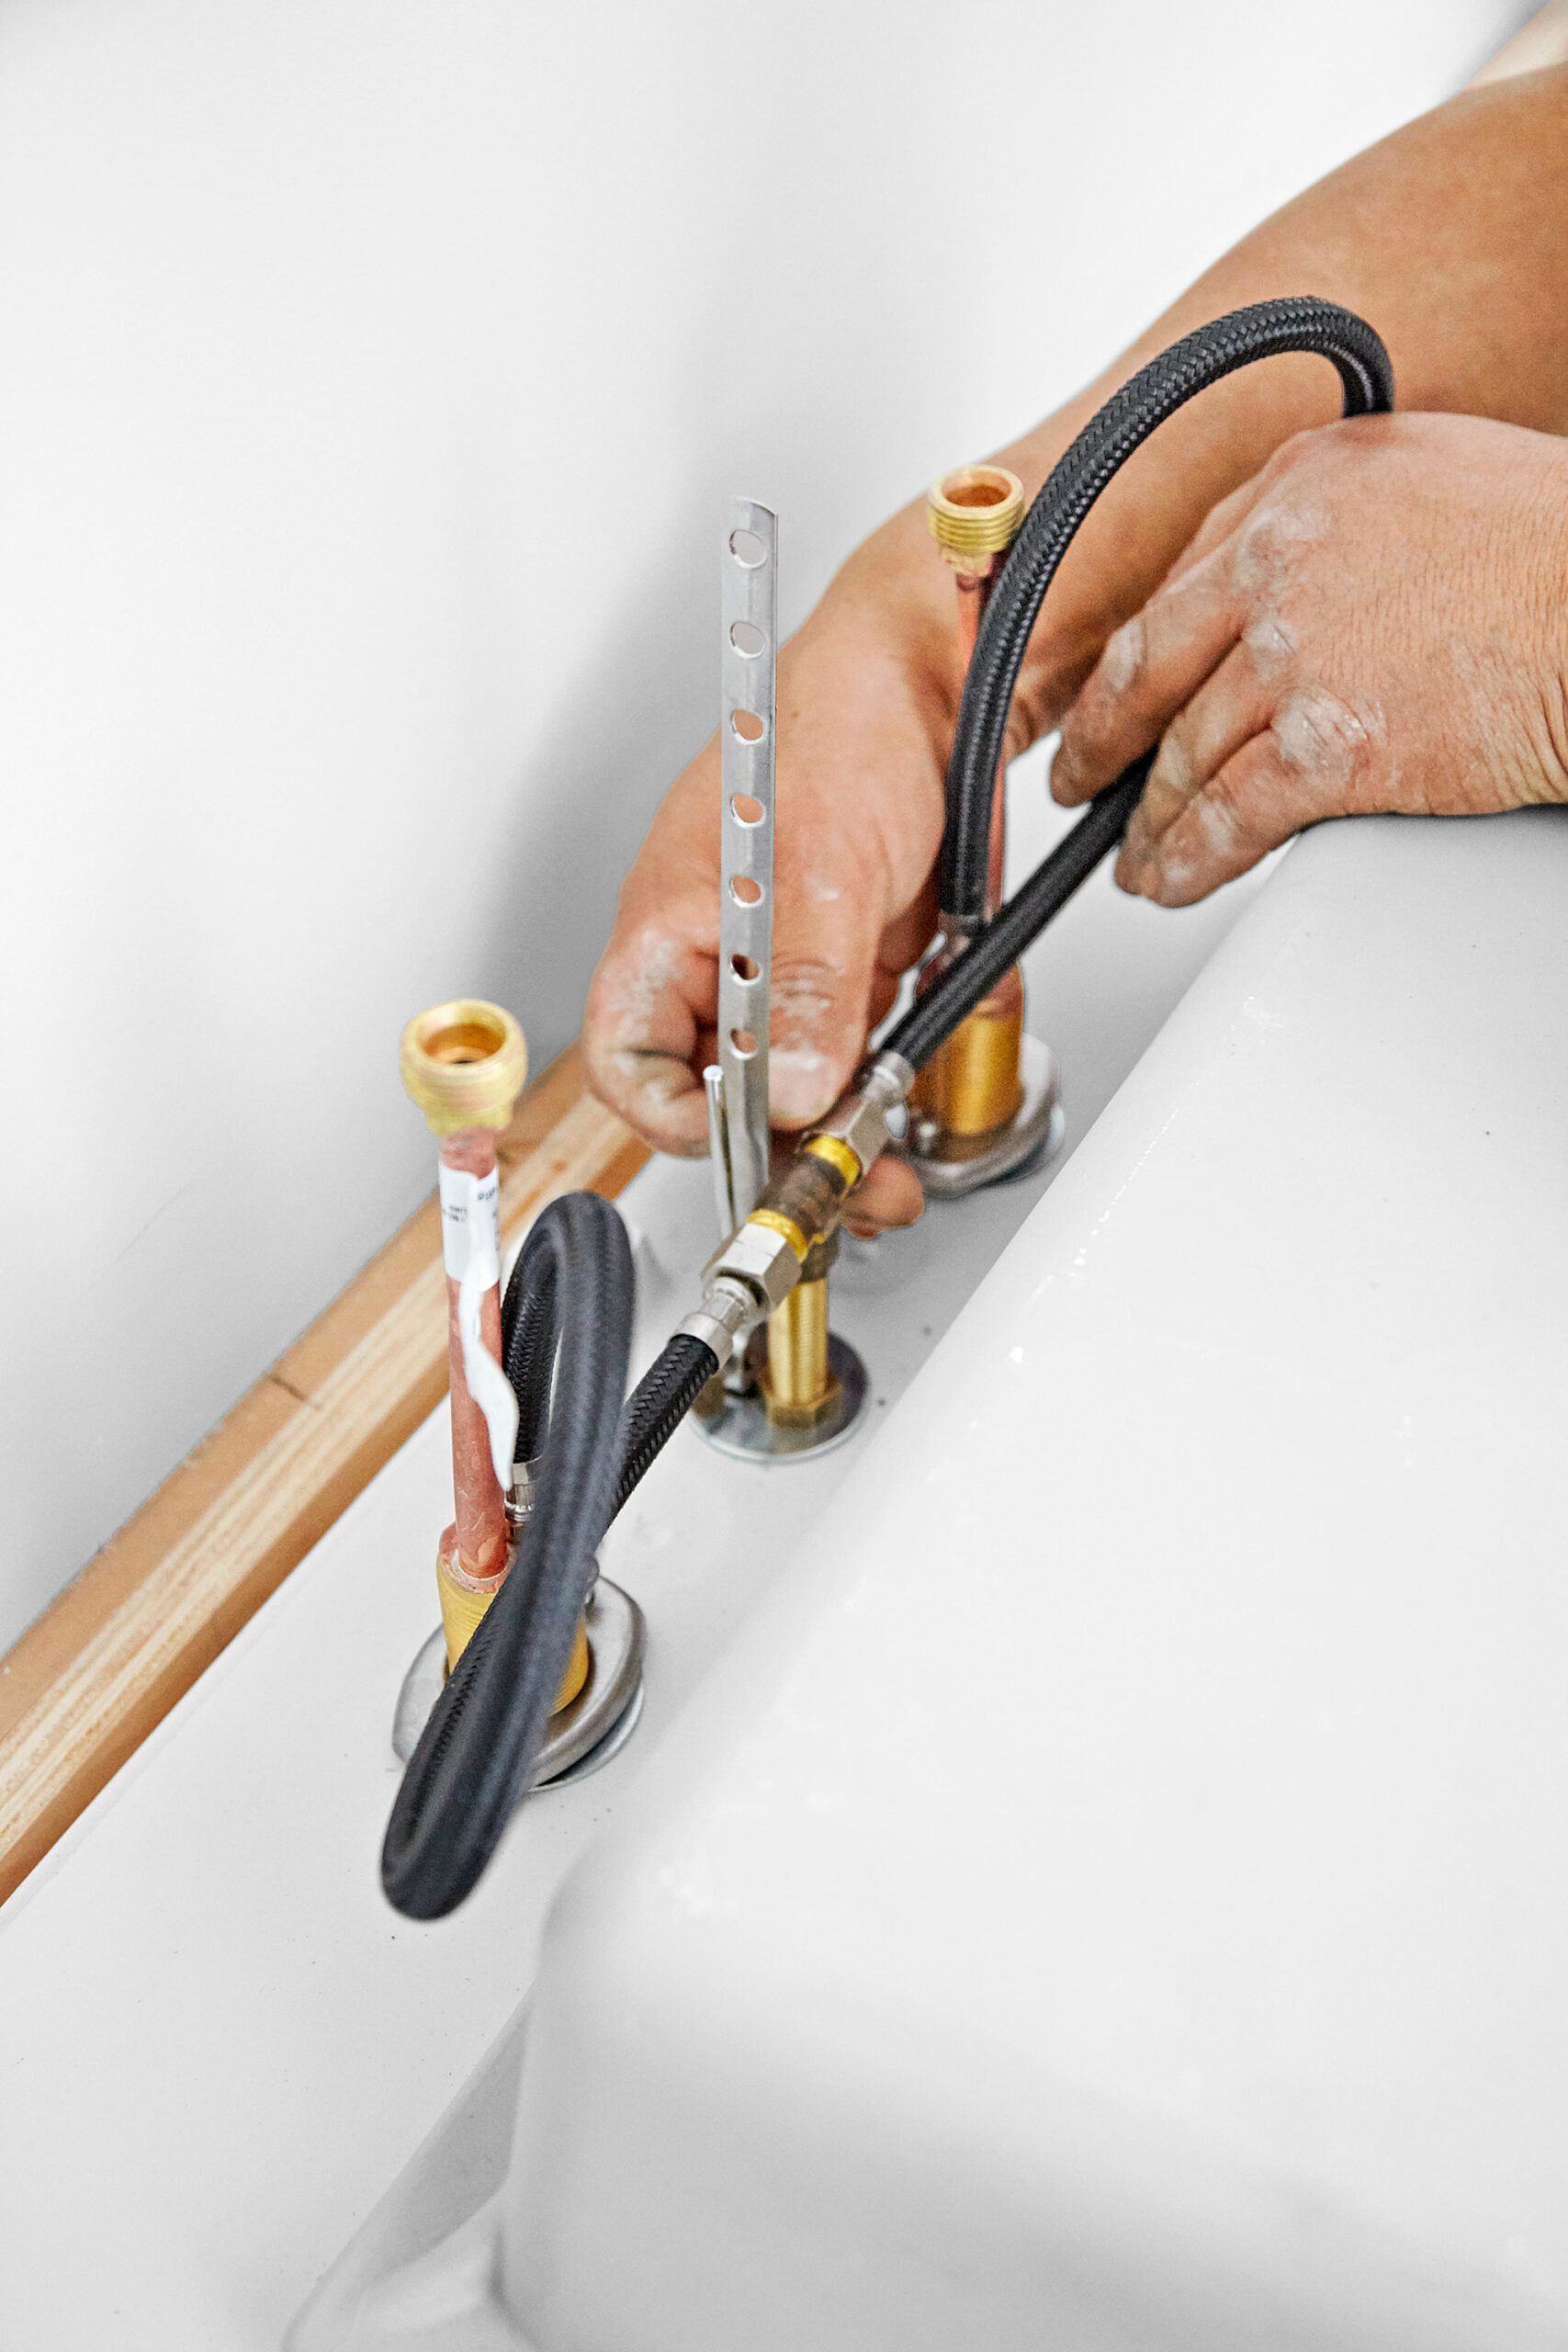
With the faucet components in place, you can now connect the plumbing by:
- Use plumber’s putty to install the drain assembly.
- Thread the faucet lift rod through the spout and connect it to the drain’s stopper rod.
- Test the stopper for proper function.
- Thread the mixing tee to the end of the spout.
- Connect a supply line to each handle, then curl and thread them to the tee.
- Hand-tighten all fittings initially, then use a wrench to give each connection a quarter turn for a secure fit.
Accurate connections here are pivotal to make sure your sinks work properly.
Add the Vanity Sealant
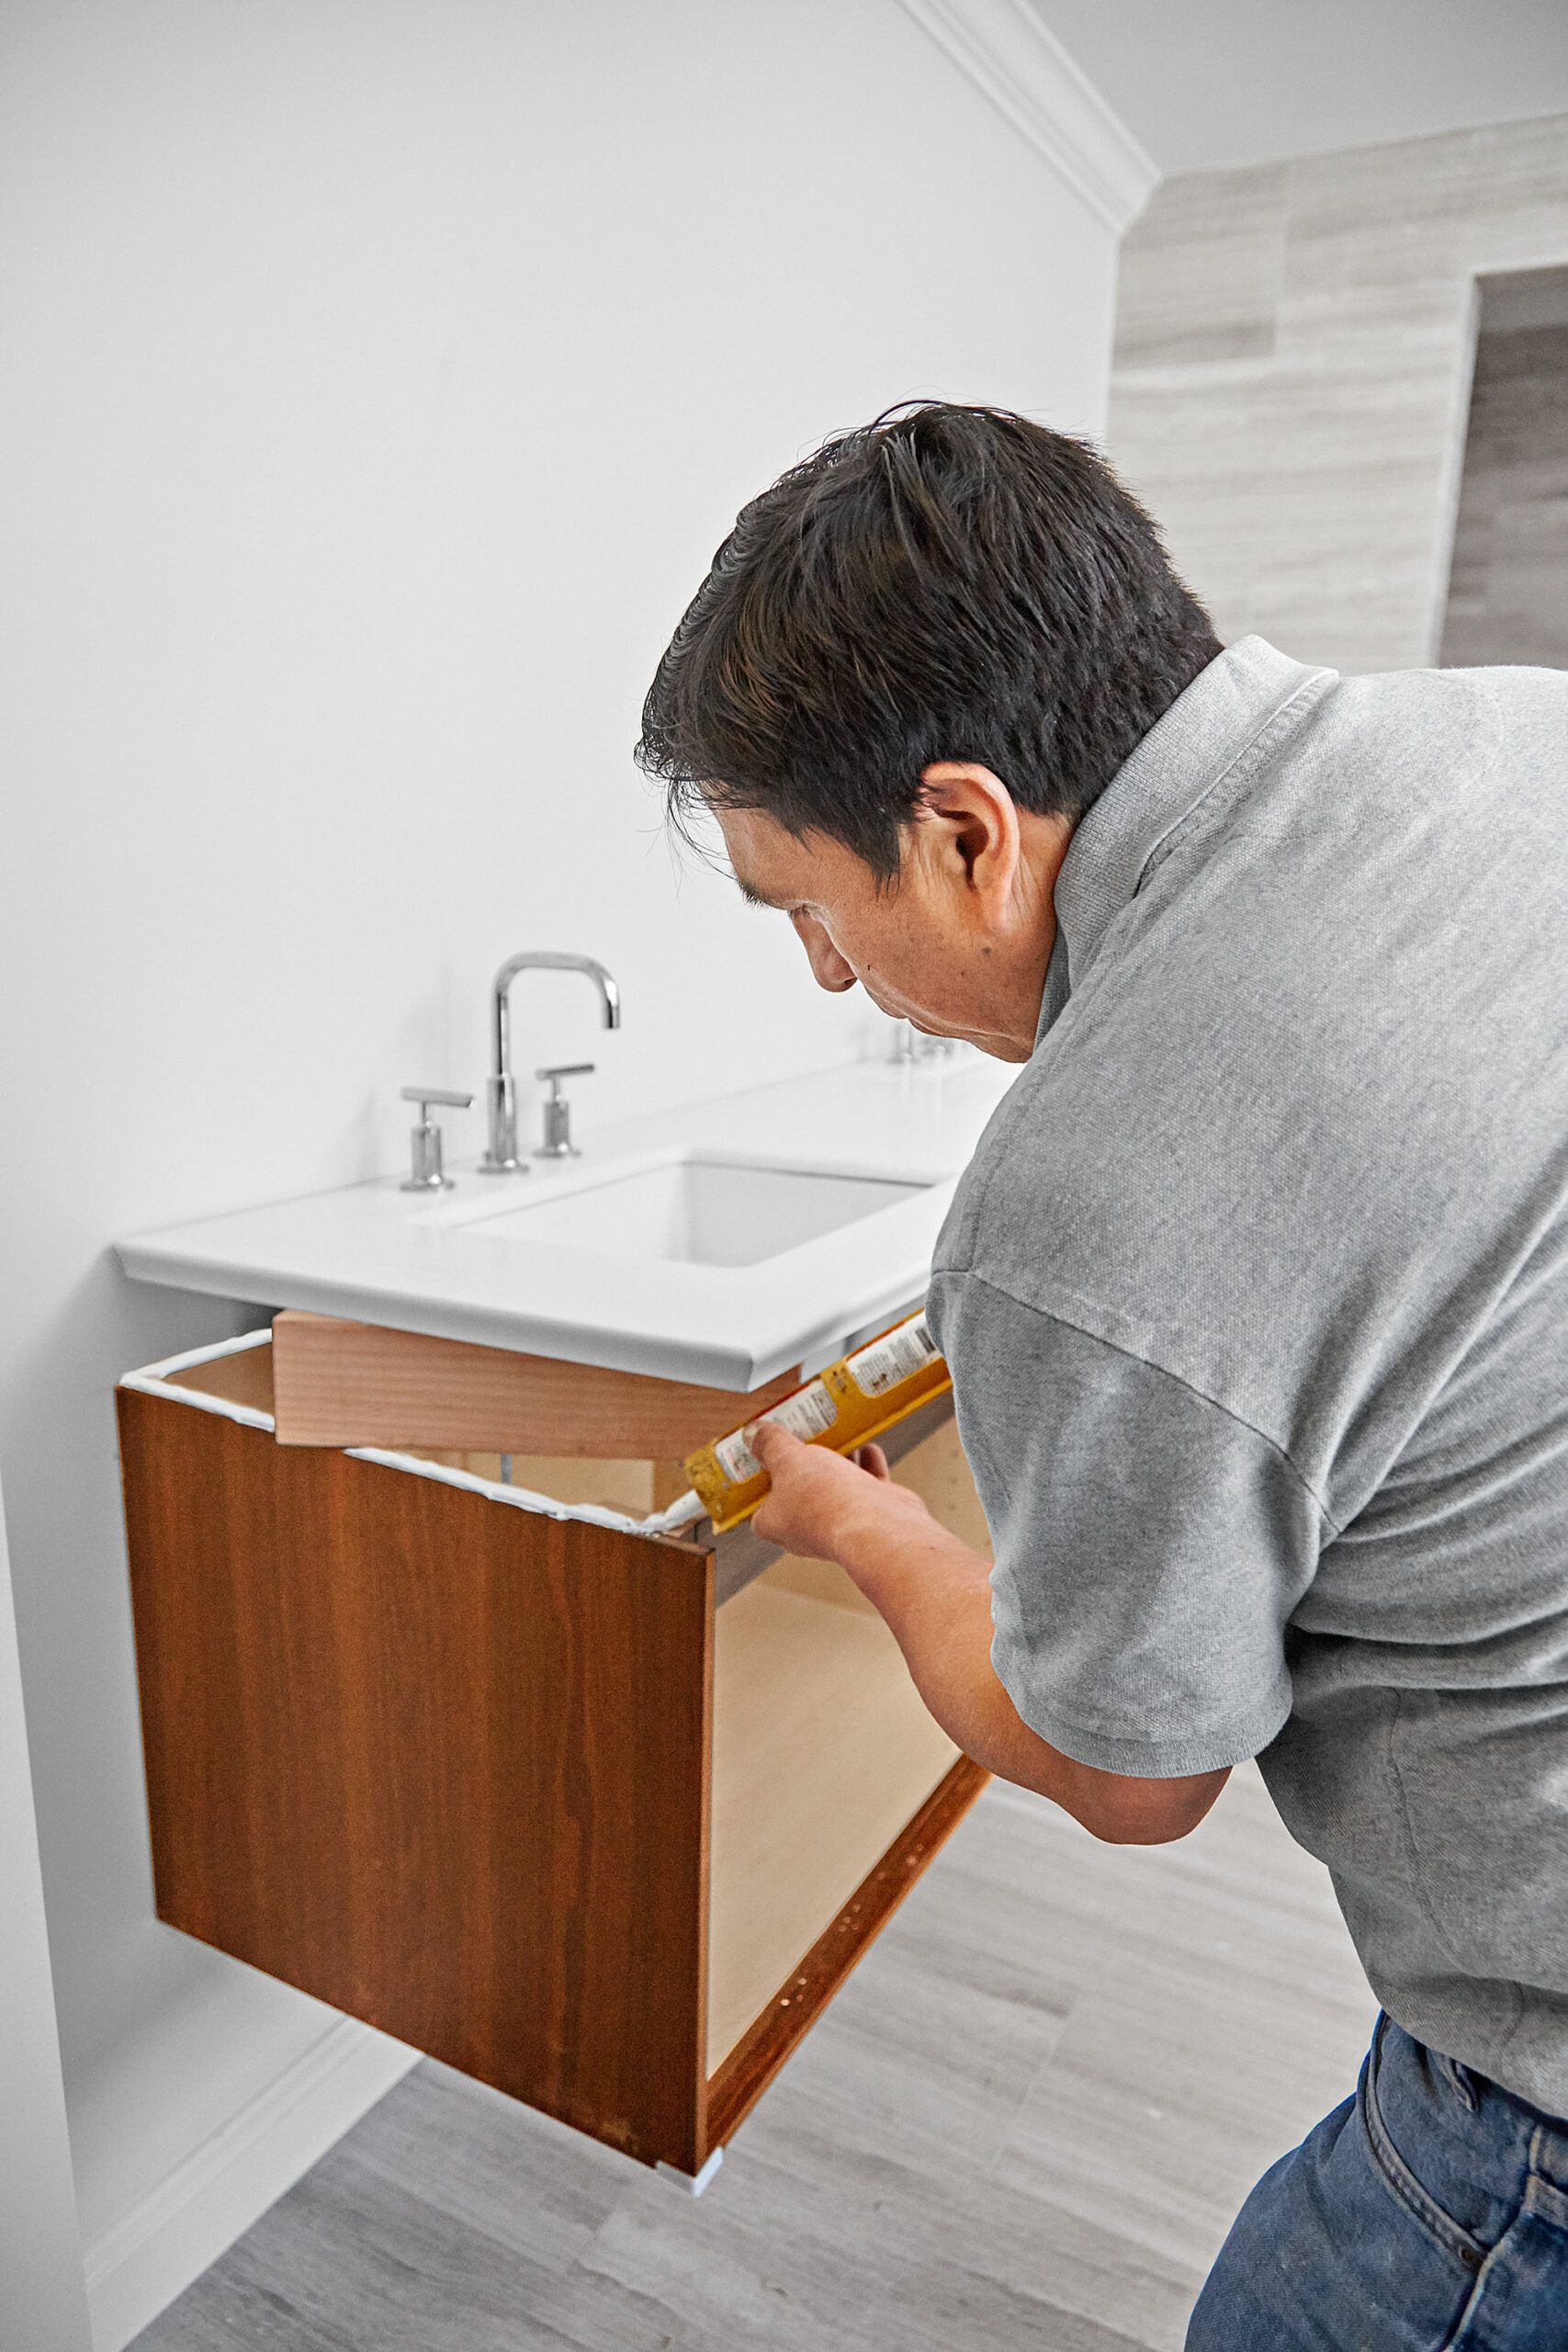
Next, properly seal the vanity to prevent water damage. To do this, take these steps:
- With a helper, carefully turn the countertop right side up.
- Rest it on 2-by-4 scraps placed diagonally across the front corners of the vanity.
- Apply a continuous bead of siliconized acrylic caulk along the top edge of the vanity.
The caulk will provide a waterproof seal, protecting your vanity structure.
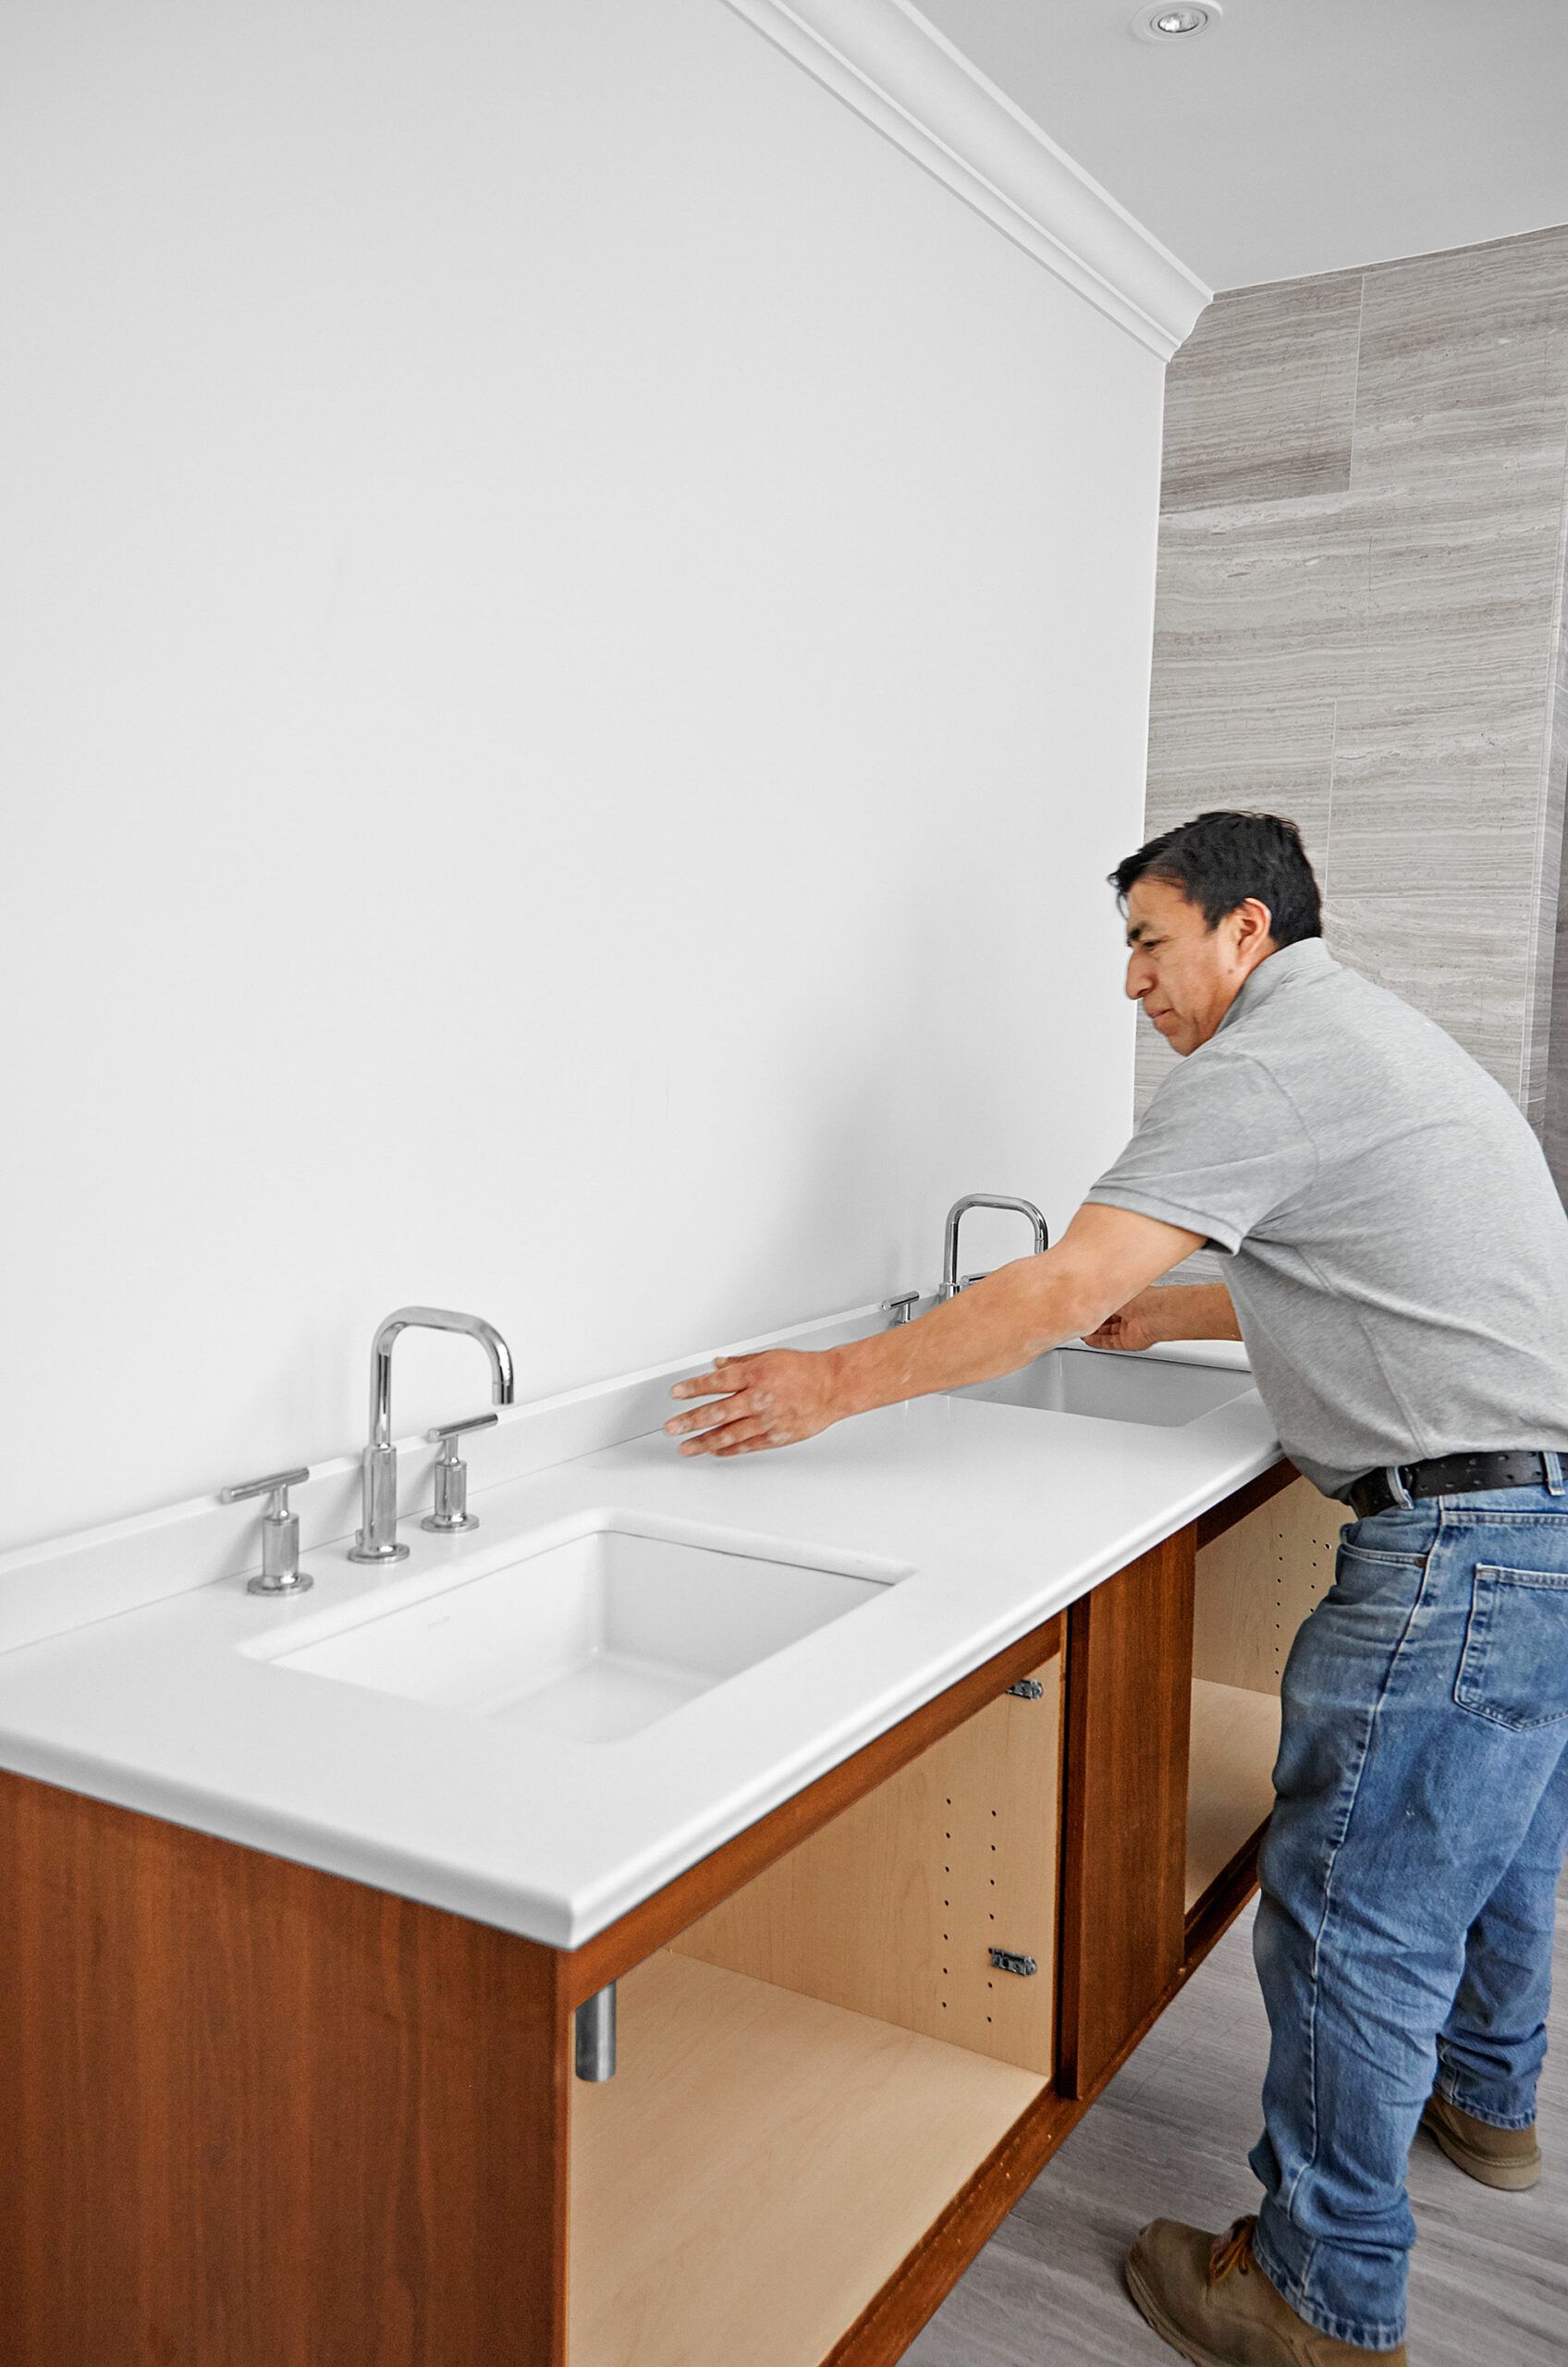
Remove the Spacers from the Wall-Mount Vanity

Now, you can set the countertop in its final position. Here’s how:
- Have a helper lower one end of the countertop while you remove the 2-by-4 spacer.
- Repeat for the other end, pressing up against the bottom of the sink as you lower the countertop.
- Use a tape measure to ensure the overhang is consistent on both ends.
Double-check that the countertop is level and secure in its place before moving on.
Add the Backsplash to the Wall-Mount Vanity and Sink
The backsplash will make your vanity look finished and provide added protection against water damage. Here’s how to do it:
- Apply siliconized acrylic caulk to the rear of the backsplash.
- Center it over the countertop and press it firmly against the wall.
- Add more caulk where the backsplash meets the wall and countertop.
- Smooth the beads with your finger for a neat appearance.
Replace the Vanity Doors
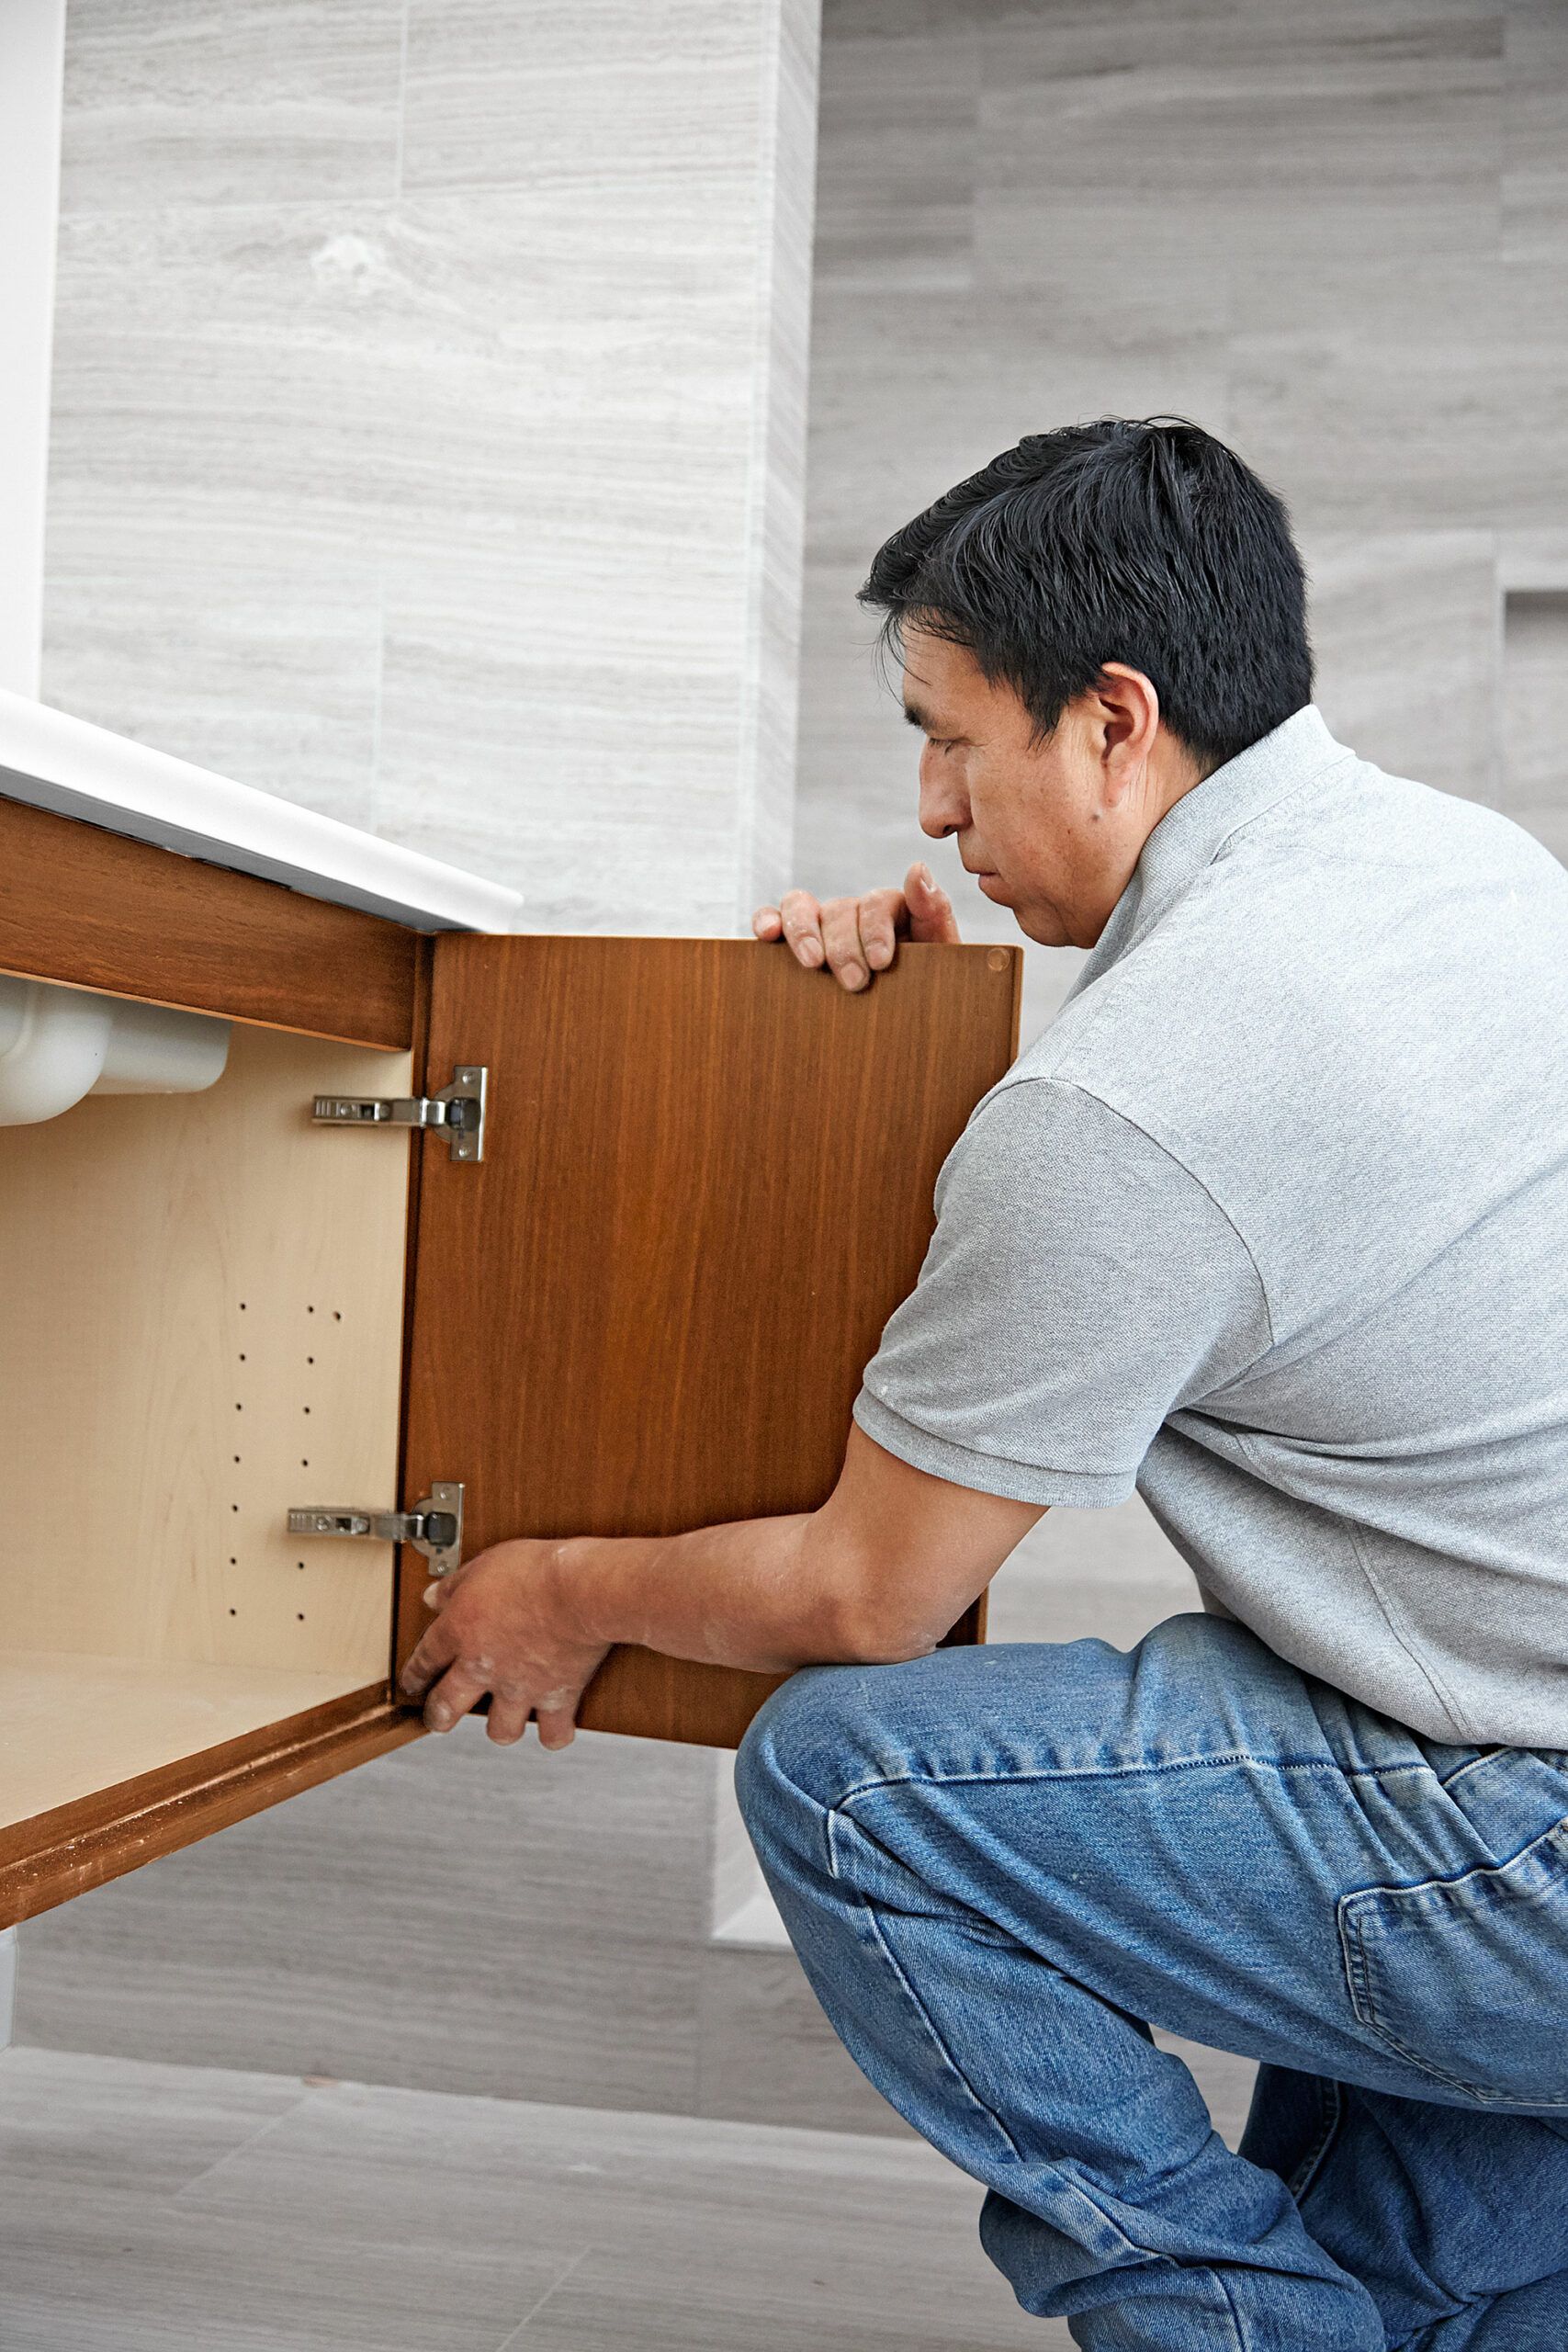
The final step is to reattach the cabinet doors. Here’s the process:
- Start with the top hinge, pressing it into place until it snaps.
- Repeat with the bottom hinge.
- Follow the same process for all remaining doors.
- Use a screwdriver to make any necessary adjustments to ensure proper alignment.
After completing these steps, have a professional plumber install shutoff valves under the sink and make the final connections for water and the drainpipe.