Project details
Skill
3 out of 5ModerateRequires both carpentry and tile-setting skills
Cost
About $10 to $20
Estimated Time
2 to 4 hours
In this video, This Old House plumbing and heating expert Richard Trethewey and tile expert Joe Ferrante team up to repair a leaky shower valve installation.
Steps for repairing a shower valve
- Remove access panel from behind shower valve and inspect for damage and loose connections.
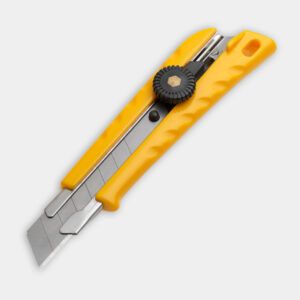
- Use a utility knife to score the grout around tiles to be removed.
- Cut through tile glaze with a carbide-tipped scoring tool.
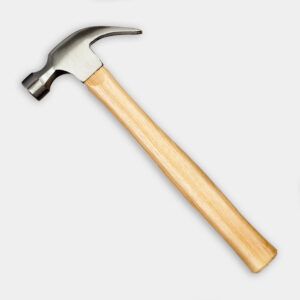
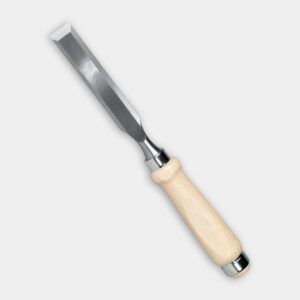
- Carefully remove the scored tile from around the valve using a hammer and cold chisel.
- If shower valve appears loose, cut and install 2×3 cleats to the wall studs above and below the valve.
- Use copper pipe clips to securely fasten the valve’s water-supply pipes to the cleats.
- Mark the center of the shower valve onto the new tile.
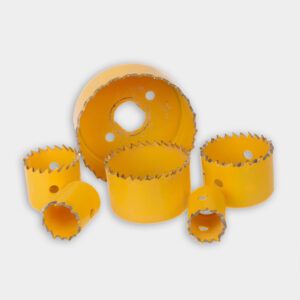
- Drill hole for valve through tile using carbide-grit hole saw.
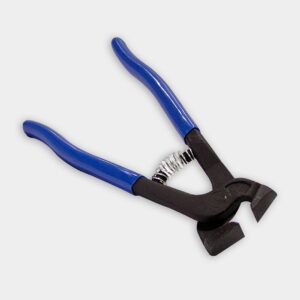
- If necessary, enlarge and elongate the hole with tile nippers.
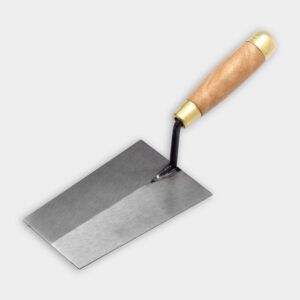
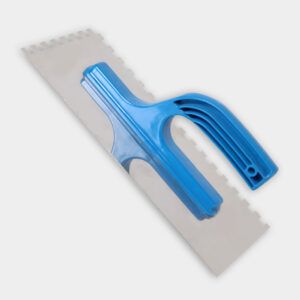
- Install new tile around the shower valve with thin-set mortar.
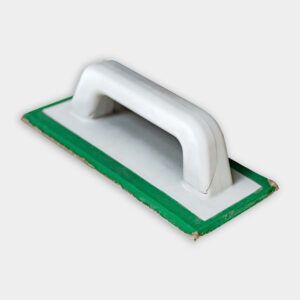
- Once the mortar cures, fill the joints around the tile with grout.
- Press a thick bead of plumber’s putty to rear of the shower valve’s escutcheon plate, then screw plate to valve.
- Replace the access panel at the rear of the shower wall.