Project details
Skill
Cost
Estimated Time
Kevin O’Connor joins general contractor Tom Silva in the woodshop to build a sturdy serving tray with the help of a custom jig and box joints. Tom makes the tray from half-inch walnut and explains how the box joint is one of the strongest joints you can choose. He shows us how to make a dado sled to efficiently and evenly cut box joints with a table saw. Finally, once the glue dries, it’s time for sanding and a mineral oil finish.
How to Build a Box Joint Jig
- Start by building a special sled for creating the box joints. On the table saw, cut the base and the glides.
- Attach the glides to the sled base. Make sure the glides slide easily in the miter slots, and ensure that everything is square to the blade.
- Add 2x stock along the back to register the pieces as they’re being cut. This also protects your hands from the blade.
- Make sure there are enough slots or fingers in the width stock to make a strong joint without leaving one that’s too small or big at either edge. Tom notes that 1/4″ to 3/8″ is his typical reference width.
- Set the dado blade to the width, then make the cut.
- Establish the point for a reference peg on the sled. This will keep the spacing consistent.
- Fine tune the placement until the joint fits the way you want it to.
- Cut all the notches on all four pieces using the peg as a spacer.
- Cut the bottom tray pieces on the table saw.
- Assemble the tray by spreading glue throughout the pieces, including the area that will accept the bottom.
- Put the pieces together. Tom notes that the joints will overhang a bit because he wants some extra space to sand the pieces down smooth and even—which would be hard to do if the joints are not cut correctly and if they lined up perfectly.
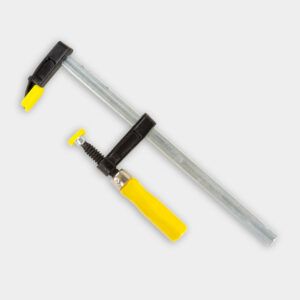
- Clamp the pieces and wait for them to dry.
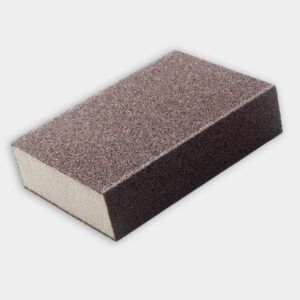
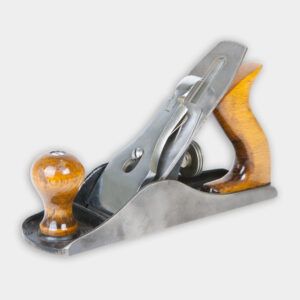
- Sand the assembled piece until everything is nice and flush.
- Coat the finished piece with a food-safe mineral oil.
Resources
Tom uses an old milk crate that has a series of box joints to demonstrate the amount of glue surface that the joint creates. Each of these “fingers”, as Tom calls them, presents more gluing surface, and therefore more holding power. Building the joint can be done on either a router or a table saw.
Tom decides to use a table saw equipped with a dado blade. He and Kevin build a box joint jig which is a simple table saw sled equipped with adjustable stops and a pin. The pin allows for even spacing between dados. Tom and Kevin use black walnut to make the tray, which they sand, assemble, and then finish with food-safe oil.