We may be compensated if you purchase through links on our website. Our team is committed to delivering honest, objective, and independent reviews on home products and services.
Rot happens, even to the best of houses. All it takes is wood, water, and warmth, and before you know it, solid lumber turns to mush. Exterior trim is the most vulnerable to attack by rot fungi, and it doesn’t have to be very old; the trim shown here was installed only ten years ago.
Fortunately, rotted trim is generally easy to repair. (Rot-infested framing or mudsills pose a much bigger problem.) But before you can fix it, you have to find it. With a screwdriver or awl in hand, scrutinize areas that are nearly horizontal and don’t drain well, such as windowsills, drip caps, and water tables. Look for paint that is cracked, peeling, or blistering, or wood that’s darker than the surrounding area or green with algae. Probe anywhere there’s end grain, which wicks up water like a celery stalk in a grade-school science experiment. Pay particular attention to joints, which dry slowly, and to all wood that’s close to dirt, concrete, or masonry. If you’re able to push the tool’s tip easily into a suspect board, then it’s time to root out the rot.
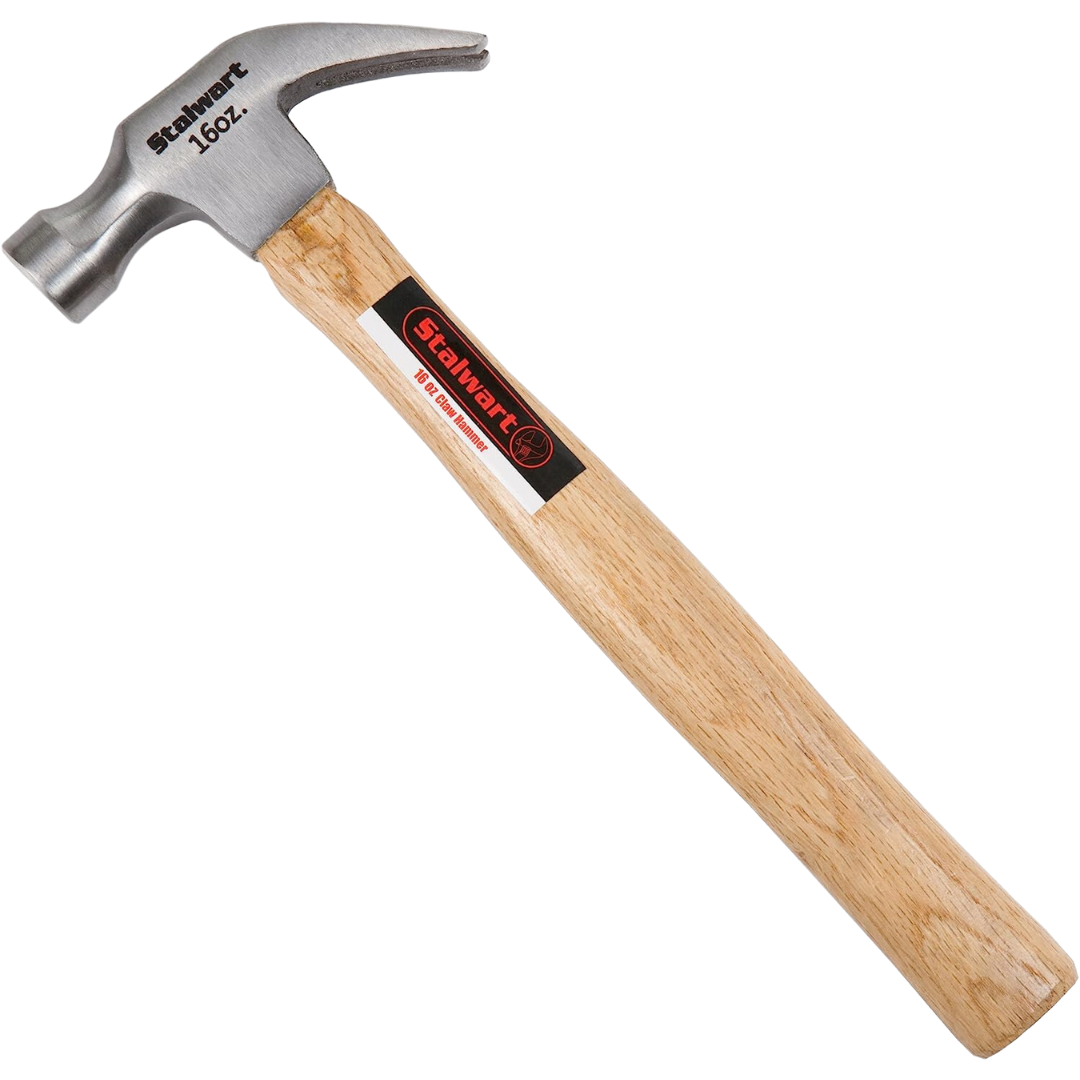
Recommended Tools
Luckily, this task requires few tools.

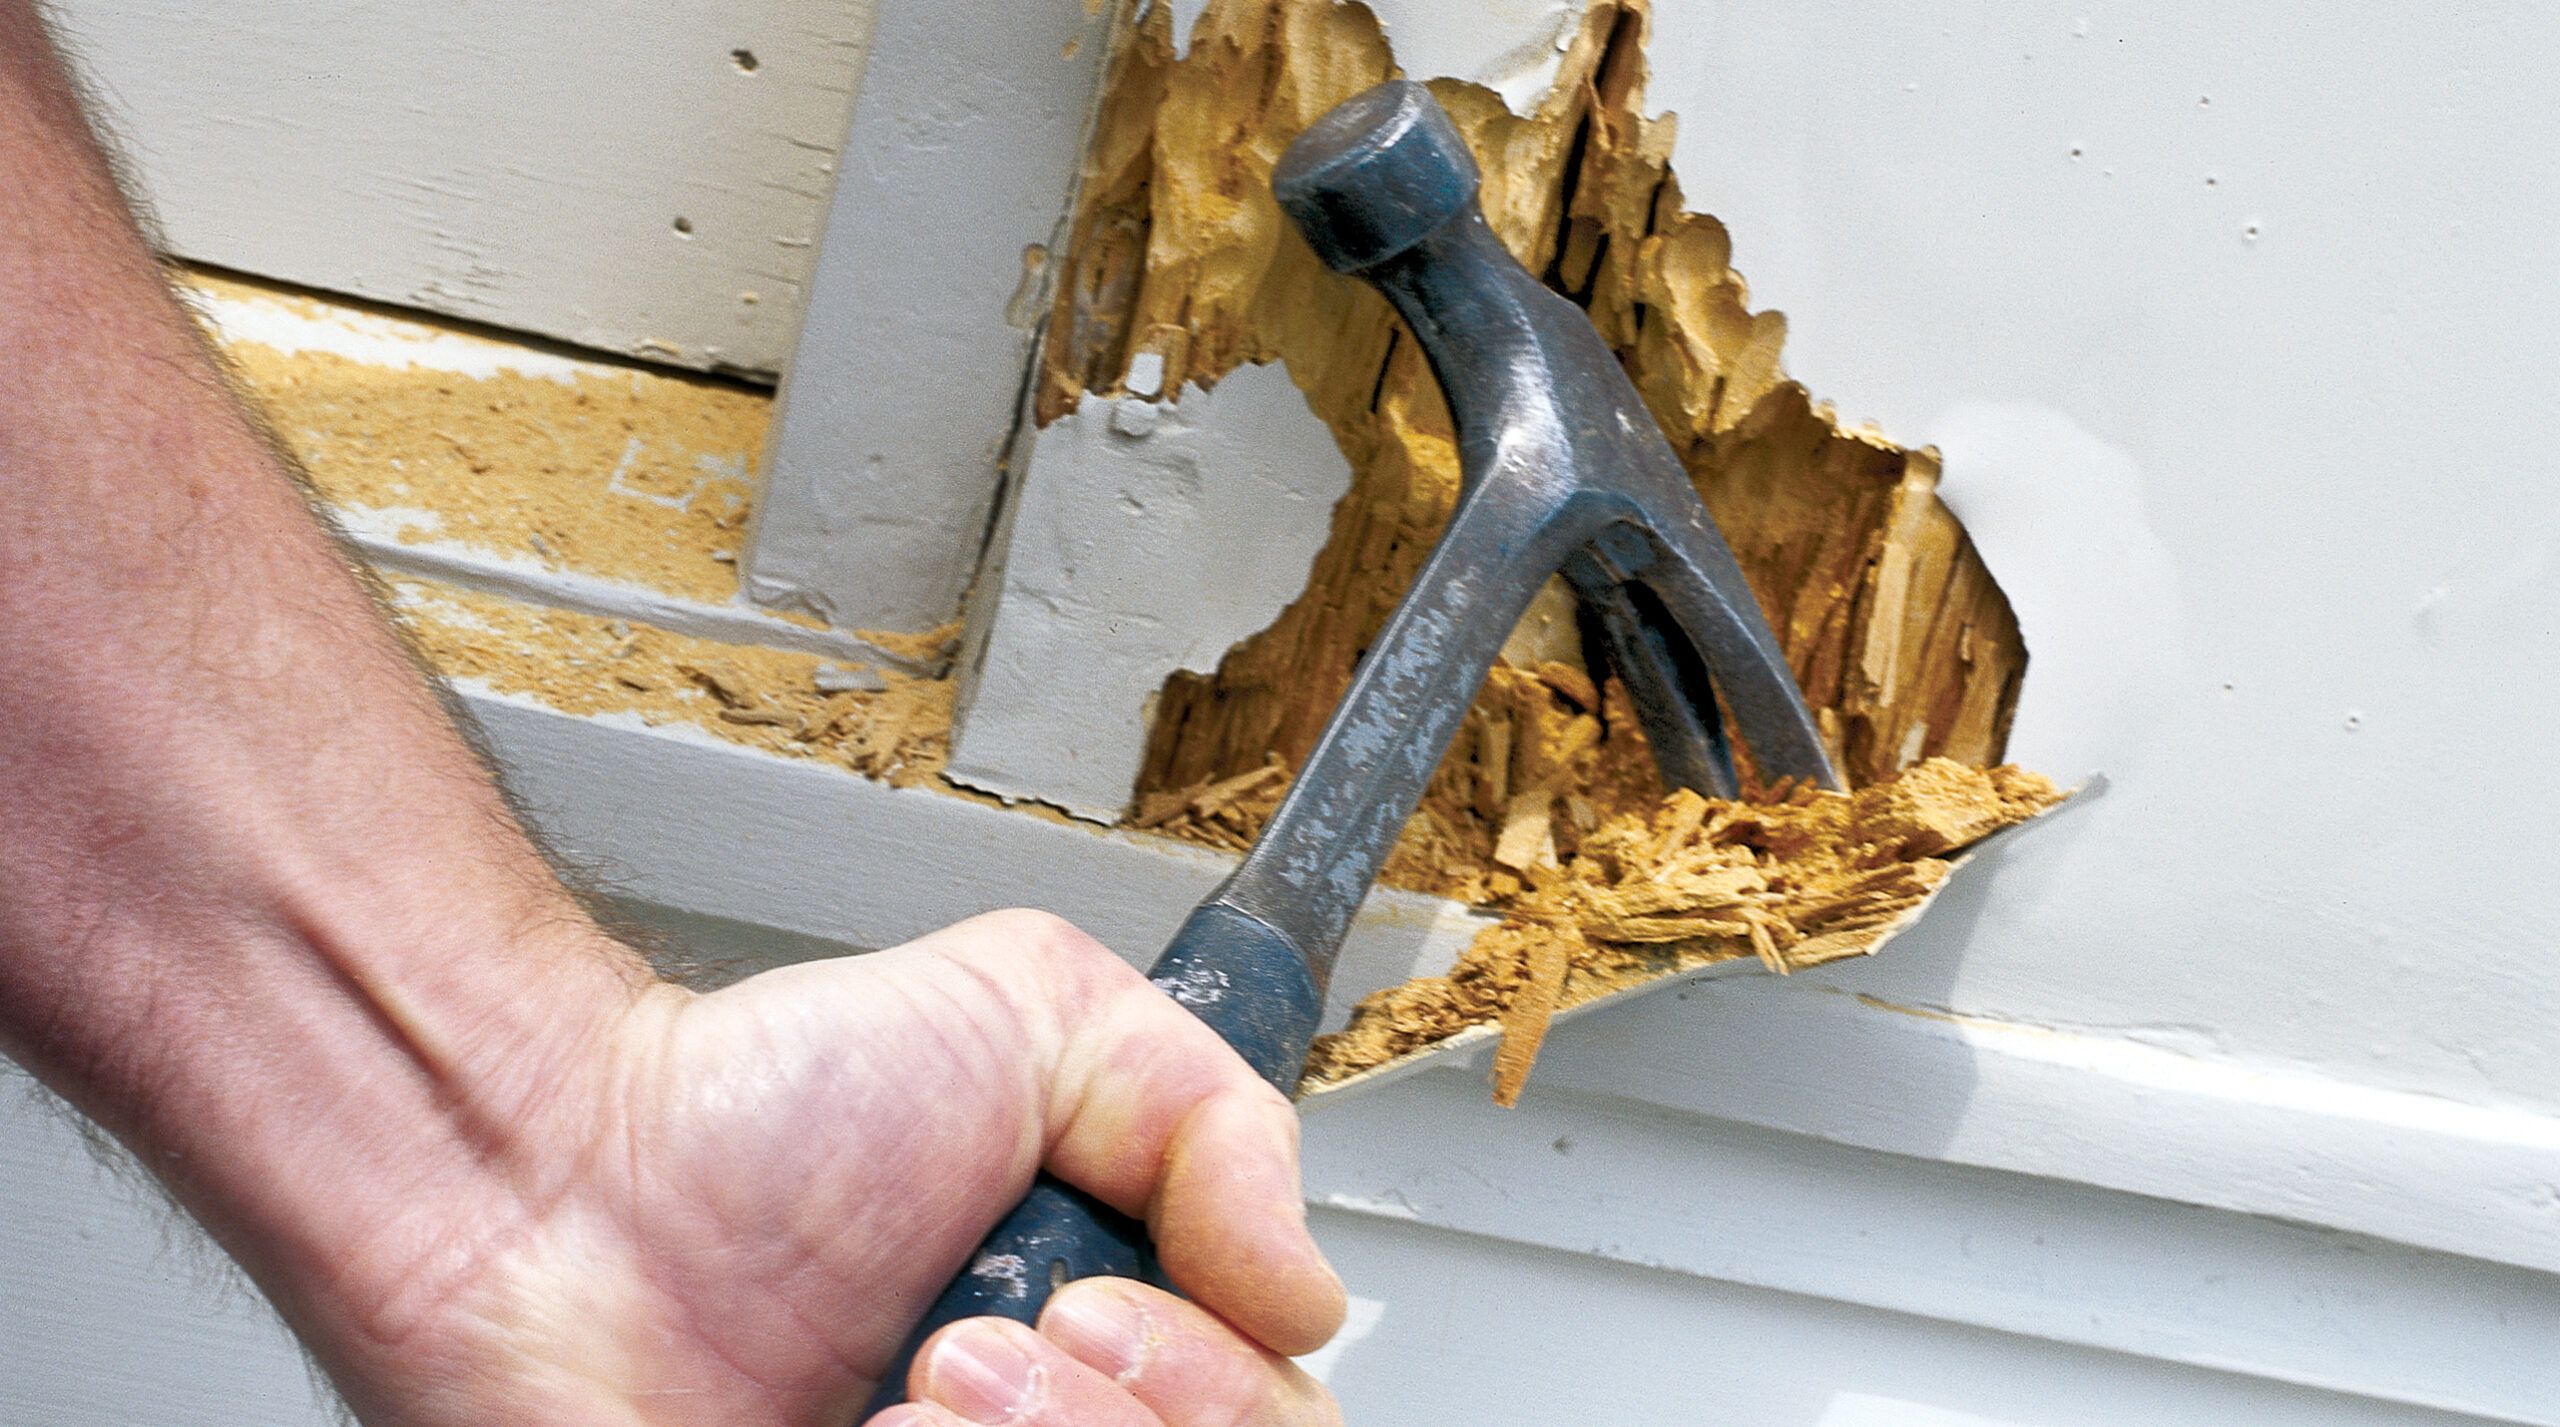
Step 1: Remove the Cap
The first step in replacing rot-damaged trim is to remove the affected areas. Begin by carefully inspecting the trim for signs of rot. Look for discolored or soft spots, particularly in areas prone to moisture accumulation. Once you’ve identified the damaged sections, it’s time to remove them.
Preparing for Removal
Before you start removing the damaged trim, gather the necessary tools. You’ll need a utility knife, pry bar, hammer, and possibly a reciprocating saw. It’s also important to wear protective gear, including safety glasses and work gloves.
Removing the Damaged Trim
Start by using a utility knife to cut through any caulk or paint that might be sealing the trim to adjacent surfaces. This will help prevent damage to surrounding areas when you remove the rotted piece. Next, use a pry bar to carefully lever the damaged trim away from the house. Work slowly and methodically to avoid causing additional damage. If the trim is stubborn, you can use a reciprocating saw to cut through nails or screws holding it in place.
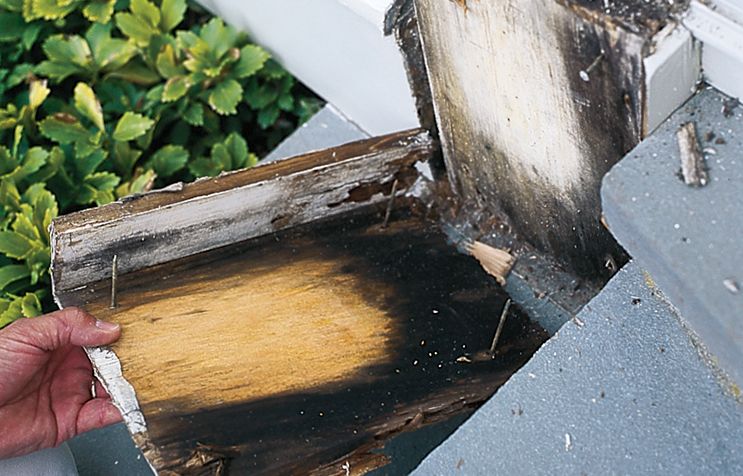
Assessing the Underlying Structure
Once the damaged trim is removed, take a moment to inspect the underlying structure. Look for any signs of water damage or rot in the framing. If you find additional damage, address these issues before installing new trim. Ignoring hidden damage can lead to more severe problems in the future.
Step 2: Install Flashing
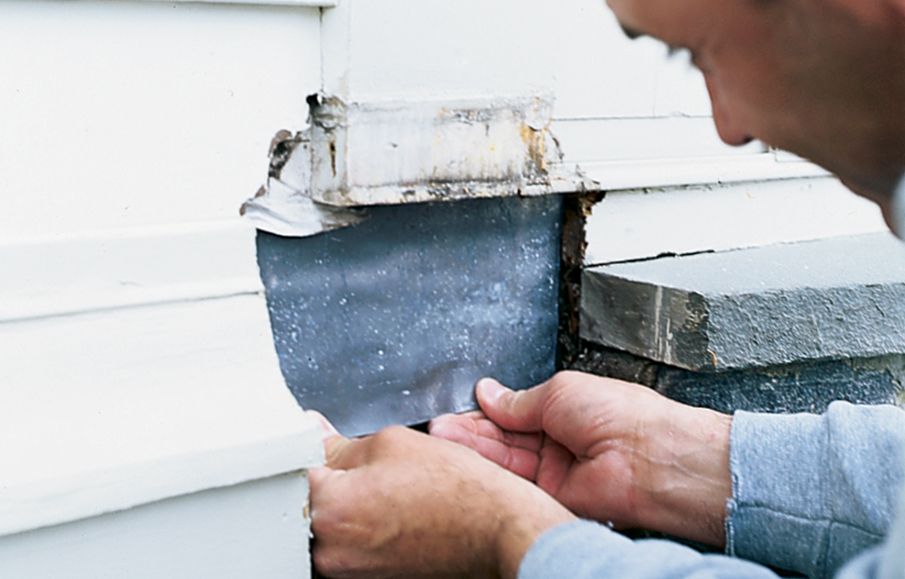
Proper flashing helps prevent future rot issues. Flashing directs water away from vulnerable areas, helping to keep your trim dry and rot-free. This step helps ensure that your new trim will look good for many years and protect your home from further damage.
Choosing the Right Flashing Material
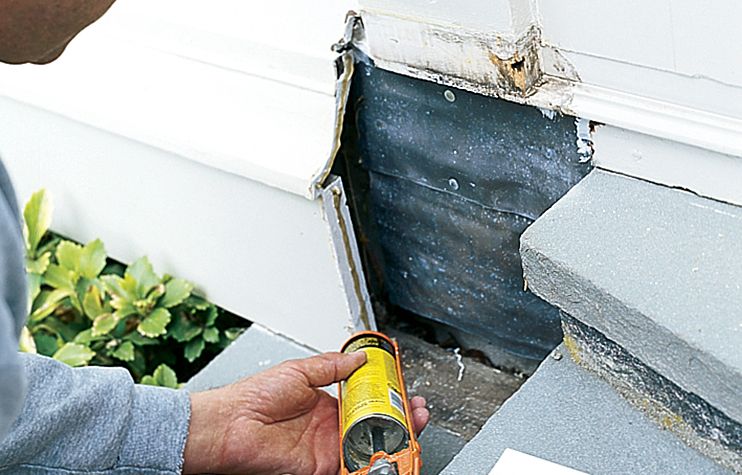
There are several options for flashing material, including sheet-lead, copper, and waterproofing membrane. Each has its advantages and disadvantages, so consider factors like durability, cost, and ease of installation when making your choice. Sheet-lead and copper are highly durable but can be more challenging to work with, whereas waterproofing membrane is easier to handle but may not last as long.
Installing the Flashing
Cut the flashing material to size, ensuring it extends beyond the edges of the trim. Apply a bead of exterior-grade caulk along the top edge of the flashing to create a watertight seal. Then, carefully nail or staple the flashing in place, making sure it overlaps properly to direct water away from the structure. Proper overlap helps prevent water from seeping behind the flashing and causing further damage.
Protecting Existing Trim
Before installing new trim, protect any existing trim that will remain in place. Apply a coat of oil-based primer to all exposed edges of the old trim. This will help seal the wood and prevent moisture penetration.
Step 3: Apply Adhesive to Trim Edges
Carefully applying adhesive helps the new trim bond well with the existing structure, providing a durable and long-lasting repair.
Selecting the Right Adhesive
Choose a high-quality, waterproof construction adhesive for this task. Polyurethane-based adhesives are an excellent choice, as they provide strong, long-lasting bonds and resist moisture. Such adhesives are specifically designed to withstand outdoor conditions and are well-suited for trim installation.
Applying the Adhesive
Apply a generous bead of adhesive along the edges of the old wood trim where the new pieces will be installed. Work quickly, as some adhesives begin to set relatively fast. Ensuring consistent coverage will create a strong bond between the old and new trim pieces and help prevent gaps that could allow moisture to seep in.
Positioning the New Trim
Carefully position the new trim pieces, pressing them firmly into the adhesive. Use clamps or temporary bracing to hold the pieces in place while the adhesive sets. This will ensure that the new trim aligns properly and remains secure. Let the adhesive cure according to the manufacturer’s recommendations before proceeding to the next step.
Step 4: Install New Cap
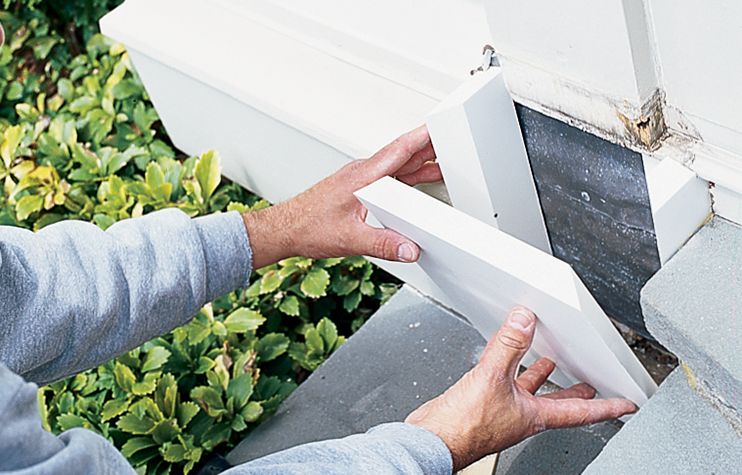
With the flashing in place and adhesive applied, it’s time to install the new trim cap.
Preparing the New Trim
If you’re using wood trim, prime all sides before installation to help prevent future rot. For PVC or composite trim, follow the manufacturer’s recommendations for preparation to make sure that it lasts a long time.
Securing the New Trim
Use stainless steel trim-head screws to secure the new trim pieces. These screws resist corrosion and provide a strong hold. Pre-drill holes to prevent splitting, especially when working near the ends of trim pieces.
Sealing the Joints
For wood trim, use a high-quality exterior caulk to seal all joints. If you’re using PVC trim, a PVC-specific solvent-based cement can create waterproof bonds between pieces. Properly sealed joints prevent moisture infiltration, reducing the risk of future rot and enhancing the trim’s durability.
Step 5: Prep for Paint

The final step in replacing rot-damaged trim is preparing the new installation for paint. Painting not only makes the area look better and blend with your existing trim, but it also adds an additional layer of protection against the elements.
Sanding the Surface
Lightly sand the new trim with 220-grit sandpaper to ensure a smooth surface for painting. Be sure to remove all dust with a tack cloth before proceeding. A smooth surface helps the primer and paint adhere better.
Priming the Trim
Apply a coat of high-quality acrylic exterior primer to the new trim. Primer protects against moisture and will help you get an even color application when you paint.
Painting the Trim
Once the primer has dried, apply two coats of acrylic exterior-grade paint, allowing adequate drying time between coats. Choose a paint color that matches the rest of your home’s trim for a seamless look.