We may be compensated if you purchase through links on our website. Our team is committed to delivering honest, objective, and independent reviews on home products and services.
A swimming pool is a welcome respite from the scorching summertime heat. But with their high maintenance needs, they might seem like more of a burden than a blessing.
Like you, we want to spend more time in the pool than we take time maintaining it—so we went for advice to William Sodergreen, chief technician for Shoreline Pools Service Inc. in Connecticut. He can skim, vacuum, clean, and chlorinate a pool in under an hour, which isn’t much more time than it takes to suit up, slather on sunscreen, and get out your inner tube. Here are some of the techniques he uses to speed up the maintenance process and create a safe, refreshing oasis.
Tools & Materials To Maintain a Pool
You may have some of the tools on this list already. But just in case, here’s all the equipment you need to take good care of a swimming pool:
- Water testing kit
- Filter cleaning supplies
- Pool chemicals (chlorine, pH adjusters, algaecide)
- Pool vacuum
- Scrub brush
- Skimmer net
- Telescopic pole
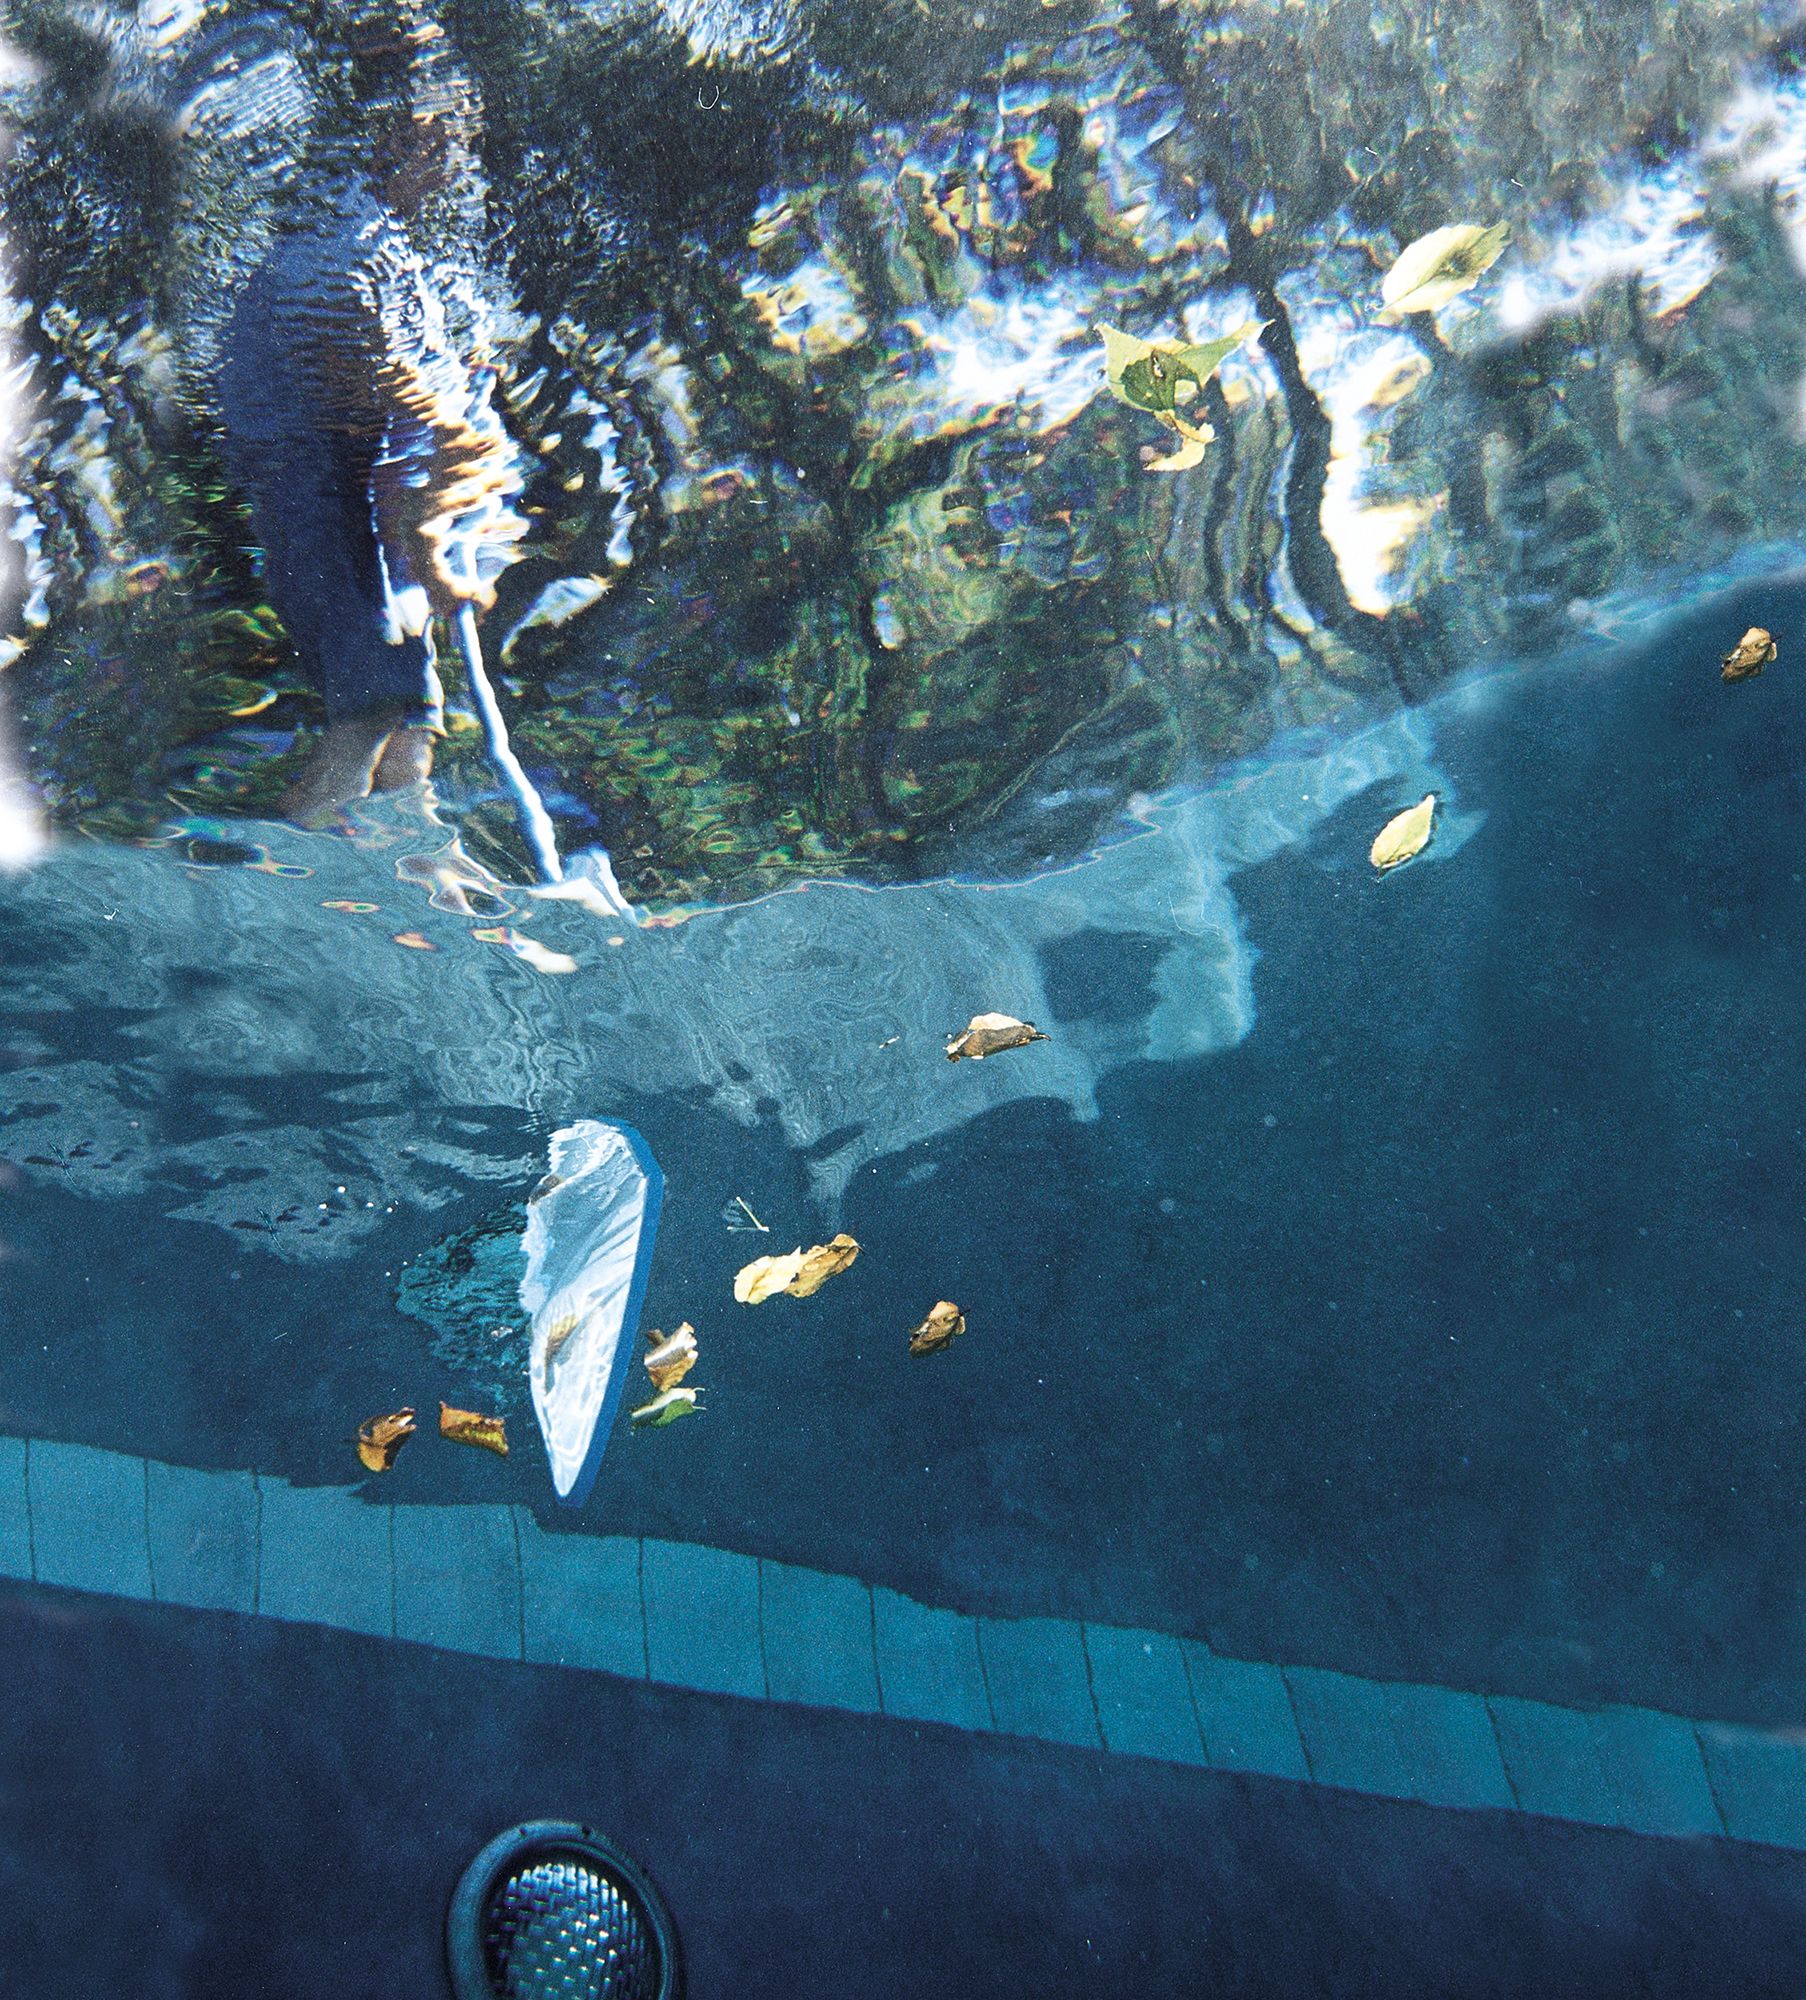
Get Rid of Debris
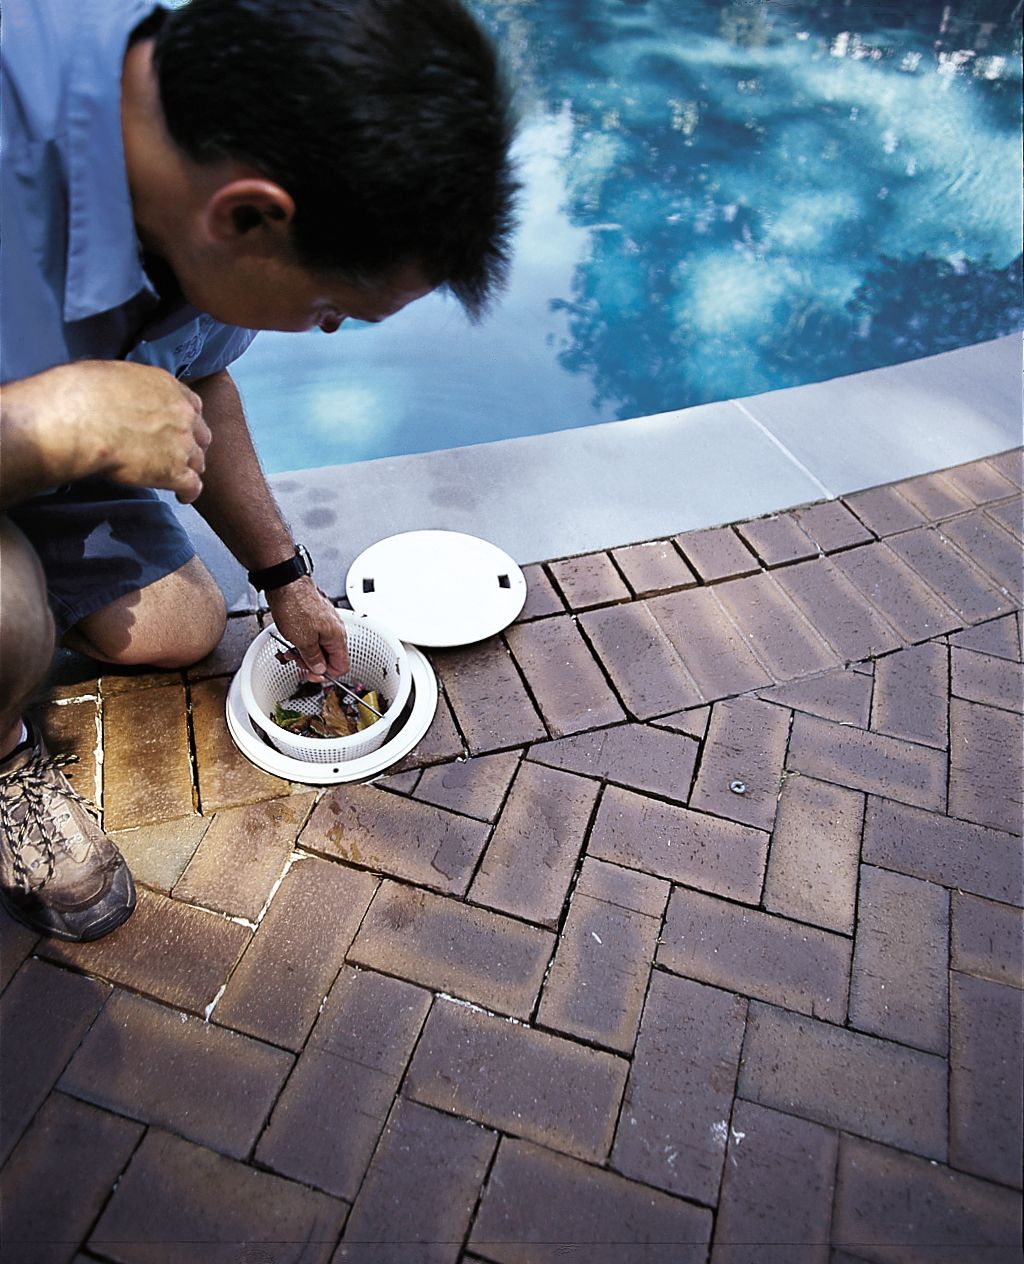
The first step is to skim the pool surface for floating debris. This improves water clarity and lightens the load for your pool’s filtration system.
Use a skimmer net to collect leaves, insects, and other particles. Then, empty the skimmer baskets, which collect larger debris before it can enter the pool filter. Dispose of waste away from your pool area so it won’t blow back into the water.
To make skimming easier, purchase a pool cover to use in the offseason and when you aren’t using your pool. Trim nearby trees and bushes regularly, and consider keeping a little distance between your pool and your plants.
Set Up the Vacuum
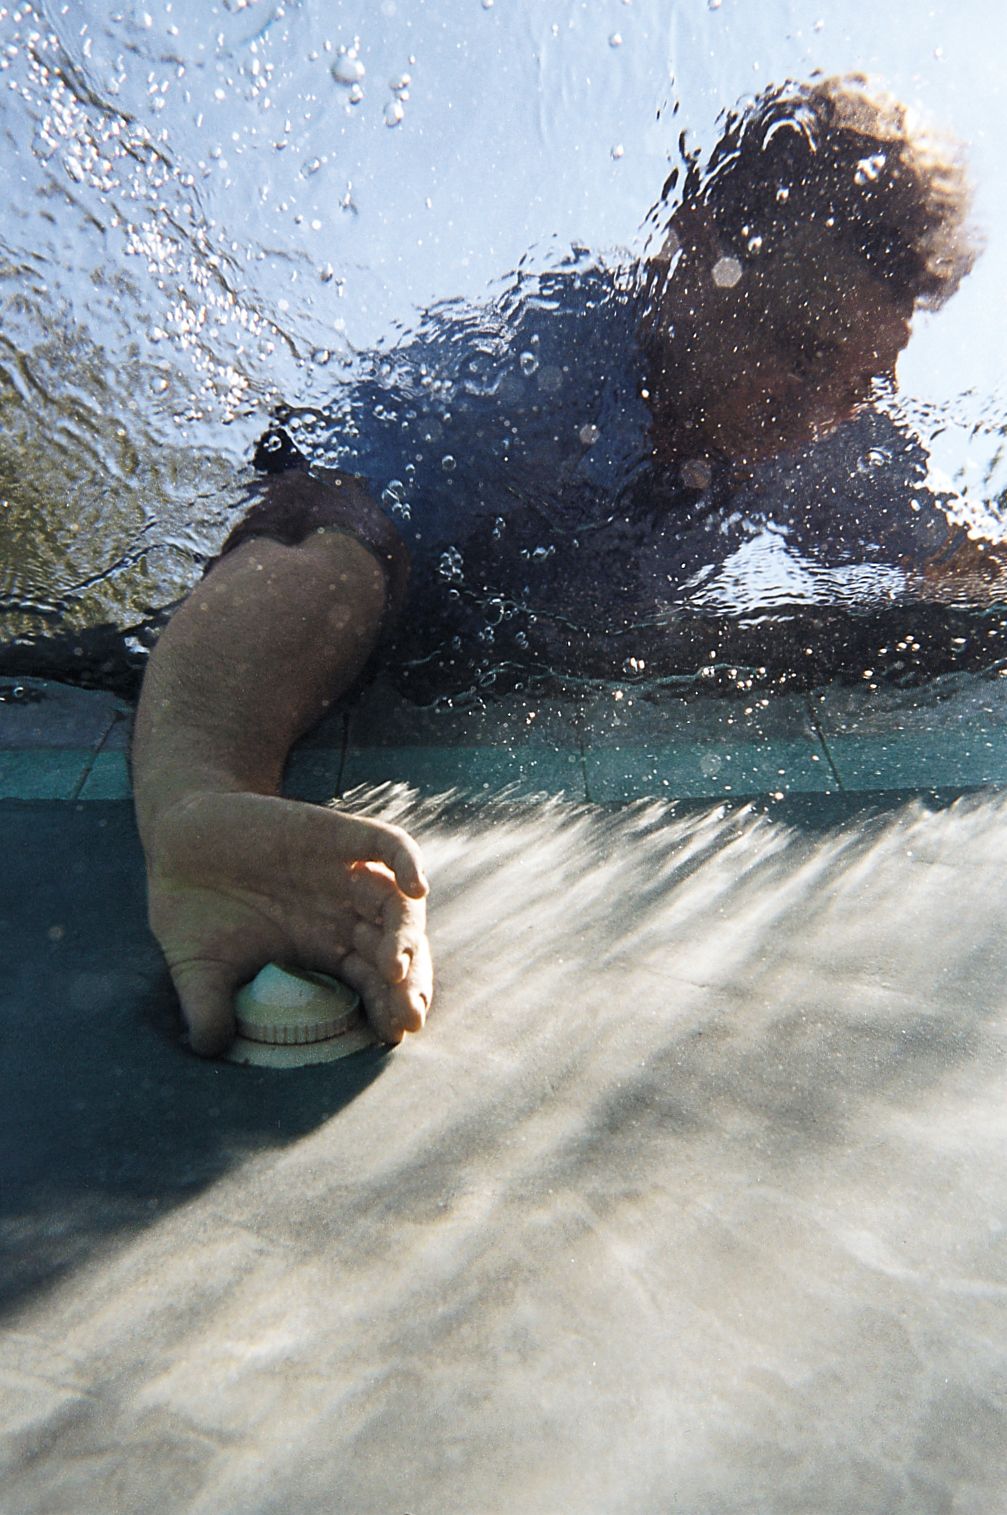
Direct the nozzles of your pool’s return jets downward to quiet surface ripples. That way, you can clearly see down to the bottom.
Connect the vacuum to the hose, and prop up the pole with the head suspended over the water. Then, use one of the jet nozzles to fill the free hose end until water pours out of the vacuum.
Once the hose is full, submerge the vacuum head and clamp a hand over the hose until you connect it at the skimmer.
Vacuum the Pool
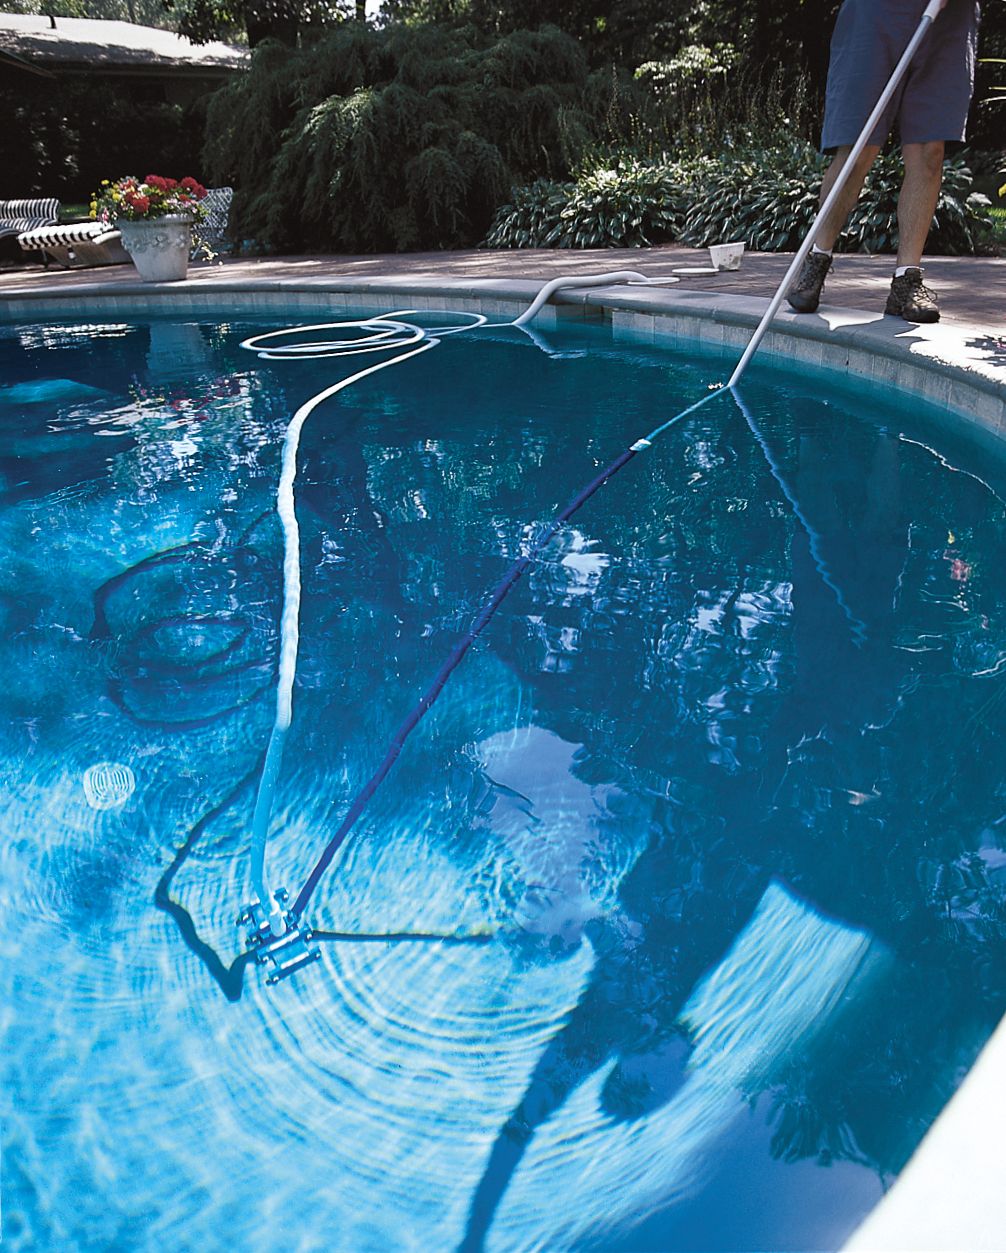
It takes about half an hour to vacuum the average pool. Once you’ve finished the last step and have everything set up, move the vacuum slowly across the bottom of the pool in overlapping lines, as you’d do to mow your lawn. If the pool is too wide for one pass, then vacuum half at a time.
Watch for a floating hose, which indicates a hole in the line, as well as diminished suction which tells you the filter is full.
Complete the cleaning by attaching a nylon brush to the vacuum pole and brushing algae off the pool sides. Pay particular attention to the waterline where oils and dirt can accumulate. For concrete pools, a stainless steel brush may be more effective than a nylon one.
Adjust the Chemicals
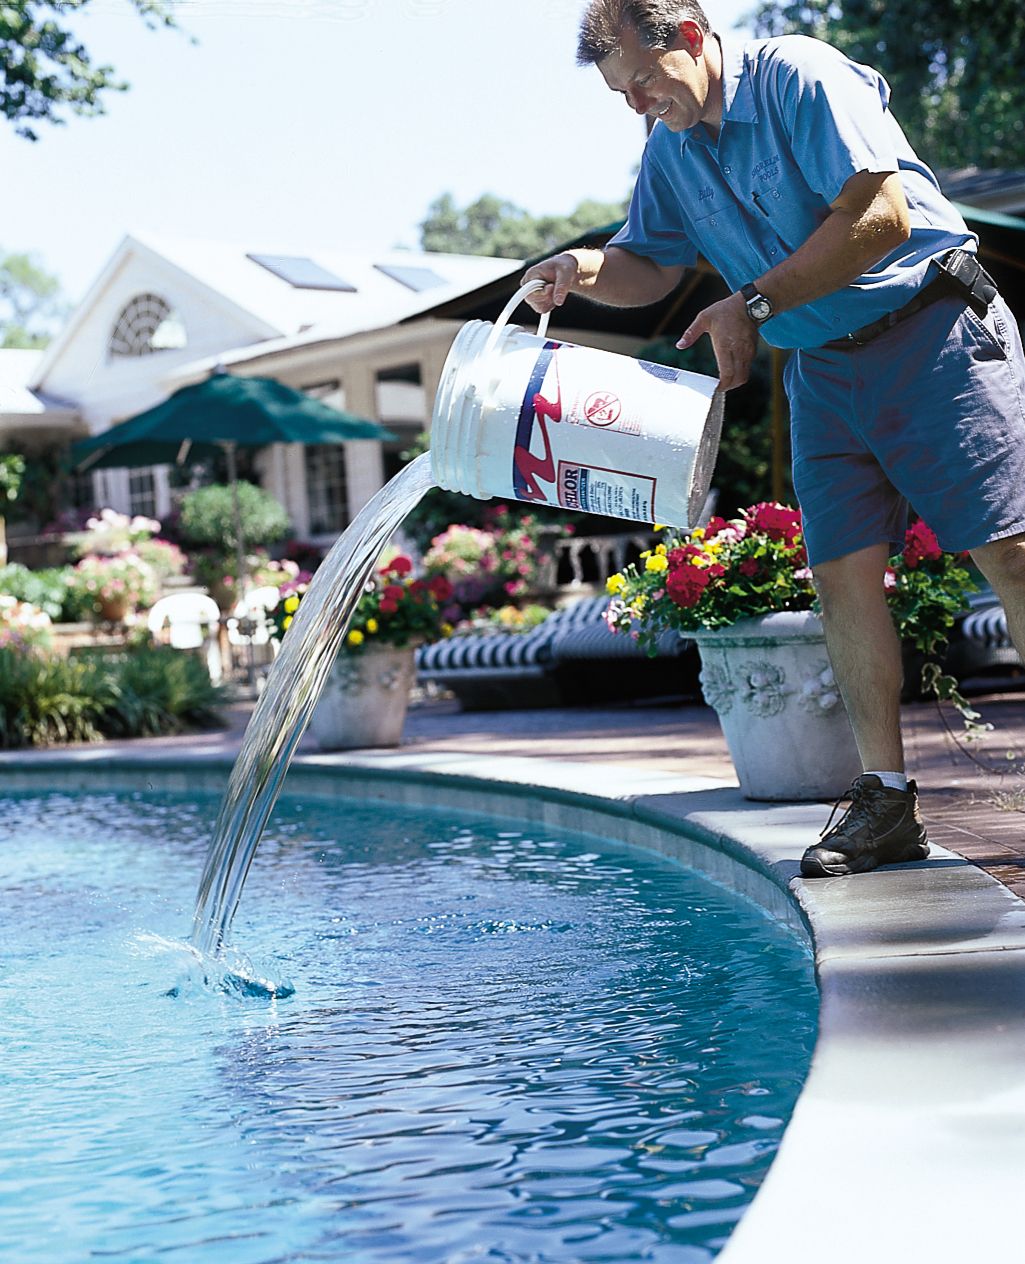
Check and correct your pool’s chemistry weekly with a reliable testing kit. Keep a log of your chemical levels and adjustments to help you spot trends and make more precise corrections.
Your first priority is to keep your pool’s pH between 7.4 and 7.6. If the pH is under 7.4, add a soda ash product to raise it. If it’s over 7.6, add muriatic acid to lower it.
Next, check the pool’s chlorine levels and alkalinity. If chlorine is below 1 part per million (ppm) or alkalinity is less than 90 ppm, you’ll need to “shock” the water. Dissolve chlorine and/or alkalinity increaser (baking soda) in a bucket of water and pour it in. Run the pump for at least 6 hours to circulate the chemicals.
We prefer using lithium-based chlorine. It dissolves easily, leaves no residue, and won’t jar pH levels.
Backwash the Filter

Backwash your filter when the pressure gauge reads 8–10 psi above the clean filter reading. During peak swimming season, this is typically every 1–2 weeks.
The specific backwashing process for your pool depends on your filter type. For example:
- Sand filters: Sand filters aren’t used in new construction anymore, but they’re still common. Sand blocks dirt and oil naturally. When you turn the valve to “backwash,” the dirty water is directed to a waste line that goes to the ground or a storm drain.
- Diatomaceous earth (DE) filters: Diatomaceous earth filters use the clay-like remains of marine microorganisms. You backwash them like sand filters, but the dirty water gets directed into a filter bag instead of getting sent down the drain. Empty the bag every other week and replace it every few years. You should also replenish the DE by sprinkling it into the skimmer well.
- Cartridge filters: If you have a cartridge filter, you’ll need to remove it and hose it off for this step.
If you have a sand filter, consider replacing it with a DE or cartridge model. Both clean better, save water, and have less environmental impact.
Clean the Pump Filter

Next, clean out your pump’s hair and lint catcher.
Shut the system off and close the skimmer valve before the pump to hold water in place. That way, you won’t need to reprime your system when you start it up again.
Unscrew the trap’s cover and empty the basket into the garbage.
Add Chlorine to the System
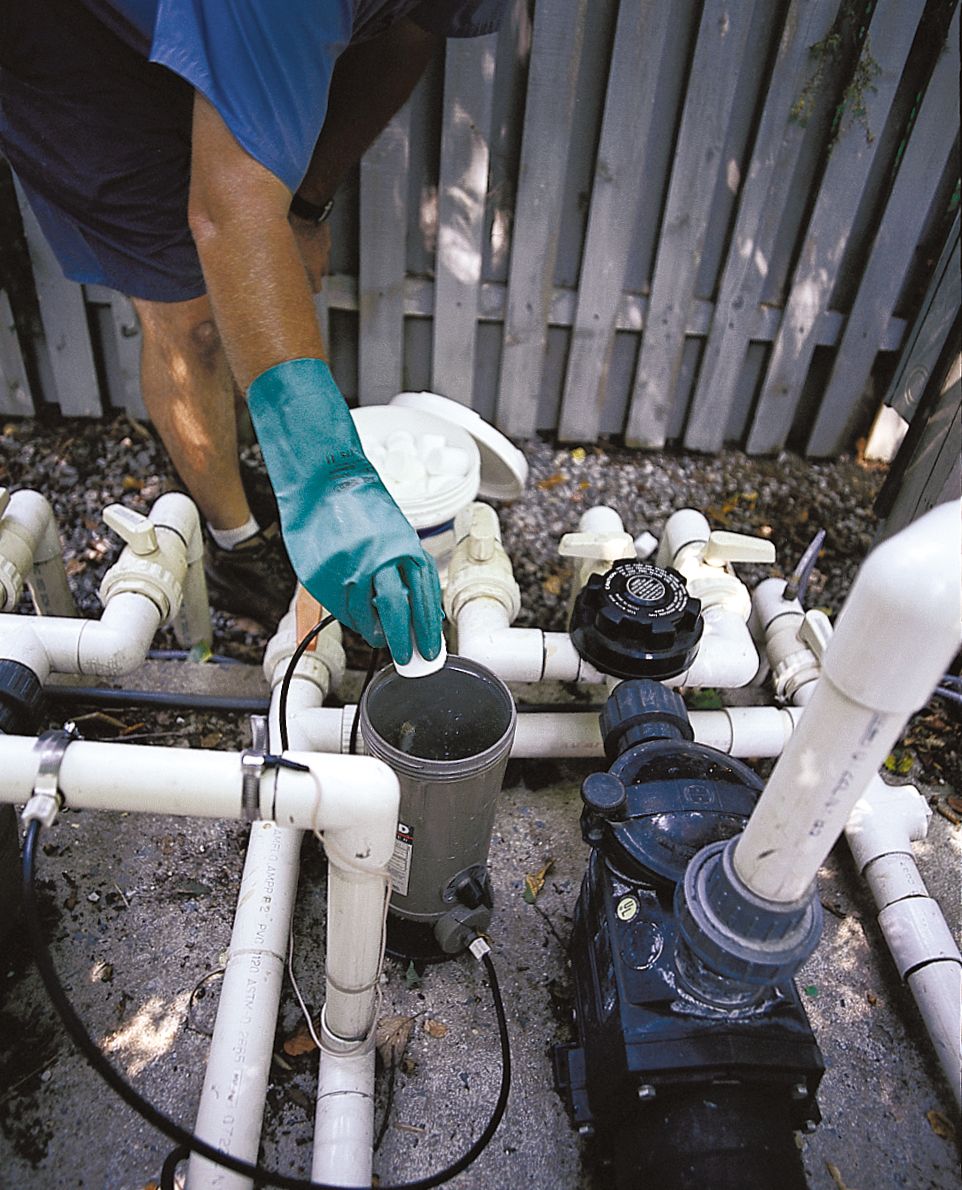
Some pools have tubelike chlorinator tanks next to the filter, to which you’ll add slow-dissolving tablets or sticks. You can also use a floating container to chlorinate your pool, but this can be dangerous if small children get their hands on it.
Read the packaging and calculate the number of sticks or tablets needed for your pool’s water volume. Add more chlorine in hot weather, when the heater is on, or when the pool’s used more often.
Finally, check your pool’s water level and add more water if it’s less than halfway up the skimmer well mouth.