Project details
Skill
3 out of 5Moderate
Cost
$50
Estimated Time
30 minutes or less
Plumbing and heating expert Richard Trethewey explains some general soldering techniques and how to connect water piping.
Steps for Soldering
- Shut off the water and make sure all the water has emptied from the pipes you are working on. Let the pipes dry before soldering or the connection won’t take.
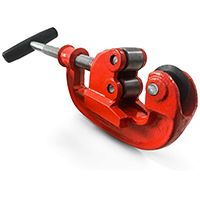
- Measure and cut the pipes to length using a pipe cutter. Have a bucket ready to catch any remaining water.
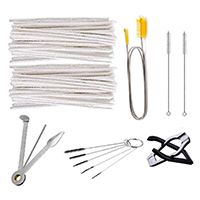
- Clean the inside of the fittings with a wire brush. Clean the outside of the pipes with a wire brush or emery cloth. Clean up the inside of the pipes by removing any burrs that resulted from cutting the pipes.
- Add flux to the inside of the fitting and the outside of the pipe.
- Connect the pipe to the fitting. Making sure it is all the way in.
- If you are working around wood, use a heat shield. Richard keeps a spray bottle of water handy to wet any wood that will be close to the flame.
- Put on safety glasses while using a blow torch. Gloves are recommended in case you accidentally touch any hot surfaces.
- Hold the torch on the opposite side of where you plan to apply to solder. Wait a few minutes to allow the pipe to heat up, and then gently touch the pipe with the solder. If it quickly wraps around the entire connection, then it took properly. If it did not, continue to heat the pipe up and try again.
- Wipe down the excess solder with a rag.
Resources
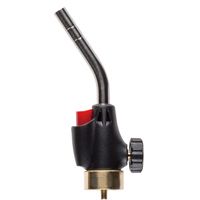
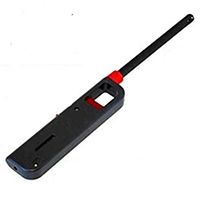
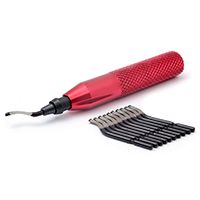
To solder, Richard explains that you need solder, flux, a blowtorch, a pipe cutter, and a pipe cleaning tool. Depending on the location of the work, protective items, such as a spray bottle of water or a flame shield, may also be needed. All of these items can be found at home centers and plumbing supply houses.