Project details
Skill
Cost
Estimated Time
A stone patio can transform your outdoor space into a beautiful area for relaxation and entertainment. Laying a stone patio, while challenging, can be accomplished by dedicated do-it-yourself (DIY) enthusiasts. This project involves careful planning, proper site preparation, and attention to detail. In this guide, we’ll walk you through the process, from initial planning to final touches.
Understanding the Basics of Stone Patios
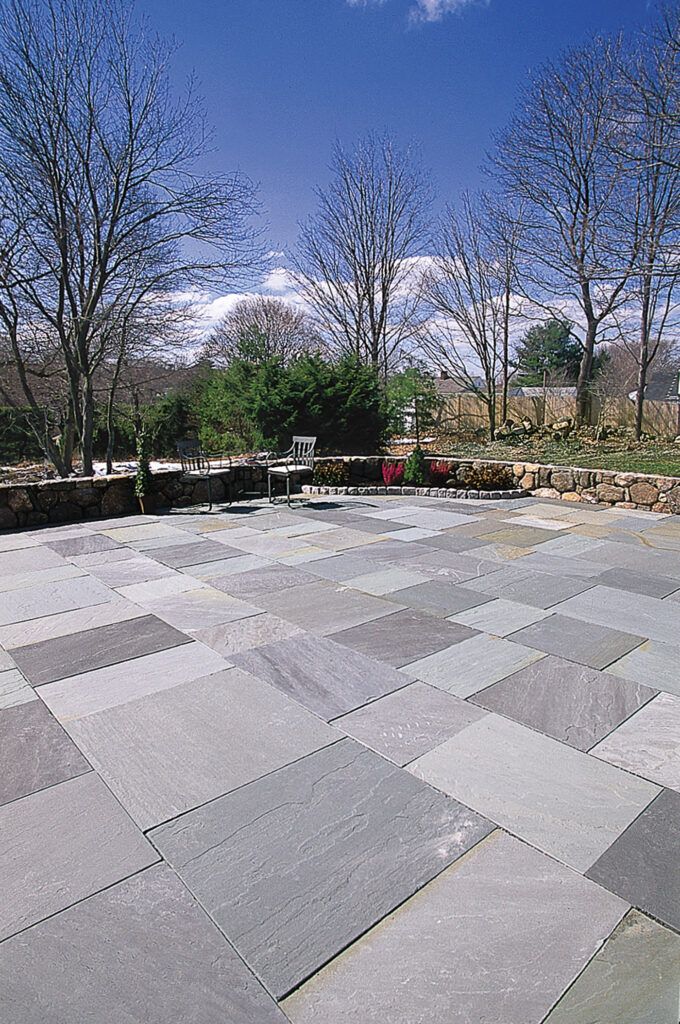
Stone offers timeless appeal and durability. It provides a solid, level surface for outdoor furniture and activities while complementing the natural landscape. A well-constructed stone patio should have a slight slope for drainage, a sturdy base to prevent settling, and carefully laid stones for a smooth, even surface.

Planning Your Stone Patio Project
Before you begin laying stones, plan the project by assessing your space, selecting the right materials, and calculating material quantities.
Assess Your Space
Start by measuring the area where you want to install your patio. Consider the patio’s purpose and sun exposure and how it will connect to your home and other landscape features. Sketch out your design on graph paper, noting any obstacles like trees or utility lines. This step helps you visualize the finished project and identify potential challenges.
Choose the Right Stone
Stone choice significantly impacts your patio’s appearance and durability. Popular options include bluestone, flagstone, and slate. For most patios, This Old House landscaping contractor Roger Cook recommends 1 1/2 to 2-inch-thick bluestone, a durable sandstone quarried in the Northeastern United States. Consider your climate, desired aesthetic, and budget when selecting your stone.
Calculate Materials Needed
Accurate material calculations can help you avoid delays and extra costs. Measure your patio area and add 5% to 10% for cuts and waste. Remember to account for additional materials like edge restraints and joint filler. For a 12-by-16-foot patio, you’ll need approximately these materials:
- 192 square feet of stone (plus extra for cuts)
- One ton of stone dust for a 1-inch setting bed
- Three tons of pack for a 3-inch base layer
Essential Tools and Materials For Laying a Stone Patio
Having the right tools and materials on hand will make your patio installation smoother and more efficient.
Must-Have Tools
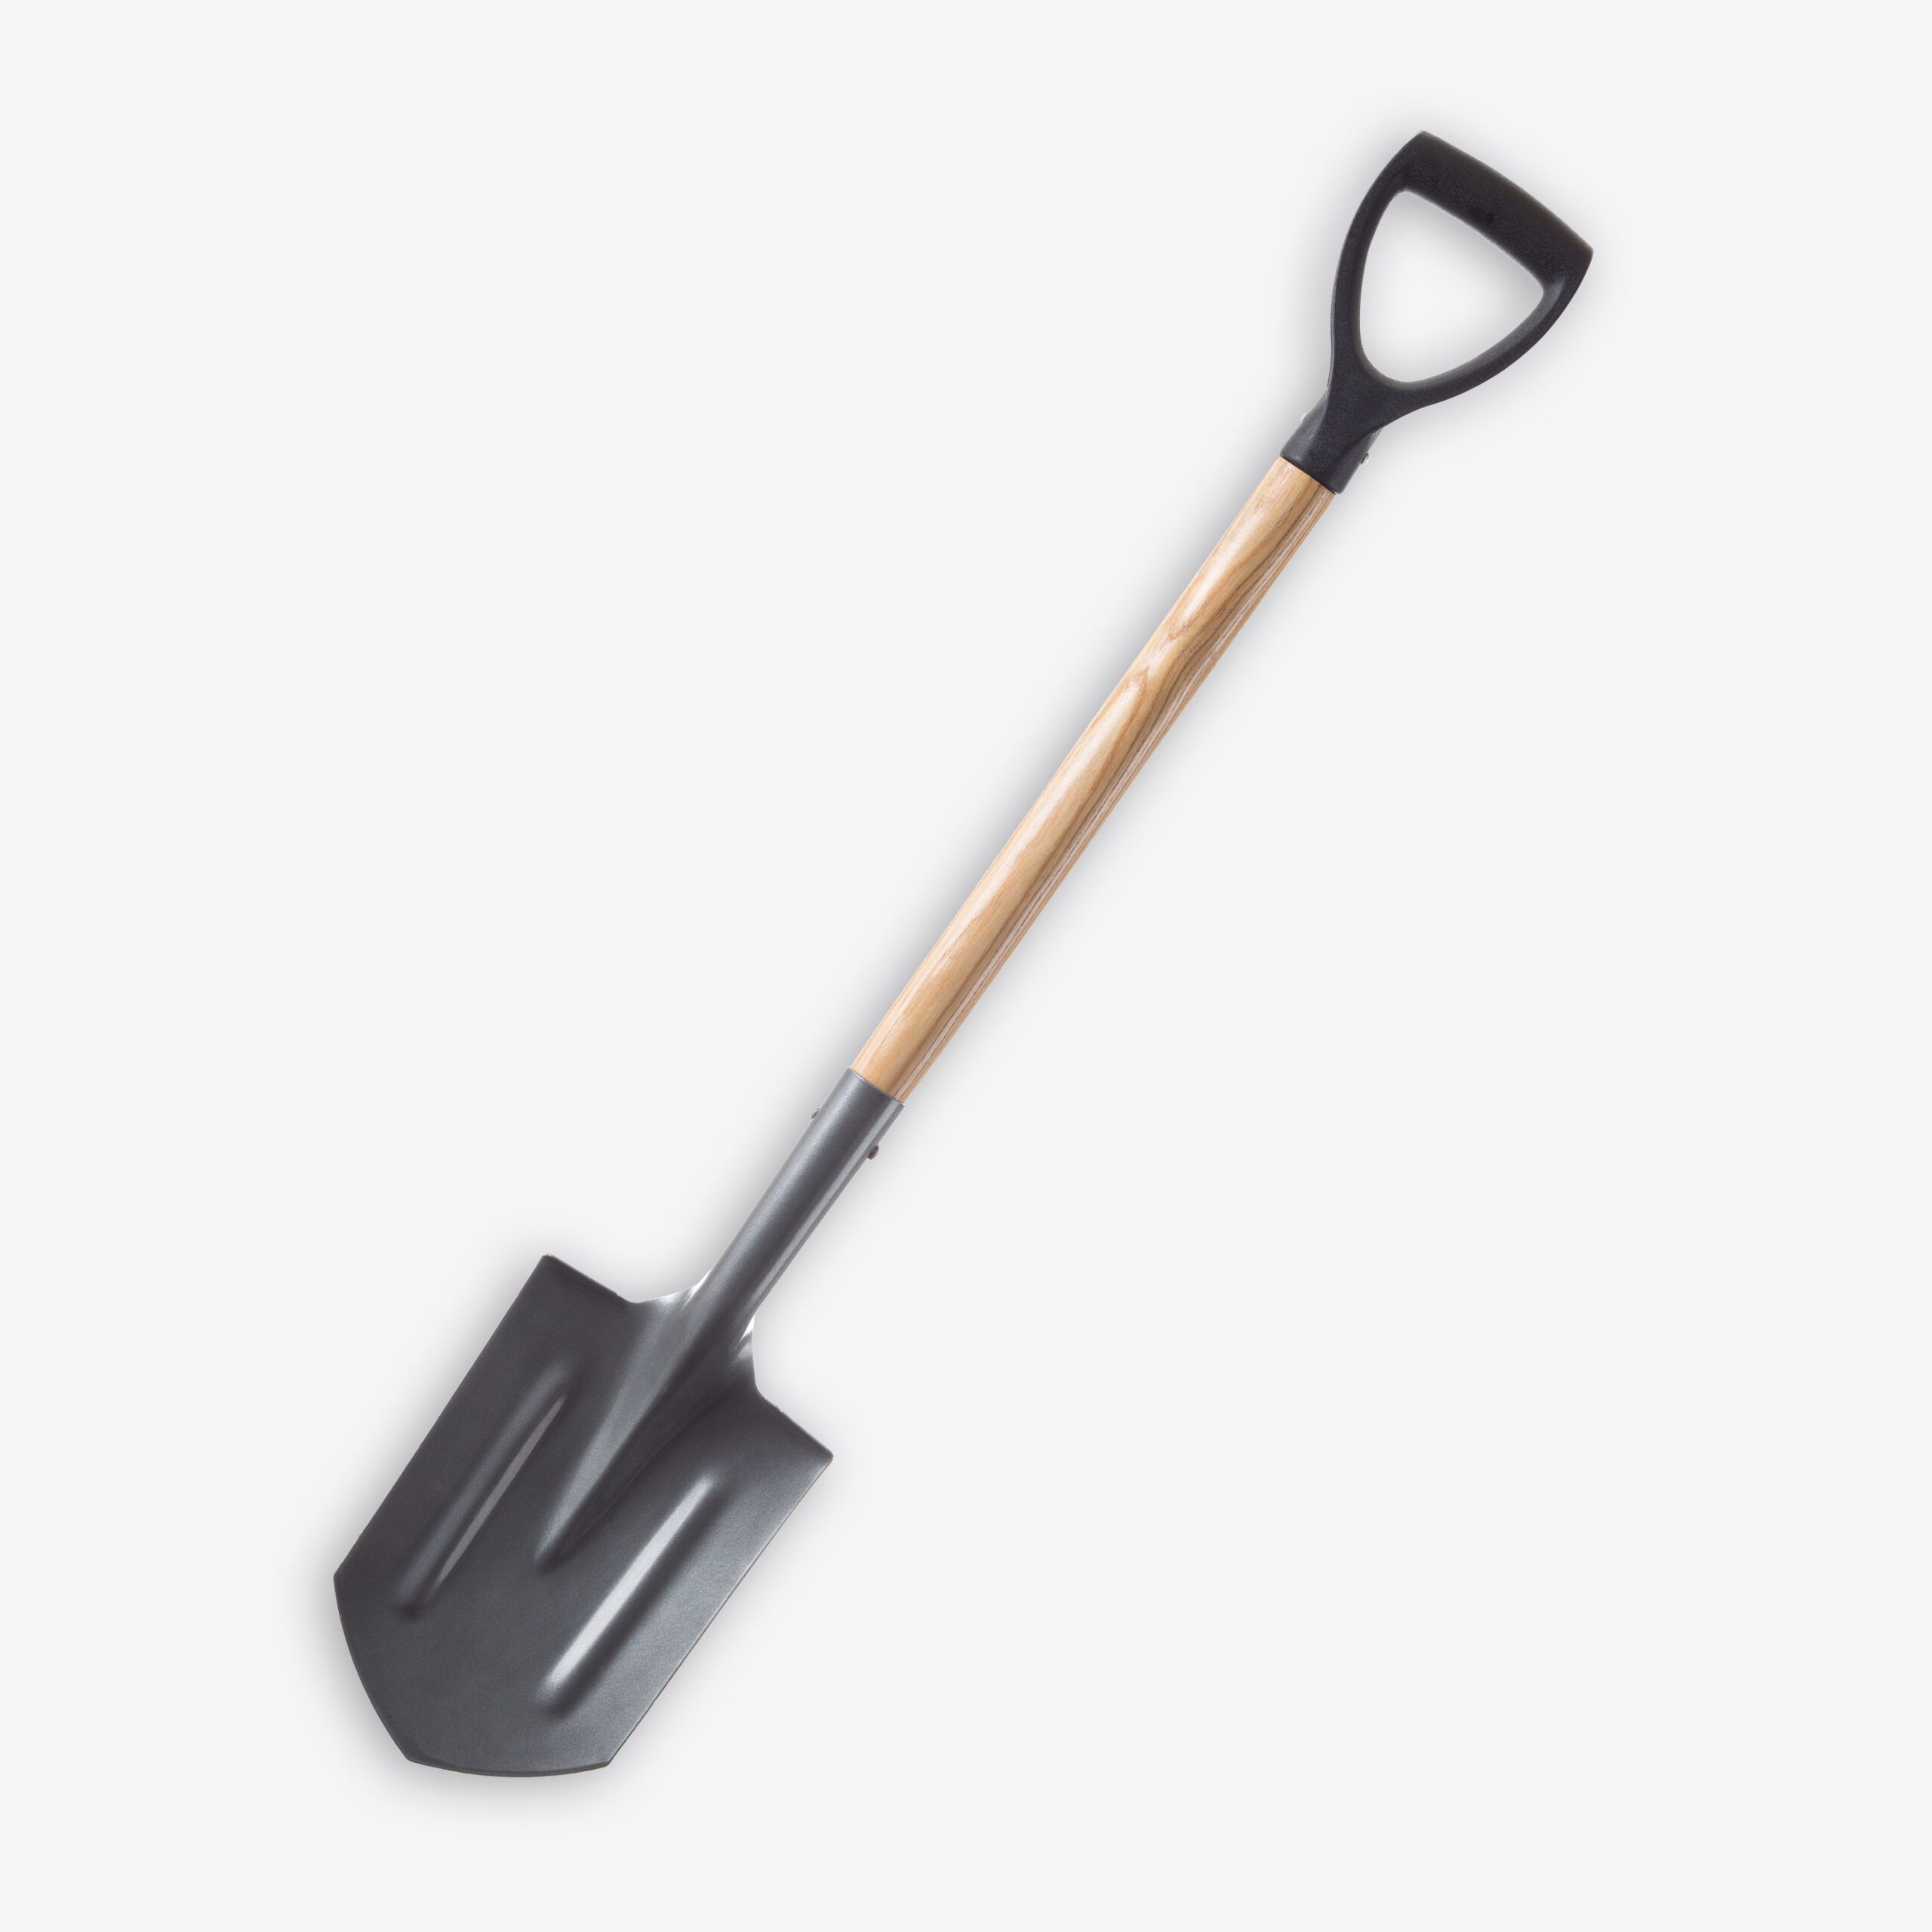
- Skid-steer loader or shovel for excavation
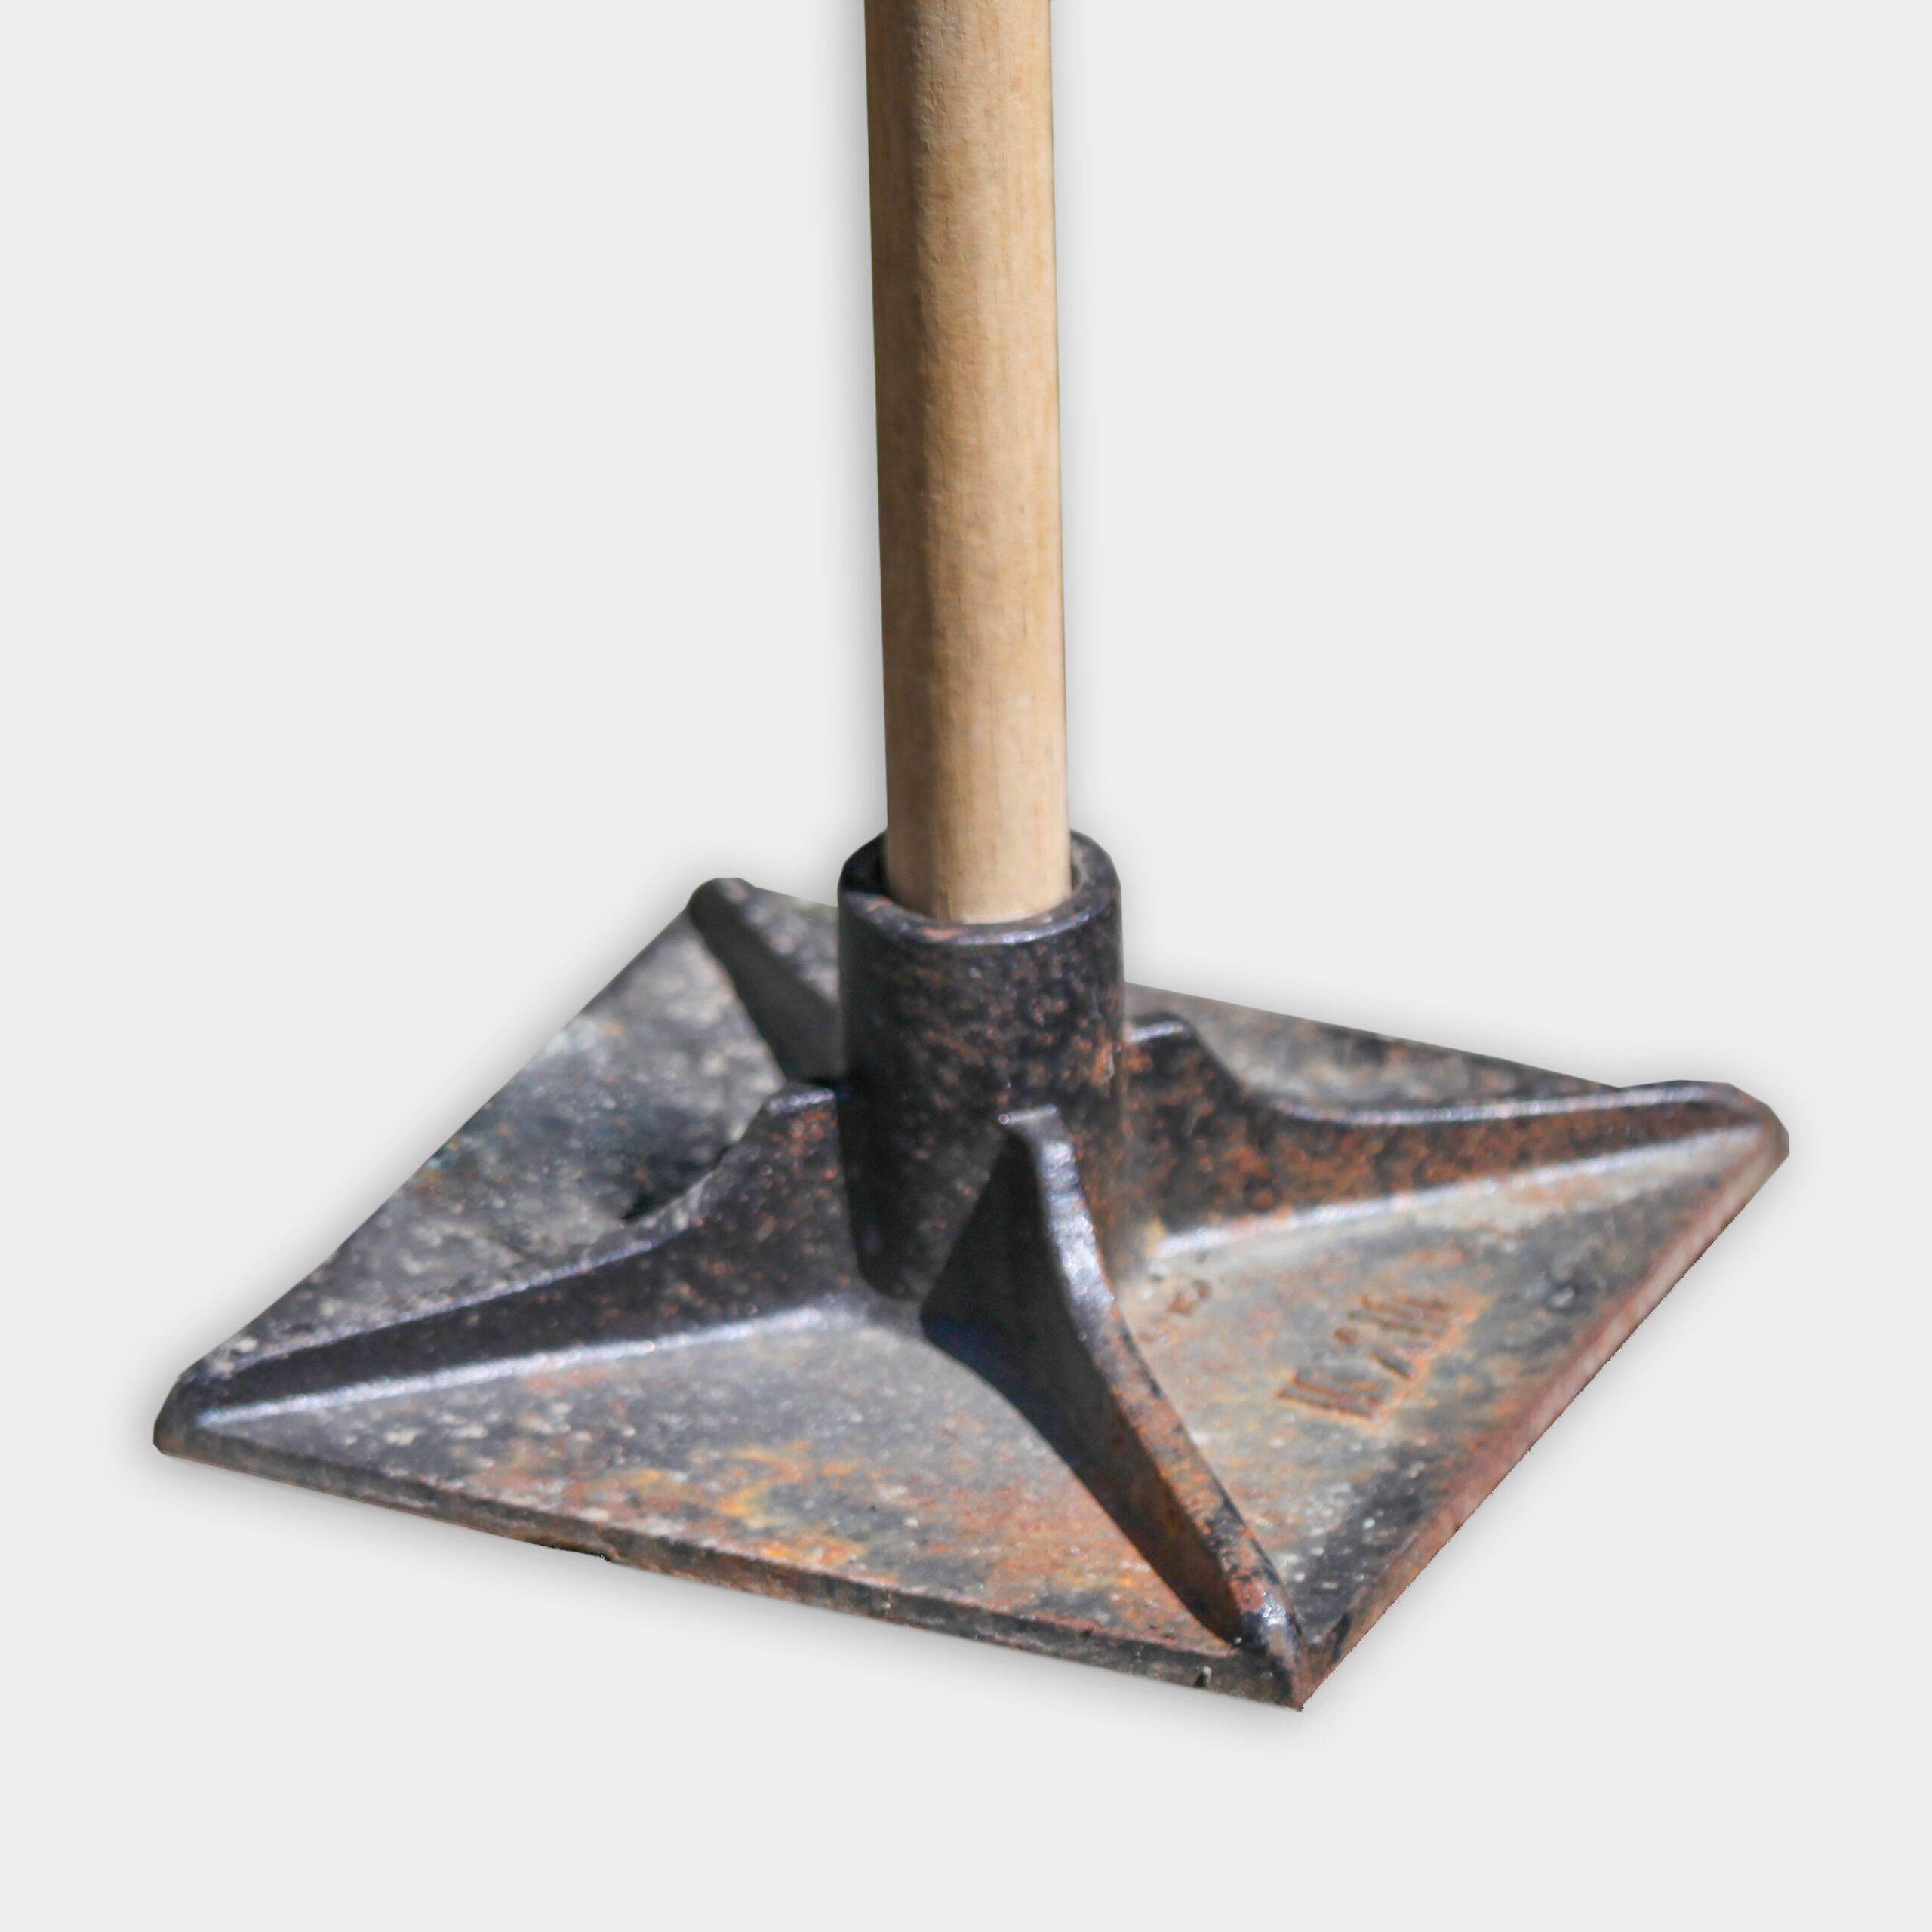
- Plate compactor
- Builder’s level
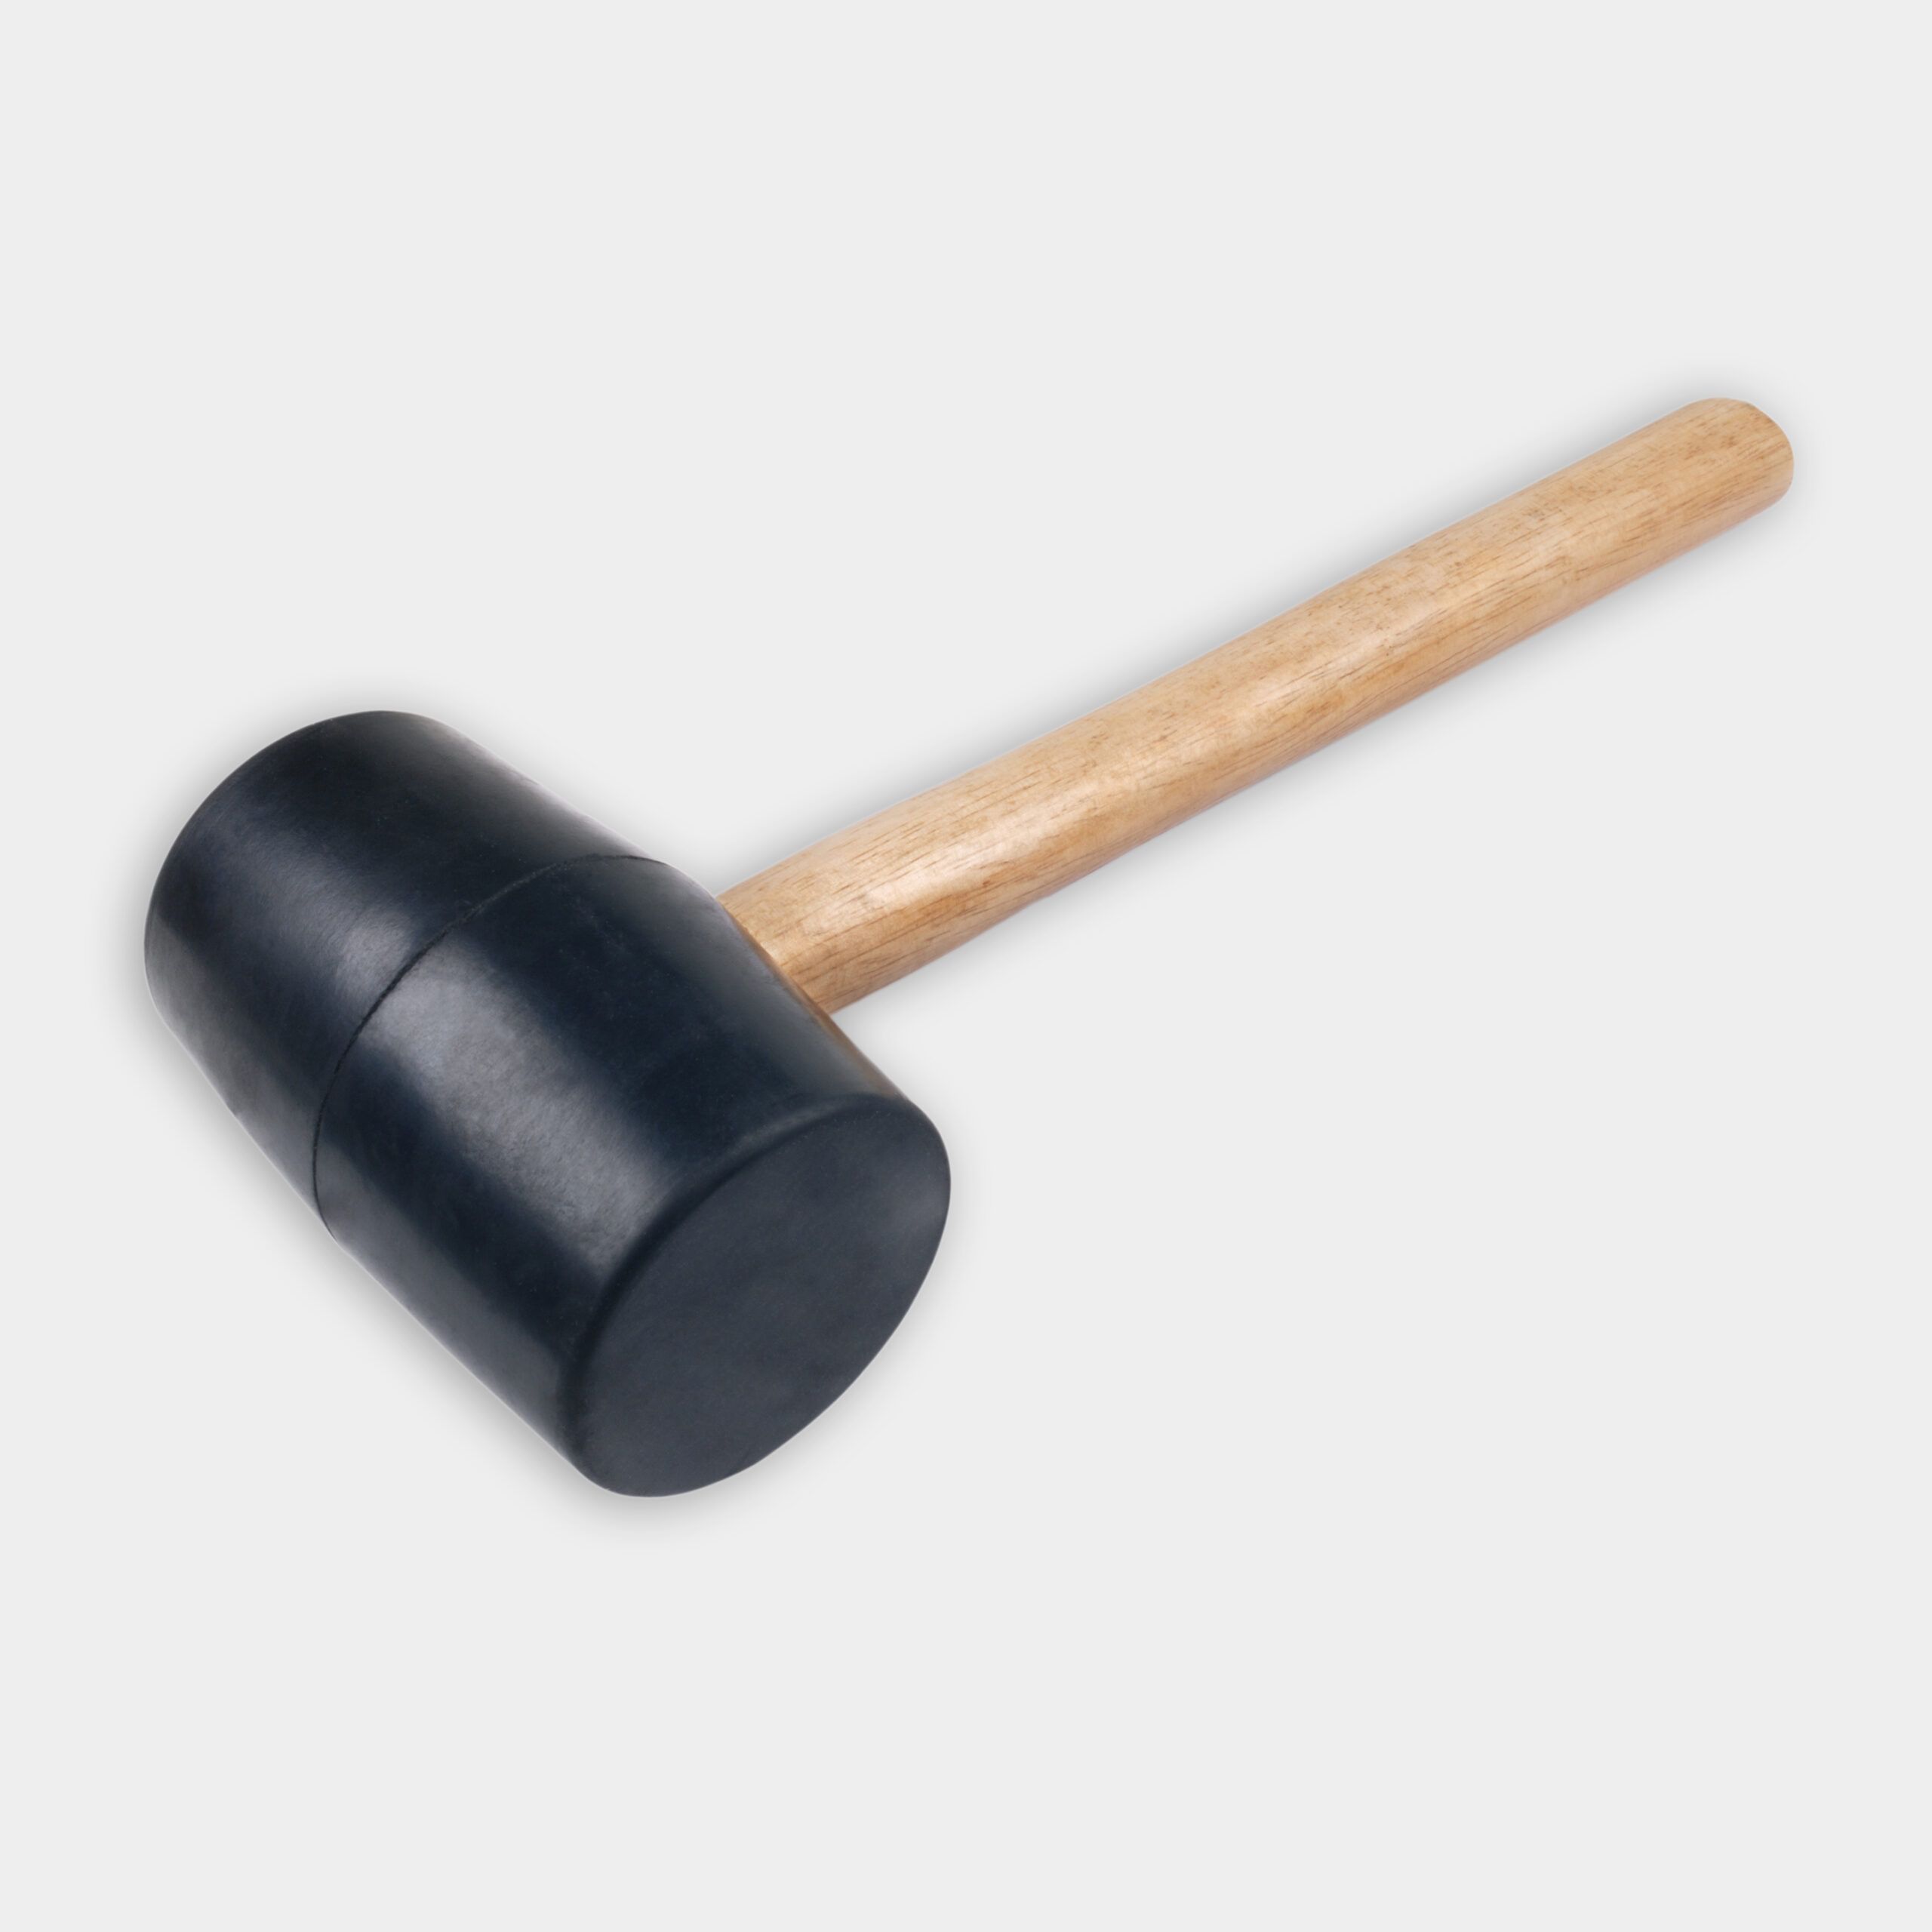
- Rubber mallet
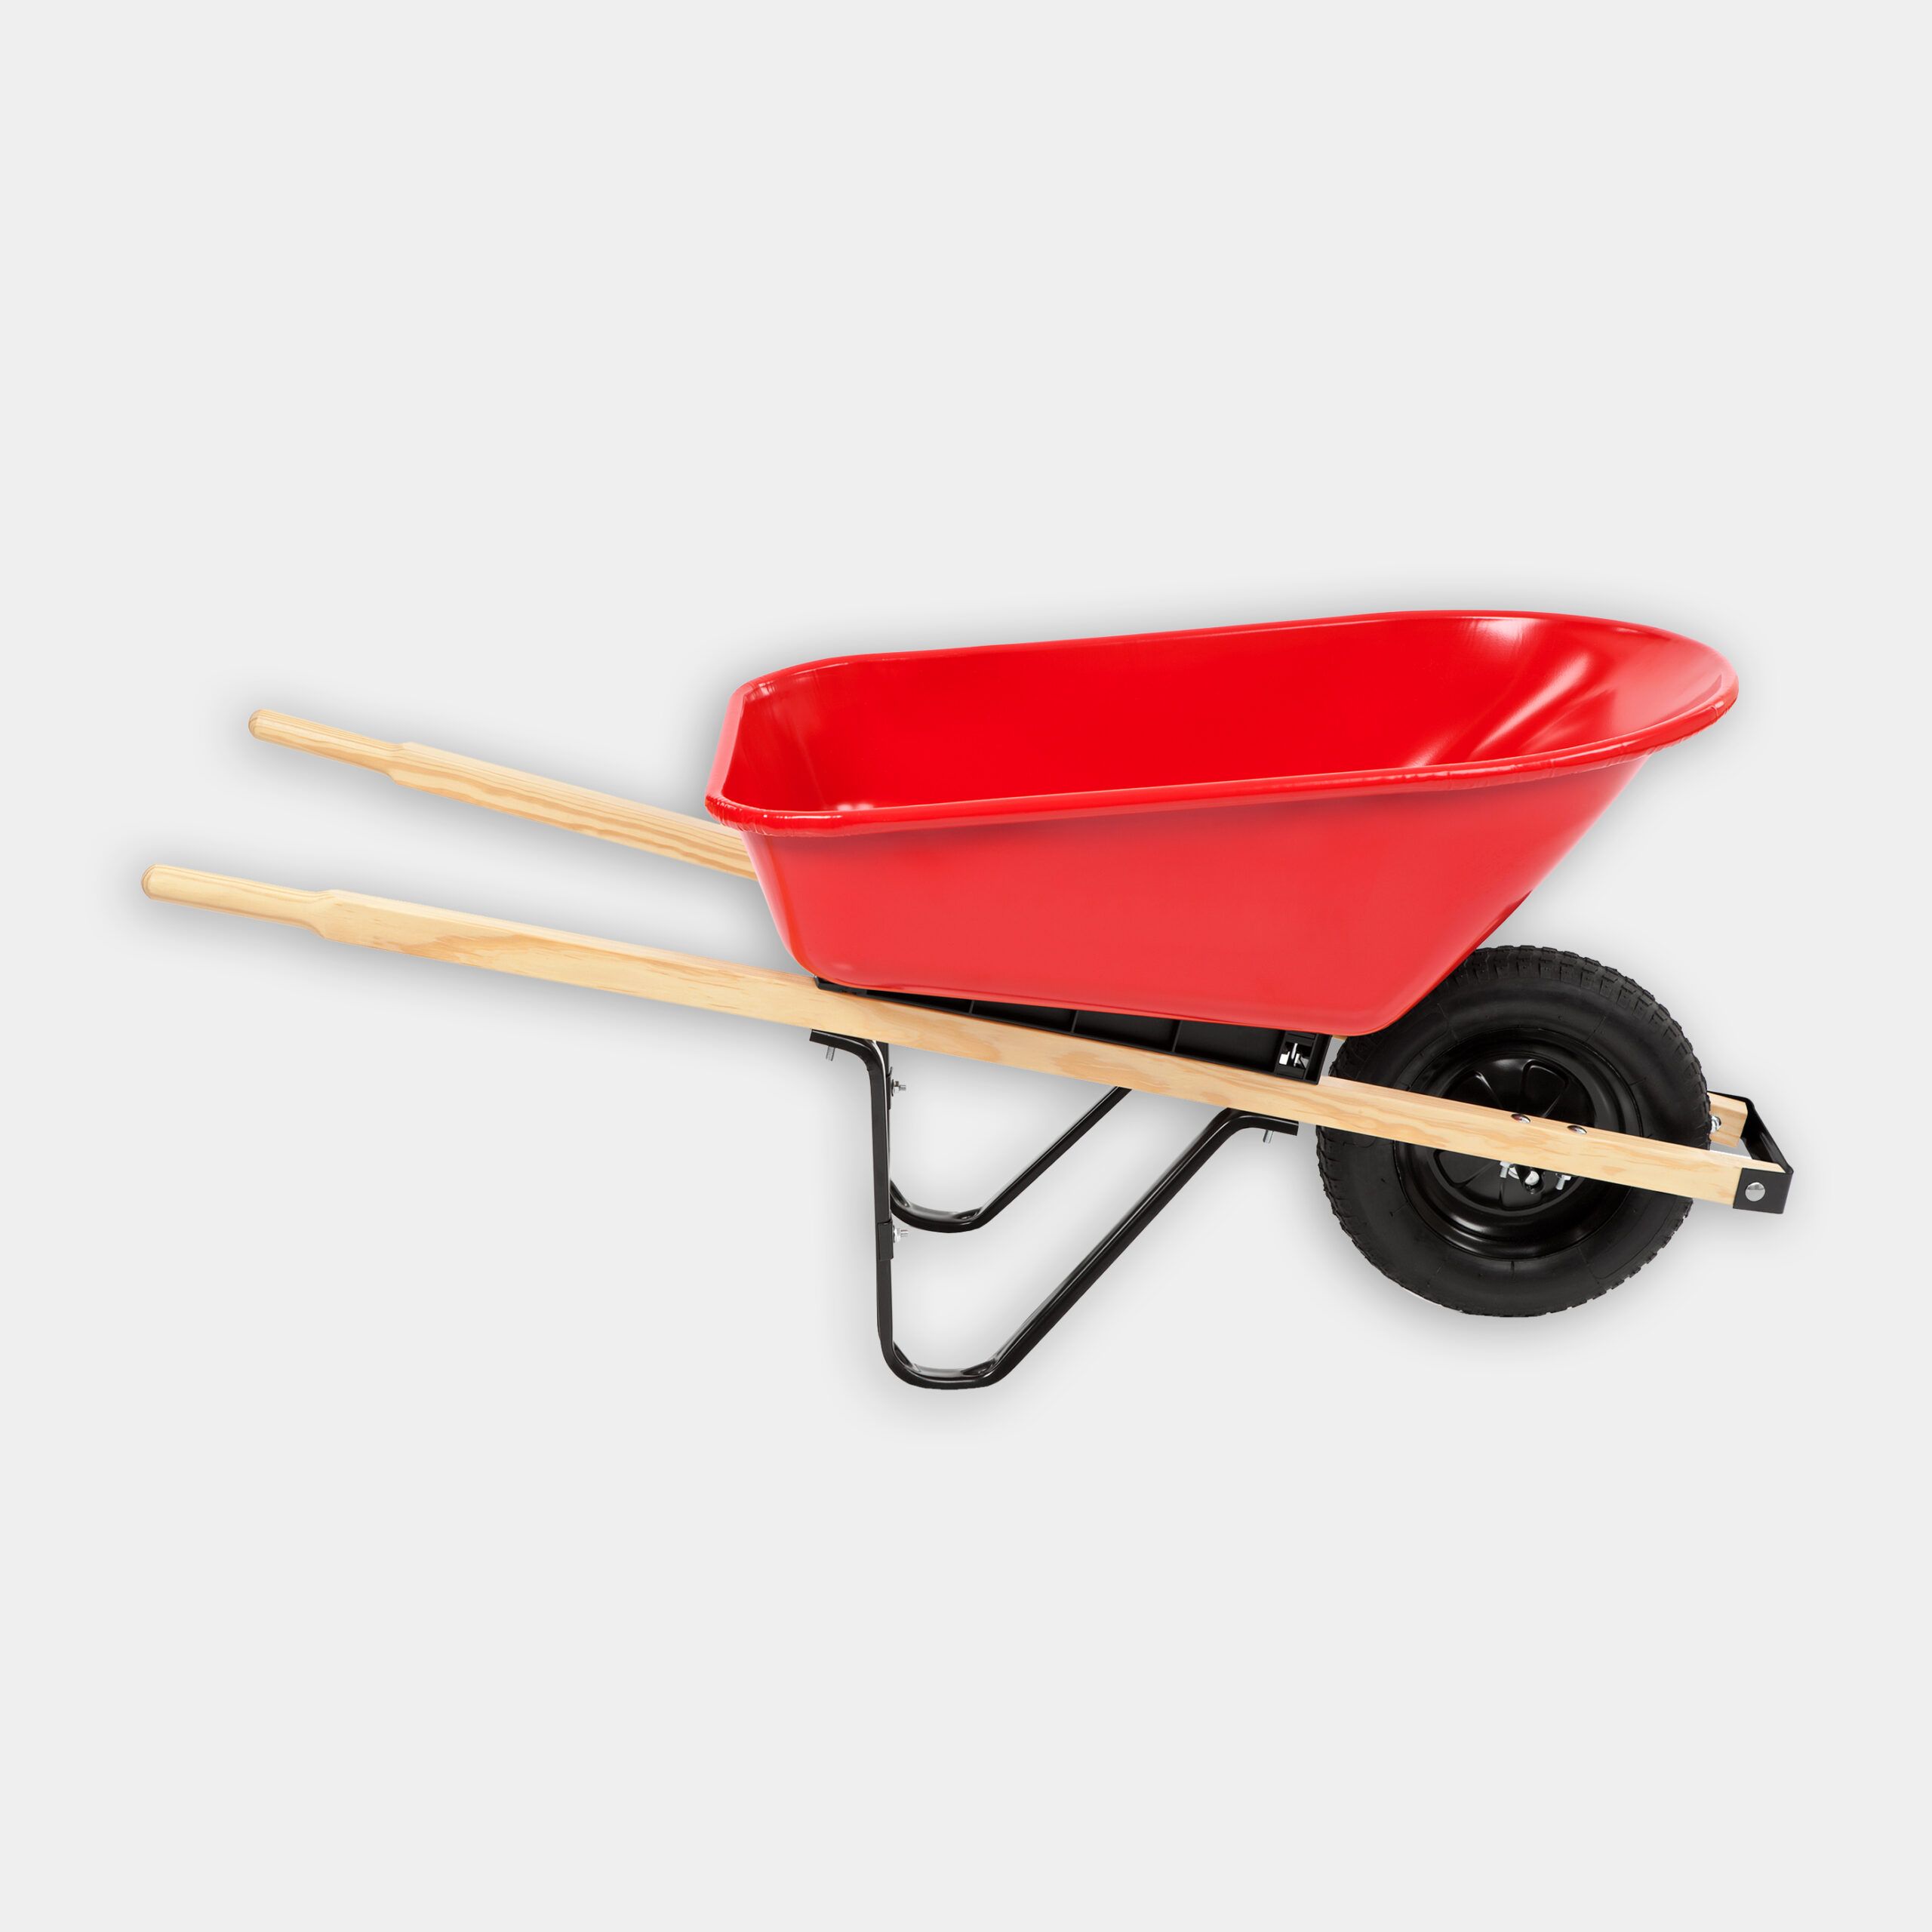
- Wheelbarrow
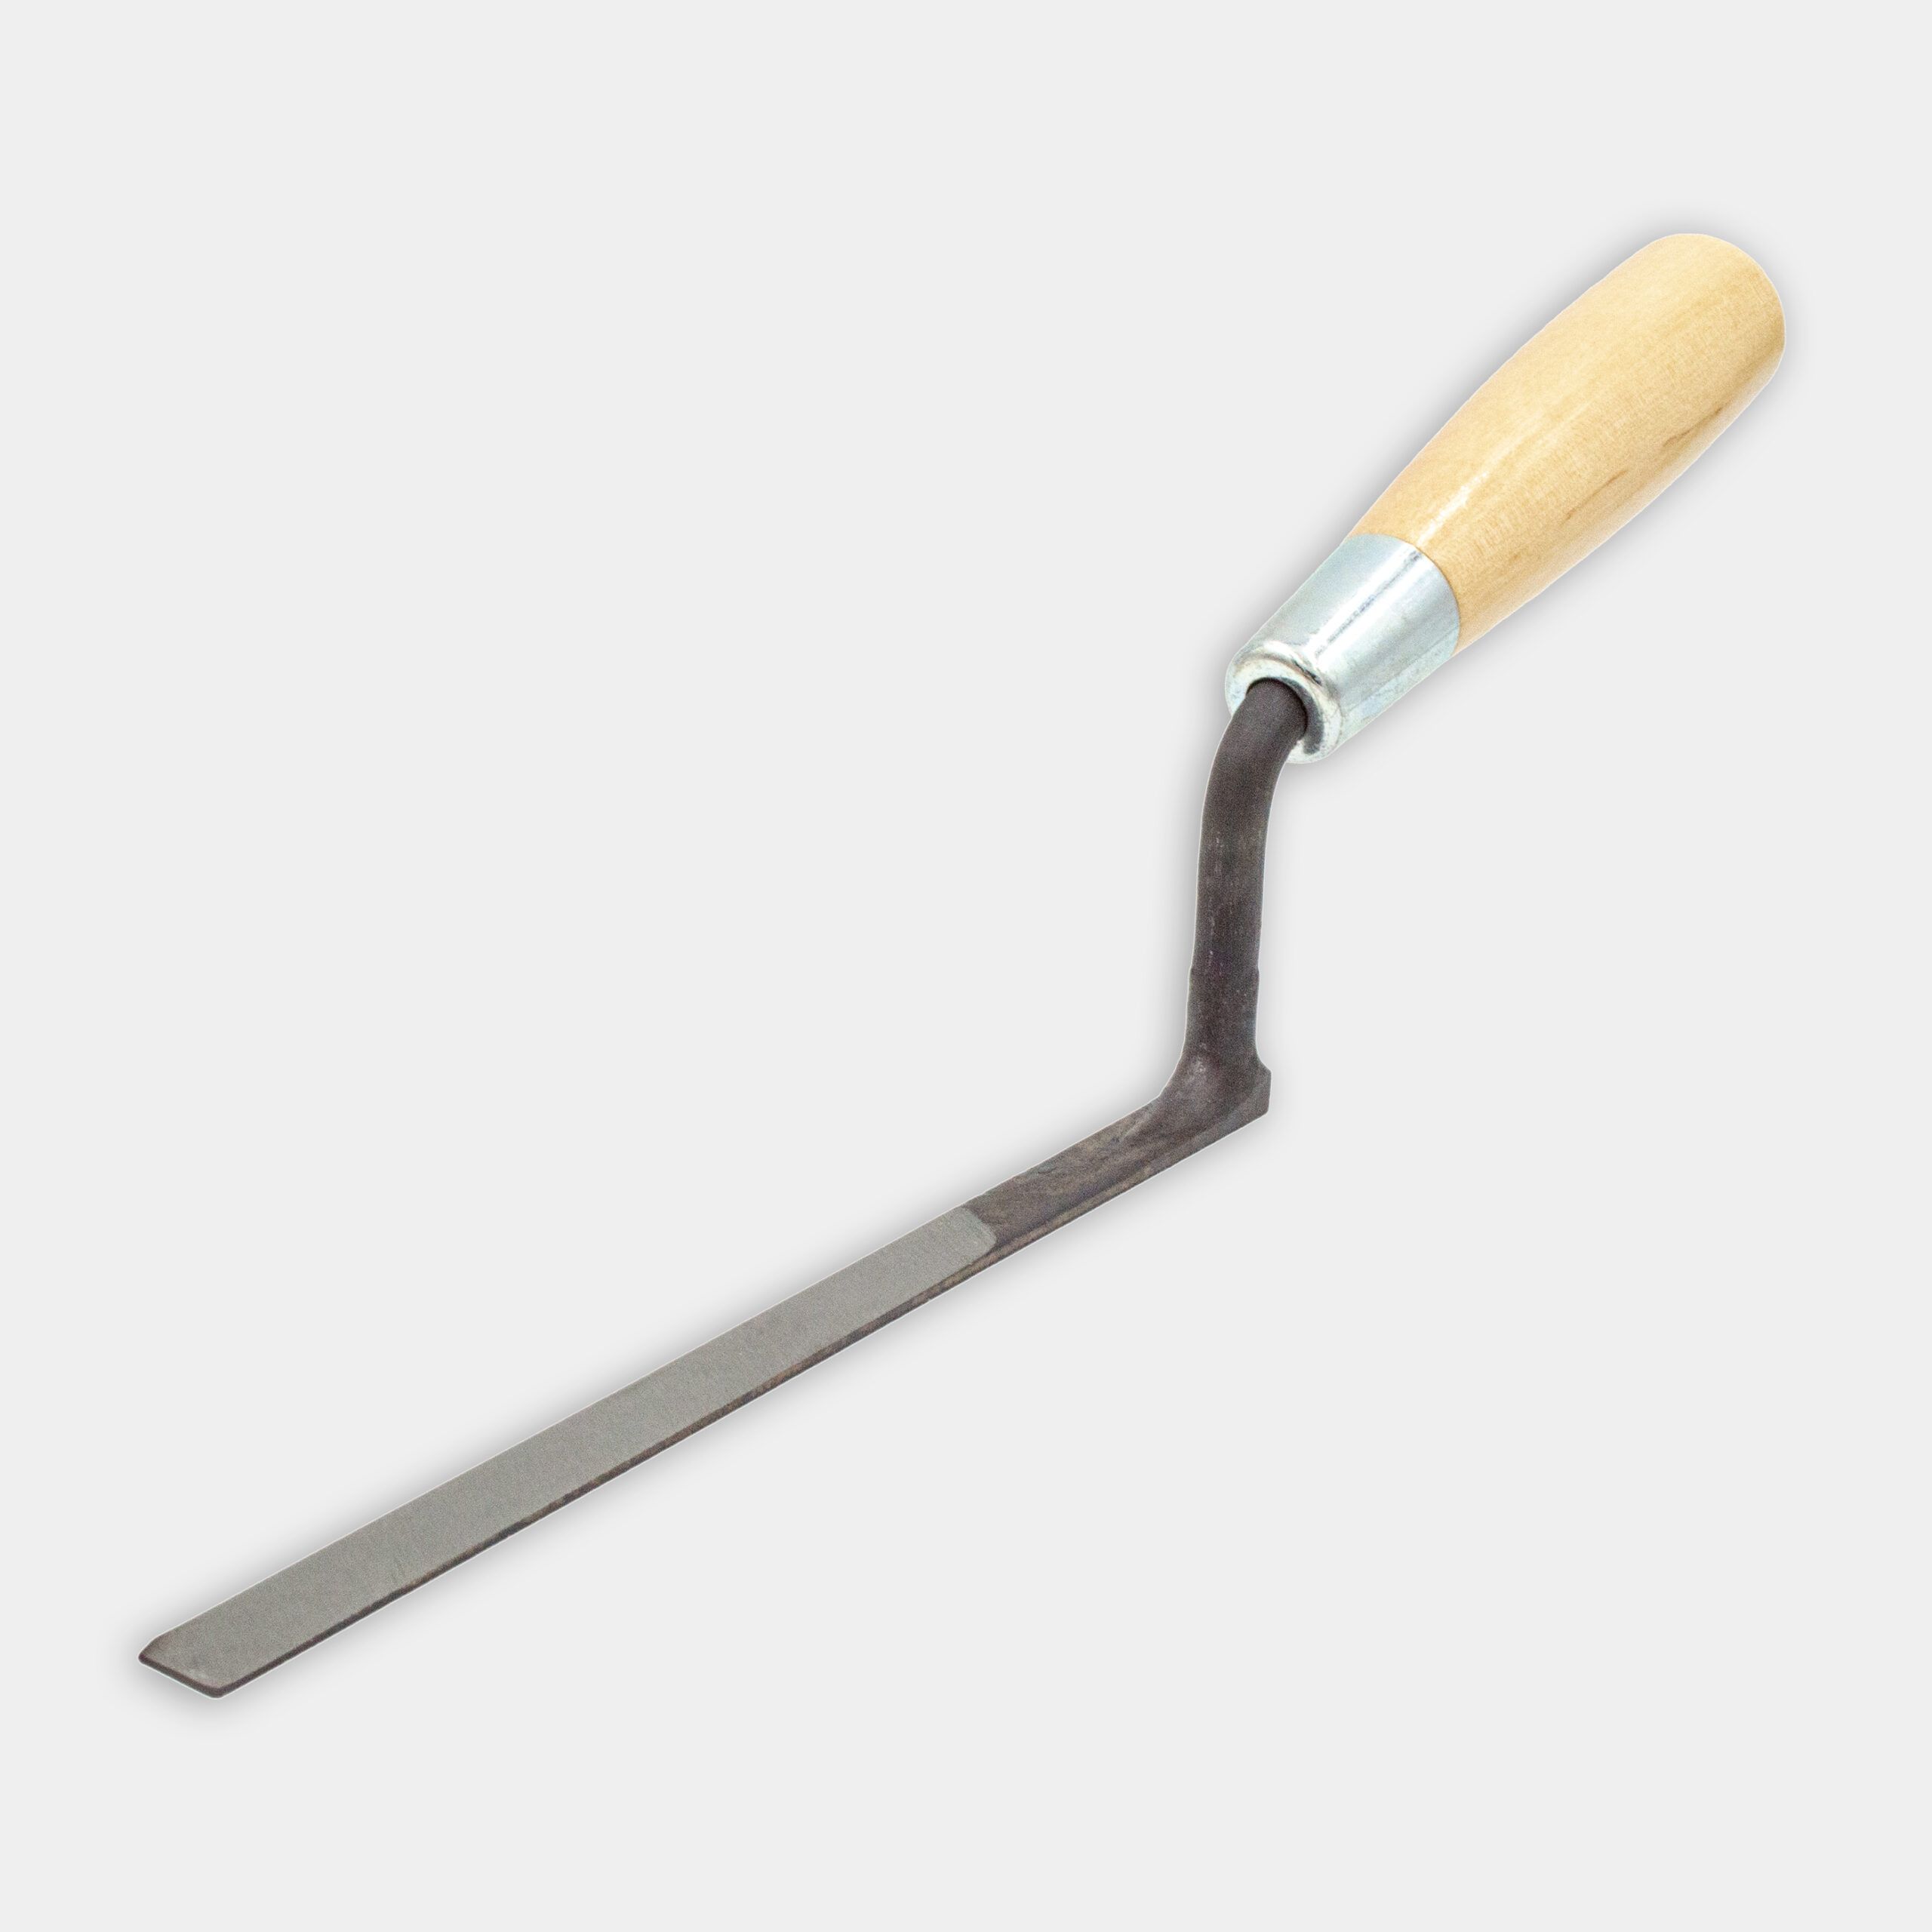
- Hand trowel
- Masonry saw or angle grinder with a diamond blade
- Safety gear (goggles, ear protection, dust mask)
Required Materials
- Stone slabs
- Gravel or crushed stone for the base
- Stone dust for setting bed
- Pack (a blend of three-quarter-inch crushed stone and stone dust)
- Edging material (if desired)
- Joint filler (stone dust or polymeric sand)
Preparing the Ground for Your Stone Patio Project
Proper ground preparation involves excavating the site and creating a slope for drainage.
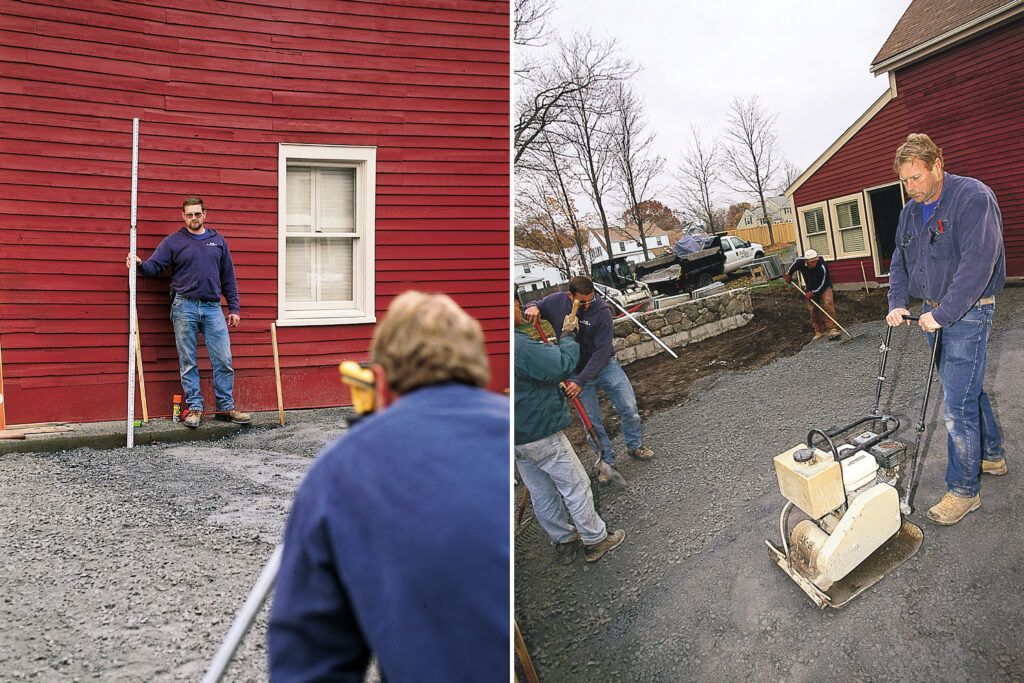
Excavate the Site
Begin by marking your patio area with stakes and string. If you live in a region where the ground freezes, excavate to a depth of at least 12 inches. In milder climates with well-draining soil, 6 inches may suffice. Use a skid-steer loader or shovel to remove the soil, ensuring the area is level. Here’s a breakdown of how to excavate:
- Drive 3-foot stakes into the ground 1 foot outside the corners of the patio area.
- Set a builder’s level in the middle. Find a benchmark—a spot where the patio meets the house. Look through the level’s scope while a helper holds a leveling rod at the benchmark and moves the rod’s marker until it falls in the scope’s crosshairs.
- Then, at any stake, have your helper, with the marker at the established point, move the rod up or down until the marker falls in the crosshairs.
- Mark the stake at the bottom of the rod. Swivel the level and repeat at each stake.
- On the two stakes farthest from the house, measure down from the mark 1/8 inch for every foot between it and the benchmark. The marks show the finish grade.
Create a Proper Slope for Drainage
To ensure proper drainage, your patio should slope away from your house at a rate of 1/8 to 1/4 of an inch per foot. Use a builder’s level to establish this slope during excavation. This slight grade will prevent water from pooling on your patio or flowing toward your home’s foundation.
Setting the Base for Your Stone Patio
A solid base prevents settling and helps keep your patio level over time. Follow these steps to set the base for your stone patio.
Lay and Compact the Gravel Base
The next step is to cover the excavated area with pack and a blend of crushed stone and stone dust.
- Cover the subgrade in batches of 3-inch-thick layers of pack, a blend of three-quarter-inch crushed stone and stone dust. Dampen each layer with water to keep down the dust.
- Compact each layer with a plate compactor. Use a hand tamper near walls, sidewalks, or foundations. Repeat process of adding, dampening and tamping each 3-inch layer until all the pack is roughly 2-and-a-half inches below the marks on the stakes (if laying 1-and-a-half-inch-thick stone).
- Drive additional stakes every 2 feet between the corner stakes closest to the house and again on the opposite end of the patio, which the grade slopes toward.
- Stretch a chalk line between the finish grade marks and snap the line against the new stakes.
- Run strings along the pitch of the patio between the new stakes at their finish-grade marks.
Tip: For irrigation lines or outdoor electricity, lay a 3-inch-diameter PVC conduit over the subgrade.
Add a Sand Layer
Once your gravel base is compacted, add a 1-inch layer of coarse sand or stone dust. This layer helps create a smooth surface for laying your stones and allows for minor adjustments when leveling individual stones.
Laying the Stone Patio
With preparation complete, you’re ready to start laying your stone patio. This process involves creating a setting bed, carefully placing and leveling each stone, and making necessary cuts.
Create a Setting Bed
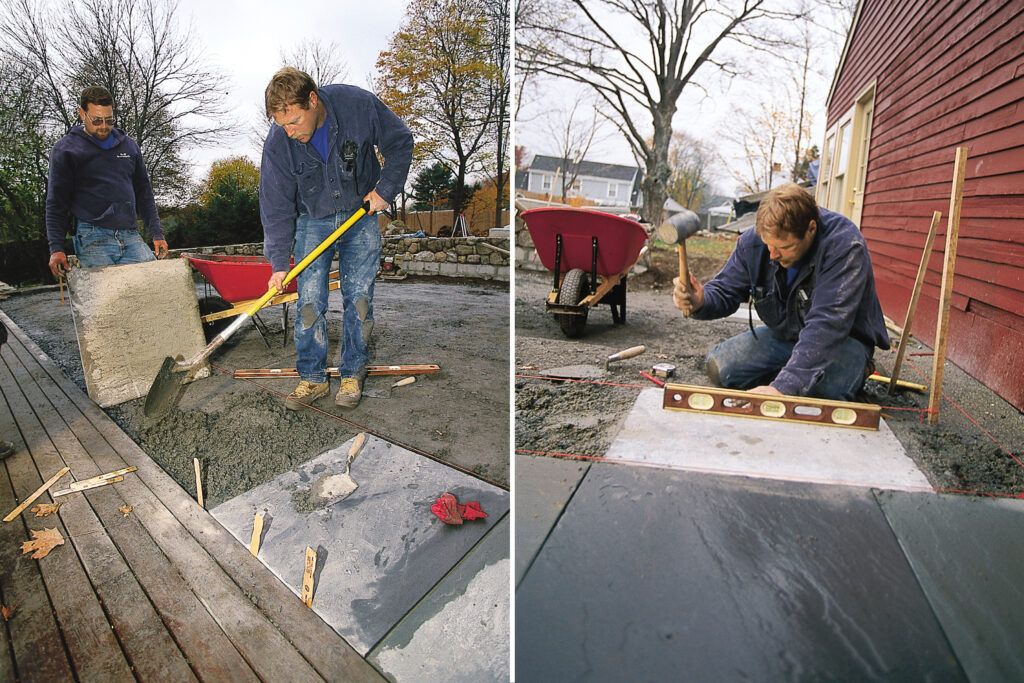
Mix one part dry cement with 12 parts stone dust in a wheelbarrow, adding water to create a stiff mixture. This setting bed will help secure your stones in place. Spread a layer of this mixture, starting in one corner of your patio area. Here’s how:
- Starting in one corner, shovel out enough mix to lay one stone. Level the mixture with a rake or hand trowel. Depending on size and weight, bluestone slabs will settle into the wet mix half an inch or more, so spread the mix thicker than its planned final thickness.
- Check bed thickness by measuring the distance between it and the string. For 1-and-a-half-inch-thick stones, that distance should be roughly 1 inch, to allow for about 1/2 inch of settling.
- Add or remove mix to meet the finish grade.
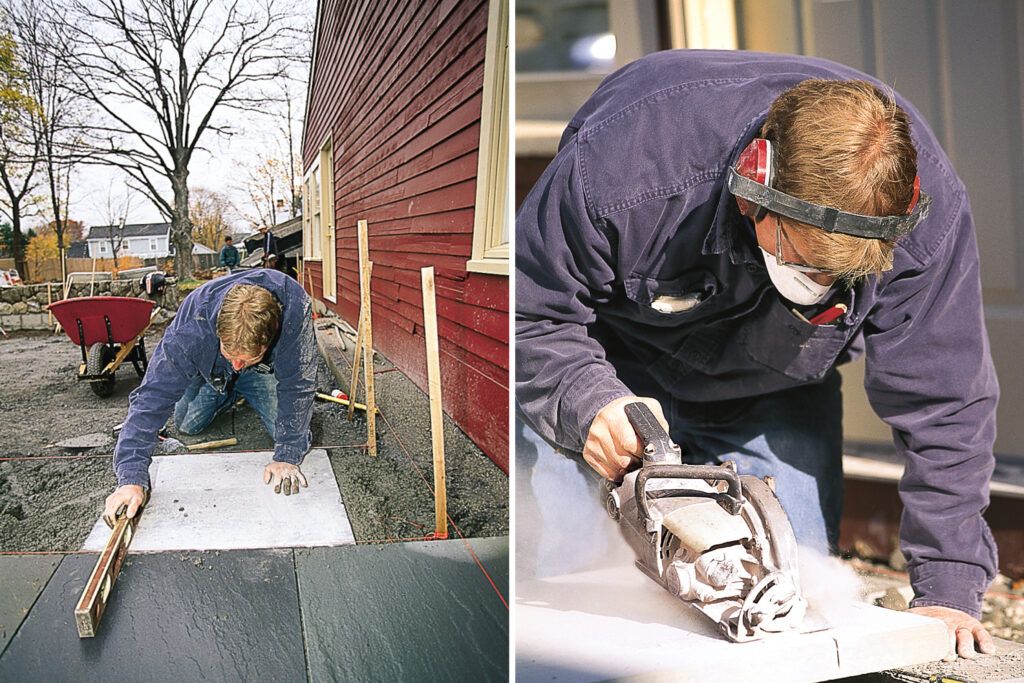
Place and Level the Stones
Begin laying stones in one corner, working your way across the patio. Place each stone into the setting bed, twisting slightly to ensure good contact. Use a rubber mallet to tap the stone into place, checking that it’s level with adjacent stones and at the proper slope for drainage. Leave a 3/8- to 1/2-inch gap between stones for joint filler.
Cut Stones To Fit
For a polished look, you may need to cut some stones to fit around edges or obstacles. Mark your cut line with a pencil and score it using a carbide-tipped awl. Use a masonry saw or angle grinder with a diamond blade to make the cut, wearing appropriate safety gear. For straight cuts, use a level as a guide.
Filling Joints and Edging Your Stone Patio
Properly filled joints and secure edging complete your patio, enhancing its appearance and stability.
Choose the Right Joint Filler
Stone dust is an excellent choice for filling joints between patio stones. It allows for slight movement while discouraging weed growth. Avoid using cement, which can crack in freezing temperatures, or sand, which can attract ants and allow grass to grow. Sweep stone dust into the joints, then lightly spray with water to help it settle. Repeat this process until joints are firm and level with the stone surface.
Edging Options for Your Patio
While not always necessary, edging can provide a finished look and help contain your patio stones. Cobblestones make an attractive option. To install them, dig a trench around your patio edge deep enough for a 4-inch concrete bed. Set each cobblestone 3-and-a-half inches below the finished patio grade.
Maintaining Your New Stone Patio
By regularly cleaning your patio and taking care of weeds and moss, you can enjoy it for years to come.
Maintain a Regular Cleaning Schedule
Sweep your patio regularly to remove debris. Use a garden hose to occasionally rinse off dirt and grime. A mild detergent solution and a stiff brush can be effective on tougher stains. Avoid using harsh chemicals that might damage the stone or joint filler.
Remove Weeds and Moss
Despite your best efforts, weeds or moss may occasionally appear in patio joints. Remove them promptly by hand or with a weeding tool. For persistent problems, consider using an eco-friendly weed killer specifically designed for use on stone patios.
Troubleshooting Common Stone Patio Issues
Even well-constructed patios may develop issues over time. Common problems include settling stones, which can create trip hazards, and drainage issues that lead to pooling water. To fix settled stones, carefully remove them, add or remove setting bed material as needed, and reset the stones.
For drainage problems, you may need to adjust the patio’s slope or install additional drainage solutions, such as French drains or drainage pipes.
DIY vs. Professional Installation
While skilled DIYers can lay a stone patio themselves, consider the pros and cons of DIY versus professional installation. DIY installation can save money and provide a sense of accomplishment, but it requires significant time, effort, and skill. Professional installation ensures expertise and efficiency but comes at a higher cost. Consider your skills, available time, and budget when making this decision.
Enhancing Your Stone Patio with Landscaping
Once your patio is complete, consider enhancing it with landscaping elements. Adding a fire pit can create a cozy gathering spot, while strategically placed plants can soften the patio’s edges and provide privacy. Outdoor lighting can extend your patio’s usability into the evening hours, creating a magical ambiance.
Stone Patio Cost Considerations
The cost of a stone patio project can vary widely depending on factors such as stone type, patio size, and whether you choose DIY or professional installation. Angi reports that you can expect to spend between $855 and $1,385 for a 200-square-foot DIY flagstone patio. If you hire professionals for the job, you could pay up to $8,400. DIY installation can help you save on labor costs, but remember to factor in the cost or rental of necessary tools.
Budgeting Tips
To help stay within your budget, plan ahead and shop around for the best prices on materials. Consider buying stones from a local quarry, which may offer better prices than large home improvement stores. Also, factor in the cost of delivery, as stone can be heavy and costly to transport.
Our Conclusion
While installing a stone patio requires time and money, the final product could add value to your home and create a versatile outdoor space. As with any major home improvement project, take the time to research, plan, and execute each step carefully for the best results. With careful planning, proper preparation, and attention to detail, you can create a beautiful and durable patio your guest and family can enjoy.