We may be compensated if you purchase through links on our website. Our team is committed to delivering honest, objective, and independent reviews on home products and services.
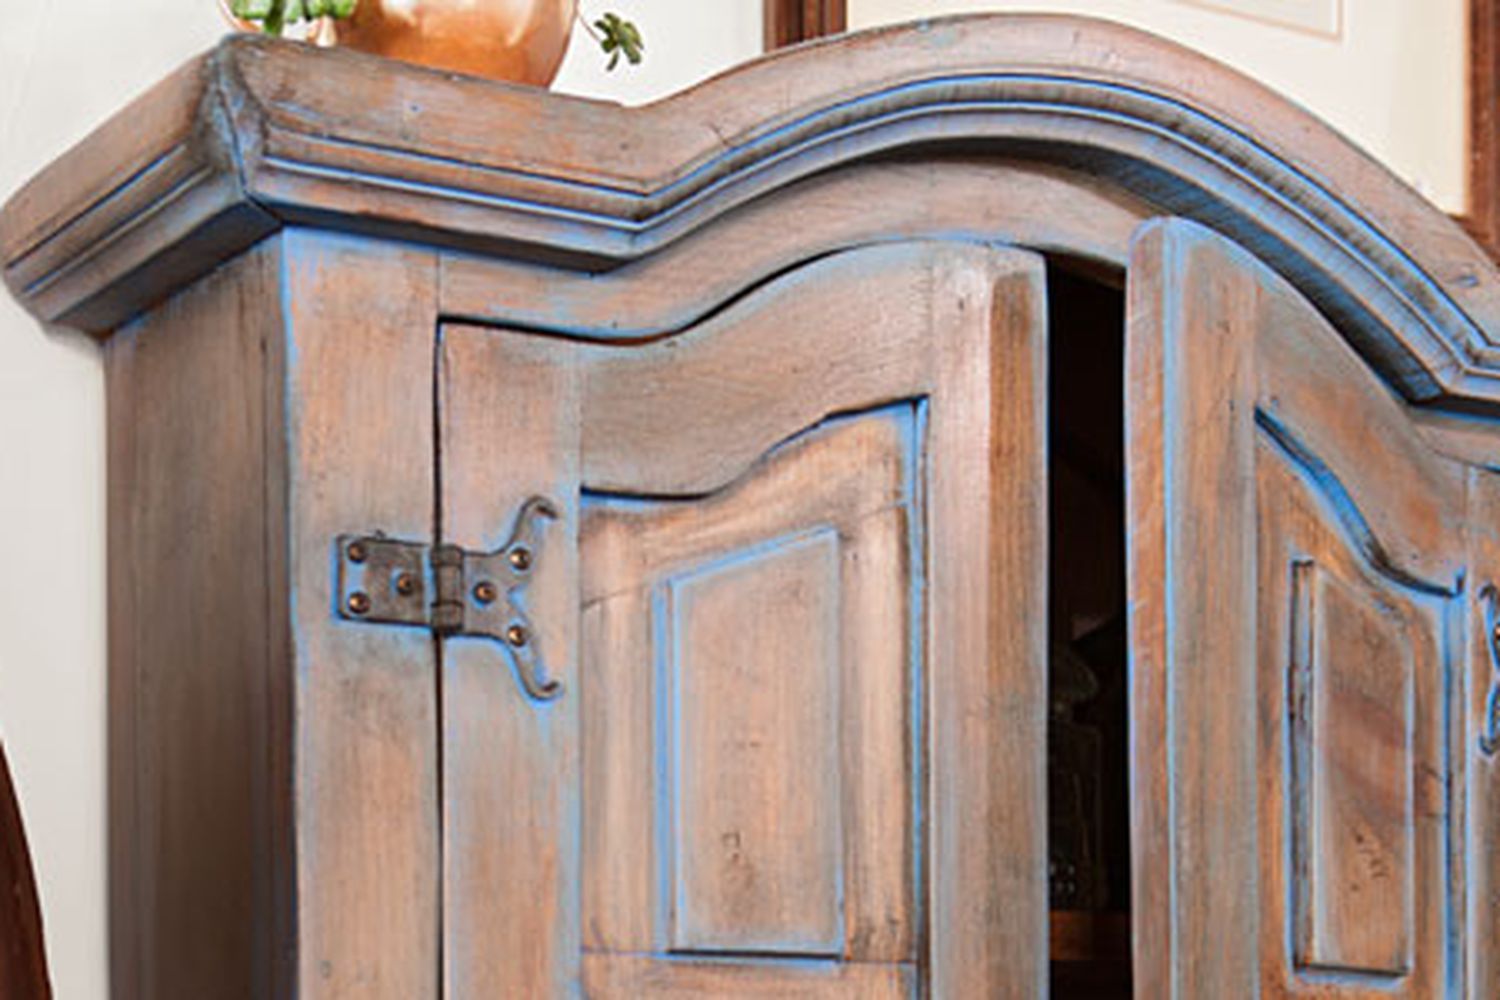
Creating a color wash patina on furniture can add character and depth to wooden pieces while allowing the natural beauty of the wood grain to shine through. This technique involves applying a thin layer of diluted paint over a base coat, creating a subtle, aged appearance that can transform ordinary furniture into unique, eye-catching statement pieces. Whether you’re looking to refresh a thrift store find or add character to a plain cabinet you assembled yourself, color washing can open up a world of decorating possibilities.
What Is Color Wash?
Color wash, also known as paint wash or whitewash, is a painting technique that involves applying a thin, translucent layer of diluted paint over a surface. This method allows the underlying wood grain or base color to show through, creating a subtle, layered effect. The result is a soft, muted appearance that can make furniture look weathered, antique, or simply more interesting than a solid paint job.
Benefits of Color Wash Patina
Applying a color wash patina to your furniture offers several advantages. First, it’s an excellent way to update pieces without completely hiding their natural beauty. Additionally, color wash is forgiving and easy to customize, making it ideal for DIY enthusiasts of all skill levels. It’s also a cost-effective way to transform furniture, as it requires less paint than traditional painting methods.
Essential Tools and Materials for Color Washing
Before starting your color wash project, gather all the necessary supplies. Having everything on hand will make your painting project go smoothly.
Paint Selection
Choosing the right paint when color washing helps achieve the desired color wash effect. Chalk paint is an excellent option for this technique due to its matte finish and ease of use. It adheres well to most surfaces and doesn’t require priming. When selecting your paint color, consider the overall look you want to achieve and how it will complement your existing decor.
Brushes and Applicators
For applying the color wash, you’ll need a variety of brushes and applicators:
- Large, flat paintbrush for base coat application
- Smaller brushes for detailed areas
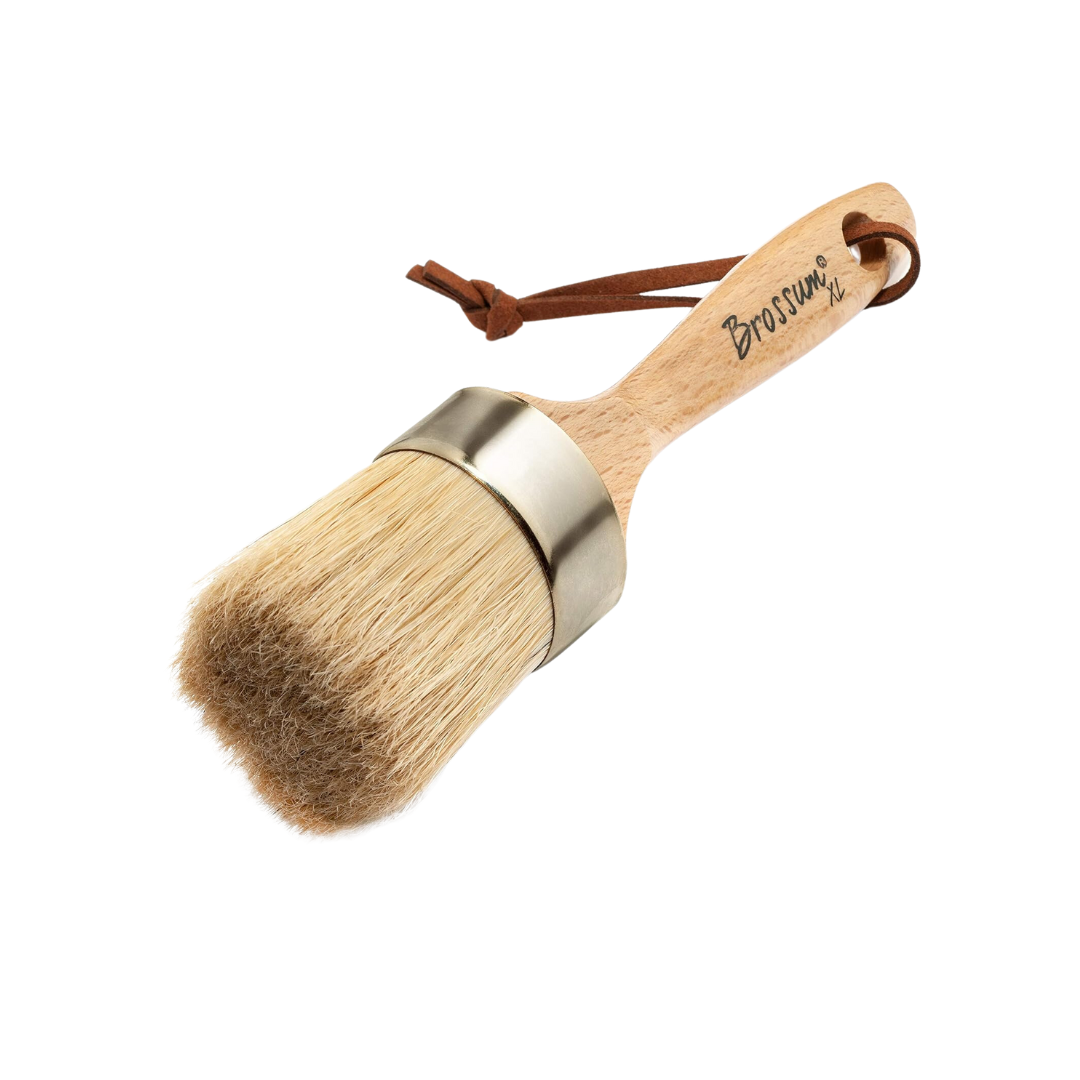
- Natural bristle brush for applying wax
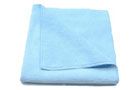
- Soft, lint-free rags for wiping excess paint and wax
Additional Supplies
Other essential items include:
- Sandpaper (various grits)
- Tack cloth
- Paint thinner or water (depending on paint type)
- Dark wax for antiquing
- Clear wax for sealing
- Protective gear (gloves, dust mask, safety glasses)
Preparing Your Furniture for Color Washing
Proper preparation is key to achieving a beautiful color wash finish. Take the time before you start to clean and prepare your furniture surface thoroughly.
Cleaning the Surface
Start by removing any dirt, grime, or old finishes from your furniture. Use a gentle cleaner appropriate for the material and scrub the surface with a soft cloth. For stubborn stains or finishes, you may need to use a stronger cleaning solution or paint stripper. Ensure the piece is completely dry before moving on to the next step.
Sanding Techniques
Lightly sand the entire surface of your furniture to create a smooth base for the color wash. Use a medium-grit sandpaper (120-150 grit) for initial sanding, followed by a finer grit (220) for a smooth finish. Pay special attention to any rough spots or imperfections. After sanding, wipe away all dust with a tack cloth to ensure a clean surface for painting.
Applying the Base Coat
The base coat serves as the foundation for your color wash and will influence the final look of your piece. Follow these steps for a successful application.
Thinning the Paint
For the base coat, thin your chosen chalk paint with water. A good starting ratio is three parts paint to one part water, but you may need to adjust this depending on the desired opacity and the condition of the wood. For new wood, you might want to use a slightly thicker mixture, such as four or five parts paint to one part water.
Application Methods
Apply the thinned base coat using a large, flat brush. Work in the direction of the wood grain, pushing the paint into any crevices or details. The goal is to achieve even coverage while still allowing some of the wood’s natural character to show through. Let the base coat dry completely before moving on to the color wash step.
Creating the Color Wash Effect
The color wash layer will add depth and character to your furniture piece. Follow these steps to achieve a stunning finish.
Mixing the Wash Solution
Prepare your color wash by further diluting the paint you used for the base coat. Aim for a ratio of about one part paint to three parts water. The mixture should be thin and translucent, almost like colored water. Test the consistency on a scrap piece of wood or an inconspicuous area of your furniture to ensure you’re happy with the effect.
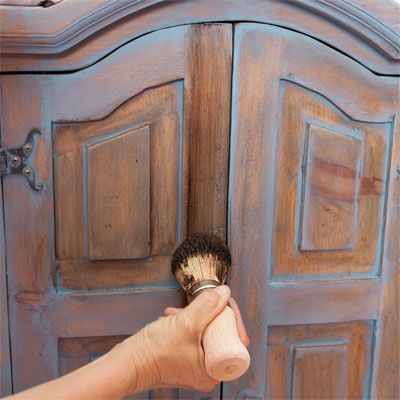
Applying the Wash
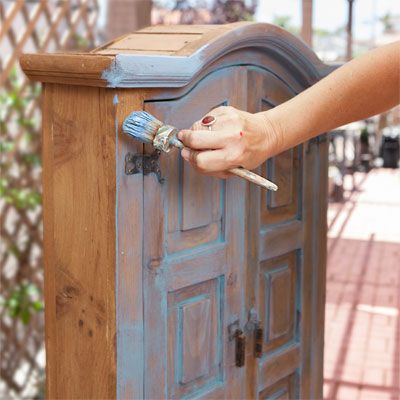
Using a brush or rag, apply the color wash solution to your furniture in sections. Work quickly and in the direction of the wood grain. The wash should glide on smoothly and settle into the grain and any recessed areas.
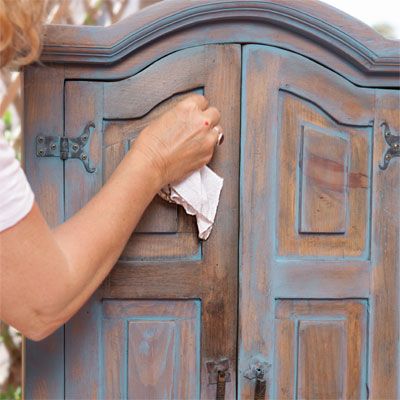
Wiping Techniques
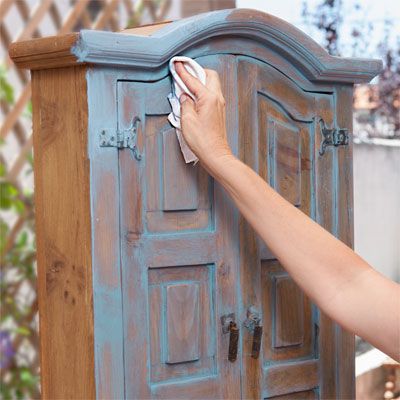
Immediately after applying the wash to a section, use a clean, lint-free rag to wipe off excess paint. This step is crucial for achieving the desired patina effect. Wipe more aggressively on flat surfaces and more gently in corners and crevices where you want the color to be more pronounced. The goal is to leave a subtle tint that enhances the wood’s natural features.
Adding Depth with Wax
Applying wax is the final step in creating a rich, aged look for your color-washed furniture.
Choosing the Right Wax
Select a dark wax to enhance the antique appearance of your piece. Dark wax will settle into the grain and crevices, adding depth and highlighting the furniture’s details. Clear wax can be used afterward to seal and protect the finish.
Application Process
Using a round wax brush, apply the dark wax in a circular motion, working in small sections of about one square foot at a time. This technique will give your piece a rustic, antiqued look. Be sure to work the wax into all the nooks and crannies of the furniture.
Removing Excess Wax
As you apply the wax, use a clean rag to wipe off any excess. This step prevents the wax from building up too heavily and ensures an even finish. Pay attention to how much wax you’re removing to achieve the desired level of antiquing.
Troubleshooting Common Color Wash Issues
Even with careful application, you may encounter some challenges when creating a color wash patina. Here’s how to address common problems.
Uneven Color Distribution
If you notice uneven color distribution after the wash has dried, you can apply a second, very thin layer of wash to even out the tone. Alternatively, strategically apply and remove dark wax to balance the overall look.
Excessive Paint Buildup
If you have too much paint buildup, lightly sand the affected areas with fine-grit sandpaper. This will remove some of the paint and reveal more of the wood grain. Reapply a thin wash if needed to blend the sanded areas with the rest of the piece.
Finishing Touches and Maintenance for Your Furniture
Proper finishing and care will ensure your color-washed furniture looks beautiful for years to come.
Sealing the Color Wash
Once you’re satisfied with the color wash and wax application, seal the piece with a clear wax or a water-based polyurethane coat for added protection. This final layer will help preserve the finish and make the surface easier to clean.
Caring for Your Finished Piece
To maintain your color-washed furniture, dust it regularly with a soft, dry cloth. Avoid using harsh chemicals or abrasive cleaners, as these can damage the finish. For deeper cleaning, use a slightly damp cloth and dry immediately. Reapply clear wax annually or as needed to maintain the protective finish.
If you’re curious about adding other elements to your furniture, wood finishing expert Bruce Johnson explains how to stain and finish wood furniture below.