We may be compensated if you purchase through links on our website. Our team is committed to delivering honest, objective, and independent reviews on home products and services.
Project details
Skill
Cost
Estimated Time
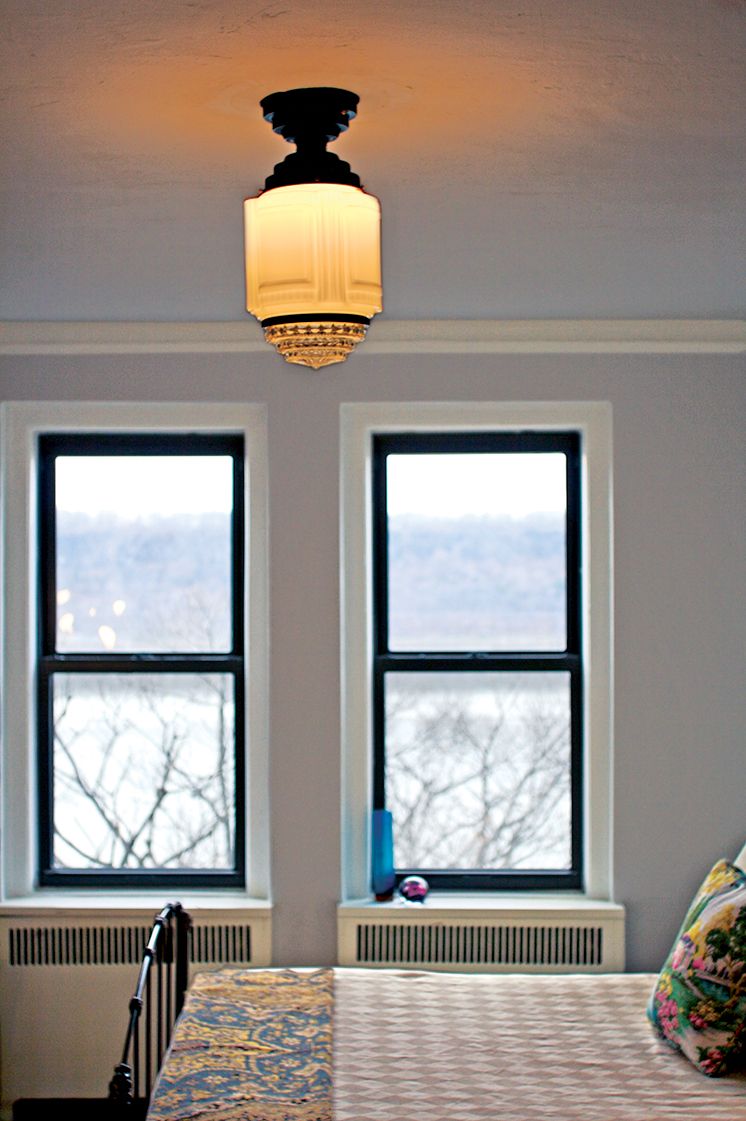
Vintage lighting fixtures can add character and charm to any room, transforming the ambiance with their unique designs and historical appeal. Whether you’re renovating an older home or looking to infuse some classic style into a modern space, installing a vintage light fixture is a relatively simple DIY project that can make a significant impact. This guide will walk you through the process of swapping out your current fixture for a vintage one and help you complete the task safely and effectively.
*Unless otherwise noted, costs in this article reflect an average of prices that our team found from hardware stores like Lowes and Home Depot, and on Amazon.com.
Step-By-Step Guide To Installing a Vintage Light Fixture
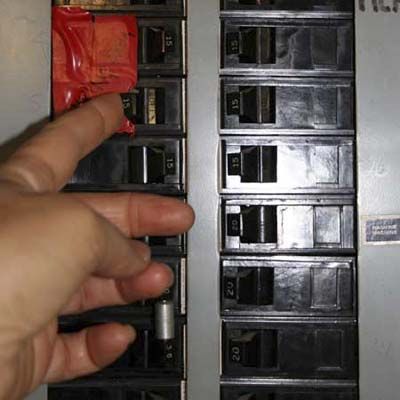
Step 1: Cut the Power
Safety should always be your top priority when working with electrical fixtures. Before you begin the installation process, cut off the power supply to the existing fixture to prevent any risk of electric shock.
Follow these steps:
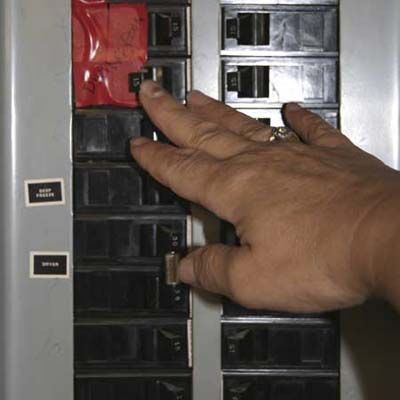
- Locate your home’s circuit breaker box.
- Identify the breaker that controls power to the room where you’ll be working.
- Switch off the corresponding breaker.
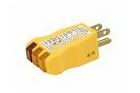
- Double-check that the power is indeed off by using a circuit tester.
- Flip the wall switch on and off to confirm there’s no electricity flowing to the fixture.
Remember, even if you think you’ve turned off the correct breaker, always use a circuit tester to verify. It’s better to be overly cautious when dealing with electricity.
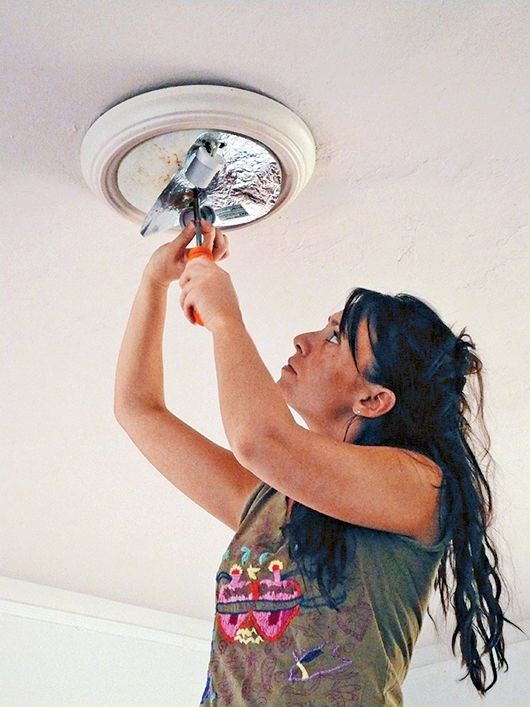
Step 2: Unscrew the Nuts
Once you’ve confirmed that the power is off, you can begin removing the existing fixture. This step involves disconnecting the wires and removing the physical fixture from the ceiling. Having a clear understanding of this process is essential for a smooth transition to your new vintage fixture.
Follow these steps to remove the old fixture:
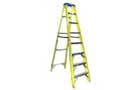
- Use a ladder to reach the fixture safely.
- Locate the decorative nuts or screws holding the fixture’s canopy in place.
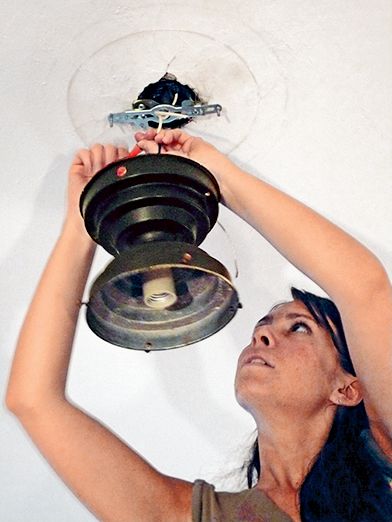
- Carefully unscrew these nuts or screws, supporting the fixture as you do so.
- Gently lower the fixture to expose the wiring connections.
- Identify the different wires—typically, you’ll see a black (hot) wire, a white (neutral) wire, and possibly a green or bare copper (ground) wire.
- Untwist the wire nuts connecting the fixture’s wires to the house wires.
- Separate the wires and set the old fixture aside.
Take note of how the wires were connected, as you’ll need to replicate this configuration with your new vintage fixture.
Step 3: Install a Crossbar Mounting Bracket
Many vintage fixtures require a crossbar mounting bracket for proper installation. This bracket provides a strong base for your new light and keeps it securely attached to the electrical box in the ceiling.
Here’s how to install the crossbar mounting bracket:
- Remove the existing mounting hardware from the electrical box if present.
- Take the new crossbar mounting bracket from your vintage light kit.
- Align the holes in the bracket with those in the electrical box.
- Use the screws provided in the kit to secure the bracket to the box.
- Ensure the bracket is level and tightly fastened.
If your vintage fixture didn’t come with a mounting kit, you can purchase one separately at most hardware or lighting supply stores. Make sure to choose a kit that’s compatible with both your fixture and the electrical box in your ceiling.
Step 4: Connect the Wires
With the mounting bracket in place, you’re ready to connect the wires of your vintage fixture to the house’s wires. This step requires careful attention to ensure a safe and proper electrical connection.
Follow these steps to connect the wires:
- Identify the wires on your vintage fixture: black (hot), white (neutral), and green or bare (ground).
- Strip about 3/4 inch of insulation from the ends of each wire if not already done.
- Match the white wire from the ceiling to the white wire on the fixture.
- Twist the bare ends of these wires together clockwise.
- Secure the connection with a wire nut, turning it clockwise until tight.
- Repeat this process with the black wires.
- If present, connect the ground wires in the same manner.
- Gently tug on each wire nut to ensure the connections are secure.
Remember, if you’re unsure about any part of this process, it’s always best to hire a licensed electrician.
Step 5: Position the Fixture
With the wires connected, you’re ready to mount your vintage fixture to the ceiling. This step involves carefully positioning the fixture and securing it to the mounting bracket.

Here’s how to position and secure your vintage fixture:
- Carefully tuck the connected wires into the electrical box.
- Align the canopy of your vintage fixture with the mounting bracket.
- Locate the screws or threaded posts on the mounting bracket.
- Lift the fixture into place, aligning its holes with the bracket’s screws or posts.
- While supporting the fixture, thread the decorative nuts onto the screws or posts.
- Tighten the nuts until the fixture is snug against the ceiling.
- Ensure the fixture is level and properly aligned.
Take your time with this step to ensure the fixture is securely fastened and sits flush against the ceiling. A properly mounted fixture not only looks better but is also safer.
Step 6: Secure the Glass Shade
Many vintage fixtures feature decorative glass shades that add to their charm and help diffuse the light. Installing these shades is typically the final step in the process.
Follow these steps to secure the glass shade:
- Carefully unpack the glass shade, handling it gently to avoid breakage.
- Identify the mechanism for attaching the shade (often screws or a threaded ring).
- Position the shade over the light bulb socket.
- Align any notches or holes in the shade with the corresponding parts on the fixture.
- Secure the shade using the provided hardware, being careful not to overtighten.
- If your fixture has multiple shades, repeat the process for each one.
- Step back and ensure all shades are level and properly aligned.
Step 7: Turn On the Power
With your vintage fixture fully installed, it’s time to restore power and test your handiwork. This final step will bring your new lighting to life and allow you to enjoy the fruits of your labor.
Here’s how to safely restore power and test your new fixture:
- Ensure the wall switch for the fixture is in the OFF position.
- Return to your circuit breaker box.
- Locate the breaker you switched off at the beginning of the project.
- Flip the breaker back to the ON position.
- Return to the room with your new fixture.
- Flip the wall switch to the ON position.
- Observe your new vintage light in action.
- Check for any flickering or unusual behavior that might indicate a wiring issue.
If everything is working correctly, congratulations. You’ve successfully installed your vintage light fixture. If you notice any problems, turn off the power immediately and double-check your connections or consult an electrician.
Our Conclusion
Swapping in a vintage light fixture is a rewarding DIY project that can significantly improve your home’s aesthetics. By following these steps and prioritizing safety, you can successfully install a unique, character-filled lighting piece. Remember, if at any point you feel unsure about the process, it’s always wise to hire a professional electrician to get the job done safely and correctly.
Required Tools
 Ladder
- Screwdriver
- Circuit tester