
Project details
Skill
Cost
Estimated Time
Seeding your yard is a rewarding do-it-yourself (DIY) project that can bring new life to your outdoor space—and it’s easier than you might think. With the right timing and a bit of patience, you can create a lush, thriving lawn that you’ll be proud to show off. Our guide will walk you through the entire process, from soil preparation to post-seeding care, to ensure your grass gets the best start possible.
Understanding Lawn Seeding Basics
Lawn seeding is the process of planting grass seeds to establish a new lawn or improve an existing one. It’s an affordable alternative to laying sod and gives you access to a broader range of grass types.

Can I Just Throw Seeds on Grass?
Although you certainly can just scatter seeds across your existing lawn and hope for the best, you’ll likely be disappointed by the results. Seeds need to be in close proximity to the soil to absorb moisture and nutrients, germinate, and establish strong roots. If you simply throw the seeds on grass, they will struggle to take root, resulting in patchy growth.
Keys To Successful Seeding
“Seeding is the easiest thing for a homeowner to do,” says This Old House landscape contractor Roger Cook. “It just takes a little soil preparation, the right mix of seed, and lots of watering.” The success of your seeding project depends on several factors:
- Soil quality: Proper soil preparation creates an ideal seedbed for germination
- Seed selection: Choose high-quality seeds suited to your climate and soil conditions
- Proper seeding techniques: Follow recommended seeding rates and methods for even distribution
- Post-seeding care: Provide adequate watering, fertilization, and weed control to nurture seeds during germination and early growth stages
Best Time To Seed Your Lawn
The ideal time to seed depends on your climate and the type of grass you’re planting. Generally, there are two optimal seasons for seeding: spring and fall.
Spring Seeding
Spring seeding is best for warm-season grasses and can be done in cooler climates once the soil temperature reaches about 50°F. However, spring-seeded lawns may face more competition from weeds and require more watering during summer heat.
Fall Seeding
Fall is the optimal time for seeding cool-season grasses in most regions. In cold-weather climates, fall’s cooler temperatures prevent the seeds from drying out, but there’s still enough sun and rain to help them germinate before going into hibernation for the winter—without the competition of crabgrass and other weeds that die off this time of year.
Assessing Your Soil’s Condition
Before seeding, evaluate and prepare your soil. Proper soil conditions are essential for seed germination and healthy grass growth.
Testing Soil pH
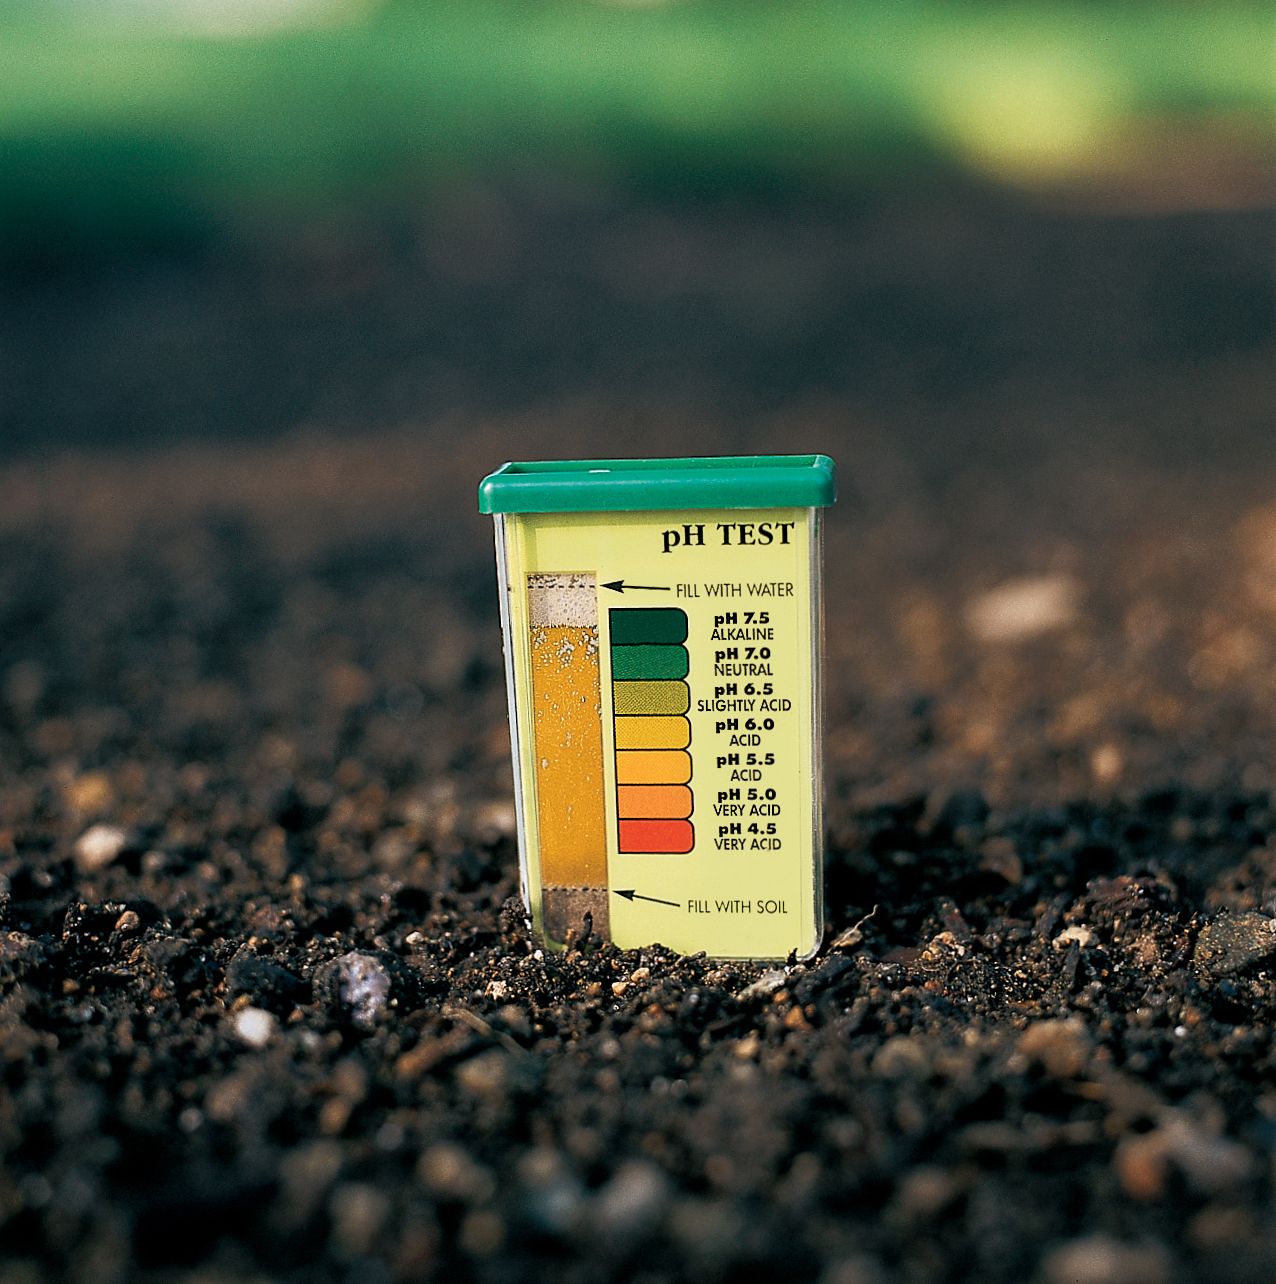
Grass grows best in soil with a pH between 6.0 and 7.5. Use a soil testing kit to measure the pH level. Put measured amounts of soil and water into the test chamber and shake well. Then, compare the color of the soil solution to the color-coded chart. If your soil pH is outside the ideal range, you’ll need to amend it before seeding (see Step 3 in the next section).
Evaluating Soil Texture
Soil texture affects drainage and nutrient retention. The ideal soil for grass should be well-draining but able to retain some moisture. If your soil is too sandy or clay-heavy, you may need to work in organic matter or sand to improve its texture.
Preparing the Ground for Seeding
Proper ground preparation ensures that seeds have the best environment for germination and root establishment. Here’s what to do:
Step 1: Remove Old Grass, Rocks, and Roots

If you’re starting with an existing lawn or weed-covered area, use a sod cutter to remove old grass and weeds at the roots. Remove all rocks and visible roots from the area, and fill any holes or depressions with topsoil. Then use a rotary tiller to eliminate any big clumps or patches of tightly-packed soil.
Step 2: Add Sand and Compost
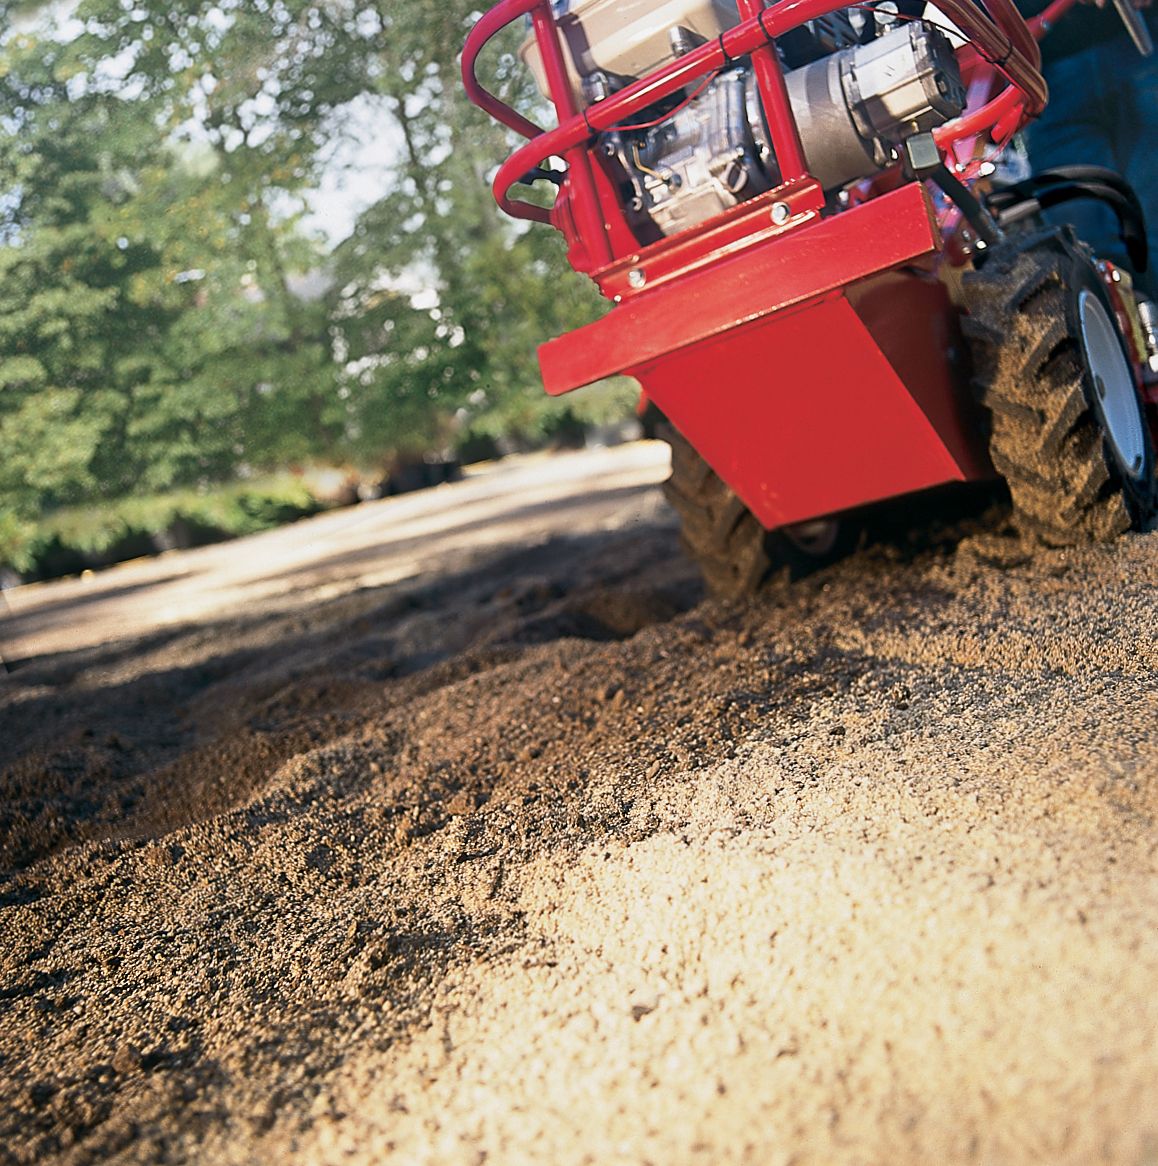
Cover the planting area with a 1-inch layer of sand. Distribute it as evenly as possible with a shovel, then use a rotary tiller to incorporate the sand into the topsoil. Then cover the area with a 1-inch layer of compost and till it in as well.
Step 3: Amend the Soil
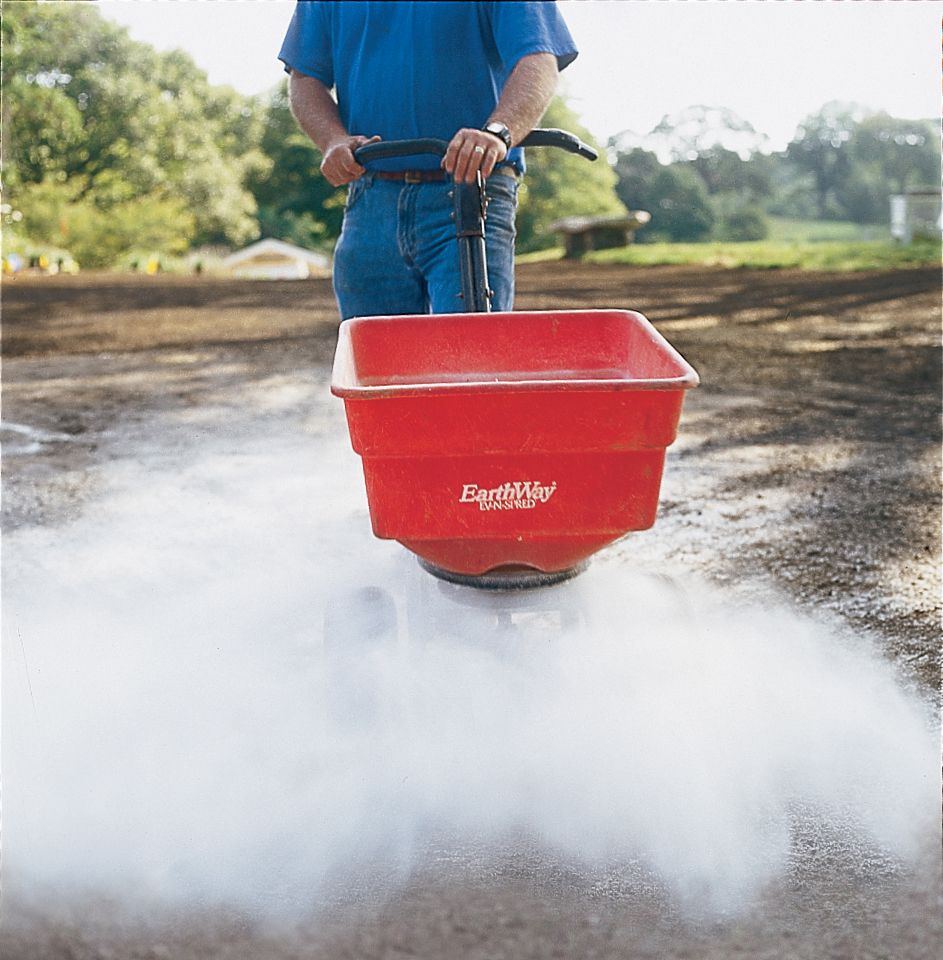
A pH lower than 6 means your soil is too acidic. To correct this problem, apply lime to the soil with a walk-behind broadcast spreader.
If the pH is above 7.5, the soil is too alkaline. For moderately alkaline soil, add peat moss. For very alkaline soil, use a broadcast spreader to apply sulfur.
Next, use a broadcast spreader to apply starter fertilizer to the entire area. Don’t try to spread the fertilizer, lime, or sulfur by hand or mix them together in the spreader—they must be applied at different, specific rates.
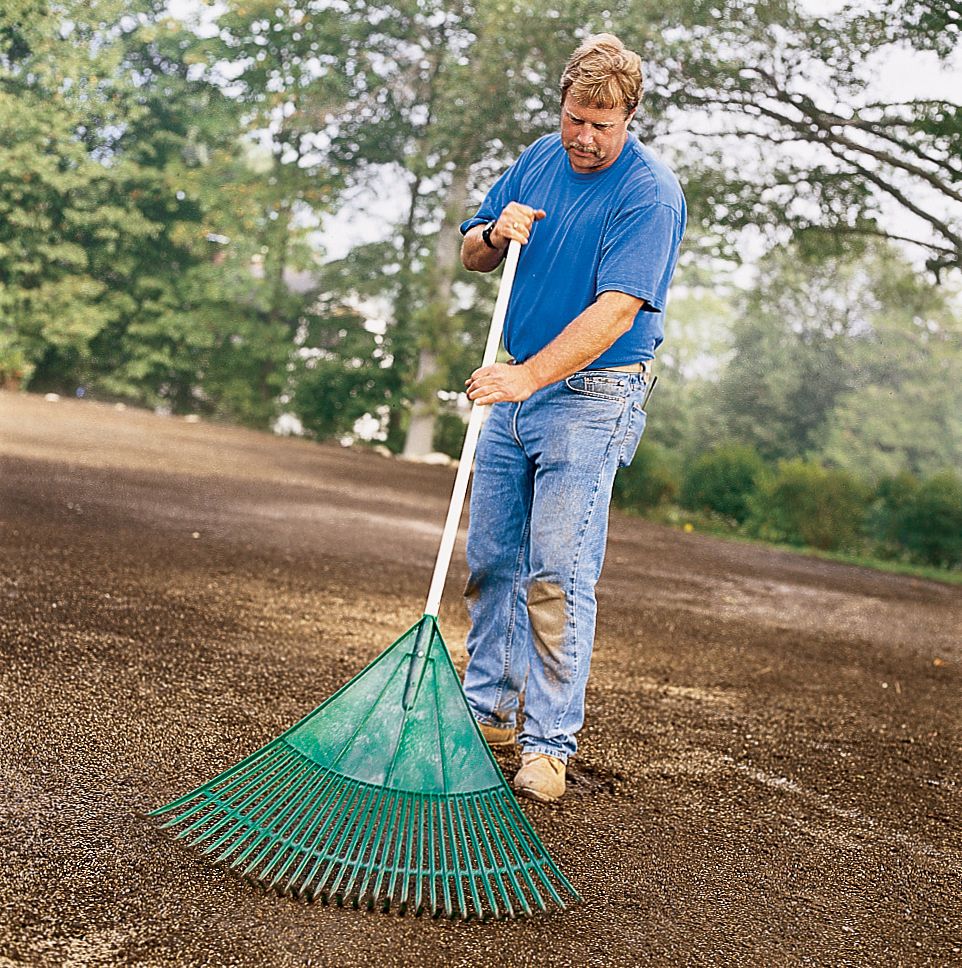
Step 4: Rake the Soil

Use a rake to work the fertilizer and lime or sulfur into the top inch of soil. Then rake the soil level, removing any remaining clumps or rocks.
Choosing the Right Grass Seed
Selecting the appropriate grass seed is essential for a successful lawn. The right choice depends on your climate, soil type, and lawn use.
Cool vs. Warm Season Grasses
Your local climate plays a major role in determining which type of grass will flourish in your yard. Start by understanding the difference between cool-season and warm-season grasses, which have distinct growth patterns and preferences.
| Where To Use | Popular Varieties | When To Seed | |
| Cool-Season Grasses | Areas with cold winters and mild summers | Kentucky bluegrass, fescue, ryegrass | Later summer to early fall |
| Warm-Season Grasses | Hot climates with mild winters | Bermuda grass, Zoysia grass, St. Augustine grass | Late spring to early summer |
Recommended Grass Seed Mixes for Different Conditions
In addition to climate, you should consider the specific lawn conditions you’re facing. Here are some suggestions for different scenarios:
- Shade-tolerant mixes: Shade-tolerant mixes typically contain varieties such as fine fescues and ryegrass, which perform well with limited sunlight.
- High-traffic mixes: Look for a seed mix containing perennial ryegrass, Kentucky bluegrass, or tall fescue, as these varieties are known for their resilience.
- Drought-resistant mixes: Bermuda grass, buffalo grass, and certain varieties of zoysia grass are well-suited for dry conditions and require less frequent watering.
- Mixes for poor soil: Seed mixes designed for poor or compacted soils often include hard fescue and tall fescue, which can tolerate less-than-perfect soil conditions.
- Lawn repair mixes: You can repair specific areas with a blend of fast-germinating grass seeds, fertilizers, and mulch, providing a quick and easy solution to lawn damage.
Essential Tools for Lawn Seeding
Having the right tools can make the seeding process more efficient and effective. Here’s what you need:
- Garden rake: For leveling soil and lightly covering seeds
- Leaf rake: For gently working seeds into the soil
- Shovel: For removing rocks and filling holes
- Wheelbarrow: For transporting soil amendments
- Rotary tiller: For turning and mixing soil
- Broadcast spreader: For evenly distributing seed and fertilizer
- Sprinkler system: For consistent watering


Step-By-Step Seeding Process

- Prepare the spreader. Calibrate your broadcast spreader according to the seed package instructions, then fill it with your chosen grass seed.
- Spread evenly. Walk in straight lines across your lawn, slightly overlapping each pass. Make a second pass perpendicular to the first for uniform coverage.
- Incorporate the seeds. While you don’t want to bury the seeds deeply, they do need good soil contact. Use the back of a plastic leaf rake to gently work the seeds into the top 1/8 inch of soil. Make short, light strokes to avoid redistributing the seeds unevenly.
- Cover and protect. Consider applying a thin layer of straw or seed starter mulch to retain moisture and deter birds.
Proper Watering Techniques
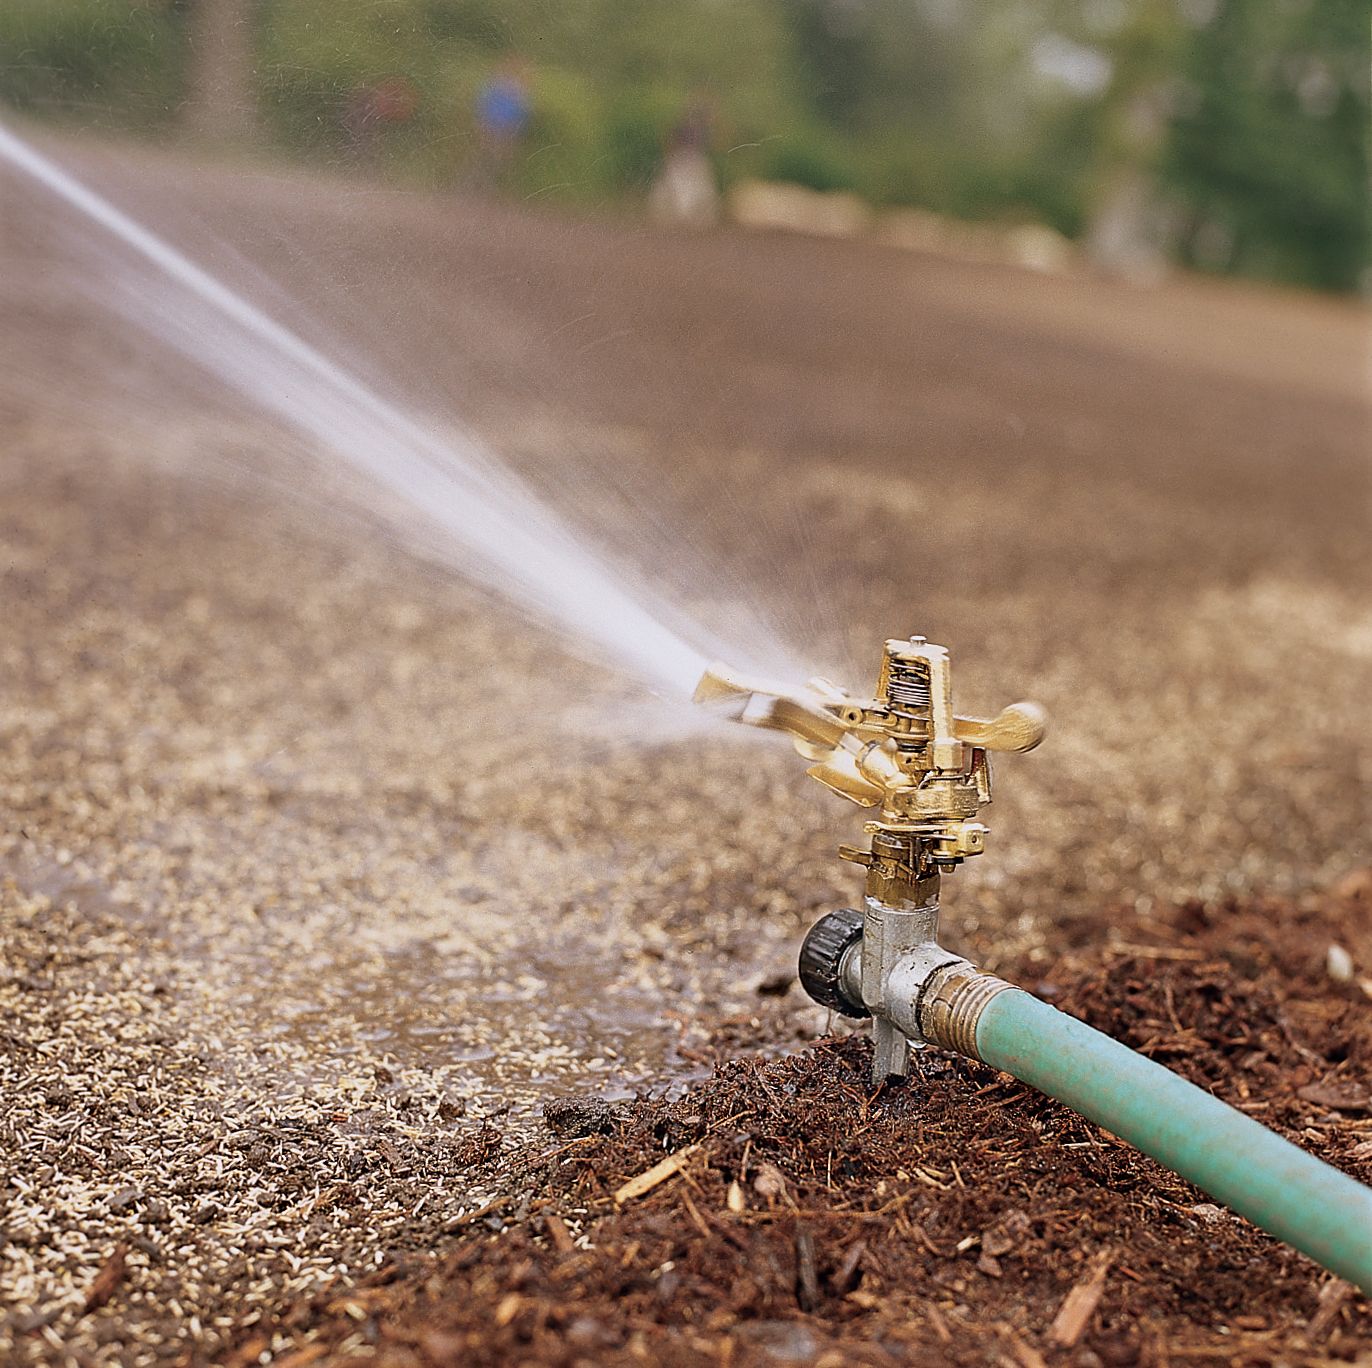
Immediately after seeding, use a fan or oscillating sprinkler to lightly water the entire seeded area. The soil should be moist but not waterlogged.
We recommend watering your lawn two to three times daily for five to 10 minutes at a time for the first eight to 10 days. Once the grass sprouts, you can reduce that to once daily for 15–30 minutes, preferably in the morning to minimize evaporation and prevent fungal diseases. Adjust your watering as needed to keep the soil consistently moist (but not soggy) during particularly hot or rainy weather.
Post-Seeding Care and Maintenance
Wait until the new grass reaches about 3 inches in height before the first mowing. When you do mow, ensure the mower blades are sharp to avoid tearing the young grass. Set the mower to a high setting, cutting no more than 1/3 of the grass height. Avoid mowing when the soil is wet to prevent compaction and damage to new roots.
About six to eight weeks after seeding, apply a balanced fertilizer to support continued growth. Choose a fertilizer appropriate for your grass type and soil needs, and use a broadcast spreader for even application. Water thoroughly after fertilizing to help nutrients reach the roots.
Troubleshooting Common Seeding Issues
Even with careful preparation, you may encounter some challenges when seeding your lawn. Here are some common issues and solutions:
- Patchy growth: This could be due to uneven seed distribution or poor soil contact. Overseed bare spots and ensure good seed-to-soil contact.
- Seed washout: Heavy rain can wash away seeds. Use erosion control blankets on slopes and consider reseeding affected areas.
- Bird damage: Birds eating seeds can leave bare patches. Use seed starter mulch or netting to protect newly seeded areas.
- Slow germination: Be patient, as some grass types take longer to germinate. Ensure consistent moisture and proper soil temperature.
Can You Overseed an Existing Lawn?
Yes, you can overseed an existing lawn to improve its density or introduce new grass varieties. Overseeding a lawn involves spreading grass seed over an existing lawn without tearing up the turf or soil. This process can help fill in bare spots, improve the lawn’s overall appearance, and introduce more resilient grass varieties.
How To Seed Bare Patches in Your Lawn
Seeding bare patches can help maintain a uniform and healthy lawn. Here is a step-by-step approach to handle bare spots:
- Loosen the soil in the bare area with a rake.
- Spread a thin layer of compost or topsoil.
- Sow grass seed evenly over the area.
- Lightly rake the seeds into the soil.
- Water thoroughly and keep the area consistently moist until the grass establishes.
For larger areas, or if you’re considering a complete lawn renovation, laying sod might be a faster alternative to seeding.
Benefits of Hiring a Professional Lawn Care Service
Some homeowners may prefer to hire a professional lawn care service rather than seed themselves. Professionals bring the following benefits:
- Expertise: They possess a thorough understanding of different grass types, soil conditions, and climate factors.
- Convenience: Professionals handle all aspects of lawn seeding, from soil preparation to post-seeding care, saving you time and effort.
- Equipment: They have access to specialized tools and machinery that can improve the efficiency and effectiveness of the seeding process.
- Customized care: Professionals can tailor their services to meet your lawn’s specific needs, ensuring optimal results.
- Peace of mind: Knowing that experienced professionals are managing your lawn can provide peace of mind and ensure a healthy, beautiful lawn.
Our Conclusion
Though seeding your lawn requires some effort and patience, the results are well worth it. By following the steps outlined in this guide, you can establish a beautiful, healthy lawn. Whether you’re starting from scratch or overseeding an existing lawn, the key is to create the best possible conditions for seed germination and early growth.