We may be compensated if you purchase through links on our website. Our team is committed to delivering honest, objective, and independent reviews on home products and services.
Planting a cherry tree can add beauty, shade, and fruit to your yard. These ornamental trees offer stunning spring blossoms, summer greenery, and fall color. In this guide, we’ll walk you through the process of planting a cherry tree in your yard, from selecting the right location to proper care after planting. Plus, Ask This Old House landscaping expert Jenn Nawada shares her step-by-step process of planting a Yoshino cherry tree in the video segment above.
Choosing the Right Location for Your Cherry Tree
Before you start digging, select the perfect spot for your cherry tree. Consider these factors when choosing a location:
- Soil conditions: Cherry trees need well-draining soil. Avoid areas where water tends to pool.
- Space: You’ll need room for the mature size of the tree. Most cherry trees grow to about 20–25 feet wide and tall.
- Style: Think about how the tree will look from different viewpoints in your yard and home.
- Sunlight: Cherry trees thrive in full sun, requiring at least 6–8 hours of direct sunlight daily.
In the video, Nawada and the homeowner pick a spot that will provide a screen for power lines and add a pop of color to the yard. This creates a nice view from both the deck and kitchen window.
Selecting the Right Cherry Tree Variety
Choosing the right cherry tree variety determines success in your specific climate. Here are some factors to consider:
- Hardiness zone: Make sure the variety you choose is suitable for your region’s climate. The Yoshino cherry tree, for example, grows best in USDA Plant Hardiness Zones 5–8.
- Purpose: Decide whether you want an ornamental tree for blossoms or a fruit-bearing tree for cherries.
- Size: Again, make sure the tree’s mature size fits your space.
For this project, Nawada uses a Yoshino cherry tree known for its beautiful spring blossoms. The variety is similar to the famous cherry trees in Washington, D.C.
Preparing To Plant Your Cherry Tree
Before you begin planting, gather the necessary tools and materials:
- Compost
- Hand rake
- Mulch
- Shovel
- Watering can or hose
- Wheelbarrow or tarp
Before digging, test your soil’s pH. Cherry trees prefer slightly acidic to neutral soil (pH 6.0–7.0). You can adjust your soil with amendments like peat moss if needed.
When To Plant
It’s best to plant cherry trees in the spring or fall when the weather is mild. This gives the tree time to establish its root system before facing extreme temperatures.
Steps for Planting a Cherry Tree
Here’s a step-by-step guide to planting your tree:
- Mark the planting area: Place the tree in its container at the desired location. Trace around the container with your shovel, then move the tree aside.
- Dig the hole: Dig a hole about twice as wide as the container and just as deep. We recommend setting aside the grass and topsoil on a tarp to prevent lawn damage.
- Prepare the soil: Loosen the soil at the bottom of the hole and mix in some compost to enrich it.
- Remove the tree from its container: Carefully remove the tree from its pot. Take care and be gentle with the root ball.
- Loosen the roots: Use a hand rake to gently break up the roots, especially if they’re tightly wound. This encourages them to grow in the surrounding soil.
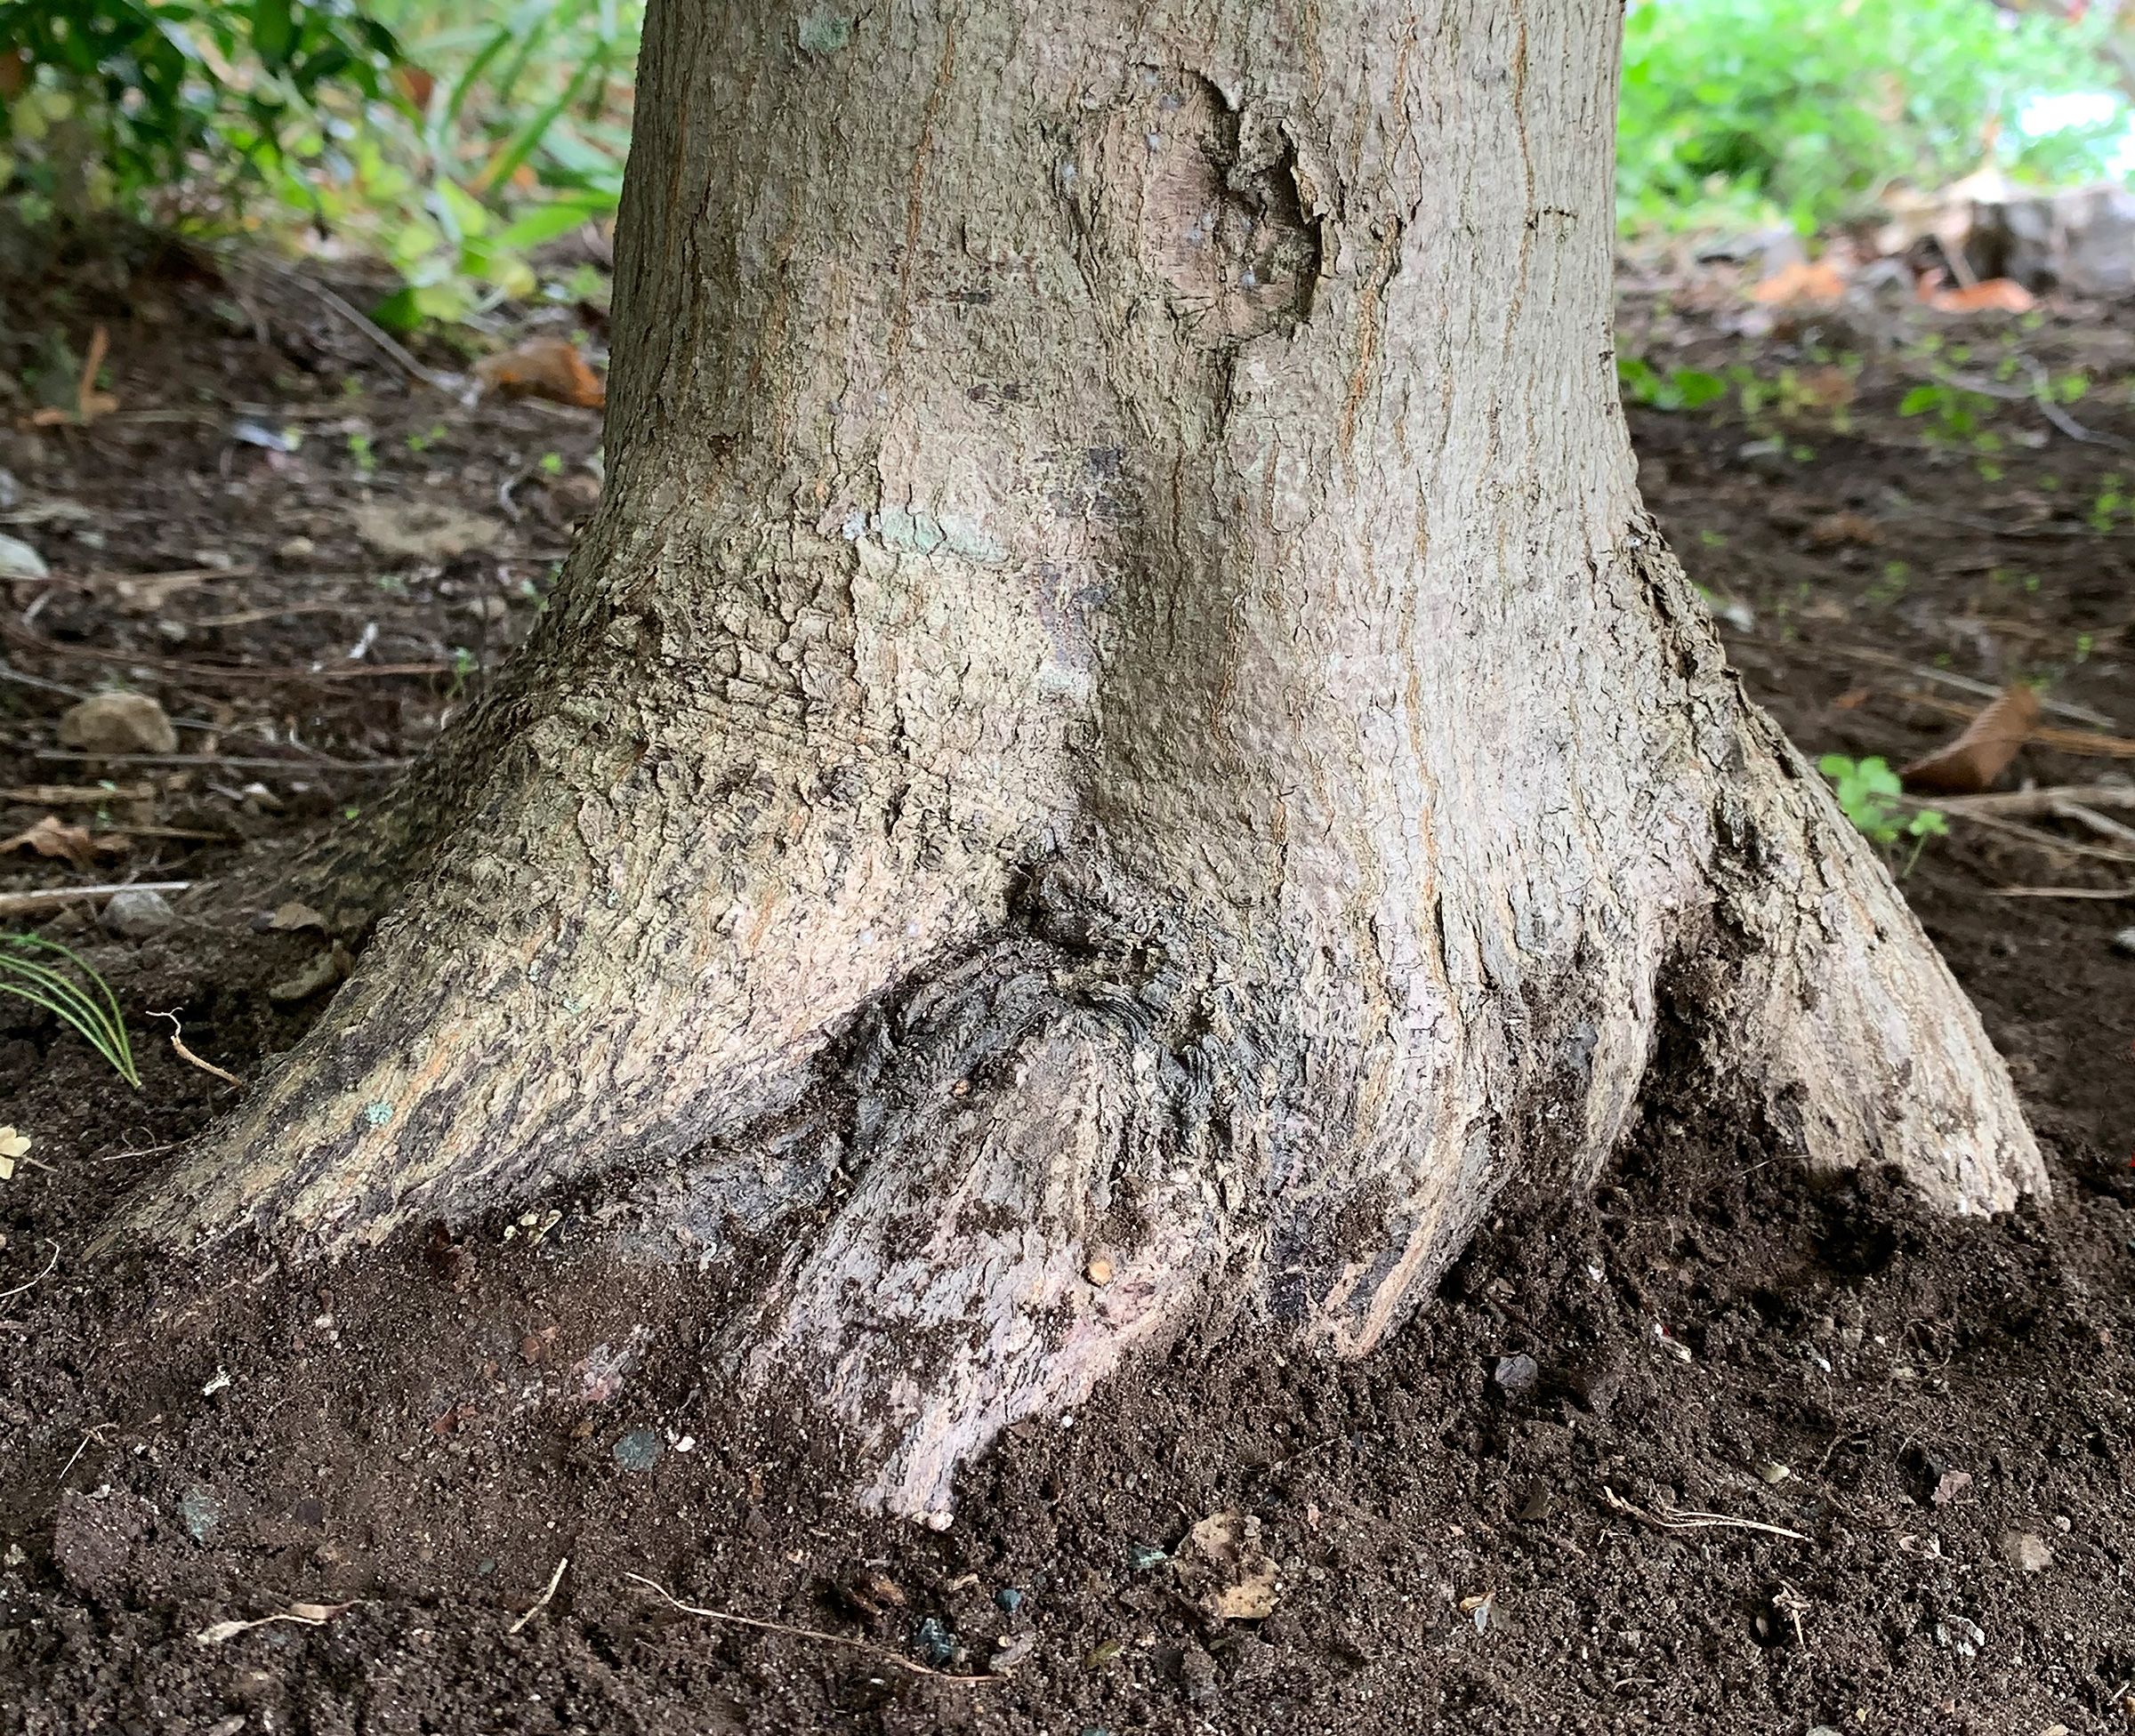
- Position the tree: Place the tree in the hole, making sure it’s straight and at the proper depth. The root flare (where the trunk widens at the base) should be slightly above ground level.
- Backfill the hole: Mix the original soil with compost and use this to fill in around the roots. Tamp down gently to remove air pockets.
- Water thoroughly: Give the newly planted tree a deep watering to help settle the soil and eliminate any remaining air pockets.
- Apply mulch: Spread a 2–3 inch layer of mulch around the base of the tree, keeping it away from the trunk to prevent moisture buildup and potential rot.
Caring for Your Newly Planted Cherry Tree
Caring for your tree in the weeks and months after planting is key to its future health. Here’s how to keep it thriving.
Watering
Consistent watering is foundational for newly planted trees. Follow these guidelines:
- Water deeply every day for the first week after planting.
- During the next few weeks, water every 2–3 days. Make sure the soil remains moist but not waterlogged.
- After the first month, water weekly unless there’s significant rainfall.
- To check soil moisture, stick your finger about 2 inches into the soil near the tree. If it feels dry, it’s time to water.
Fertilizing
Hold off on fertilizing your newly planted cherry tree for the first year. This allows the tree to establish its root system without the stress of producing new growth. Once the tree is well-rooted:
- Begin a regular fertilization schedule in early spring before new growth starts.
- Use a balanced, slow-release fertilizer suitable for fruit trees to promote healthy growth without overwhelming the plant.
Pruning
For the first year, only prune to remove broken or damaged branches. This allows the tree to focus its energy on establishing a strong root system.
After the first year, prune in late winter or early spring before new growth begins:
- Focus on removing any crossing or crowded branches to improve air circulation.
- Maintain a balanced shape to encourage even growth and sun exposure.
- Use clean, sharp tools to make clean cuts to avoid disease entry points.
Common Cherry Tree Problems and Solutions
While cherry trees are generally hardy, they can face some challenges. Here are some common issues and how to address them:
- Diseases: Cherry trees can be susceptible to diseases such as brown rot or leaf spot. Maintain good air circulation through proper pruning and avoid overhead watering to help prevent these issues.
- Pest infestations: Watch for signs of pests such as aphids or cherry fruit flies. Use appropriate insecticides or natural predators if needed.
- Professional insight: Regular monitoring of your cherry tree can help catch potential problems early. Look out for changes in leaf color, wilting, or abnormal growth patterns and consult a local arborist if you’re unsure.
- Winter damage: In colder regions, protect young trees from winter damage by wrapping the trunk and applying mulch around the base.