We may be compensated if you purchase through links on our website. Our team is committed to delivering honest, objective, and independent reviews on home products and services.
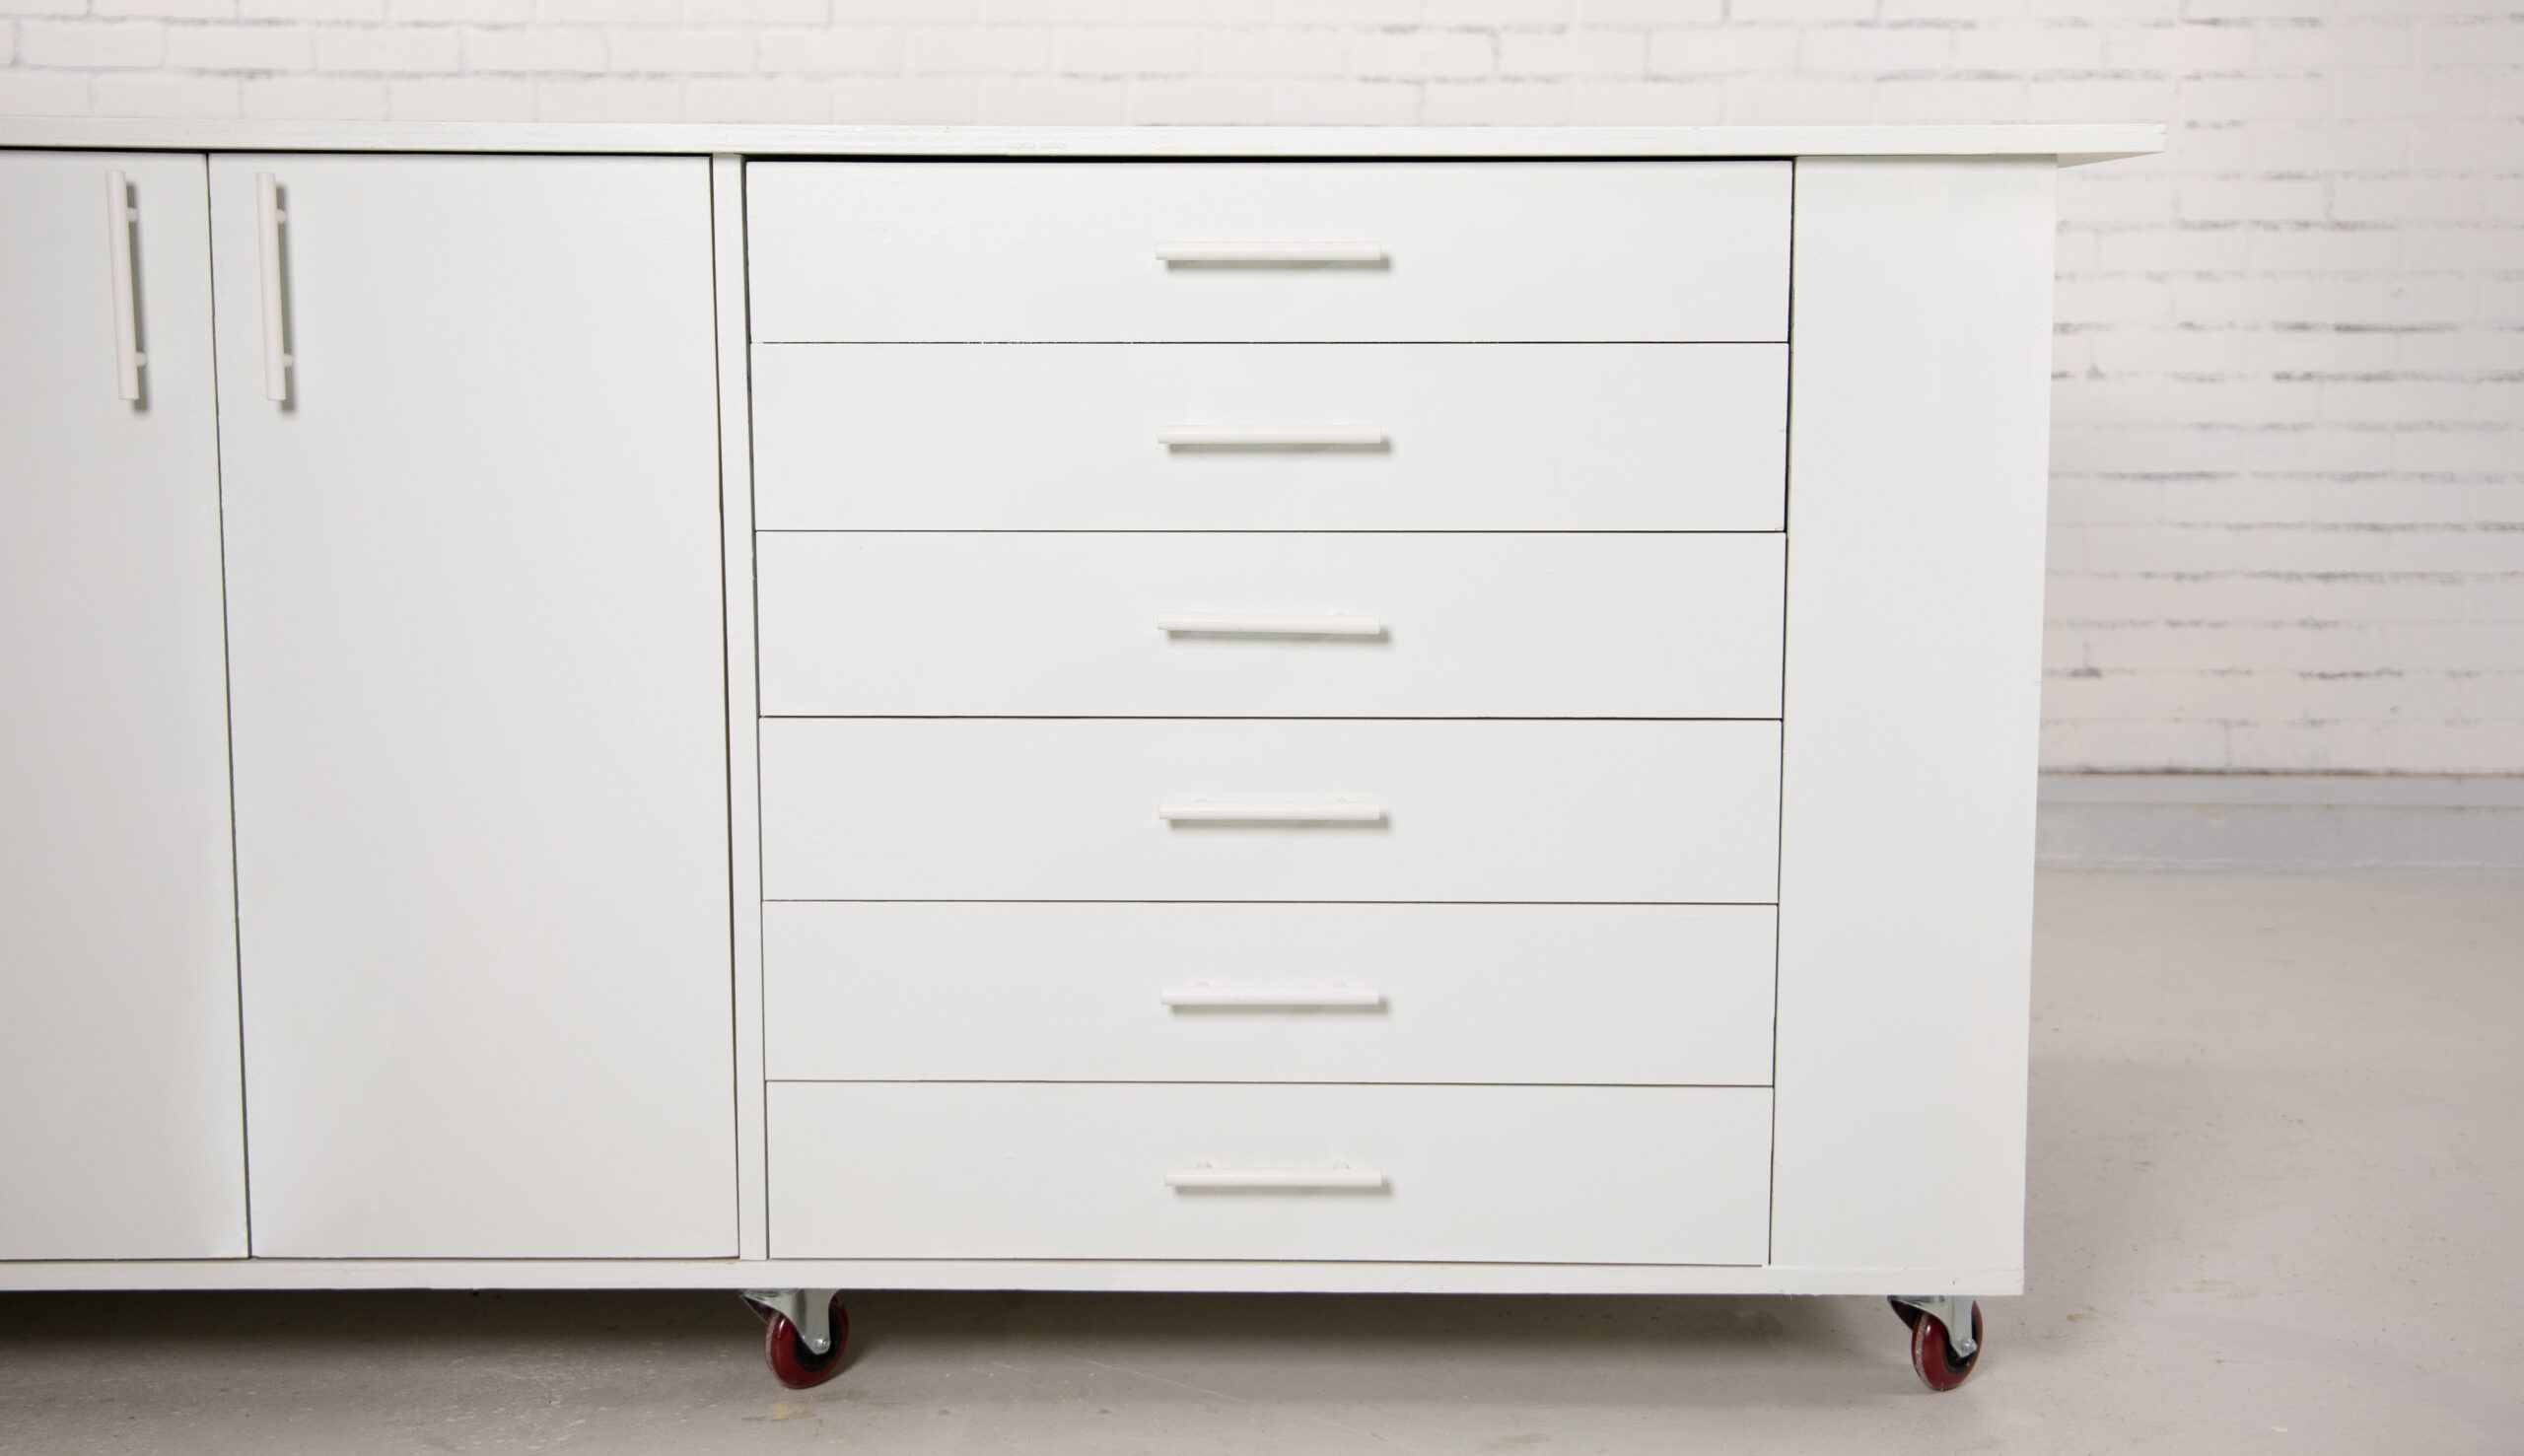
In the first two parts of this series, This Old House do-it-yourself (DIY) expert and House One editor, Jenn Largesse, built the functional base of this mobile workbench and added a tool organizer. In this video, she demonstrates a simple method to build drawers.
Workbench Drawers Materials Needed
- 3/4-inch plywood
- Circular saw or table saw
- Measuring tape
- Speed square
- Safety goggles
- Work gloves


Workbench Drawers Cut List
- 10 3/4-inch plywood sides at 5 1/4 inches high by 13 3/4 inches deep
- 10 plywood pieces front and back at 5 1/4 inches high by 23 1/2 inches wide
- Five 3/4-inch plywood bases at 23 1/2 inches wide by 11 1/2 inches deep
- Four 3/4-inch plywood drawer fronts at 6 inches high by 25 7/8 inches wide
Planning Your Drawer Layout
Before diving into construction, plan your drawer layout carefully to ensure your drawers will fit properly. Thoughtful planning at this stage can save a lot of time and frustration later on.
Determining Drawer Quantity and Size
When deciding on the number and size of drawers, assess the amount of space you have in your workbench, the types of tools you want to store, and how deep the drawers need to be.
In the video, Largesse opts for five slightly shallower drawers instead of four deep ones, prioritizing functionality and easy access. Evaluating what you frequently reach for and how to best store everything will guide your decision-making.
Measuring the Workbench Opening
Here’s what you need to measure:
- Width of the drawer opening
- Depth of the drawer opening
- Height available for drawers
Measure precisely, accounting for drawer slide thickness and any desired spacing between drawers when calculating your measurements.
Cutting Workbench Drawer Components
With your plan in place, you can cut the drawer components.
- Rip plywood strips to the desired drawer height for the sides, front, and back. Consistent strip height ensures uniform drawers.
- Cut the front and back pieces to width, subtracting 2 1/2 inches from the drawer opening width to account for sides and drawer slides.
- Cut the drawer bottoms to fit inside the drawer box sides. Make sure these pieces are flat and smooth for easy assembly and functionality.
- Cut drawer fronts slightly larger than the drawer opening for an inset look, allowing room for adjustments.
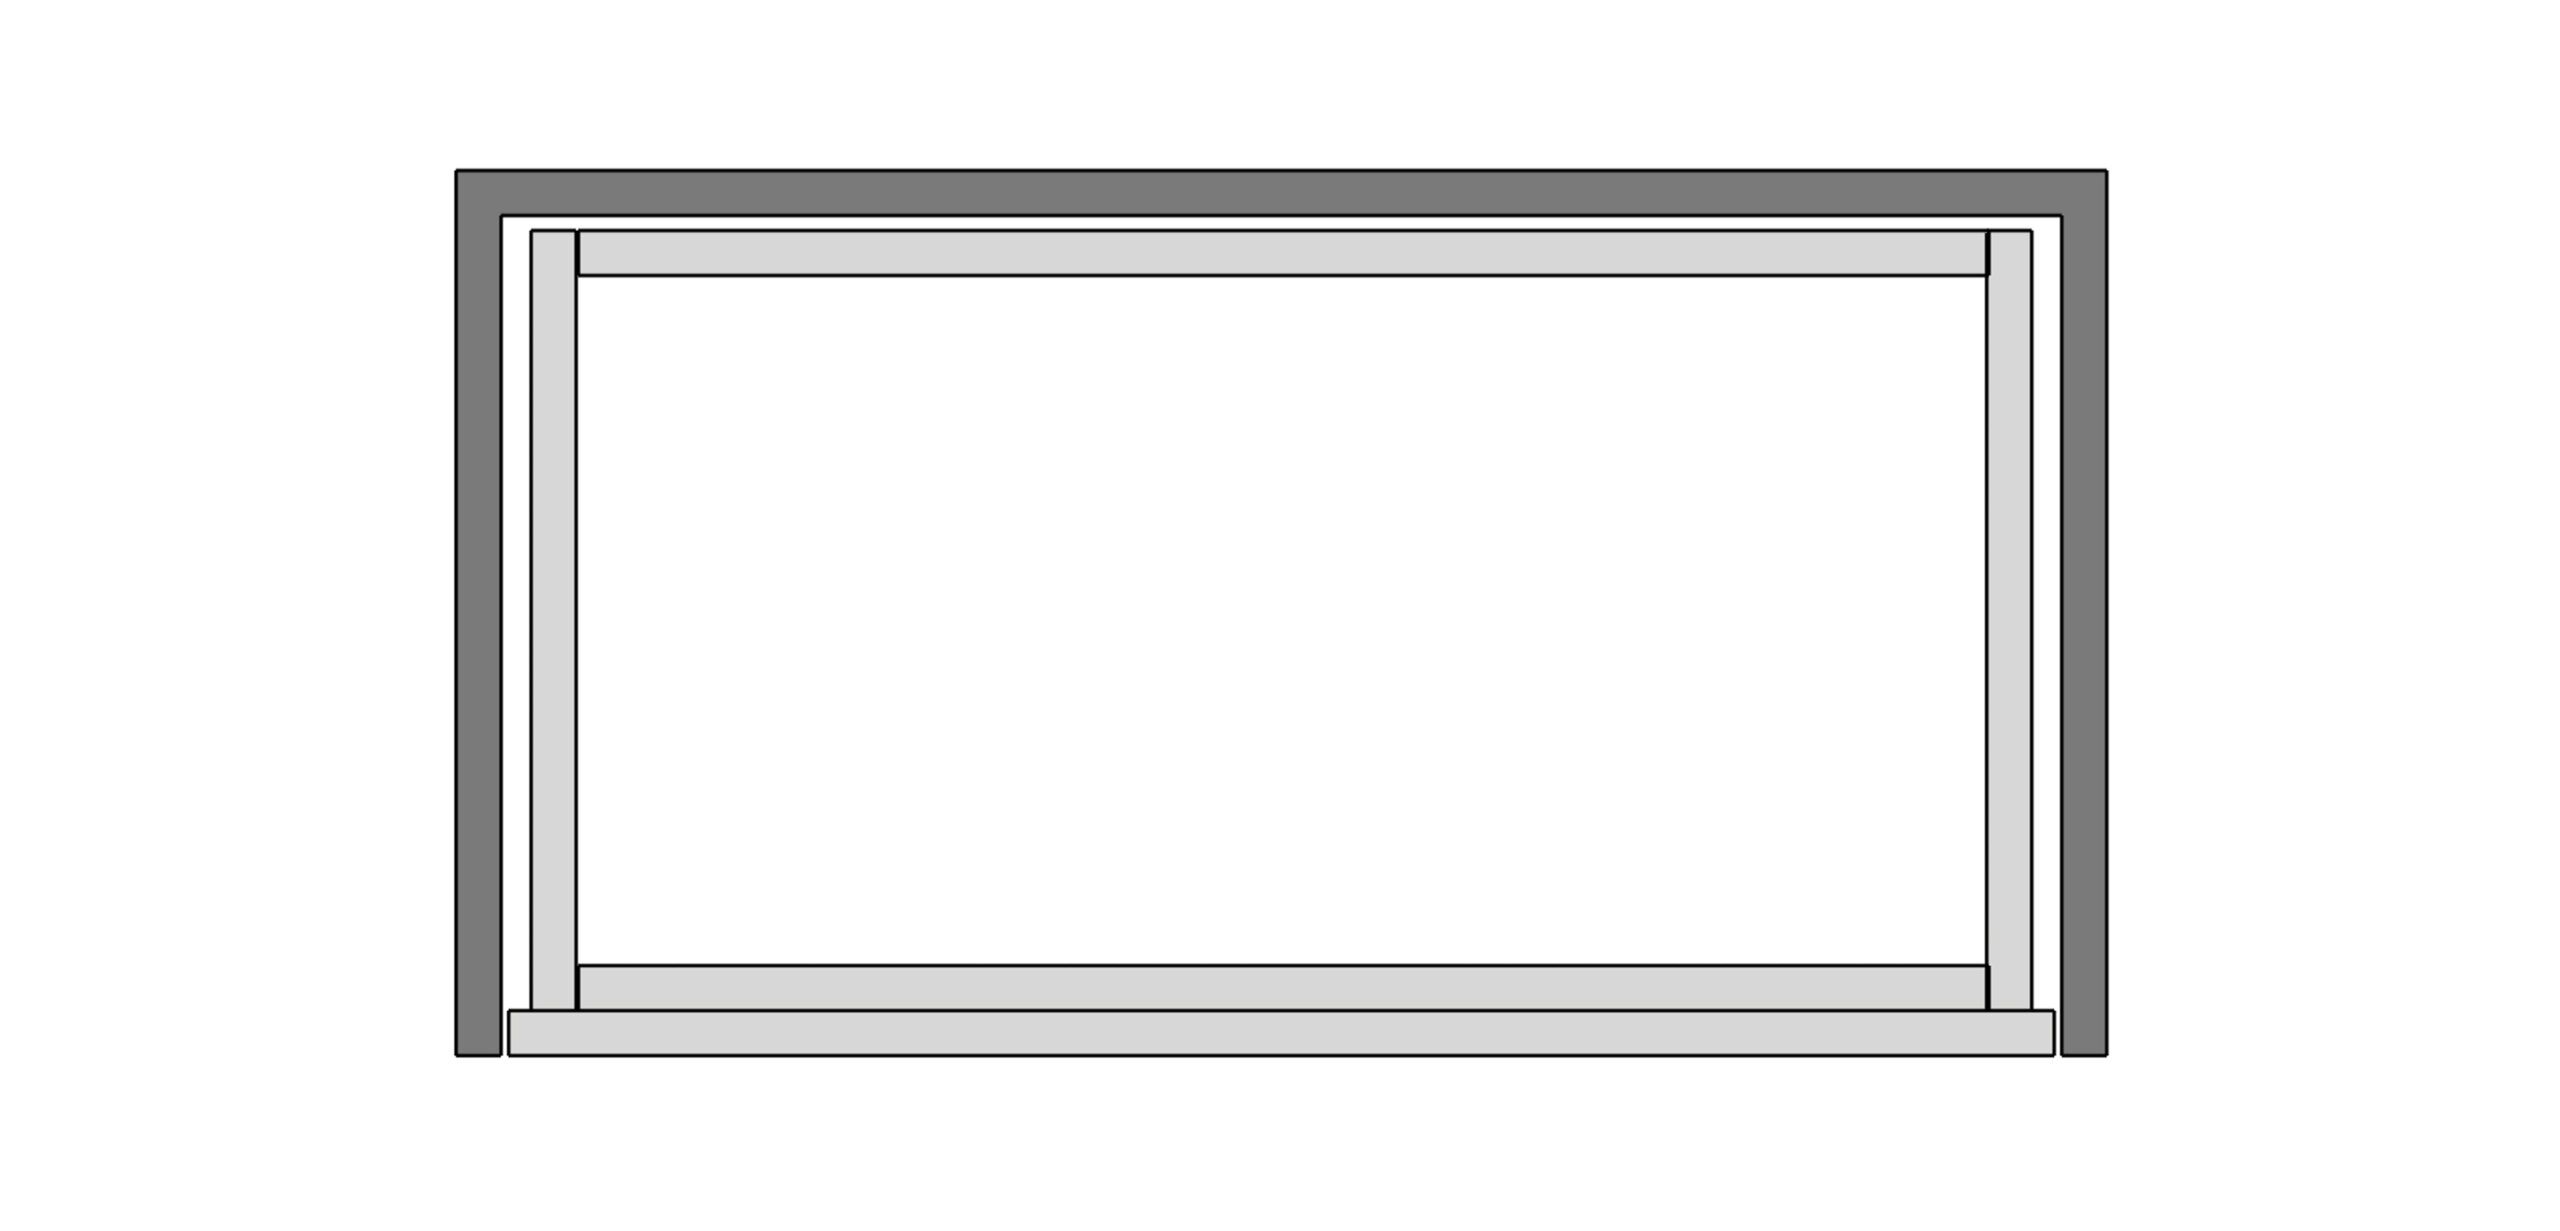
Assembling the Workbench Drawer Boxes
Follow these steps for each drawer. Work on a clean, flat surface for best alignment.
- Drill pocket holes at the ends of the front and back walls and around the perimeter of the base.
- Attach the base to the front and back walls using wood glue and pocket hole screws. Tight joints add strength to the frame.
- Secure the sides to the front and back walls and the base using glue and pocket hole screws.
Largesse demonstrates this process in the video, emphasizing the importance of using both glue and screws for added strength. Adding clamps during assembly can help maintain alignment as the glue dries.
Installing Drawer Slides for the Workbench
Drawer slides allow the drawers to open and close more smoothly and quietly.
- Mark a centerline on the side of each drawer box. This line ensures that your slides are centered and level.
- Separate the drawer slide parts.
- Position one part of the slide on the drawer, centered on the marked line. Double-check this alignment before securing.
- Use a block to ensure the slide is flush with the front edge of the drawer box. Any misalignment here can cause the drawers to stick.
- Secure the slide with screws.
For the workbench side, Largesse takes advantage of the removable top to install slides from above, making the process easier and more precise. Making small adjustments as you go can prevent cumulative errors that misalign the drawer.
Mounting Workbench Drawer Fronts
Properly mounted drawer fronts create a polished, professional look.
- Start from the bottom drawer and work your way up. This method makes sure that each subsequent drawer is supported.
- Center the drawer front on the drawer box for a balanced appearance.
- Use shims to create consistent vertical spacing between drawers. Consistency in spacing adds to the aesthetics.
- Clamp the front in place and drive screws from inside the drawer box into the back of the front.
Largesse suggests attaching a piece of tape to the top edge of each drawer as a temporary pull until handles are installed.
Adding Workbench Drawer Handles
Handles provide the finishing touch.
- Mark a centerline on each drawer front. Consistent handle placement gives a cohesive look.
- Use a hardware installation guide to drill perfectly spaced holes for the screws.
- Drive the provided screws through the inside of the drawer and into the handle.
This process makes sure that the handles are uniform and securely attached.
Tips for a Successful Workbench Drawer Installation
To ensure your drawer installation goes smoothly, keep the following tips in mind:
- Double-check all measurements before cutting.
- Use high-quality plywood for durability.
- Apply wood glue generously for strong joints.
- Ensure drawer slides are level and parallel.
- Test drawer operation before attaching fronts.
Additionally, we recommend labeling each piece during the cutting and assembly process. This will help you stay organized, reducing the risk of errors.
Enhancing Your Mobile Workbench
Adding drawers is just one way to enhance your mobile workbench. You can incorporate the following features to optimize functionality:
- Power tool storage: Create dedicated spaces for your power tools with customized slots and compartments.
- Dust collection system: Integrate a dust collection system to keep your workspace clean and safe.
- Downdraft sanding station: Build a sanding station with downdraft capabilities to capture sawdust effectively while working on projects.
- Clamp rack: Add a clamp rack to keep your clamps organized and easily accessible.
To see the other customizations Largesse made to this bench, see the guides below: