We may be compensated if you purchase through links on our website. Our team is committed to delivering honest, objective, and independent reviews on home products and services.
Updating your baseboard heating covers can breathe new life into your home’s heating system and improve its overall appearance. In this guide, we’ll walk you through the process of replacing your old baseboard heater covers with new ones. In the video above, This Old House’s Richard Trethewey demonstrates the step-by-step procedure for replacing a baseboard heating cover in your home.
Understanding Baseboard Heater Covers
Baseboard heater covers protect heating elements while distributing heat evenly throughout the room. Over time, these covers can become damaged, discolored, or outdated, necessitating replacement.
Benefits of Replacing Baseboard Heater Covers
Replacing your old baseboard heater covers offers several advantages, such as:
- Improved appearance
- Better heat distribution
- Enhanced safety
- Easier maintenance and cleaning
When To Replace Baseboard Heater Covers
Consider replacing your baseboard heater covers if:
- They are visibly damaged or dented
- The paint is chipping or peeling
- They no longer match your room’s decor
- The covers are more than 15-20 years old
Preparing for Baseboard Heater Cover Replacement
Besides new covers for your baseboard heaters, you’ll just need a few common tools.
Tools and Materials Needed
To replace your baseboard heater covers, you’ll need the following:
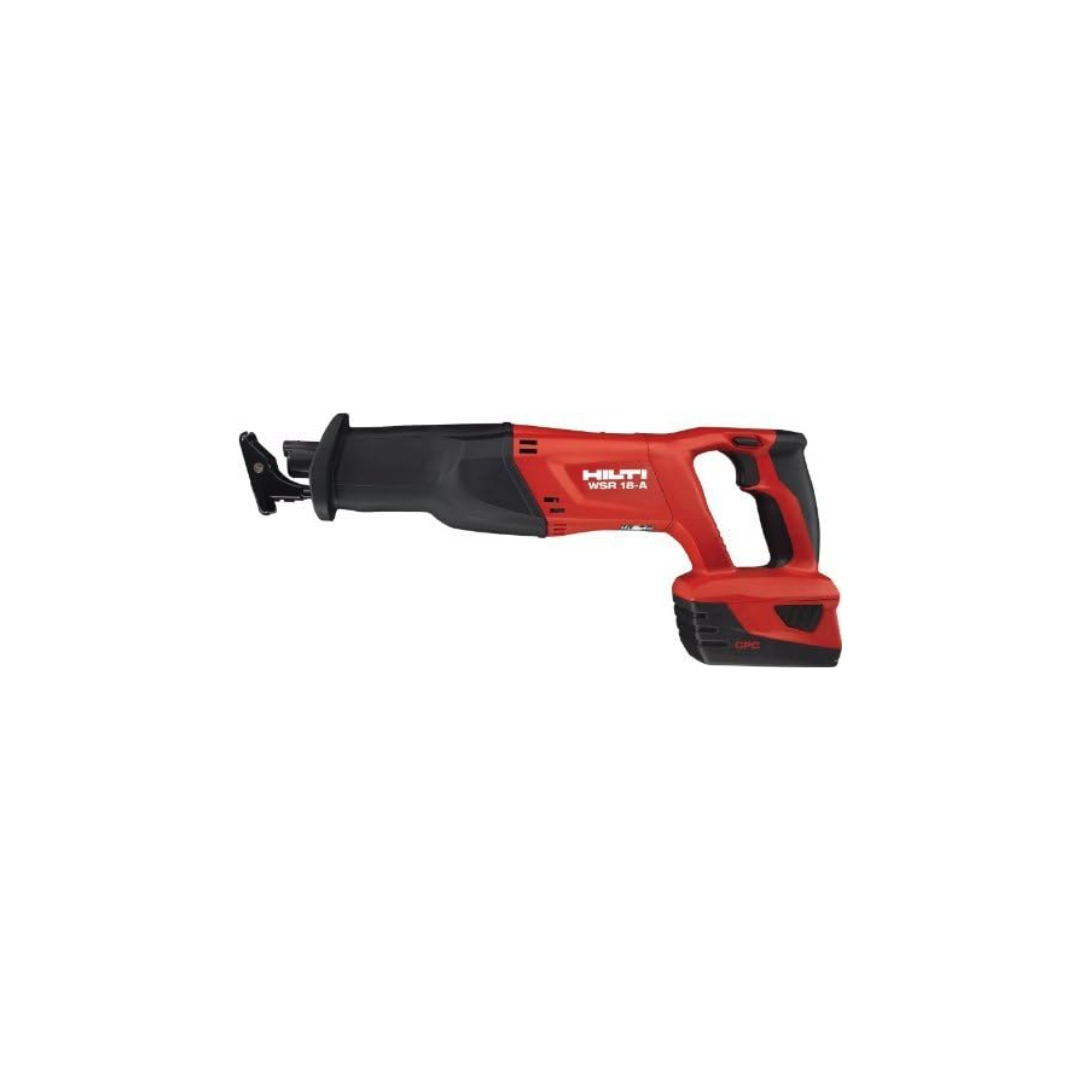
- Reciprocating saw
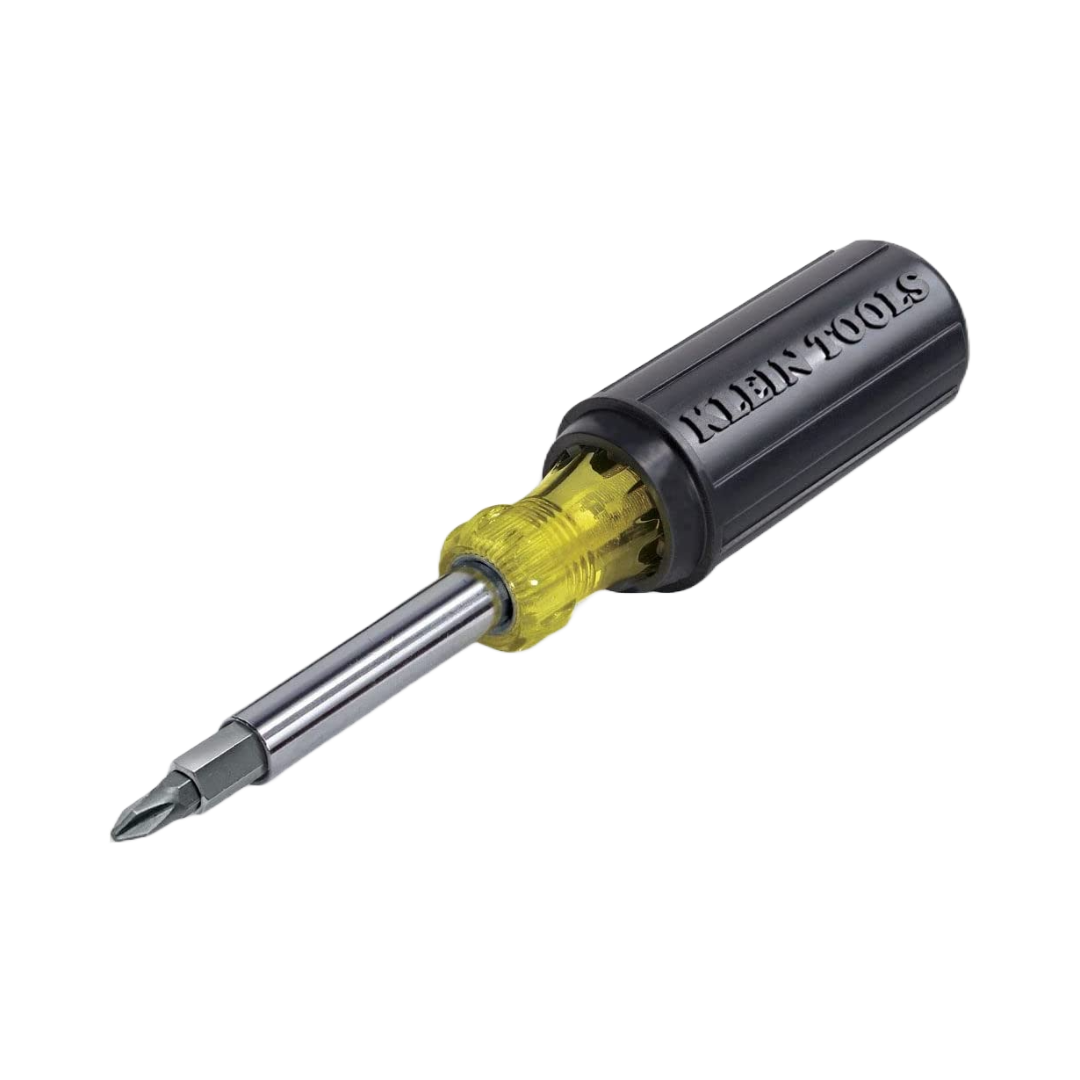
- Slotted screwdriver
- Drill/driver
- Vacuum cleaner
- Wood shims
- New baseboard heater covers
- 1 1/4-inch drywall screws
- Safety glasses and work gloves
Safety Precautions
When working with heating elements, safety should be your top priority. Turn off the power to the baseboard heater at the circuit breaker and allow the heating element to cool completely before starting work. Wear safety glasses and work gloves to protect yourself from sharp edges, and always be sure to keep children and pets away from the work area.
How To Replace Baseboard Heater Covers
1. Removing the Old Baseboard Heater Cover
The first step in replacing your baseboard heater cover is removing the old one.
Detaching the Cover
- Slide wood shims behind the back plate of the baseboard heater to create a gap between the wall and the cover.
- Use a reciprocating saw to cut through the nails or screws holding the back plate to the wall. Be careful not to damage the wall surface.
- Remove the adjustable damper by pulling it straight up from the hangers.
Removing the Back Plate
- Carefully prop up the heating element to access the back plate.
- Use a slotted screwdriver to pry the back plate from the hangers.
- Gently slide the back plate out from behind the finned heating element.
2. Cleaning and Inspecting the Heating Element
With the old cover removed, take this opportunity to clean and inspect the heating element.
Cleaning Process
- Use a vacuum cleaner with a brush attachment to remove dust and debris from the heating element.
- Gently clean between the fins, being careful not to bend or damage them.
- Wipe down the surrounding area to remove any accumulated dirt or grime.
Inspection Points
While cleaning, inspect the heating element for signs of corrosion, bent or damaged fins, or loose connections or wiring issues. If you notice any significant problems, consider consulting a professional HVAC technician before proceeding with the cover replacement.
3. Installing the New Baseboard Heater Cover
With the old cover removed and the heating element cleaned, you’re ready to install the new baseboard heater cover. This process involves several steps to ensure a proper and secure fit.
Positioning the New Hangers
- Slide the new hangers behind the heating element, aligning them with the element’s support brackets.
- Mark the locations of the wall studs to ensure secure attachment of the back plate.
Attaching the Back Plate
- Carefully slip the new back plate behind the heating element.
- Snap the hangers into place on the back plate.
- Secure the back plate to the wall studs using 1 1/4-inch drywall screws.
Installing the Damper and Front Cover
- Attach the new damper to the back plate, ensuring it snaps securely into place.
- Slide on the end caps and flip up the flaps.
- Snap the front cover onto the hangers, starting at the top and working your way down.
- Close the end-cap flaps to complete the installation.
As Trethewey emphasizes, it’s also important to ensure proper alignment when installing the new components. Ensuring a snug fit for each piece will result in a clean and professional-looking finish.
Troubleshooting Common Baseboard Heater Cover Issues
Even with careful installation, you may encounter some challenges when replacing your baseboard heater covers. Here are some common issues and their solutions:
Gaps Between Sections
If you notice gaps between cover sections:
- Check that all pieces are properly aligned and fully snapped into place
- Ensure the wall is straight and even—use shims if necessary to compensate for irregularities
- Consider using caulk to fill small gaps for a seamless appearance
Difficulty Snapping Covers in Place
If you’re having trouble snapping the covers onto the hangers:
- Double-check that the hangers are correctly installed and aligned
- Ensure the heating element isn’t obstructing the cover
- Apply gentle, even pressure along the length of the cover when snapping it into place
Uneven Heating
If you notice uneven heating after installation:
- Verify that the damper is properly installed and functioning
- Check for any obstructions in the heating element
- Ensure the cover is not blocking airflow around the heating element
Extending the Lifespan of Your Heating System
In addition to proper cleaning and inspection, there are other proactive measures you can take to maximize the efficiency and lifespan of your heating system, including:
Regular Maintenance Checks
At least once a year, schedule a professional HVAC technician to inspect your heating system. This step ensures that any potential issues are addressed promptly and keeps your system in peak condition.
Energy-Efficient Upgrades
Consider making energy-efficient upgrades to your heating system. Installing a programmable thermostat allows you to control the temperature efficiently, reducing energy consumption and lowering your utility bills. Additionally, seal any gaps around windows and doors to minimize drafts and keep heat from escaping.
Enhancing Air Quality
Replace air filters regularly and consider adding air purifiers to reduce dust and allergens. Cleaner air enhances the performance of your heating system and ensures a healthier living environment.
Maintaining Your New Baseboard Heater Covers
To keep your new baseboard heater covers looking and functioning their best, regular maintenance is key.
- Dust the covers regularly with a soft cloth or vacuum attachment
- Wipe down the covers with a damp cloth periodically to remove stubborn dirt
- Check for any loose screws or connections annually and tighten them as needed
- Inspect the damper and heating element yearly for any signs of wear or damage