Window seats are a unique feature that combines form and function, providing a nook for relaxation, reading, extra seating, and sometimes additional storage. These built-in window seats can transform unused space into a comfortable seating area. Whether you’re considering adding a window seat to your home or redesigning your existing one, this guide explores many aspects of window seats, from their benefits and design options to practical uses.
What Is a Window Seat?

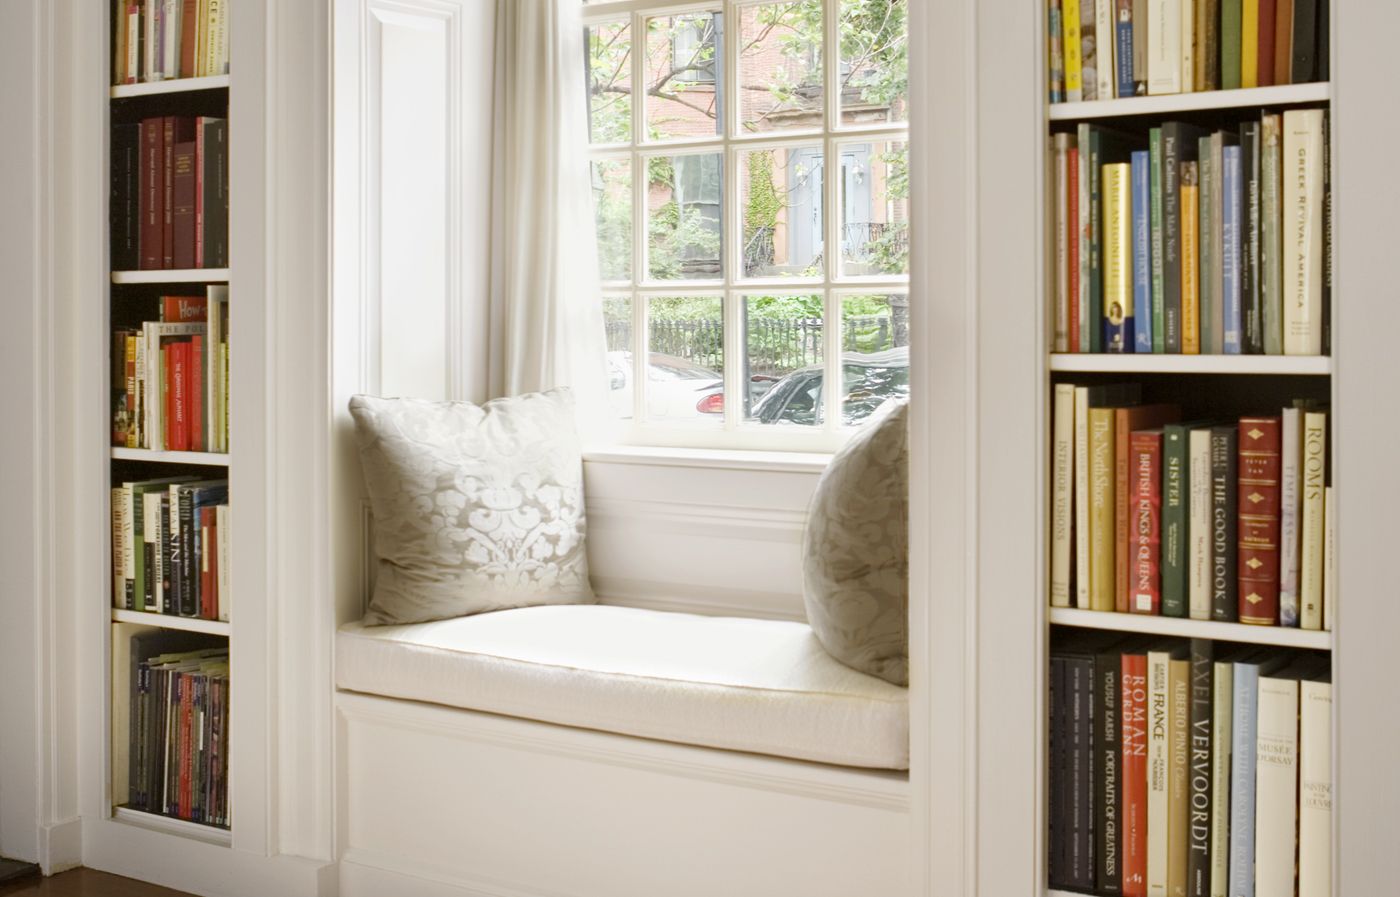
Window seats are built-in benches or seating areas positioned directly beneath a window. Typically, they range from 16 to 20 inches deep and about 18 inches high, but they can be customized to fit any window space.
One of the biggest benefits of window seats is their ability to provide additional seating without taking up floor space. Window seats are a good idea for smaller rooms, especially since you can install a window seat with drawers, cabinets, or lift-top designs to store items and reduce clutter.
Types of Window Seats
Window seats come in various styles and configurations to suit different home styles and preferences. Here are just a few of them:
Built-In Window Seats
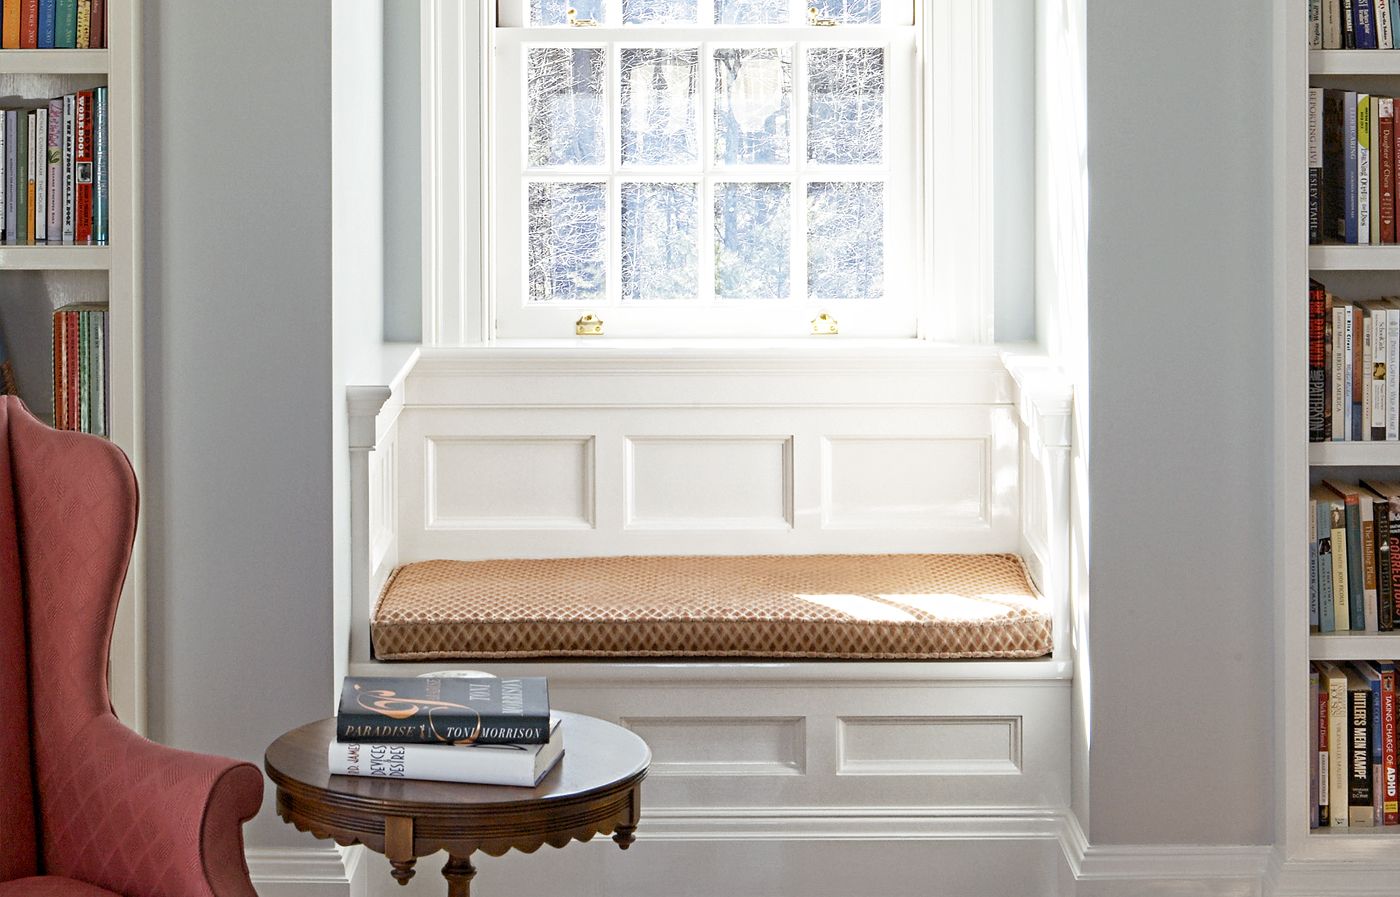
Built-in window seats are permanent fixtures custom-designed to fit the dimensions of your window area. These seats are constructed as part of the home’s architecture or added during renovations. Built-in seats can also be tailored to match existing trim and moldings for a more cohesive appearance.
Freestanding Window Seats
Freestanding window seats are not permanently attached to the wall or floor, making them a more flexible option. These seats can be moved or replaced as needed, so they’re a good choice for renters or those who like to change their room layout occasionally.
Custom vs. Prefabricated Options
When considering a window seat, you can choose between custom-built options and pre-constructed designs. Custom window seats give you the advantage of being a perfect fit for your home’s space. However, pre-constructed options can be more budget-friendly and are usually quicker to install.
Locations for Window Seats
Window seats can be incorporated into various rooms throughout your home, each with its own benefits and functionality options.
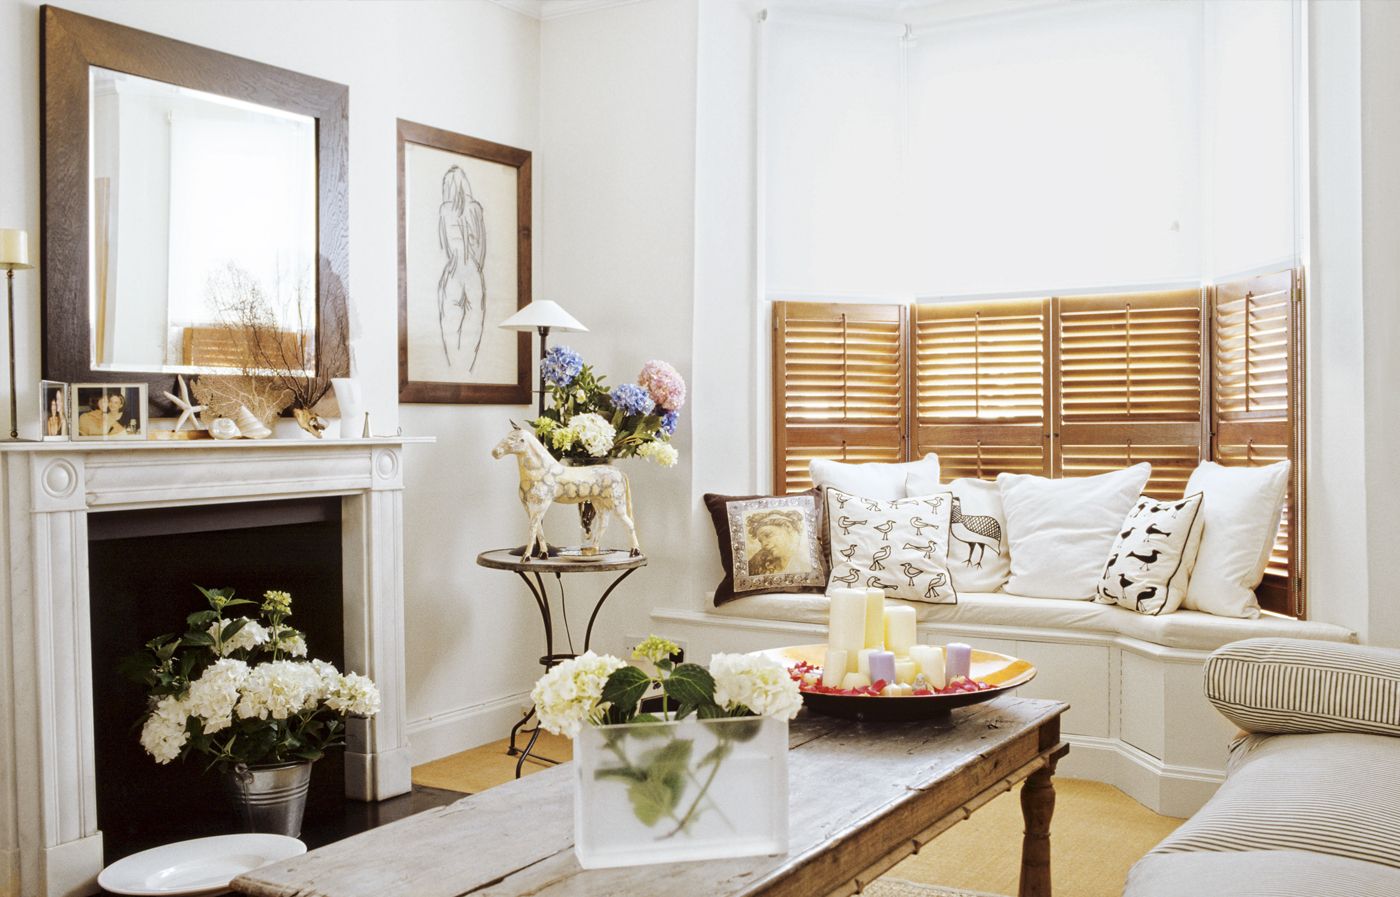
Living Room Window Seats
In the living room, a window seat can provide extra seating for guests and create a nice reading nook. It’s an easy way to increase space in bay windows or along walls with large windows.
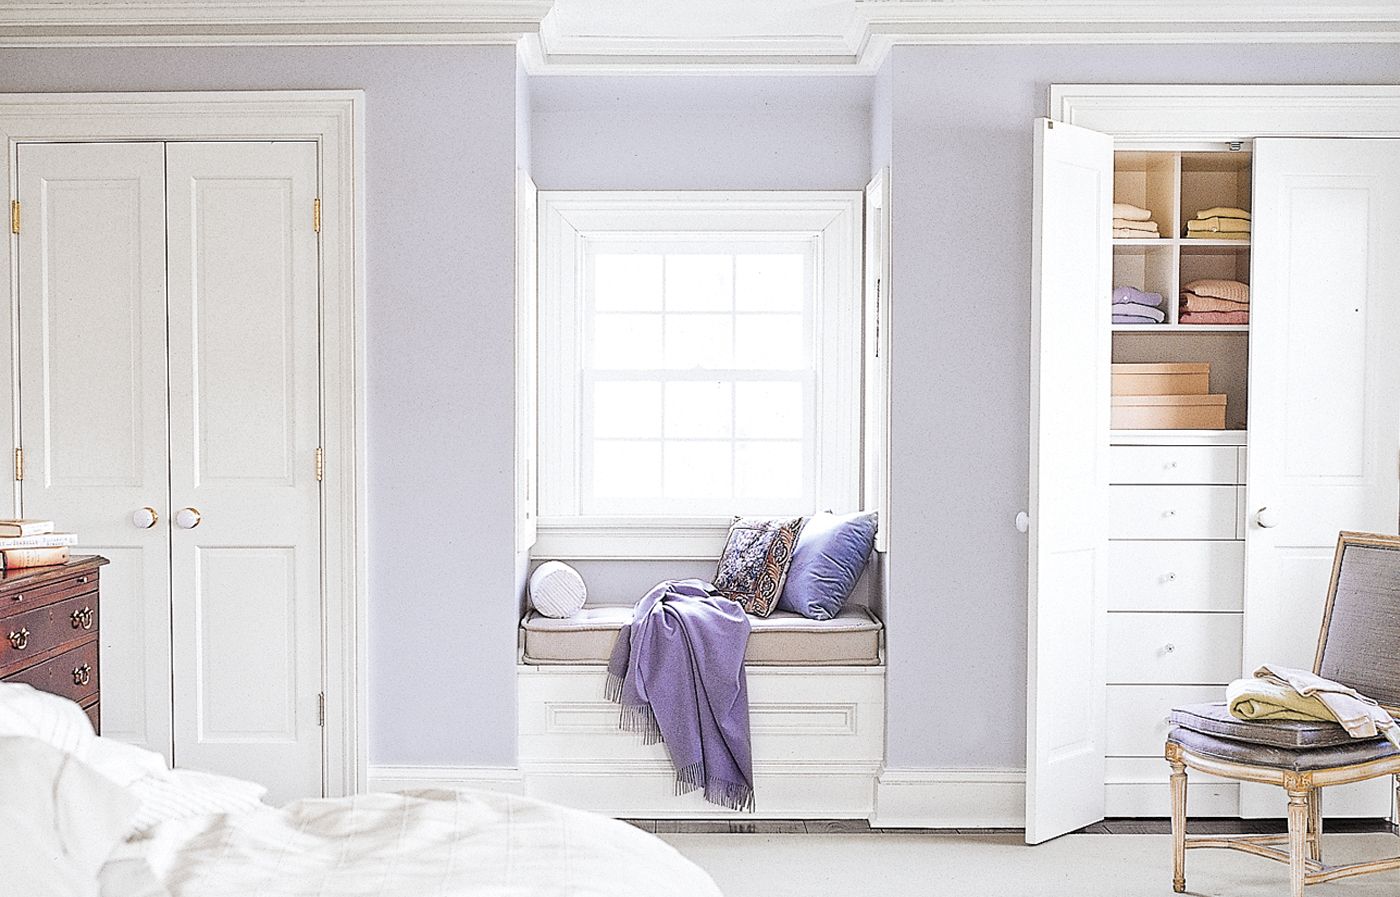
Bedroom Window Seats
Bedroom window seats offer a private space for reading and relaxing. They can also provide additional storage for linens, blankets, or off-season clothing.
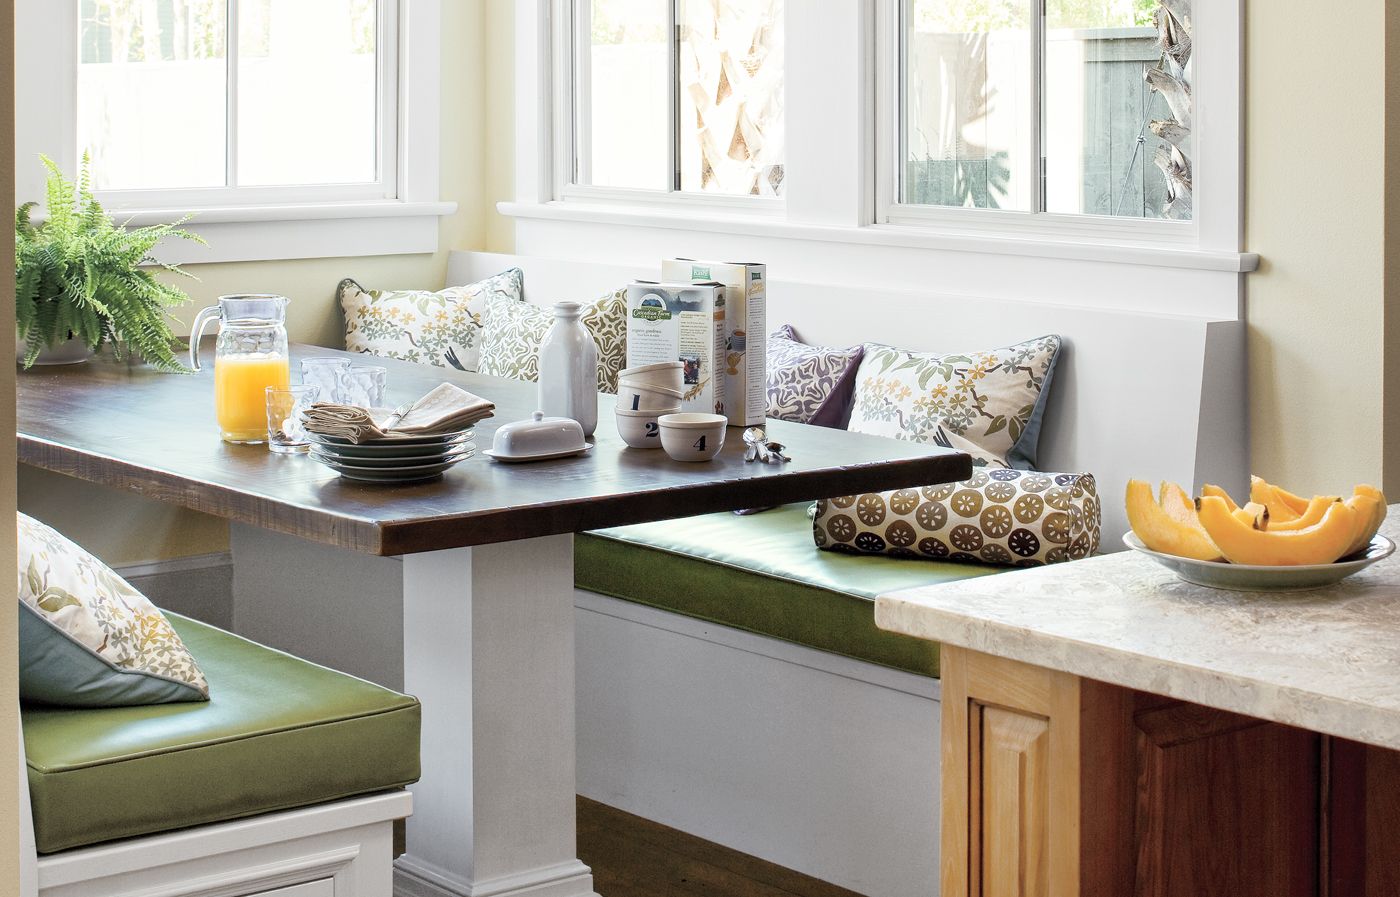
Kitchen Window Seats
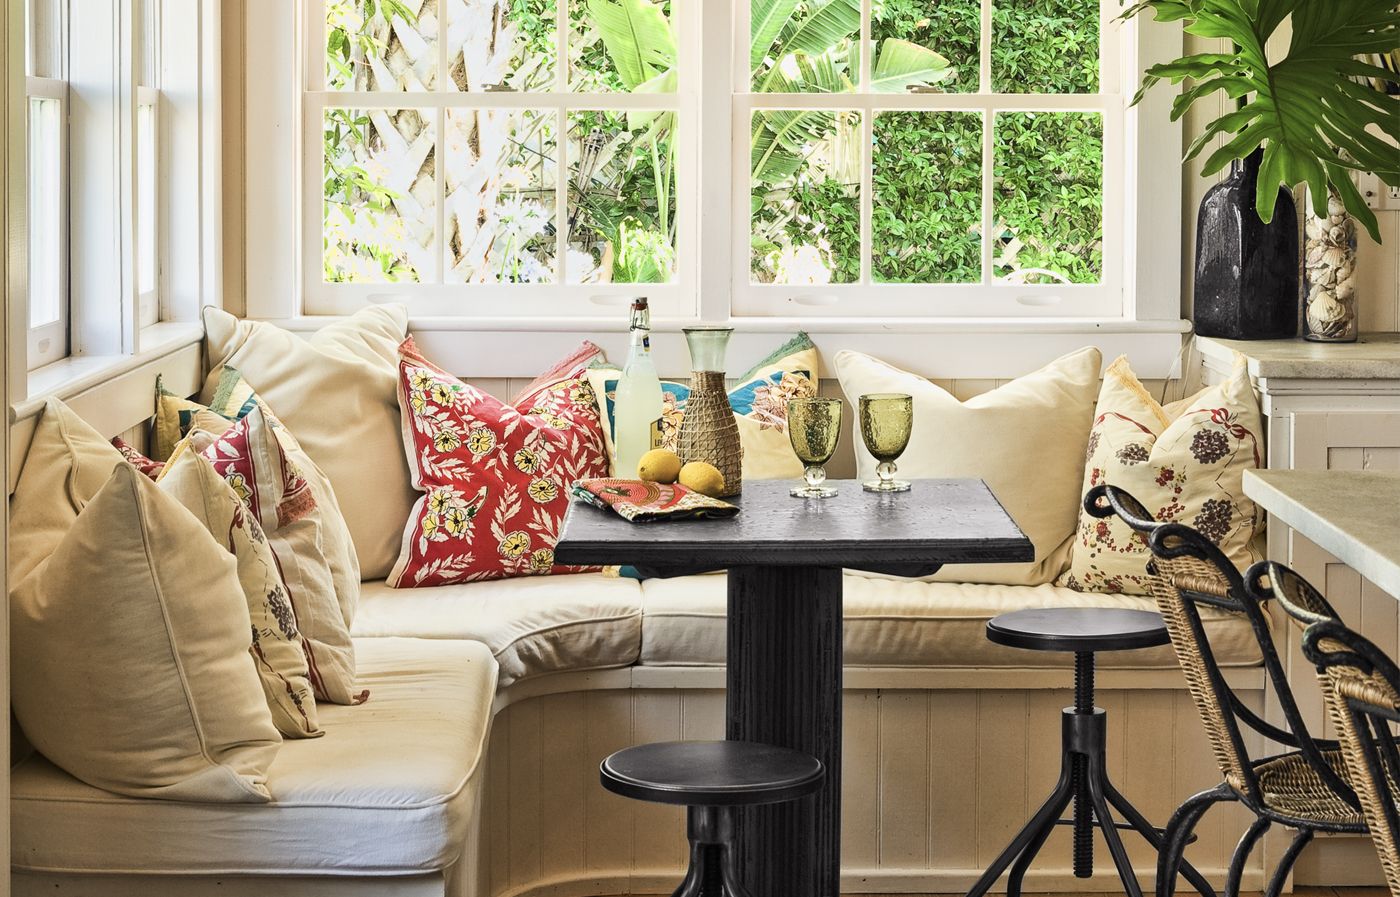
A window seat in a kitchen nook can create a breakfast area or casual dining space. It’s a great use of space in smaller kitchens where seating options are limited.
Home Office Window Seats
In a home office, a window seat can serve as a secondary seating area for reading or taking phone calls. If you work from home, an office window seat can give you a change of scenery from your desk throughout the day.
Designing Your Window Seat
To design a window seat, you need to consider the dimensions, materials, and storage options you want so you can create a functional addition to your home.
Choosing the Right Dimensions
The dimensions of your window seat matter for comfort, functionality, and proper installation. The average dimensions of a window seat are 16 to 20 inches in depth, 30 to 50 inches in length, about 18 inches in height (including a 2- to 4-inch cushion), and a backrest of 10 to 20 inches.
Selecting Materials and Finishes
The materials and finishes you choose for your window seat should complement your home’s existing interior design. Common design options include hardwood, plywood or MDF, kitchen cabinetry, painted finishes, or upholstered surfaces. Consider using outdoor fabric for cushions in high-traffic areas or rooms with lots of natural light to prevent fading and improve durability.
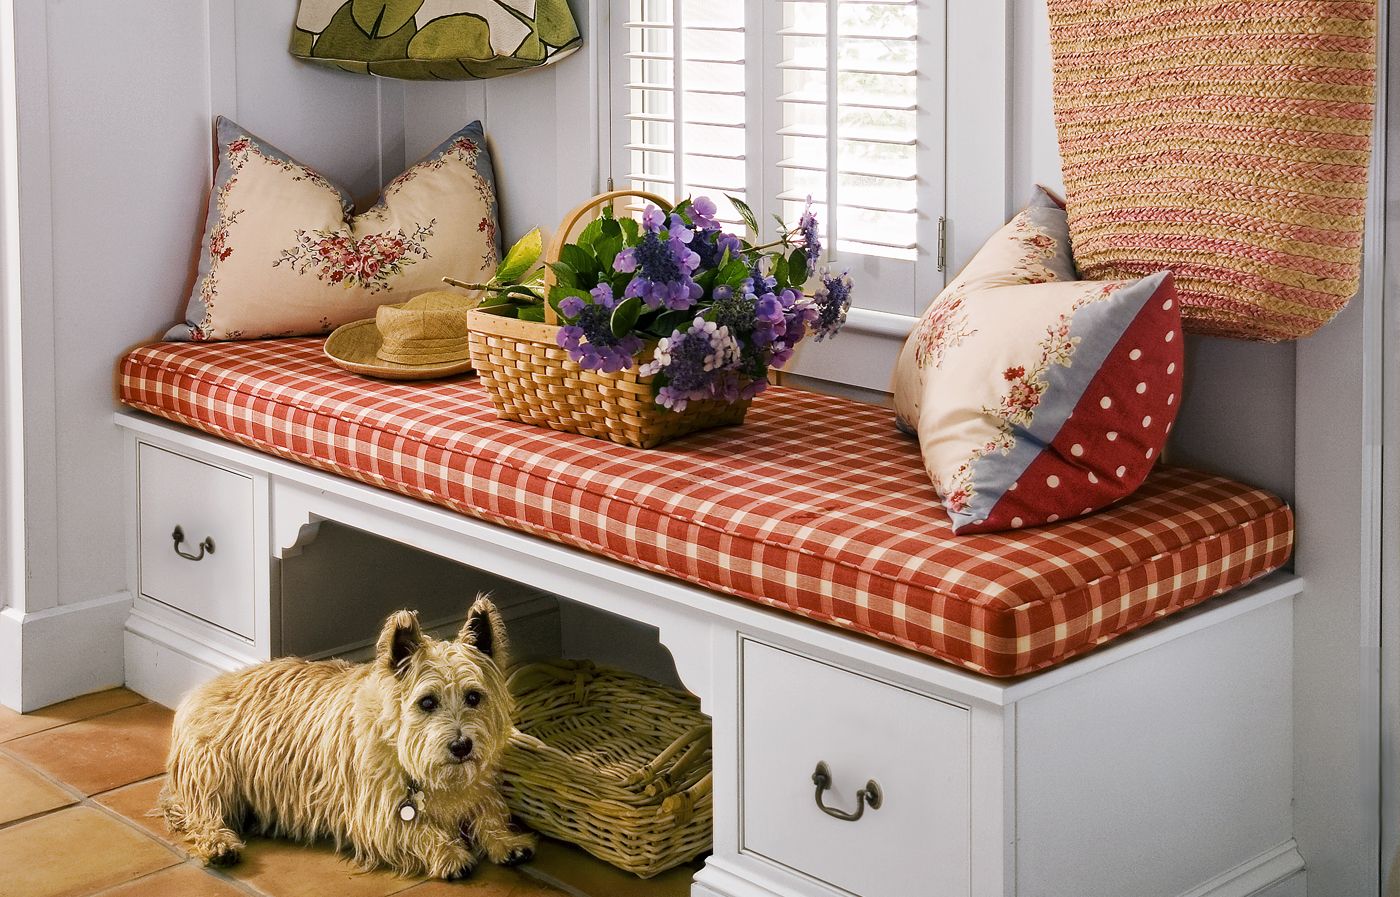
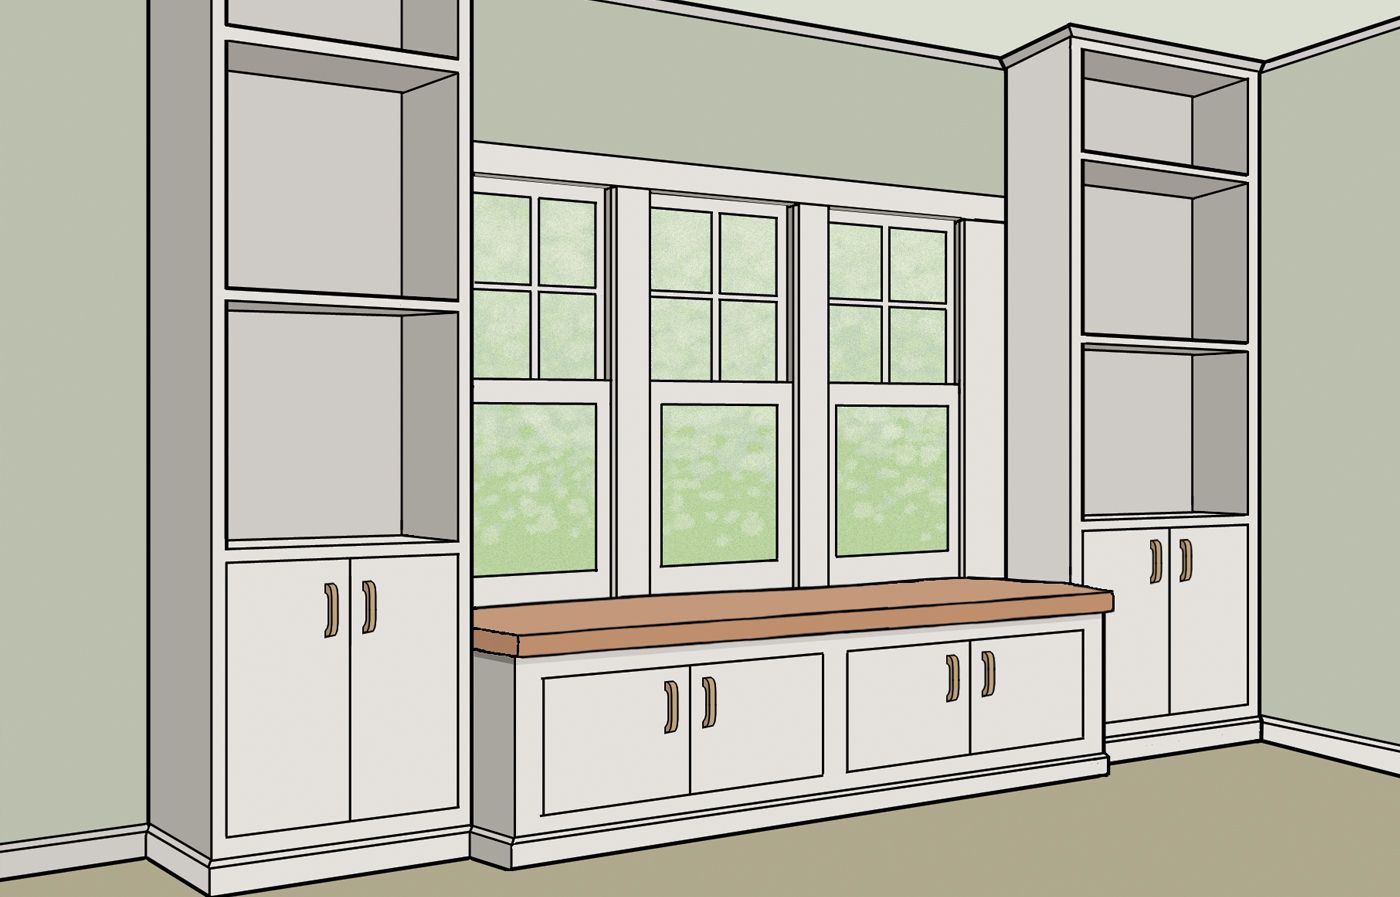
Incorporating Storage Solutions
Many window seats include storage in their construction. Popular storage options include drawers, cabinets, lift-top benches, open shelving, or cubbies. When designing storage for your window seat, consider the items you plan to store and choose an option that will be more applicable to your space.

Building a Window Seat: DIY vs. Professional Installation
When it comes to adding a window seat to your home, you can tackle it as a DIY project or hire a professional. Each approach has its own set of considerations and benefits.
DIY Window Seat Construction
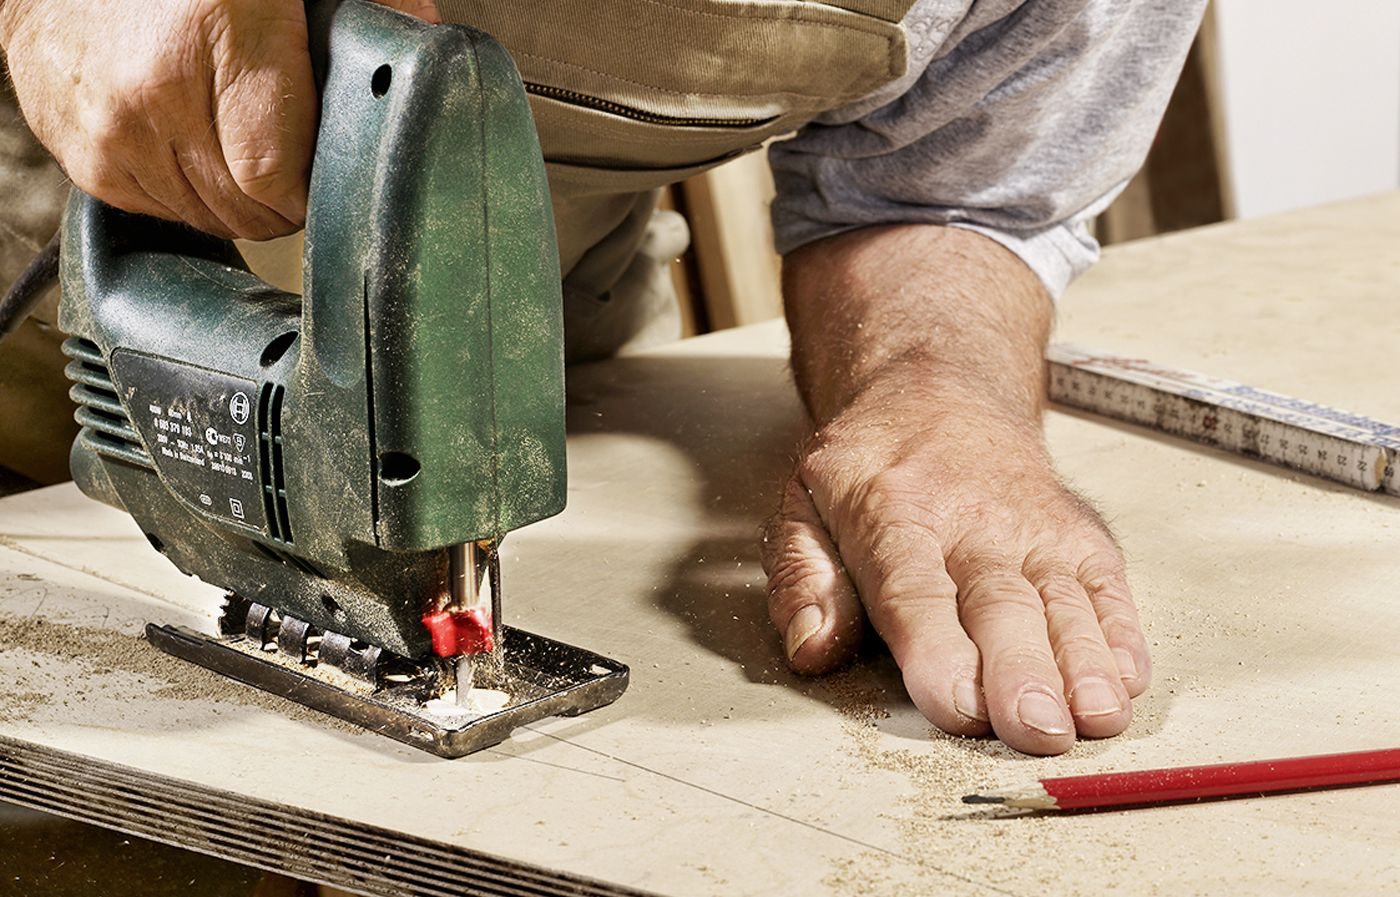
For some homeowners, building a window seat can be a nice DIY project. This approach can be more cost-effective, requiring only the purchase of materials and not paying a professional for construction and installation labor costs.
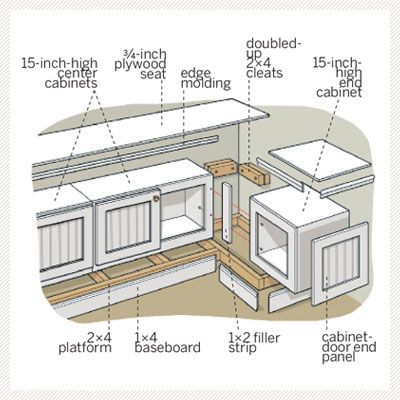
To create a DIY window seat, you can use stock cabinets as a base, build a frame with 2x4s and plywood, add plywood and cushioning for the seating surface, and finish with trim and paint to match your home. This Old House offers a detailed tutorial on how to build a window seat.
Hiring a Professional
For more complex designs, hiring a professional carpenter or cabinetmaker might be the best option, even though costs will be higher. Professional installation gives you an exact measurement and fit, high-quality craftsmanship, better integration with existing architecture, and proper handling of any electrical or HVAC considerations.
Window Seat Comfort and Functionality
To make your window seat a more inviting space, cushions and upholstery, lighting, and technology should all be considered for better comfort and functionality.
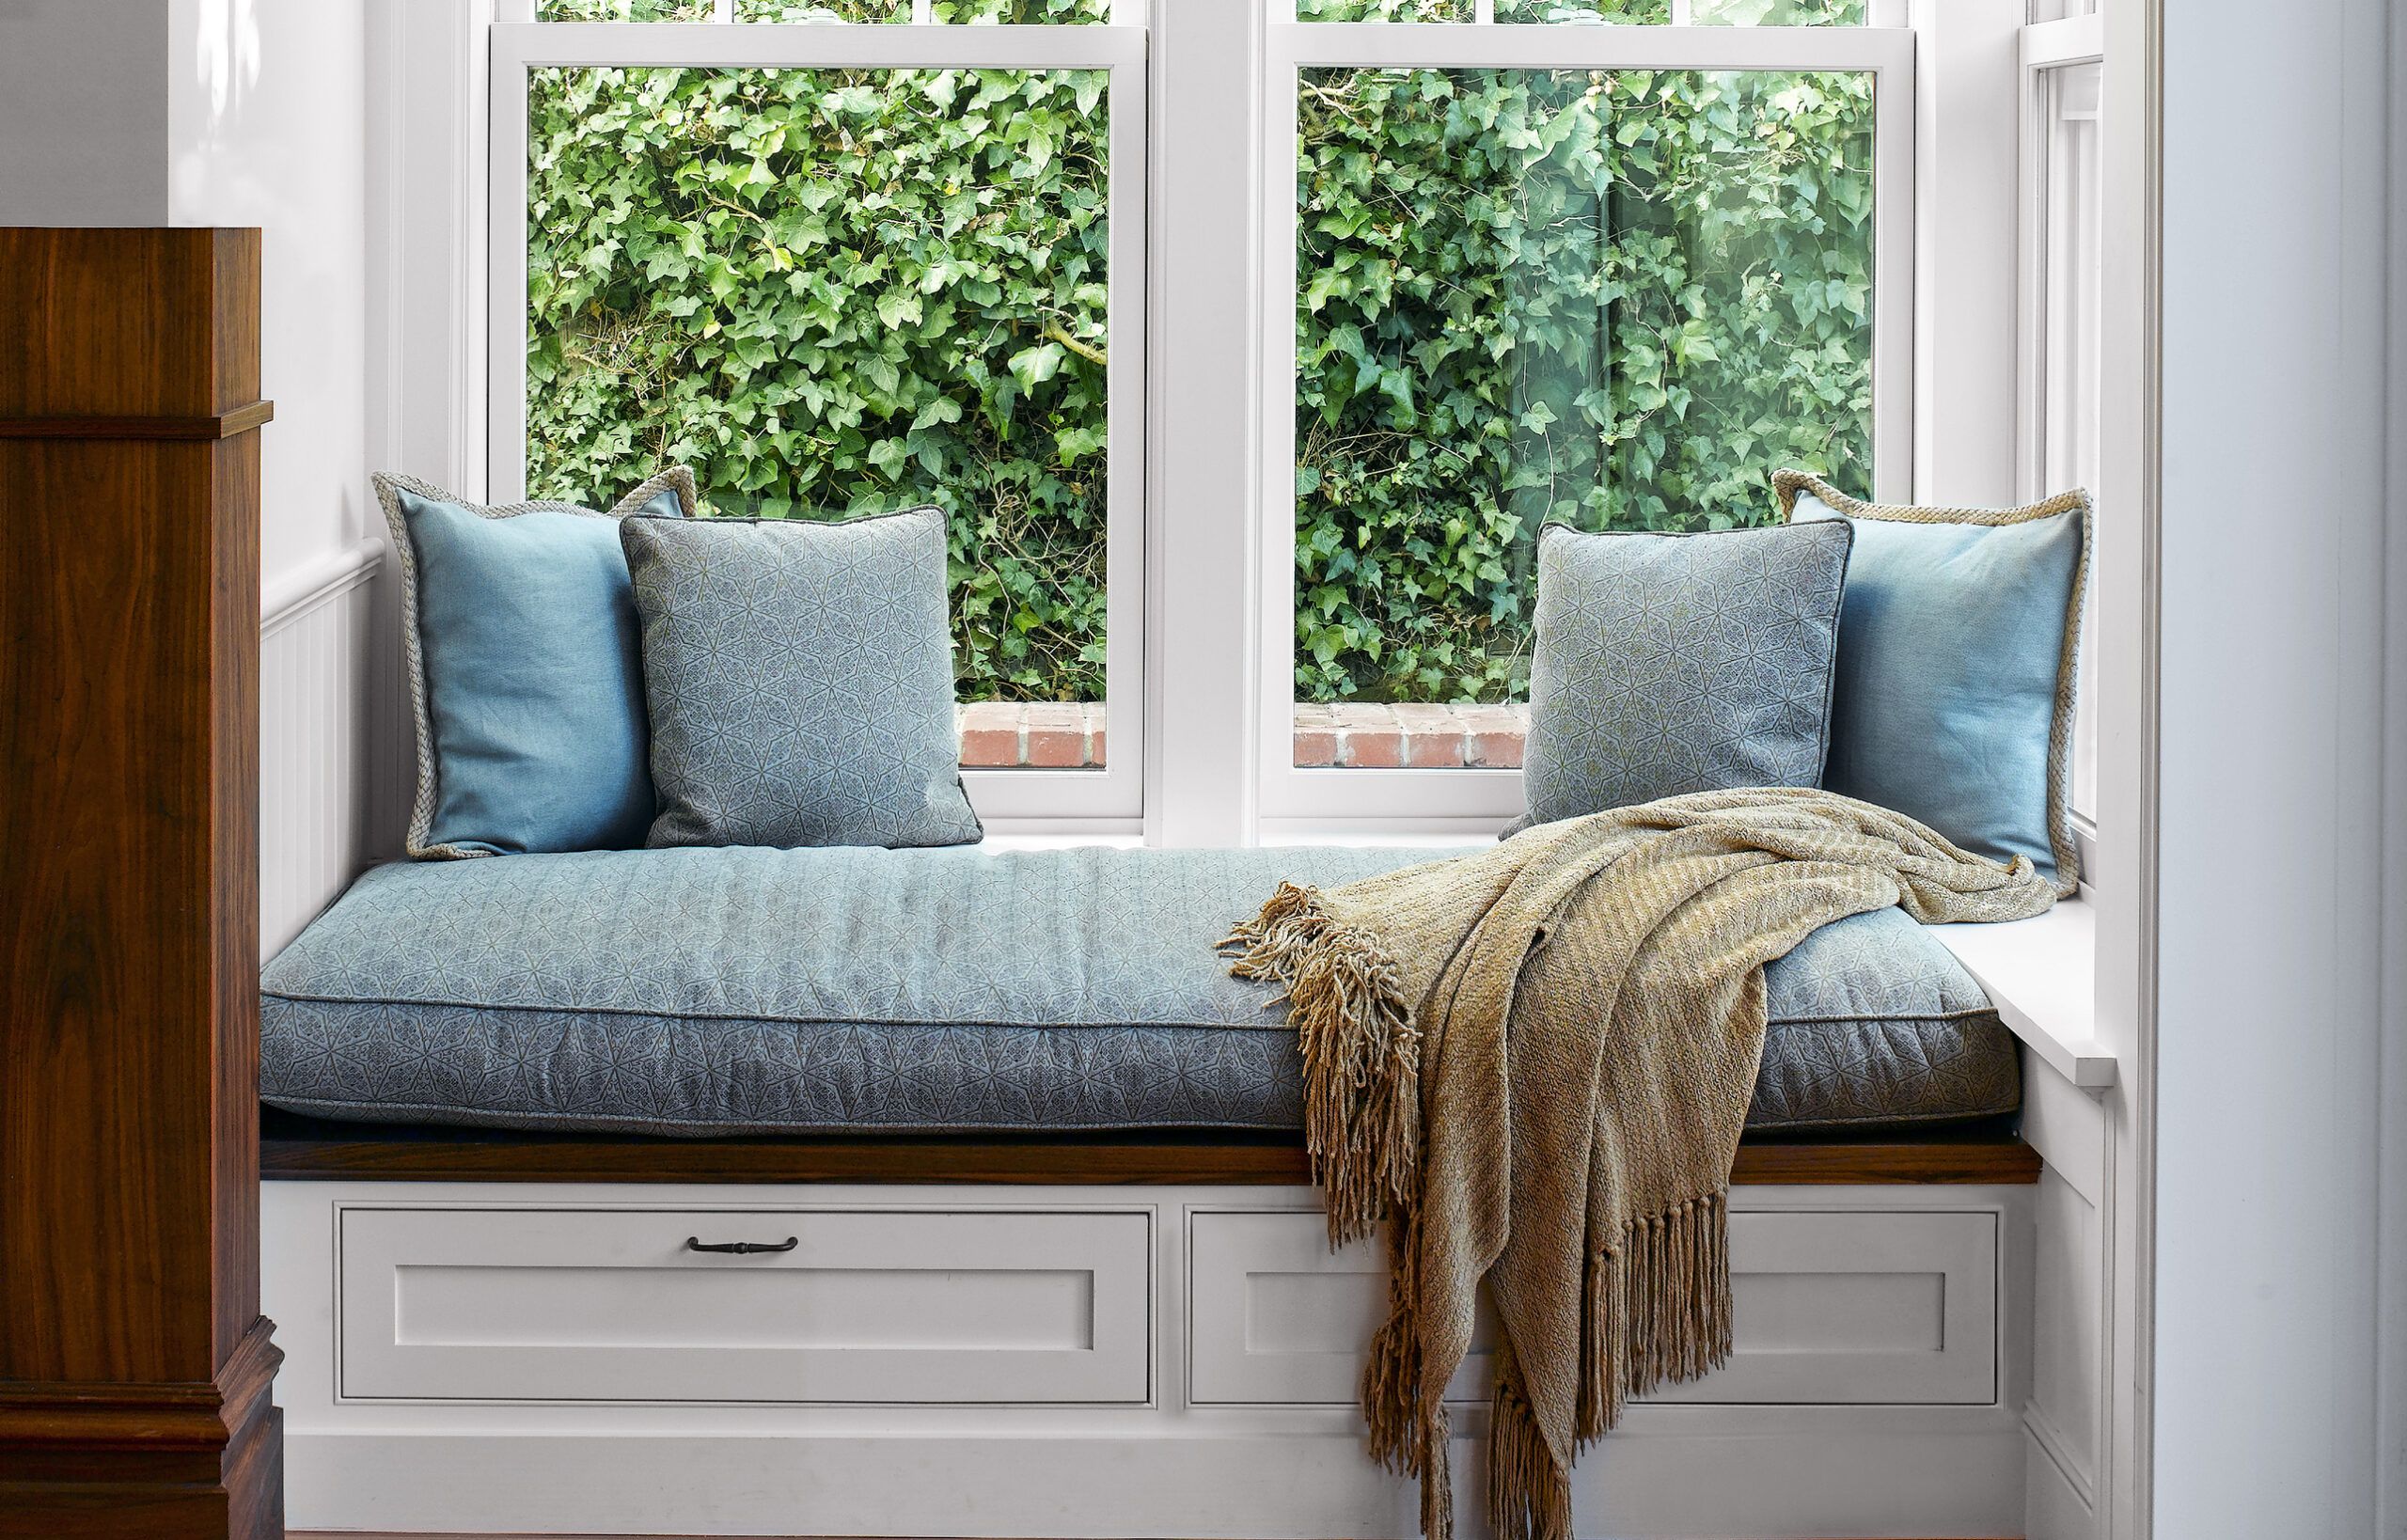
Cushions and Upholstery Options
When considering cushions and upholstery, you want something that complements your home and will fit comfortably in your window seat. For high-traffic areas, consider stain-resistant fabrics, outdoor fabrics, or removable cushion covers for easy cleaning. You can also coordinate throw pillows with your room’s interior for additional comfort and decor.
Lighting Considerations
Proper lighting can improve functionality if you plan to use your window seat for eating or reading. Consider recessed ceiling lights or table lamps on nearby surfaces for all-around lighting. For more ambient lighting, choose wall sconces or under-seat LED strips. You can also install dimmer switches to adjust the lighting based on the time of day and activity.
Electrical Outlets and Tech Integration
Integrating technology into your window seat can also increase its functionality. Consider adding electrical outlets, USB ports, built-in speakers, and smart home controls to make your new area more convenient. If you plan to add any electrical components, hire a licensed electrician for safety and correct installation.
Addressing Common Window Seat Challenges
While window seats offer many benefits, they can present some challenges. Radiators, awkward spaces, and ventilation should all be considered before installing a window seat.
Dealing with Radiators
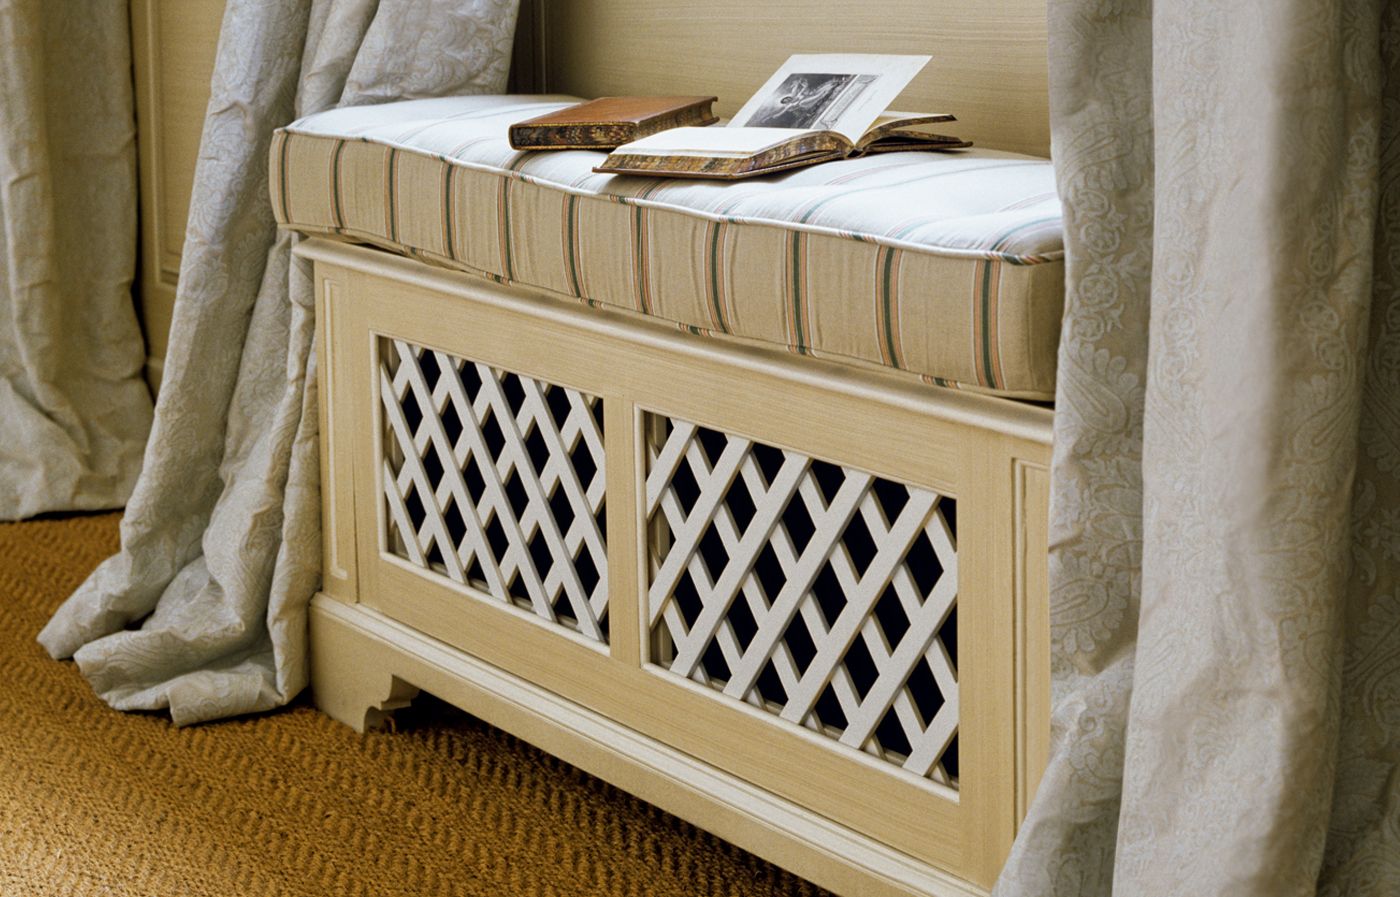
If your window seat needs to accommodate a radiator, one option is to use lattice panels on the front of the seat to allow heat to escape. You could also install a hinged top for easy radiator access or consult with an HVAC professional to provide proper airflow.
Working with Awkward Spaces
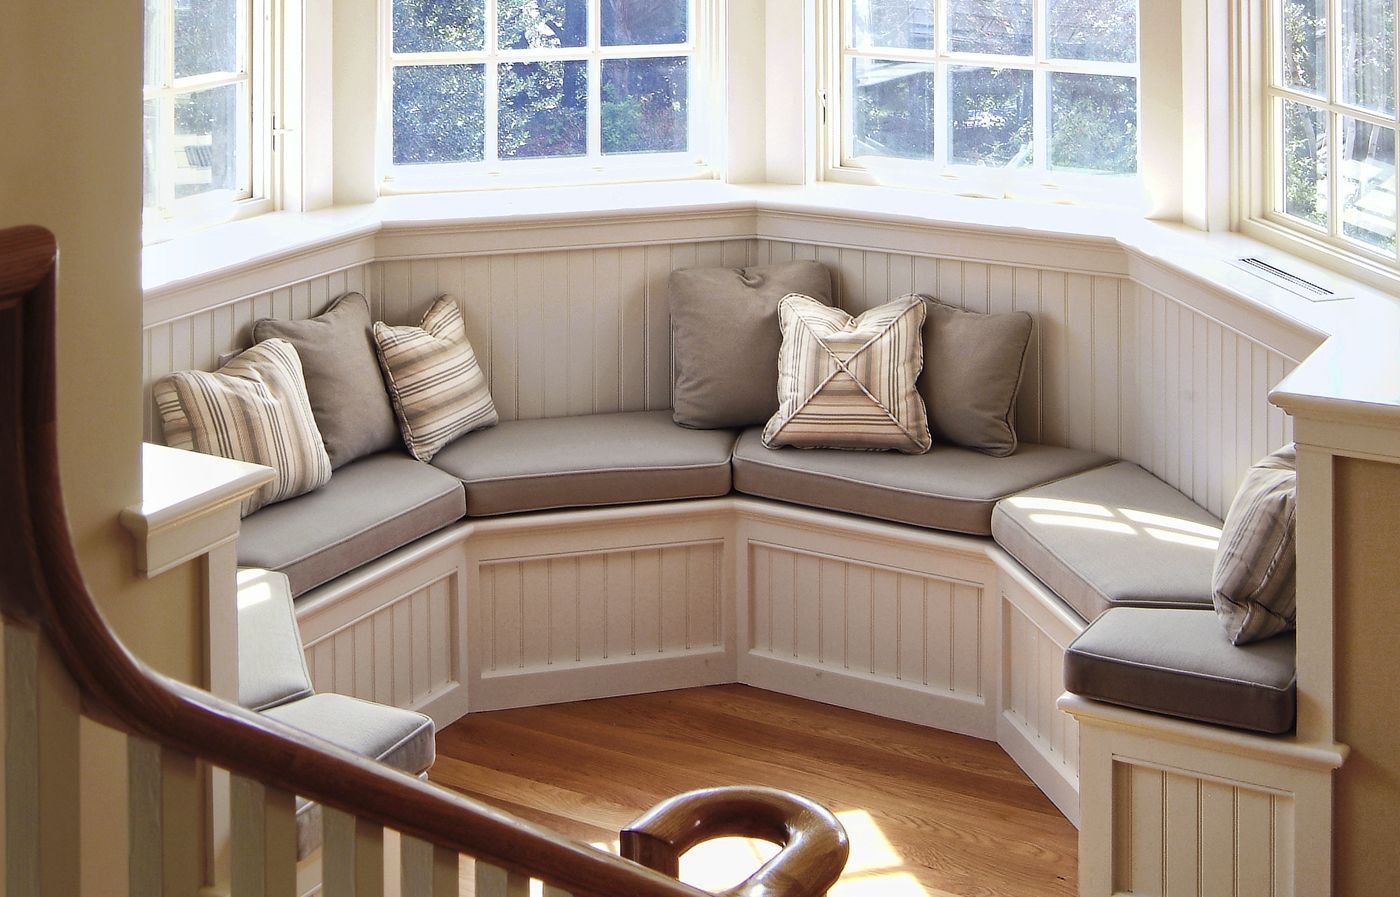
For bay windows or curved spaces, you can use modular units arranged to follow the curve of your window. You can also opt for a custom-built seat or install corner units to maximize space in angled windows.
Proper Ventilation
To prevent moisture buildup and maintain air quality, leave space between the window and the seat for air circulation, use moisture-resistant materials in more humid areas, and consider adding small vents to the seat base if necessary.
Maintenance and Care for Your Window Seat
To keep your window seat functioning well and in good condition, vacuum the cushions and upholstery regularly, spot-cleaning any spills as soon as you notice them. Dust and wipe down hard surfaces regularly and tighten any loose hardware to keep the seat structurally sound. As needed, you can refinish or repaint wooden surfaces. For seats with storage, clean out and organize the area as needed to prevent clutter buildup.
Cost Considerations for Window Seats

The cost of a window seat can vary widely depending on materials, size, and design complexity. Prices can also fluctuate depending on whether you hire a professional or construct your own DIY window seat. All cost data was gathered from Angi, a reputable home services site.
Budget-Friendly Options
For homeowners who don’t want to invest in this project, use stock cabinets as a base and build a simple bench-style seat with open storage. Less expensive materials for building your window seat include MDF or pine. On the low end, you can expect to pay around $500 if you design and install the window seat yourself.
High-End Custom Designs
For a custom window seat, you can expend to spend $2,500 or more. Custom cabinetry, high-quality upholstery fabrics, and integrated lighting and electrical features will all impact the cost of your window seat.
Window Seats for Different Architectural Styles
Window seats can complement different architectural styles to better match your home. Depending on your home’s style, you can choose traditional, modern, and farmhouse-style window seats.
Traditional Window Seats
- Add turned legs or decorative brackets for support
- Choose warm wood tones or white-painted finishes
- Incorporate classic moldings and trim
- Use raised panel designs on the base
Modern and Contemporary Designs
- Choose bold colors or natural materials like concrete or metal
- Incorporate geometric patterns in cushions or accessories
- Opt for clean lines and minimal decoration
- Use sleek, flush-front cabinets or a floating design
Rustic and Farmhouse-Inspired Seats
- Add woven baskets for storage and texture
- Choose distressed finishes or natural wood tones
- Incorporate shiplap or beadboard paneling
- Use reclaimed wood for a weathered look
Whether you want to create a cozy reading nook, add extra storage, or provide more seating space, a well-designed window seat can achieve these goals. From DIY projects to high-end custom installations, there’s a window seat option for every budget and style preference.