Any time you’re patching vintage flooring with new material, chances are that the widths won’t match. You can pay to have the wood milled to the exact dimensions you need, or you can save yourself a lot of money and do the milling yourself on a table saw. If saving money sounds good to you, start with stock tongue—and—groove flooring that’s wider than what you’re replacing, then follow these steps.
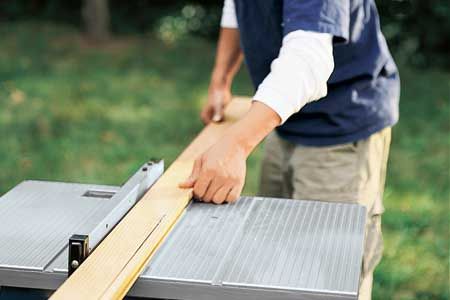
1. Rip the new boards. Measure the face width of the existing flooring, add the width of its tongue, then set the table saw’s fence that same distance away from the blade. Now cut the new boards to width by running the tongue side against the fence. This removes the groove, which you’ll re—create in the next step.
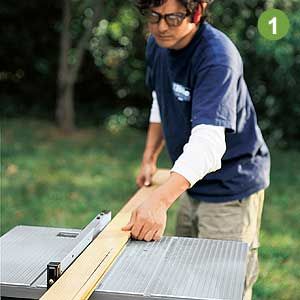
2. Get your groove back. (Part 1) Set the saw’s blade height equal to the depth of the groove you removed. Next, set the fence so the blade will cut into the edge of the wood directly in line with the upper face of the tongue. Make a short test cut to check that it’s in the right place, then, when everything meets your satisfaction, run all the trimmed boards through the saw with their undersides against the fence.
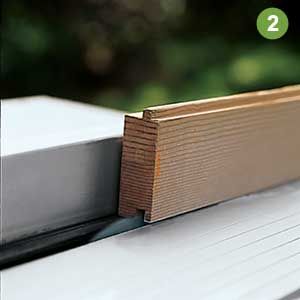
(Part 2) Move the fence closer to the blade so the next cut will be in line with the tongue’s lower face. After a test cut, run each board in the same direction over the blade again, as shown. Clean out the groove with a narrow chisel held bevel down. The finished pieces will have matching tongues and grooves, and widths to match the old flooring.