A driveway apron is a great way to make a first impression. But, when they start to crumble, they’re making the wrong impression altogether. When a homeowner faced this situation with his brick driveway, he called the team at Ask This Old House for help. Mason Mark McCullough answered with the perfect solution: cobblestone. Join us as we follow Mark on this house call.
How to Lay a Cobblestone Driveway
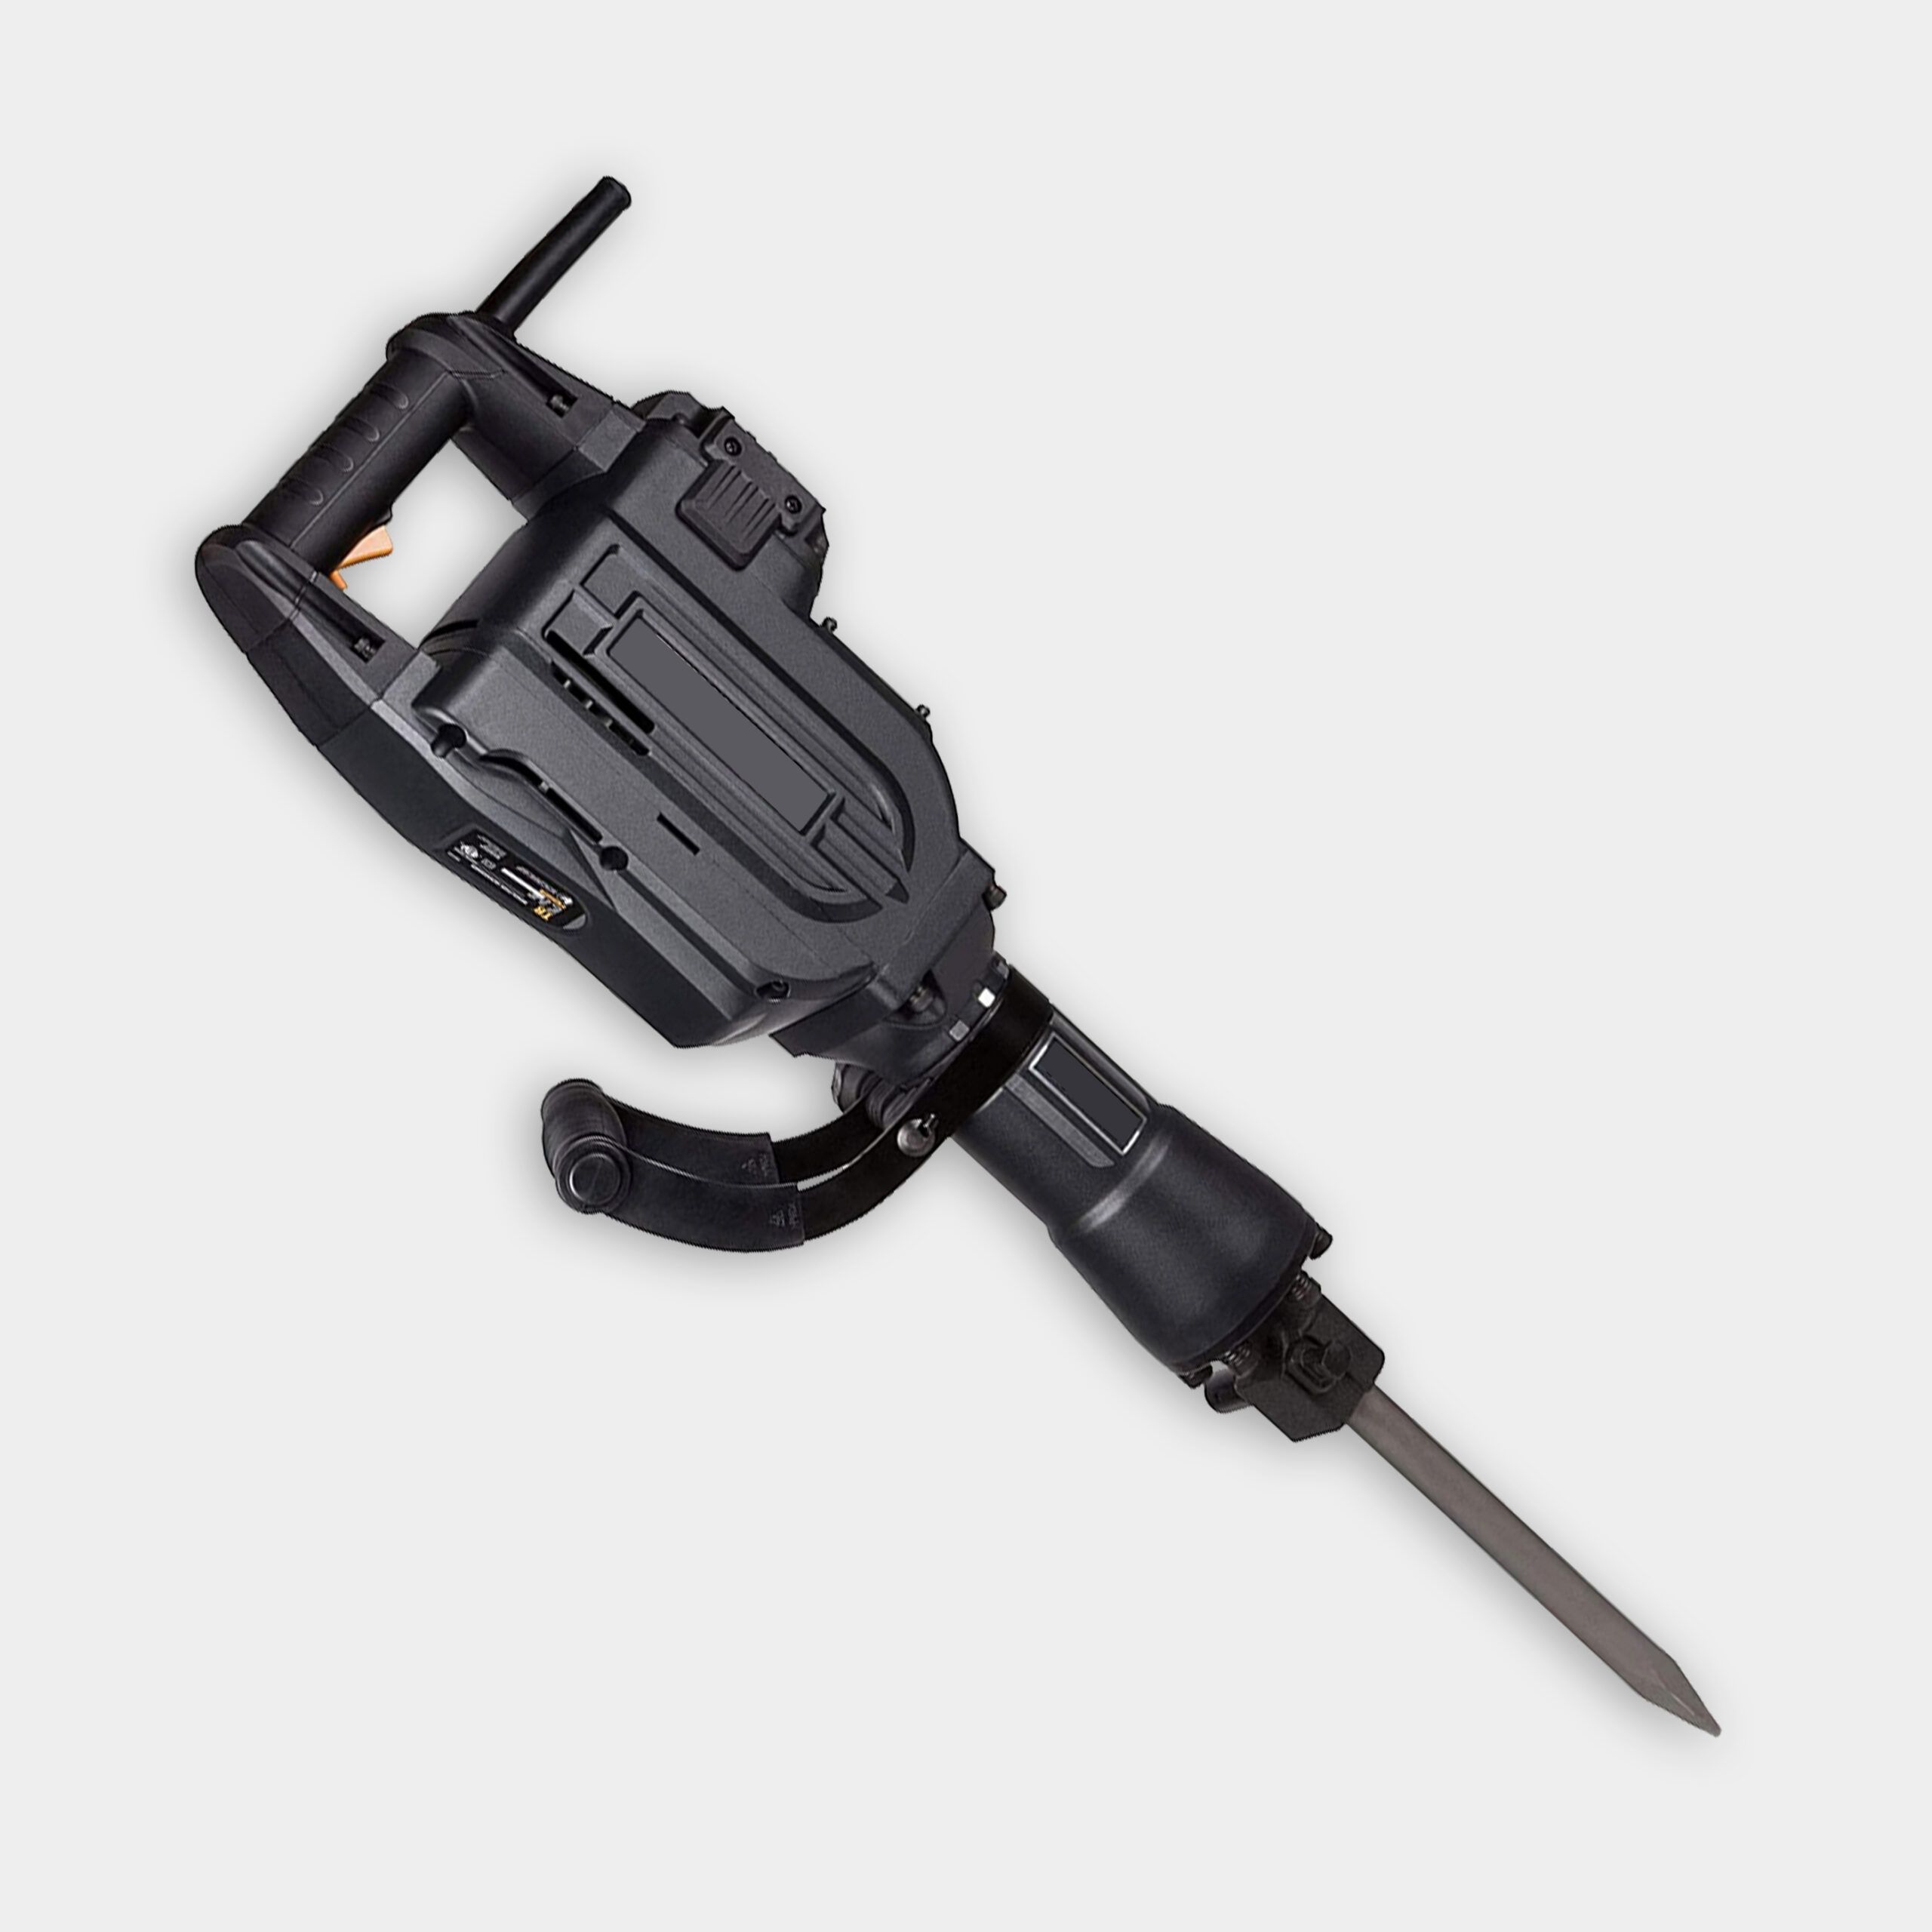
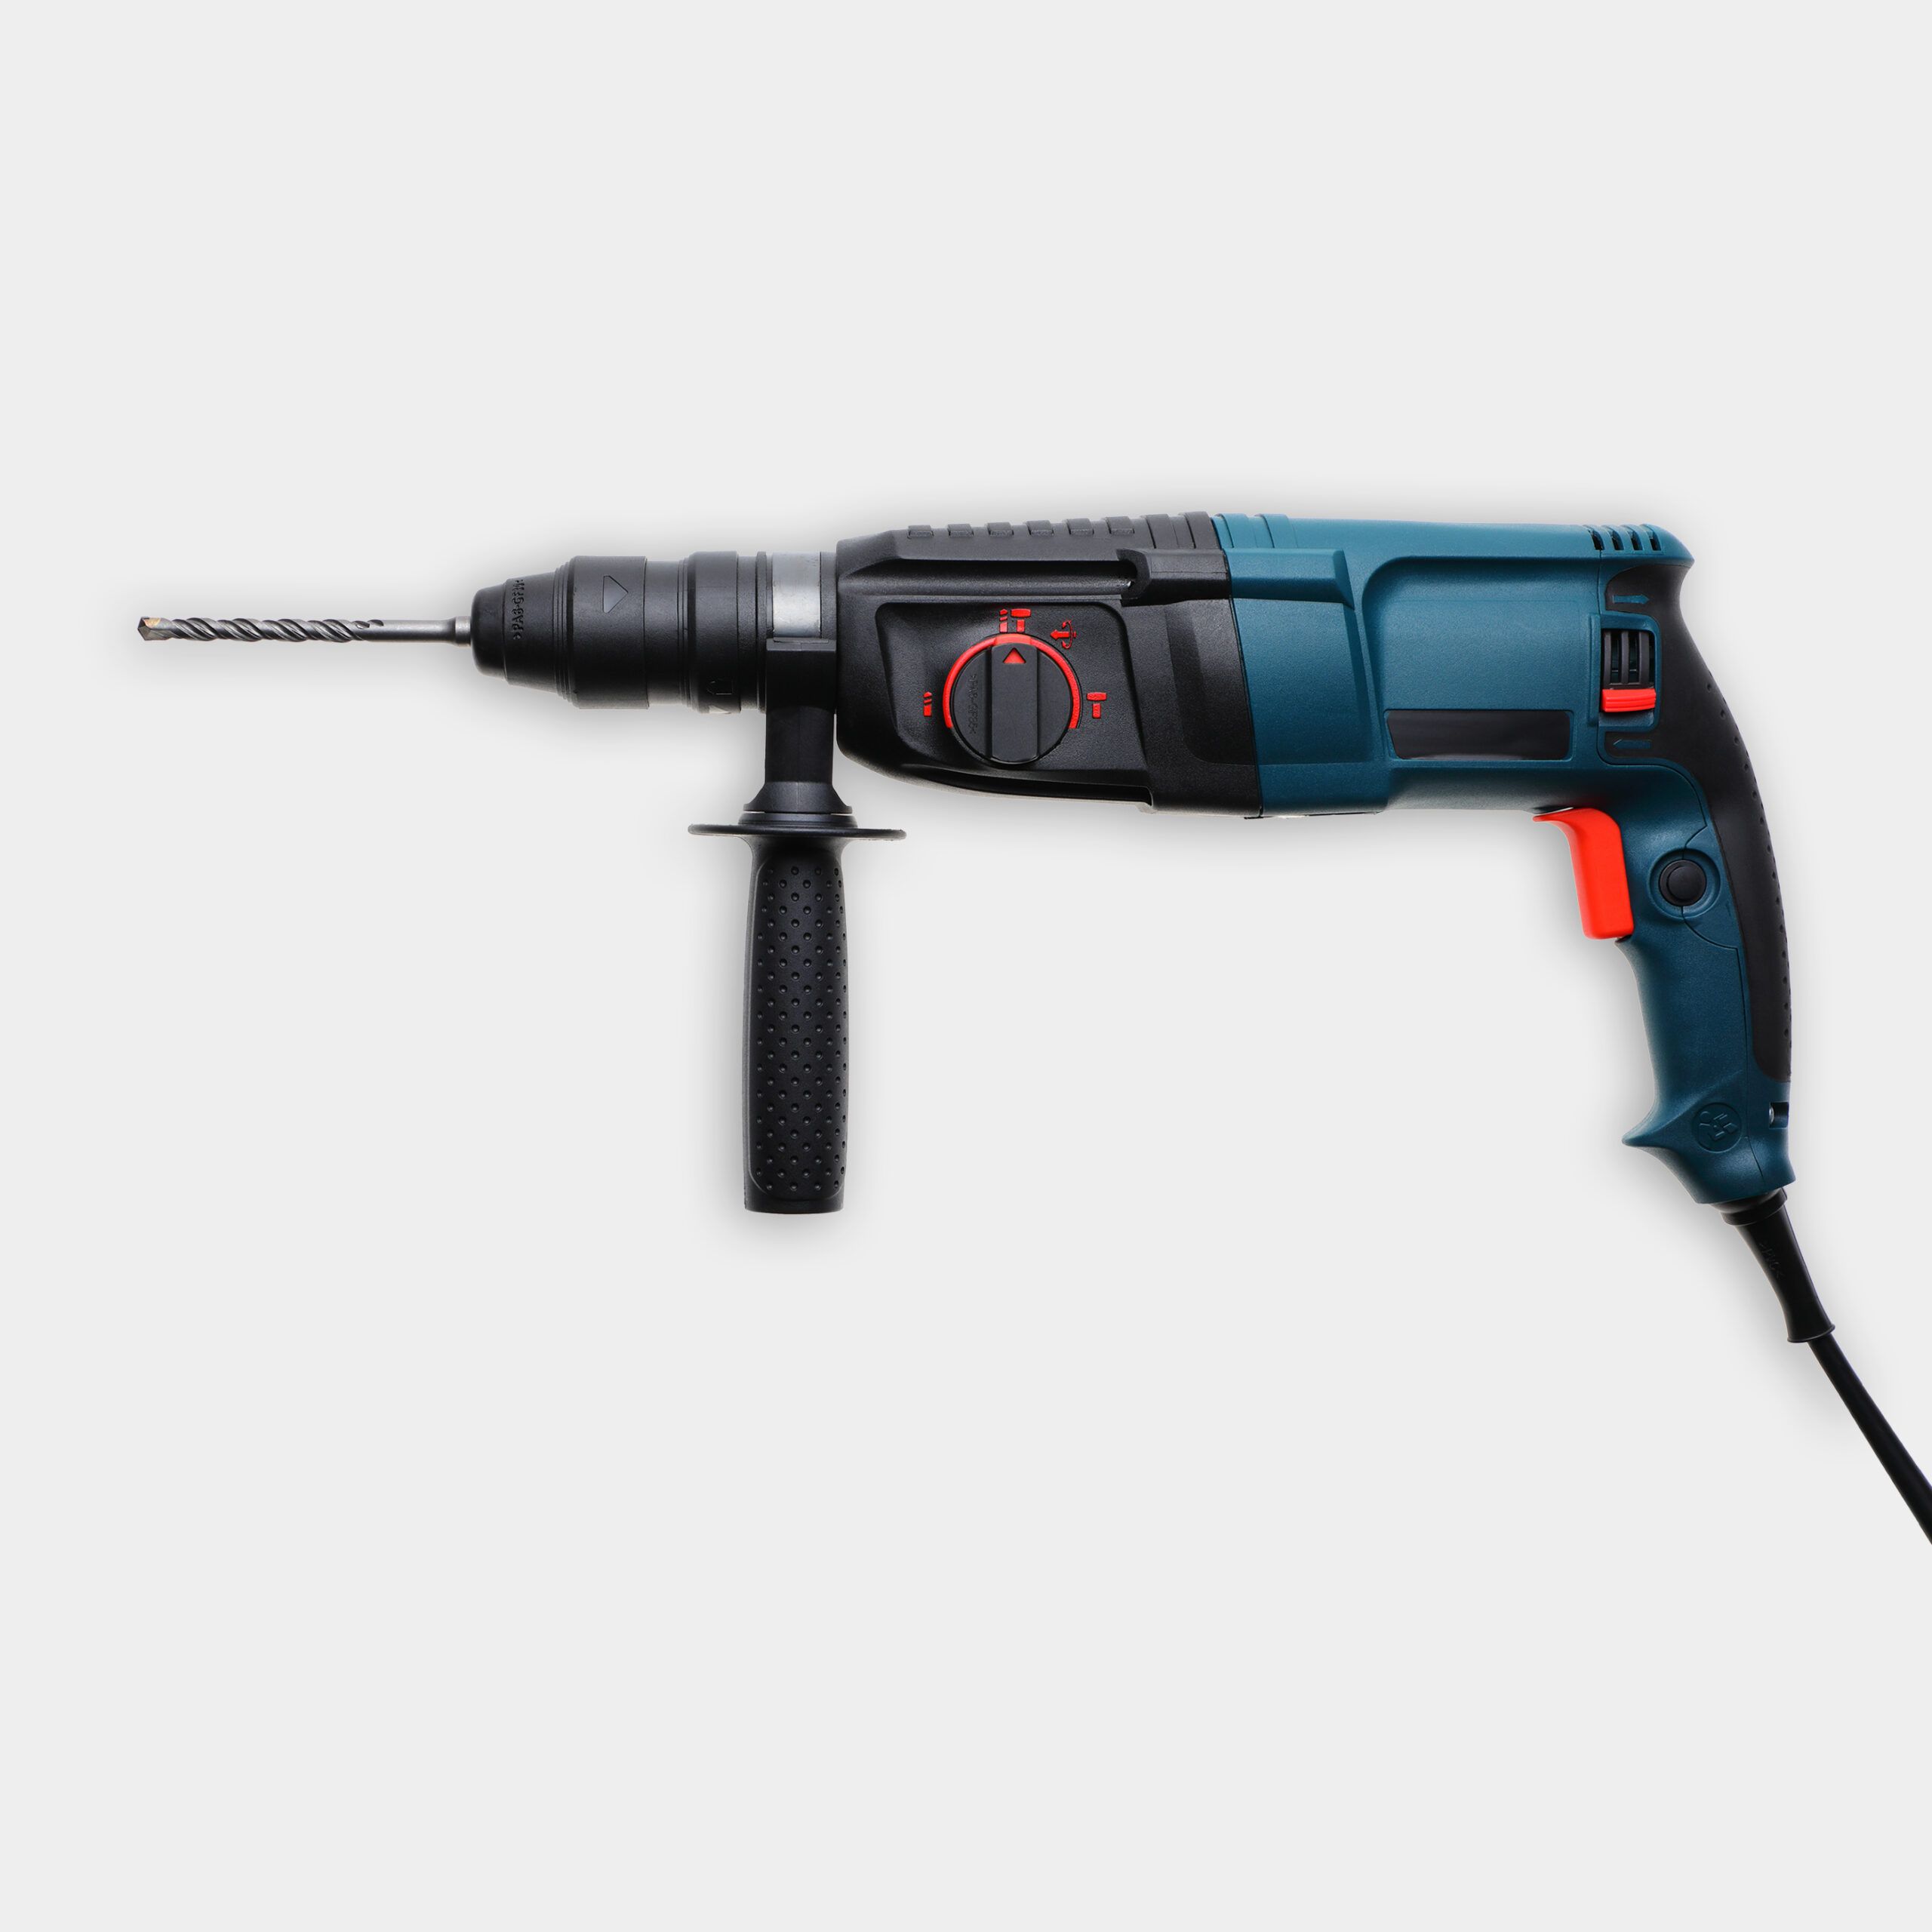
- Start by demolishing the existing apron. The easiest option is to rent a jackhammer and find an existing crack or weak spot to start. If not, start in the middle and create your own. Be careful along the edge of the driveway and sidewalk—it’s best to use a smaller demo hammer along these edges.
- If there is an existing concrete bed underneath the brick, it’s probably best to remove it and start over. Use the jackhammer to break up the pad and bull snips to cut up any wire lathe embedded in the concrete.
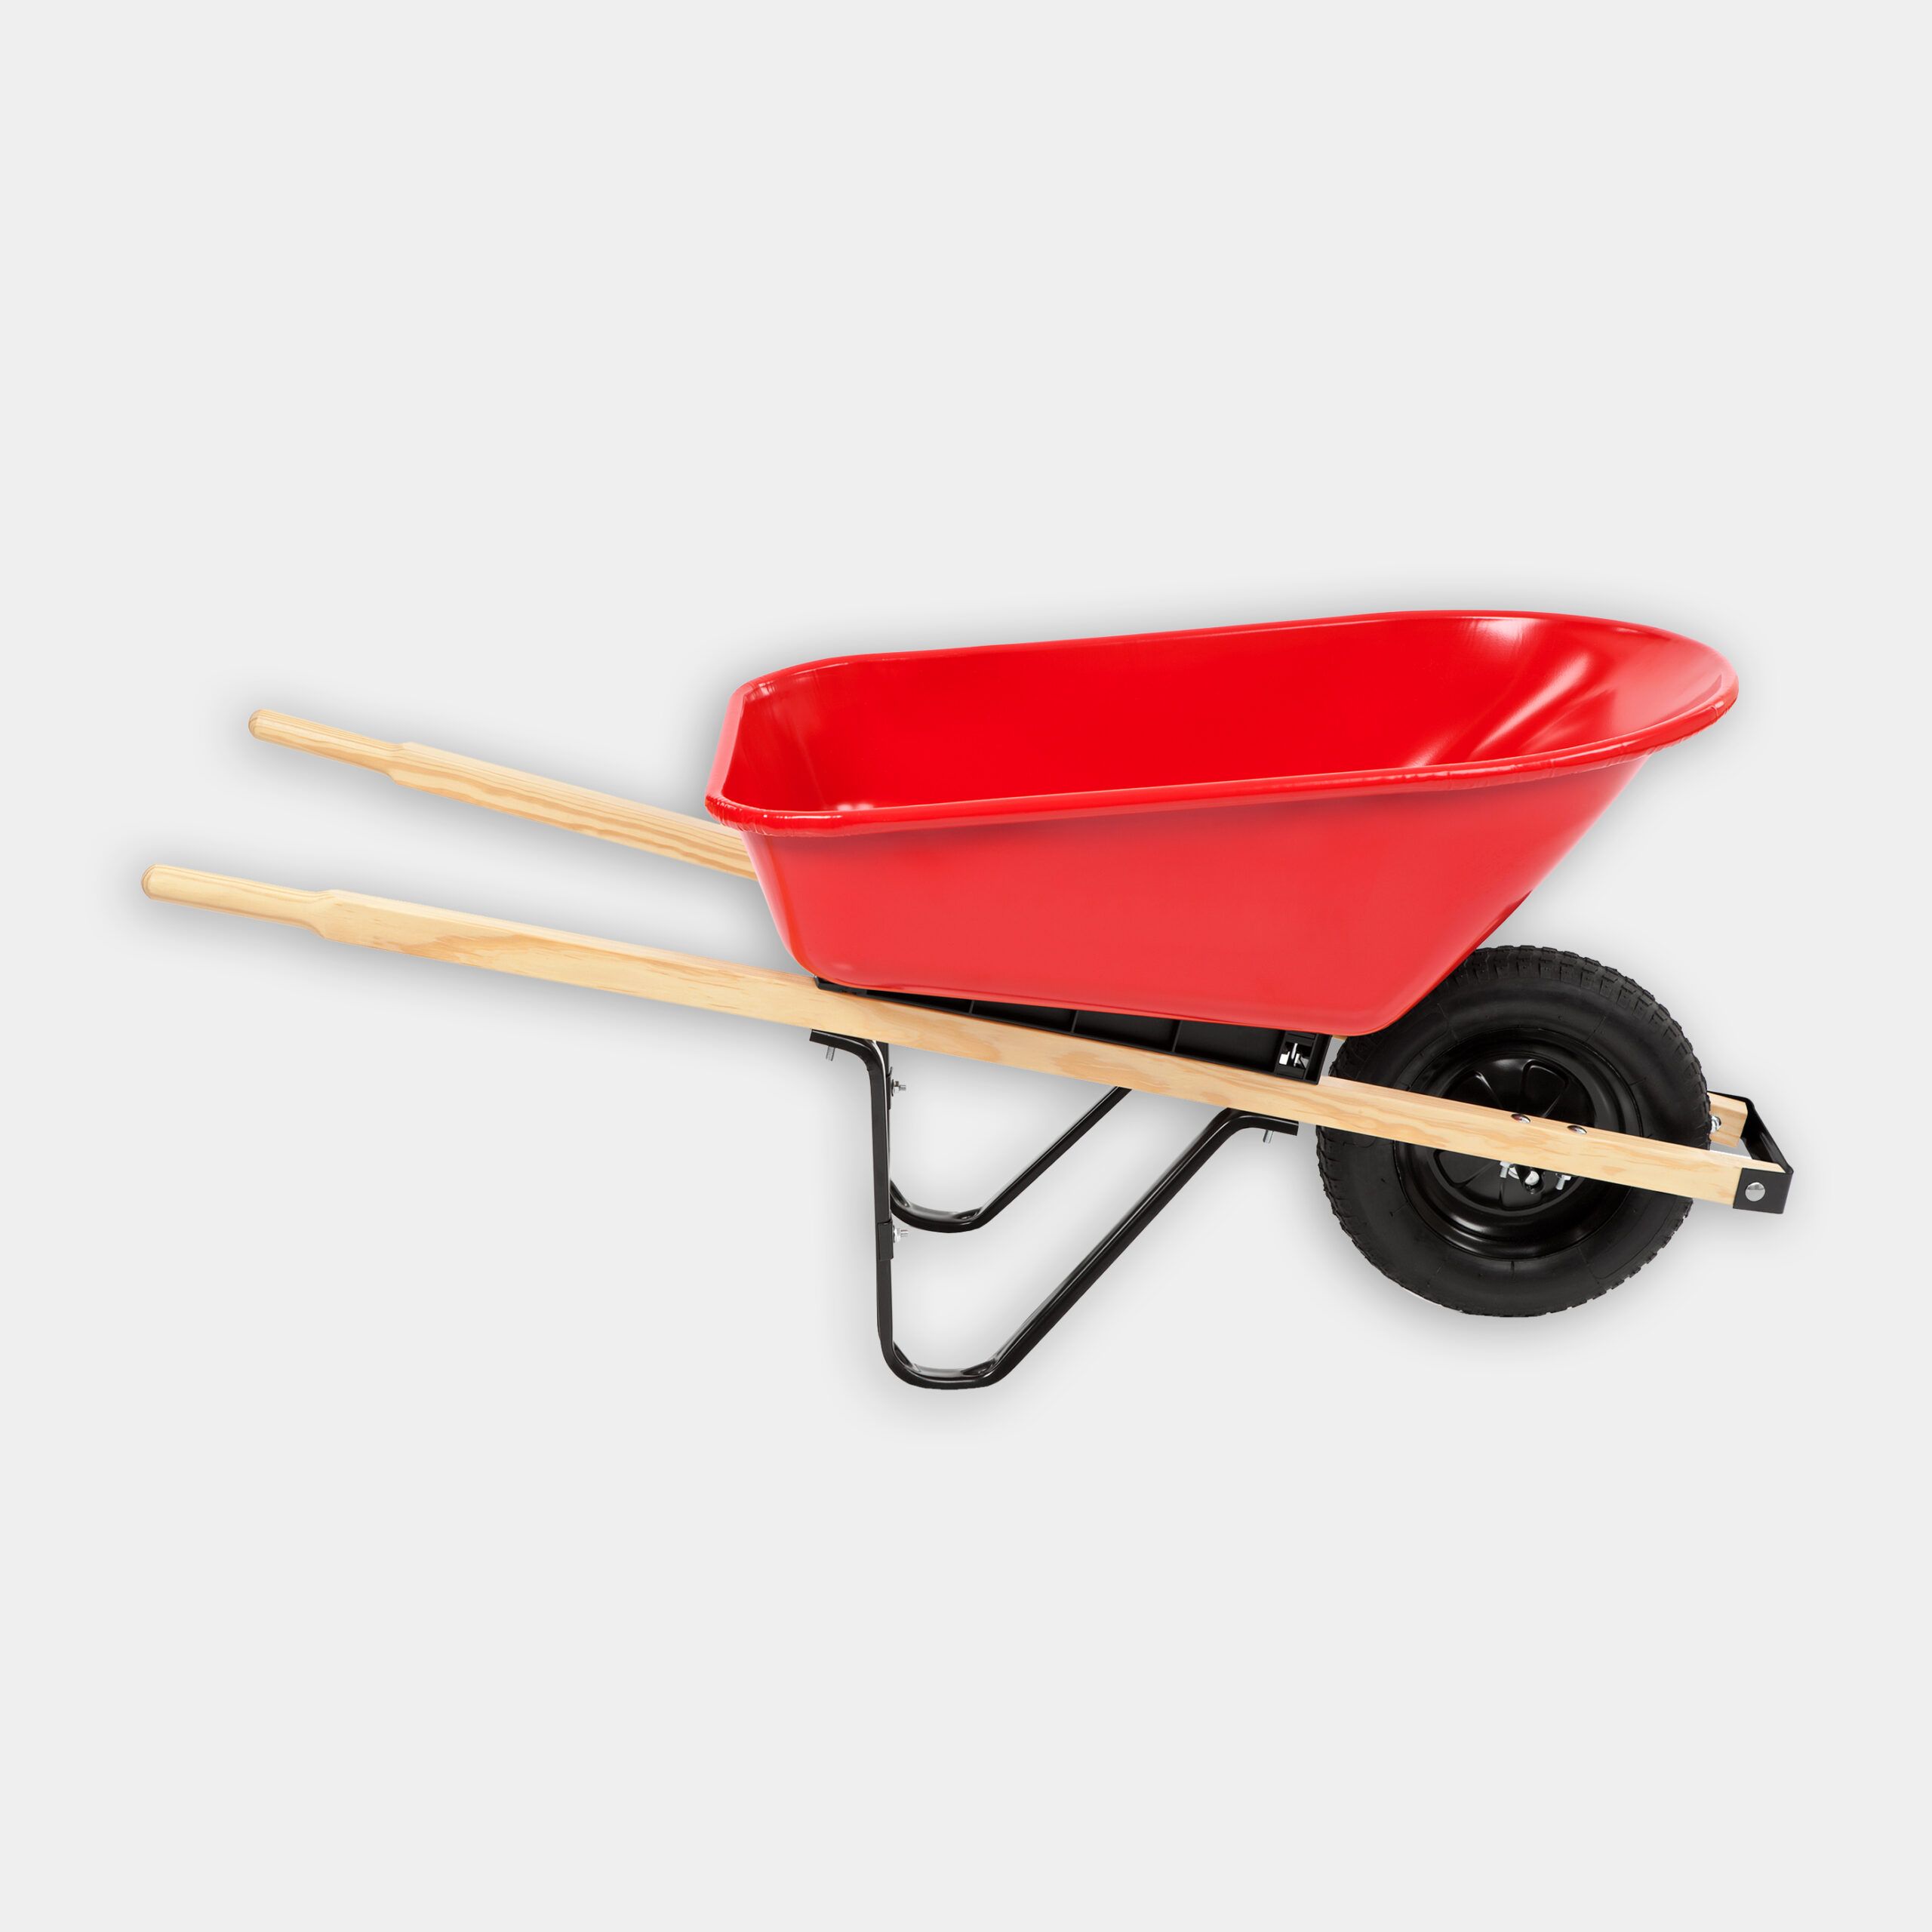
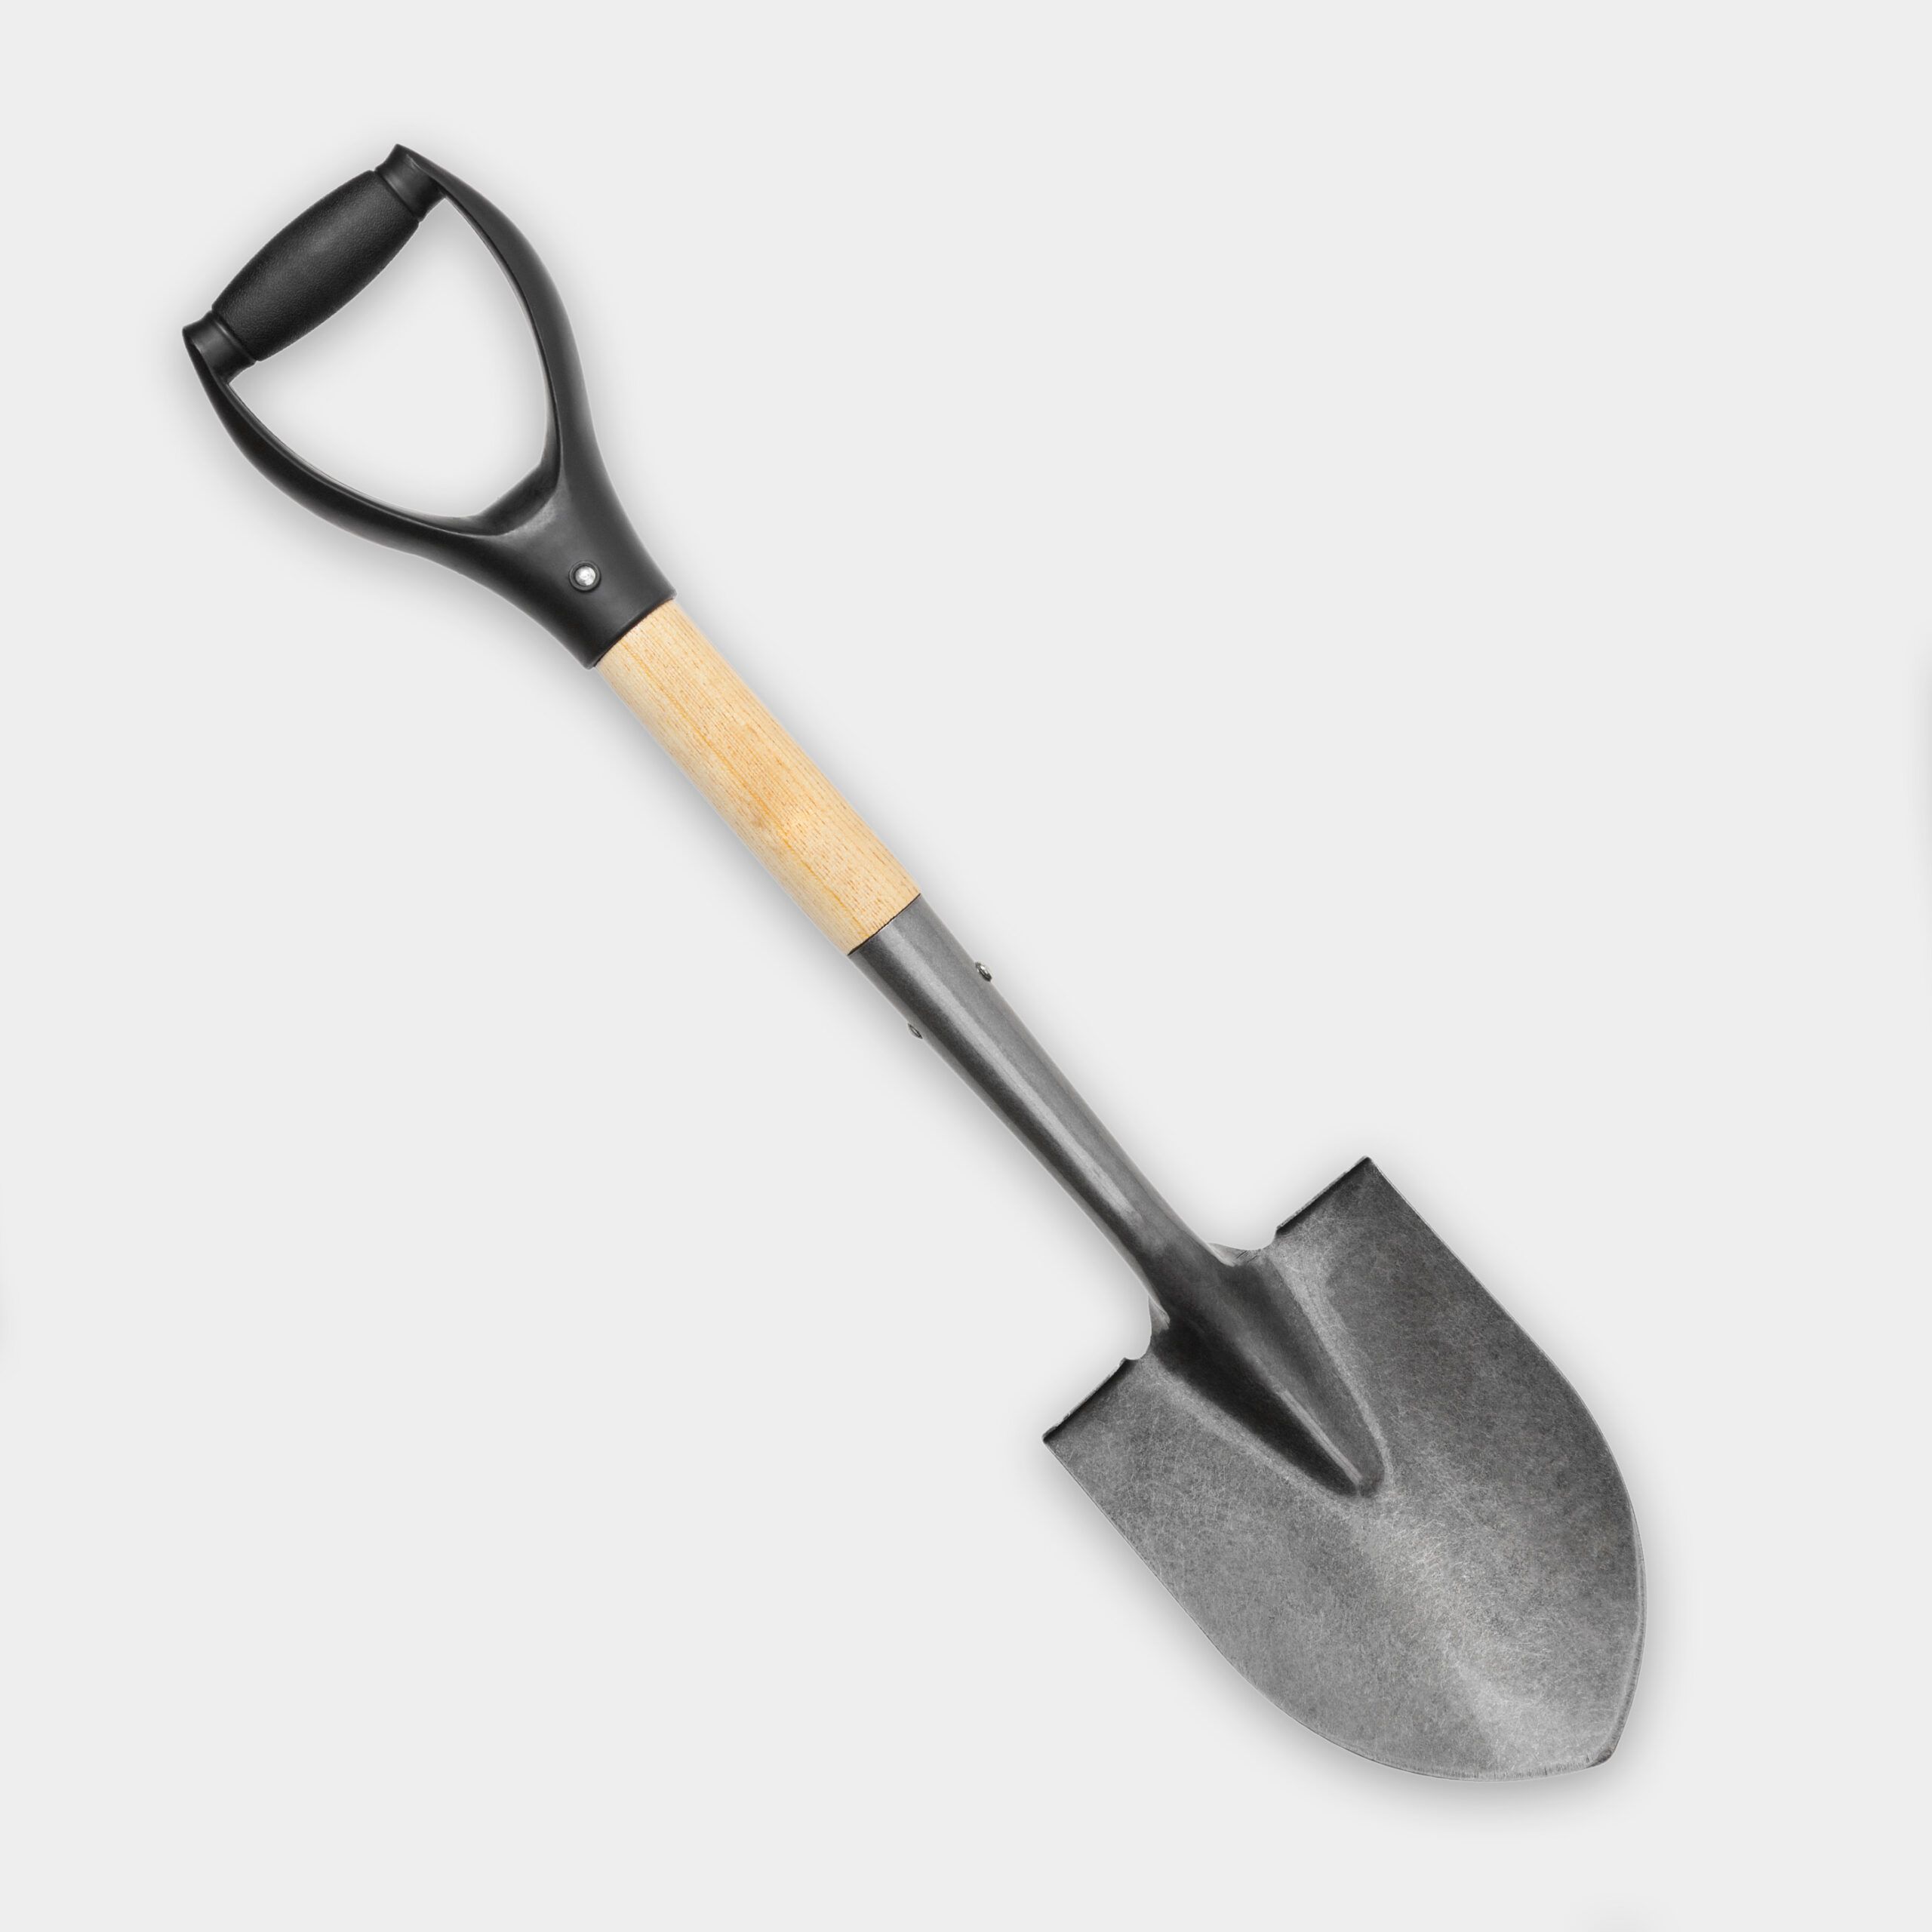
- Remove the brick, concrete, and other debris with the shovel and wheelbarrow.
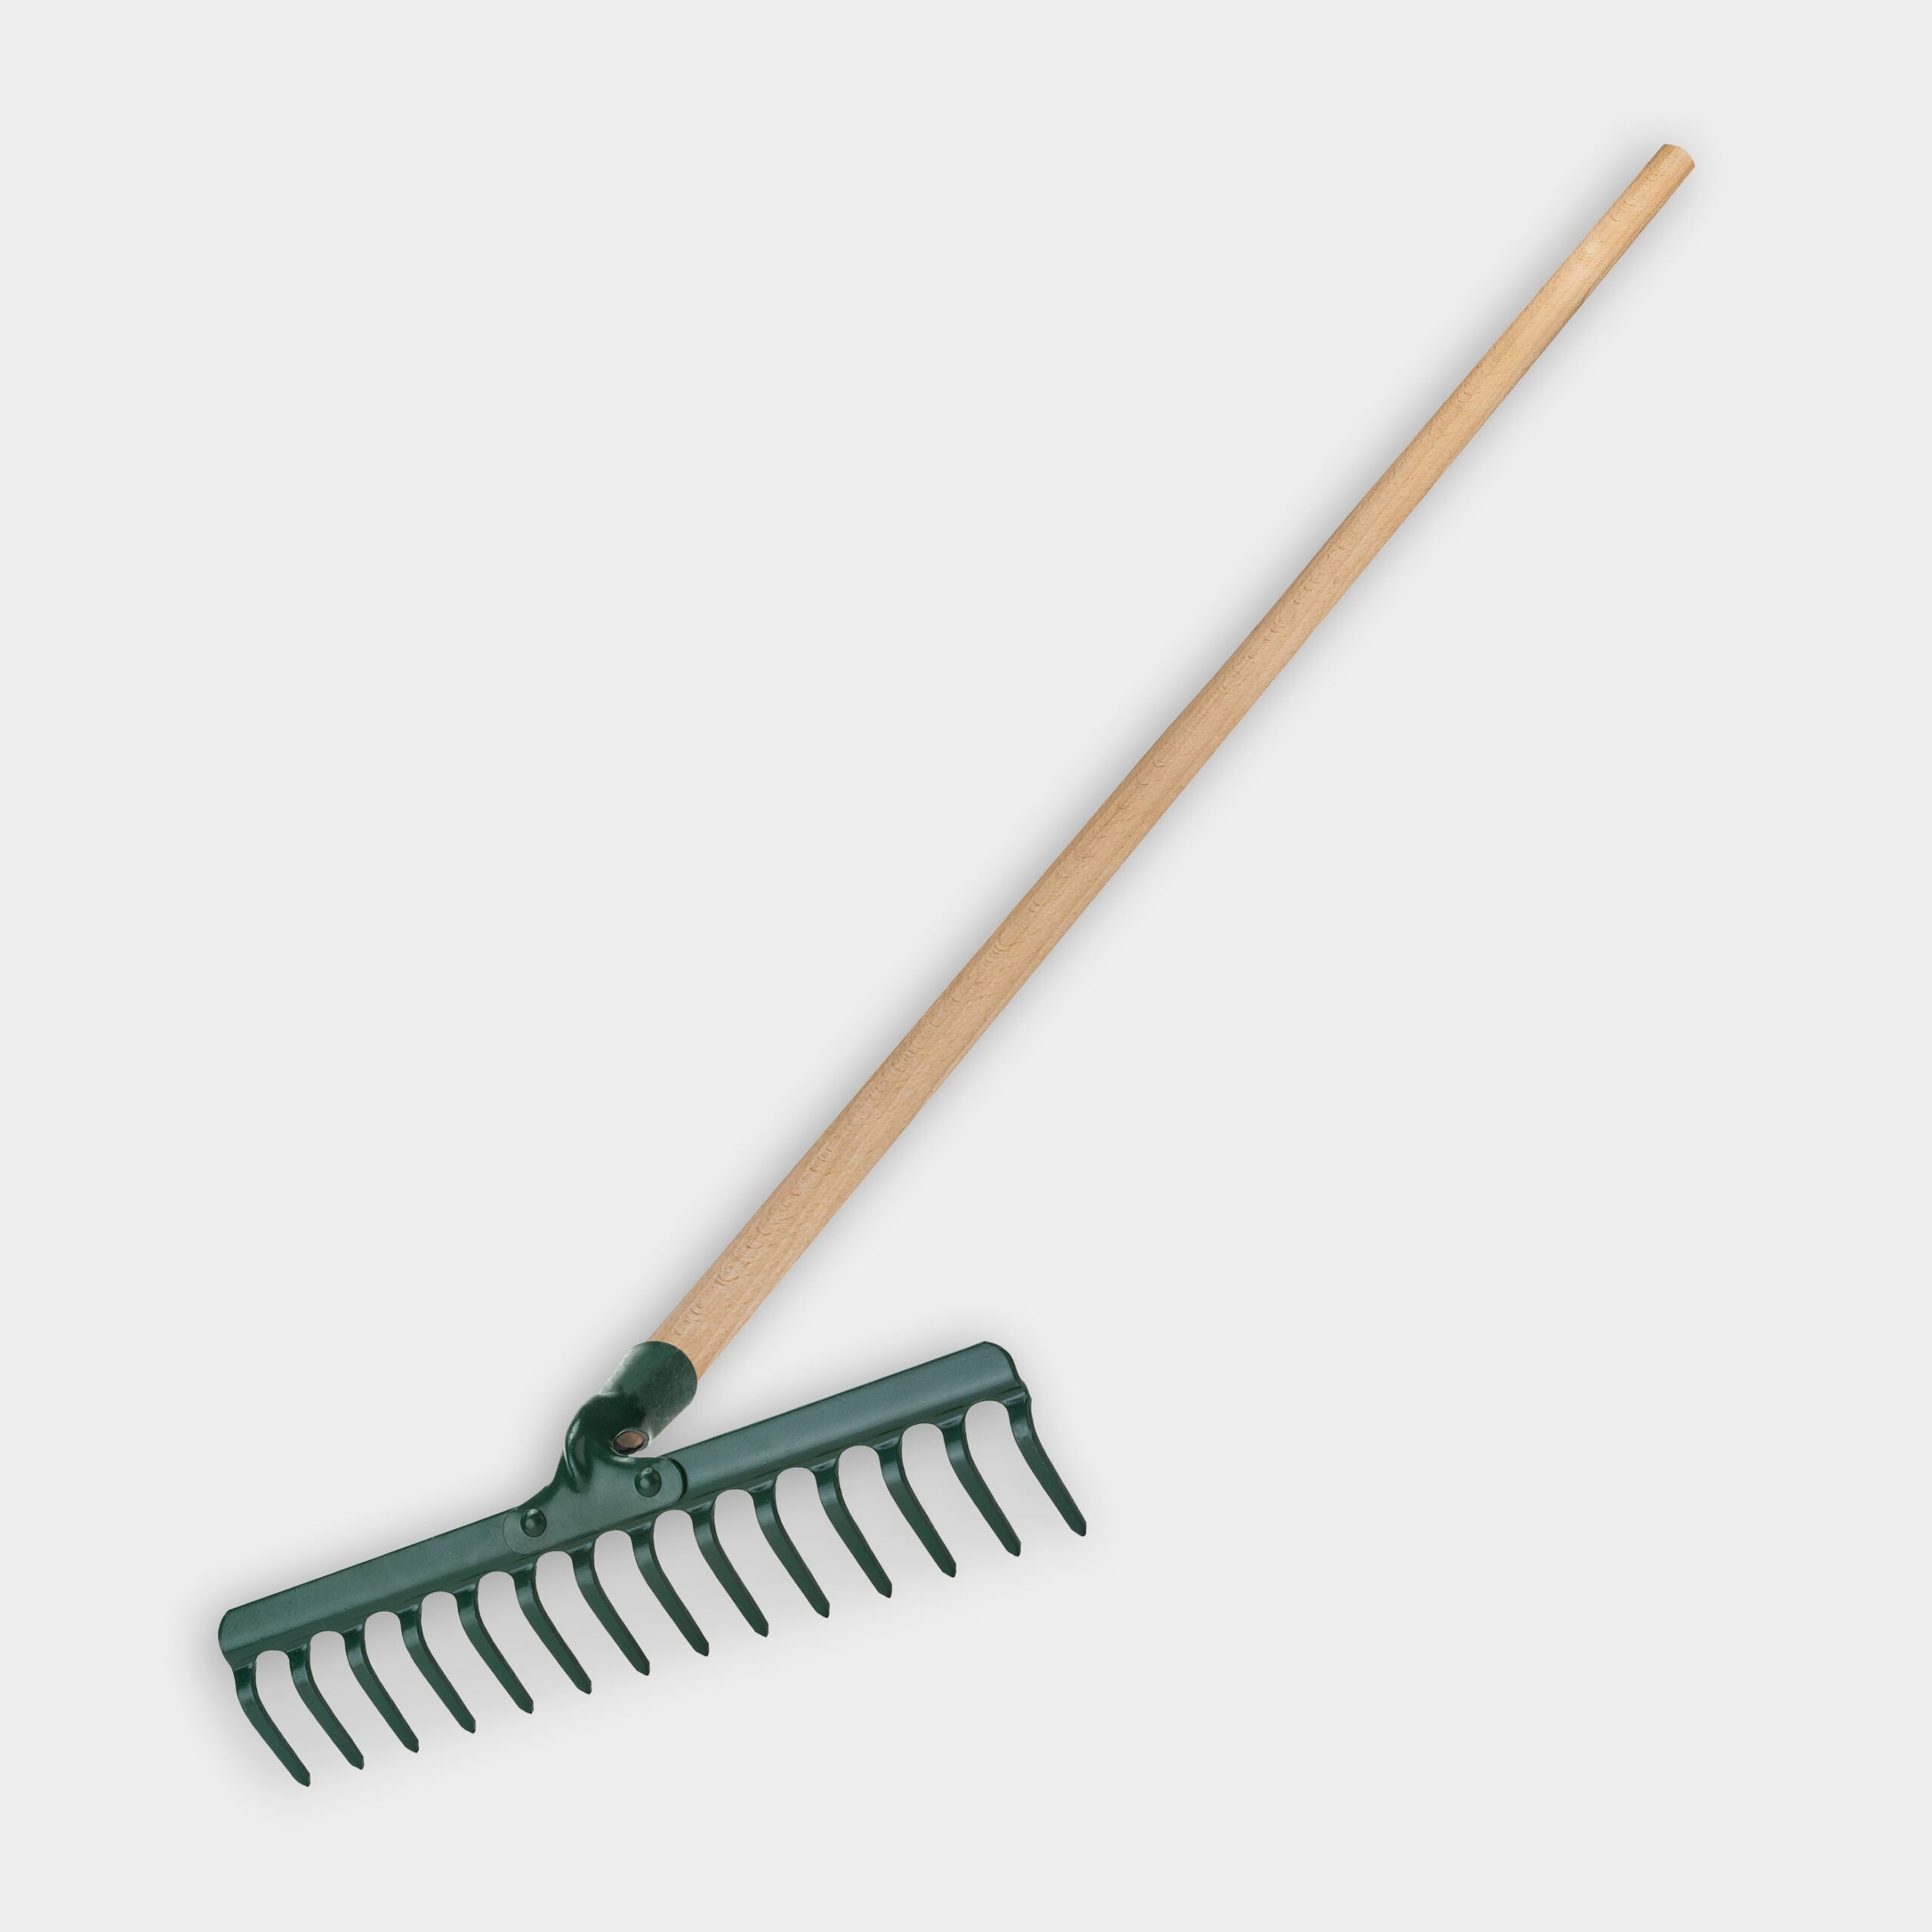
- Pour a layer of gravel into the gap, around 2 inches thick, and spread it evenly with the rake. Tamp it down with the tamper.
- Mix high-strength concrete and water in the wheelbarrow until it reaches an oatmeal consistency. Spread it over the gravel to a thickness of 2 to 3 inches. Place rebar on top, tap it into the concrete with a hammer, and apply another 2 to 3 inches of concrete on top.
- Layout the column cobblestones in a running bond pattern to figure out the pattern and spacing. Then, install rods and mason’s string to provide a straight guide.
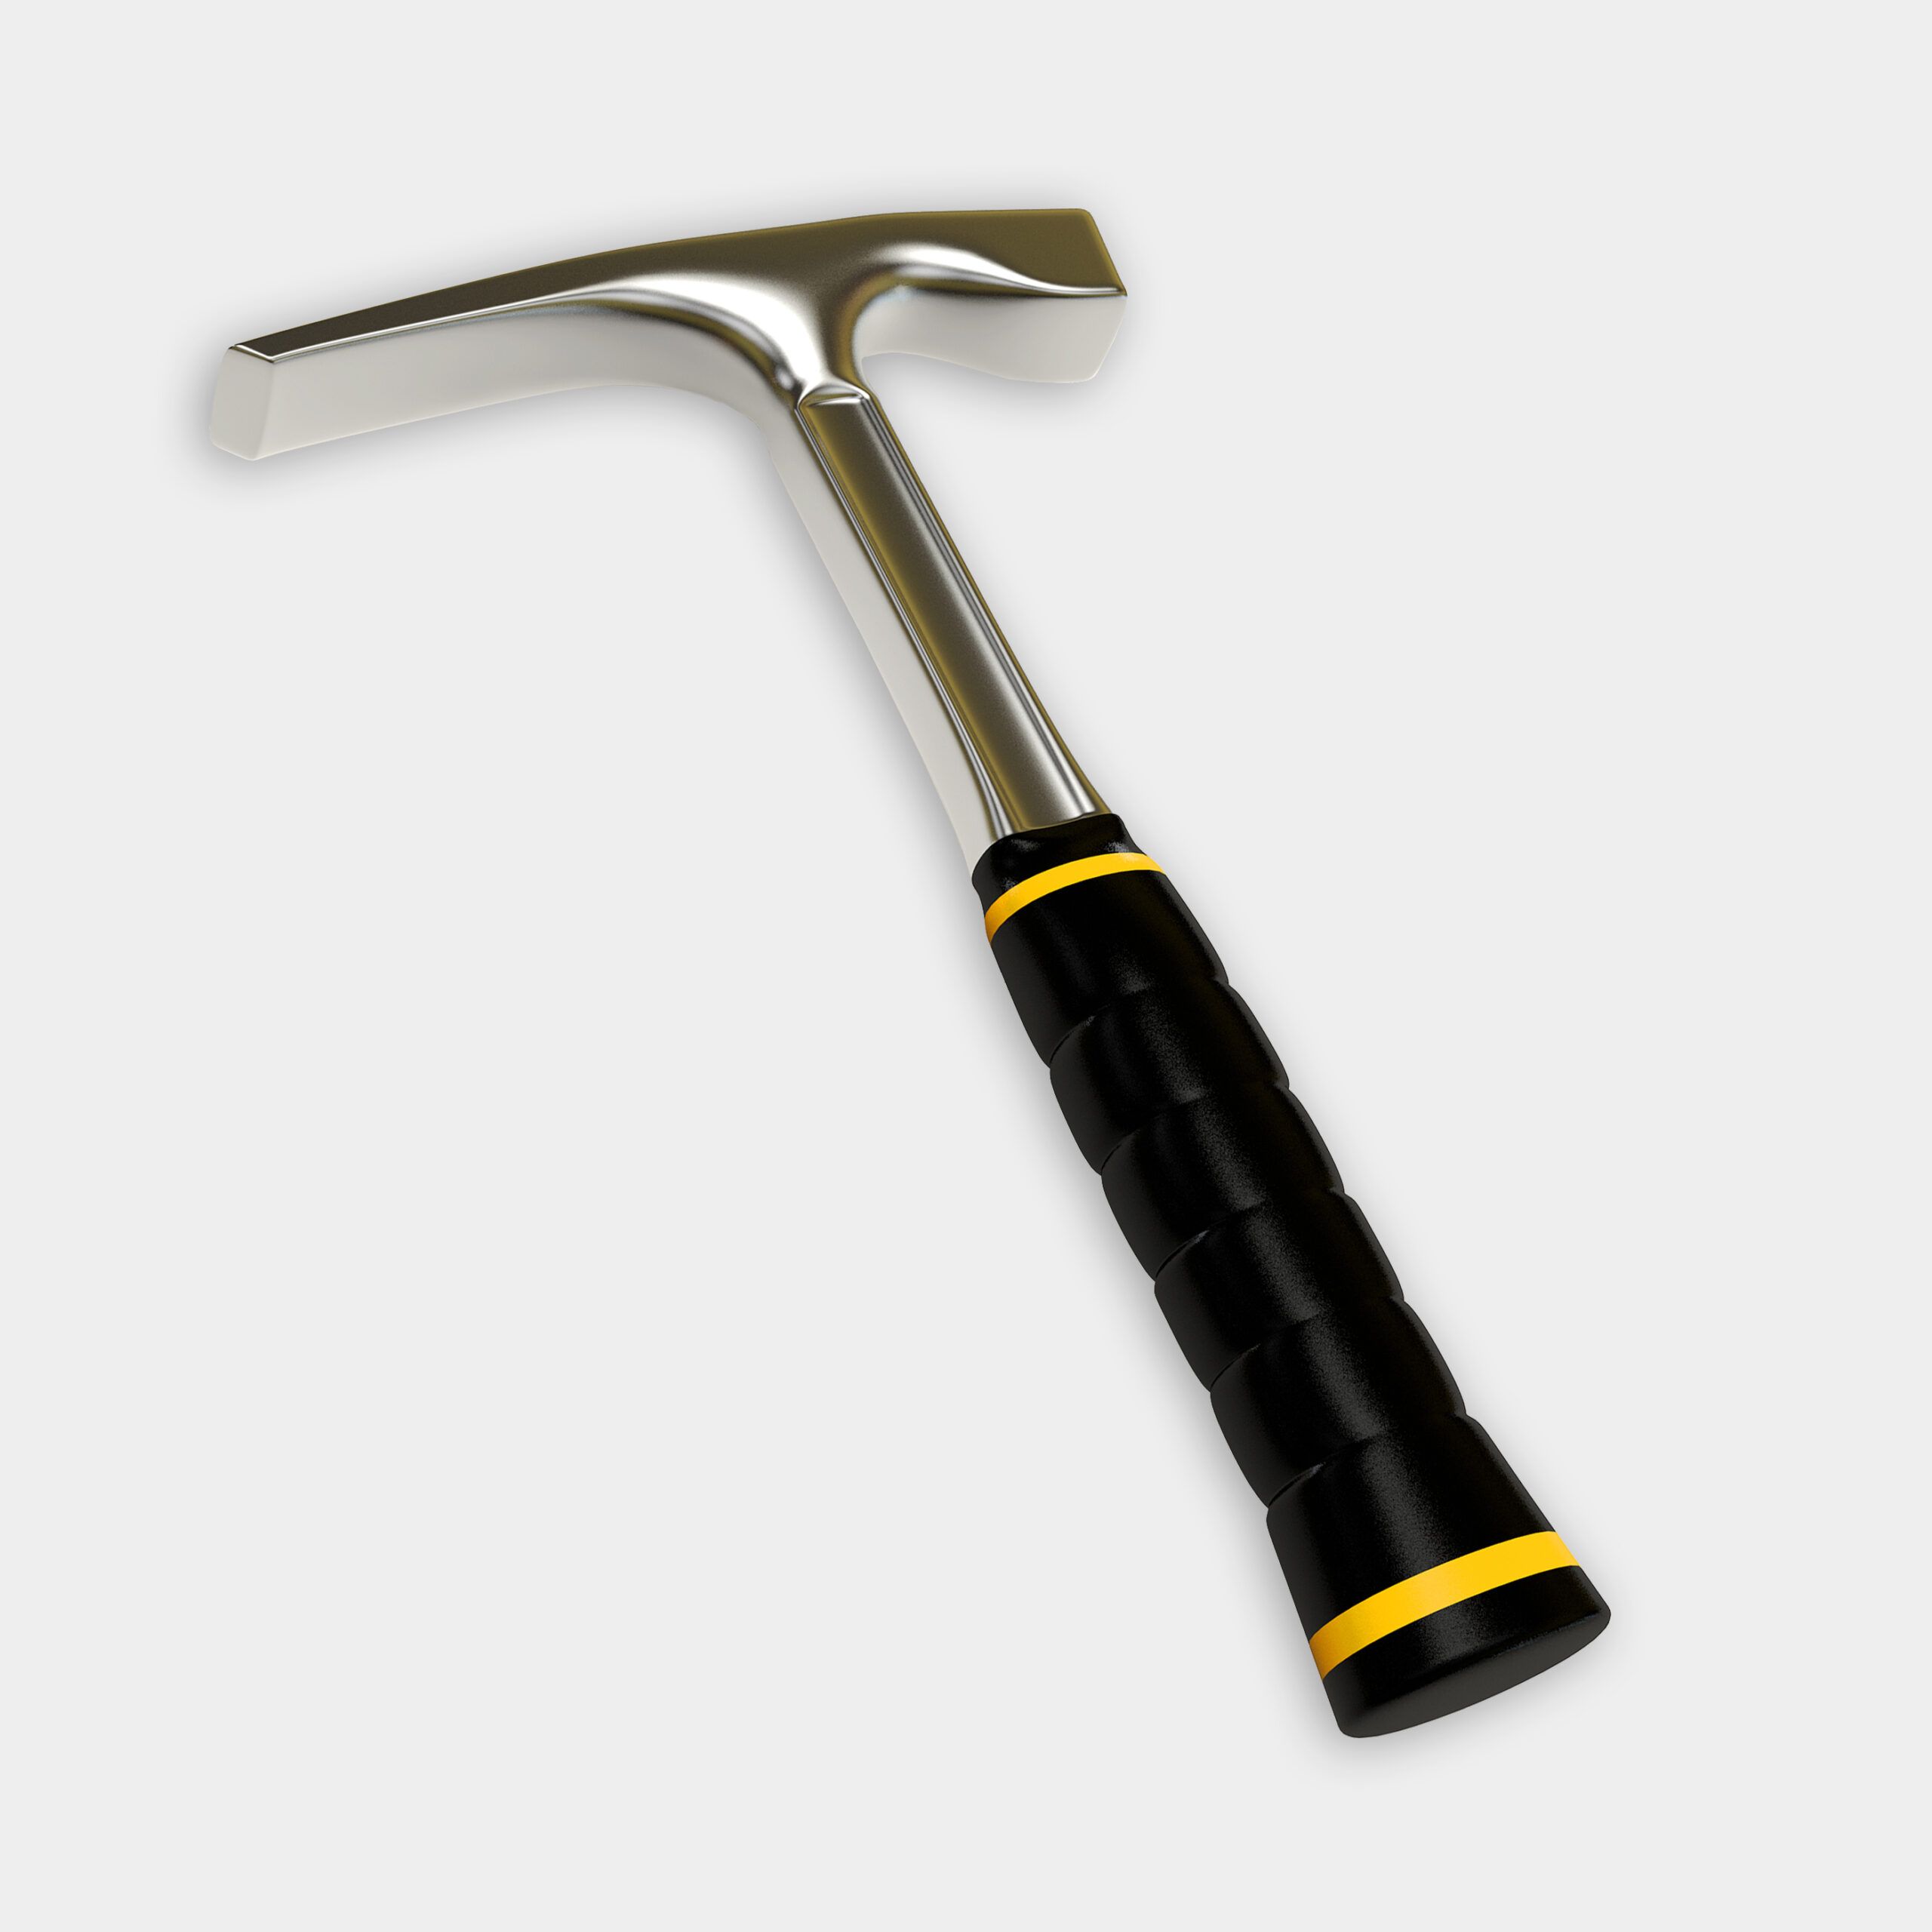
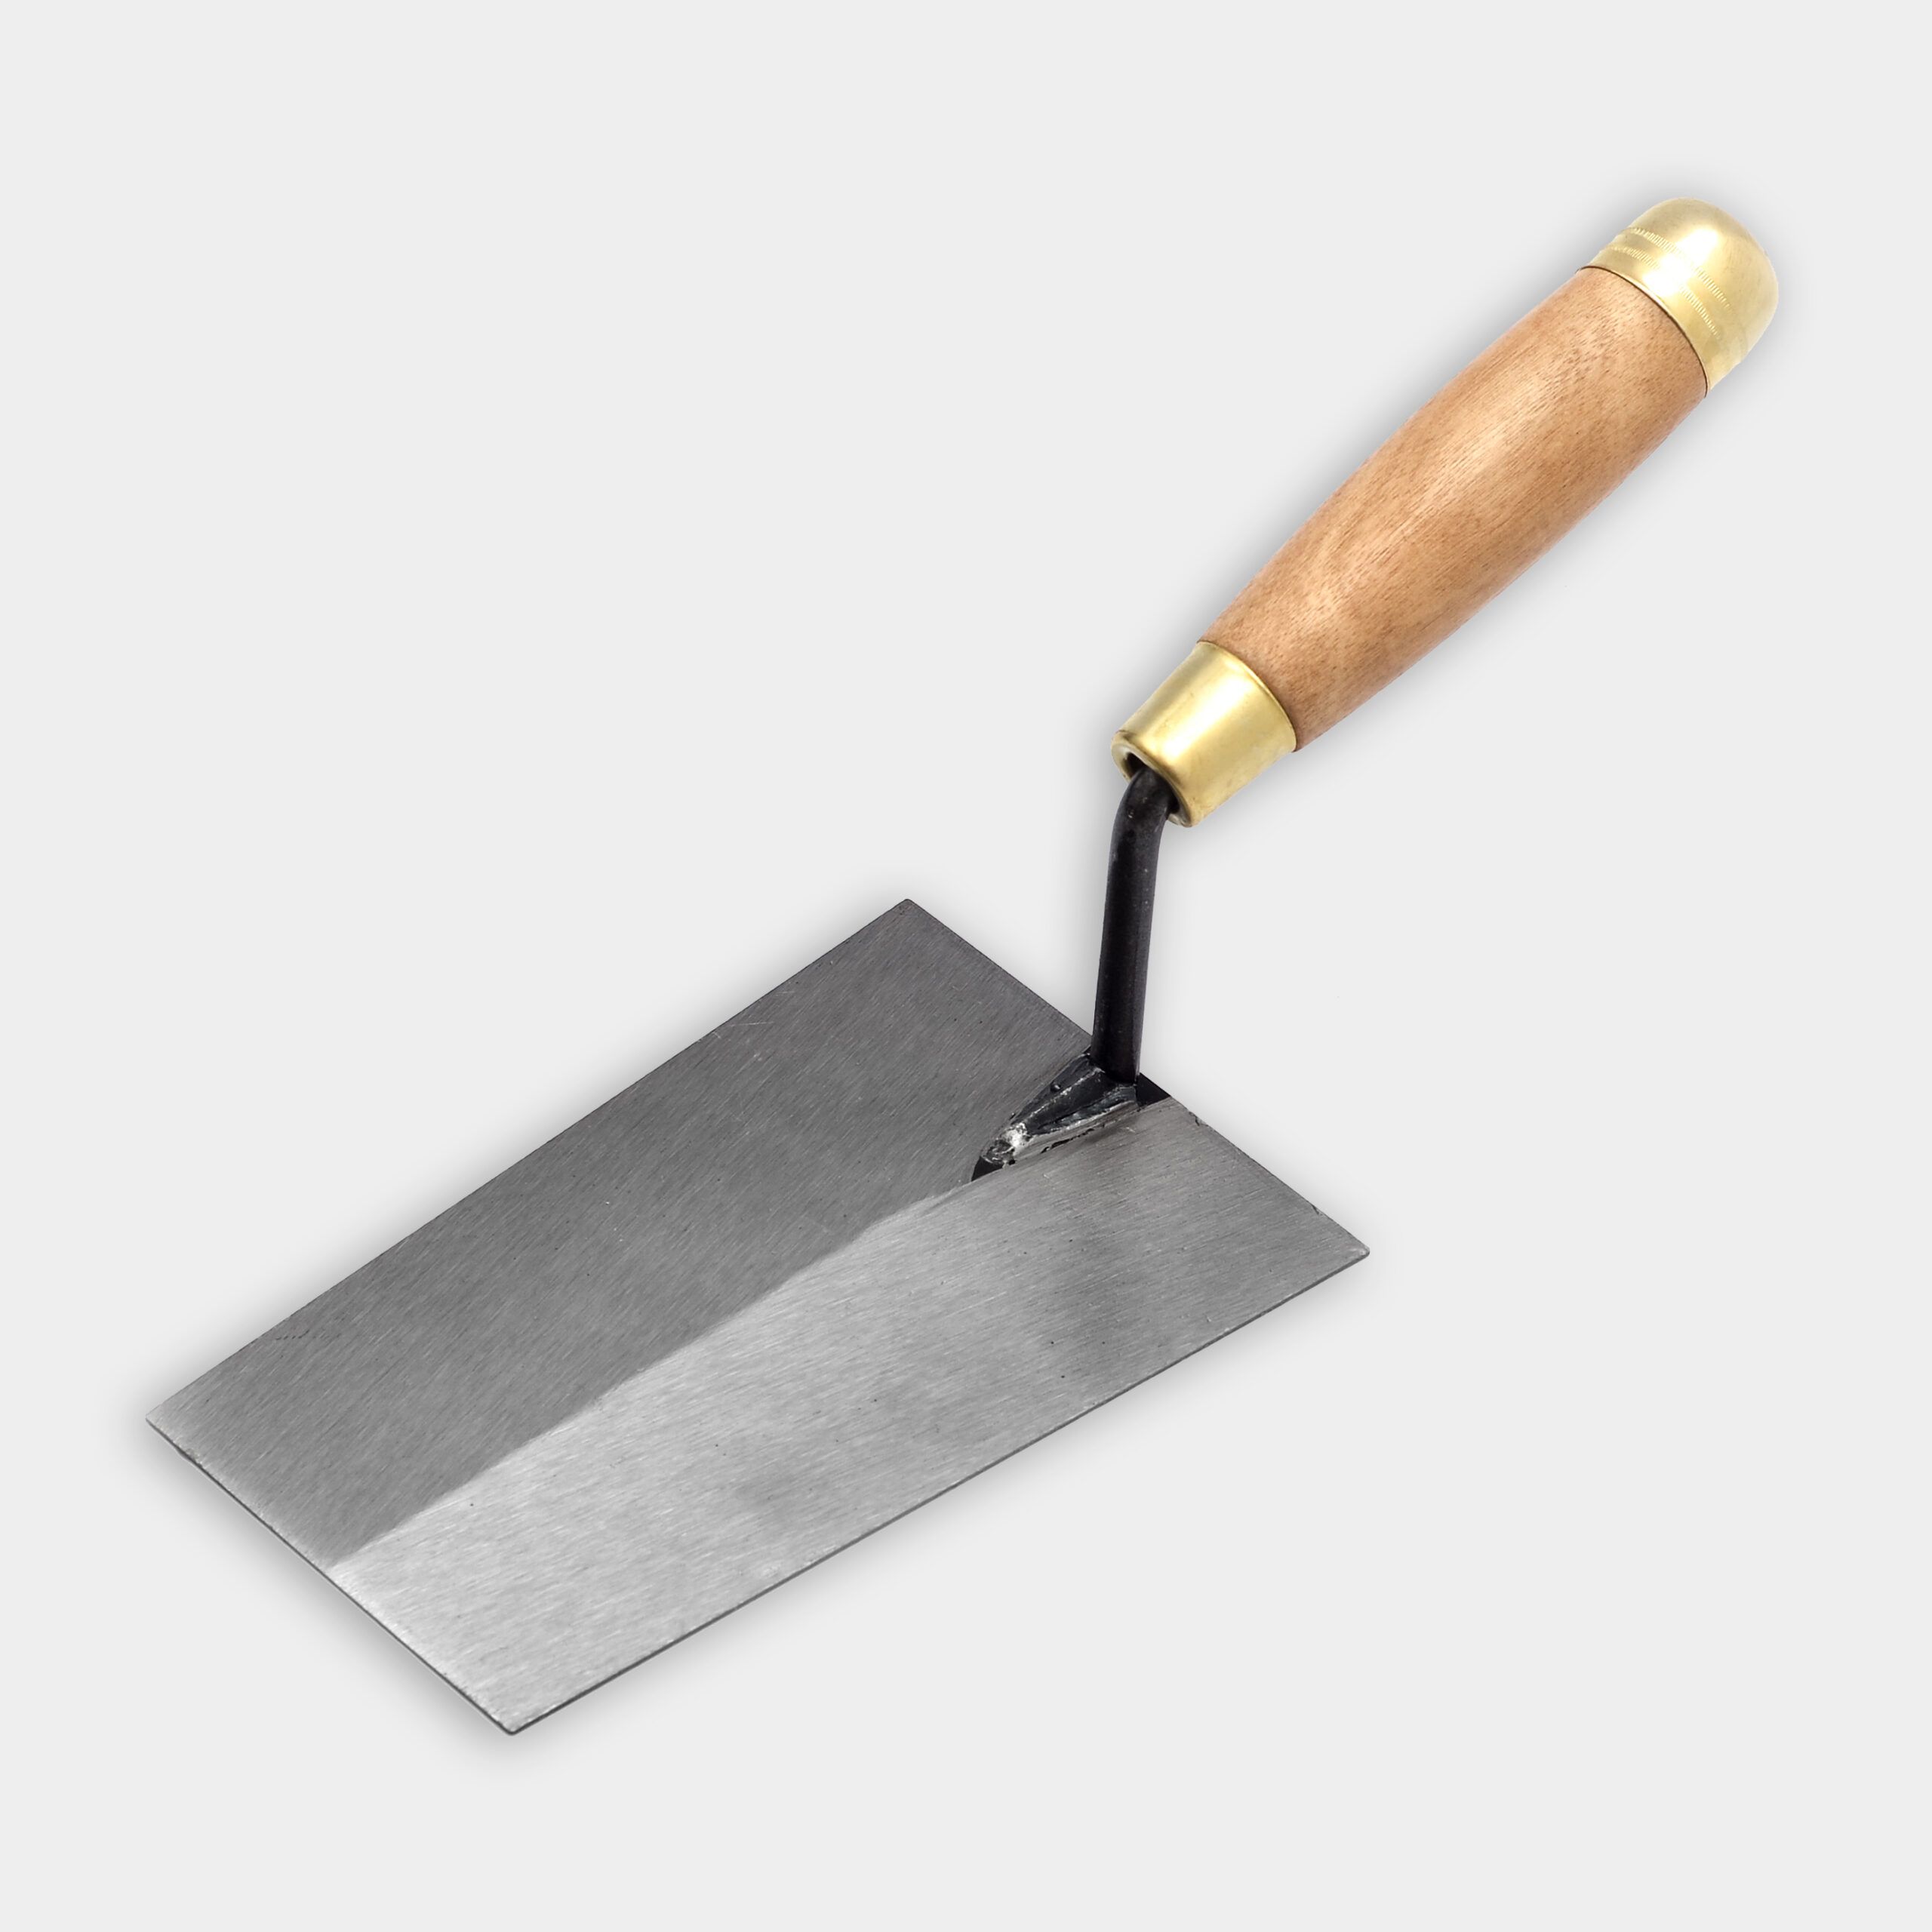
- Start laying the cobblestones in place. Use a level to determine the proper height and add concrete underneath the cobblestones where needed. Tap them into the wet concrete with a mason’s hammer.
- Mix the type S mortar in the wheelbarrow and fill the grout bags. Apply grout between the cobblestones, ensuring they’re filled to the top.
- Starting with the head joints, use the jointing tool to smooth the grout. Once all the head joints are smooth, use the jointer to smooth the bed joints. When smoothing, use the heel of the tool rather than the tip to create a smoother, more even profile. As the mortar starts to dry, scrape the excess off the top of the cobblestones and discard it.
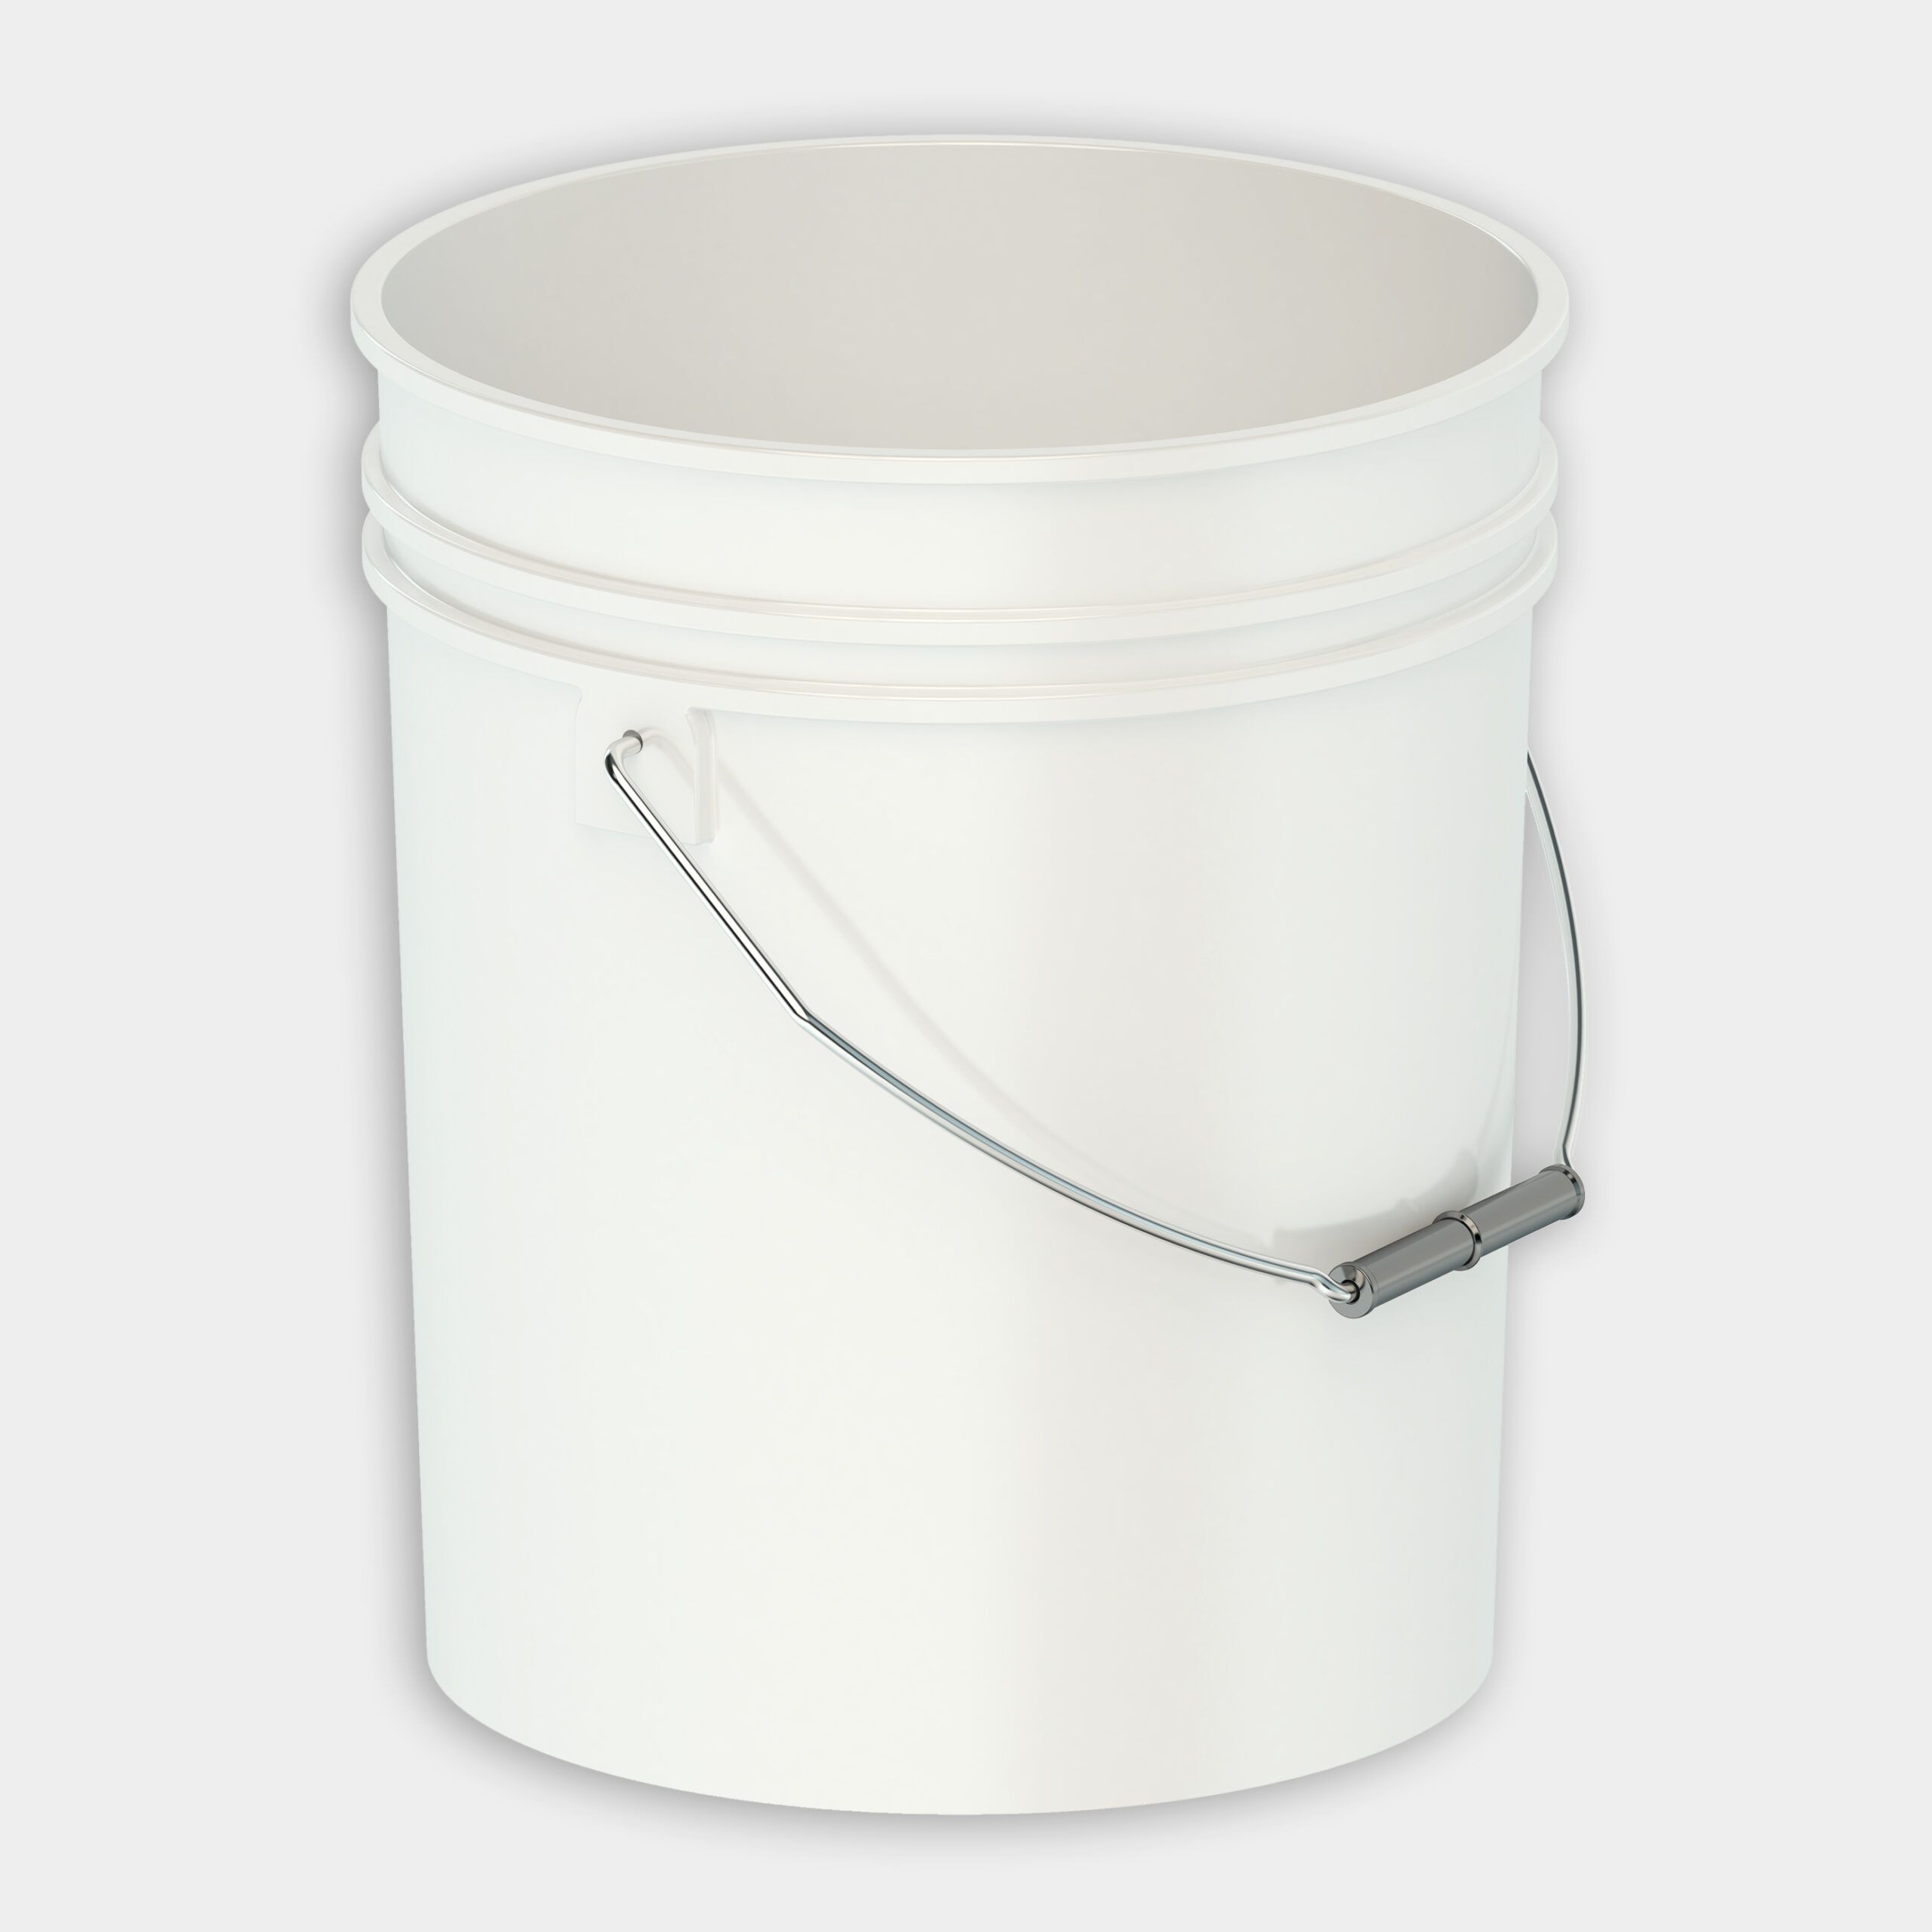
- Fill a bucket with water and use a damp sponge to clean the surface of the bricks and further dress the mortar joints.
- Use the margin trowel and any mortar that spilled off the side of the apron to create a berm. This will lock the cobblestones in place and allow water to run off the sides of the apron and into the yard.
Resources
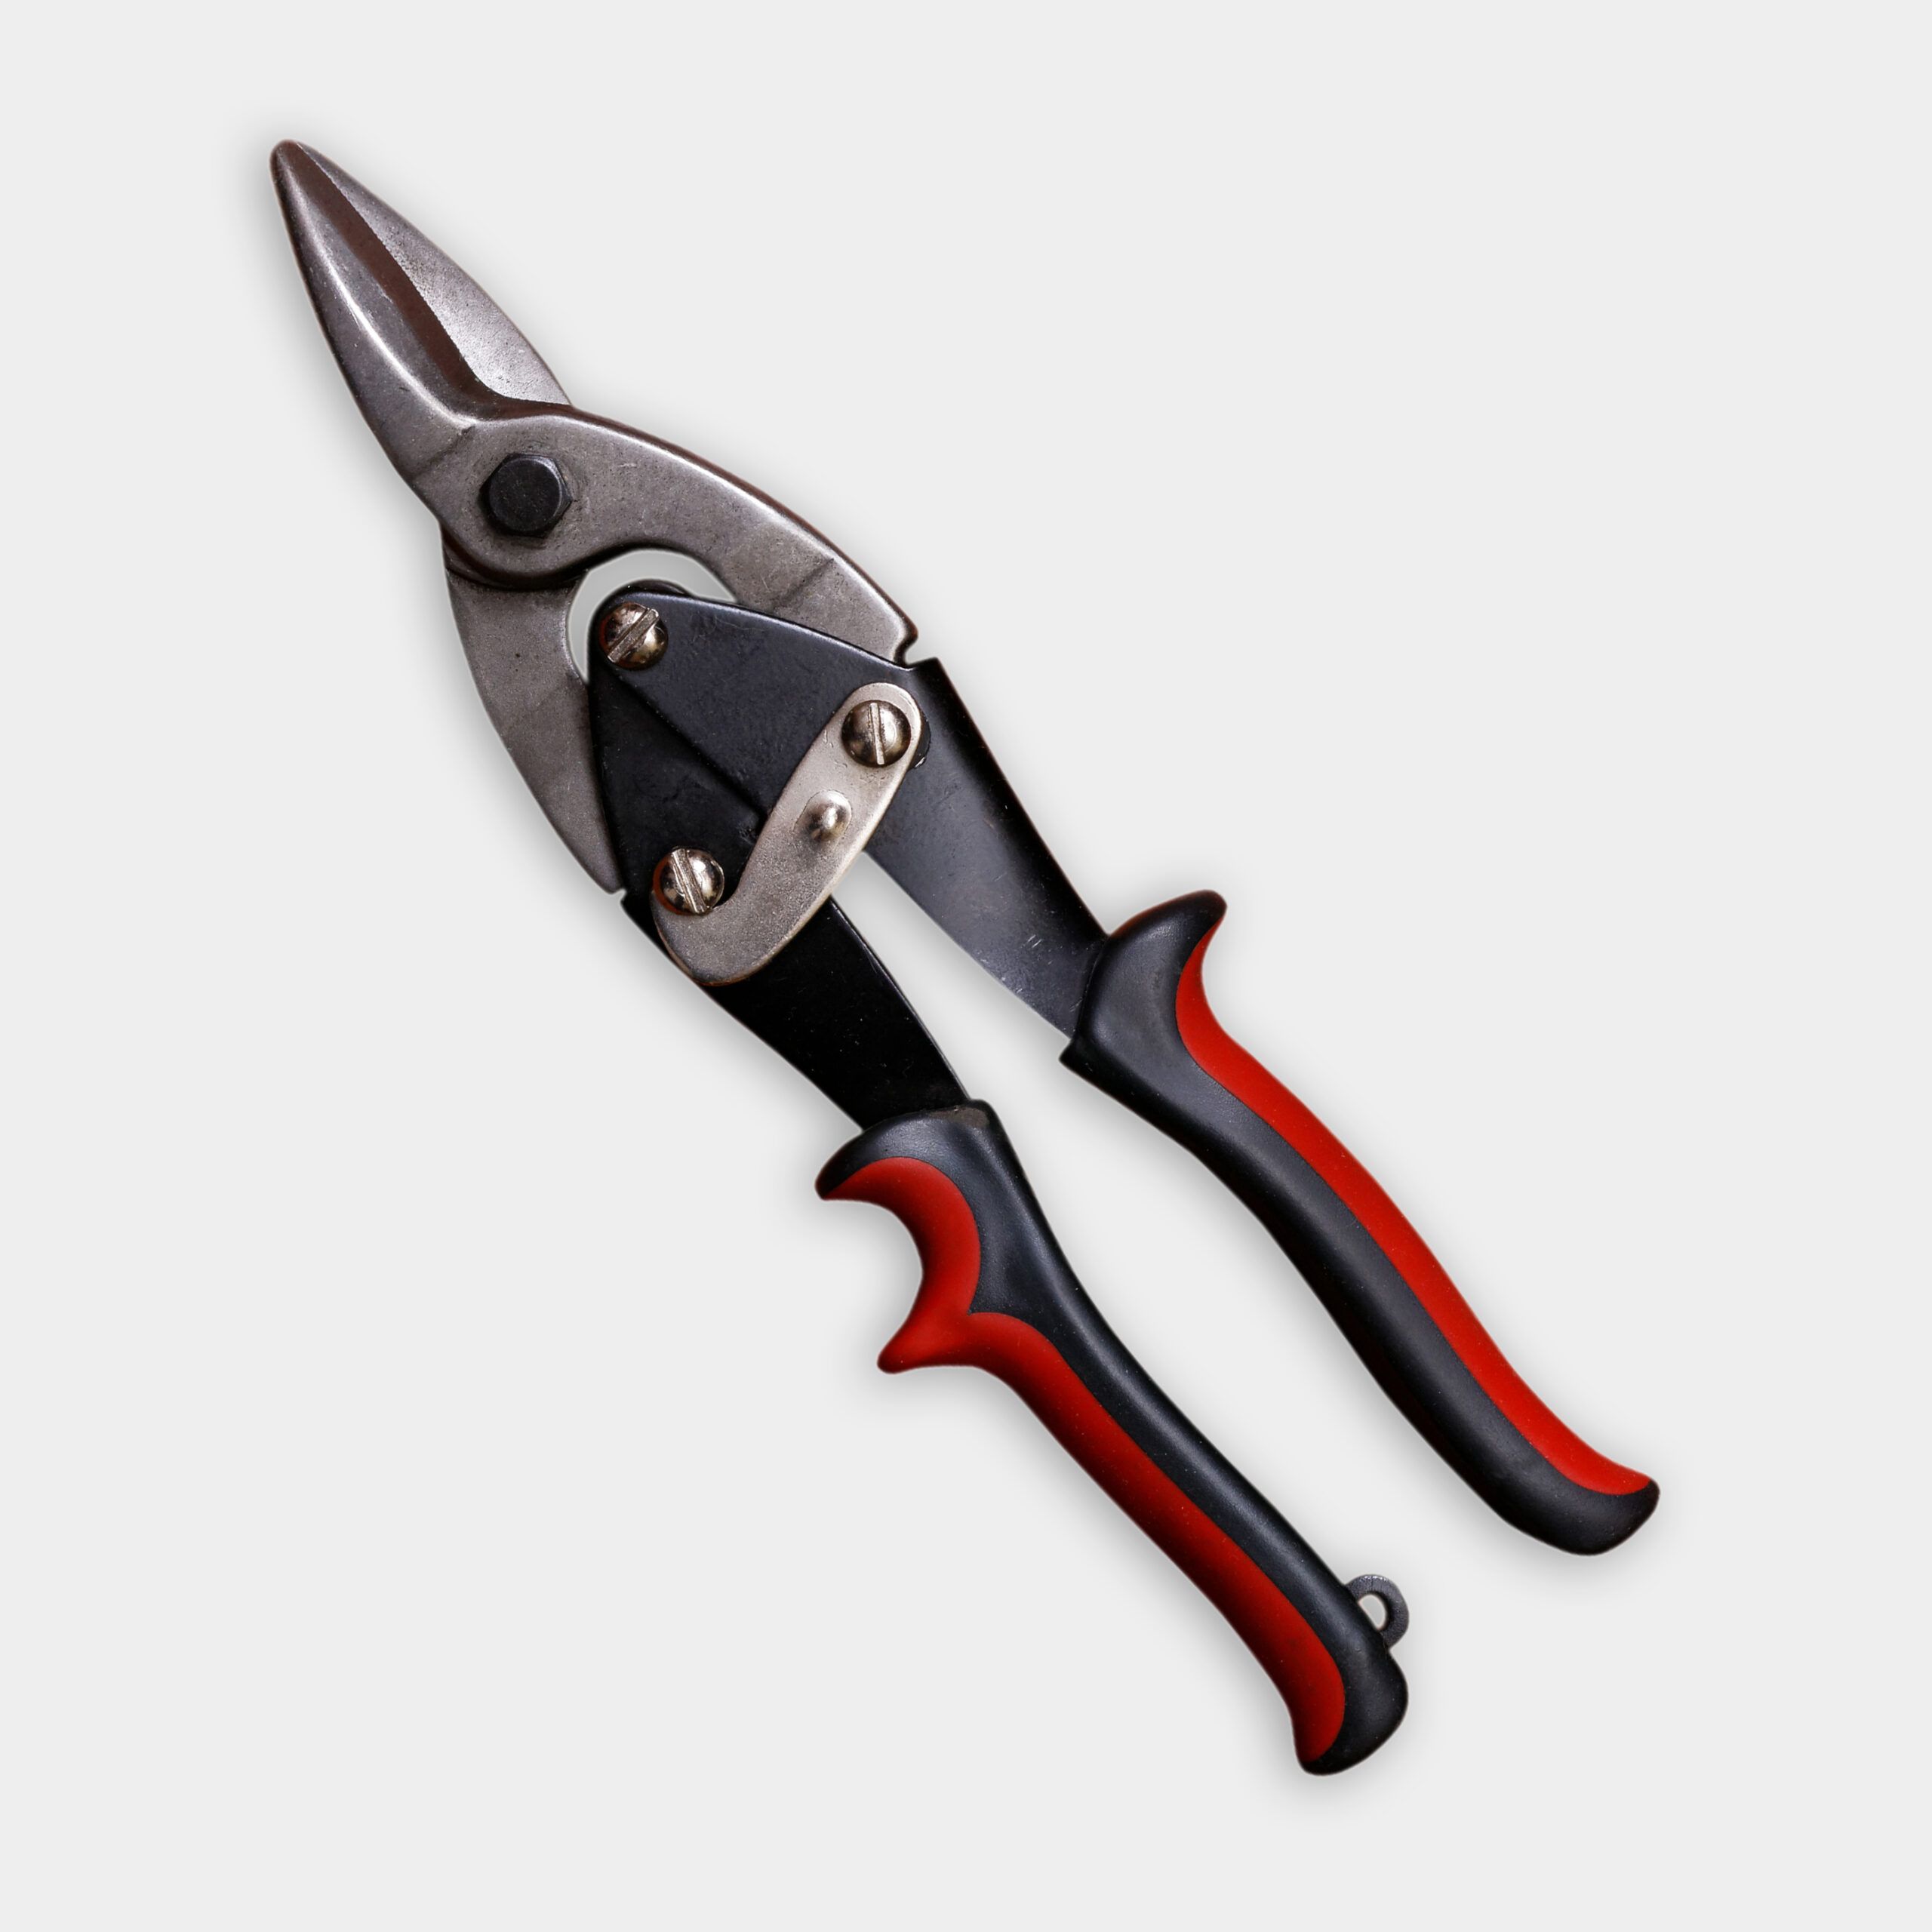
To demo the driveway edging use a jackhammer, demo hammer, or sledgehammer.
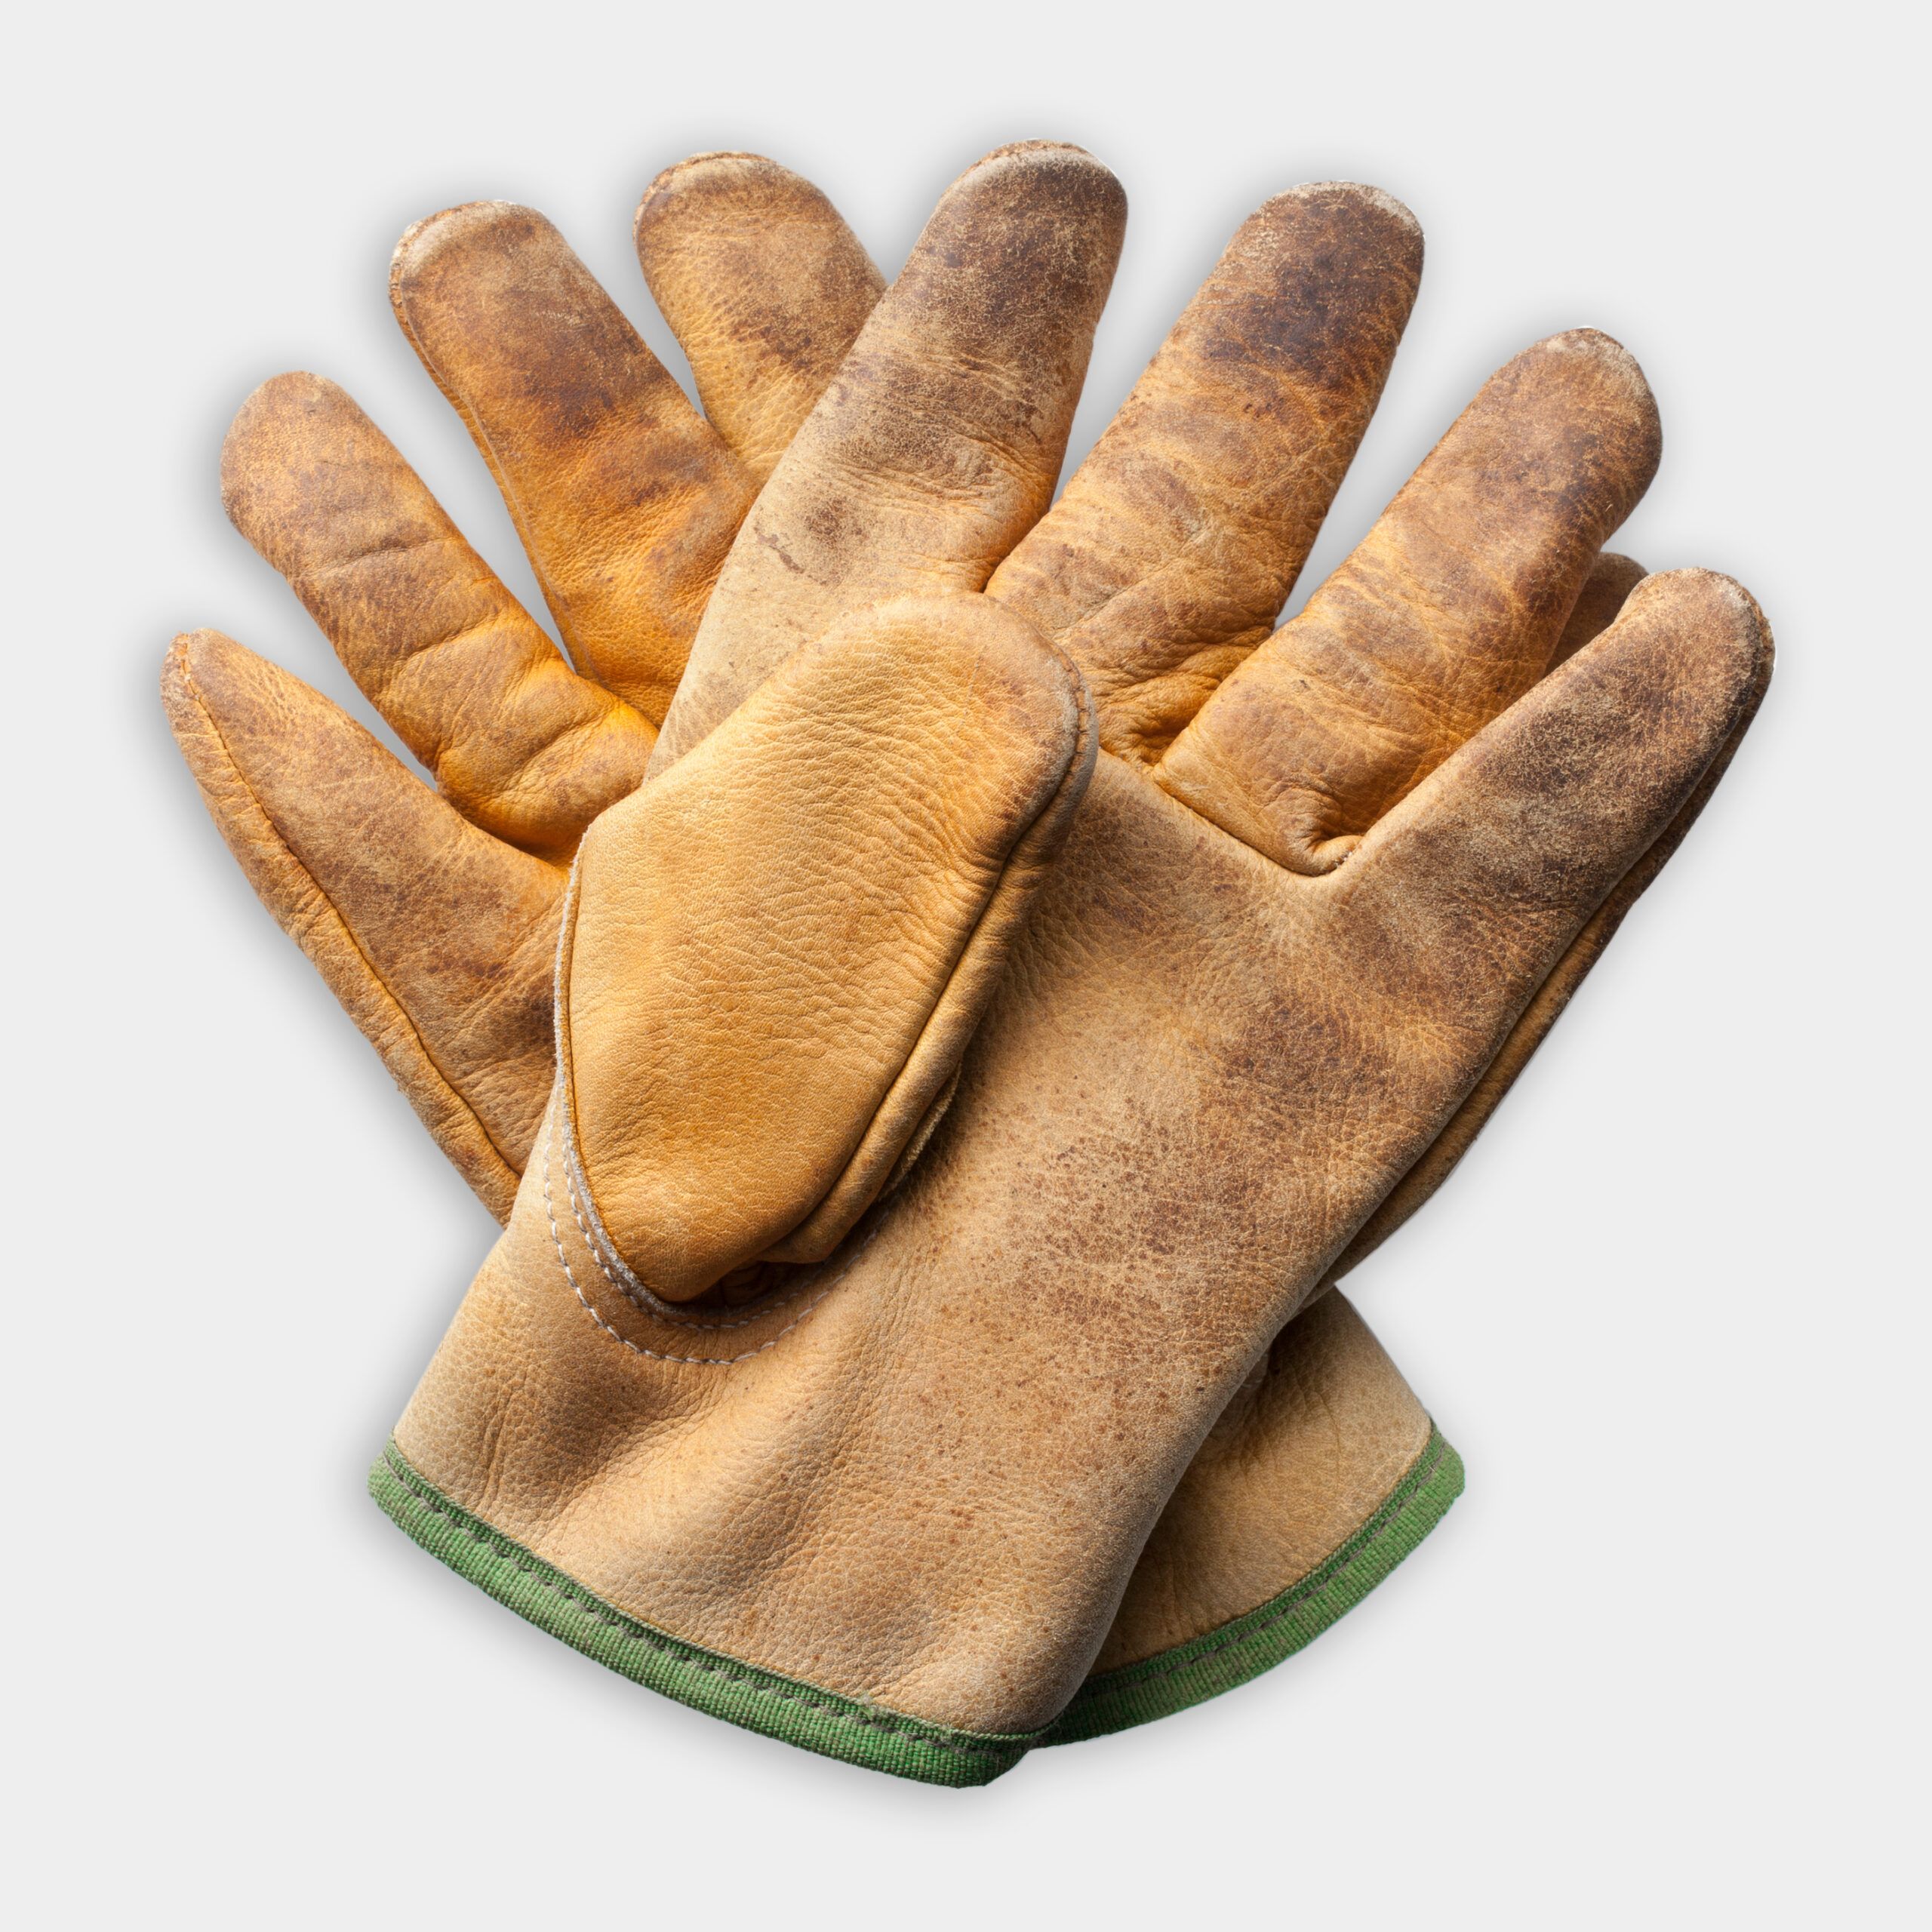
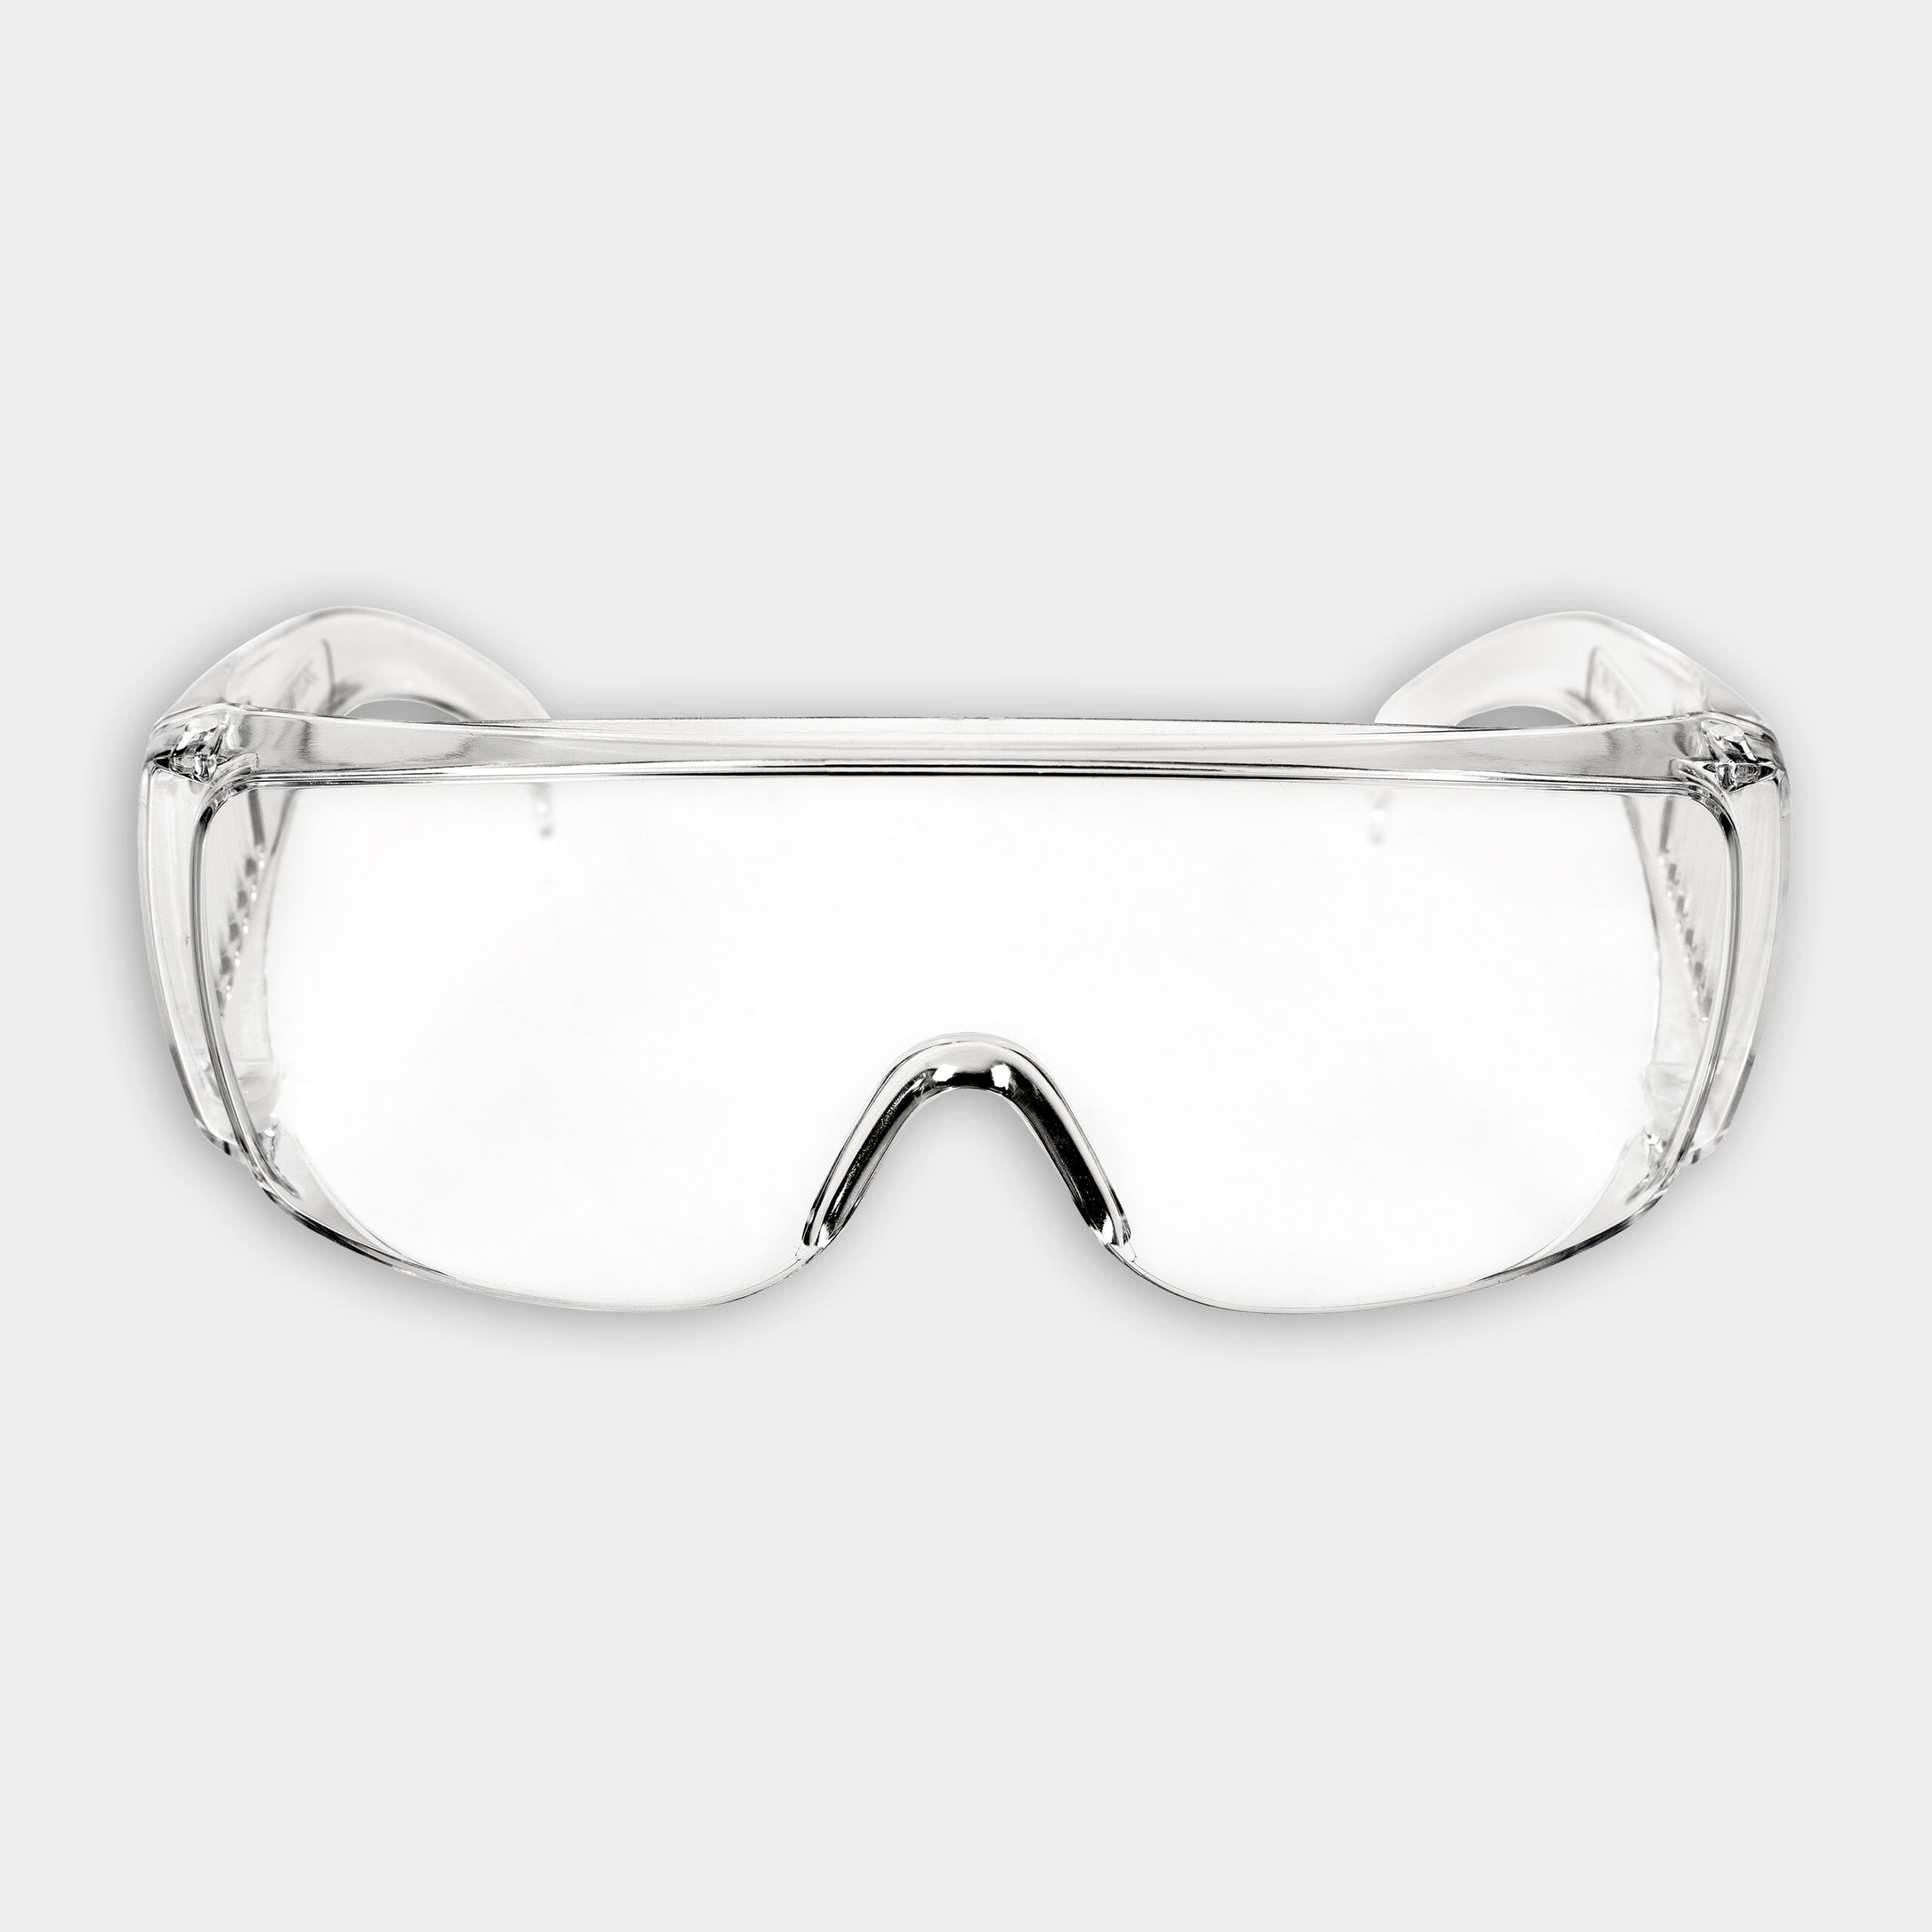
Use hand, ear, and eye protection while using demolition tools.
Use bull snips to cut the nine-gauge wire to create a rebar grid.
- Concrete mix
- Portland Lime & Sand Mortar
- Grout bags to apply mortar
- All-purpose gravel for the base
- Shovel
- Wheelbarrow
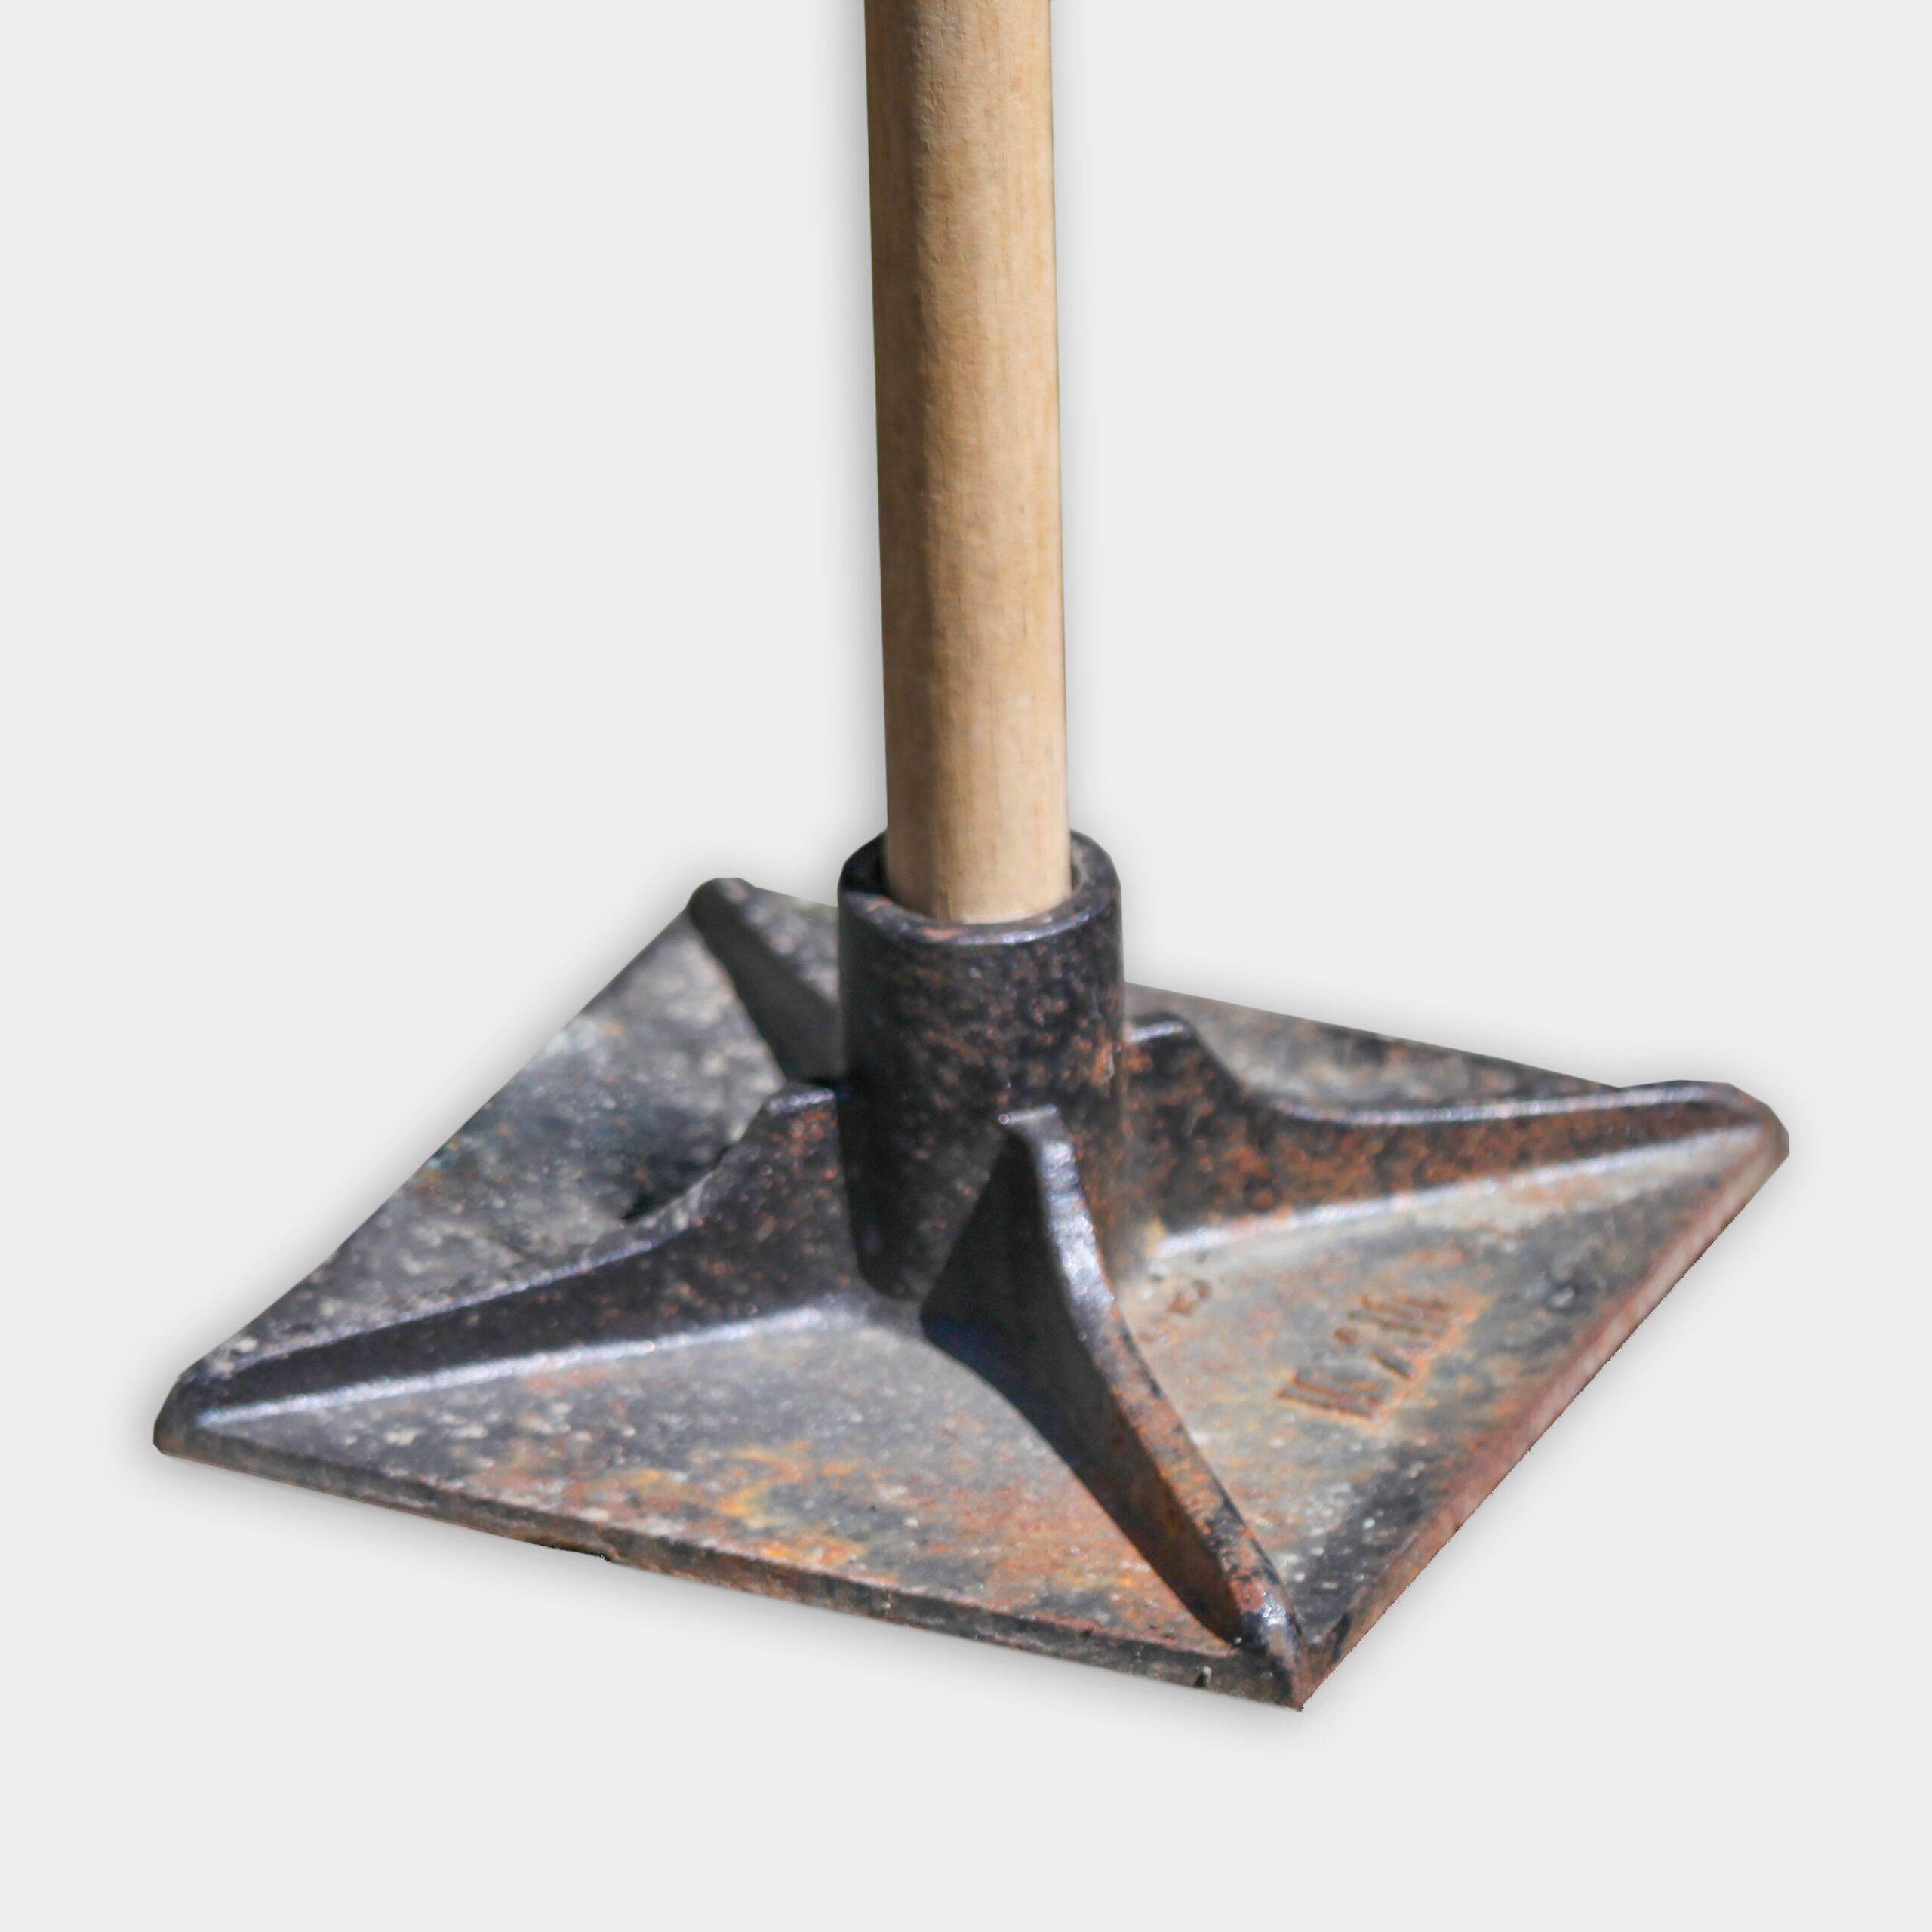
- Hand tamper
- Metal rake
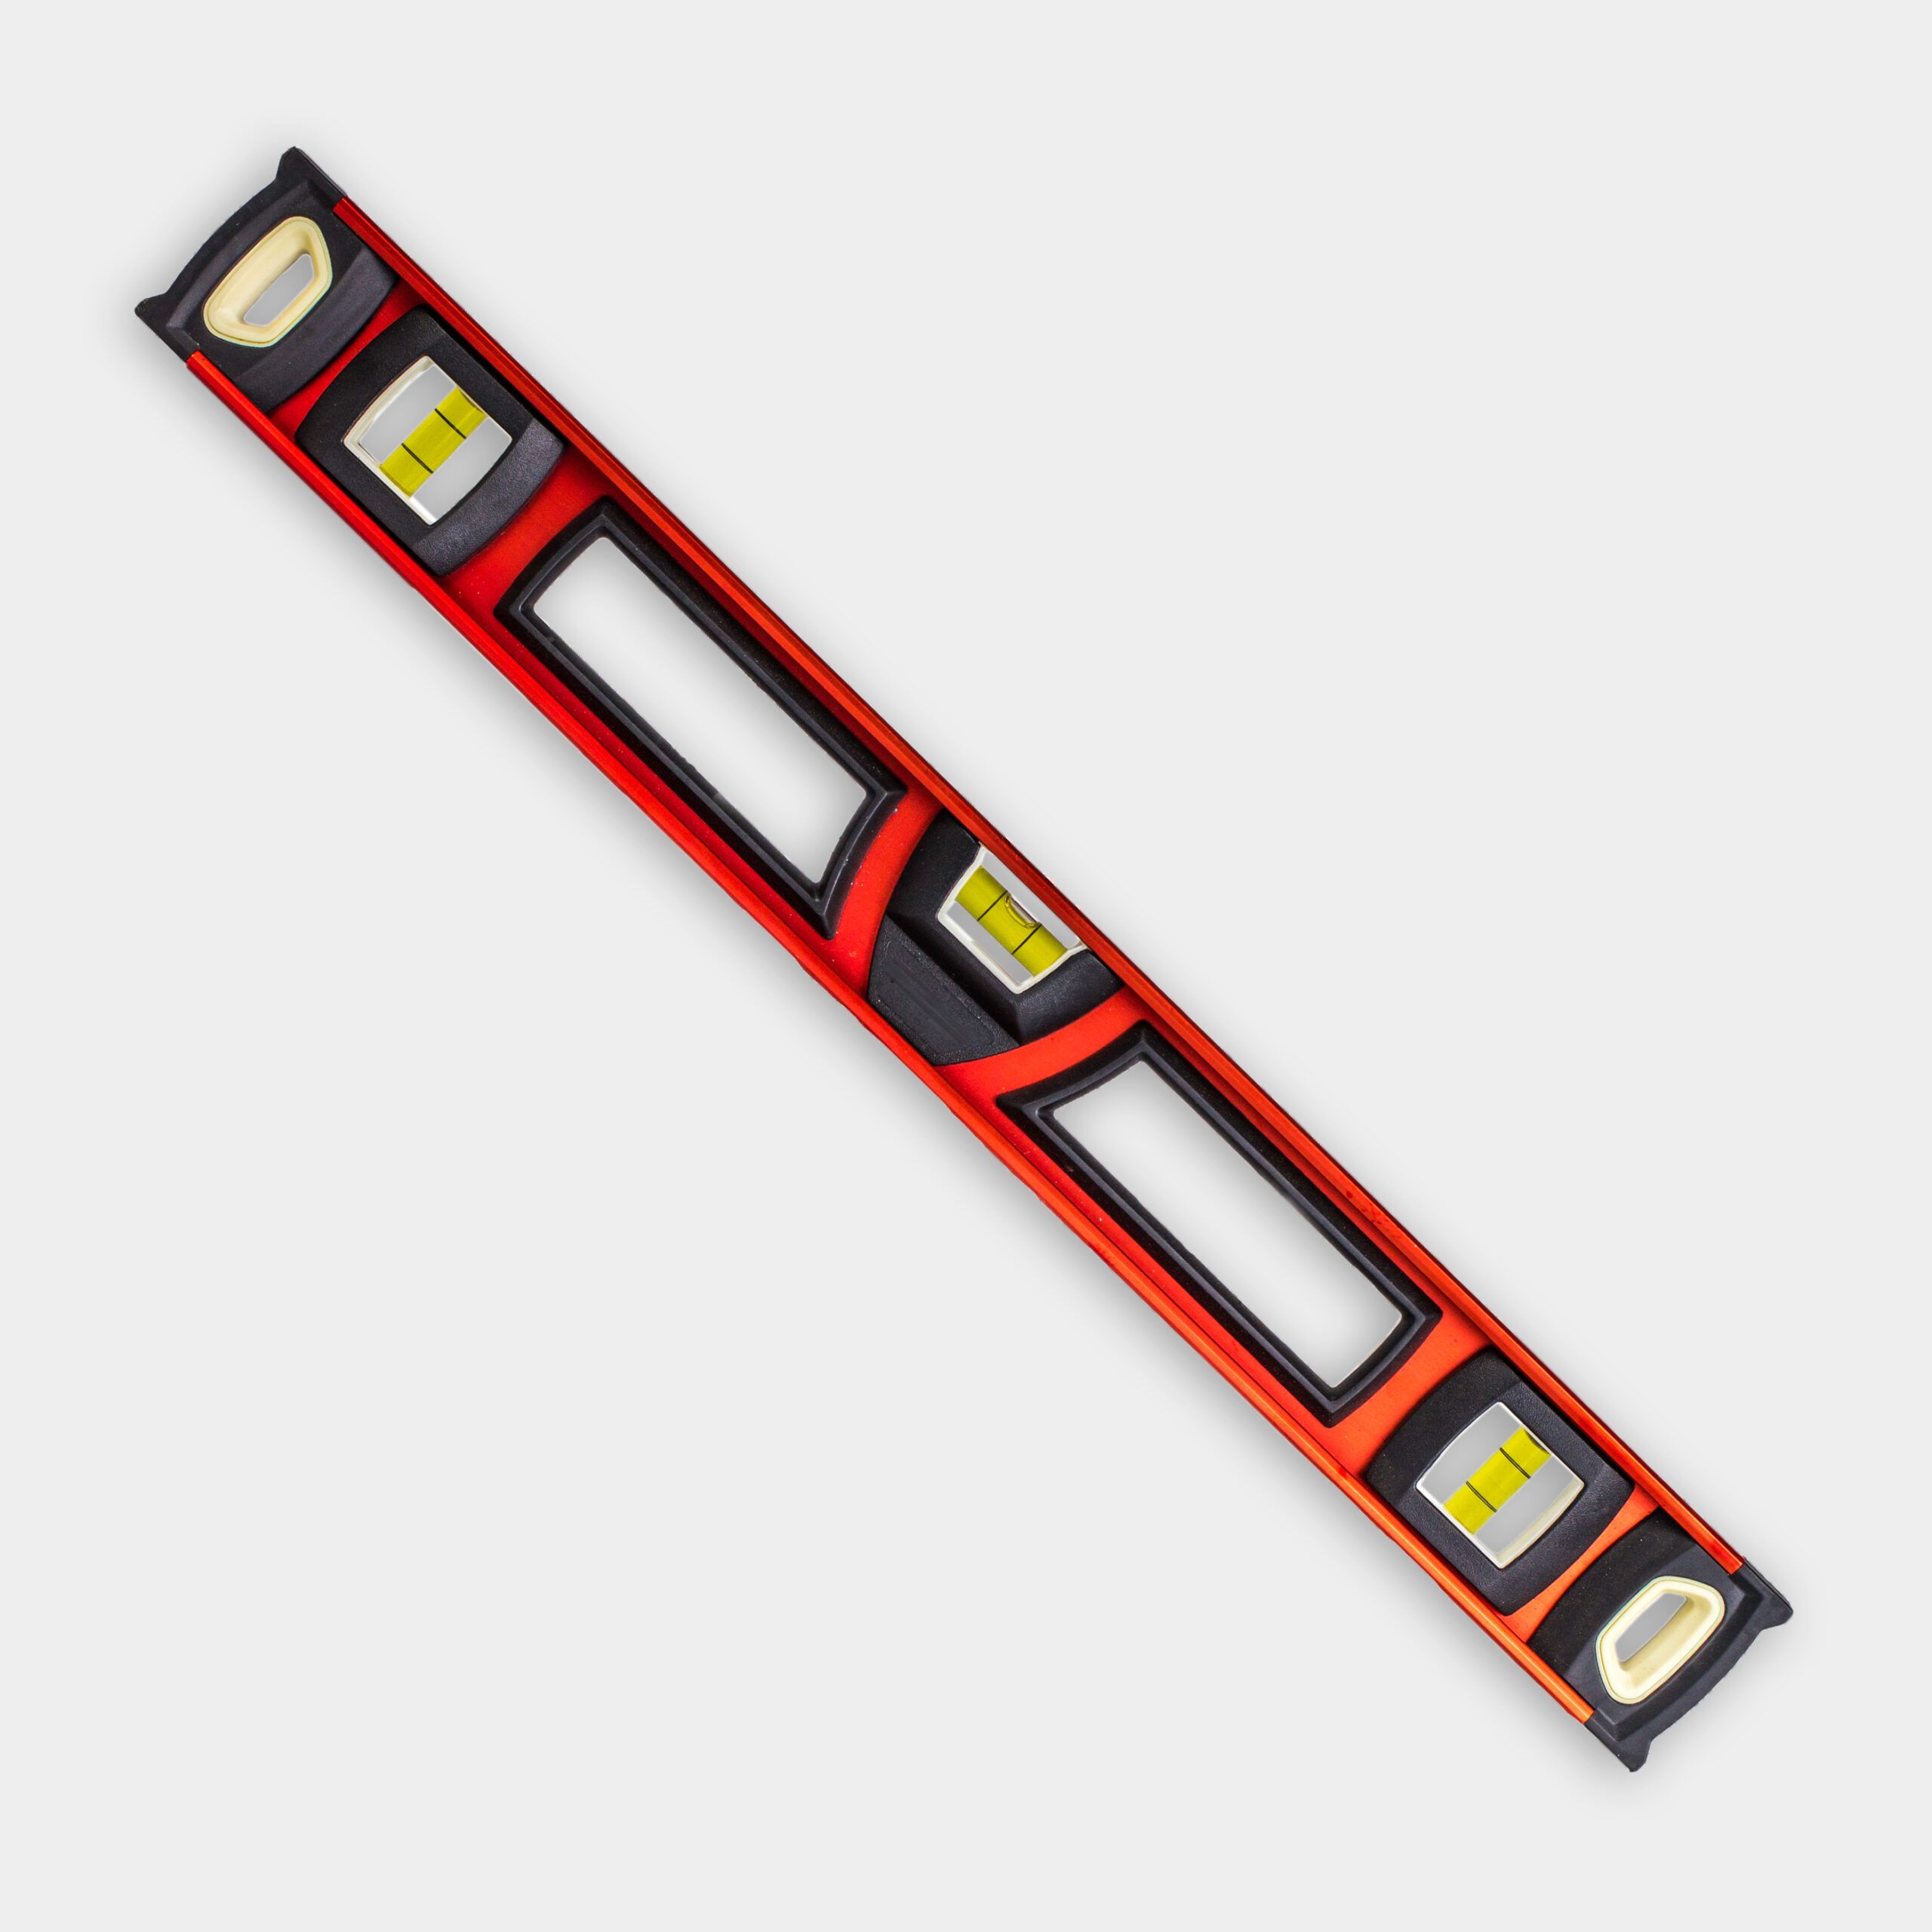
- Level
- String and stakes to set height line
- Cobbles / Belgian blocks
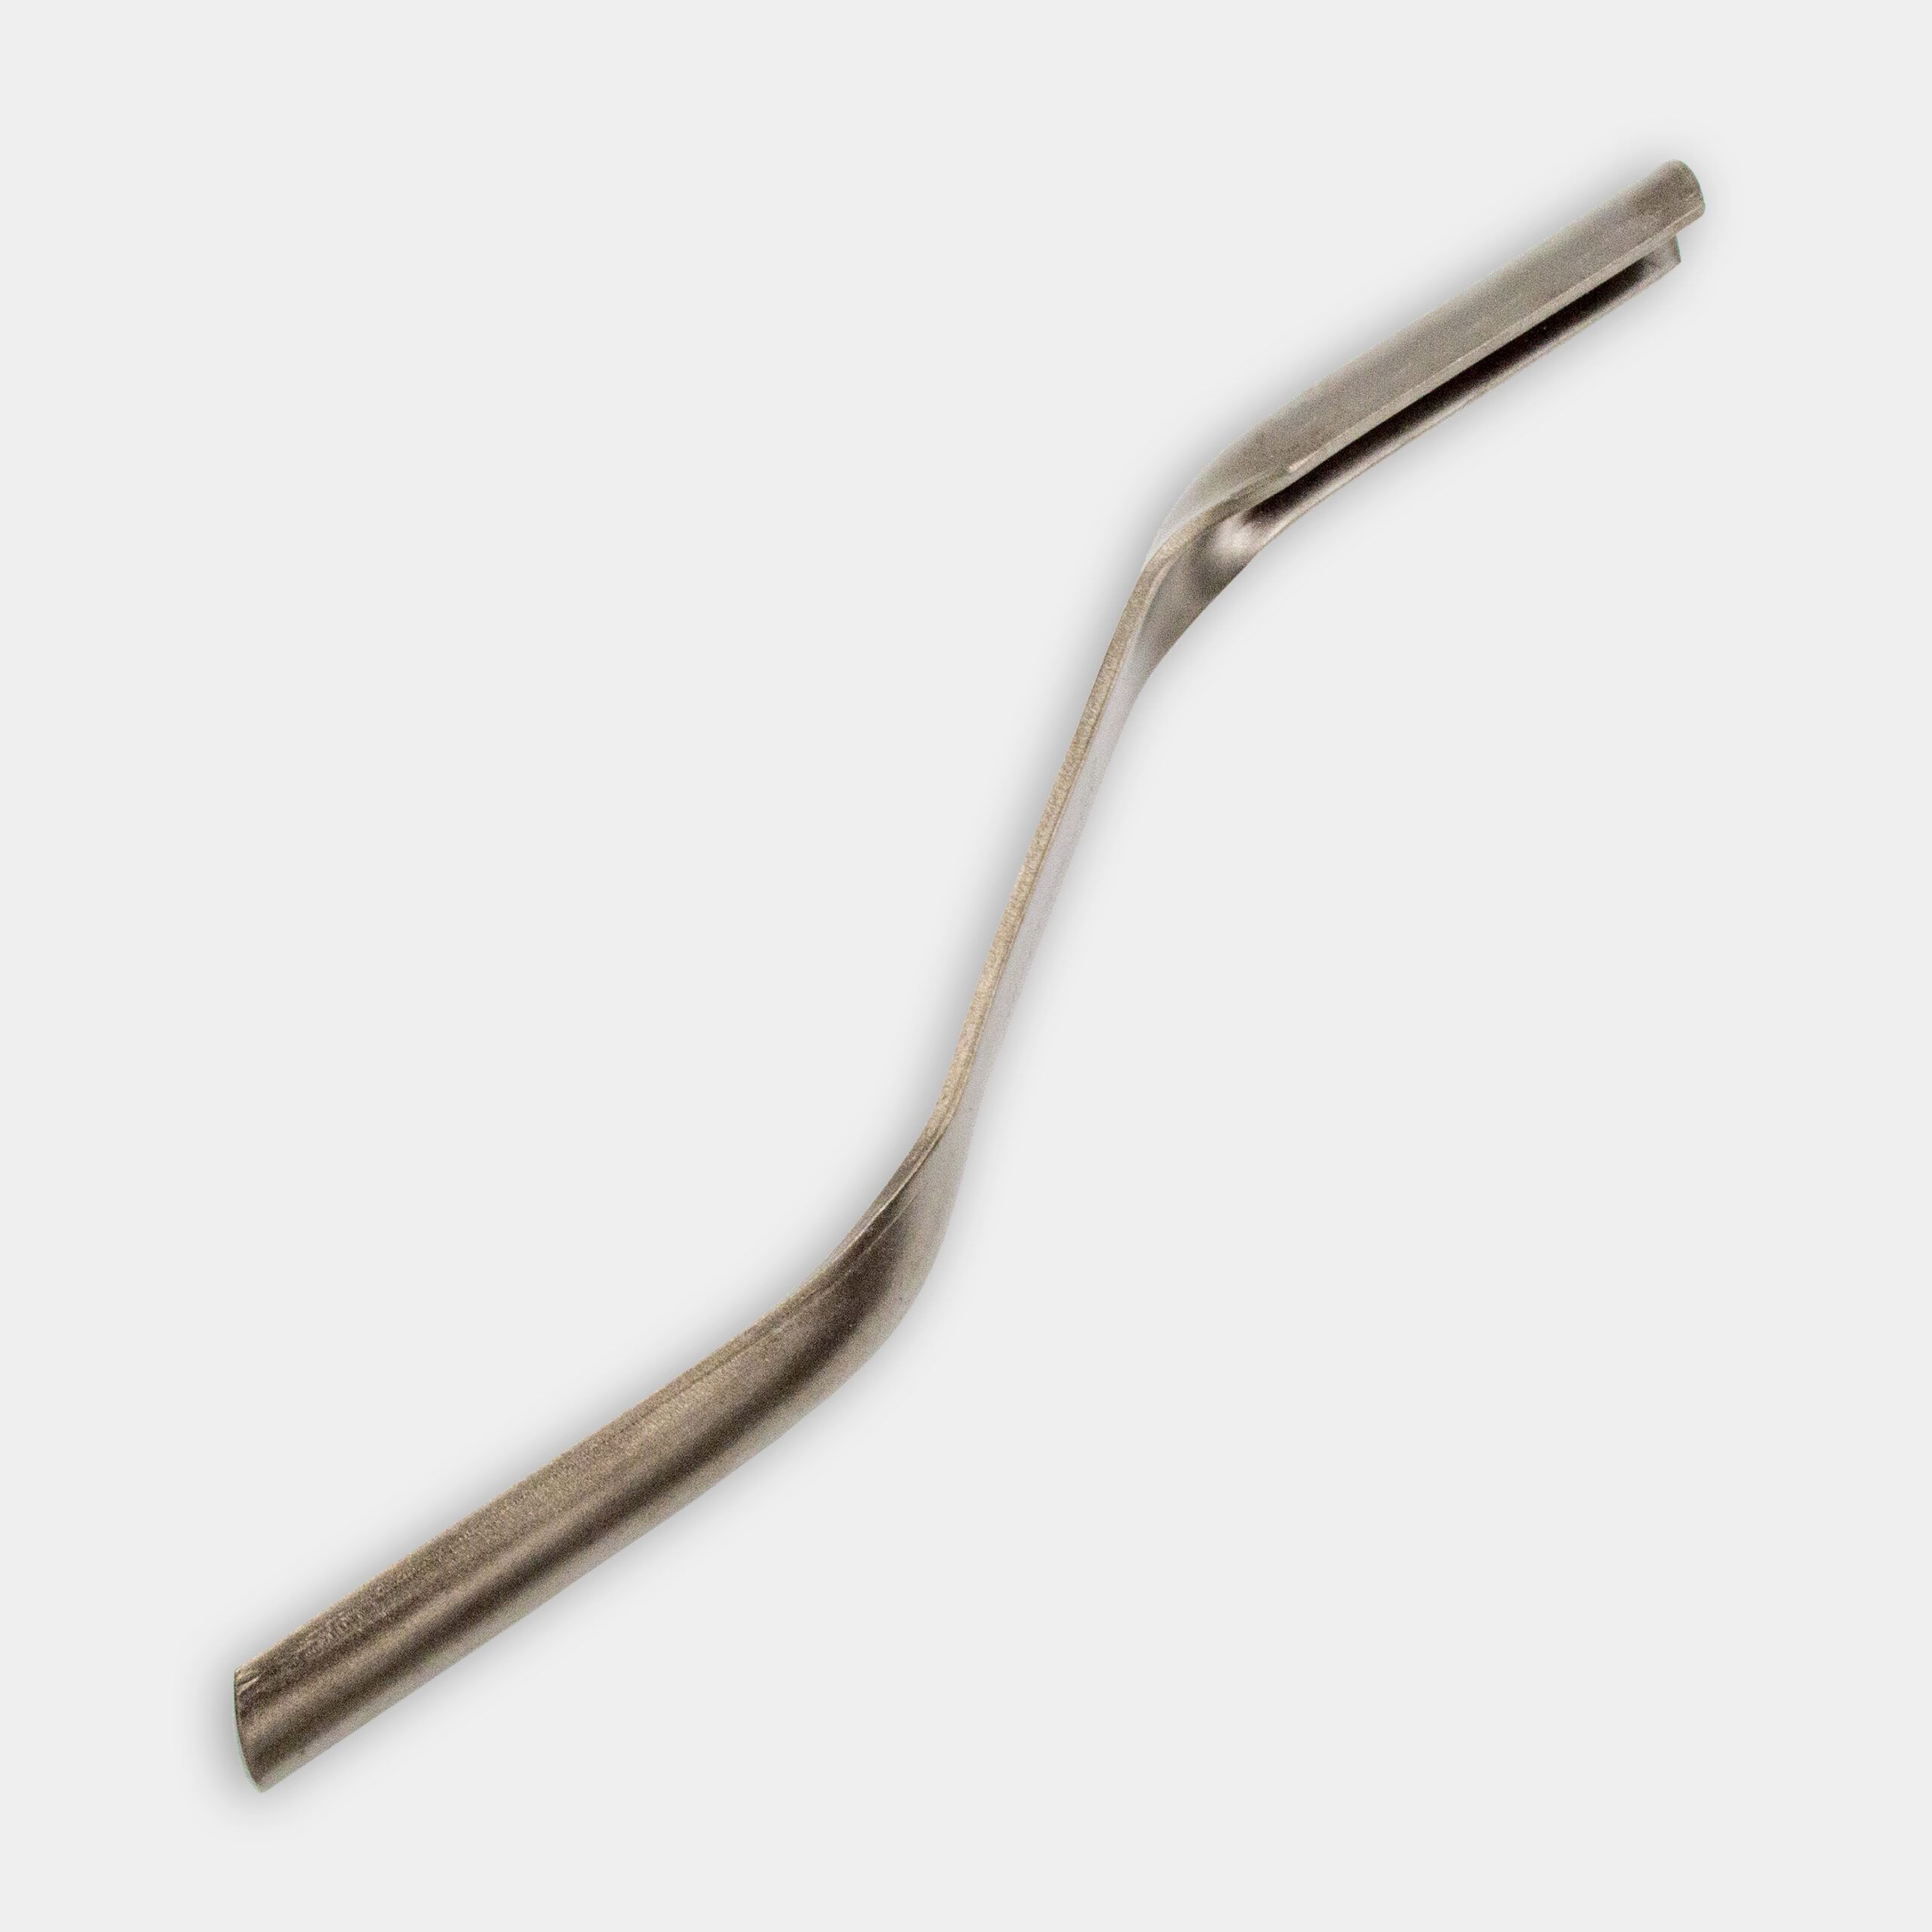
- Trowel
Materials
- Nine-gauge wire
- Gravel
- High-strength concrete
- Reinforcement rod
- Mason’s string and rod
- Stakes
- Cobblestone
- Type S mortar
- Grout bags
- Sponge