Upgrading your home’s exterior door trim can dramatically enhance your curb appeal. This project transforms a plain front door into an eye-catching focal point, elevating the overall look of your home.
In this guide, we’ll walk you through the process of replacing exterior door trim, from removing old trim to installing new PVC components. In the accompanying video, This Old House carpenter Nathan Gilbert shows the steps he used to achieve a polished and weather-resistant finish.
Benefits of Replacing Exterior Door Trim
Over time, door trim can become damaged or outdated, impacting both the appearance and functionality of your home. Replacing or upgrading your trim not only refreshes the visual appeal but also boosts durability and energy efficiency. Investing in new door trim is a smart choice for enhancing your entryway’s look and performance. Here are some benefits of external door trim replacement:
- Enhance curb appeal: Fresh trim instantly boosts your home’s exterior appearance, giving it a modern and polished look. Choose styles and colors that complement your home’s architectural design for a cohesive appearance.
- Optimize door fit and function: New trim creates a better fit around your door, enhancing its operation and sealing. Properly fitted trim also prevents issues with door alignment and functionality.
- Improve energy efficiency: New trim seals gaps around your door, reducing drafts and improving insulation. Opt for high-quality materials and proper installation to maximize energy savings and comfort.
- Protect against weather damage: Replacing old trim prevents water damage and rot that can affect your door frame and surrounding wall. Use weather-resistant materials to extend the lifespan of your new trim and maintain its appearance.
- Update your home’s style: Modernize your home’s look with trim styles that reflect current design trends. Incorporate architectural details or custom finishes to match your personal taste and enhance your home’s character.
Exterior Door Trim Tools and Materials Needed
You’ll need the following tools and materials for your door trim replacement. We’ll start with the tools.


Materials You’ll Need
These can all be found at big-box hardware stores.
- Brad nails
- Finish nails
- PVC plugs
- PVC premade head casing
- PVC square stock
- Self-adhesive membrane
- Small PVC moldings for accents
- Stainless steel screws
- Two-part PVC glue
- Fluted PVC trim
Steps to Replace the Exterior Door Trim
Use our step-by-step guide below to update your exterior door trim. You’ll start by removing all existing trim and prepping the surface. Then you’ll nail in the new trim and decorate to your tastes.
Step 1: Remove the Existing Trim
Carefully follow these steps to detach the old trim without damaging the surrounding surfaces.
- Use a hammer and prybar to carefully remove the existing trim around the door.
- Start with one piece at a time, working your way around the entire door frame.
- For stubborn aluminum flashing, score it with a utility knife and snap it off.
- Remove any original wood trim behind the door as well.
Step 2: Create a Flat Surface
This ensures that the new trim fits snugly and securely around the door frame.
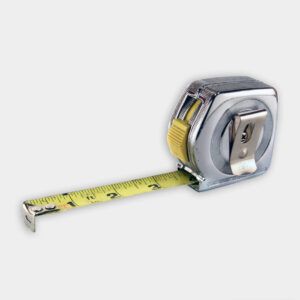
- Measure the space above the door and on either side using a tape measure.
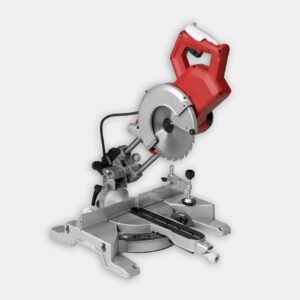
- Cut filler boards to length using a miter saw.
- Use a nail gun to secure the filler boards in place, creating a level surface.
- Apply a layer of waterproof membrane over the new build-out to protect the exposed wood.
- Start at the bottom, then move to the sides, and finally cover the area above the door.
- Make sure each layer of membrane overlaps the previous one for proper water shedding.
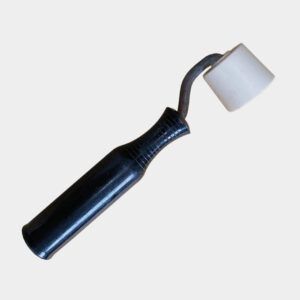
- Use a roller to smooth out the membrane to verify proper adhesion.
Step 3: Install the Base Layer
With the surface prepped, the next step is to install the base layer of trim around the door. This foundational layer will provide support for the more decorative elements to come. Here’s how to accurately measure, cut, and attach the base layer for a clean, professional look.
- Begin by installing flat 3/4-inch-thick PVC stock around the entire door frame.
- Start with the piece above the door, then move to the sides, and finish at the bottom.
- Take accurate measurements with a tape measure and cut pieces to length with a miter saw.
- For custom widths, rip the PVC stock to size on a table saw.
- Attach these boards using a finish nailer.
Step 4: Add the Head Casing
The head casing adds a decorative touch to the top of your door frame, giving the entrance a more polished and elegant appearance. Installing it properly is key to achieving a balanced look. Follow these steps to cut and align the head casing for a seamless finish.
- Cut the premade head casing to the proper length using a miter saw.
- For an upscale look, cut a 45-degree angle on each end of the head casing.
- Measure and mark the center of both the casing and the doorway.
- Align the center marks and install the head casing using stainless steel screws.
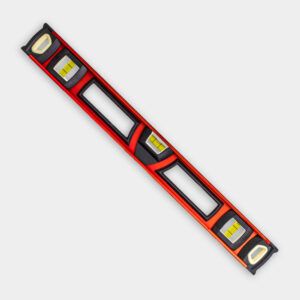
- Use a level to guarantee proper installation.
Step 5: Install Plinth Blocks and Fluted Trim
Plinth blocks and fluted trim add visual interest and sophistication to your door frame. These decorative elements are installed at the base and along the sides of the door, enhancing the overall design. Use the following steps to ensure proper installation and alignment.
- Create plinth blocks by doubling up two short pieces of 3/4-inch PVC stock.
- Install these blocks at the bottom of the door on both sides, aligning them with the head casing.
- Cut a small filler block to the width of the fluted molding and height of the small PVC moldings.
- Install this filler block centered on top of each plinth block.
- Measure and cut two pieces of fluted trim for the sides of the door.
- Nail the fluted trim in place using a nail gun.
Step 6: Add Decorative Elements
To complete the look, you’ll add finishing touches that enhance the trim’s decorative appeal. These elements, such as returns and small trim pieces, bring cohesion and elegance to the door frame. Here are the steps to finalize your design with these stylish details.
- Cut and install returns for the head casing using 45-degree miters.
- Secure the returns with two-part PVC glue for a strong bond.
- Use small PVC trim pieces to dress up the header and the bottom of the fluted moldings.
- Incorporate any additional decorative elements as desired to achieve the desired look.
Step 7: Add the Finishing Touches
To complete your trim installation, start by installing PVC plugs in any visible screw holes using a mallet. Tap gently to avoid marring the PVC surface. After installing the plugs, clean up any debris or dust from the process.
Inspect the entire trim for gaps or imperfections and address them promptly to guarantee a seamless finish.
Exterior Door Trim Maintenance Tips
Regular maintenance keeps your exterior door trim looking its best and extends its lifespan, helping you avoid costly repairs. Follow these recommendations to preserve the trim’s pristine condition and appearance.
- Touch up any scratches or dings promptly: Small imperfections can lead to moisture infiltration and deterioration over time. Use matching paint or a suitable repair kit to address these issues quickly.
- Pressure wash the trim once a year: This helps remove dirt, grime, and environmental buildup, maintaining a bright and clean appearance. Use a gentle setting to avoid damaging the trim and achieve a thorough cleaning.
- Inspect the trim annually: Look for cracks, peeling paint, or signs of rot that could indicate underlying issues. Addressing these problems early can prevent more significant damage and costly repairs.
- Check the caulking around the trim: Proper caulking prevents water from seeping behind the trim, which can cause damage and mold growth. Replace any cracked or missing caulk with high-quality exterior sealant to maintain a watertight seal.