We may be compensated if you purchase through links on our website. Our team is committed to delivering honest, objective, and independent reviews on home products and services.
Antique doors can bring unique character and charm to any home, but they often come with a few challenges. Getting an antique door to fit just right is important for both looks and functionality. This Old House general contractor Tom Silva shares how to fit an antique door properly, tackling common problems like gaps, drafts, and misalignment.
Assessing the Antique Door’s Condition
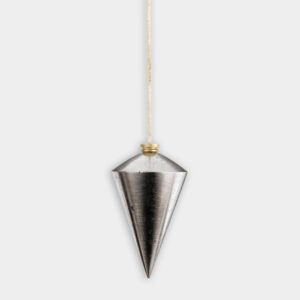
Before diving in, it’s a good idea to check the door’s current state to pinpoint any issues that need fixing. To see if the door is perfectly vertical (plumb), follow these steps:
- Attach a plumb bob to the top of the door.
- Allow the weight to hang freely to the bottom of the door.
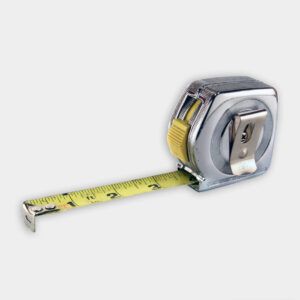
- Measure the distance between the string and the door at both the top and bottom.
- Compare the measurements to see if there’s a difference.
If there’s a discrepancy between the top and bottom measurements, the door is out of plumb and needs adjustment.
You should also look for any noticeable gaps around the door—especially at the bottom and sides. These can let in drafts and affect your home’s comfort and energy efficiency. In the video, Silva points out a big gap at the bottom of the door, measuring about an inch and a quarter on one side and an inch and an eighth on the other.
Tools and Materials Needed to Tightly Fit an Antique Door
Gather the following items before you start this project:
- Plumb bob
- Tape measure
- Chalk line
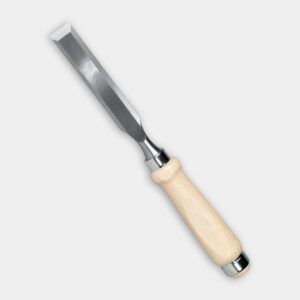
- Chisel
- Hammer
- Planer
- Palm sander
- Scribe tool
- Drill or driver
- Screwdriver
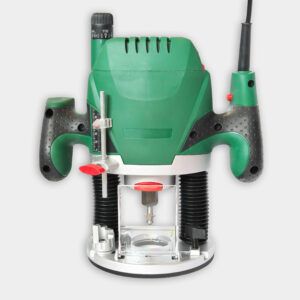
- Plunge router
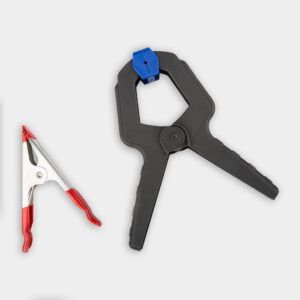
- Clamps
- Track saw
- Utility knife
- Corner-grooving tool


Preparing the Door and Jamb To Fit an Antique Door
After identifying any problems with your door, it’s time to fix it up. Carefully remove the door from its hinges. This will allow you to work on both the door and the jamb separately, making the fitting process easier and more precise. To correct an out-of-plumb door, you’ll need to adjust the jamb. Follow these steps:
- Use a chalk line to mark the new plumb line on the jamb.
- Remove any nails or screws from the jamb.
- Carefully chisel away the excess wood along the chalk line.
- Smooth the chiseled area with a planer and palm sander.
Remember to check for hidden nails while chiseling to avoid damaging your tools.
Fitting the Antique Door
With the jamb adjusted, you can now focus on fitting the door properly. To fix a large gap at the bottom of the door, measure the gap and cut two pieces of wood to fit the width of the door. Create rabbet cuts on the bottom of the door to accommodate the new pieces and attach them using wood glue and clamps. Once dry, trim the door to the correct length using a track saw.
Installing Weatherstripping for an Antique Door
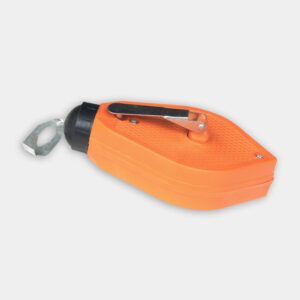
Good weatherstripping is key to a tight-fitting door. Silva suggests using an automatic weatherstripping system for the bottom of the door. This type of weatherstripping drops down when the door closes, sealing out drafts.
For the sides and top of the door frame, use silicone-based weatherstripping that fits into a groove cut into the jamb. This provides a solid seal while making replacement easy if needed.
Fine-Tuning the Fit
After making major adjustments, fine-tune the door’s fit by adjusting its hinges and blending the door’s elements with its surroundings. Use a scribe tool to mark the new hinge positions, chisel out new mortises, and drill new screw holes before reattaching the hinges. Then, sand any new wood pieces you added to the trim or jamb, use a utility knife and speed square to extend any existing score marks from the door onto the new pieces, and apply a matching finish to tie it all together.
Advanced Weatherstripping
For superior draft protection, you can install an advanced weatherstripping system. Silva shows how to use a specialized router with a cornering jig to create precise grooves for weatherstripping. Here are the steps you should follow:
- Use the router to cut grooves along the entire perimeter of the door frame.
- Insert silicone-based weatherstripping into the grooves.
- Trim excess weatherstripping as needed.
This method provides an excellent seal and allows for easy replacement of the weatherstripping in the future.
Our Conclusion
Fitting an antique door tightly requires patience, skill, and the right tools. By addressing issues such as plumb, gaps, and weatherstripping, you can transform a drafty old door into a functional and charming feature of your home. While the process may seem daunting, the results are well worth the effort, providing improved energy efficiency and preserving the character of your antique door.
Resources
To fix the door, Silva addressed multiple issues: the door was out of plumb, it was too short, and it was drafty.
To make the door plumb, he used a plumb bob, a chalk line, a chisel, and a planer. These can be found at home centers. It’s also possible to use power tools to shave back the jamb, but hand tools will be required at the top and bottom of the door where those tools wouldn’t fit.
The tools Silva used to lengthen the door, including the wood, clamps, wood glue, and hammer, can also be found at home centers.
He also improved the weatherstripping to make the door more weathertight. The automatic door bottom, the corner-groove weather stripping, and the corner-grooving tool and associated bits are all manufactured by Conservation Technology.