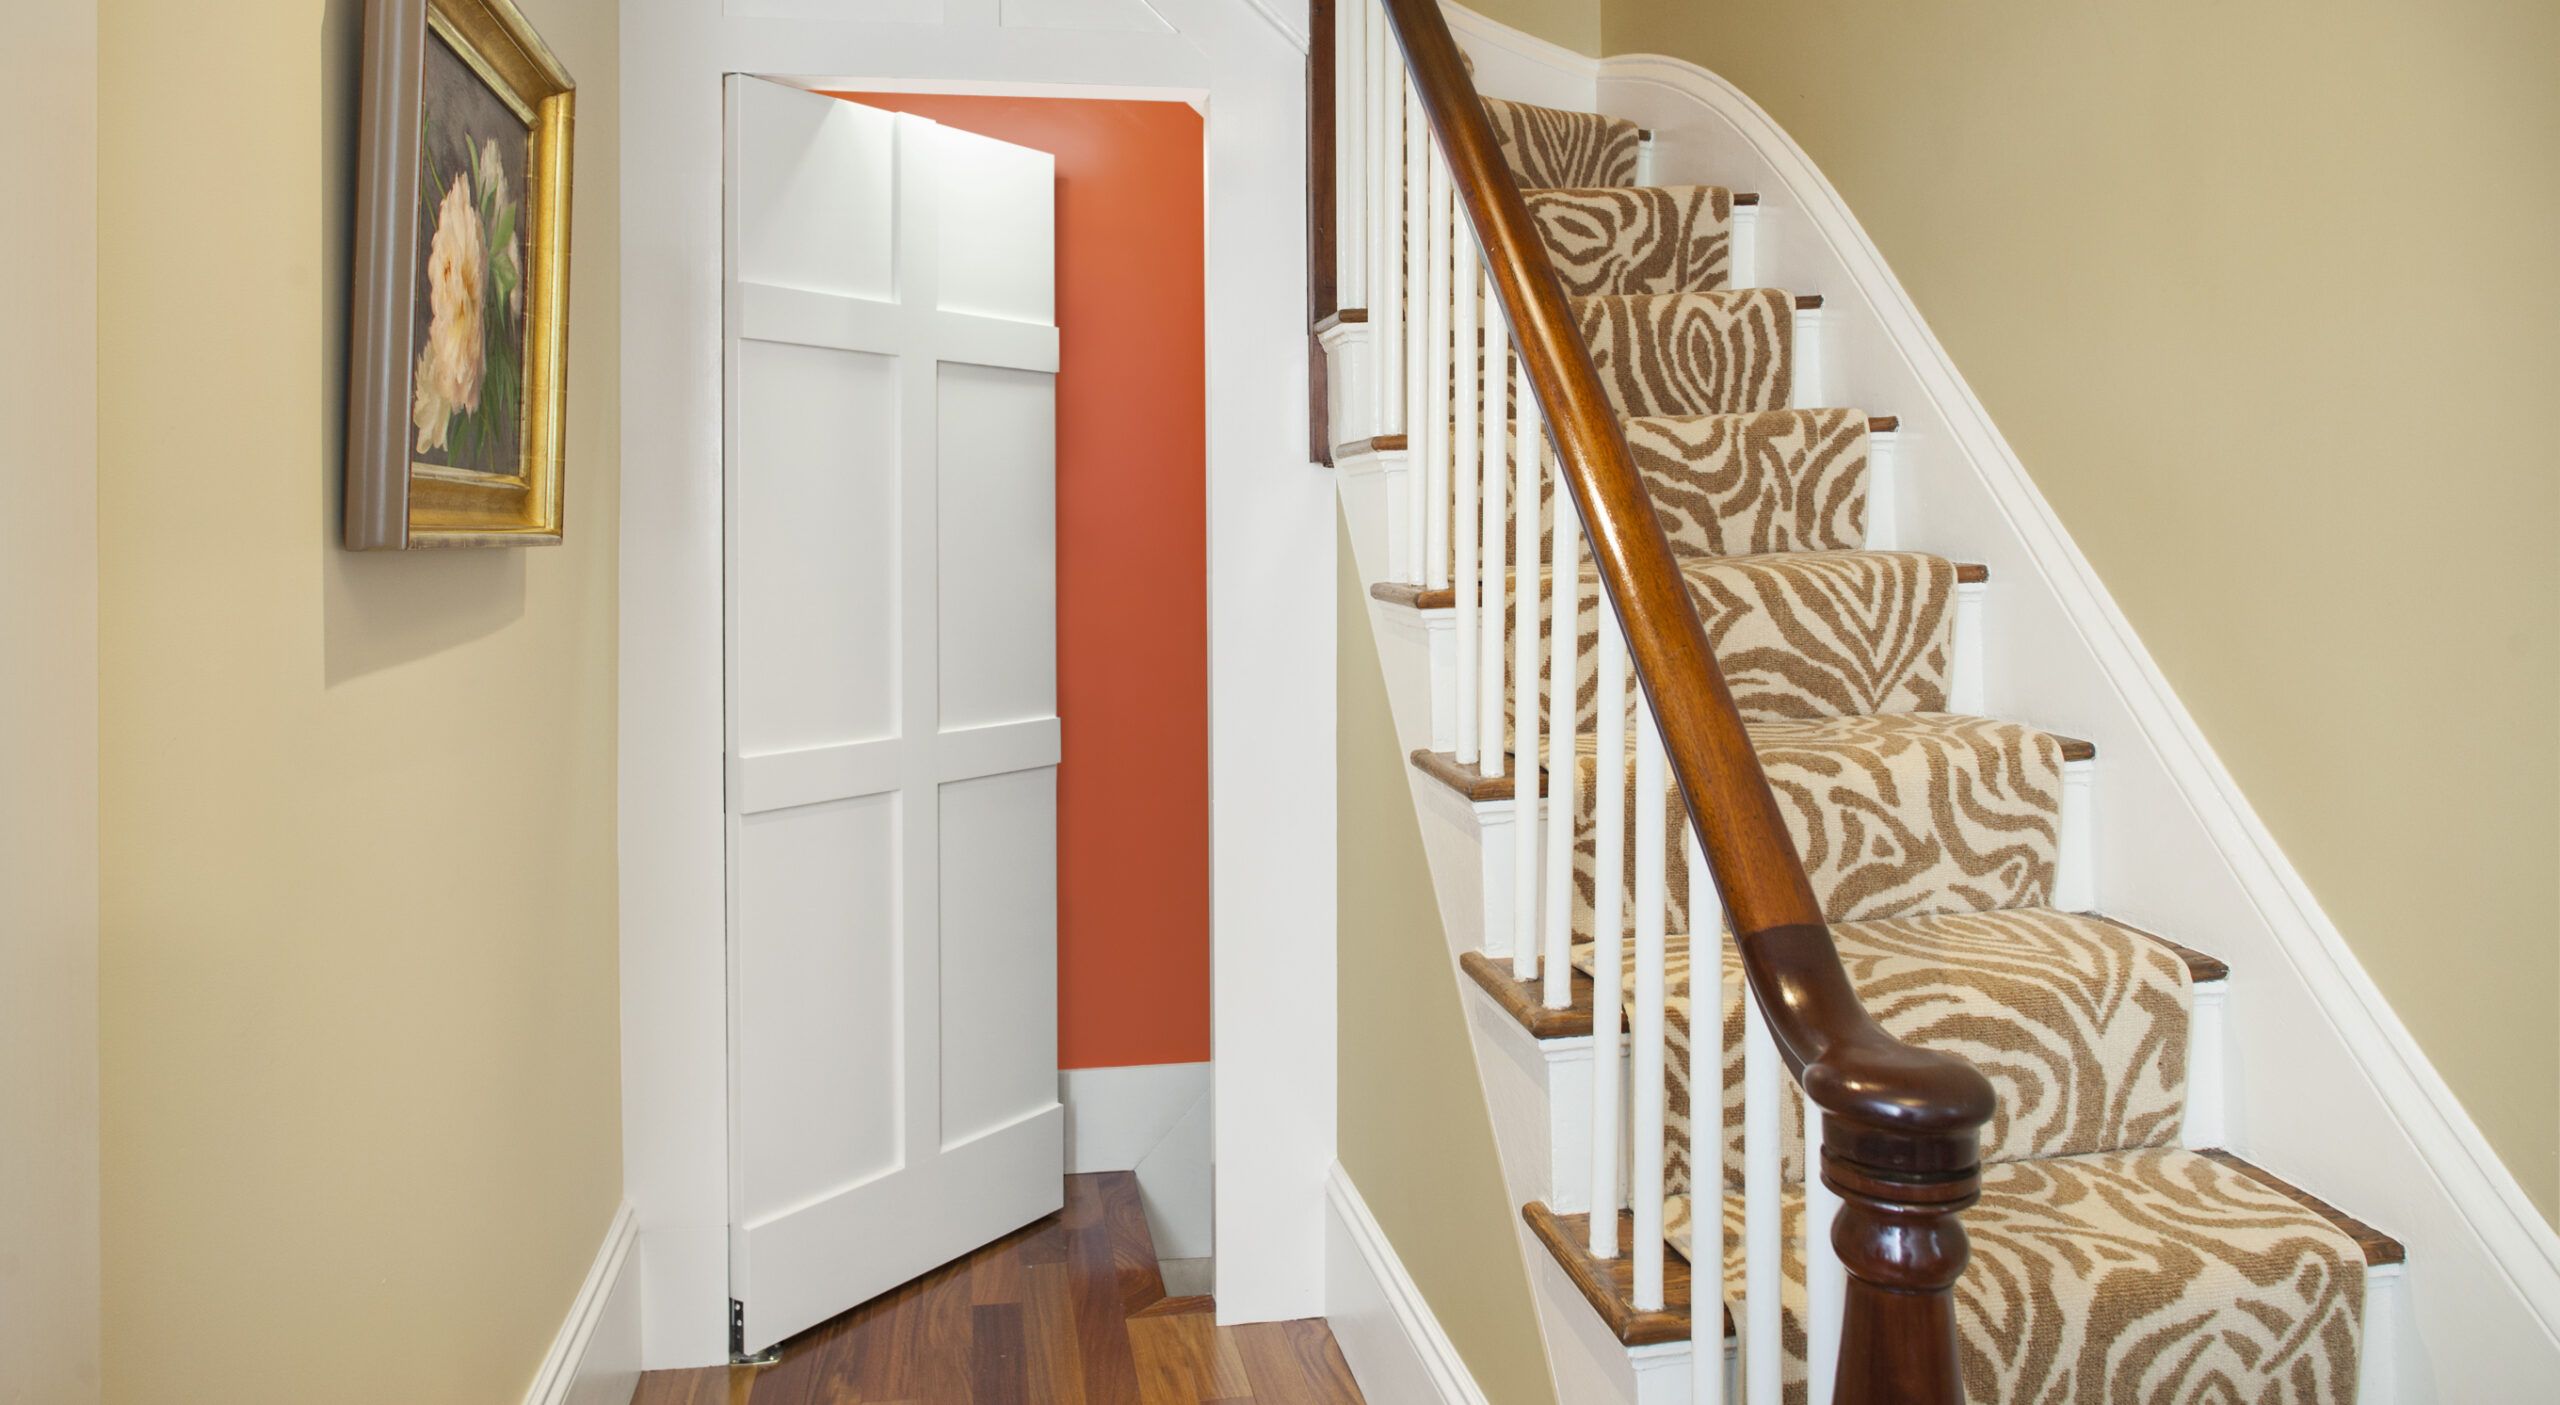
Whether you’re looking to conceal a storage area, create a secret room, or simply add a unique feature to your home, building a hidden door is a fun project many handy homeowners can tackle on their own. You’ll need to follow safety precautions and understand building code requirements, so if this is your first construction project, do your due diligence. Our guide tells you what you need, how to prepare, and the steps to follow for a successful hidden door installation.

Types of Hidden Doors
Before starting on your project, let’s walk through the different types of hidden doors and their potential uses.
Bookcase Hidden Doors
Bookcase hidden doors are popular among homeowners looking to combine functionality with secrecy. These doors are designed to look like a regular bookshelf but can swing open to reveal a hidden room or passageway. They’re ideal for creating a cozy reading nook, concealing a home office, or providing access to a secret storage area.
Paneled Wall Hidden Doors
Paneled wall hidden doors blend seamlessly into the surrounding wall, making them virtually undetectable when closed. This type of hidden door is perfect for maintaining a clean, uninterrupted look in your living space while providing discreet access to another room. Paneled wall hidden doors can be used to conceal pantries, laundry rooms, or even entire sections of your home.
Mirror Hidden Doors
Mirror hidden doors are less common in homes. They appear to be standard wall-mounted mirrors but can be pushed or pulled open to reveal hidden storage or an adjoining room. Mirror hidden doors are useful in smaller spaces where maximizing functionality is key. They offer a dual purpose, aligning well with modern design principles.
Planning Your Hidden Door Project
The planning phase involves assessing your space, selecting the appropriate door type, and gathering all necessary materials and tools.
Assessing Your Space
Before you begin, evaluate the area where you intend to install your hidden door. Consider the following:
- Available wall space
- Ceiling height
- Existing architectural features
- Potential obstacles (electrical outlets, vents, etc.)
Take precise doorway measurements and the surrounding area to ensure your hidden door will fit perfectly and function as intended. Planning ahead will save you time and frustration during the construction phase.
Choosing the Right Door Type
Based on your space assessment and personal preferences, select the hidden door type that best suits your needs. Consider factors such as:
- Available space
- Intended use
- Level of concealment required
- Room design
Your choice will influence the materials you need and the construction process. For example, a bookcase hidden door will require sturdy shelving materials, while a paneled wall hidden door may require specific trim and molding.
Gathering Materials and Tools
Once you’ve decided on the type of hidden door, compile a list of required materials and tools. For a basic paneled wall hidden door, you’ll need the following:
- Butler- or pantry-door hardware kit
- Caulk
- Poplar boards for stiles, rails, and baseboards
- Primer and paint
- Sandpaper
- Solid-core interior slab door
- Wood glue
- Wood screws and brad nails
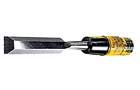
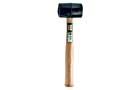
Essential tools for any type of hidden doorway include a circular saw, jigsaw, router, level, tape measure, and pneumatic brad gun. Gather all items before starting for a smooth workflow.
Preparing the Hidden Doorway
This step involves removing any obstacles and modifying the door jamb to accommodate the new hidden door mechanism.
Removing Existing Door Stops
To allow the hidden door to swing in both directions, you’ll need to remove any existing door stops. Here’s how:
- Score along each stop with a utility knife to prevent splintering.
- Use a pry bar to carefully remove the stops.
- Fill any gaps or cracks with wood filler.
- Sand the jamb smooth to create a clean surface for installation.
Ensure the jamb is in good condition, as a sturdy base is essential for a functional hidden door.
Modifying the Door Jamb
If you’re working with a factory-made jamb, you may need to make these additional modifications:
- Use 1/2-inch-thick furring strips to pad out the jamb on either side of the stop.
- Purchase a narrower door to fit the modified opening.
- Ensure all surfaces are smooth and even before proceeding with installation.
Modifying the door jamb correctly ensures that the hidden door will hang properly and operate smoothly.
Installing Hidden Door Hardware
The hardware is the backbone of your hidden door, allowing it to function smoothly and seamlessly. This section covers the installation of the pin socket and spring mechanism, which are necessary for the door’s operation.
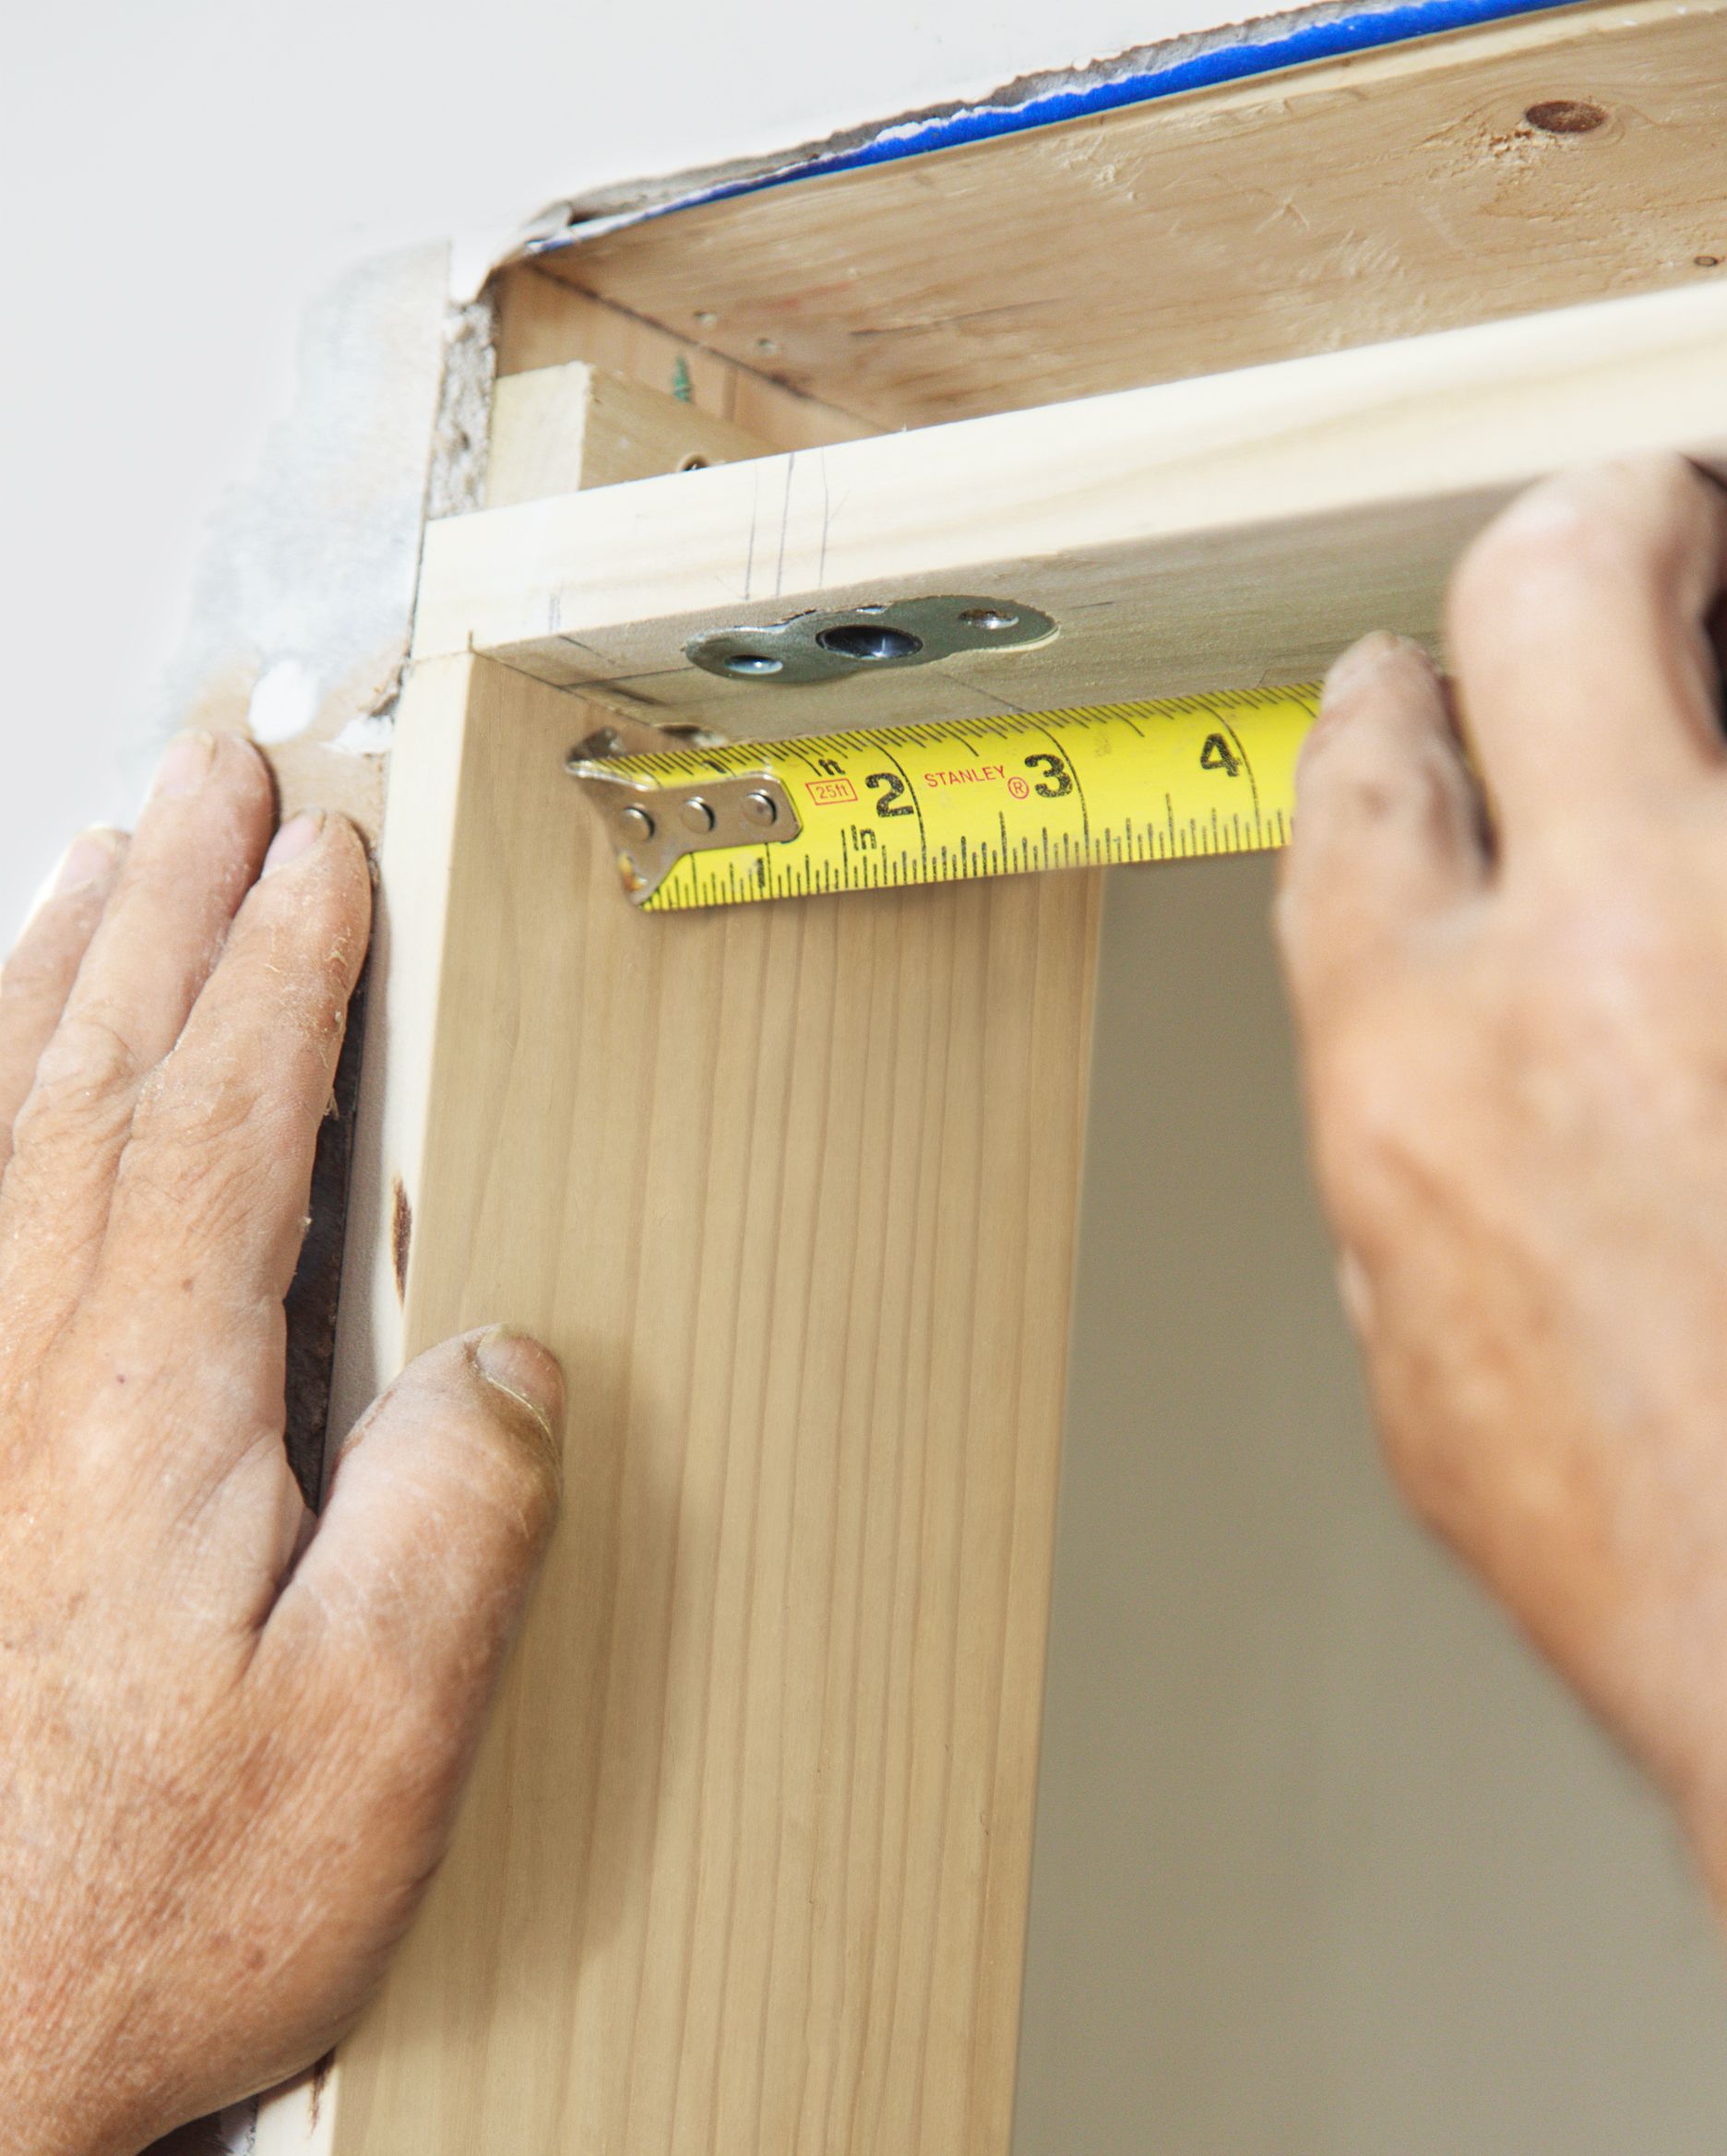
Mounting the Pin Socket
The pin socket allows the door to pivot. Follow these steps to install it:
- Trace the pin socket on the head jamb and inset an extra 1/2-inch from the side jamb.
- Recess it only half the thickness of your door to ensure the face is flush with the jamb.
- Use a Forstner bit to drill overlapping holes for the socket.
- Press the socket into place and secure it with 1-inch wood screws.
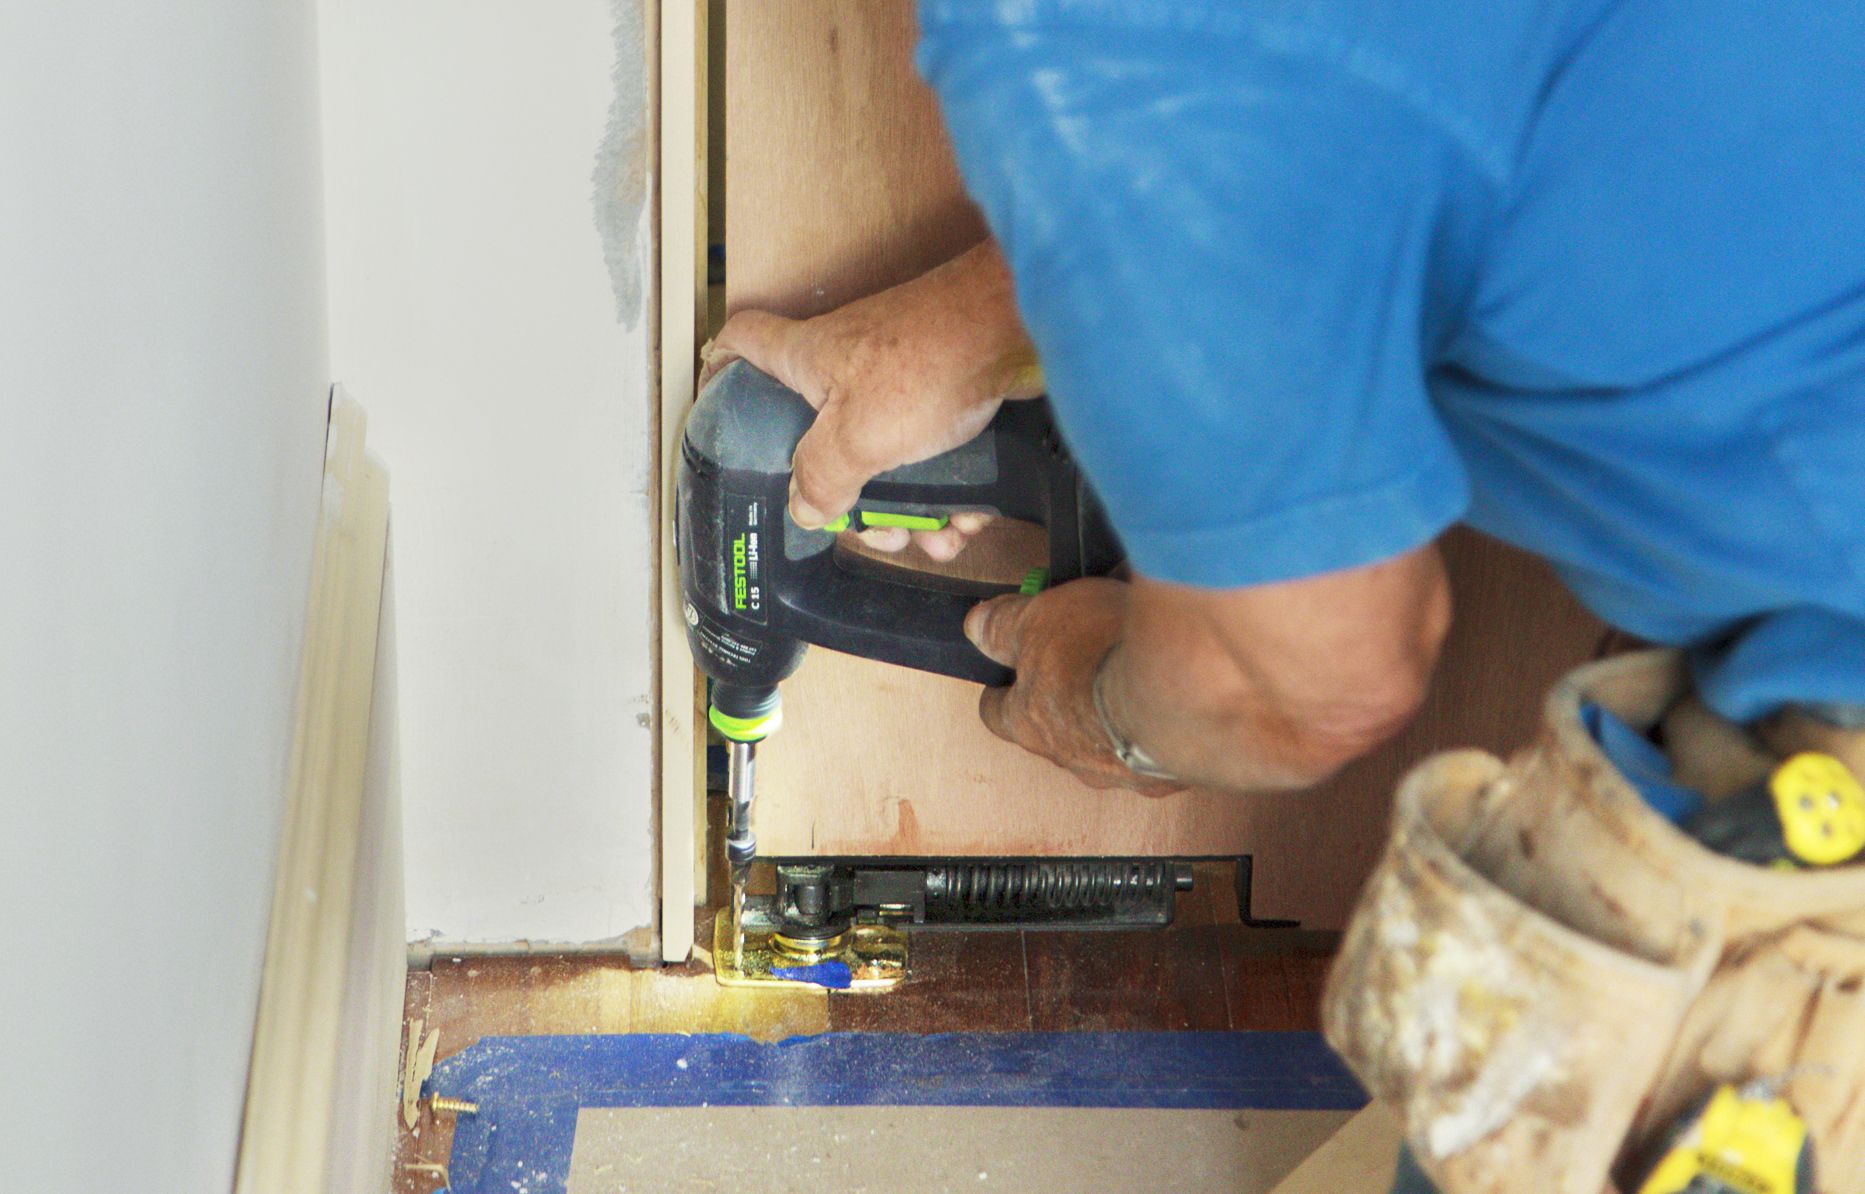
Attaching the Spring Mechanism
The spring mechanism helps the door close automatically and stay shut.
- Center the spring hardware on the floor mark and screw it down.
- Trace an outline for the spring hardware on the door’s bottom corner.
- Cut out a notch using a jigsaw and screw the hardware in place.
- Position the door, slipping the pin into the socket.
Creating the Hidden Door Panel
The hidden door panel is what gives your secret entrance its disguise. This section details the process of building a convincing paneled wall that conceals your door.
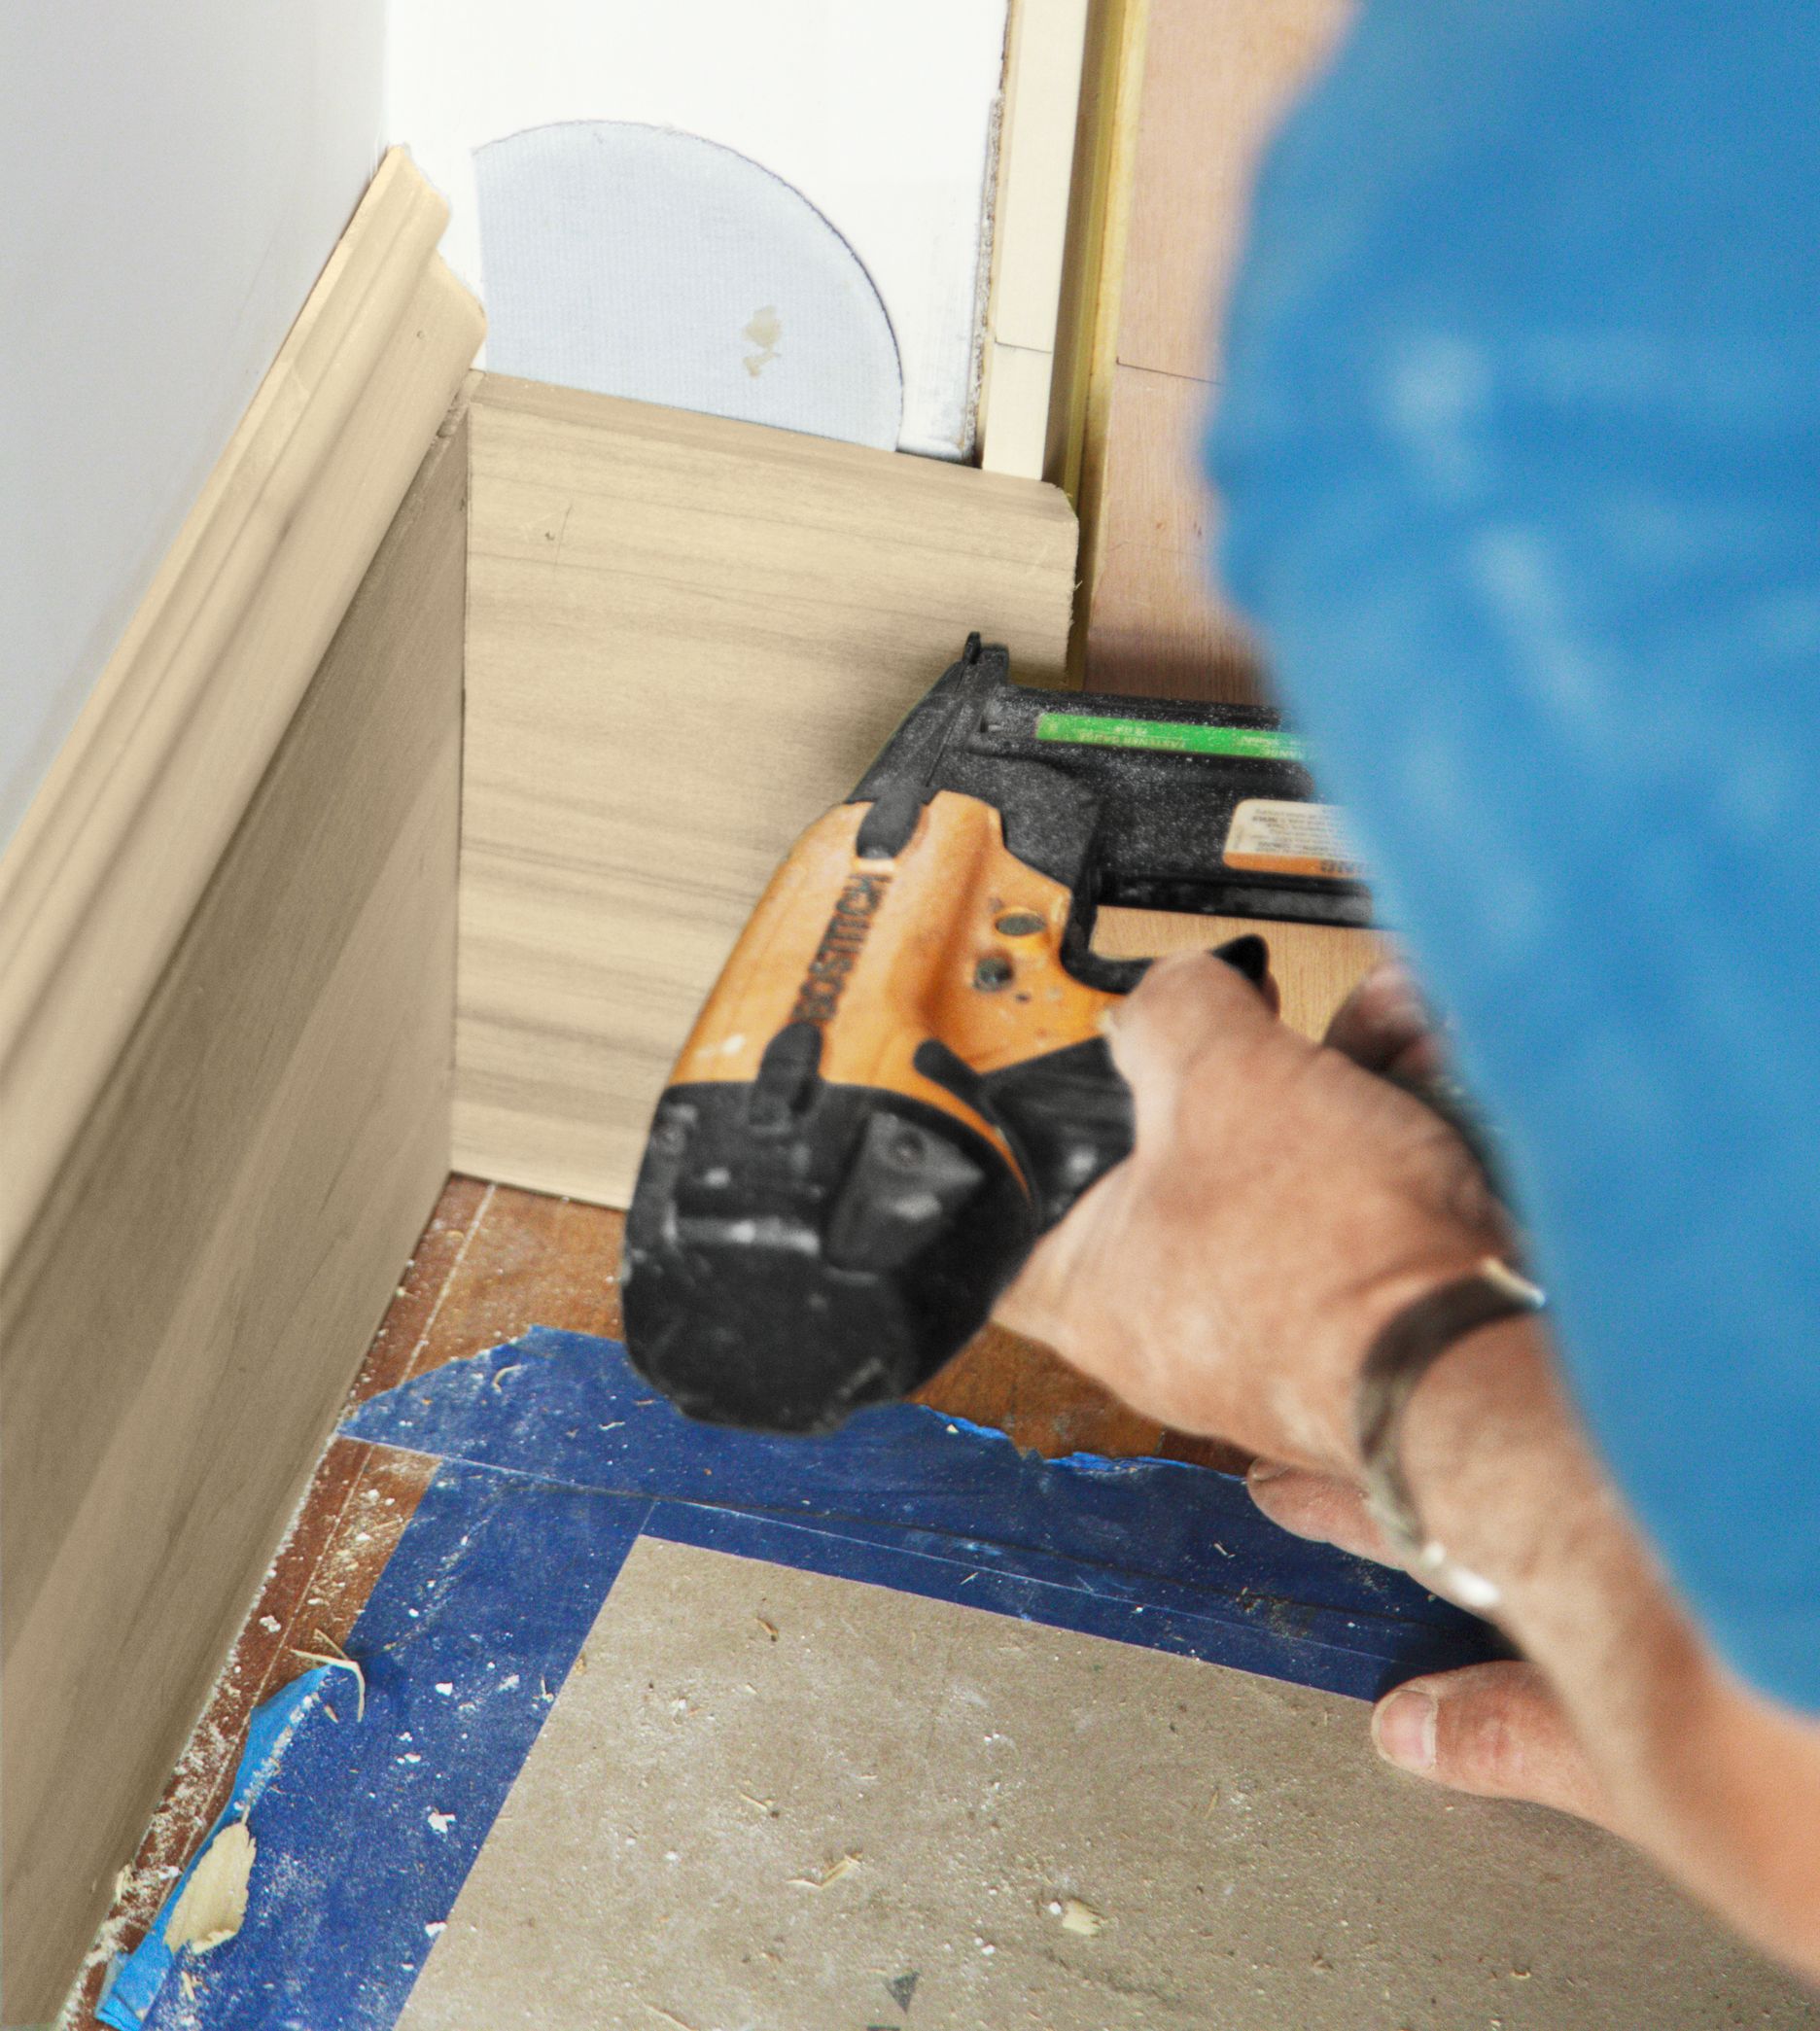
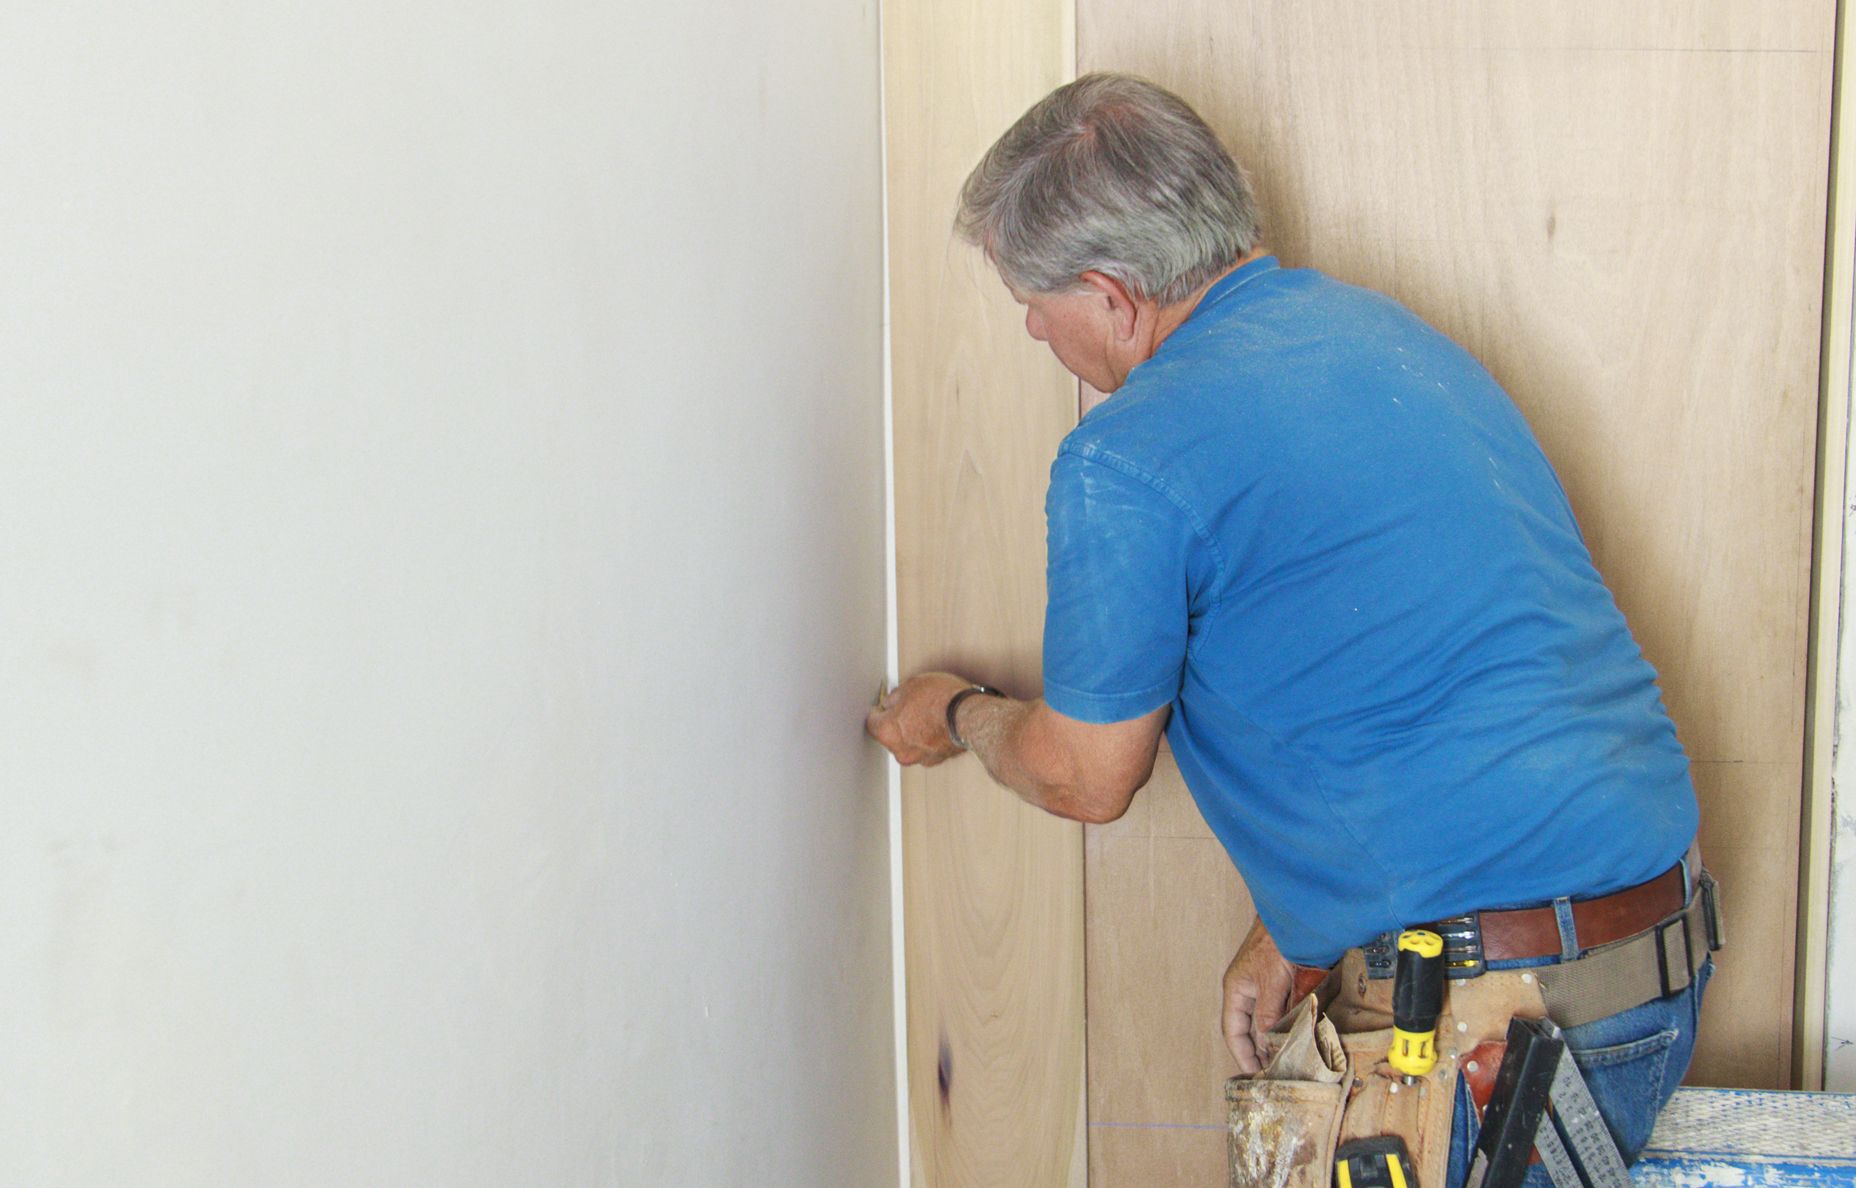
Measuring and Cutting the Baseboard
Start by installing the baseboard, which will form the foundation of your hidden door panel.
- Measure from the adjacent baseboard to the edge of the door.
- Cut pieces of baseboard to fit, making 45-degree miter cuts where necessary.
- Apply wood glue and tack the pieces in place with a pneumatic brad gun.
Accurate measurement and clean cuts will give you a polished look.
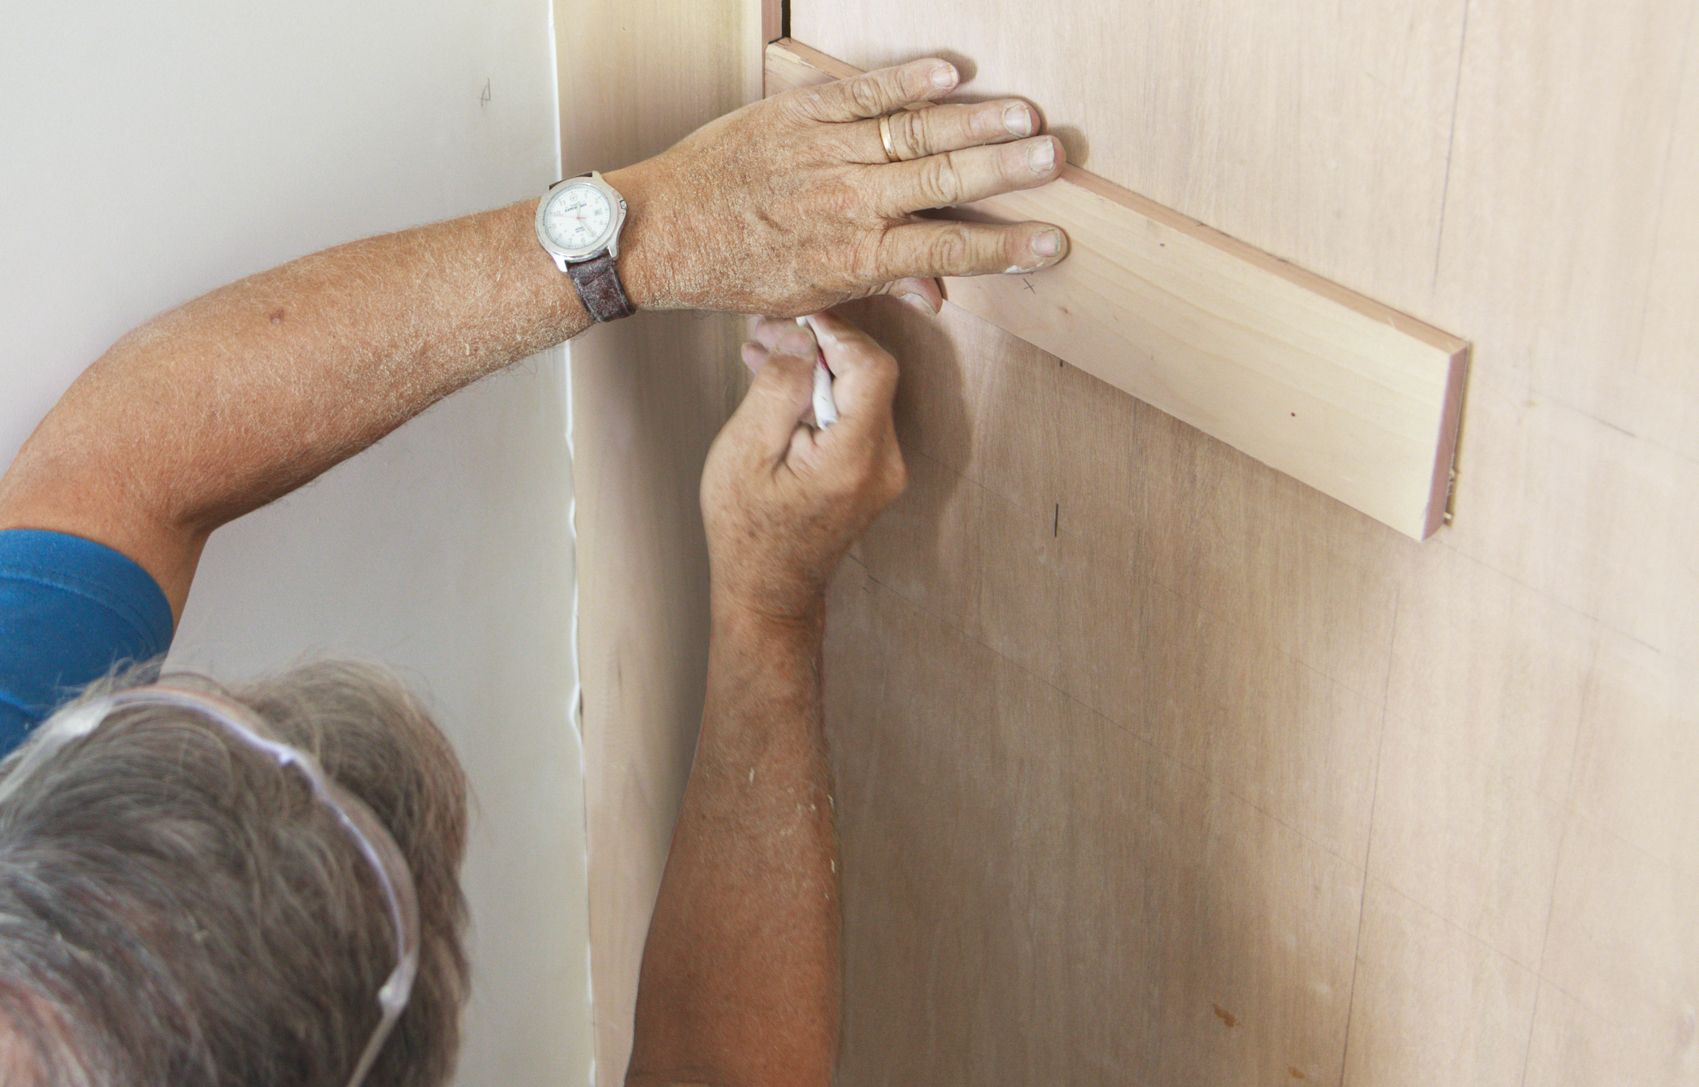
Installing Side Stiles
Side stiles create the vertical structure of your paneled wall.
- Measure from the top edge of your baseboard to the ceiling.
- Cut the stiles to length, scribing them to fit if necessary.
- Glue and tack the stiles in place, ensuring they’re plumb.
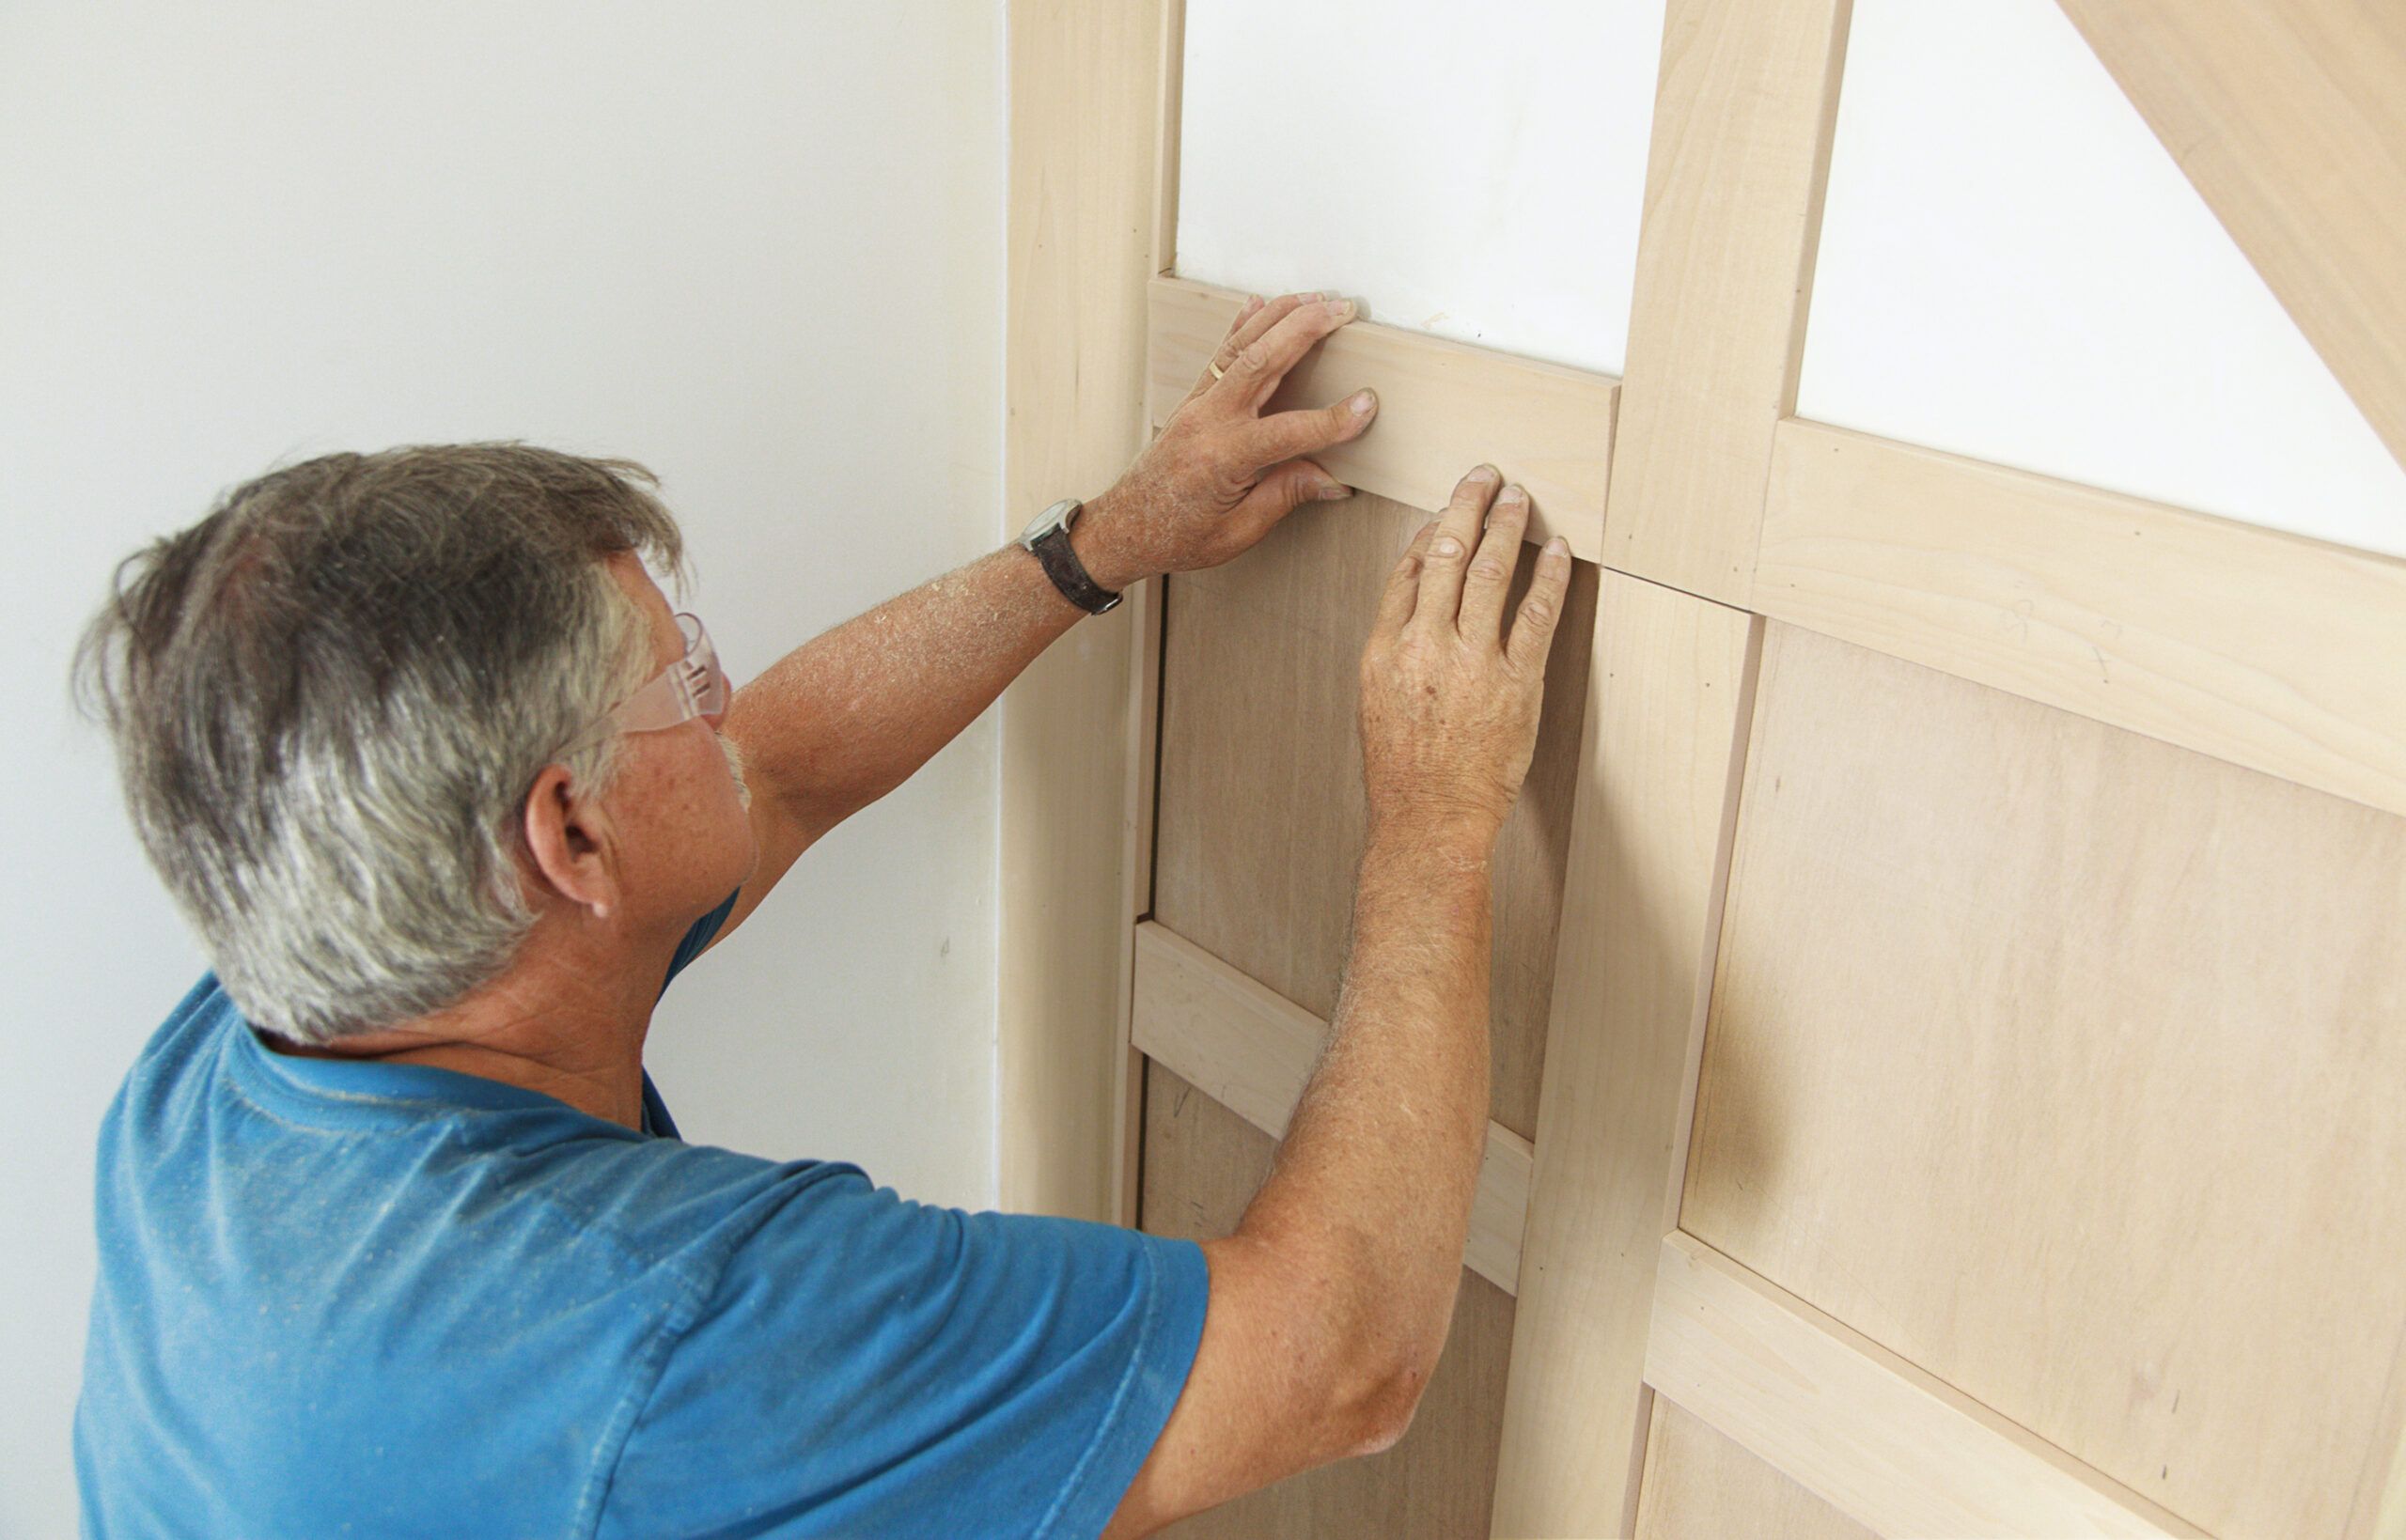
Adding Rails and Center Stile
Complete the panel structure with horizontal rails and a center stile.
- Cut rails to fit between the side stiles.
- Use furring strips as spacers to ensure even placement.
- Glue and nail the rails and center stile in place.
This step builds your hidden door’s framework, which supports the illusion of a seamless wall. Ensure all pieces are level and flush.
Concealing the Door Edges
To create a truly hidden door, you’ll want to conceal the edges where the door meets the surrounding wall. This involves careful detailing for a seamless appearance.
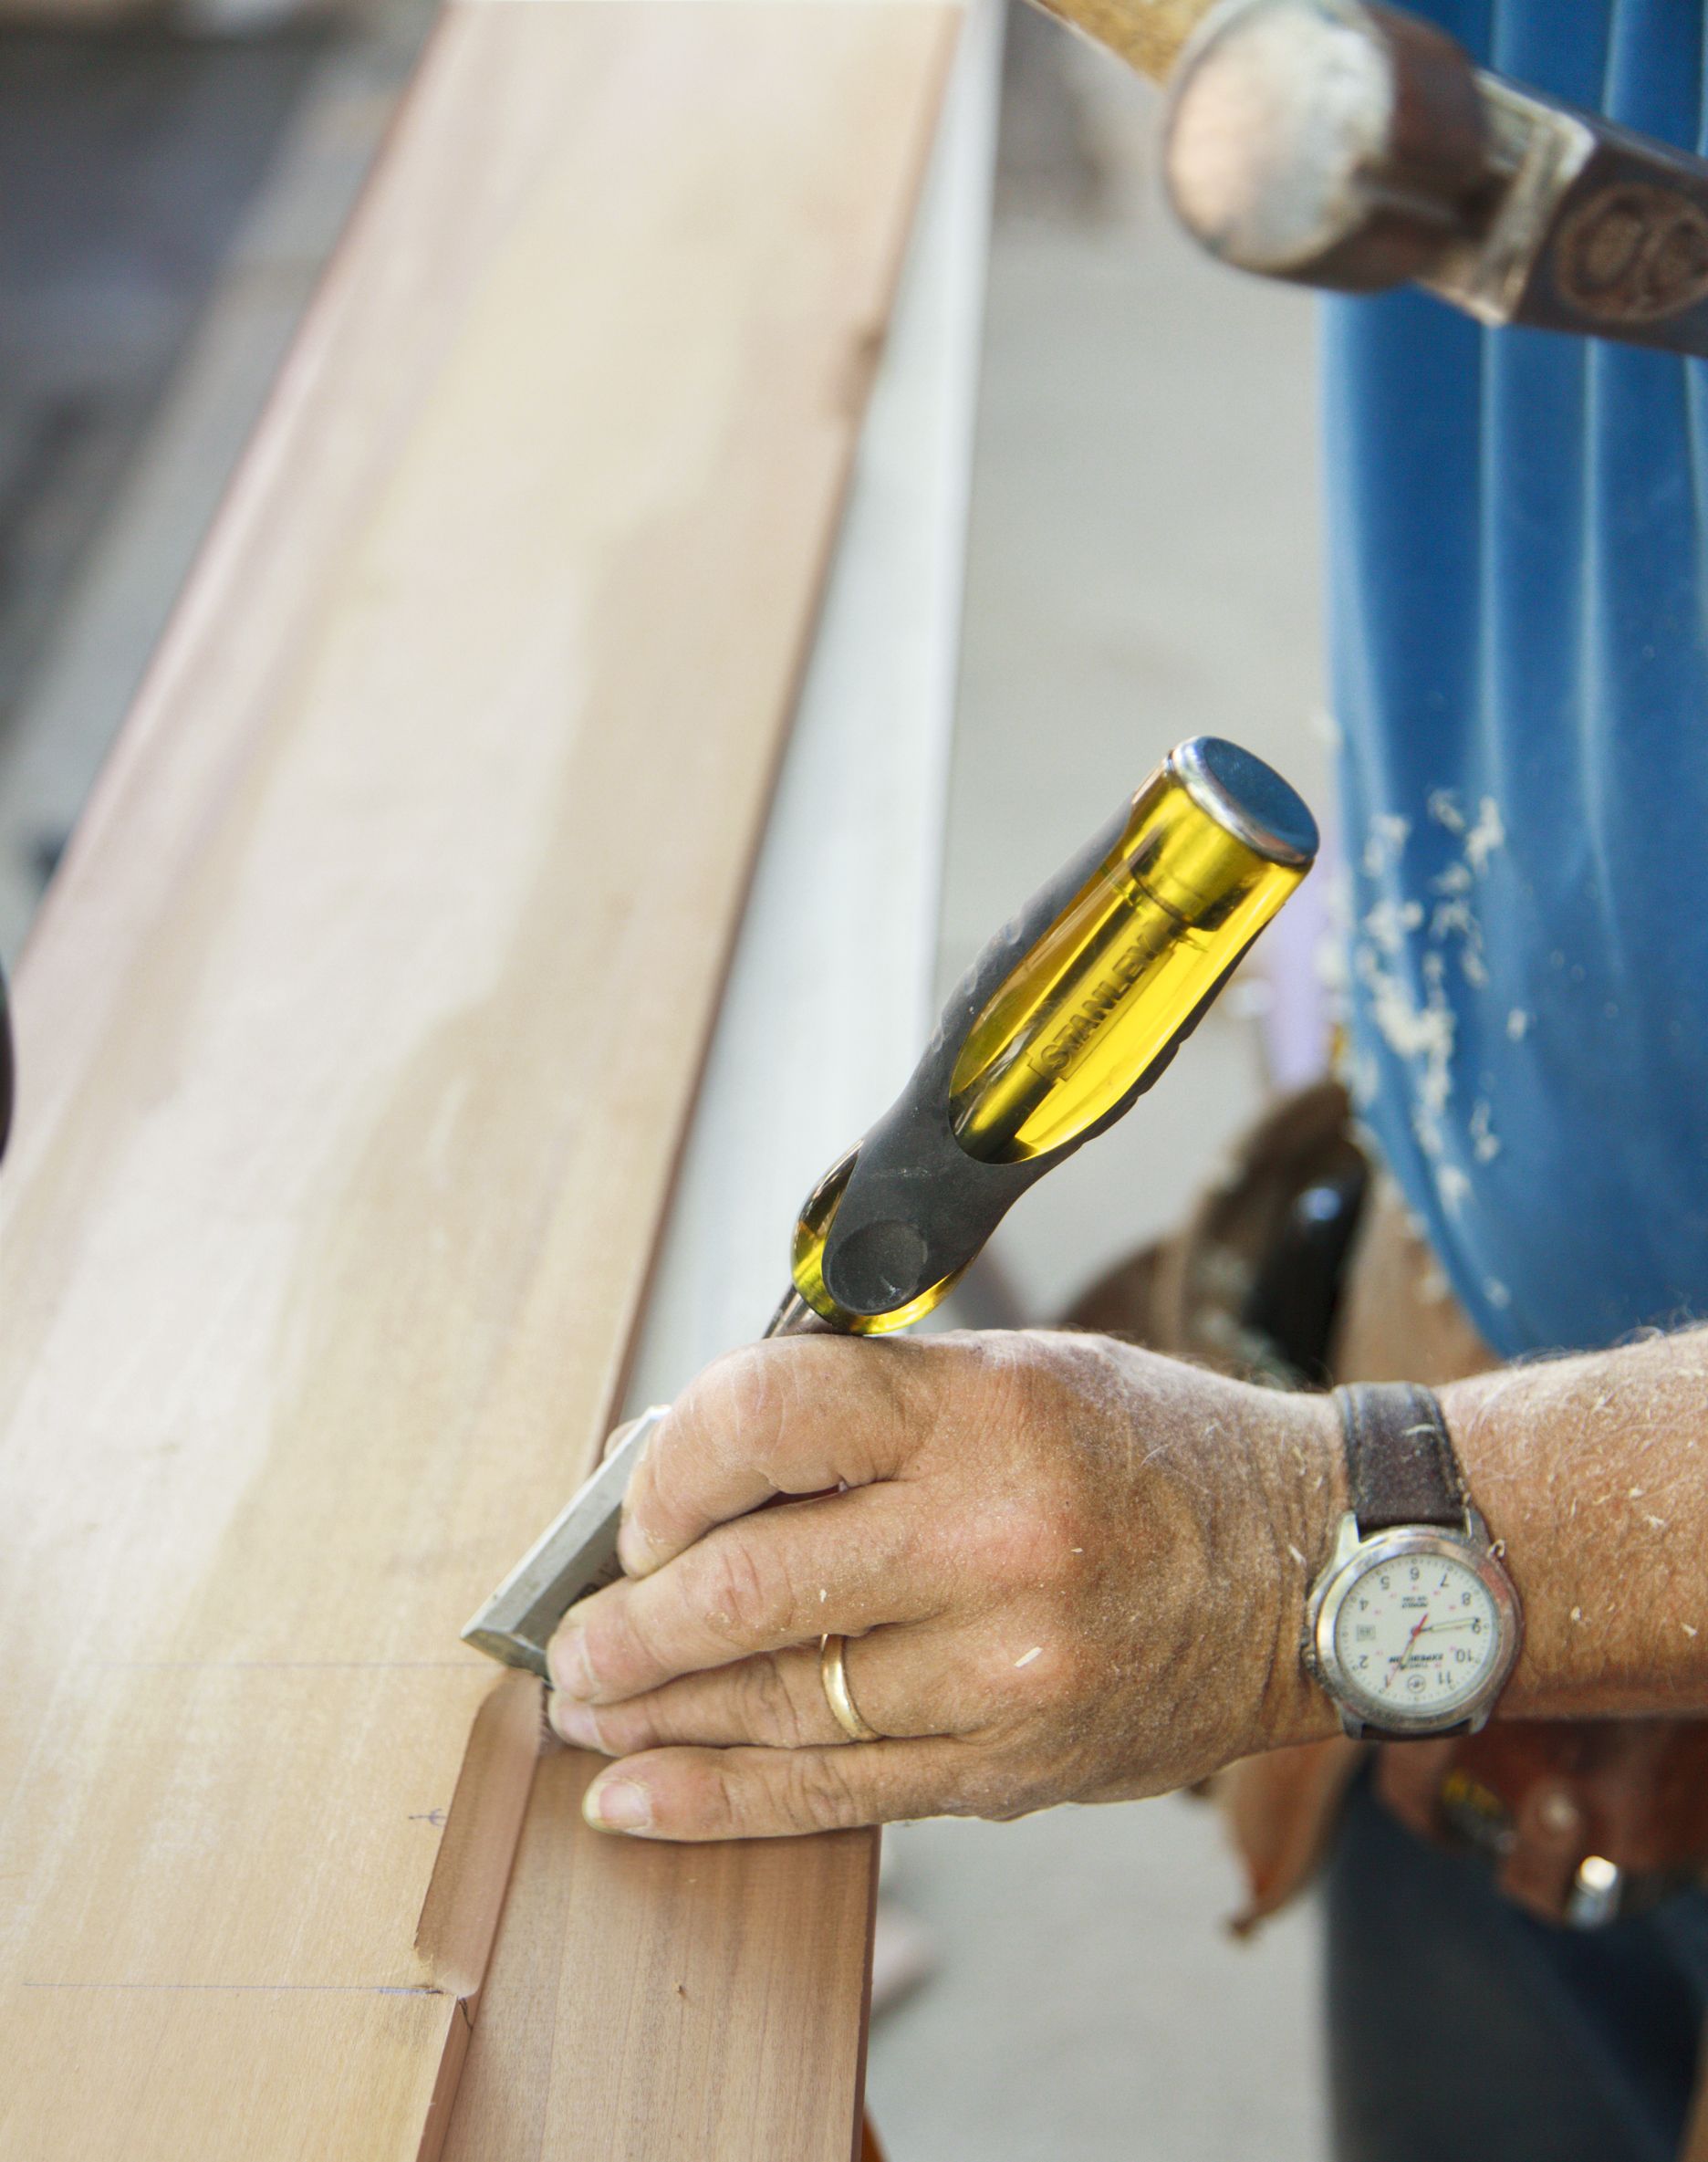
Chamfering the Stiles
Chamfering the stiles allows the door to swing freely while maintaining the illusion of a solid wall.
- Mark where the rails meet the stiles.
- Use a router with a 45-degree chamfer bit to create notches.
- Clean up the notches with a chisel and wood file for a smooth finish.
Notching the Base Cap
To accommodate the side stiles, you’ll need to notch the base cap molding.
- Use a sharp chisel or oscillating multitool to make precise cuts.
- Test fit the stiles to ensure a snug fit against the baseboard.
Hidden Door Finishing Touches
The final steps in creating your hidden door involve refining the appearance and checking for smooth operation. These finishing touches will help your hidden door blend with its surroundings.
Sanding and Painting
Proper sanding and painting will result in a professional-looking finish.
- Sand all surfaces with 120-grit sandpaper for a smooth texture.
- Apply caulk to fill any gaps between pieces.
- Prime the entire door and panel assembly.
- Paint with a color matching the surrounding walls for perfect camouflage.
Adding Decorative Elements
Consider adding decorative elements to further disguise your hidden door.
- Install matching trim pieces around the panel edges.
- Add faux hardware or decorative moldings to enhance the illusion.
- Consider hanging artwork or placing furniture in front of the door for added concealment.
Troubleshooting Common Issues With Hidden Doors
Even with careful planning, you may encounter some challenges with your hidden door. Below are solutions to common problems you might face.
Addressing Alignment Problems
Do this if your door doesn’t align properly:
- Check the plumb of the door and adjust the hinges if necessary.
- Ensure the floor is level and use shims under the door if needed.
- Adjust the spring tension to improve closing alignment.
Fixing Squeaky Hinges
Take these steps to fix squeaky hinges:
- Apply a silicone-based lubricant to the hinges.
- Tighten any loose screws in the hinge hardware.
- Consider replacing the hinges if the problem persists.
Building Code Considerations for Hidden Doors
When installing a hidden door, you must adhere to local building codes to ensure safety and legality. Check with your local building department for specific requirements. Ensure the hidden door meets fire safety standards if required. Consider egress requirements, especially for basement or attic spaces, and install proper ventilation if the hidden door leads to an enclosed space.
Consult with a professional if you’re unsure about any code compliance issues.
Building a Hidden Door: Our Conclusion
Building a hidden door is a fun project, but it still requires careful planning and skilled execution to be safe, functional, and blended with the rest of the room. Take your time, follow local building code regulations, and call in a professional if you feel out of your depth. The last thing you want to do is waste money or damage your home, so let pros help you if it will lead to a better result.
Tools
 router with 1/4-inch straight bit and 45 degree chamfer bit