We may be compensated if you purchase through links on our website. Our team is committed to delivering honest, objective, and independent reviews on home products and services.
Project details
Skill
Cost
Estimated Time
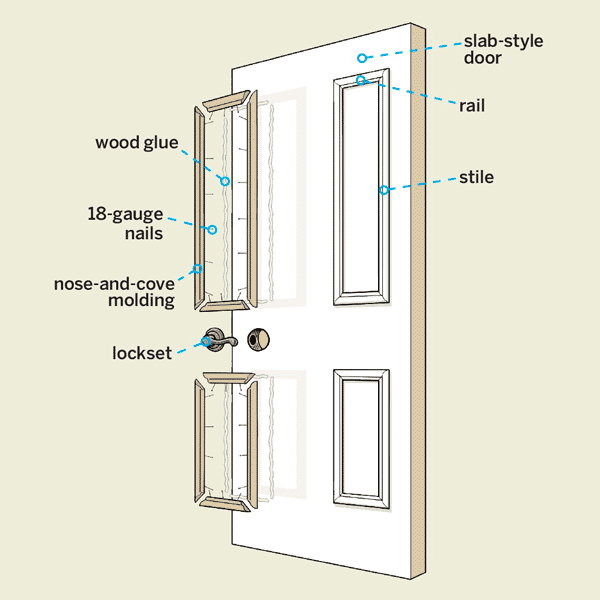
If you’re unhappy with a builder-grade, slab-style door, just think of it as a blank canvas. By adding some decorative molding and paint, you can mimic the look of a traditional panel door and increase its visual appeal on the cheap.
In this article and accompanying video, This Old House expert Christopher Beidel will provide step-by-step instructions on how to dress up a hollow-core door.
*Costs in this article represent averages of prices found on Home Depot and Lowe’s.
Factors To Consider When Choosing the Right Molding
There are a lot of moldings to choose from. Before you start shopping for one, you can narrow down your options by taking stock of the following factors:
- Desired panel design, such as two-panel, four-panel, six-panel, etc.
- Door dimensions
- Existing trim styles in your home
- Material options, such as wood, fiberboard, or polyurethane
In the video and visual guide below, Beidel uses poplar nose-and-cove molding, which complements the built-up door casing and creates a traditional four-panel look.
Preparing for the Project
Before diving in, you’ll have to gather the appropriate tools and materials and remove the door from its hinges.
Tools
Organize the following tools:
- Clamps
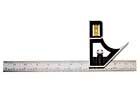
- Combination square
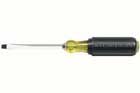
- Flathead screwdriver
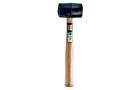
- Mallet
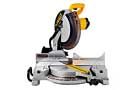
- Miter saw
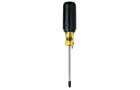
- Phillips screwdriver
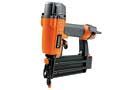
- Pneumatic nailer
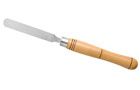
- Rounded chisel
Materials
In addition to those tools above, you’ll need these materials:
- Paint
- Poplar nose-and-cove molding
- Sandpaper
- Wood glue
- Wood putty
Removing the Door
Now, it’s time to remove the door from its hinges. You can follow the steps below:
- Use a flathead screwdriver to remove the hinge pins.
- Lift the door off the hinges and place it on a sturdy work surface.
- Unscrew the hinges from the door and remove the lockset.
Cut List
Refer to this list when cutting your molding to size:
- 1⅛-by-1¾-inch poplar nose-and-cove molding for the rails: eight at 8 inches
- 1⅛-by-1¾-inch poplar nose-and-cove molding for the top stiles: four at 28 inches
- 1⅛-by-1¾-inch poplar nose-and-cove molding for the bottom stiles: four at 18 inches
New Door Panel Design Step-by-Step Guide
After you’ve removed the door, the next step is to create the layout for your new panel design. Place your door on your work surface and work through each of the following steps with care and precision.
Step 1: Draw the Stiles

Use a combination square to mark the outside stiles of your panel frames along the door’s edges.
Step 2: Draw the Rails
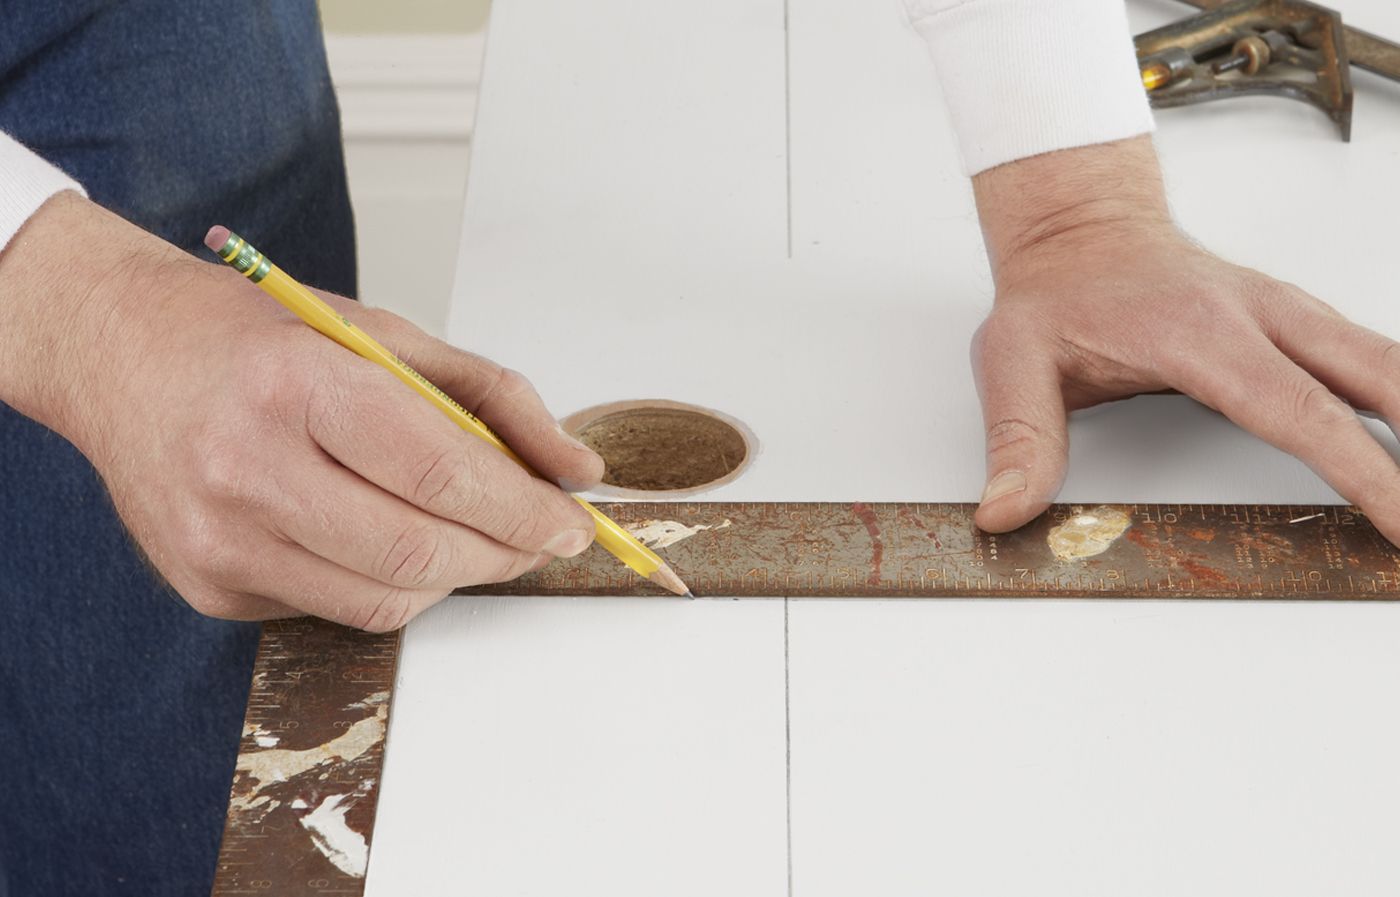
Draw perpendicular lines for the rails using a framing square. Leave the inside stiles unmarked, as these will sit between the other three sides of each panel.
Now that you have your layout, it’s time to cut the molding pieces for your new panel design.
Step 3: Cut Blanks
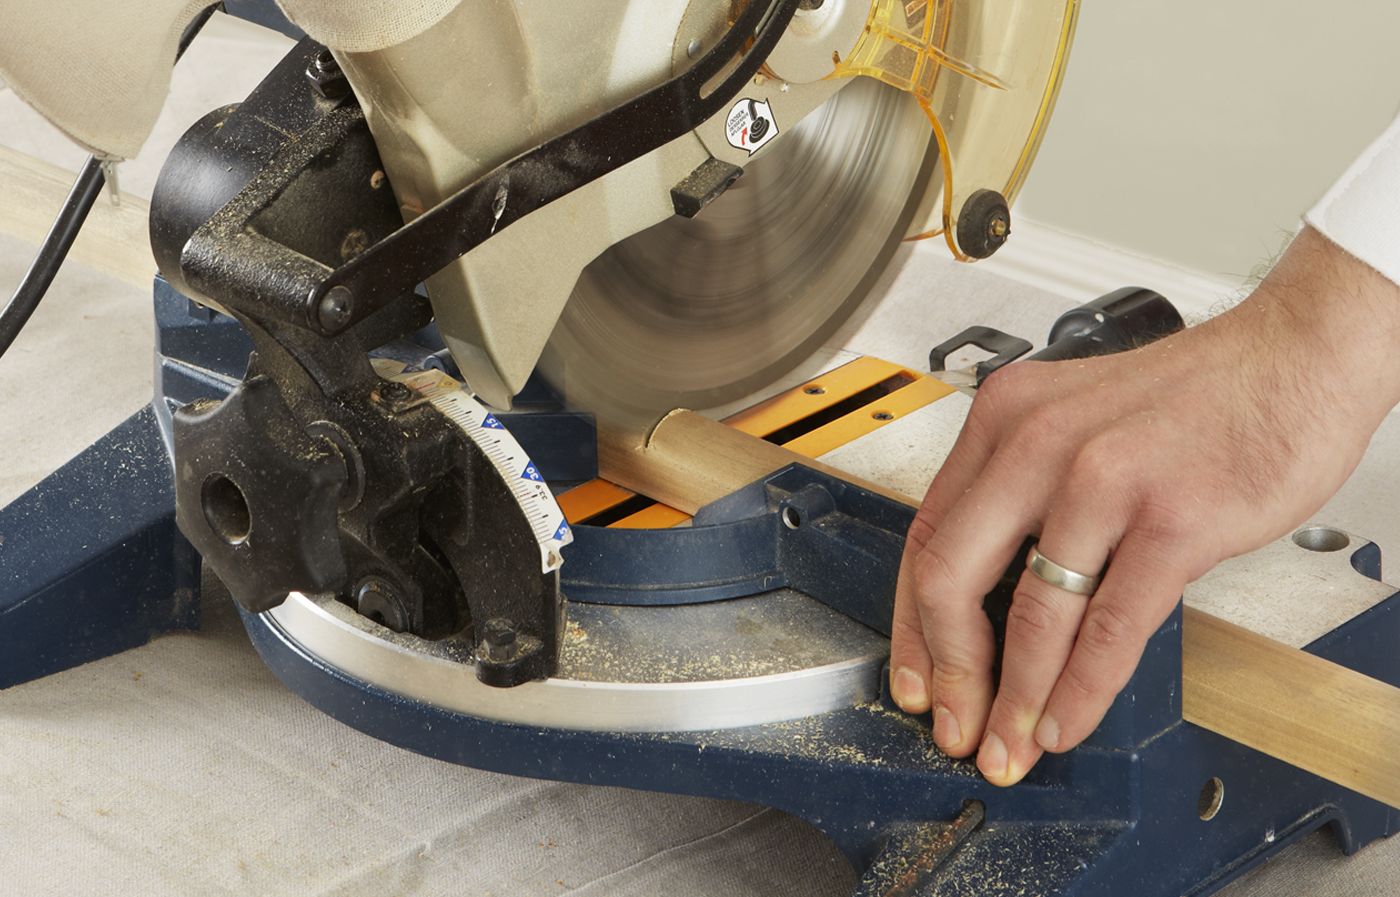
Measure the rails from your door layout and add 1 inch to account for the miter. Cut eight blanks to this length using a miter saw set at 0 degrees.
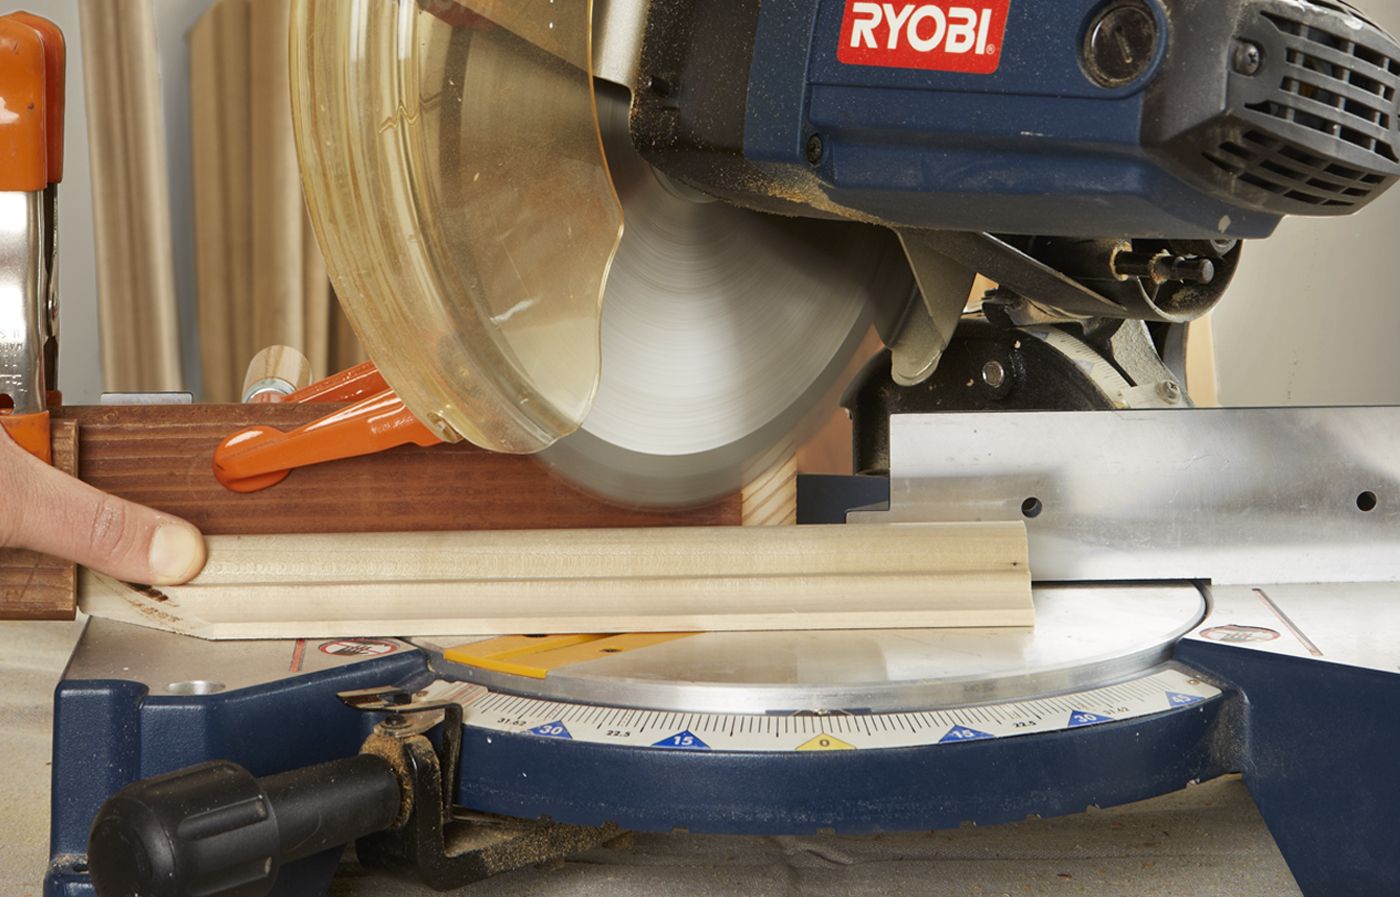
Step 4: Miter One Side
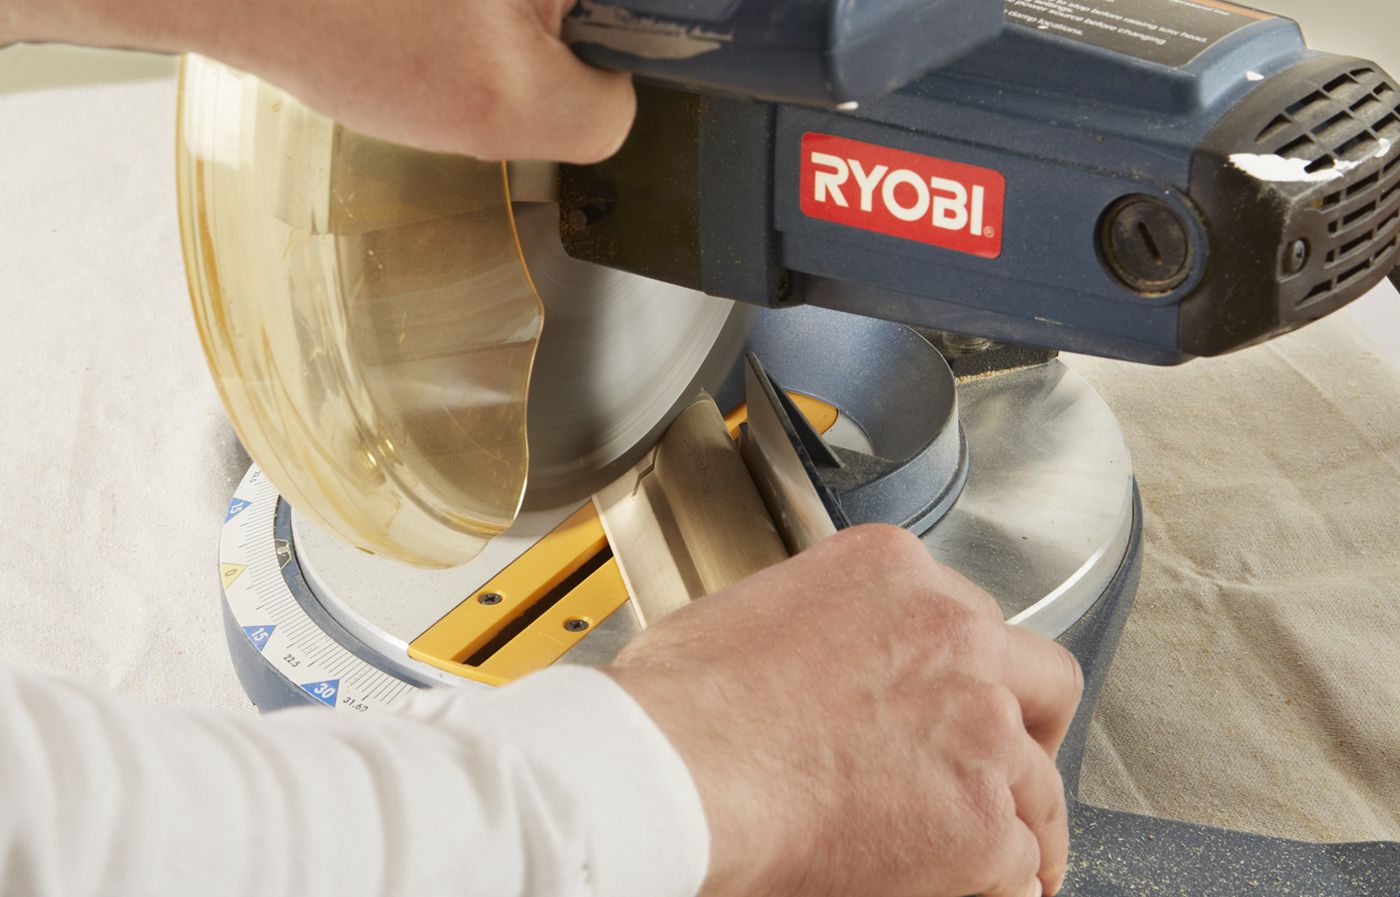
Set the miter saw’s blade to 45 degrees to cut the left inside miters. Make your cuts, as shown above.
Step 5: Make a Template
Create a template by cutting one piece to fit perfectly on your door layout. You can use this to set up a stop block on your miter saw to make identical cuts.
Place one of the blanks on your door layout, and mark where you plan to cut the right inside miter. Make that cut and double-check it against the pattern.
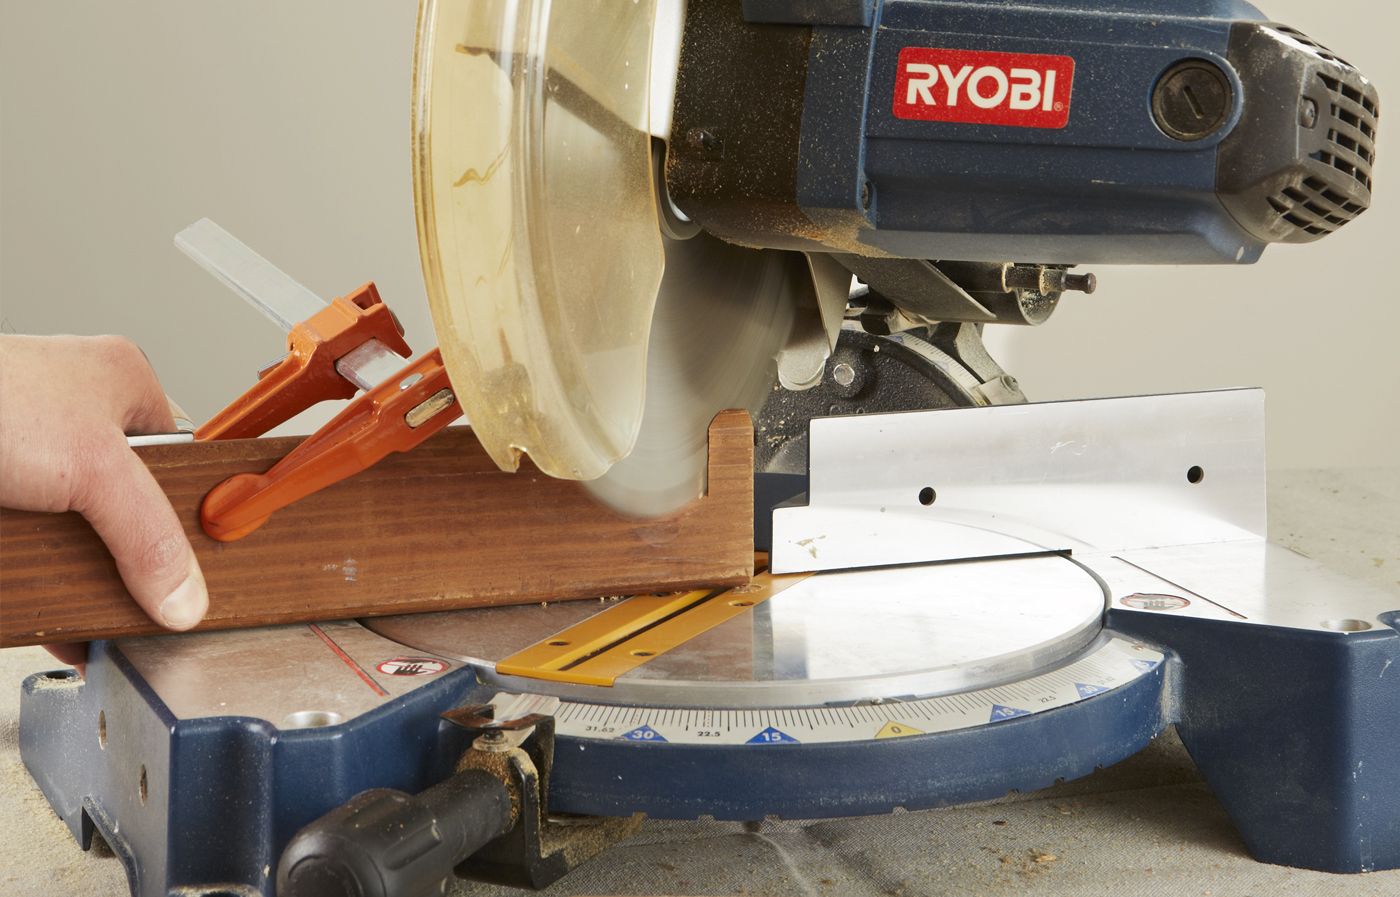
Now, you can use it to position the stop block. Clamp a piece of scrap wood to the miter saw’s fence. Set the blade to a right inside 45-degree angle, and cut one end of the scrap, as shown.
Step 6: Clamp the Stop Block

Set the template against the scrap piece and match up the right-hand miters. Then, clamp a block to the scrap at the left tip of the template, as shown.
Step 7: Make the Right Inside Miter Cut
Set a blank in your miter saw with the left miter against the stop block and cut the right inside miter. Cut the right inside miters on all rail pieces. Repeat the process for the stile pieces, adjusting measurements as needed.
Step 8: Lay Out the Pieces

Before installing your door, dry-fit all the pieces on your door layout to confirm that the fit and alignment are right. You can do this simply by placing all the pieces on your pattern and ensuring that the corners are tight and the frames are even.
After you’ve cut and dry-fitted the molding, you’re ready to install it on your door. Secure the molding by installing the two rails next, followed by the inside stile. Apply wood glue to the back of each piece and press the molding into place, starting with the outside stile of each frame.
Step 9: Nail the Molding
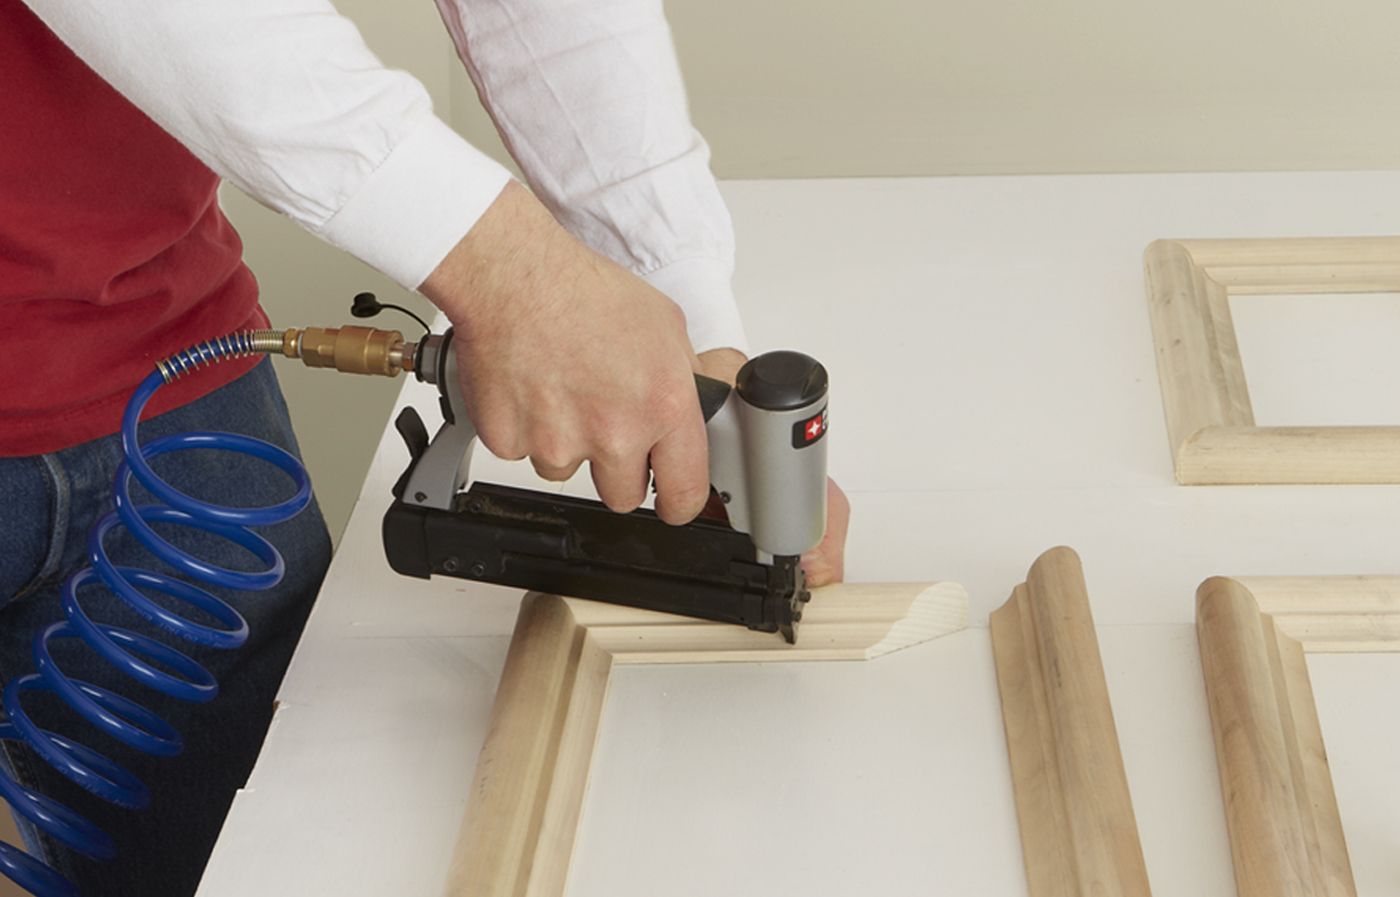
Use a pneumatic nail gun to tack each piece in place, shooting nails at opposing angles every 2–3 inches. Confirm that there is complete contact between the door and the molding.
Repeat the process on the other three frames.
Step 10: Check the Miter Joints
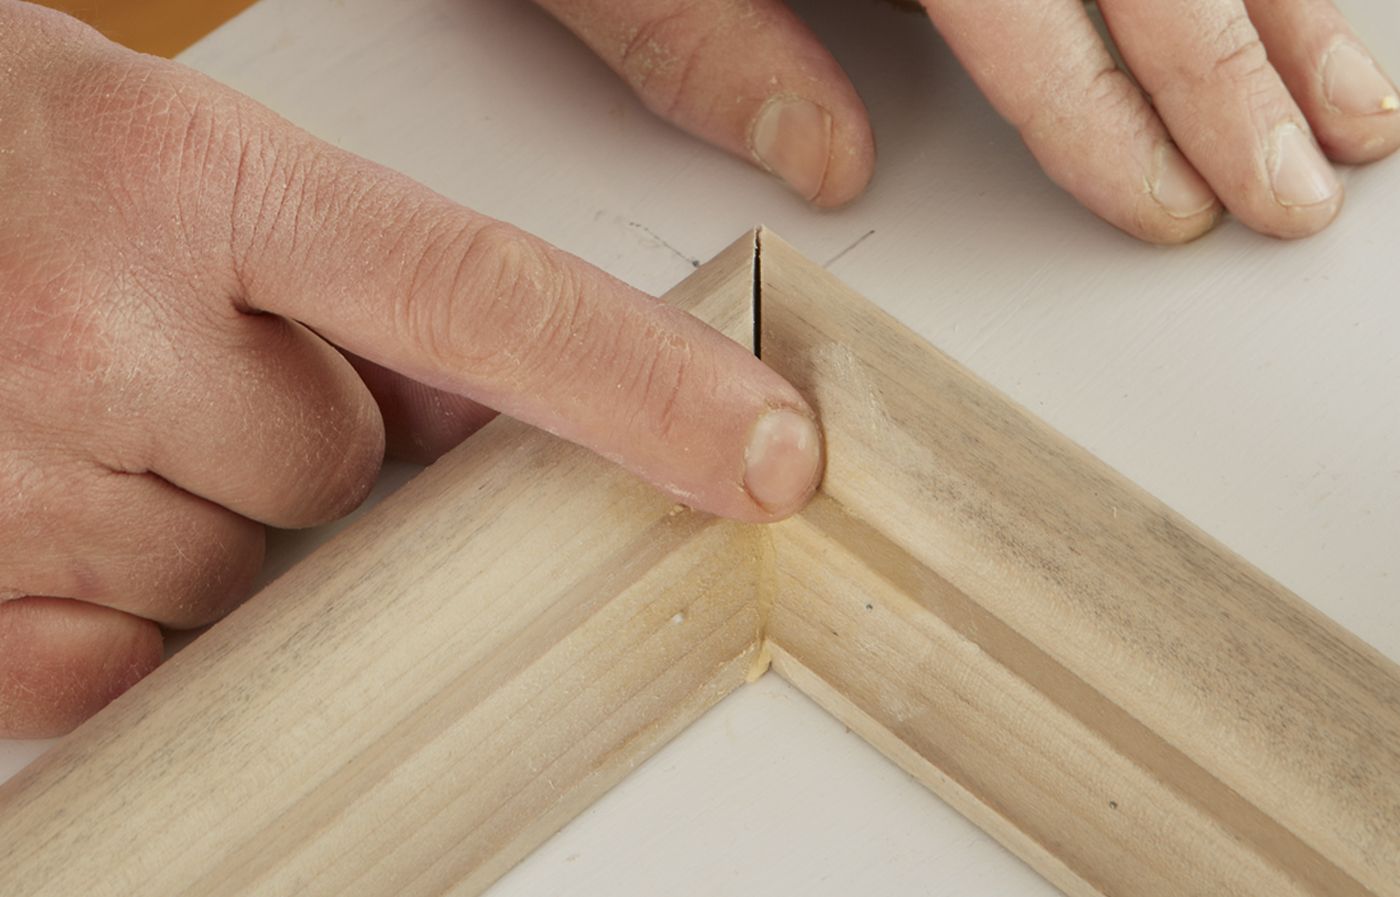
If any miter joints have gaps, use your finger to apply wood putty, as shown. Fill visible nail holes, too. Once the putty has dried, use a piece of 120-grit sandpaper to smooth any sharp edges or excess putty. Paint the molding and the door with a latex primer and a finish paint, and let dry.
Step 11: Chisel the Mortise
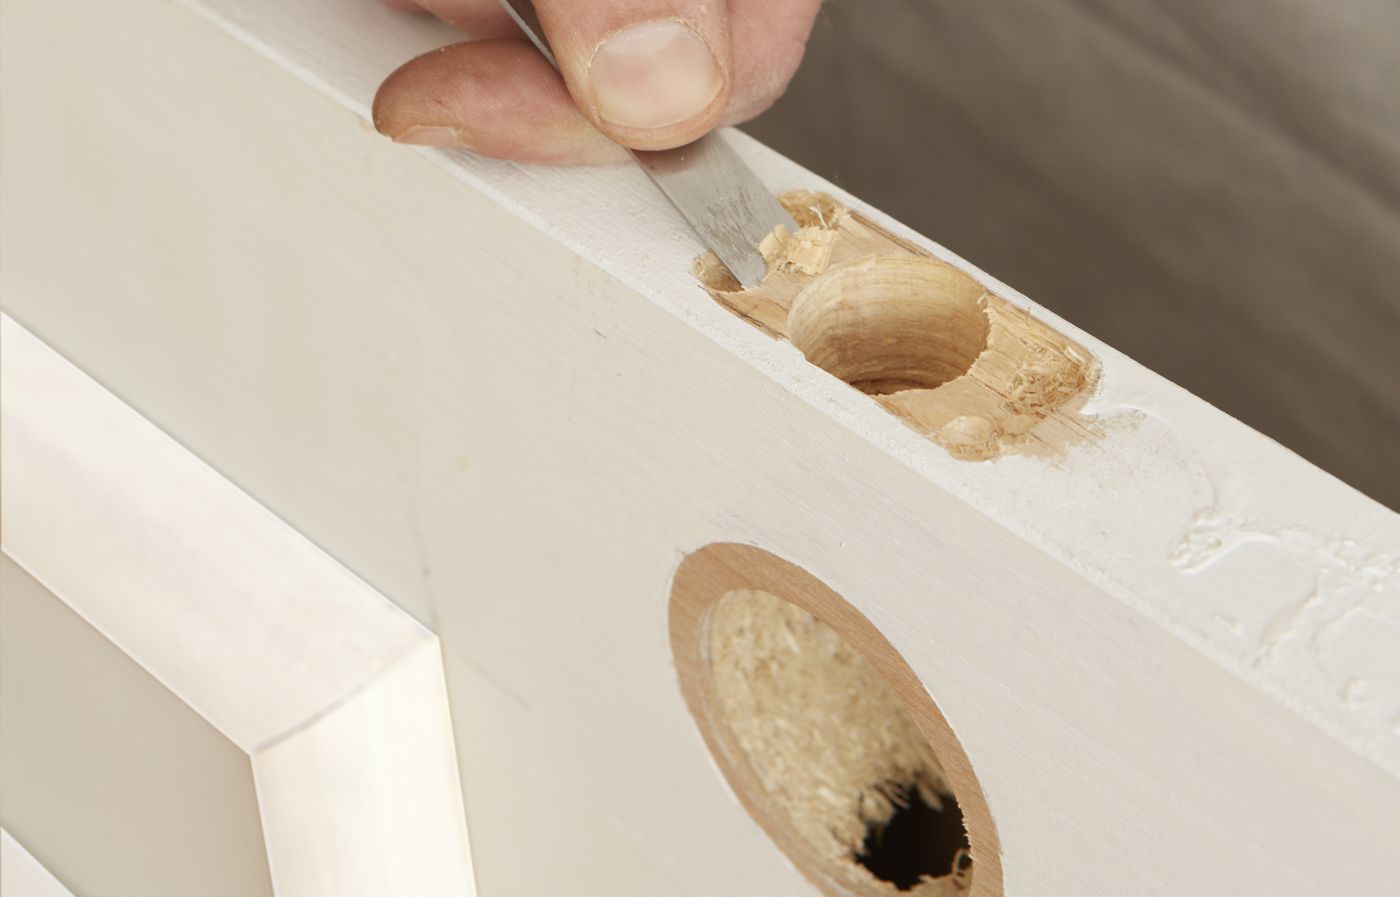
Beidel upgraded to a lever handle more in keeping with the look of a four-panel door, but its latch required a larger mortise. If you encounter a similar situation, trace the outline of the new plate on the edge of the door. Then, use a rounded chisel and a mallet to cut a mortise, as shown above.
Screw the hinges back onto the door. Stand the door in the jamb and pin the hinges to rehang it.
Step 12: Install the Lockset
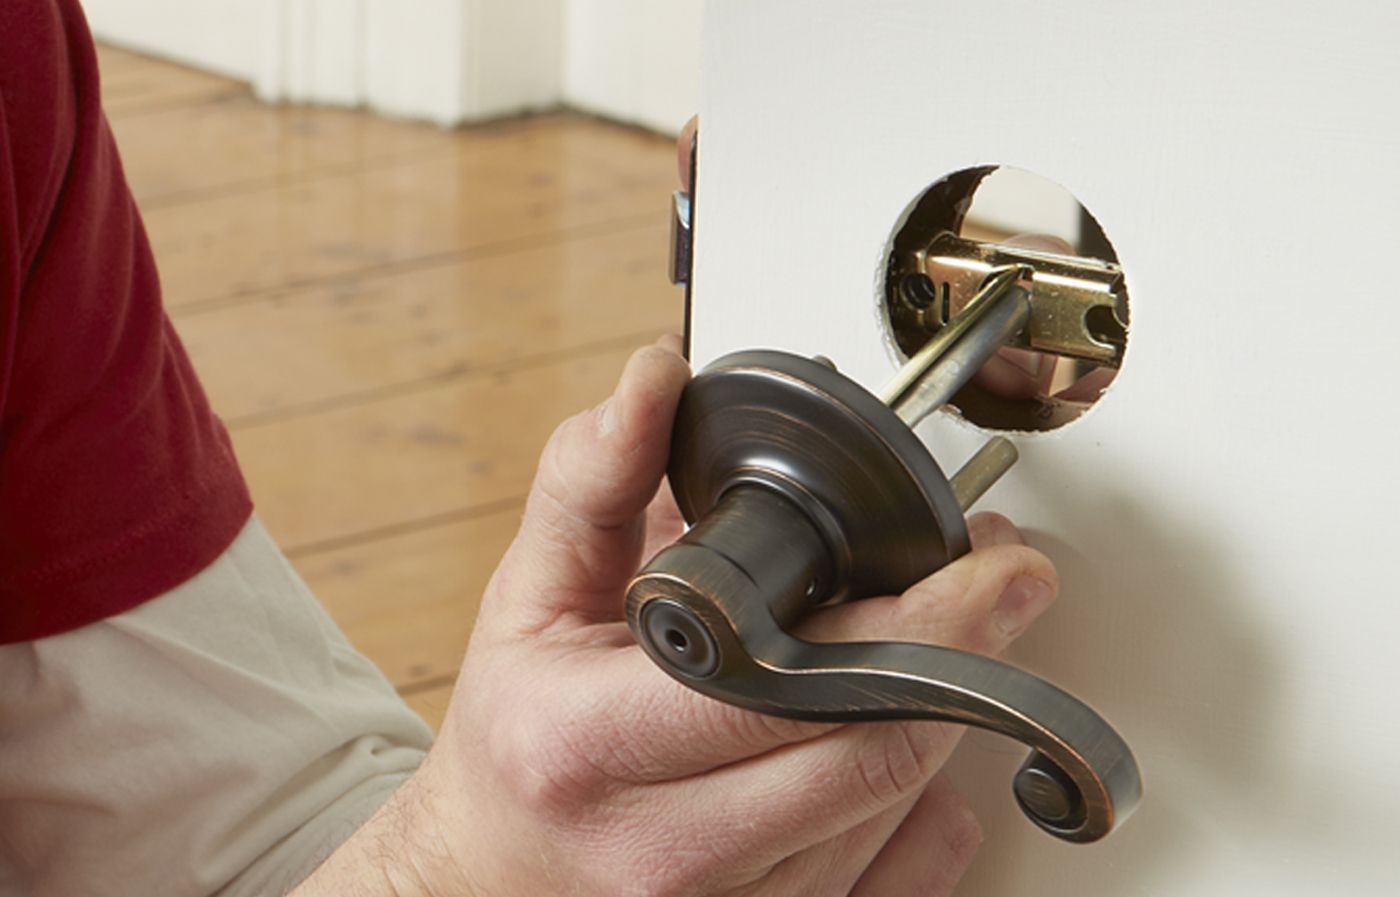
Place the handle assembly through the face bore, aligning the spindle with the opening in the latch mechanism, as shown above. Fit the handle in place on the opposite side, and use a screwdriver to tighten the screws on the escutcheon plate.
If you’ve decided to paint your door or add decorative elements, hold off on installing the hardware and read on.
Painting and Reinstalling the Door
With the molding in place, you’re almost ready to reattach the door. You just need to paint it before you hang it. Here are a few tips.
Painting the Door
Giving your door a fresh coat of paint can revive a room. Here’s how you can achieve a professional finish:
- Apply a latex primer to the entire door, including the new molding.
- Once dry, apply the finish paint you chose.
- Allow the paint to dry completely before handling the door.
Rehanging the Door
It’s finally time to hang the door. Take these steps to complete the project:
- Screw the hinges back onto the door.
- Lift the door and align it with the hinge plates on the jamb.
- Insert the hinge pins to secure the door in place.
- Test the door’s operation and make any adjustments.
How To Customize Your Door Design
You can explore other door styles if a four-panel design isn’t your style. For example, you can choose a two-panel design with horizontal rails for a more modern look or a six-panel design for an intricate facade. Just make sure the molding style complements the existing trim for a cohesive look.
Adding Decorative Elements
The basic panel design keeps things simple, but if you want a more unique look, add some ornamentation. For example, by incorporating rosettes at the corners of each panel, you’ll get an extra touch of elegance. You can use beadboard paneling within each frame for a cottage-style door.
Experimenting with Colors and Finishes
Don’t be afraid to experiment with different colors and finishes to make your door stand out. A bold, contrasting color for the panels can create a striking focal point in any room. Alternatively, a distressed or antiqued finish can add character and charm to your door, giving it a unique and personalized look.
Maintenance Tips for Your Upgraded Door
Once you’ve dressed up your hollow-core door, keep it looking its best with regular maintenance. Here are some tips to help you preserve the work you put into upgrading your door:
Cleaning and Dusting
Prevent dirt and grime from accumulating on the molding and panels. Use a soft, dry cloth or a microfiber duster to wipe down your door. If a dry cloth doesn’t cut it, try dampening it with mild, soapy water before you wipe the surface. Avoid using harsh chemicals or abrasive cleaners because they can damage the finish.
Touching Up the Paint
The paint on your door may chip or fade over time. We recommend keeping a small amount of matching paint on hand for touch-ups. When fixing chipped paint, lightly sand the area to smooth it before applying a fresh coat of paint with a small brush.
Checking the Hardware
Check the hardware on your door every so often. Tighten any loose screws and lubricate moving parts with a lubricant. You can also replace the hardware if it’s damaged or worn so that you maintain the security and functionality of your door.
Our Conclusion
Dressing up a hollow-core door is a simple yet effective way to upgrade your home’s interior. With basic tools, some molding, and a bit of patience, you can transform plain doors into elegant focal points. This project not only improves the appearance of your doors but also adds value to your home, which makes it a worthwhile investment for any homeowner.
Tools
 Flathead screwdriver
- Phillips screwdriver
- Combination square
- Miter saw
- Clamps
- Pneumatic nailer
- Rounded chisel
- Mallet