Project details
Skill
Cost
Estimated Time
We may be compensated if you purchase through links on our website. Our team is committed to delivering honest, objective, and independent reviews on home products and services.
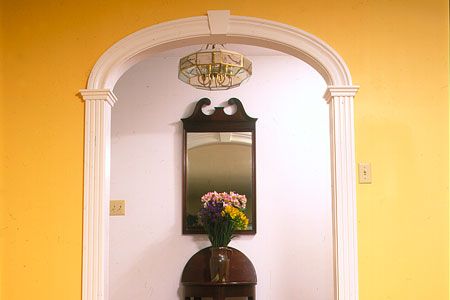
If a full-on renovation is out of your budget, you can make a dramatic impact by adding some architectural interest to the rooms in your home. One great example is adding an archway.
You can transform an ordinary rectangular cased opening into a beautiful elliptical archway featuring fluted columns and an arched header with keystone accents. In this guide, we used a prefabricated 4-foot elliptical-archway kit from CurveMakers, but you could use a similar kit you find at a big-box hardware store.
Tools and Materials for Archway Creation
You’ll need the following tools and materials for your archway installation project.
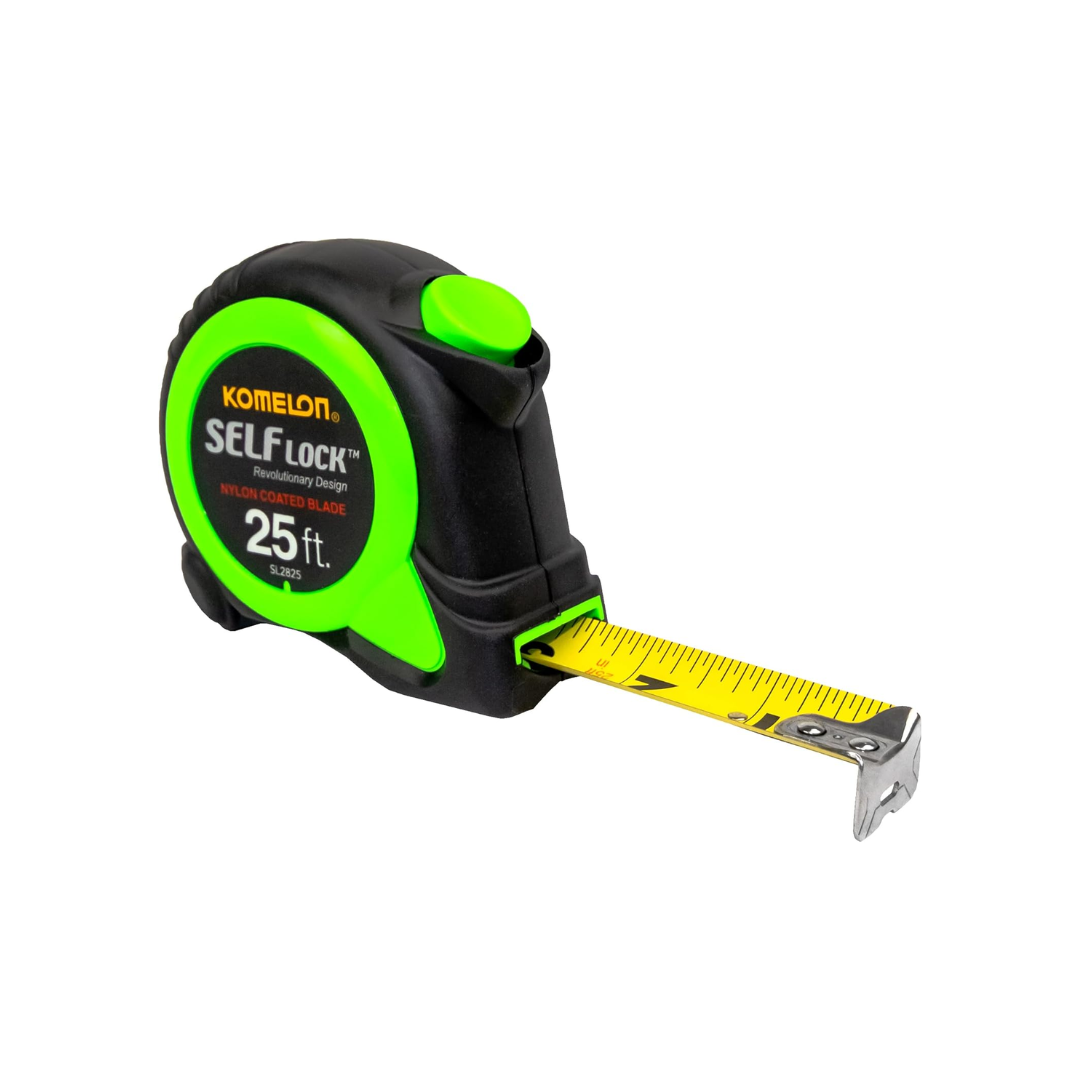
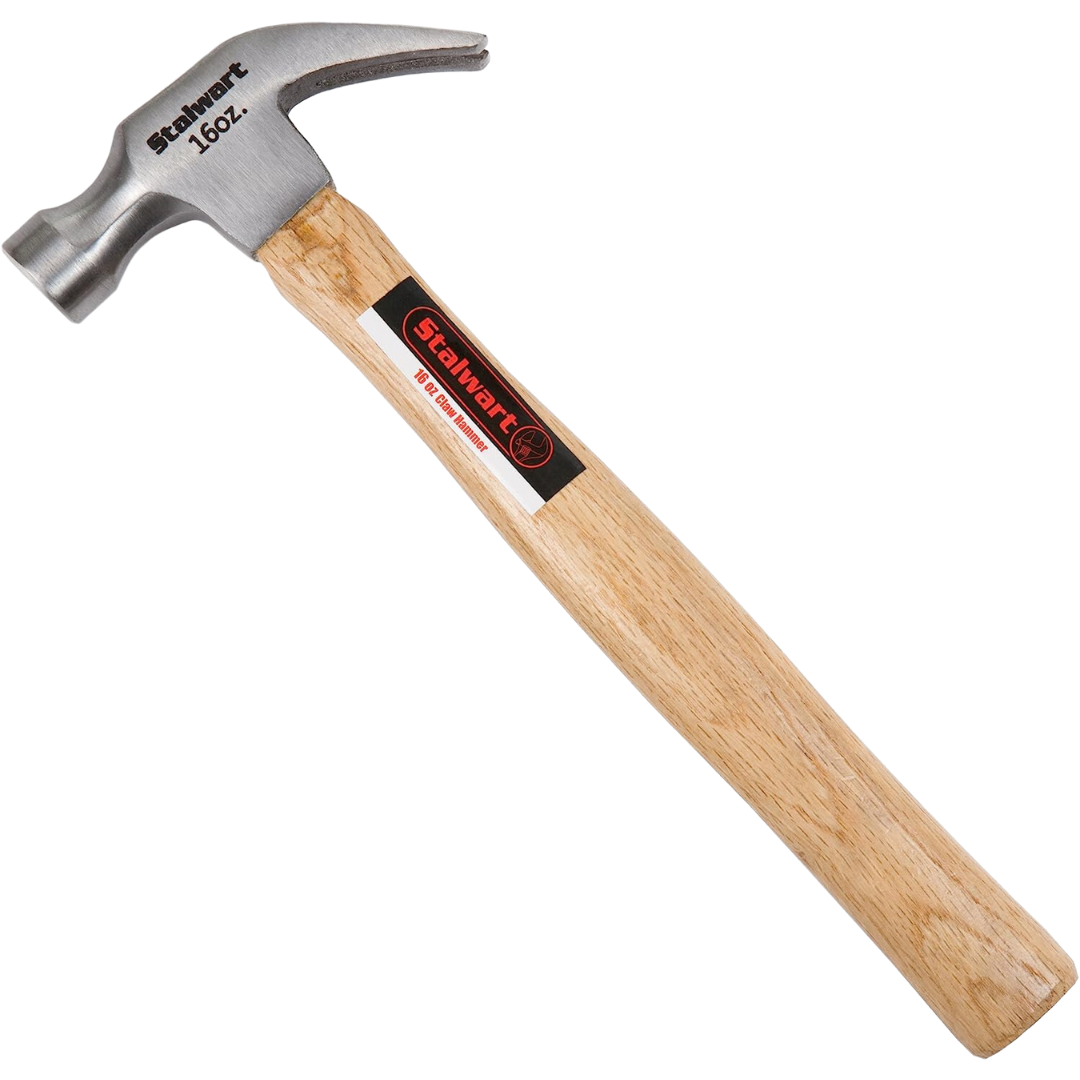
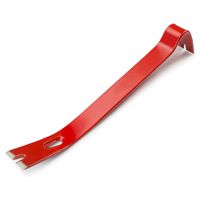
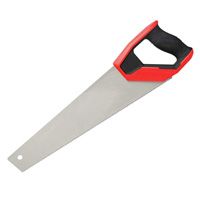
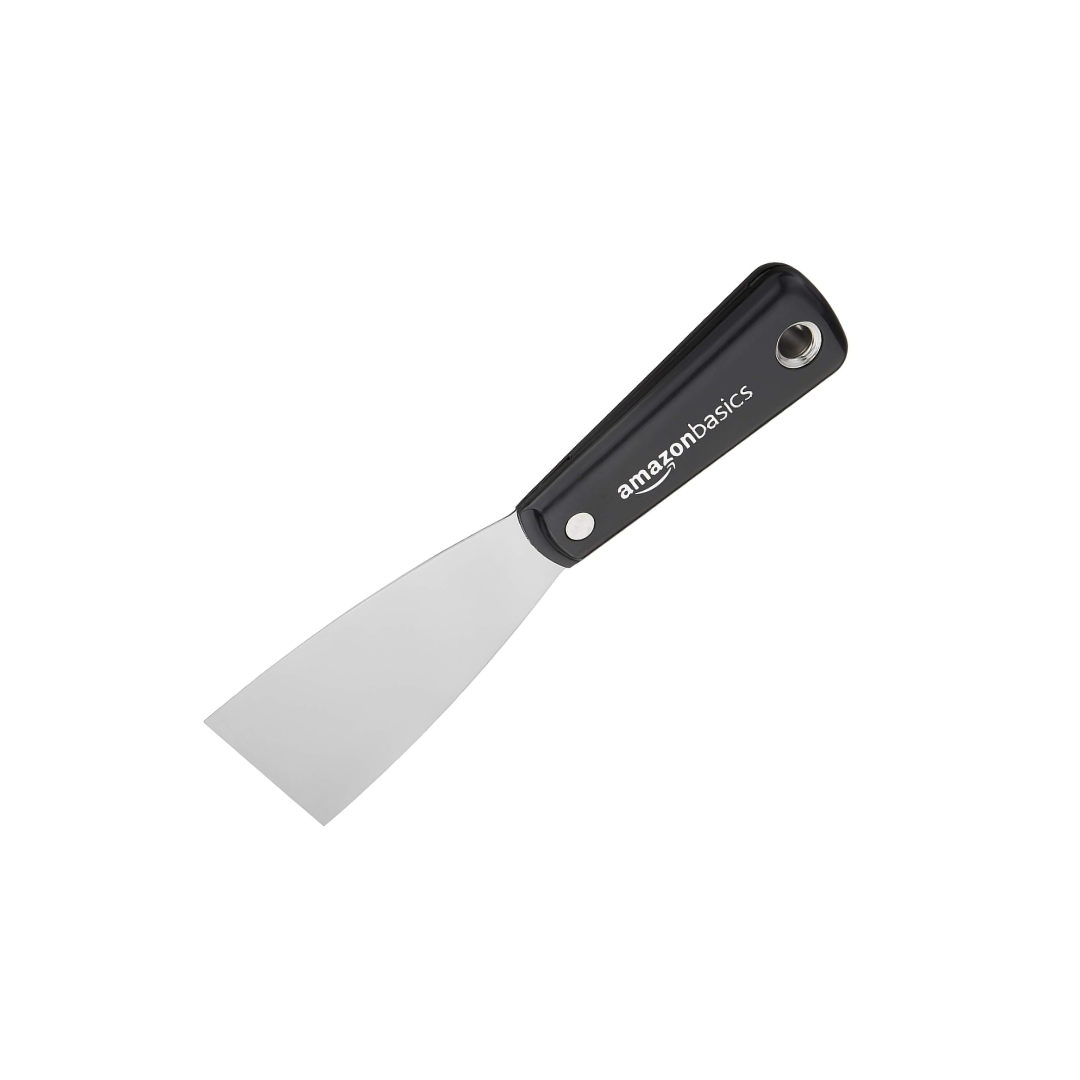
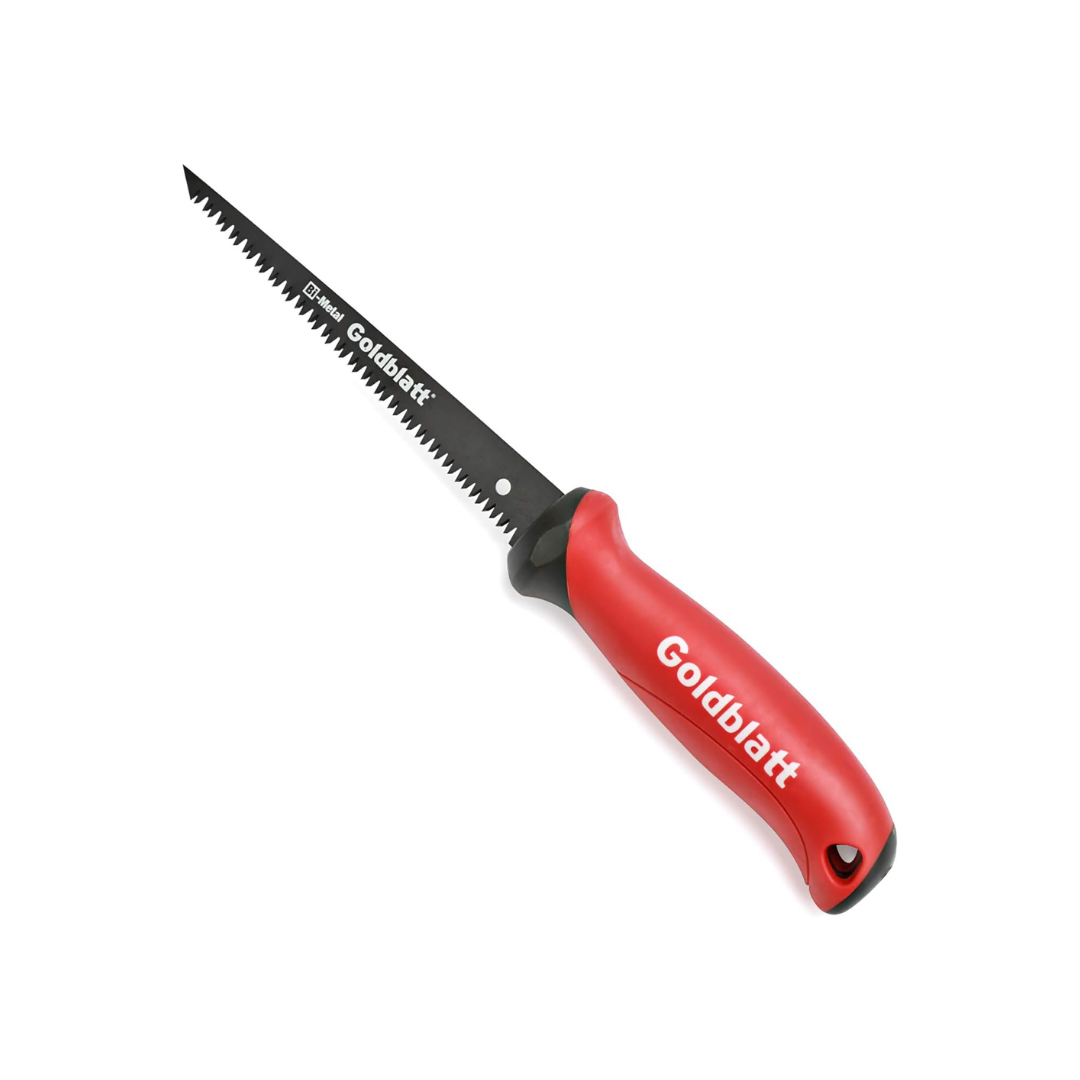
Tools


Materials
- 1×4 lumber for nailing blocks
- Drop cloths
- Drywall sheets
- Drywall screws
- Drywall tape
- Finishing nails
- Joint compound
- Primer and paint
- Prefabricated archway kit
Step-by-Step Guide to Creating an Archway
Follow the below steps to complete your archway installation.
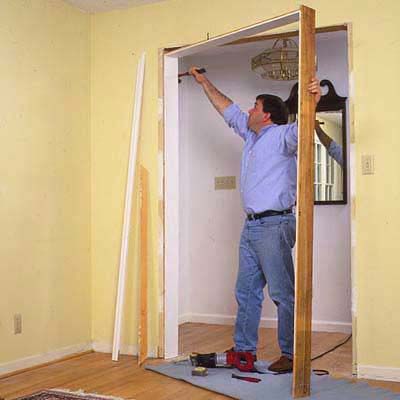
Step 1: Remove Door Casing
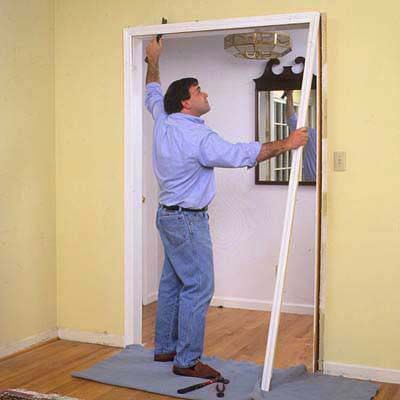
Cover the floor with a drop cloth. Run a utility knife along the joints between the casing and the drywall on both sides of the opening. Use just enough pressure to slice through any paint or caulking. Don’t cut too deeply into the drywall. Loosen the casing with a flat pry bar, then pull the pieces off the wall.
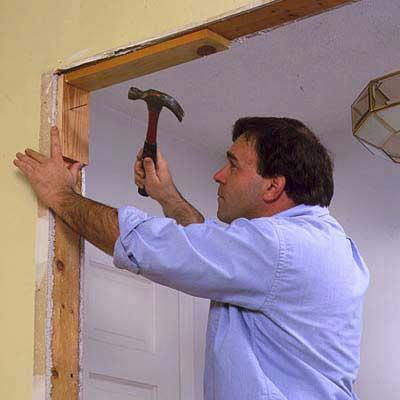
Step 2: Remove Jambs and Molding
Use a claw hammer to pry the existing doorjambs from the opening. Also, remove the baseboard molding from both sides of the opening. Be careful not to damage the walls.
Step 3: Install Nailing Blocks
Cut four short 1x4s to serve as nailing blocks for the new drywall patch. Cut two pieces 8 inches long and two others equal to one-third the width of the opening. (For a 4-foot-wide opening, cut the 1x4s 16 inches long.) Nail the shorter 1x4s to the trimmer studs on each side of the opening and fasten the longer ones to the header above.
Step 4: Install Drywall Extender for Arch
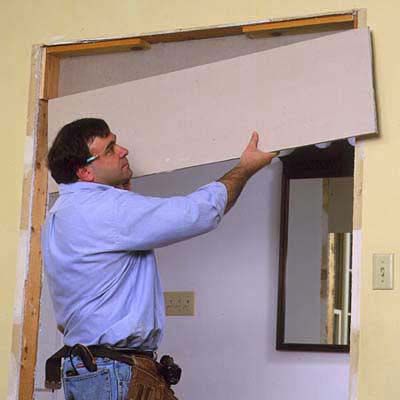
Cut two pieces of drywall 15 inches high and as wide as the opening. Be sure to use drywall that’s the same thickness as the existing drywall (typically 1/2-inch). Raise the drywall piece into place and secure it to the 1×4 blocking with 1 1/2-inch drywall screws. Hang the second drywall piece on the opposite side of the opening.
Step 5: Stencil in the Arch Shape
The archway kit includes an elliptical template that’s part of the cardboard shipping carton. Carefully cut out the cardboard from your kit with a utility knife. Then, slip the vertical columns into the opening and set the template on top. Use a pencil to scribe the elliptical shape onto the new drywall. Repeat this procedure to mark the drywall on the opposite side.
Step 6: Cut Out the Arch

Remove the columns and cut the elliptical shapes from the drywall pieces using a drywall saw. Follow the pencil lines as closely as possible. Don’t worry if your cuts are a little crooked since the arch will hide them.
Step 7: Tape and Compound the Seams
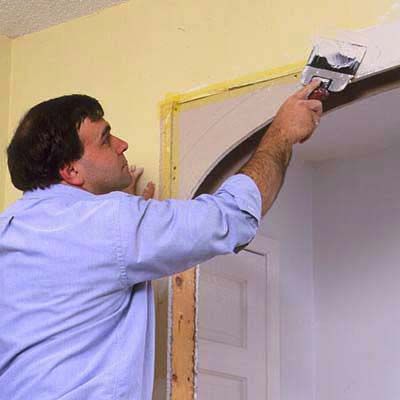
Conceal the new drywall patches with drywall tape and joint compound. Cover all the seams between the new and old drywall surfaces with either paper tape or adhesive-backed fiberglass mesh tape. Then, finish the joints with two or three coats of joint compound. Allow each coat to dry before applying the next. Lightly sand the patch smooth, then roll on a coat of primer.
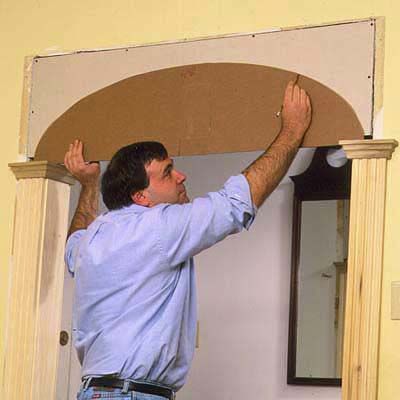
Step 8: Secure the Prefab Arch
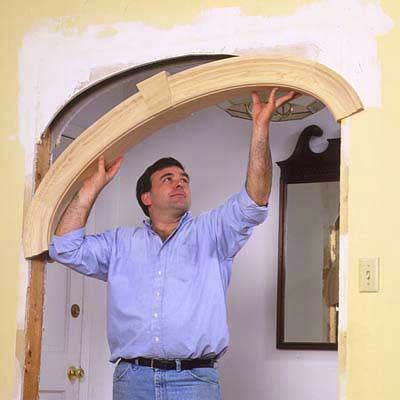
Start the final installation by lifting the elliptical archway into place, making sure it’s pushed up as far as possible.
Step 9: Secure Prefab Columns and Complete Installation
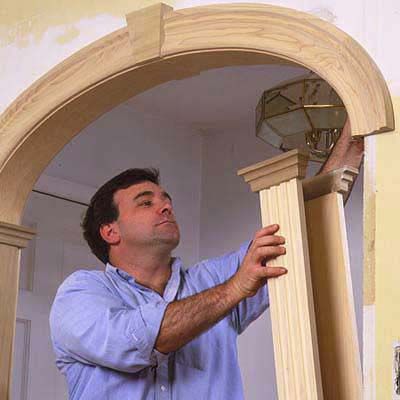
Stand the columns under the arch and slip them over the walls. Pull down on the arch so that it sits tight against the top of the columns. Before nailing the parts in place, be certain that the columns are perfectly plumb and parallel. Also, check to make sure that the ends of the archway are centered on top of the columns. Secure all parts with two half-inch finishing nails. Bore pilot holes first to prevent splitting.
Troubleshoot Common Archway Issues
Even with careful planning, you may encounter some challenges during your archway project.
If your existing walls are not perfectly straight, use shims to level the archway components.
Then, fill in any gaps with the joint compound before painting. You may also encounter gaps between the new archway and the wall. For small gaps or imperfections, use caulk to fill narrow gaps. For larger gaps, use expandable foam, then trim and cover with joint compound.
Enhance Your New Archway
After your archway is installed, consider these enhancements to help it stand out.
Decorative Molding Options
Add extra flair with the following decorative elements:
- Baseboards that complement the archway style
- Crown molding at the top of the arch
- Decorative keystones at the arch’s peak
Lighting Considerations
The right lighting can dramatically enhance the impact of your new archway. Consider these options to highlight your new architectural feature:
- Add wall sconces on either side
- Consider a hanging pendant light for taller arches
- Install recessed lighting above the archway
Maintain Your Archway
Use the tips below to help maintain the look and structural integrity of your archway.
Cleaning Tips
Regular cleaning helps preserve your archway’s appearance:
- Dust regularly with a soft cloth or duster
- Wipe down with a damp cloth for deeper cleaning
- Avoid harsh chemicals that could damage the paint or finish
Repairing Minor Damages
For small dings or scratches:
- Clean the area thoroughly
- Apply spackling compound to fill the damage
- Sand smooth when dry
- Touch up with matching paint