Project details
Skill
Cost
Estimated Time
Installing a storm door with a built-in dog door can be an excellent solution for homeowners looking to improve energy efficiency while providing easy access for their furry friends. This project not only helps reduce drafts and maintain a comfortable indoor temperature but also offers convenience for pet owners.
In the video above, This Old House expert Tom Silva demonstrates the installation process, showcasing the benefits of this practical home improvement project. In this guide, we’ll walk you through the process of installing a storm door with a dog door, covering everything from measuring and preparation to the final installation steps.
*Unless otherwise noted, costs in this article reflect an average of prices that our team found from hardware stores like Lowes and Home Depot, and on Amazon.com.
Choosing the Right Storm Door With Dog Door
Before diving into the installation process, select the appropriate storm door for your home. Consider the following factors when making your choice:
Size and Measurements
Accurate measurements are essential for a proper fit. Measure the height and width of your existing door frame to determine the correct size for your new storm door. Standard sizes typically range from 30 to 36 inches in width and 80 to 81 inches in height.
Measure your dog’s height and width to determine the appropriate size for the pet door. Choose a door that allows your pet to pass through comfortably without squeezing or having to crouch excessively.
Door Material
Storm doors are available in various materials, and each material has its own advantages in terms of durability, maintenance, and aesthetics.
- Aluminum: Lightweight and rust-resistant but less insulation
- Fiberglass: Durable and energy-efficient but higher cost
- Vinyl: Inexpensive and low-maintenance
- Wood: Classic look but requires maintenance
Dog Door Features
Choose a dog door that accommodates your pet’s size and provides adequate insulation to maintain energy efficiency. When selecting a storm door with a dog door, consider the following:
- Energy efficiency: Weatherstripping and insulation
- Flap material: Vinyl, plastic, or magnetic
- Security features: Locks or sliding panels
- Size of the pet opening
Evaluating Installation Costs
You’ll need to pay for the storm door and the hardware, of course, and it’s worth looking at labor costs if you’re still deciding whether to do the installation yourself.
Material Costs
The cost of materials varies based on the quality and type of door you choose. Expect to spend around $200 for a basic storm door kit, while more premium options may cost up to $2,000. A storm door with a dog door insert typically ranges from $300 to $650, depending on the size and features. Make sure to factor in $25 to $30 for additional costs like caulk, weatherstripping, and flashing.
Labor Costs
If you hire a professional for installation, you’ll typically pay between $85 and $130 per hour. Installing a storm door usually takes about two and a half hours, so labor usually runs between $212 and $325. DIY installation saves labor costs, but be prepared to invest time and effort.
Preparing for Installation
Before beginning the installation process, gather all necessary tools and materials.
Tools and Materials Needed
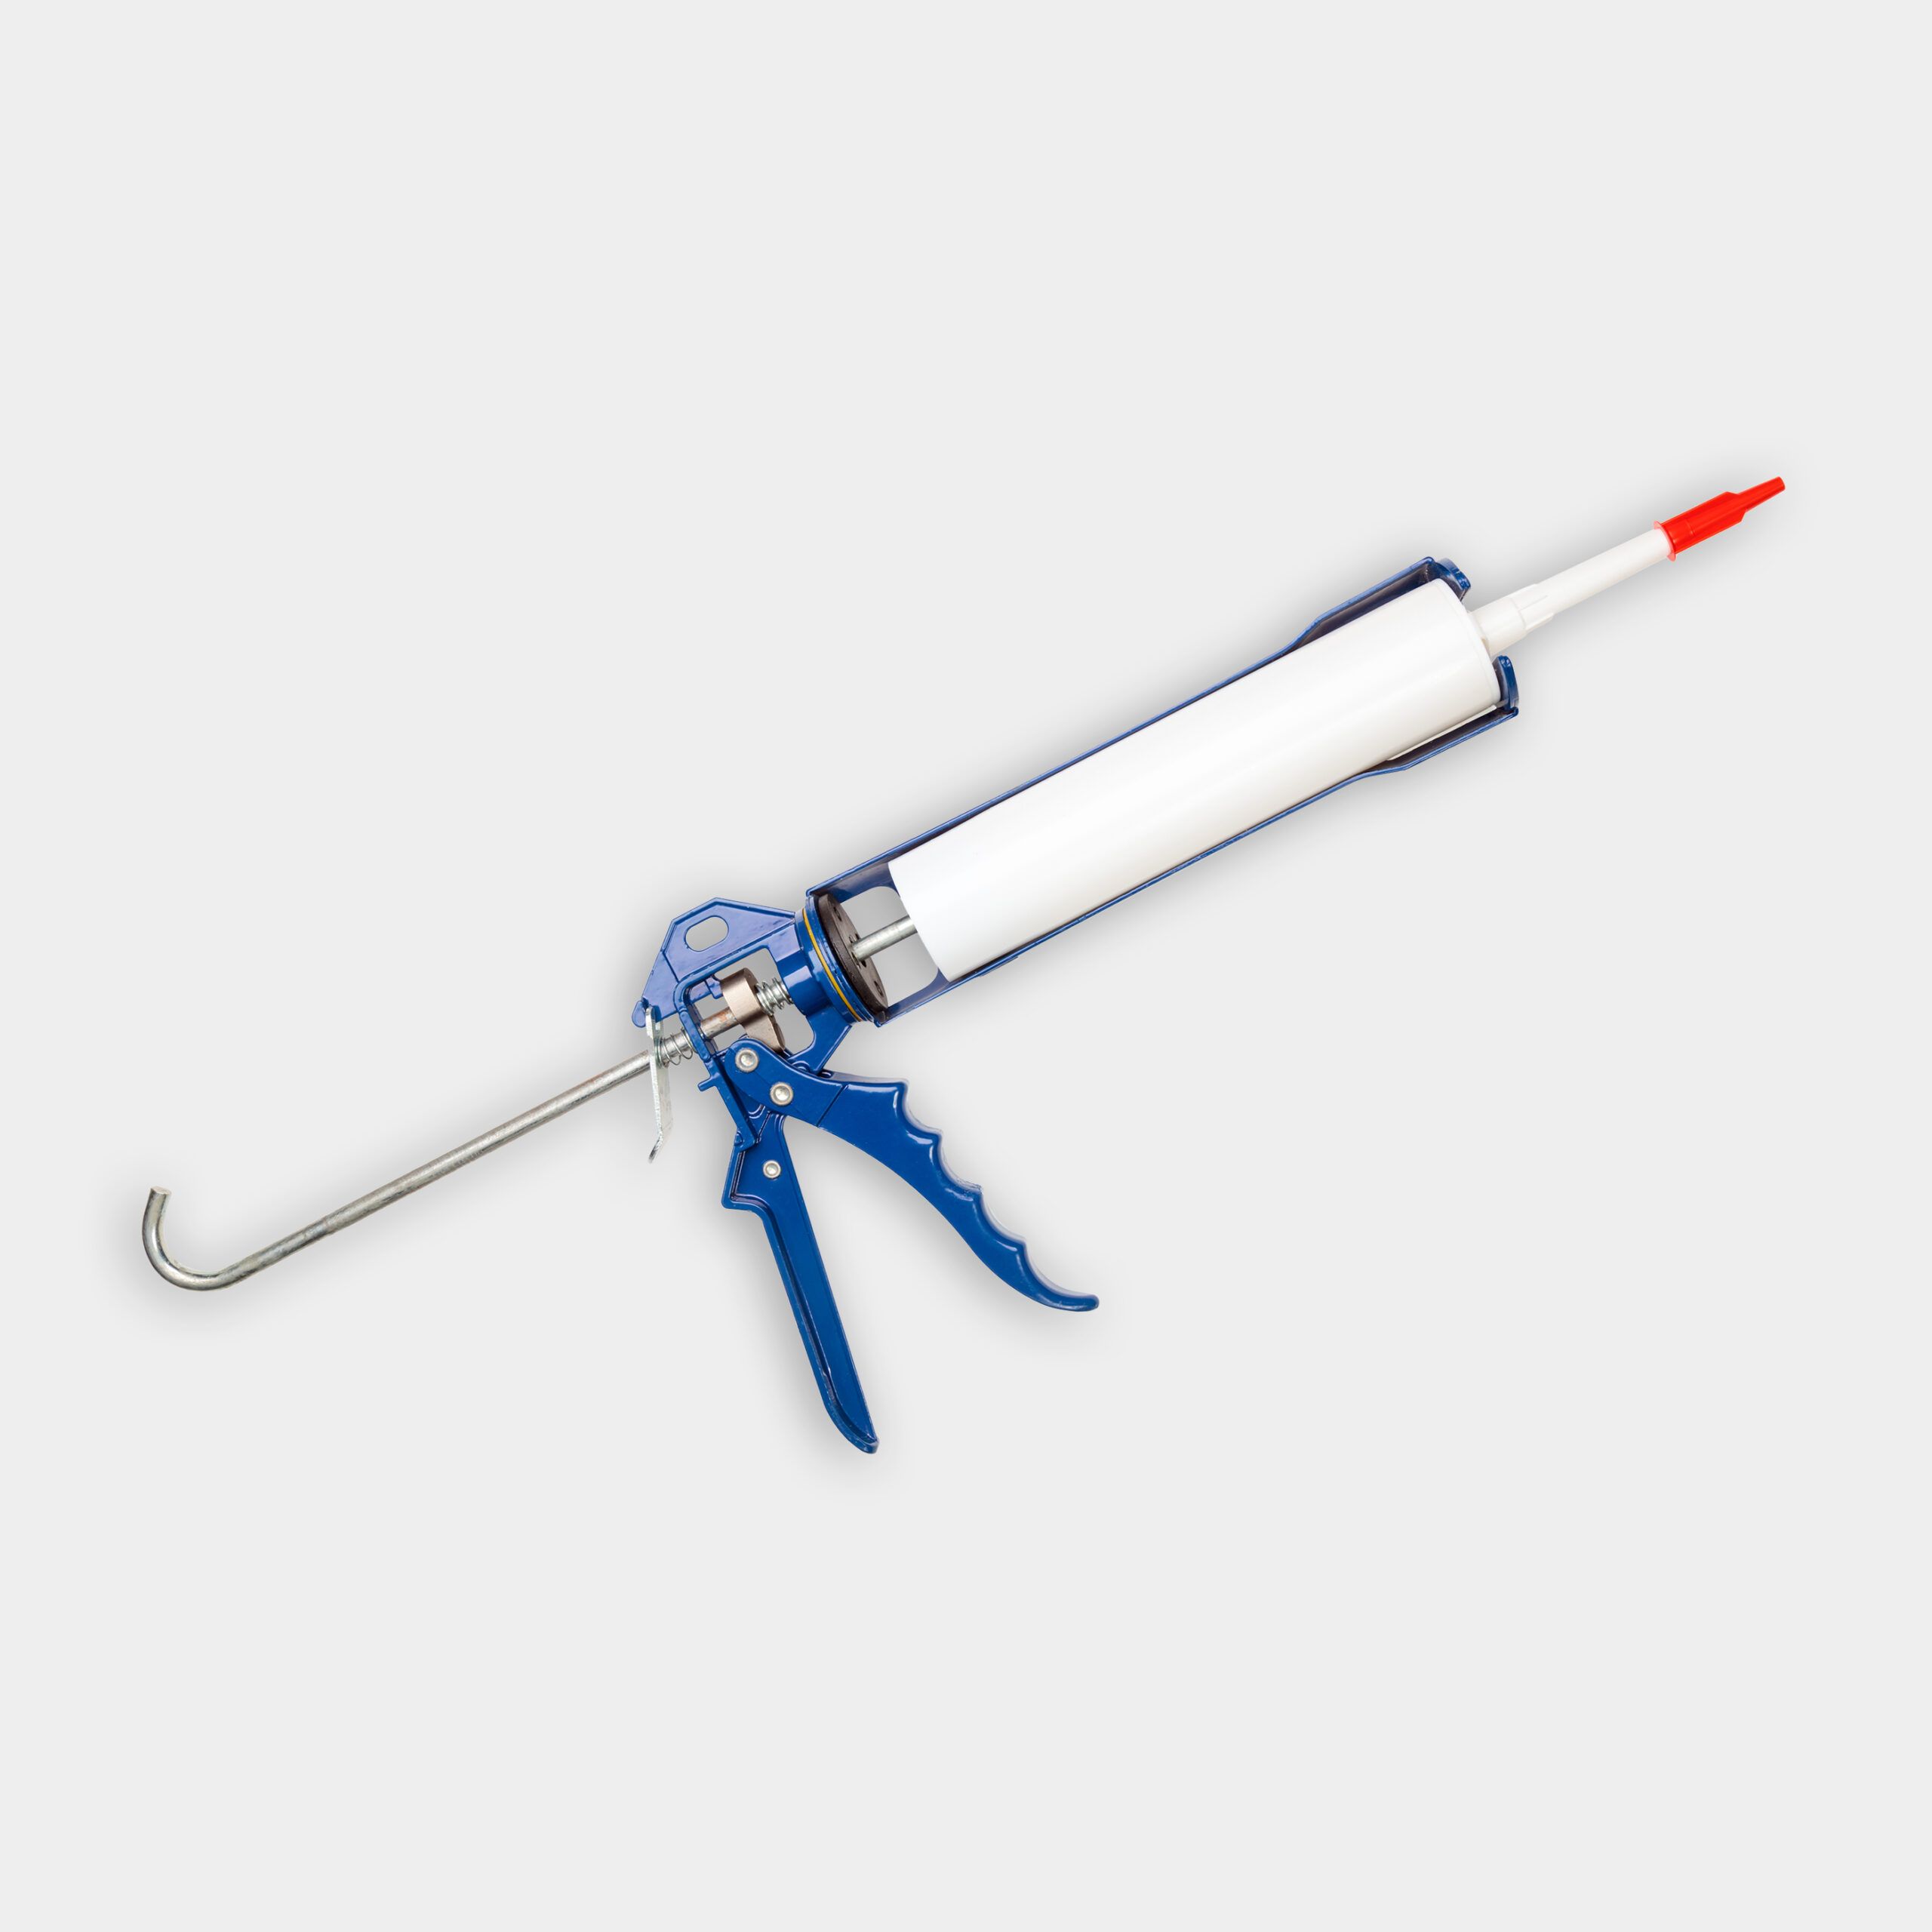
- Caulk
- Caulk gun
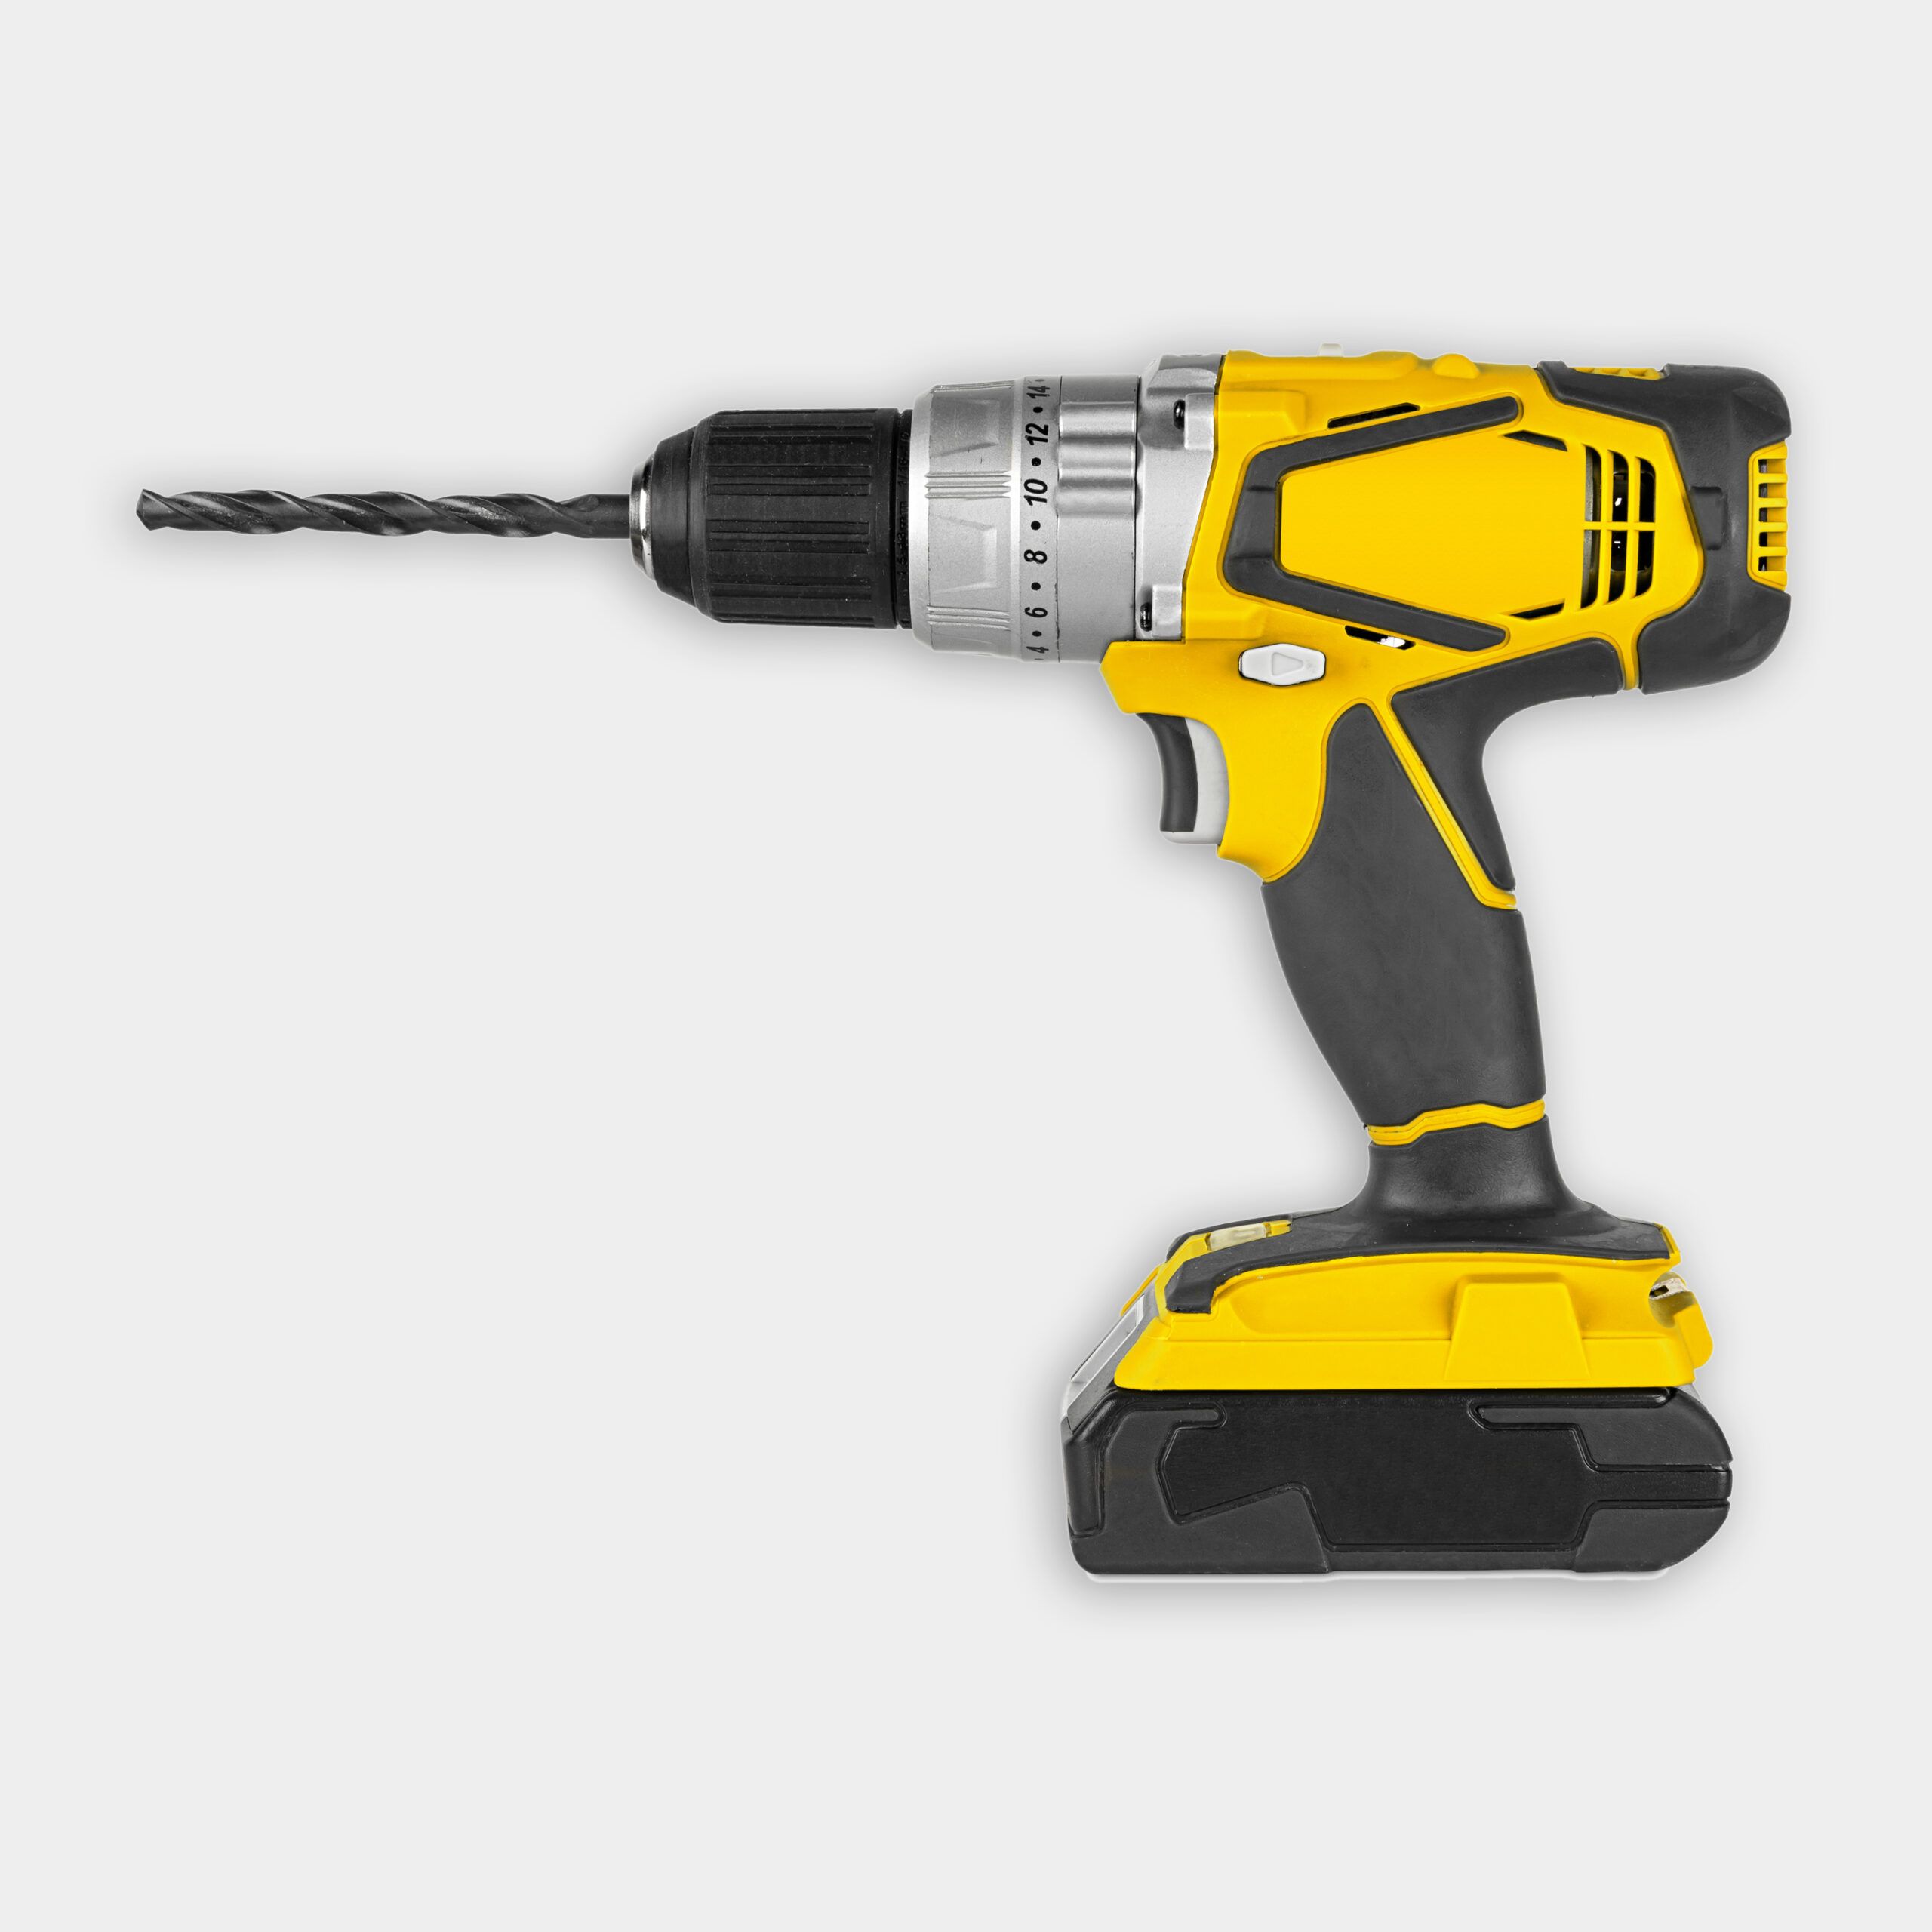
- Drill bits (1/8-inch, 3/8-inch, and 3/32-inch)
- Drill/driver
- Drip cap
- Level
- Safety glasses
- Screwdriver
- Screws
- Storm door kit including door, hinges, and hardware
- Tape measure
- Weatherstripping
Checking the Door Frame
Ensure your existing door frame is in good condition and square. Silva demonstrates the 3-4-5 method in the video to check if the door is square. This involves measuring 3 feet across the top of the frame and 4 feet down one side, and then confirming that the diagonal measurement between those two marks is 5 feet.
If the measurements are accurate, your door frame is square and ready for installation. If not, you may need to call a professional contractor to help you adjust the frame. Additionally, inspect the frame for any damage, rot, or irregularities. Repair any issues before moving forward with the installation to avoid problems later on.
Installing the Storm Door
Follow these steps to install your new storm door with a dog door.
- Match up the primer hole in the hinge to the hole in the storm door. Use a drill/driver to fasten the first screw in along the hinge.
- Use a 1/8-inch drill bit on a drill/driver to drill the remaining holes. Then fasten the remainder of the screws along the hinge.
- To attach the hinge to the door jamb, push the storm door up flush with the frame and drop it just a touch. Then drill one screw in the middle to fasten the hinge on the outside of the frame and a second on the inside of the jamb.
- Close the storm door and check to see if it fits.
- Finish off the screws on the interior of the hinge jamb using a drill/driver.
- Extend the extension piece at the base of the storm door to ensure it is flush with the threshold.
- Drill in the remainder of the screws on the exterior of the hinge jamb into the casing.
- Run a thin bead of caulk along the drip cap for the storm door.
- Place the drip cap along the top of the storm door and push it flush to the casing.
- Move the drip cap up just slightly to create an even gap along the top of the storm door.
- Use a drill/driver to fasten screws along the drip cap.
- Run a bead of caulking across the top of the drip cap following installation as an added weather barrier.
- Line up the striker side of the storm door jamb to the casing and use a drill/driver to fasten in the screws.
- Line up the hardware so it will not butt up against current hardware on the current door.
- Attach the template to the placement you just determined. Use a 3/8-inch drill bit to bore out the center hole for the hardware and a 1/8-inch drill bit for the two remaining holes.
- Attach the hardware using screws and drill/driver.
- Line up the latch on the jamb to the hardware and fasten the screws.
- Attach the compressor to either the top or the bottom of the door. Use a drill/driver to fasten the hook to the jamb.
- Use a 3/32-inch drill bit to bore out holes in the base or top of the door. Use these holes to attach the compressor to the storm door with a drill/driver and screws.
- Install the adjustable sweep at the bottom to keep drafts out.
Tips for a Smooth Installation
- Check your work: Rushing through the installation can lead to mistakes. Throughout the installation process, periodically check that the door is level and operates smoothly.
- Follow manufacturer instructions: Each storm door kit may have unique components and instructions not covered here. Adhere to these directions for the best results.
- Work with a partner: Installations are easier and safer with an extra pair of hands to help align and secure components.
Installing the Dog Door
The dog door component is typically pre-installed in the storm door. However, if you need to install it separately, follow these general steps:
- Measure and mark the location for the dog door on the storm door panel.
- Cut the opening according to the manufacturer’s instructions, using appropriate tools.
- Install the dog door frame and flap, ensuring a secure and weathertight fit.
- Test the dog door to ensure it opens and closes properly.
Remember to follow the specific instructions provided with your dog door kit, as installation methods may vary between manufacturers.
Adjustments and Finishing Touches
After installation, make any necessary adjustments to ensure proper functionality:
- Check the alignment of the door and adjust the hinges if needed.
- Test the latch and handle to ensure smooth operation.
- Adjust the door closer tension for proper automatic closing.
- Fine-tune the bottom sweep to create a tight seal against the threshold.
- Apply caulk around the exterior edges of the Z-bars and drip cap for added weatherproofing.
- Ensure your pet can comfortably and easily use the dog door.
DIY vs. Professional Installation
Installing a storm door with a dog door can be a DIY project for those with moderate handyman skills. However, if you’re unsure or uncomfortable with the installation process, consider hiring a professional to ensure a proper fit and function.
Training Your Dog
Installing a storm door with a dog door is only half the battle. You’ll also need to train your pet to use it:
- Start by propping the flap open and encouraging your dog to pass through.
- Use treats, toys, and positive reinforcement to make the experience enjoyable.
- Gradually lower the flap as your dog becomes more comfortable.
- Be patient and consistent in your training approach.
Some dogs will learn to use the door more quickly than others. If you become frustrated during a training session, stop and try again later.
Do Storm Doors with Dog Doors Increase Energy Efficiency?
A well-installed storm door with a dog door can improve your home’s energy efficiency by reducing drafts and maintaining consistent indoor temperatures. Proper weatherstripping and insulation are key components in achieving this benefit.
Ensure the dog door has adequate locking mechanisms to prevent unauthorized entry when not in use. Additionally, choosing a dog door with reinforced or insulated flaps can enhance security and energy efficiency.
Maintenance Tips
To keep your new storm door with dog door functioning properly, perform regular maintenance:
- Clean the door and dog flap regularly to prevent dirt buildup.
- Lubricate hinges and moving parts annually.
- Check weatherstripping and replace as needed.
- Inspect the dog door flap for wear and tear, replacing it when necessary.
- Ensure the automatic door closer operates smoothly and adjust its tension if required.