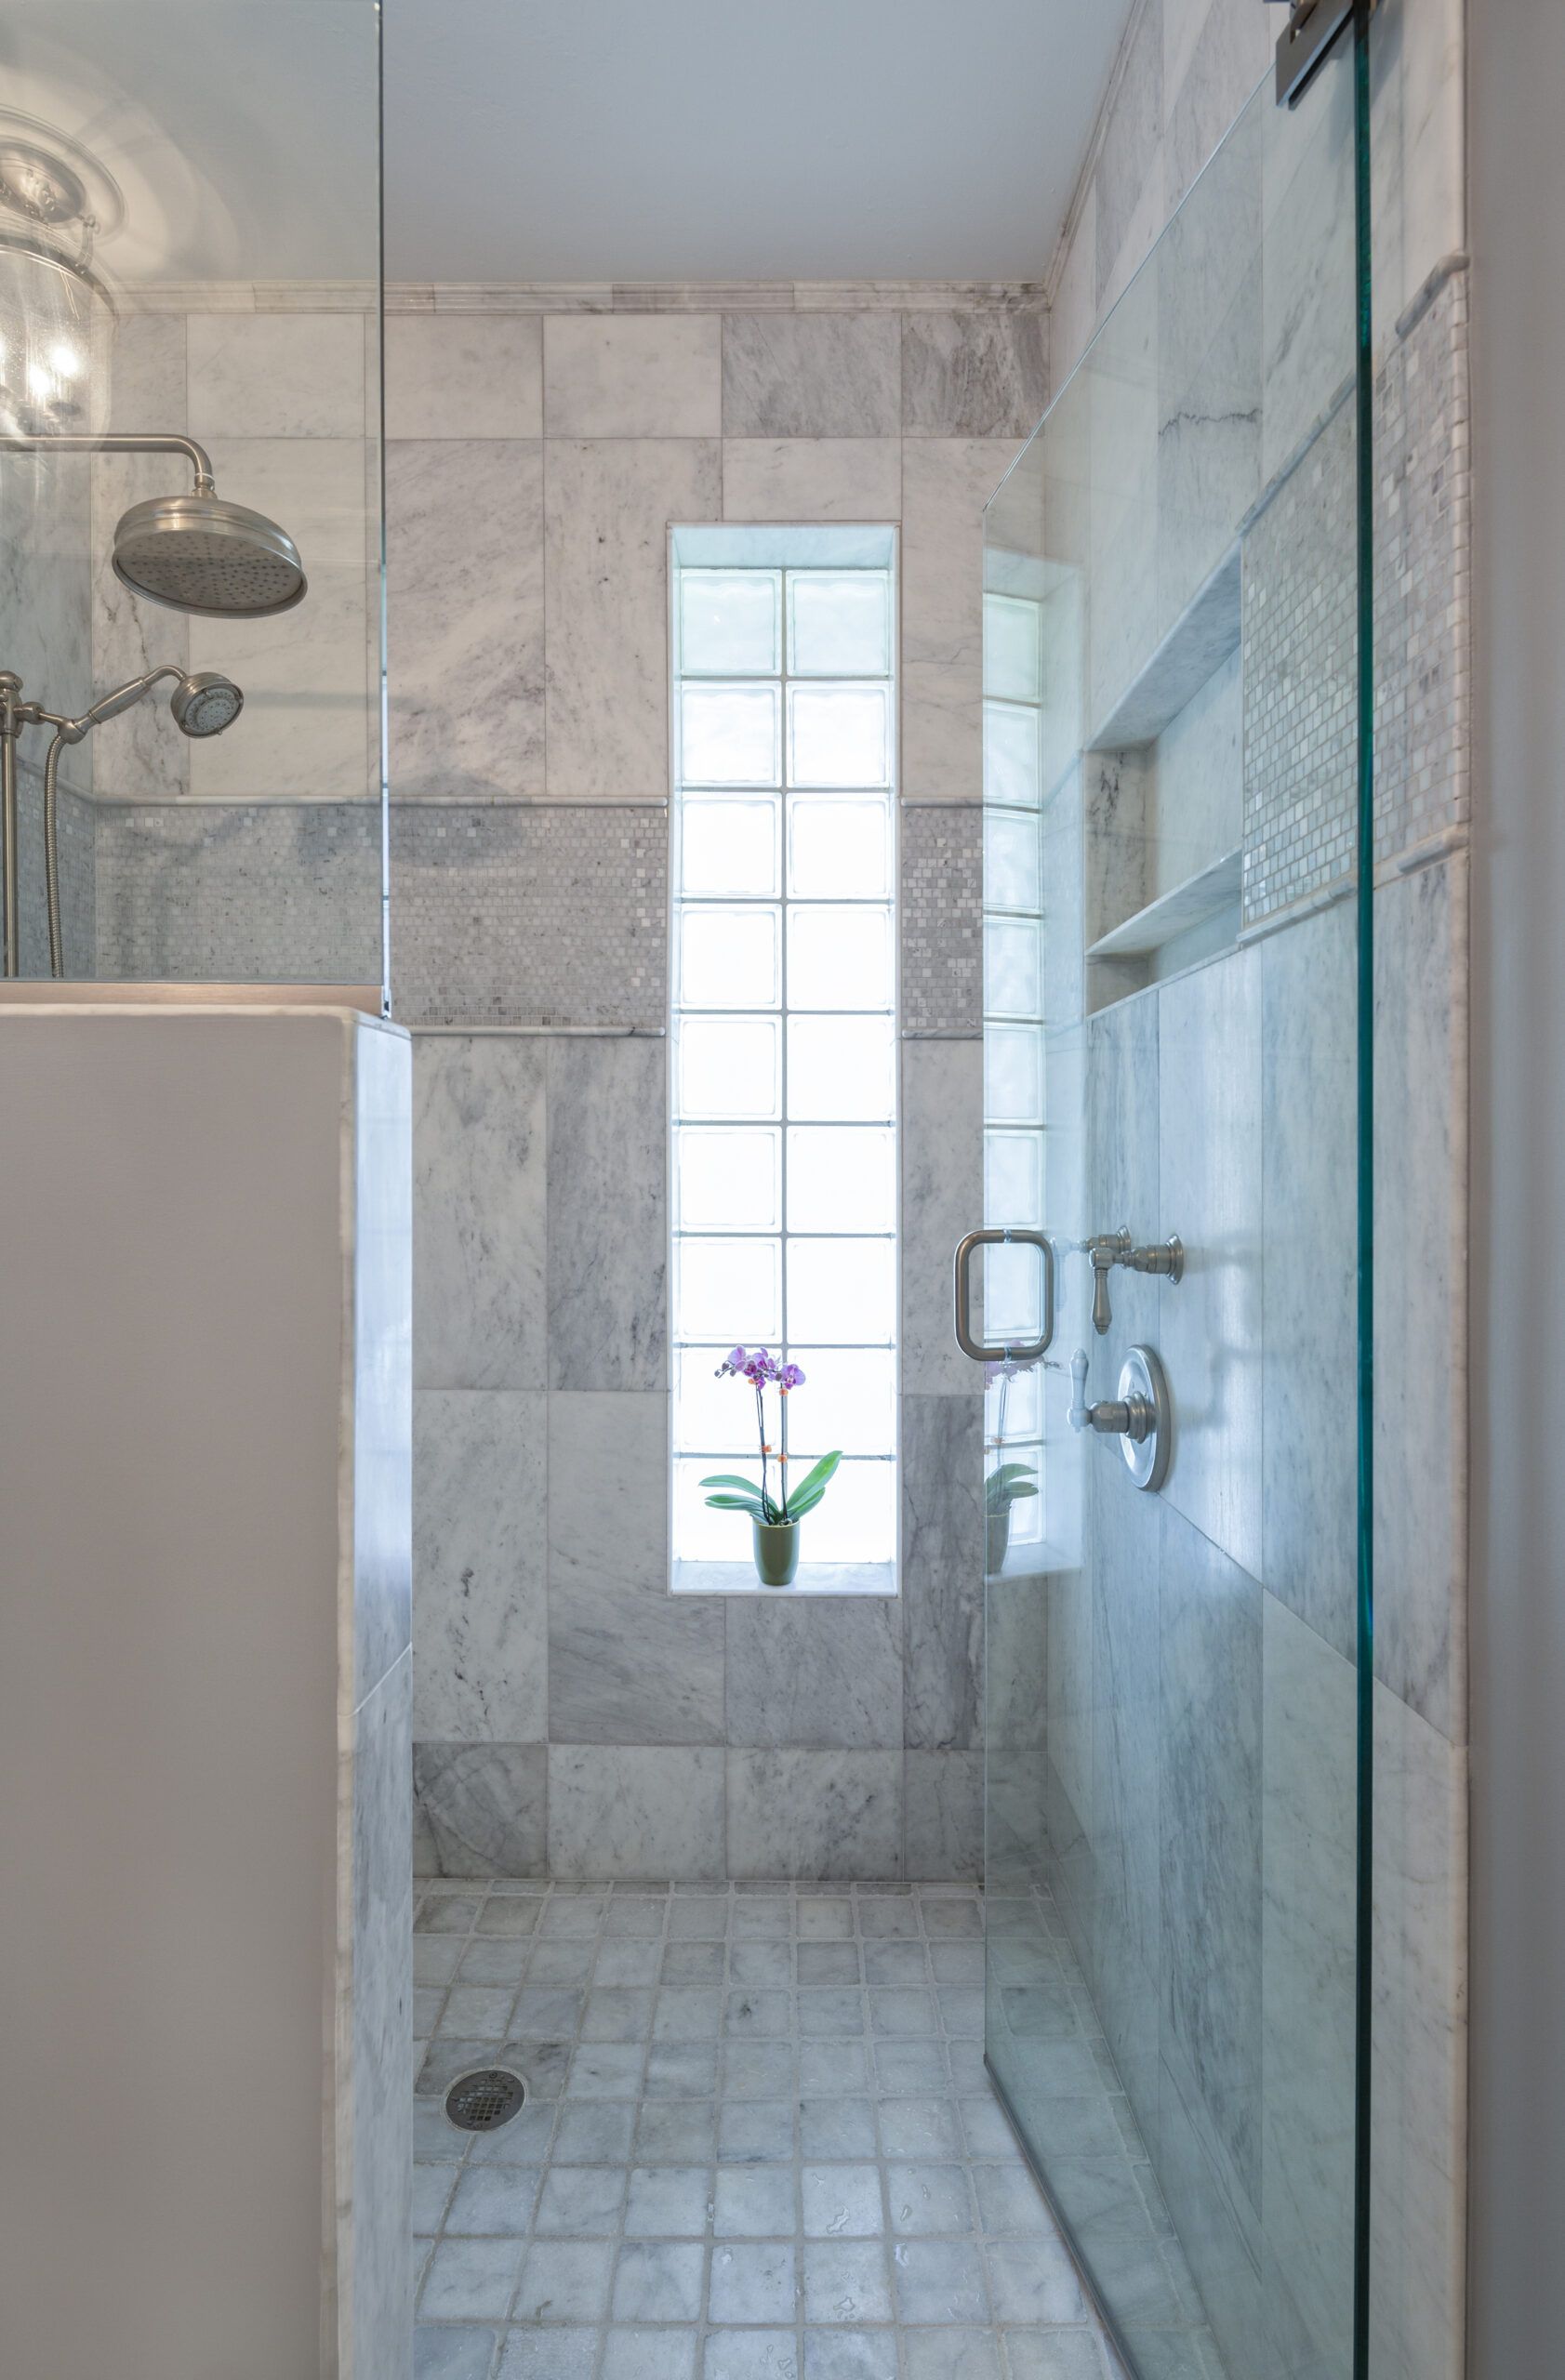
Glass blocks have become an increasingly popular window option for bathrooms because they offer privacy while letting in natural light. This versatile material can transform a cramped bathroom into a bright, airy space without compromising privacy. Our guide covers the tools, materials, and techniques you’ll need to install glass blocks in your bathroom.
Planning Your Glass Block Installation
Measure your space carefully to determine how many blocks you’ll need before you begin. First, measure the width and height of the wall or window. We recommend measuring both in several spaces in case the existing space is not 100% plumb (vertically aligned) and level. Take the shortest of each measurement to use as your height and width. Because you’ll be putting mortar or silicone between the blocks, you want the opening to be about one-half to two inches larger than the total measurement of the glass blocks.
The average glass block measures either 7.75 x 7.75 inches or 5.75 x 5.75 inches. Compare your measurements to decide what size block you’ll need and account for any additional inserts, like block vents, sometimes used in glass block windows. Check for pre-made glass block kits at your local hardware store that may come in your dimensions. Pre-made kits are ideal for standard-sized openings and easier for DIY installations. Otherwise, purchase glass blocks and materials individually.
Price of Installing Glass Blocks
Glass block installation costs vary widely. Expect to pay anywhere from $150–$450* for a DIY install using a premade kit. Professional window installs average around $400, but you’ll pay as much as $4,500 for a large, custom window.
*Cost information is based on 2024 reports from Angi.
Tools and Materials for Glass Block Window Installation
You’ll need a mix of specific and general tools and materials for a smooth installation.
Glass Block-Specific Tools
Here are some tools that are specific to glass block installation:
- Glass blocks
- Glass block mortar mix
- Glass block silicone sealant
- Glass block spacers
- Glass block vents or screen panels (if needed)
- Mortar and grout mixer
- Reinforcing mesh (optional, for added support)
General Construction Tools
Below are some more general tools needed for glass block installation, many of which you may already have at home.
- Bucket for mixing mortar
- Disposable gloves
- Safety glasses
- Sponge and clean rags
- Level
- Rubber mallet
- Tape measure
- Trowel
- Wooden shims (for leveling)
Depending on your project needs, you might also need painter’s tape, plastic sheeting, tile adhesive, or a utility knife.
Preparing for Glass Block Window Installation
Proper preparation is key to a successful glass block installation. This section covers the necessary steps to start on the right foot.
Removing Existing Fixtures (If Applicable)
If you’re replacing an existing window or fixture, here’s what to do:
- Turn off any water supply to the area.
- Remove the old fixture carefully to avoid damaging surrounding surfaces.
- Clean the opening thoroughly, removing any old caulk or debris.
Creating a Level Surface
You need a level surface for proper glass block installation. We recommend this process:
- Use a level to check the floor and sides of the opening.
- If the surface isn’t level, apply a layer of mortar to create a flat base.
- Use wooden shims to adjust the level as needed.
Waterproofing Considerations
In bathrooms, you also need proper waterproofing on windows to avoid water damage. Here are some important considerations:
- If you’re installing in a wet area, apply a waterproof membrane to the surrounding surfaces.
- Check that proper drainage is in place, especially for windows that are installed in showers.
- Consider using a waterproof mortar additive for added protection.
Additional Preparation Steps
Depending on your specific project, additional steps might include the following:
- Removing any loose or deteriorating material around the installation area
- Checking for structural issues that might affect the installation
- Consulting local building codes and regulations for compliance
Step-by-Step Glass Block Installation Process
Now that you’re prepared, let’s walk through the installation process.
Mixing the Mortar
Glass block mortar mix is the industry standard for connecting the blocks strongly and safely. However, you can choose to use glass block silicone between blocks.
- Mix the mortar in a clean bucket according to the manufacturer’s instructions.
- Aim for a consistency similar to peanut butter. It should be firm enough to hold its shape but spreadable.
- Mix only as much as you can use within an hour, as the mortar will begin to set.
Laying the First Row of Glass Blocks
- Apply a layer of mortar about one-half inch thick to the base of the installation area.
- Place the first block in a corner or at one end, pressing it gently into the mortar.
- Use a level to check that the block is perfectly straight vertically and horizontally.
- Continue placing blocks along the first row, using spacers between them for even gaps.
- Check the level frequently as you go.
Building Subsequent Rows of Blocks
- Apply mortar to the top and side of each block before placing the next one.
- Use spacers between blocks to maintain consistent joints.
- Check alignment with each new row.
- Remove excess mortar from the joints with a damp sponge as you go.
Installing Vents or Screens (If Needed)
- Install these pieces as you build, following the manufacturer’s instructions.
- Make sure they’re level and secure within the surrounding blocks.
Adding Reinforcement (Optional)
For larger installations or those in high-impact areas, consider adding reinforcement:
- Place reinforcing mesh between rows of blocks for added stability.
- Check that the mesh is fully embedded in the mortar to avoid weakening the structure.
Finishing Touches and Sealing the Glass Blocks
The final steps of your glass block installation provide a polished look and long-lasting performance. Here’s how to put the finishing touches on your project.
Cleaning Excess Mortar
- Once all blocks are in place, allow the mortar to set for 15–20 minutes.
- Use a damp sponge to clean excess mortar from the face of the blocks.
- Smooth out the joints with a jointing tool for a neat appearance.
Applying Silicone Sealant
- After the mortar has cured for 24–48 hours, apply a bead of silicone sealant to the installation’s perimeter.
- Use a caulking gun to apply the sealant evenly.
- For a professional finish, smooth the sealant with a wet finger or caulking tool.
Curing Time and Care
- Allow the installation to cure fully for at least 72 hours before exposing it to water.
- Avoid using the shower or getting the installation wet during this time.
- Keep the area well-ventilated to aid in the curing process.
Inspecting for Final Details
Before considering the project complete, inspect for any final touch-ups:
- Check all seams and joints for an even finish.
- Re-apply sealant if you find any gaps or inconsistencies.
- Check that all blocks are firmly set and secured.
Troubleshooting Common Glass Block Window Installation Issues
You might encounter some challenges even with careful planning. Here are solutions to common problems:
- Uneven surfaces: Before starting the installation, use a leveling compound to create a flat base. For minor unevenness, adjust the mortar thickness slightly to compensate.
- Gaps between blocks: If you notice gaps between blocks, use glass block spacers to maintain consistent spacing. After installation, you can fill any small gaps with additional mortar or silicone sealant.
- Cracked or chipped blocks: If a block becomes damaged during installation, remove the damaged block and surrounding mortar carefully. Clean the area thoroughly and allow it to dry before installing a new block.
If you’re unsure about any aspect of the installation, don’t hesitate to consult a professional.