We may be compensated if you purchase through links on our website. Our team is committed to delivering honest, objective, and independent reviews on home products and services.
A bathroom vent helps immensely with preventing moisture-related issues in your home and maintaining good indoor air quality. While many homeowners opt for the easier route of venting into the attic or soffit, this can lead to mold growth and other problems. The best solution is to vent the bath fan directly through the roof.
In this article and the video above, we’ll explore the step-by-step process of installing a roof-mounted bath fan vent, as demonstrated by This Old House general contractor, Tom Silva.
Understanding the Importance of Proper Ventilation
Bathroom fans play a vital role in removing excess moisture and odors from your bathroom. However, if not vented correctly, they can cause more harm than good.
The Risks of Improper Venting
Venting a bathroom fan into the attic or soffit can lead to several issues, including the following:
- Moisture buildup in the attic
- Mold growth on roof sheathing
- Reduced insulation effectiveness
- Potential structural damage over time
Benefits of Roof Venting
On the other hand, venting your bathroom fan through the roof offers these several advantages:
- Directs removal of moist air from your home
- Ensures compliance with building codes in many areas
- Improves overall home ventilation
- Reduces risk of moisture-related problems
Preparing for Bath Fan Vent Installation
Before you start the installation process, gather your tools and materials and take proper safety precautions. That way, you’ll have a smooth, efficient installation and stay safe throughout it.
Tools and Materials Needed
To complete this project, you’ll need the following tools and materials:
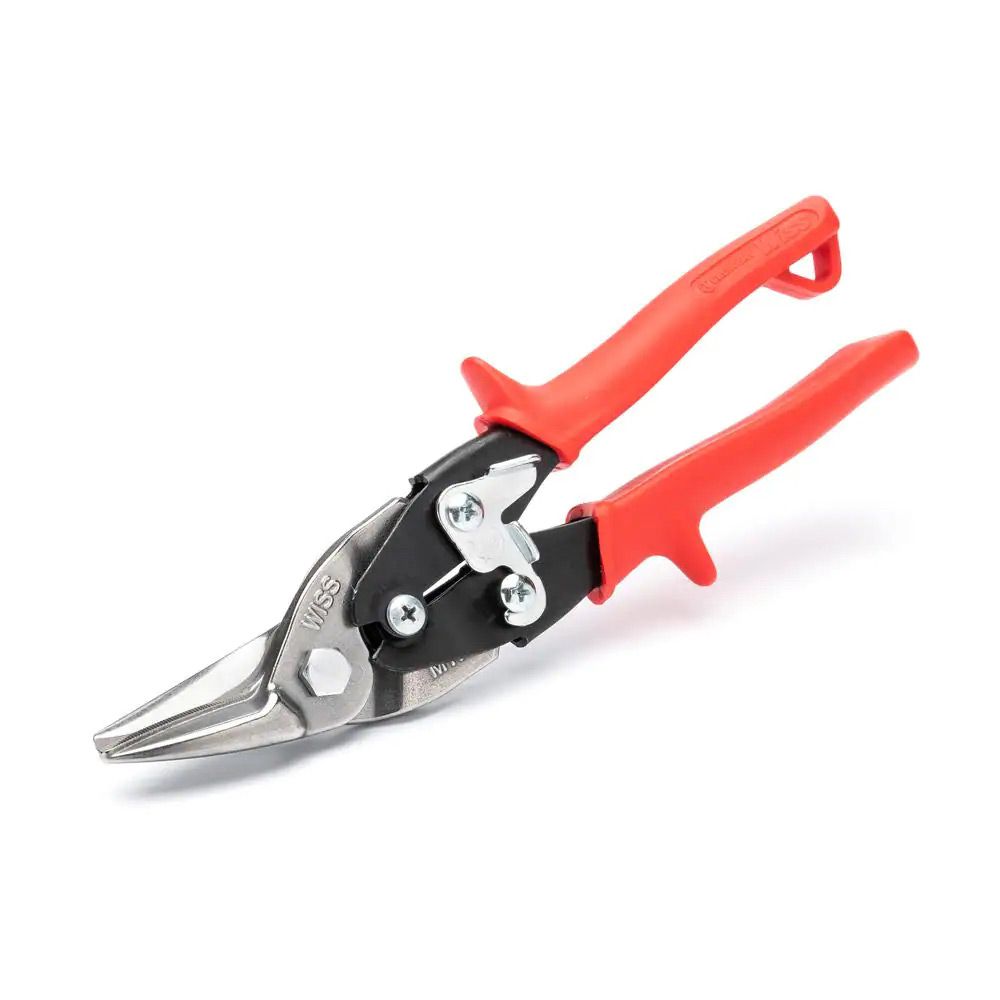
- Aviation snips
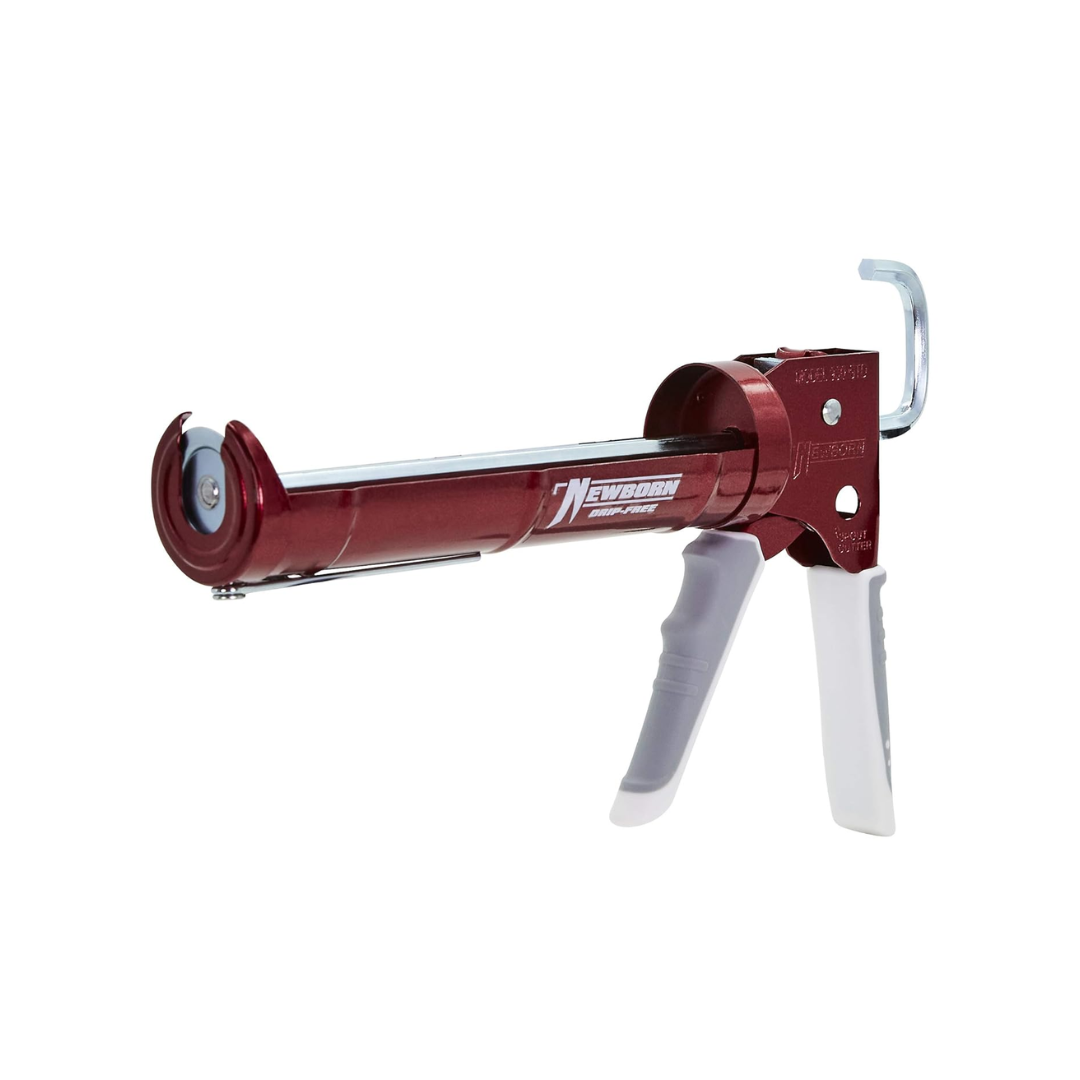
- Caulk gun
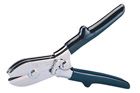
- Crimping tool
- Drill/driver
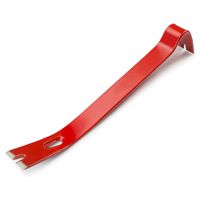
- Flat pry bar
- Foil duct tape
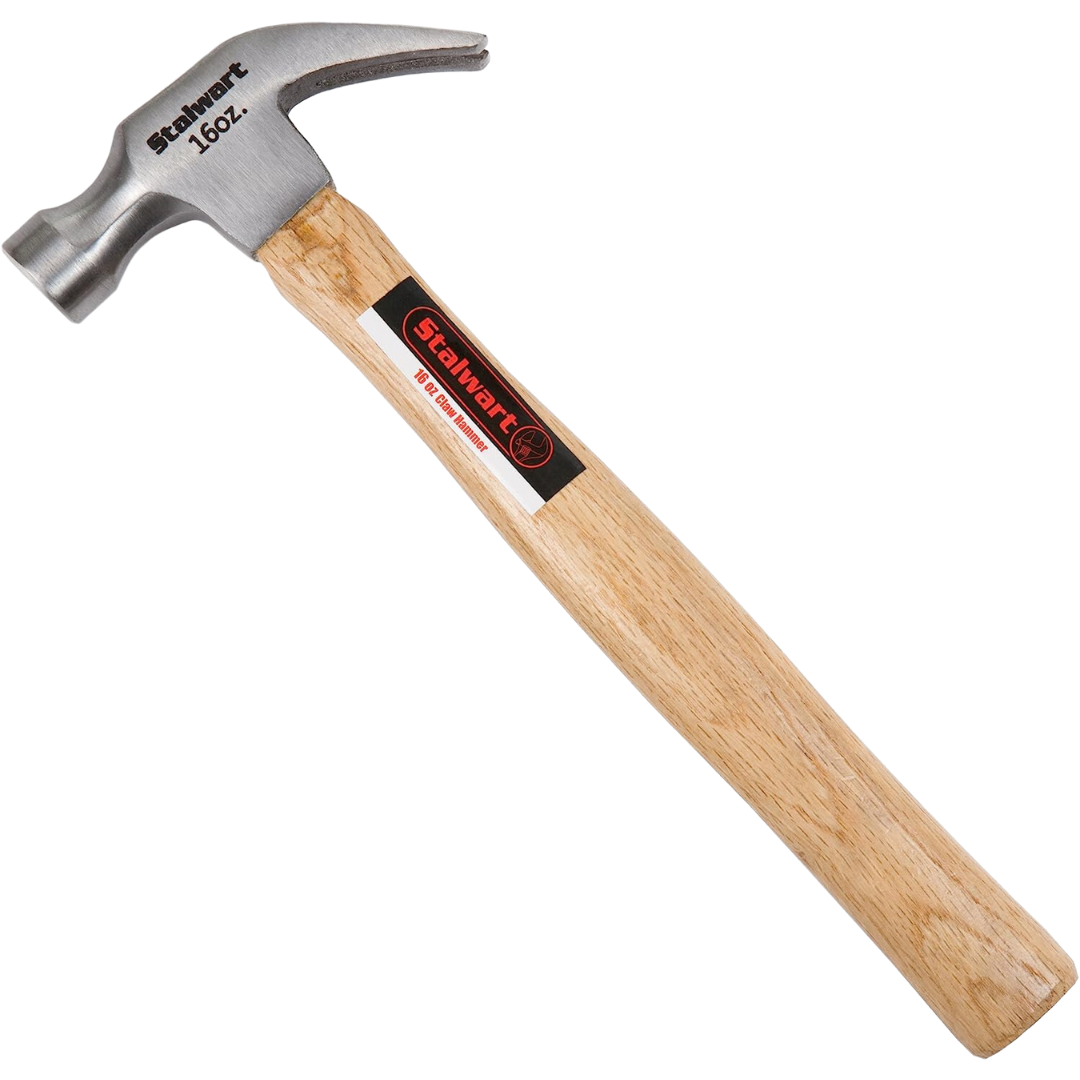
- Hammer
- Insulated duct
- Nylon zip ties
- Roofing nails
- Roof vent hood
- Tri-polymer sealant
- Utility knife
Safety Considerations
Working on a roof can be dangerous. Before taking on this project, please be sure to take the following safety precautions:
- Be aware of power lines and other potential hazards
- Use a sturdy ladder and have someone spot you
- Wear non-slip shoes and a safety harness if possible
- Work on a dry, calm day to avoid slippery conditions
Step-by-Step Bath Vent Installation Process
Follow these steps to properly vent your bath fan through the roof. Silva demonstrates this process in detail.
1. Locating the Vent Position
- From inside the attic, drive a nail through the roof directly above the bathroom vent fan, centering it between two rafters.
- Locate the nail on the roof’s exterior.
- Use a utility knife to cut the shingles around the nail.
- Break the weather seal off surrounding shingles using a flat pry bar.
2. Creating the Roof Opening
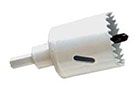
- Use a 4 1/4-inch hole saw to drill through the roof, centering it on the nail hole.
- Clean any debris from the newly created opening.
3. Preparing the Duct Work
- Crimp one end of a sheet metal sleeve using a crimping tool.
- Slide the crimped end into a 4-inch diameter insulated duct.
- Secure the sleeve to the duct using foil duct tape.
- Attach the connector fitting from the bath vent fan to the opposite end of the insulated duct.
- Use nylon zip ties to secure the insulation at both duct ends.
4. Installing the Duct
- Connect the end of the duct with the fitting to the bath vent fan.
- Pass the opposite end of the duct through the hole in the roof.
- Use aviation snips to cut slits into the sheet metal sleeve protruding from the roof.
- Bend the tabs created by the slits and nail them to the roof.
5. Mounting the Vent Hood
- Apply a thick bead of tri-polymer sealant along the underside, sides, and top edge of the vent hood, leaving the bottom edge unsealed.
- Slide the vent hood under the roof shingles, centering it over the duct.
- Press the hood down firmly to create a good seal.
- Lift the shingles along the sides of the vent hood and nail through the hood’s flange with roofing nails.
- Apply sealant under the shingles on each side of the vent hood and press them down.
- Lift the shingles above the vent hood, nail through the flange along the top, and apply sealant under these shingles as well.
Ensuring Proper Bath Vent Insulation
Proper ductwork insulation is key to preventing condensation and maintaining energy efficiency. Let’s discuss why proper insulation is so important and how to maximize its performance.
Importance of Insulated Ducts
Using insulated ducts helps maintain the temperature of exhausted air, minimize the risk of ice damming in cold climates, prevent condensation in cold attics, and reduce energy loss.
Insulation Best Practices
Make sure you follow these tips for the best possible performance:
- Avoid compressing the insulation, which reduces its effectiveness
- Choose durable and rot-resistant insulation materials
- Ensure the insulation extends all the way to the roof vent
- Seal all joints and connections with foil duct tape
- Take care not to puncture or tear the insulation during installation
- Use ducts with a minimum R-value of 6
Bath Fan Vent Maintenance and Troubleshooting
Regular maintenance of your roof-vented bath fan helps it last longer and perform better over time. Adding a regular maintenance routine to your yearly calendar can really improve the performance of different appliances and household components.
Routine Maintenance Tasks
Perform these tasks annually:
- Check the ductwork for any signs of damage or disconnection
- Clean the fan blades and housing
- Ensure the vent flapper is functioning correctly
- Inspect the roof vent for debris or pest intrusion
- Look for any signs of moisture or mold near the vent opening
- Verify that the vent hood is securely fastened and sealed
Common Issues and Solutions
Like any other part of the home, your vent fan may run into issues down the line, even if you’ve done a perfect job installing it. Here are some common problems and ways to solve them:
- Ice buildup: Check insulation and consider a frost-free vent cap
- Moisture around the vent: Reapply sealant and ensure proper flashing
- Noisy operation: Tighten any loose parts or replace the fan if necessary
- Pests: Install mesh or screens to prevent critters from entering
- Poor airflow: Clean the fan and check for duct obstructions
- Rust or damage: Replace corroded parts promptly to maintain system integrity