Replacing a broken tile can seem intimidating, but with a little guidance, it’s a manageable DIY project. Whether your tile is on the floor or wall, addressing the issue promptly will prevent further damage and potential injuries. This guide provides clear, step-by-step instructions to help you through the process.
Identifying Damaged Tiles
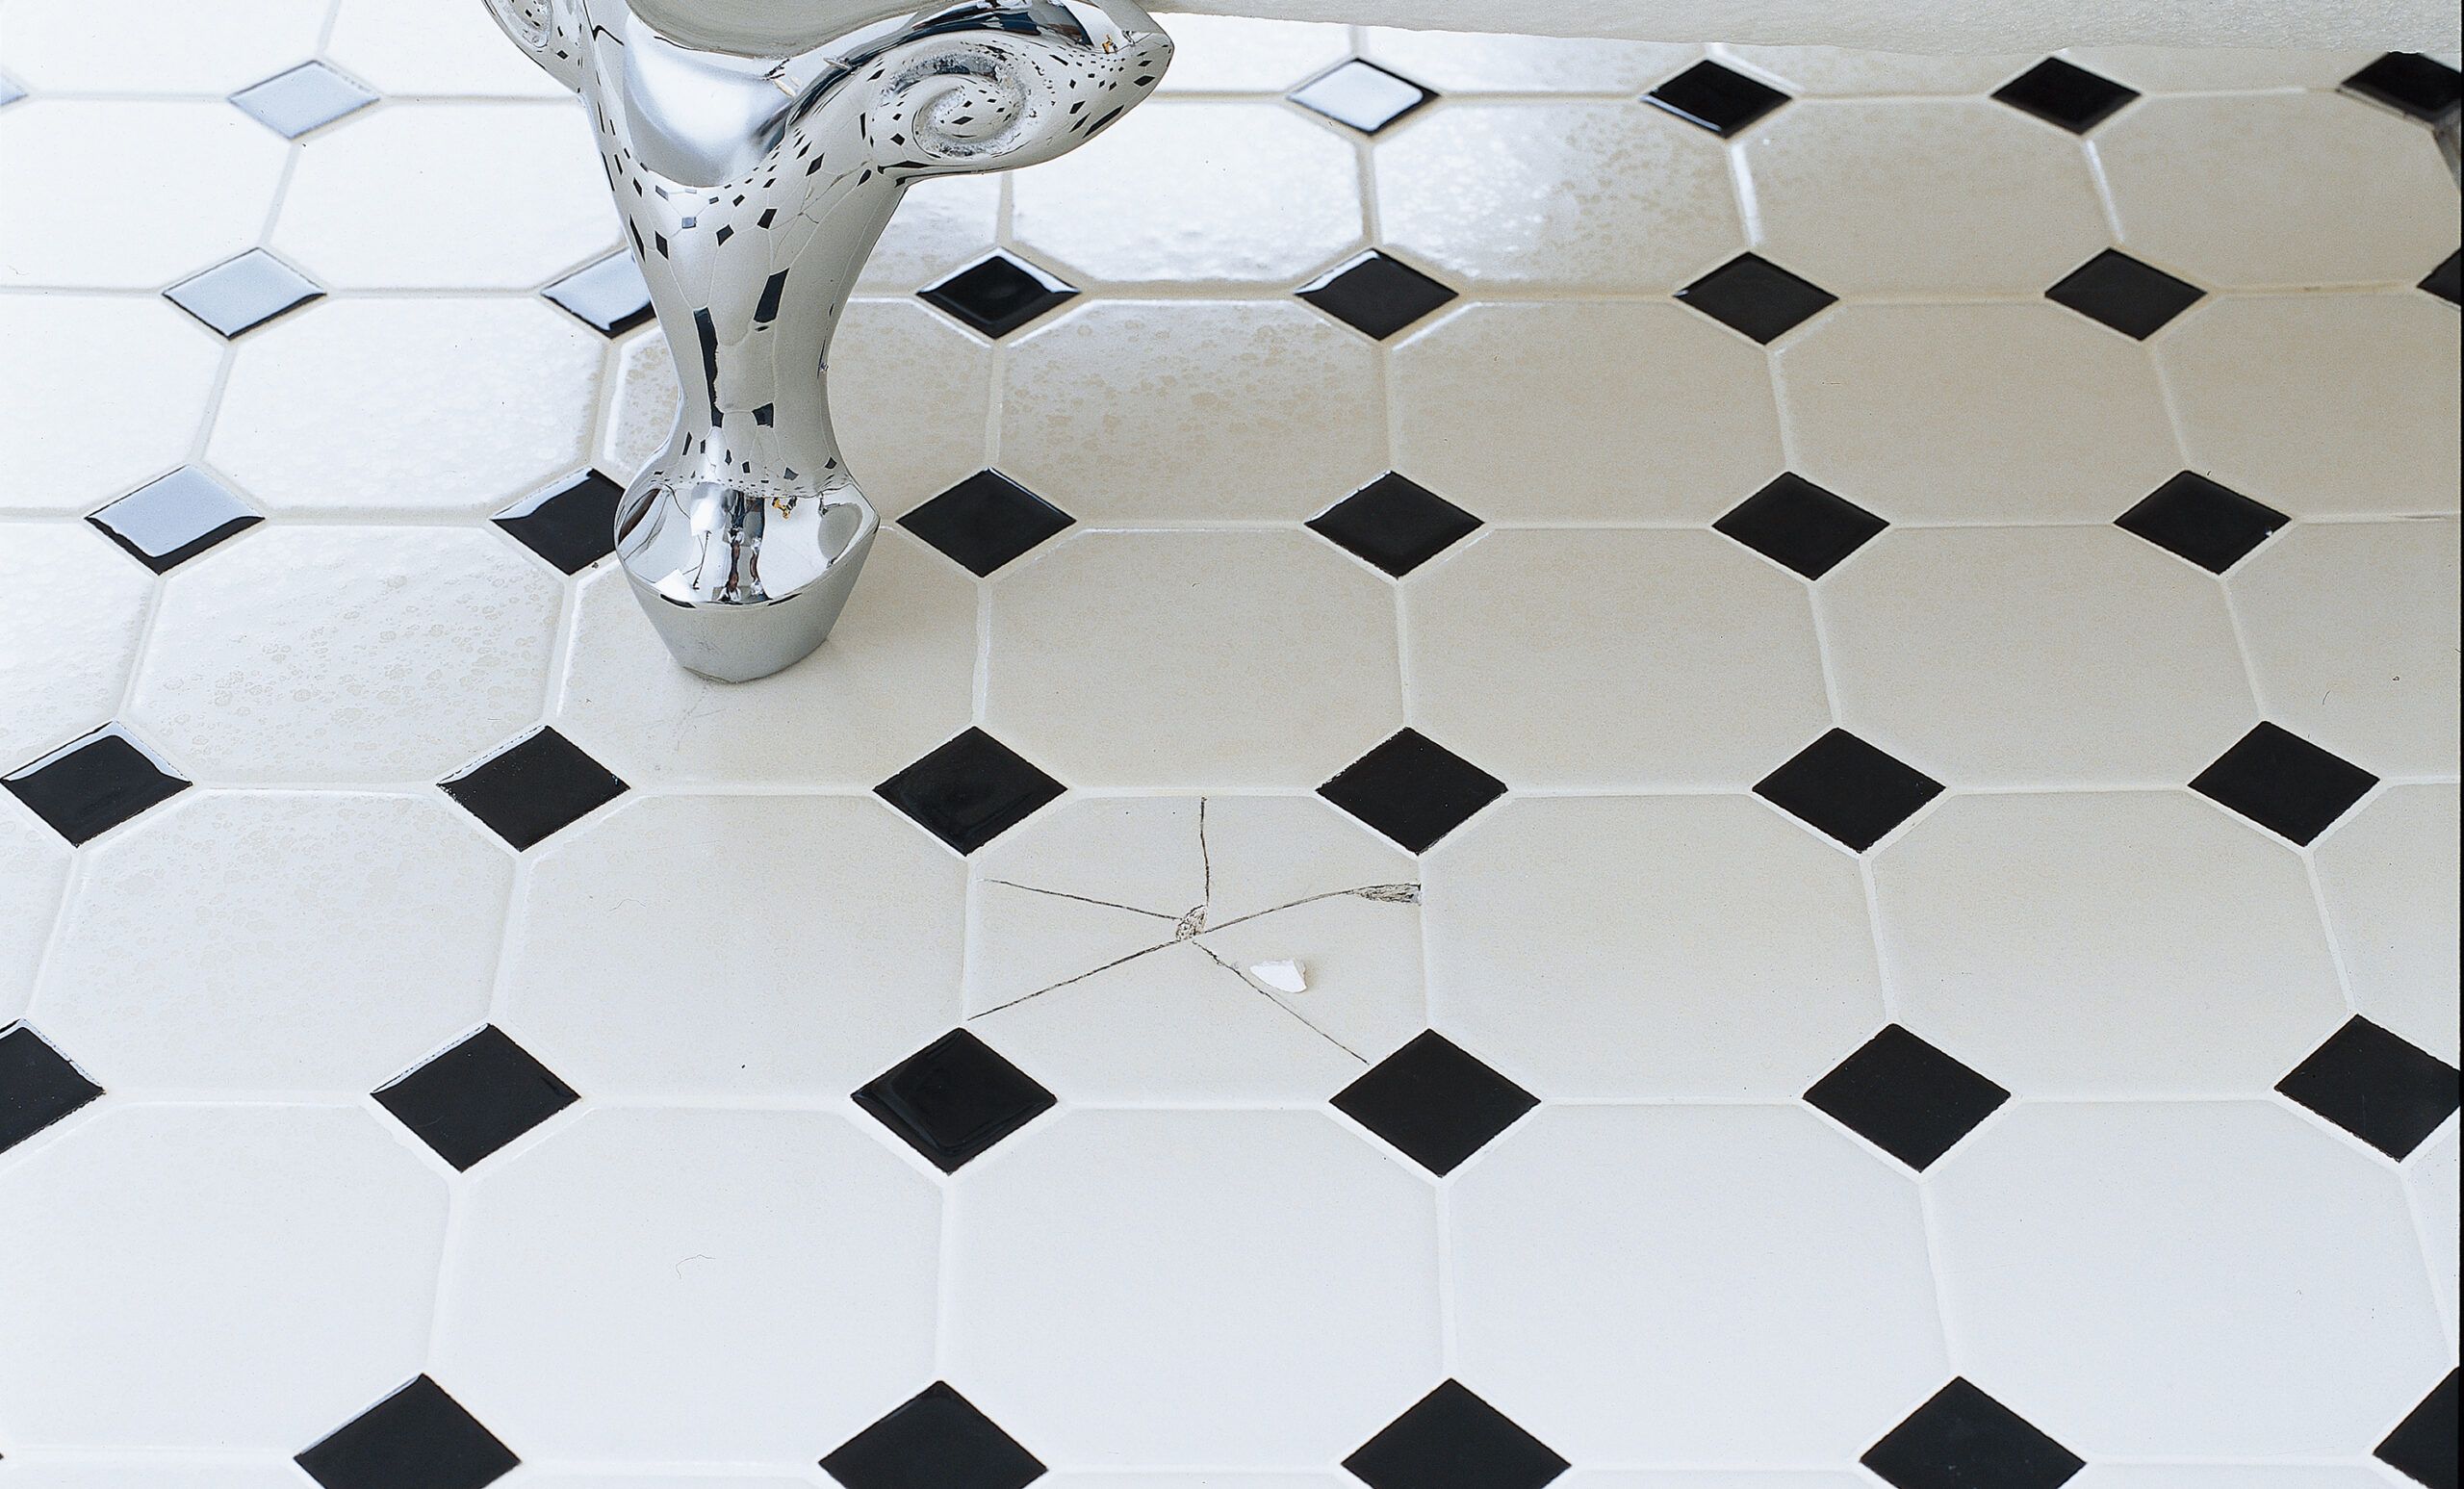
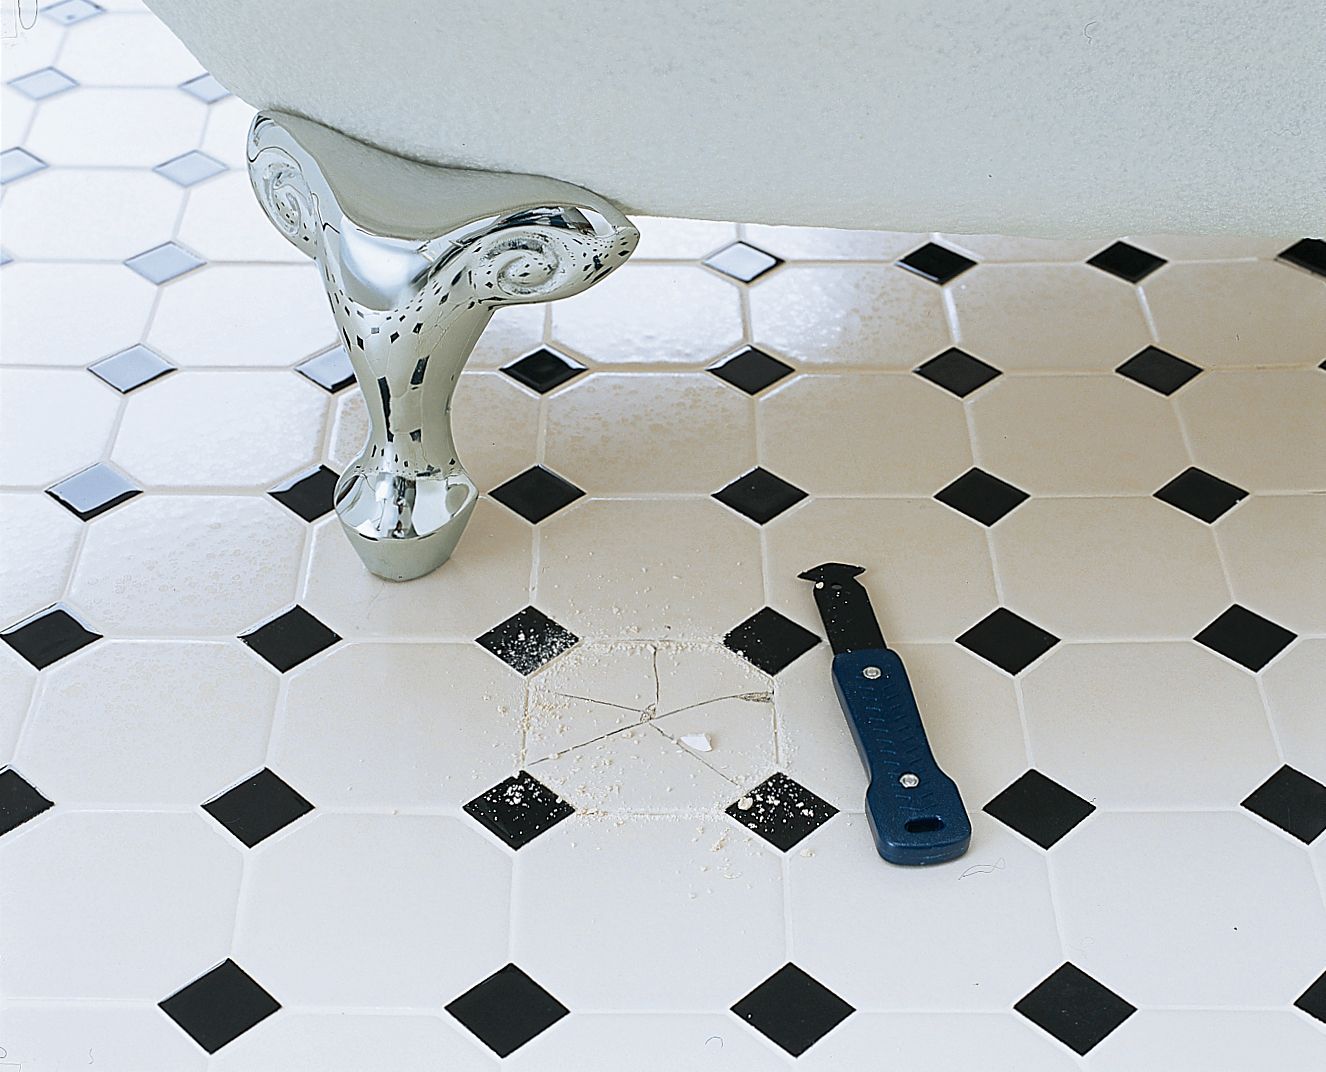
Before you begin replacing tiles, make sure you know exactly how many tiles are damaged and where they are. Damaged tiles can be not only visually unappealing but also dangerous, as they may cause trips or cuts. Look for visible cracks, chips, or discoloration. In some cases, you might hear a hollow sound when you tap on a damaged tile, indicating it’s loose.
While identifying the visibly damaged tiles, check the surrounding tiles for any signs of damage or looseness. Sometimes an impact strong enough to break a tile can also weaken adjacent tiles.
What You’ll Need to Replace a Broken Tile
Replacing a few damaged tiles isn’t too difficult if you have the right tools. “It’s a job most any homeowner can handle,” says Joe Ferrante, a tiling contractor who worked with the This Old House television show for nearly two decades.
Here’s a list of what you’ll need:
- Safety goggles
- Heavy-duty gloves
- Chisel
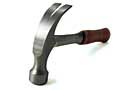
- Hammer or mallet
- Grout saw
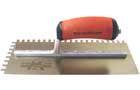
- Notched trowel
- Drill or driver and ceramic bit
- Adhesive suitable for your tile type
- Replacement tile
- Grout
- Sponge
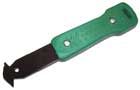
 Carbide-tipped scoring tool or grout saw
- Drill/driver
- Hammer or mallet
- Chisel
- Notched trowel – 1/4-inch


Removing the Damaged Tile
The first step is to remove any damaged tiles. As you work, keep in mind Joe Ferrante’s top tip for this project: “Take it easy with the hammer, or you’ll end up breaking more tiles.”
Remove the Grout
Put on your safety goggles and heavy-duty gloves to protect yourself from sharp edges and flying debris. Then use a grout saw to carefully remove the grout around the damaged tile. This helps to isolate the tile from the surrounding ones and makes the removal process easier.
Loosen the Tile
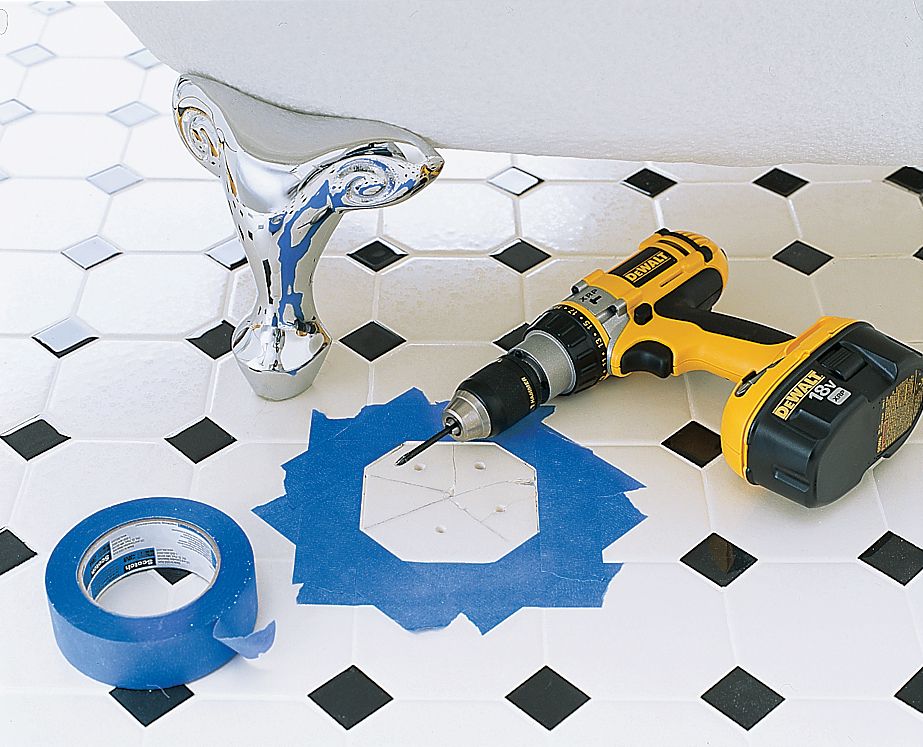
Once the grout is removed, apply painter’s tape around the edges of the adjacent tiles to protect them. Place your chisel in the center of the tile and gently tap it with the hammer to create a crack. To help free the pieces from the substrate and make them easier to chisel out, you can drill evenly-spaced holes into the broken sections with a 1/4-inch ceramic bit.
Chisel Out the Pieces
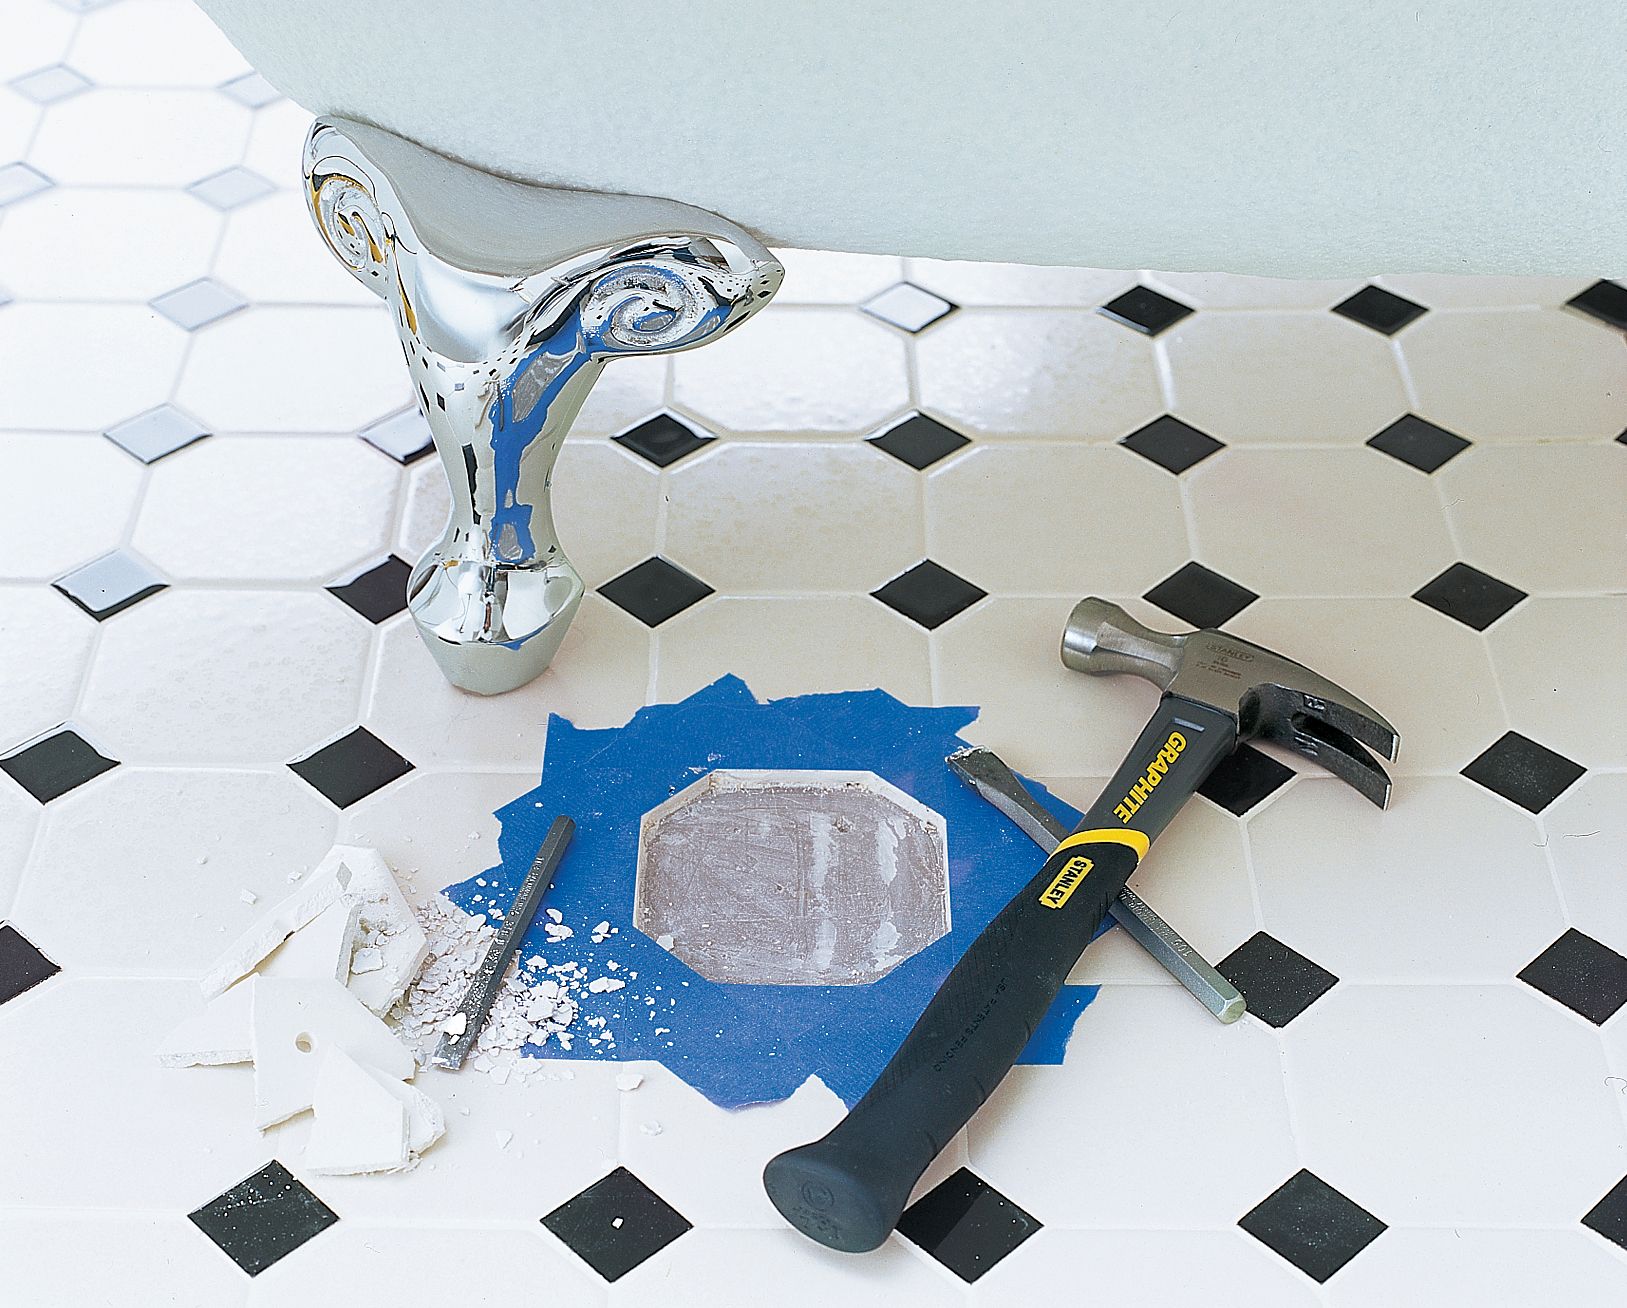
Working from the center out toward the edges, gently tap out the broken pieces with a hammer and a narrow (3/8- or 1/4-inch) chisel. If you don’t have a tile chisel, a cold chisel or even a flat-blade screwdriver will also do the job.
Start with the chisel at 90 degrees to the floor, then switch to a 45-degree angle after you penetrate the glaze. Be careful not to damage the underlying surface.
Once the broken tile is removed, use a wider chisel to clean all the old thinset off the substrate. The same technique applies for all substrates, including mortar, cement backerboard, and plywood.
Preparing the Surface For the New Tile
After removing the broken tile, you need to prepare the surface for the new tile. First, remove any remaining adhesive and debris from the exposed surface. Then use a vacuum or brush to clear out all the dust and small particles. A clean surface is essential for the new adhesive to bond properly.
Next, check that the surface is level. If necessary, apply a thin layer of mortar to even out the surface, allowing it to dry completely before proceeding.
Installing the New Tile
Now it’s time to place the new tile. Double-check that the replacement tile matches in size and pattern and that you have the right adhesive for the type of tile you are using. Then follow these steps:
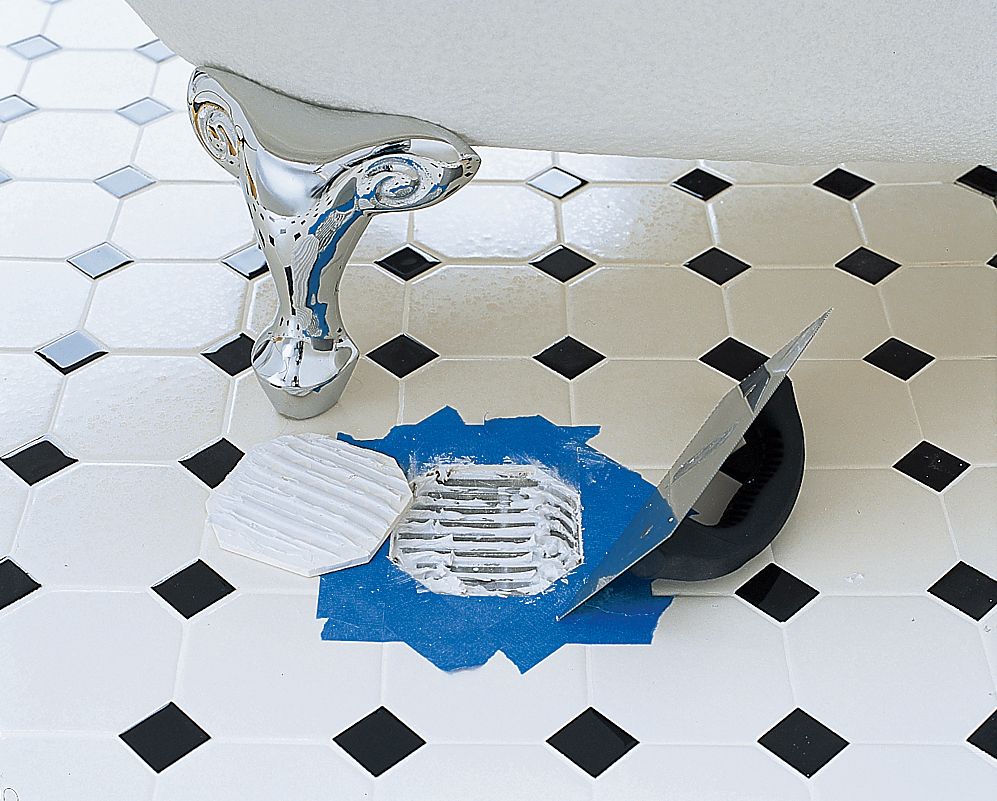
- Apply adhesive: Using a notched trowel, spread an even layer of adhesive on the back of the new tile.
- Position the new tile: Carefully press the tile into place, making sure it’s aligned with the surrounding tiles. Use spacers if needed to ensure even gaps for grouting later.
- Set the tile: Apply gentle pressure to help the tile stick, then allow the adhesive to set.
Grouting the Tile
Once the adhesive has set (refer to the adhesive manufacturer’s instructions for drying times), you can proceed with tile grouting.
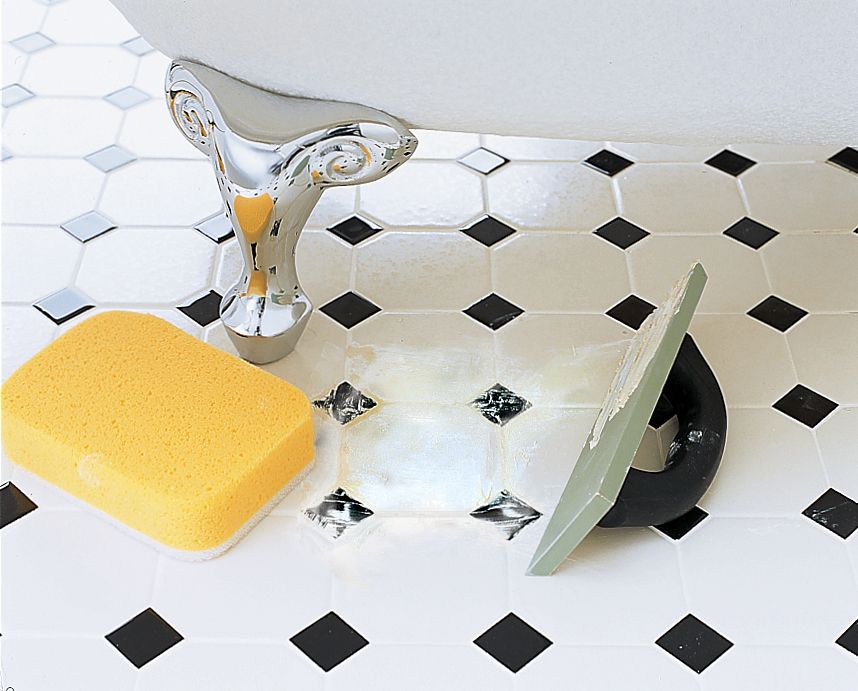
- Apply grout: Mix the grout according to the package instructions and apply it using a grout float. Ensure that the grout fills all the gaps around the tile.
- Clean excess grout: After the grout has set for about 10–15 minutes, use a damp sponge to wipe away any excess grout from the surface of the tile. Be careful to keep the grout lines intact.
- Seal the grout. Wait at least 24 hours for the grout to cure, then apply grout sealant according to the manufacturer’s instructions, usually with a small brush or applicator tip. Cover all the grout lines thoroughly to protect against water damage and staining.
Troubleshooting Common Tile Replacement Issues
Sometimes, despite careful work, issues can arise. Here are some common problems and their solutions:
- Difficulty removing old tiles: Use a hammer and chisel carefully, applying heat with a heat gun to soften adhesive. For stubborn tiles, try a specialty tile removal tool.
- Loose tiles: If adjacent tiles become loose, they may need to be reset using the same method described above. Ensure the underlying surface is clean and level before reapplying adhesive.
- Accidental breakage: Have spare tiles on hand for replacing adjacent tiles that get damaged during the removal process. To prevent accidental breakage, use protective coverings for nearby tiles.
- Cracked grout: Cracked grout can often be repaired by applying a new layer of grout over the existing one. Remove any loose grout before applying the new layer.
- Stubborn adhesive residue: Scrape off adhesive with a putty knife or floor scraper. For tough residue, use an adhesive remover like Goo Gone or Goof Off. Klean-Strip and 3M also have adhesive removers.
- Crooked tiles: Ensure the substrate is level before tiling. Use a self-leveling compound to correct minor unevenness and tile spacers to maintain consistent gaps. A laser level can aid in achieving a level surface.
Most tile removal and replacement issues can be prevented by working slowly and carefully and following manufacturer instructions.
Tile Replacement Costs
DIY tile replacement can be a cost-effective option, especially if you only need to replace a few tiles. Contractors typically charge $7–$30* per square foot for tile work, plus $3–$25 per square foot for regrouting a shower or floor—plus the cost of materials. Tackling the job yourself eliminates those labor costs.
However, it’s important to factor in all of the materials, tools, and skills required for a successful tile project. Large projects and intricate patterns may not be DIY-friendly for beginners. We also recommend calling in a professional if you encounter extensive damage or underlying structural issues.
On average, you can expect to spend about $22 per square foot for DIY tile replacement. The exact cost depends on the scope of the project and the type of tiles. Ceramic and porcelain tiles are the most affordable and easiest to work with, with a price tag of $1–$15 per square foot. You will also need tile adhesive, grout, and sealer. That could add as little as $35 or as much as $160 to your total, depending on the type and amount you need.
If you don’t already own the necessary tools, you can pick them up at your local hardware or home improvement store. We priced out the four key tools—a mallet, chisel, grout saw, and notched trowel—for less than $40 at Home Depot and Lowes.
* Cost data sourced from contractor estimates used by Angi, unless otherwise noted.
Maintaining Your Tiles
Clean tiles and grout regularly using appropriate cleaners, such as a homemade grout cleaner made from baking soda, dish soap, warm water, and vinegar. Avoid harsh chemicals that can eat away at the grout and weaken the adhesive bond.
Use mats or rugs in high-traffic areas to reduce wear and tear on tiles. Felt pads on furniture legs can prevent heavy items from scratching or cracking tiles.
Inspect your tiles regularly and address any potential issues promptly. Reseal the tiles periodically to keep them in good condition and extend their lifespan.
Our Conclusion
Replacing a broken tile is a project that can be accomplished with a bit of patience and the right tools. By following the steps above, you can restore the beauty and functionality of your tiled surfaces, all while gaining valuable DIY experience. Remember, taking your time and paying attention to detail will ensure a professional-looking result.