 Tape measure
- Drywall saw
- Handsaw
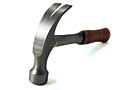
- Hammer
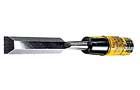
- chisel
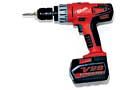
- Drill/driver
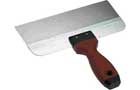
- Drywall knife
Hollow-wall anchors are great for hanging pictures, framed mirrors, and bulletin boards on drywall. But, these fasteners aren’t strong enough to support heavy loads, and they often work loose when used for items regularly jostled and tugged at, such as towel racks, toilet paper holders, and curtain rods. The simplest way to safely attach any type of fixture — no matter how big or how heavy — is to drive the mounting screws directly into wall studs. Unfortunately, that’s not always possible. This guide will walk you through the process of anchoring a towel bar effectively, providing you with a sturdy and long-lasting bathroom fixture.
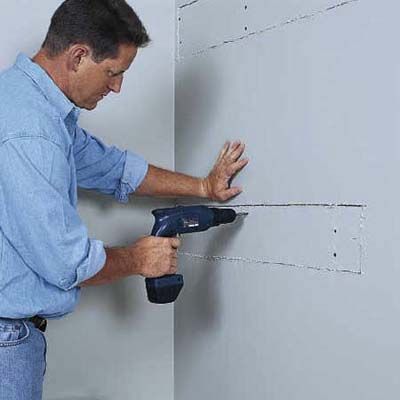
Step 1: Cut Through the Drywall
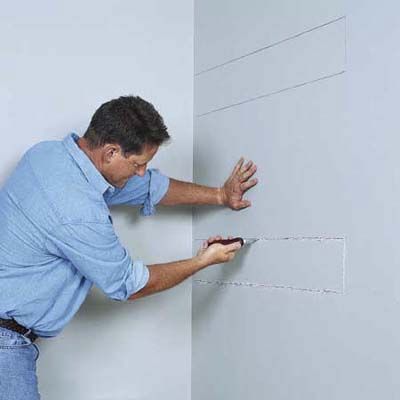
The first step in anchoring a towel bar is to get access to the wall studs. This process involves cutting a rectangular hole in the drywall, which will allow you to install solid backing for the towel bar. Here’s how to do it:
- Measure and mark a rectangular hole 6 inches high and long enough to span at least two studs.
- If working in a corner, start the hole outline 1 1/2 inches from the wall corner and extend it 3 inches beyond a stud.
- Use a drywall saw to carefully cut along the pencil lines.
- Set aside the cut drywall pieces for later use.
Remember to wear safety goggles and a dust mask when cutting drywall to protect yourself from debris.
Step 2: Notch Exposed Studs
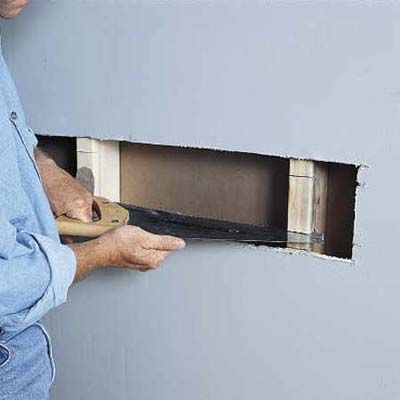
Once you’ve exposed the studs, you’ll need to create notches to accommodate the backing material. Use a handsaw to cut a 3/4-inch-deep by 3 1/2-inch-high notch in each of the exposed studs. Make sure the notches are level and aligned with each other. Clean up any rough edges with sandpaper to ensure a smooth fit for the backing.
Thoroughly notching the studs will provide a secure foundation for your towel bar, ensuring it stays in place once installed.
Step 3: Remove Waste Wood
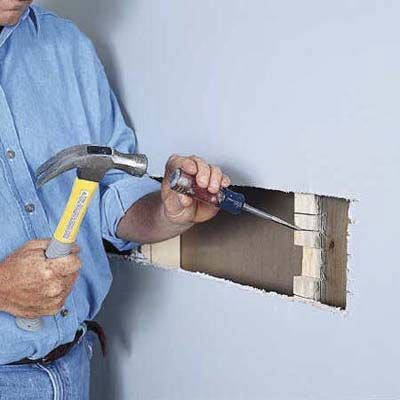
After notching the studs, you’ll need to remove the waste wood to create a clean space for the backing. Use a hammer and chisel to carefully chop out the waste wood from the studs. Work slowly and methodically to avoid damaging the surrounding drywall or studs. Double-check that each notch is exactly 3/4-inch deep to ensure a flush fit for the backing.
Removing the waste wood properly will allow the backing to sit securely in the notches, providing maximum support for your towel bar.
Step 4: Add Support for the Backing
When installing a towel bar near a corner, you may need to add extra support. If you do, locate the corner stud, which can’t be easily notched. Cut a 1-by-2 cleat to the appropriate length. Position the cleat 3/4 inch back from the edge of the corner stud. Secure the cleat to the side of the stud using 2-inch wood screws.
By reinforcing the area, you can avoid future issues with loose or unstable towel bars.
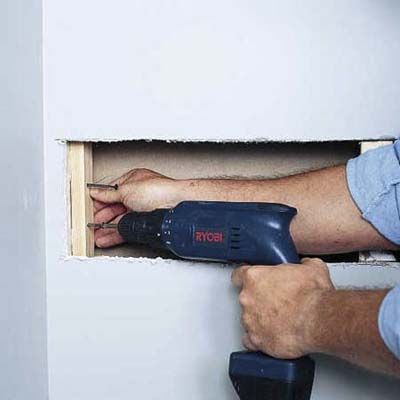
Step 5: Fit the Backing Into the Notches
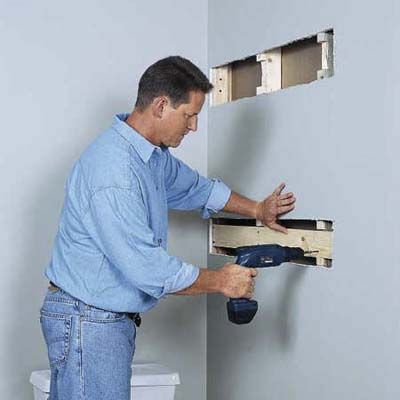
Now it’s time to install the backing that will provide a solid anchor for your towel bar. Measure and cut 1-by-4s to fit the length between the notched studs.
Press the 1-by-4s into the notches, ensuring they fit snugly against the 1-by-2 corner cleats, if applicable. Check that the 1-by-4s don’t protrude beyond the studs, as this could interfere with replacing the drywall.
If necessary, remove the 1-by-4s and adjust the notch depth or cleat position. Once properly fitted, secure the 1-by-4 backing with 2-inch galvanized decking screws.
Drive screws into both the notched studs and the 1-by-2 corner cleats for maximum stability.
Step 6: Replace and Patch the Drywall
With the backing securely in place, it’s time to close up the wall and prepare for the final installation. Retrieve the original drywall pieces you removed earlier and carefully fit these pieces back into the holes. Secure the drywall with 1 1/2-inch drywall screws. Cover the seams around the patches with paper drywall tape or fiberglass mesh tape to prevent future cracking.
Taking the time to apply tape around the seams helps to hide the repair and provides a seamless appearance.
Step 7: Apply Joint Compound
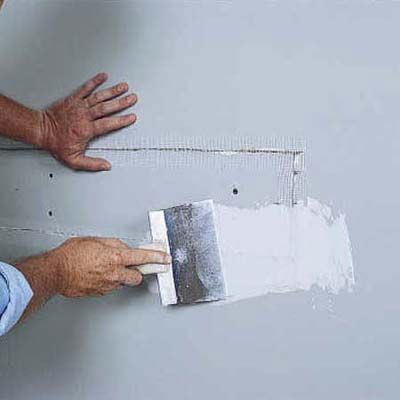
Next, apply a coat of drywall joint compound over the tape and screwheads using an 8-inch drywall knife. Allow the compound to dry overnight, then use the knife to scrape off any ridges or bumps. Apply a second coat of joint compound over the entire patch, only this time use an 8- or 10-inch drywall knife. When this coat dries, scrape off the high spots and apply a thin coat, feathering the edges over a wider area.
Wait overnight, then lightly sand the area with 150-grit abrasive sandpaper. If necessary, apply a final skim coat of joint compound to fill any small surface imperfections. Apply two coats of paint to the patched areas. If the newly painted sections stand out from the surrounding area, you might want to paint the entire wall.
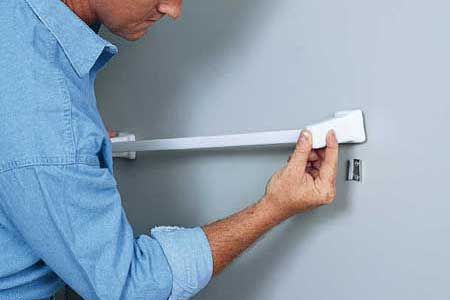
Step 8: Install the Bars

With the wall prepared and the backing securely in place, you’re ready to install the towel bars. Position the metal mounting brackets where you want the towel bars to be located. Mark the screw holes on the wall.
Pre-drill pilot holes for the screws, ensuring they align with the 1-by-4 backing. Fasten the metal mounting brackets to the wall using screws long enough to penetrate the backing. Slide the towel bar sockets over the metal brackets until they’re tightly wedged in place.
Double-check that the towel bars are level and securely attached before use.
Our Conclusion
Properly anchoring a towel bar is a worthwhile project that ensures durability and functionality in your bathroom. By following these steps to install solid backing, you’ll create a secure foundation that can withstand daily use without coming loose. While it may take a bit more time and effort than simply using drywall anchors, the result should be a professional-grade installation that will stand the test of time.