We may be compensated if you purchase through links on our website. Our team is committed to delivering honest, objective, and independent reviews on home products and services.
Project details
Skill
Cost
Estimated Time
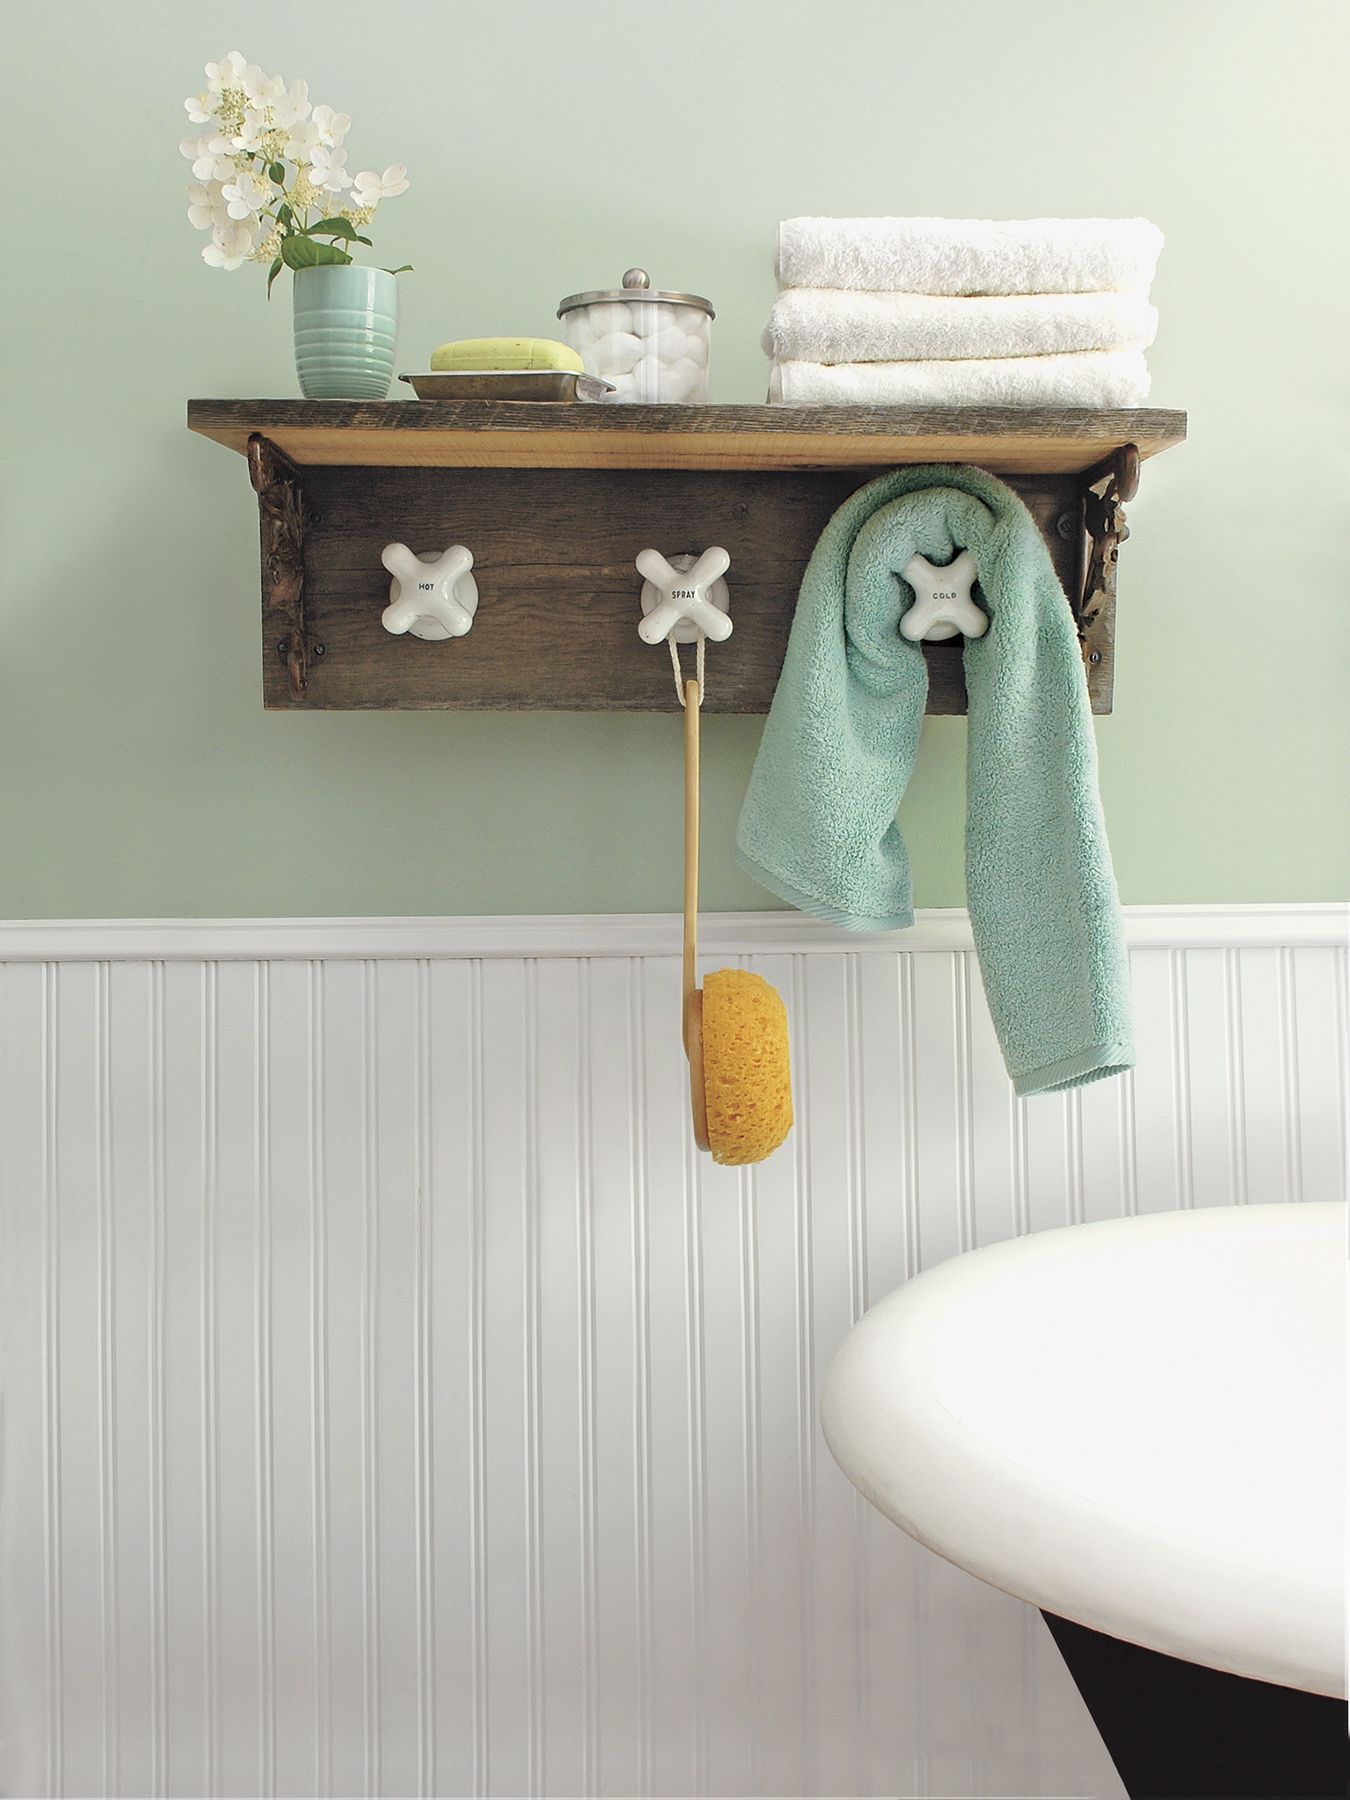
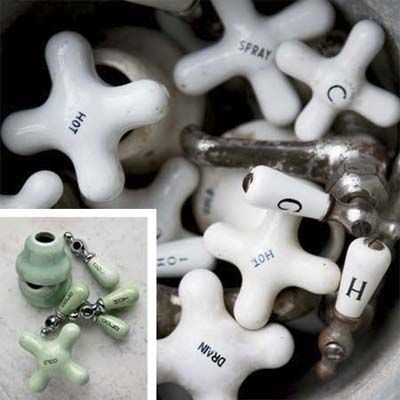
Transforming vintage bathroom fixtures into functional decor is a creative way to add character to your space. Porcelain taps were designed to last, and many can still be found in well-maintained bathrooms today. Even if your bathroom has modern fixtures, you can still incorporate these vintage pieces into your decor. Look for vintage faucet taps at salvage yards, antique stores, or online—prices range based on quality.
Whether you’re a do-it-yourself (DIY) enthusiast or looking to add some vintage flair to your bathroom, this project is an easy and affordable way to create a unique towel rack.
Tools and Materials
- Escutcheons (optional)
- Mounting brackets
- Two wood planks (cut to your desired towel rack size)
- Vintage porcelain cross-handle faucet taps
- Wood screws (1 1/4 inches)
 Tape measure
- Combination square
- Drill/driver
- Screwdriver
Assembling the Towel Rack with Vintage Taps
Follow these steps to build your own vintage-inspired towel rack. Measure carefully, have all of your tools ready, and familiarize yourself with the instructions to avoid any surprises during the build.
1. Calculate the Space Between Vintage Taps
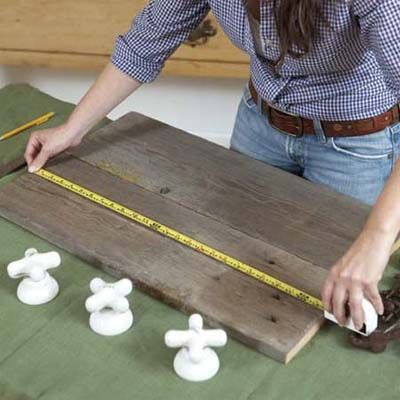
Plan your layout carefully. Start by measuring the rough distance you want between each tap on your mounting board. Without proper spacing, your final result may look amateur.
Consider your towel sizes and the number of taps you want to add. Allow at least 8–10 inches between each tap to accommodate standard bath towels, and factor in an extra inch on either side of the board for the support brackets. It’s always better to measure twice and cut once, so if you’re unsure, sketch your layout on graph paper beforehand.
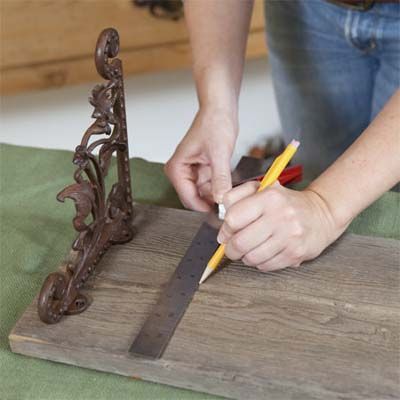
2. Mark the Board for a Shelf
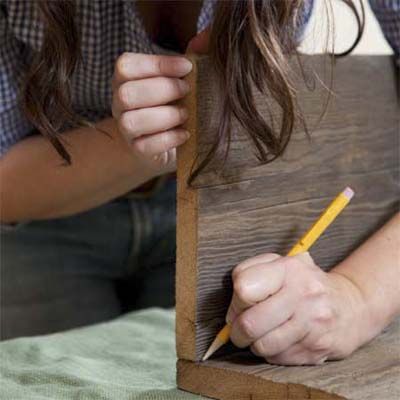
Adding a shelf to your towel rack makes it even more functional. To determine the supporting brackets’ proper height, trace a line where the shelf will go. Consider the shelf’s height in relation to the taps. Ideally, there should be enough space between the shelf and the taps to hang and remove towels easily.
3. Position the Brackets for the Shelf
Position the brackets 1 inch from the ends of the mounting board. Align the tops of the brackets just below the pencil line you drew in the previous step, and use a pencil to mark where the fasteners will go. Use a level to double-check that your placement is even on both sides.
4. Screw the Brackets On

Now that you’ve marked the positions for your brackets, it’s time to secure them to the mounting board:
- Drill pilot holes at the marks you made in the previous step. Pilot holes help prevent the wood from splitting and make it easier to drive in the screws.
- Choose screws that are appropriate for the thickness of your mounting board and the weight they’ll be supporting. Typically, 1 1/4-inch wood screws should work for this project.
- Align the brackets with the pilot holes and use a screwdriver or drill with a screwdriver bit to secure them in place. Make sure the screws are flush with the bracket surface.
- Tighten the screws firmly, but do not overtighten them, as this could strip the wood or damage the brackets.
Once both brackets are securely fastened, give them a gentle tug to check their stability.
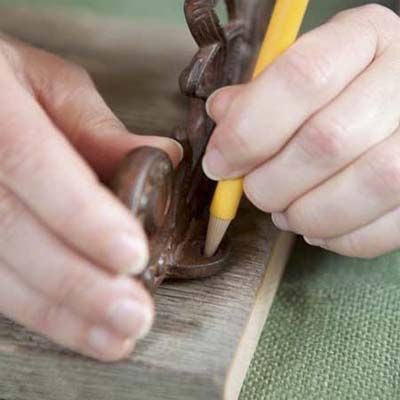
5. Mark the Vintage Tap Positions
Tap placement is important, so start by marking positions carefully on the mounting board:
- Draw a horizontal line across the board’s center using the straightedge of a combination square. This line will serve as a guide for aligning your taps.
- Determine how many taps you want to include and how you want to space them. For a standard-sized towel rack, we like to use three evenly spaced taps.
- Measure your board’s total length divided by the number of taps plus one to find the spacing between each tap. Adjust these measurements according to your personal preference and board width.
- Mark vertical lines through the horizontal one to indicate where each tap will go.
Ensure the marks are evenly spaced and level before moving on to the next step.
6. Attach the Spindles

With your tap positions marked, it’s time to attach the dummy spindles that will support your vintage taps. These spindles help create a sturdy connection to the mounting board:
- Place each spindle on its corresponding mark on the board, making sure that they’re perfectly aligned.
- Once you’ve confirmed the placement, use a drill to create pilot holes for the spindle fasteners. The size of your pilot holes should be slightly smaller than the diameter of your screws to ensure a tight fit.
- Align the spindles with the holes and secure them to the board using appropriate screws. Make sure each spindle is tightened securely but avoid over-tightening, which could damage the wood or the spindle.
After attaching all the spindles, give them a gentle twist to make sure they’re firmly in place and ready to support your vintage taps.
7. Glue the Escutcheons On
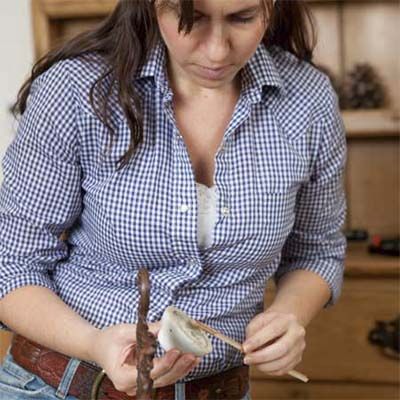
Escutcheons hide the hardware and add a finishing touch to your vintage tap towel rack. You’ll need to attach them with a strong adhesive that can bond metal to wood. We recommend a two-part, fast-drying epoxy formulated for bonding metal:
- Mix the epoxy according to the manufacturer’s instructions.
- Apply a thin, even layer of epoxy to the rim of each porcelain escutcheon. Be careful not to use too much—excess epoxy can be hard to clean up.
- Carefully place each escutcheon over its corresponding spindle, making sure it’s centered and level. Hold it in place for a few moments so the epoxy can begin setting.
- Wipe away any excess epoxy that may have squeezed out from under the escutcheon with a clean cloth.
We recommend working in a well-ventilated area to avoid inhaling fumes.
8. Set the Taps
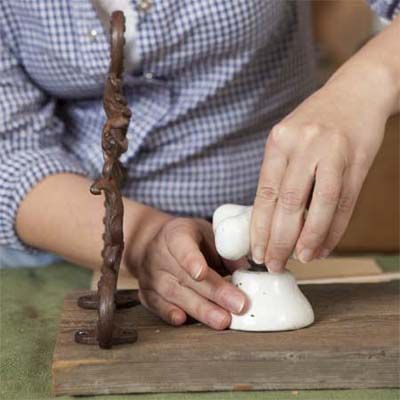
The final step in assembling your vintage towel rack is to set the taps themselves.
- Apply a small amount of epoxy to the metal fittings at the base of each tap. Be sure to use enough to create a strong bond, but avoid overfilling, which could cause the epoxy to seep out when the tap is placed.
- Carefully fit each tap onto its corresponding spindle, aligning it properly and pressing down gently to ensure good contact with the epoxy.
- Double-check that the taps are level and facing the correct direction before the epoxy starts to harden.
- Let epoxy set for at least five minutes before letting go.
Full curing, which ensures maximum strength, takes about an hour. During this time, avoid touching or adjusting the taps so as not to disturb the bond.
9. Attach the Shelf Top

With your vintage taps securely in place, the final step is to attach the shelf top:
- Carefully rest the shelf top on the brackets you installed earlier. Double-check that it’s level.
- Use trim-head screws to attach the shelf to the top ledge of the supporting board. These screws have small heads that can be easily concealed.
- Drive the screws through the shelf and into the supporting board, being careful not to split the wood. Make sure the screws are evenly spaced for good weight distribution.
Once the shelf is securely attached, give it a gentle test to make sure it’s stable and can support the weight of towels or decorative items.