Installing a dog door can be a game-changer for you and your furry friend. Whether you’re considering adding one to an existing door or cutting through a wall, we’ve got you covered with expert tips and step-by-step instructions.
Choosing the Right Dog Door for Your Home
Consider these factors when making your choice.
Types of Dog Doors
Dog doors come in various styles to accommodate different installation locations and pet sizes. Some common types include:
- Flap doors: The most basic and affordable option, featuring a flexible flap that your dog can push through
- Electronic doors: These high-tech options open automatically when your pet approaches, often activated by a sensor on your dog’s collar
- Sliding door inserts: Designed to fit into existing sliding glass doors without permanent modifications
- Wall-mounted doors: Ideal for homes where installing a door in an existing door isn’t feasible
Size Considerations
The most important factor in your decision-making process is the size of your dog’s door. Measure your dog’s height and shoulder width to determine the minimum size needed. Add a few inches to these measurements to create a comfortable passage. Many manufacturers provide sizing charts to help you select the right fit for your pet.
Material Options
Dog doors are available in various materials, each with its benefits:
- Plastic: Lightweight and affordable, but may not be as durable as other options
- Aluminum: Sturdy and weather-resistant, ideal for long-term use
- Vinyl: Flexible and energy-efficient, suitable for various climates
- Steel: Offers maximum security but can be more expensive
Security Features
To maintain your home’s safety, look for dog doors with built-in security features such as:
- Locking panels: These cover the door when not in use, preventing unwanted entry
- Electronic activation: Doors that only open for pets wearing a unique collar tag
- Impact-resistant materials: To withstand potential break-in attempts
Electronic Pet Doors
Electronic pet doors offer advanced features that can enhance convenience and security, such as:
- Selective entry is based on your pet’s microchip or collar tag, which prevents other animals from entering your home
- Programmable access times—you can control when your door is accessible to your pet
- Integration with smart home systems, allowing you to manage your pet door remotely and receive notifications
Preparing for Installation
Gather all necessary tools and materials, and carefully select the ideal location before beginning the project.
Tools and Materials Needed
For a typical dog door installation, you’ll need:
- Measuring tape
- Pencil
- Level
- Drill and drill bits
- Reciprocating saw or jigsaw
- Screwdriver
- Caulk and caulk gun
- Weather stripping
- A dog door kit
Selecting the Ideal Location
Choose a spot that’s convenient for your dog and doesn’t interfere with your home’s structure. Consider these factors:
- Proximity to your dog’s favorite outdoor areas
- Distance from furniture or obstacles
- Structural integrity of the wall or door
- Weather exposure and potential drafts
Installation Process
The installation process varies depending on whether you’re installing the dog door in an existing door or through a wall. Here’s a general overview of both methods.
Installing in an Existing Door

Adding a dog door to an existing door is a standard method and can be a relatively simple project. Here are the steps:
- Measure and mark the door according to the template provided with your dog door kit. Make sure the placement is at a comfortable height for your pet.
- Cut out the opening using a jigsaw, following the marked lines carefully. Wear safety glasses and use clamps to secure the door while cutting.
- Test fit the dog door frame and make any necessary adjustments.
- Apply weather stripping around the opening to prevent drafts and maintain energy efficiency.
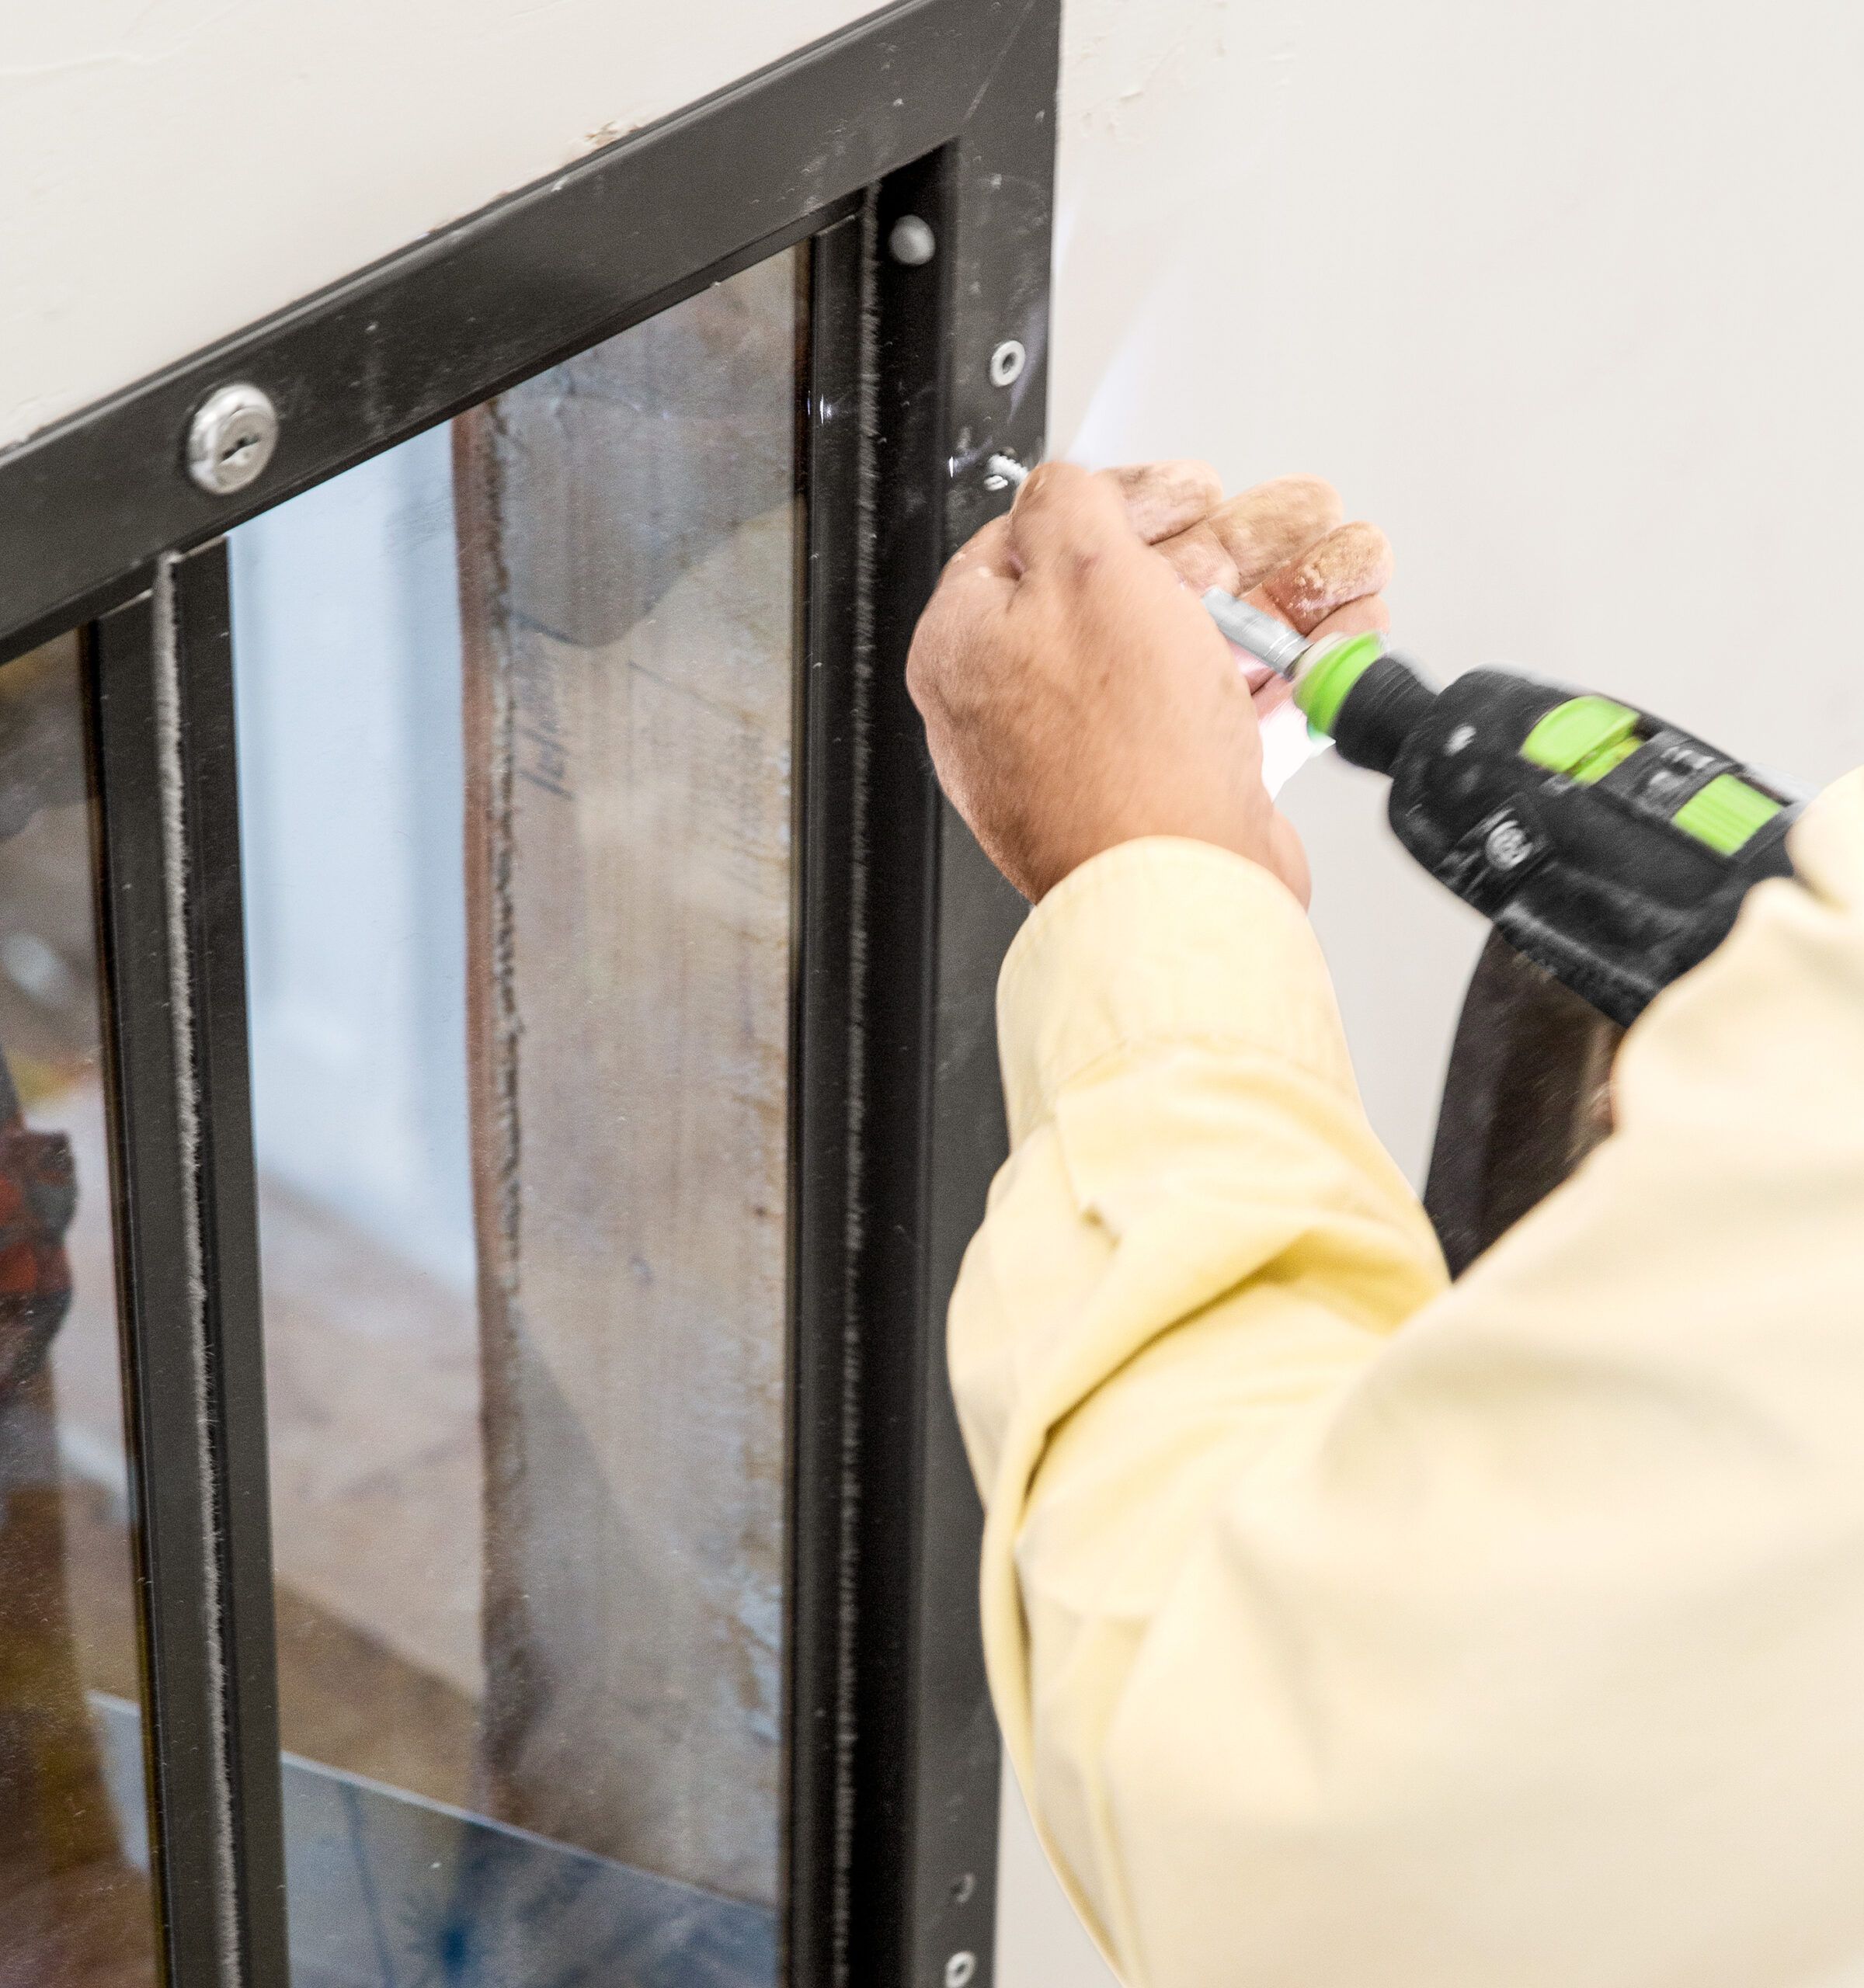
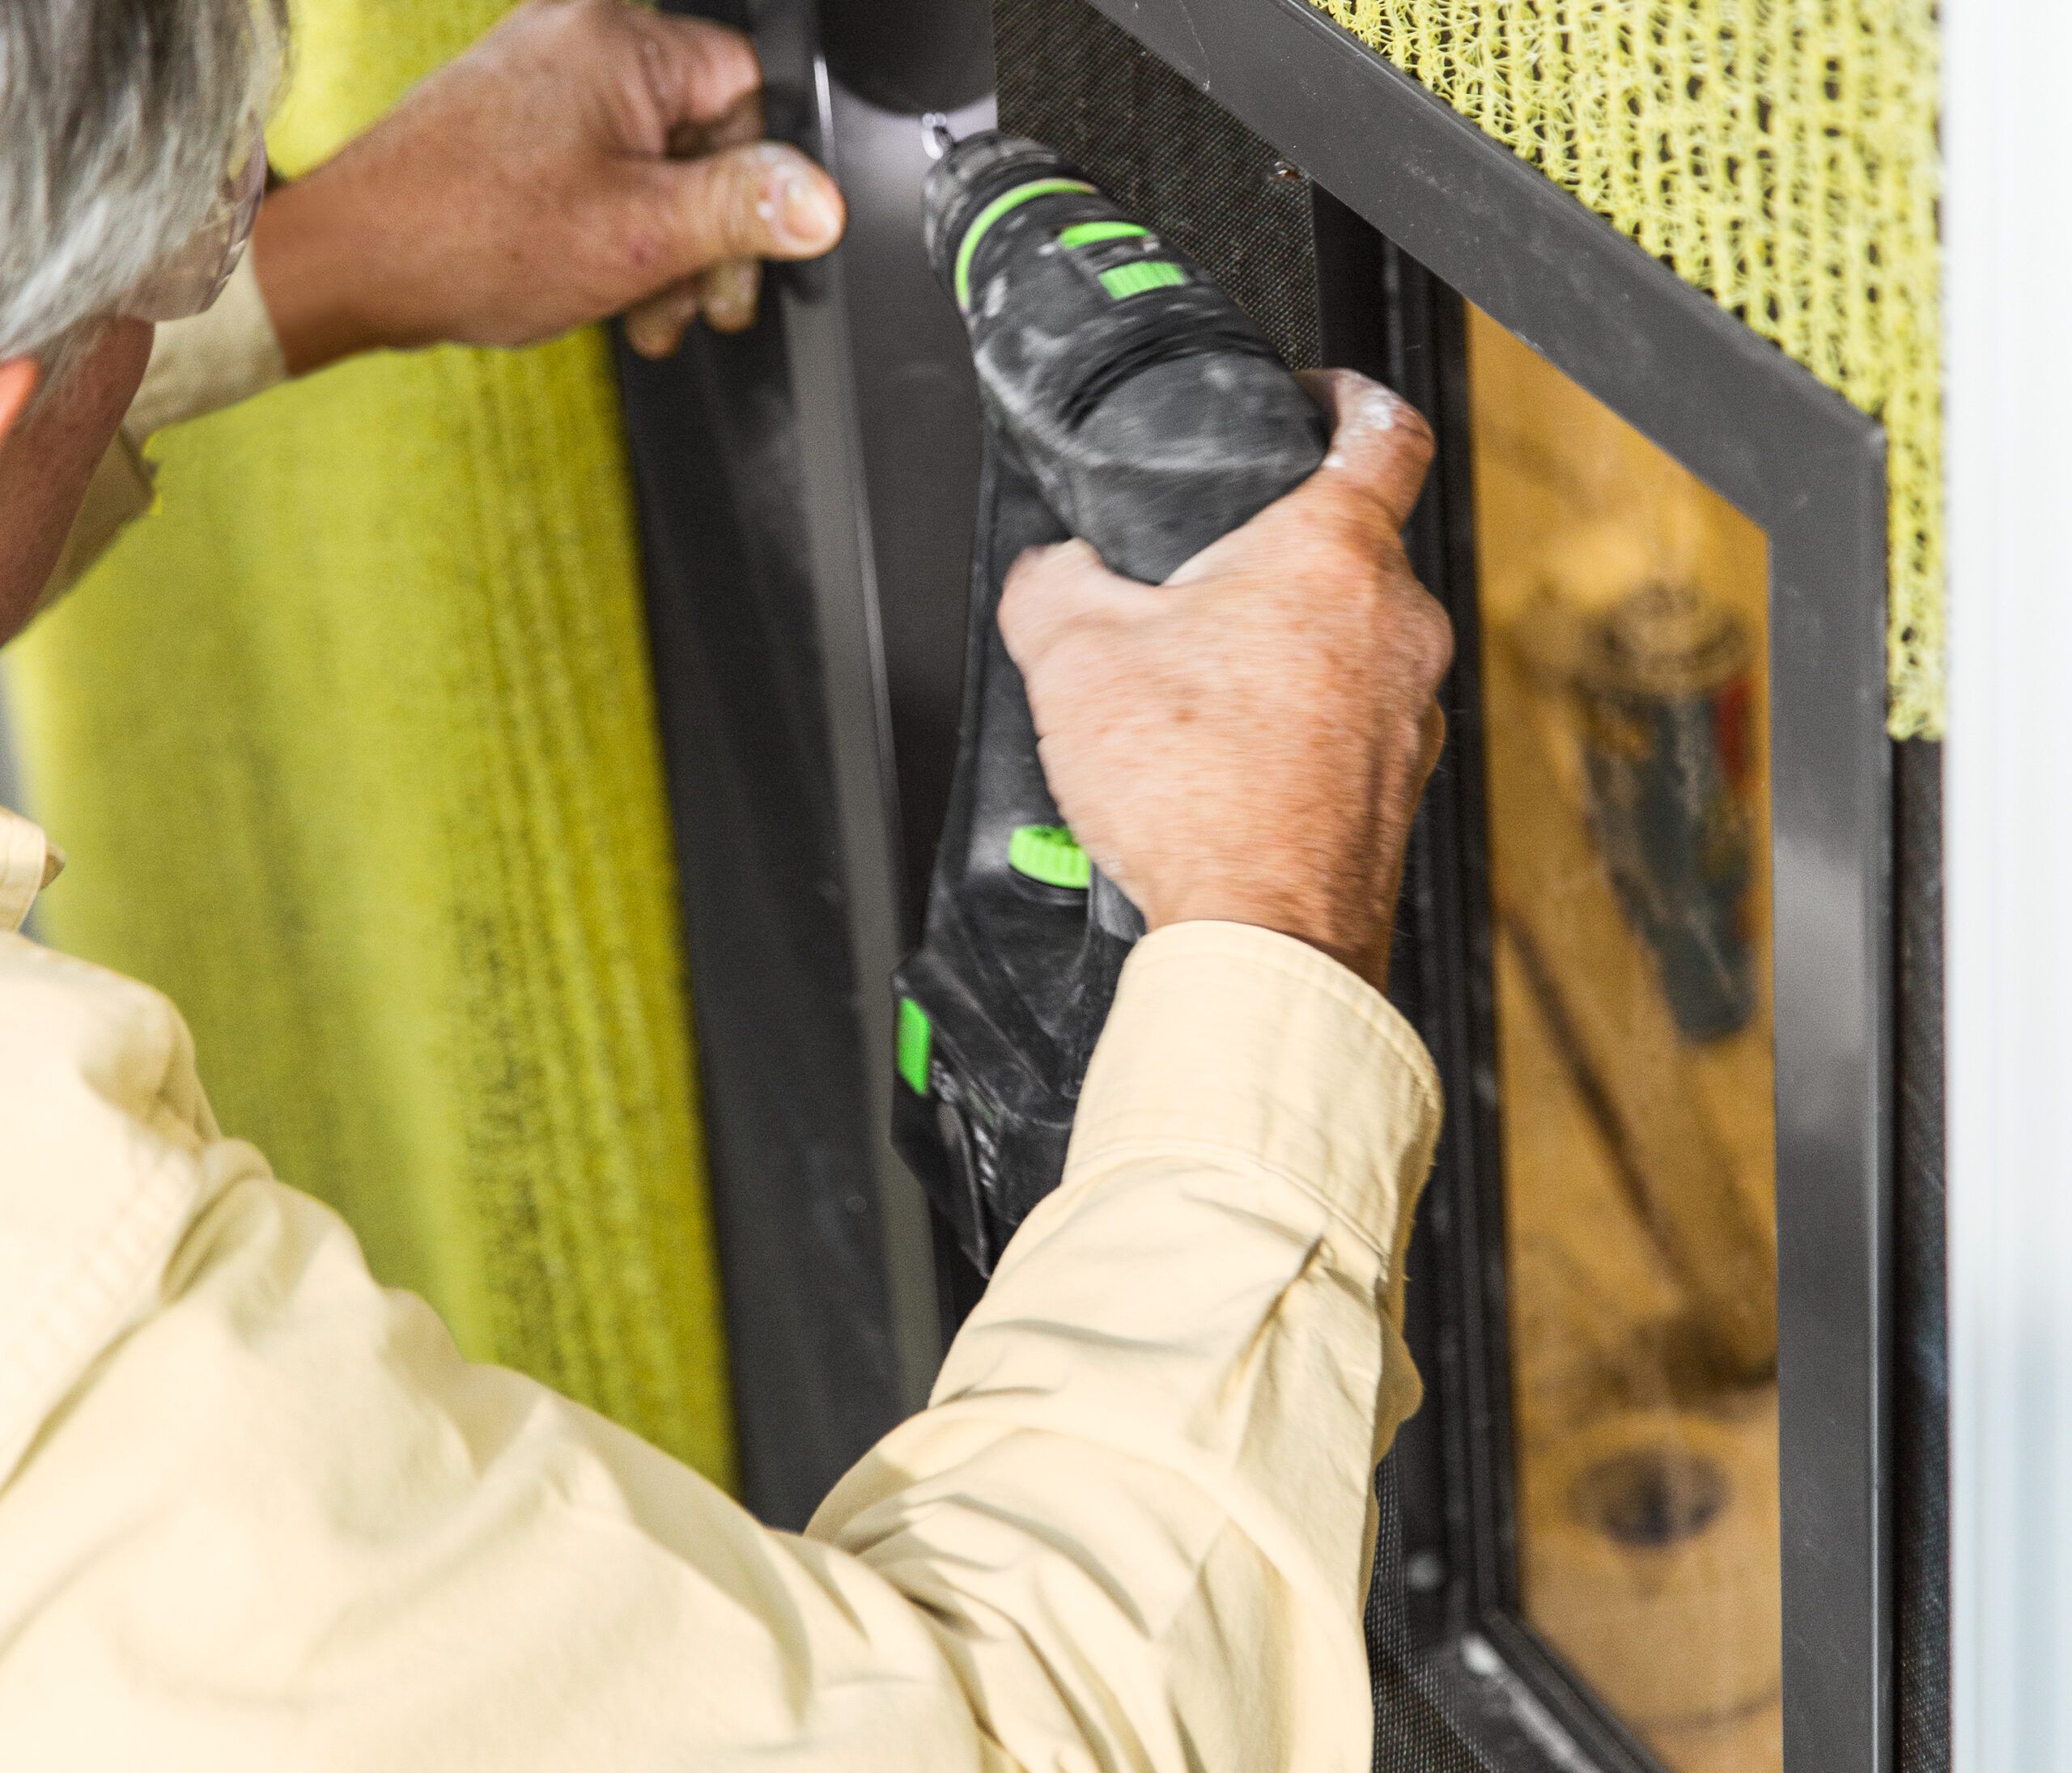
- Insert the dog door frame and secure it with screws. Follow the manufacturer’s instructions for a secure fit.
- Install the flap or electronic mechanism according to the manufacturer’s instructions.
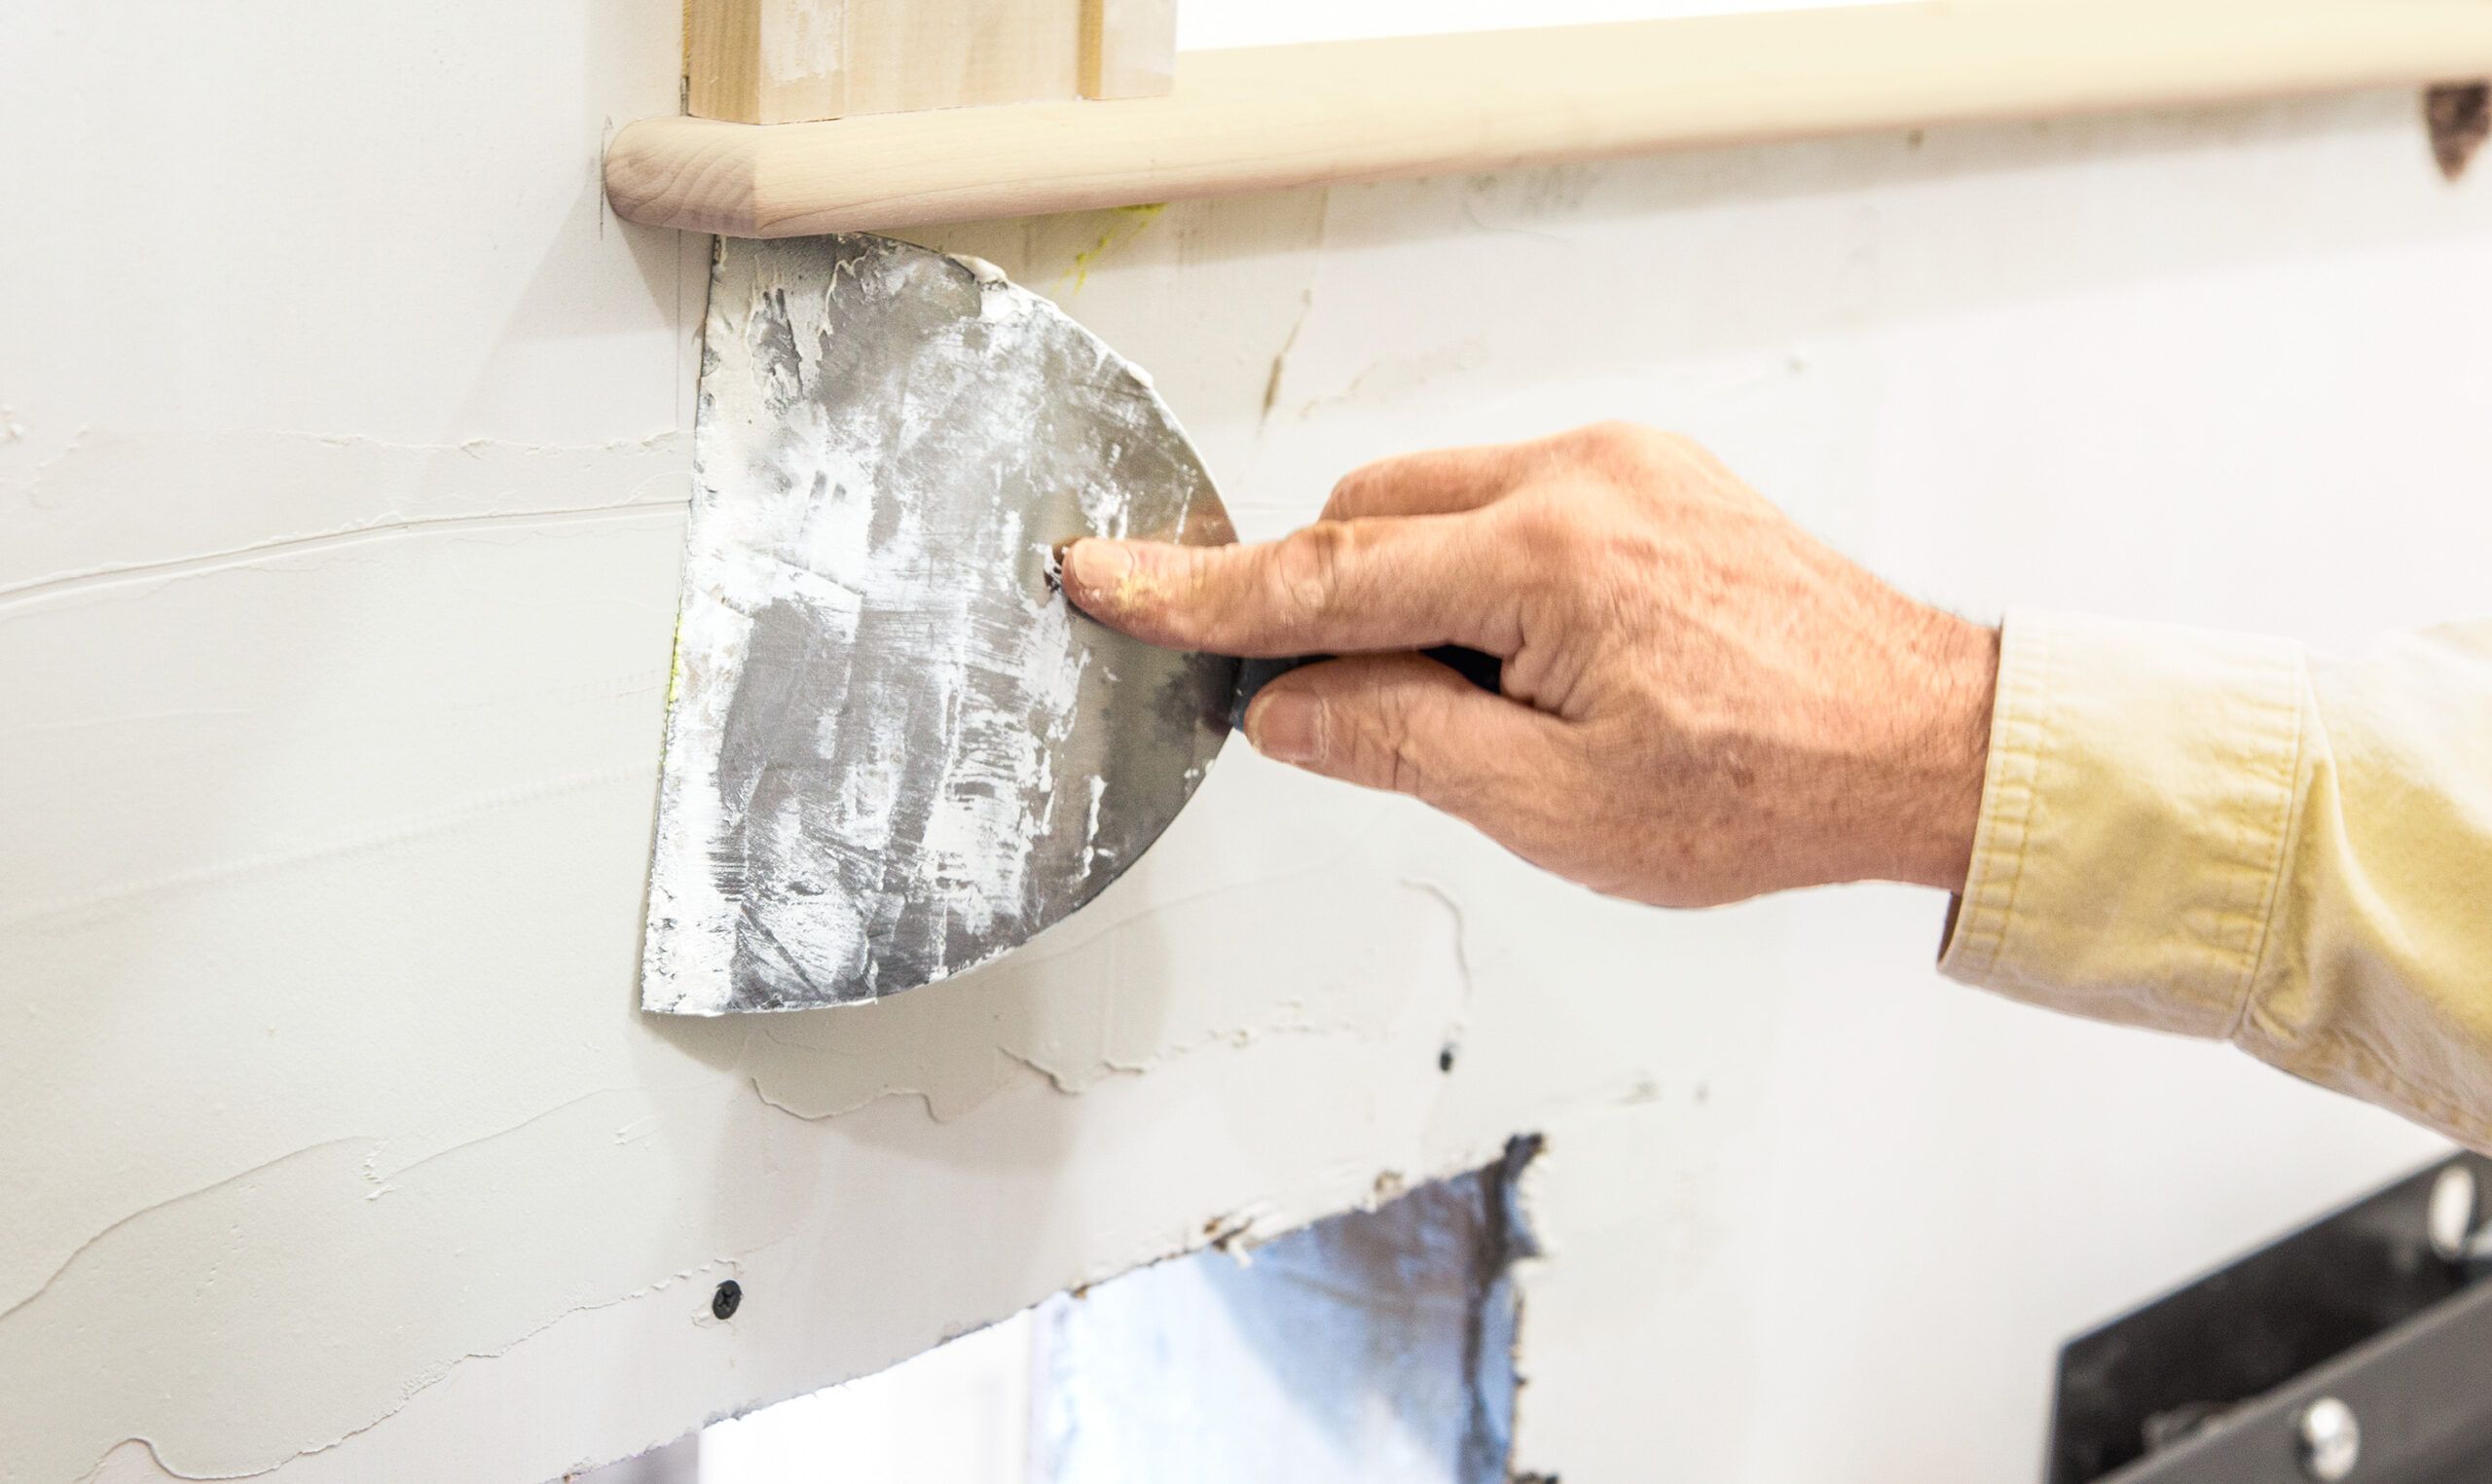
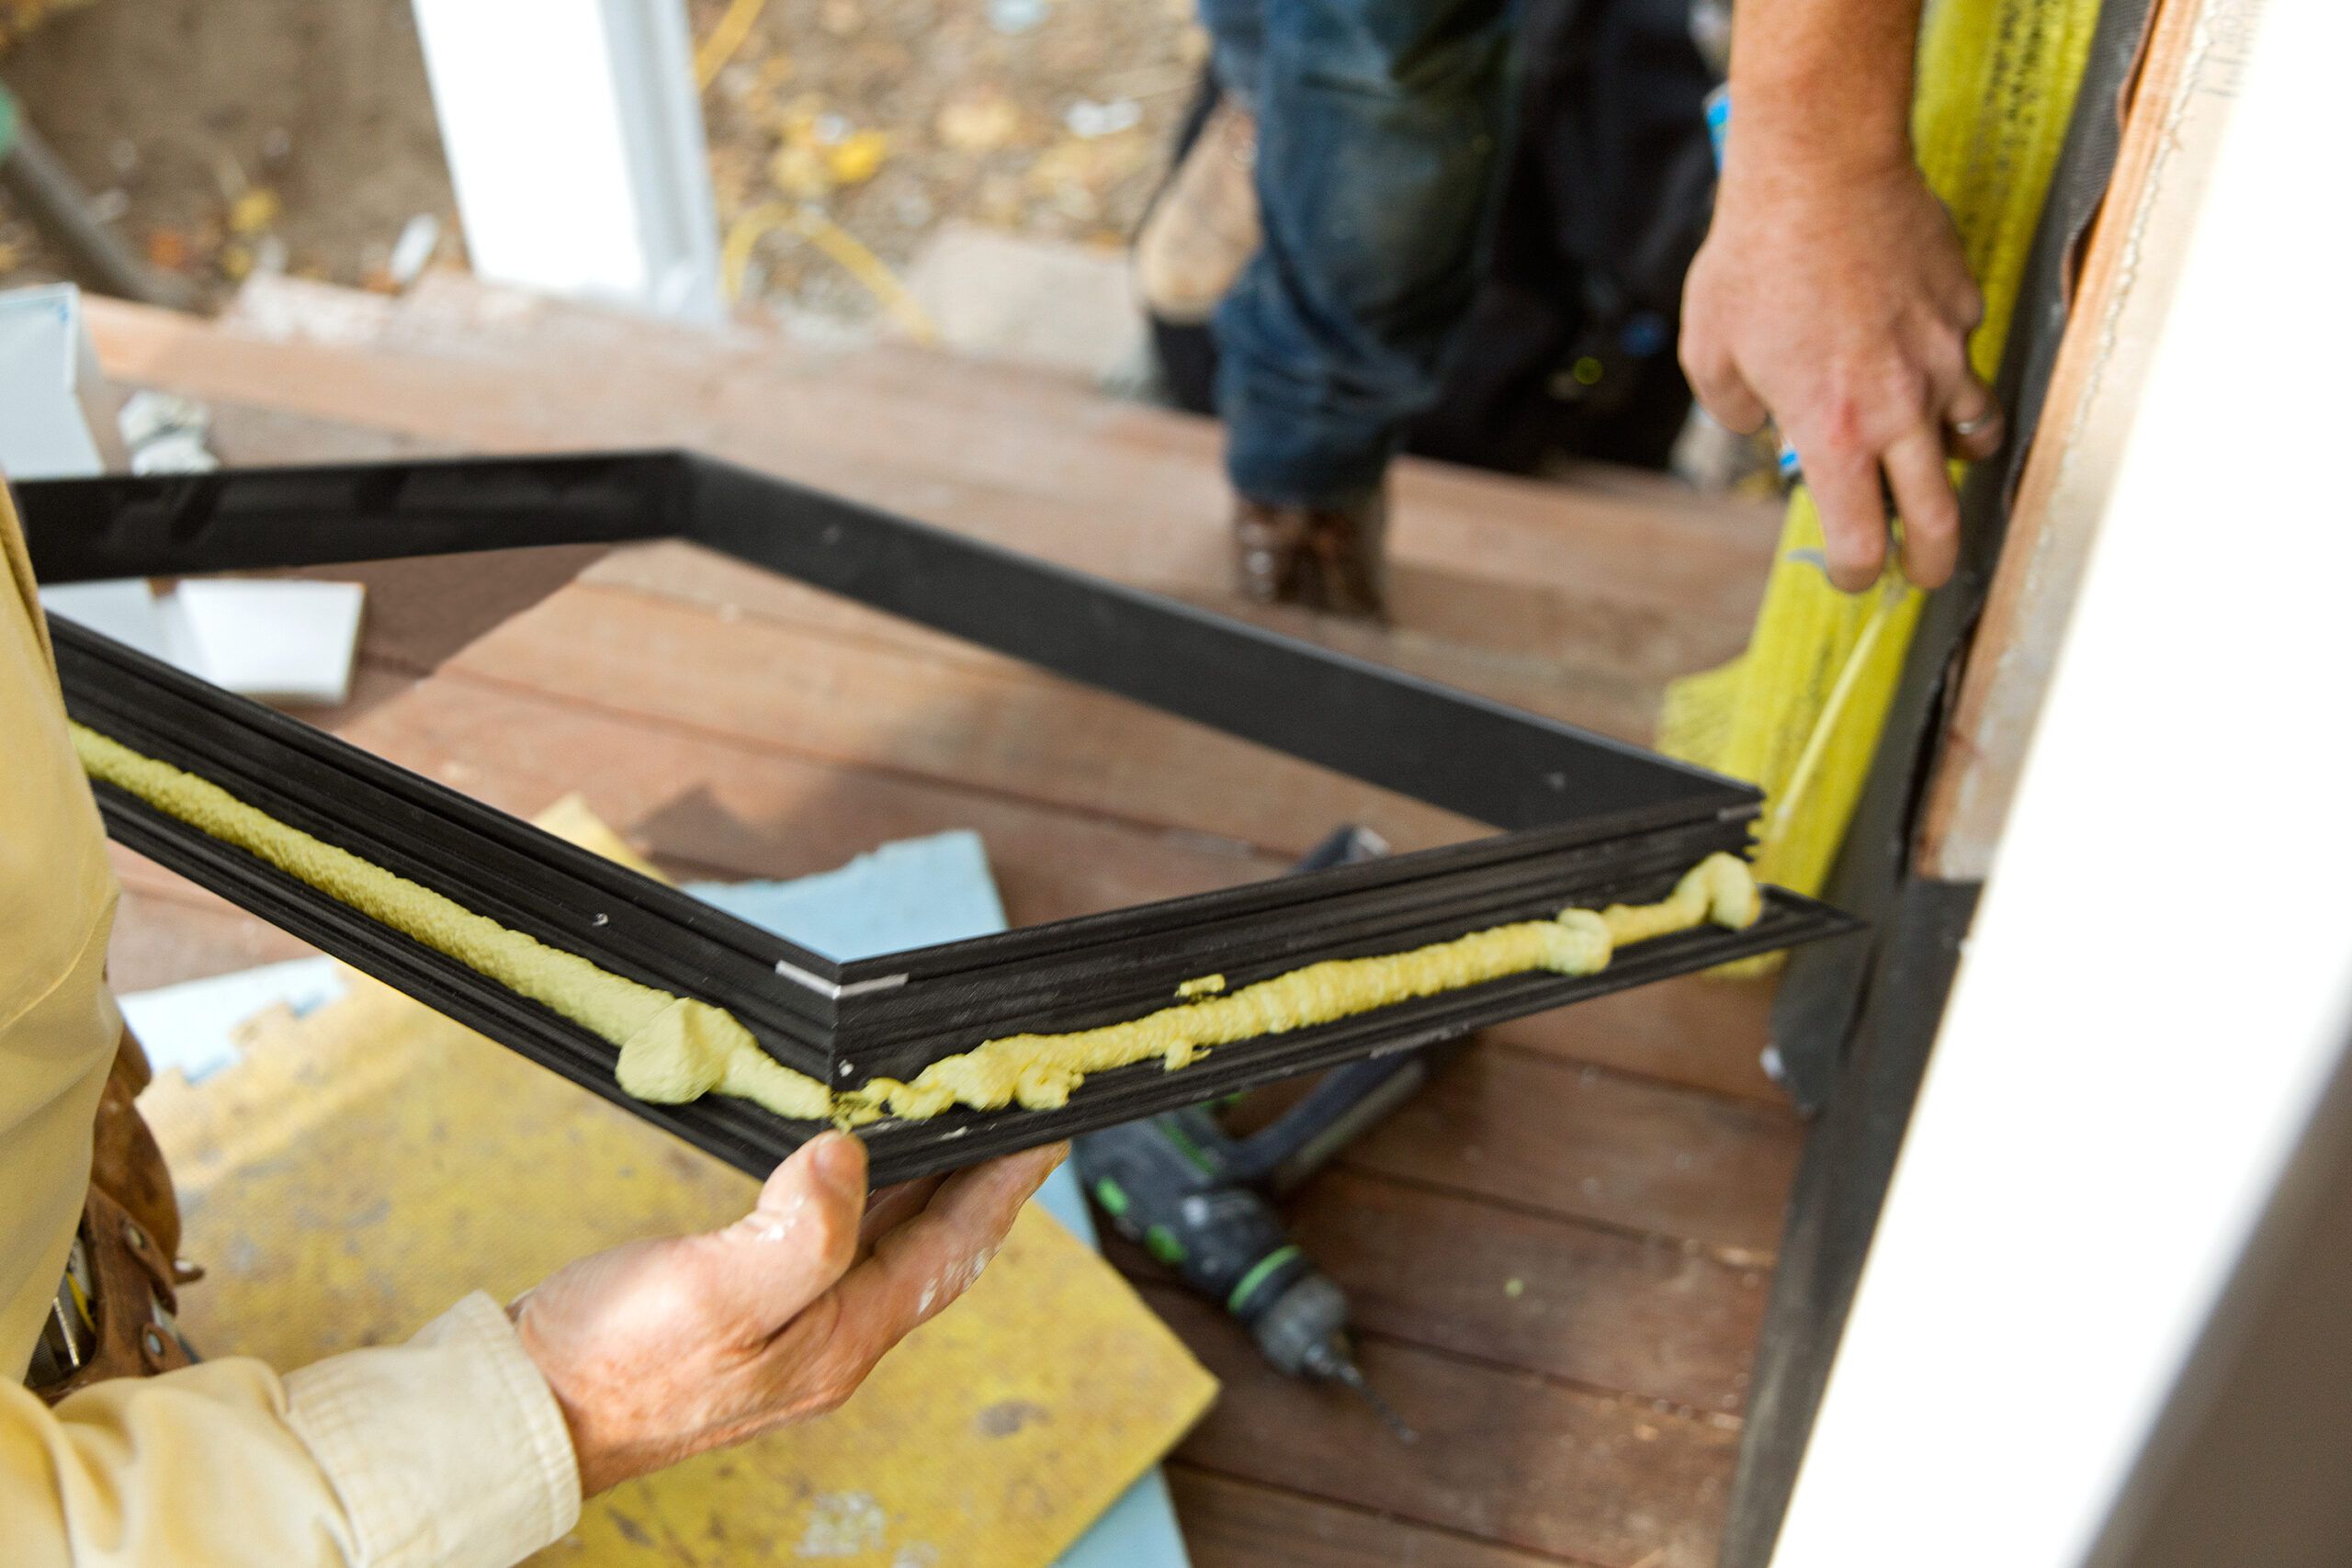
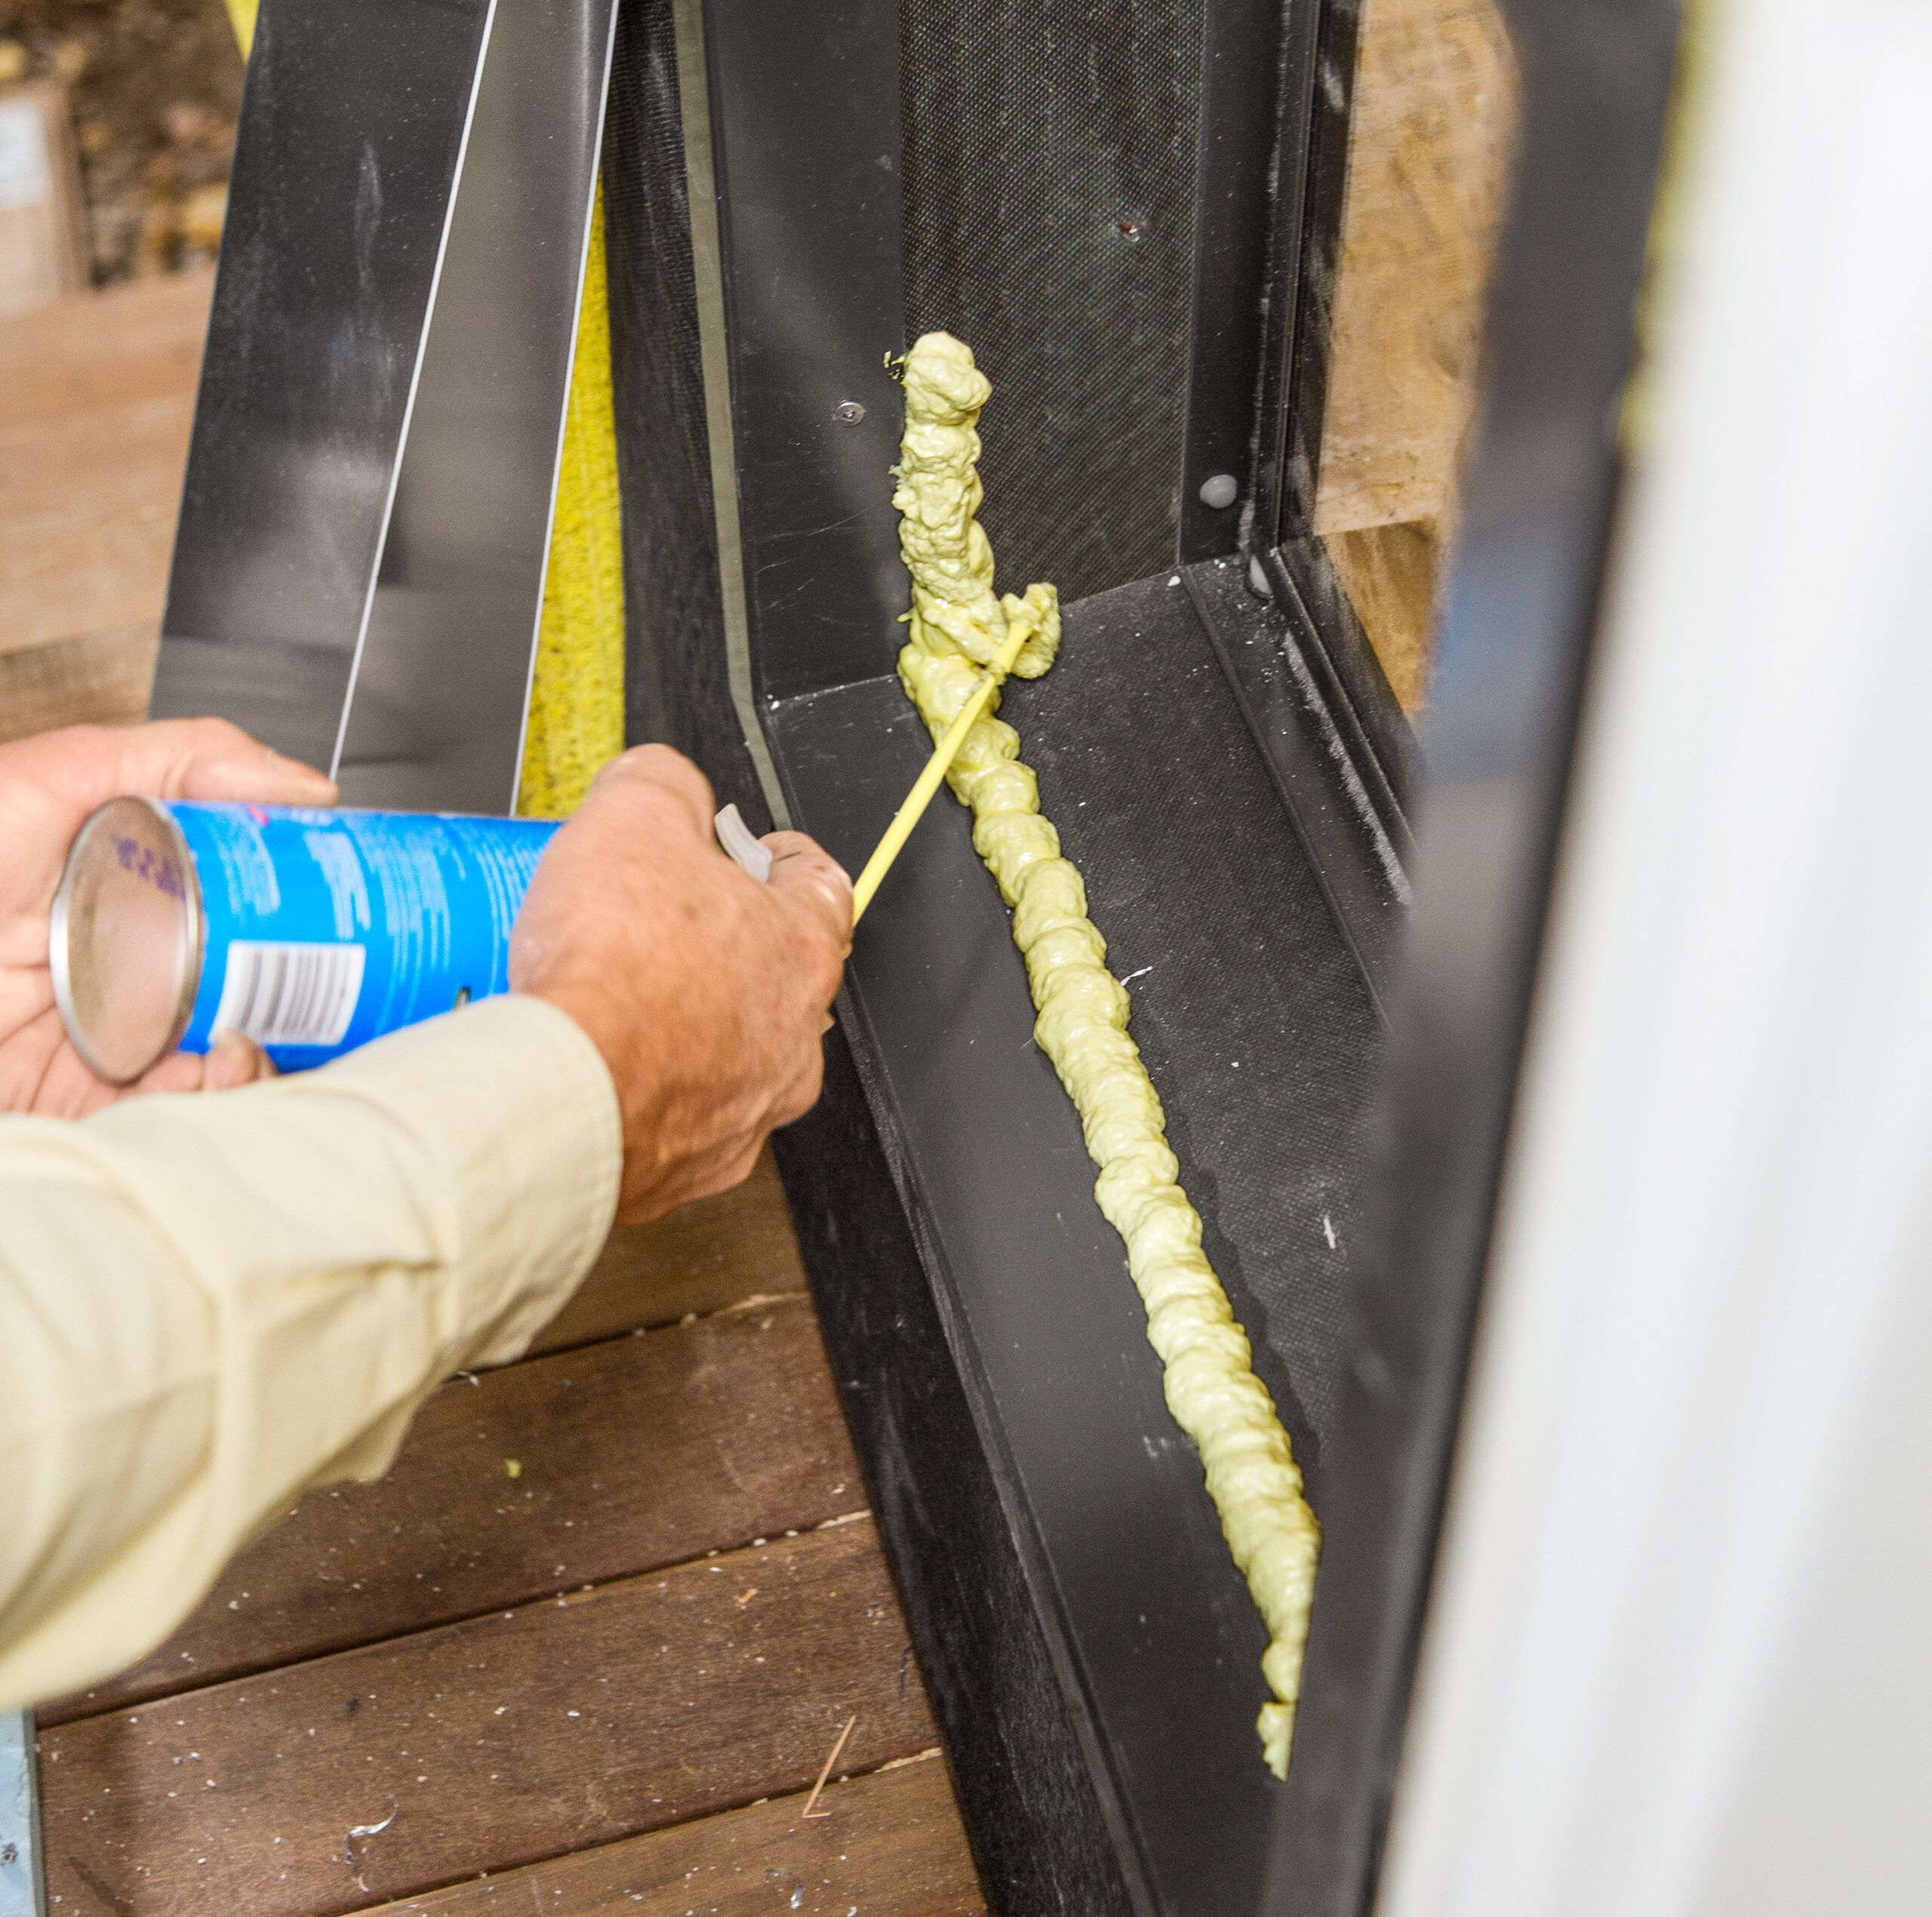
- Caulk around the frame to create a weathertight seal.
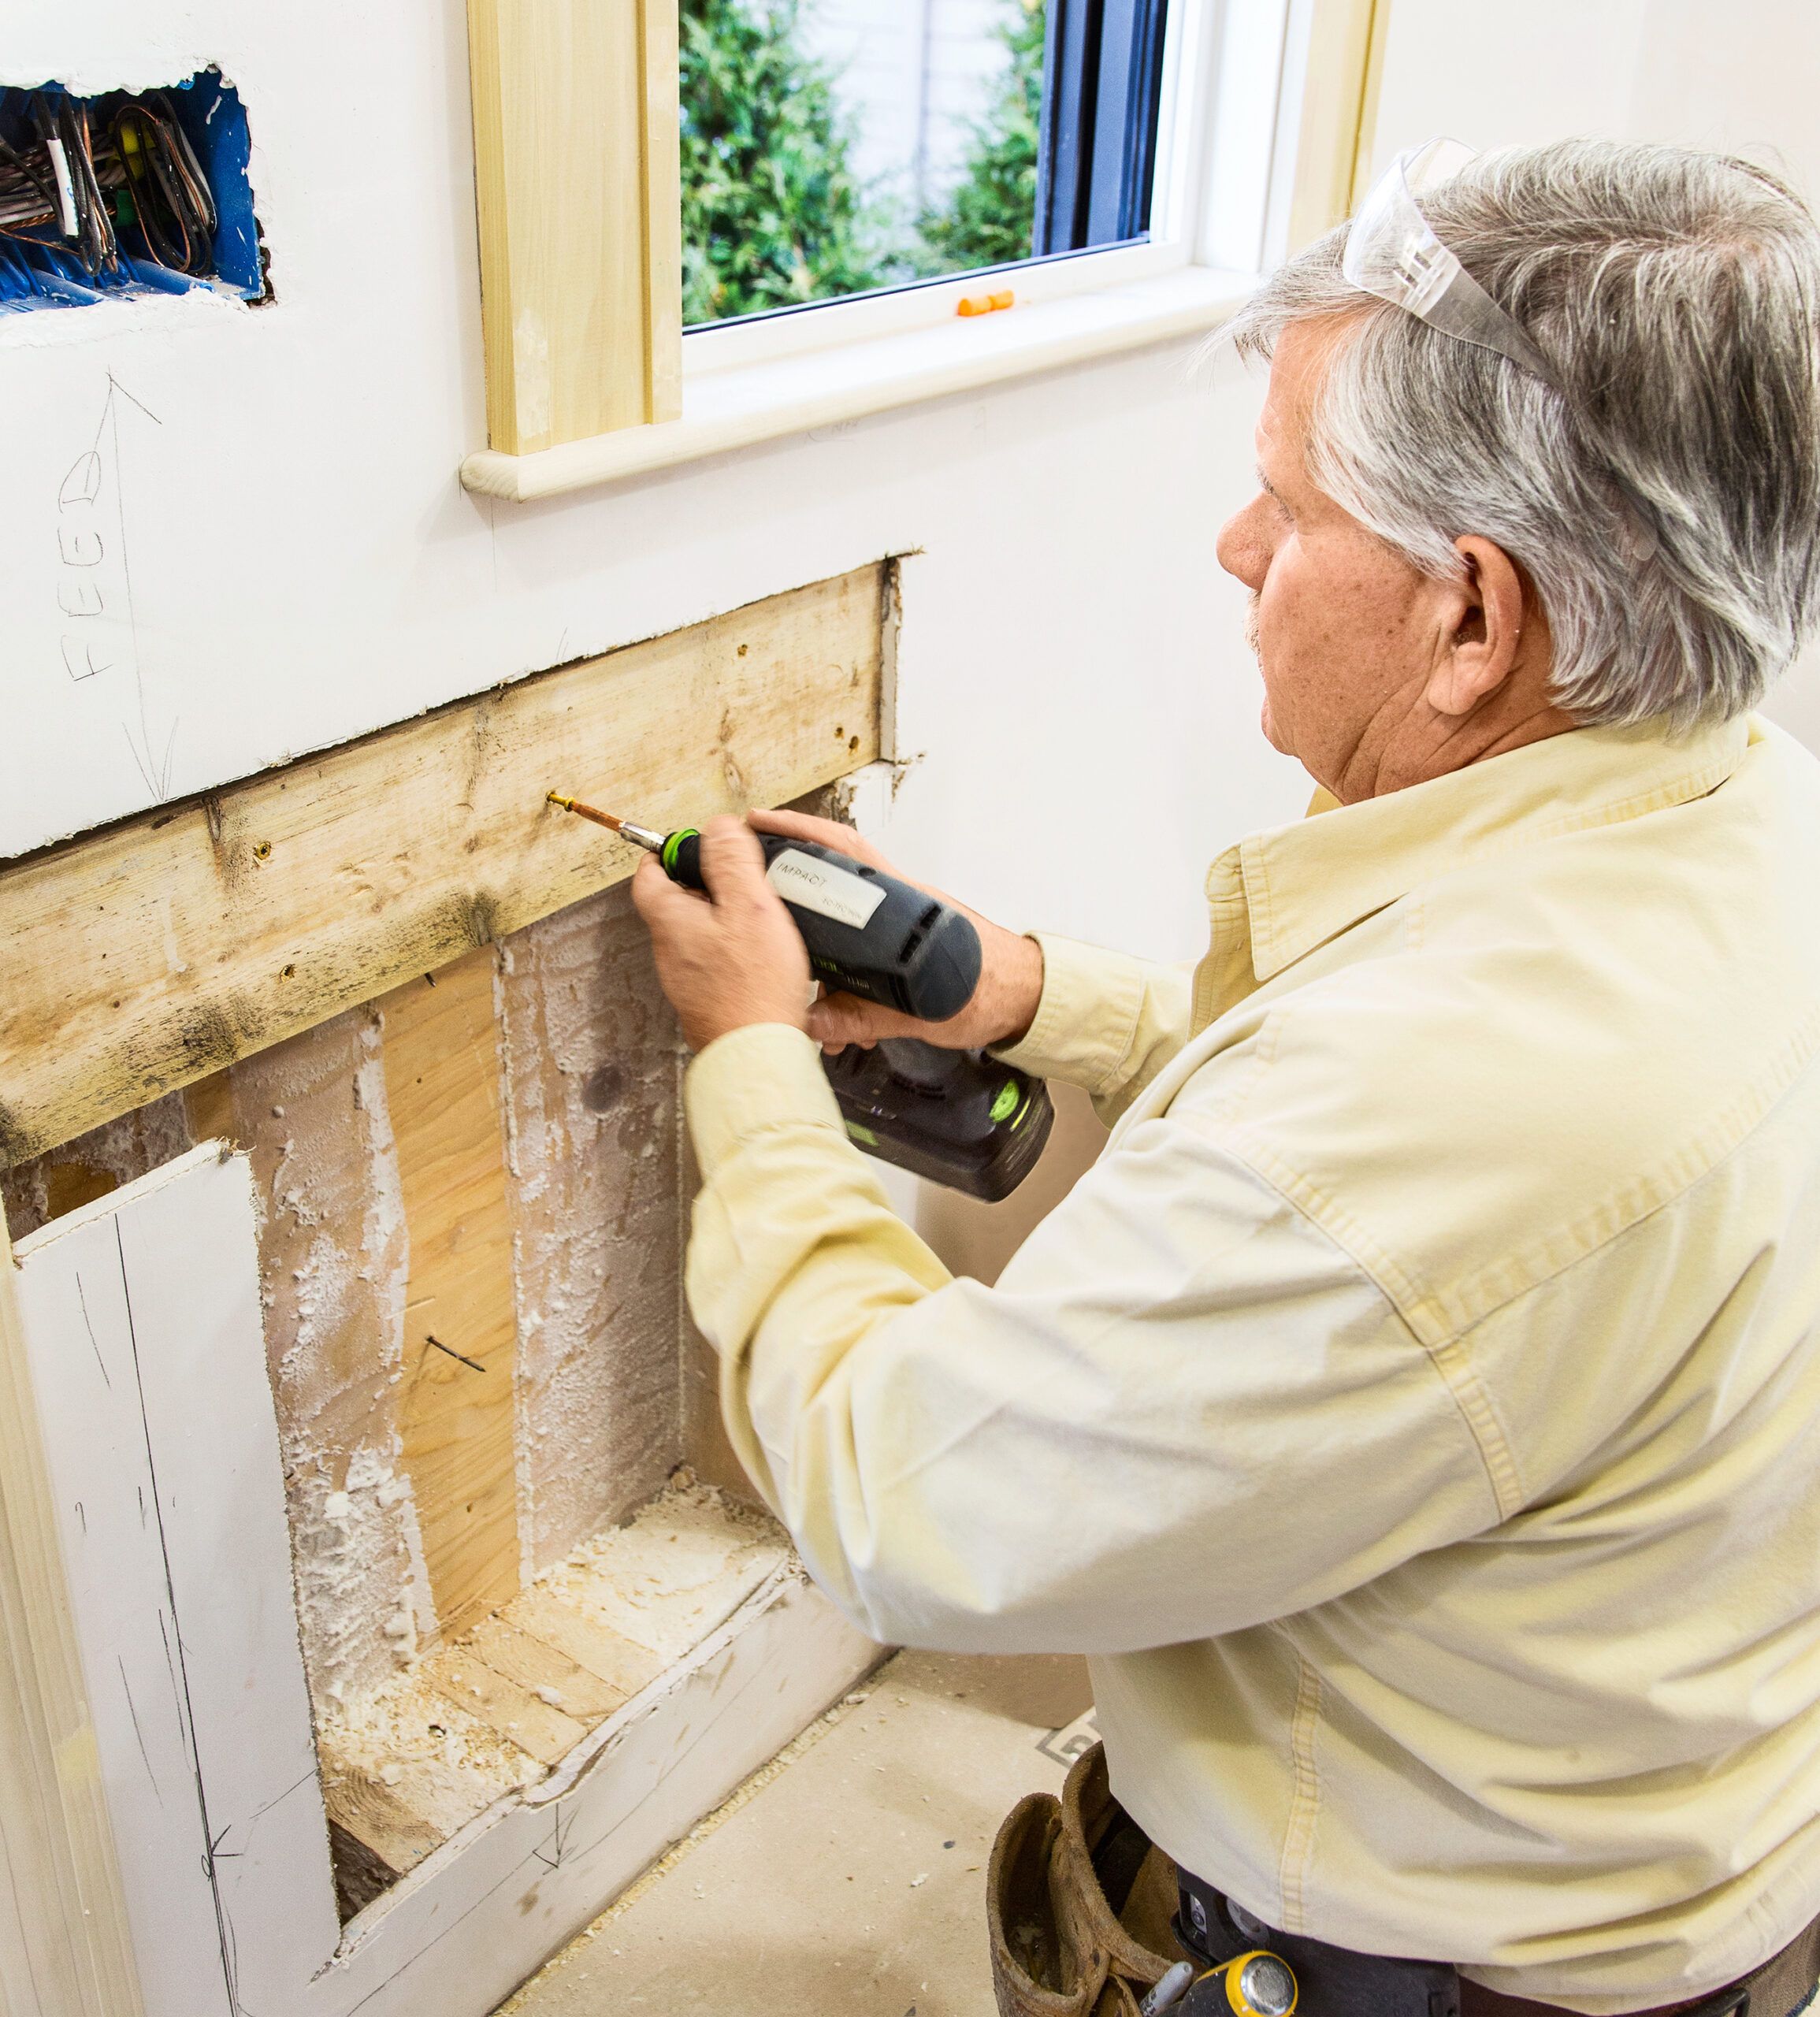
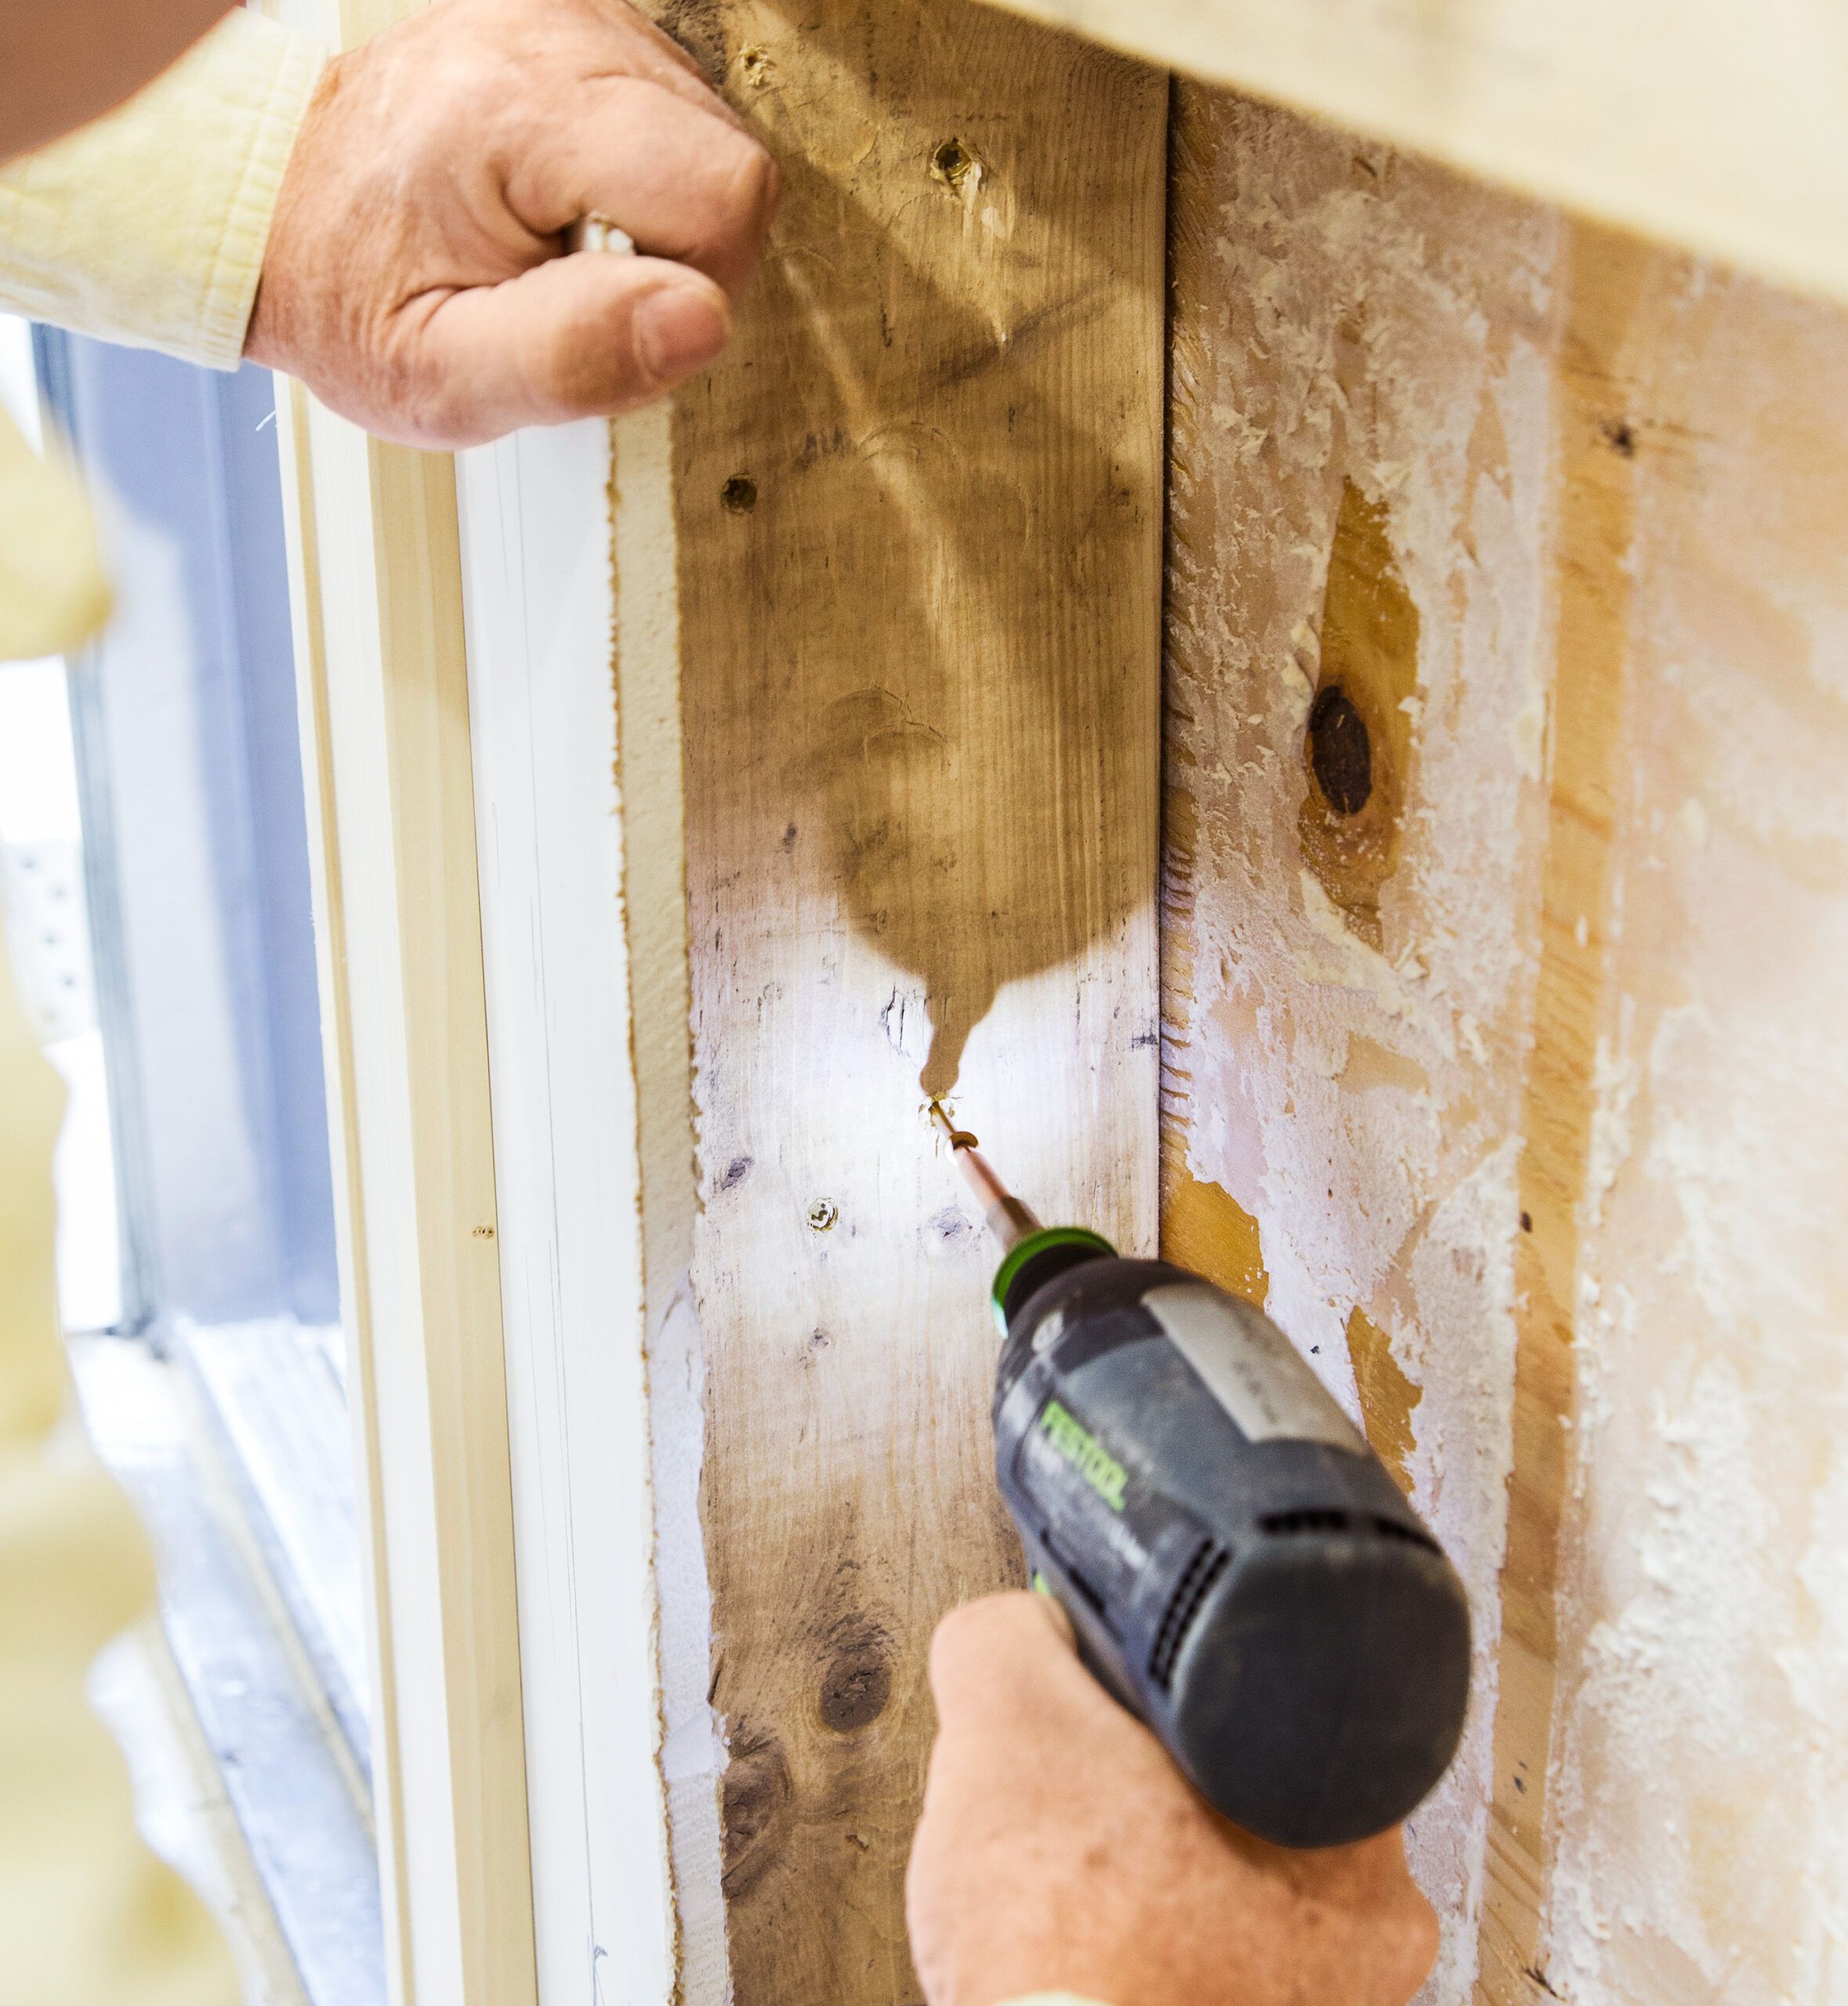
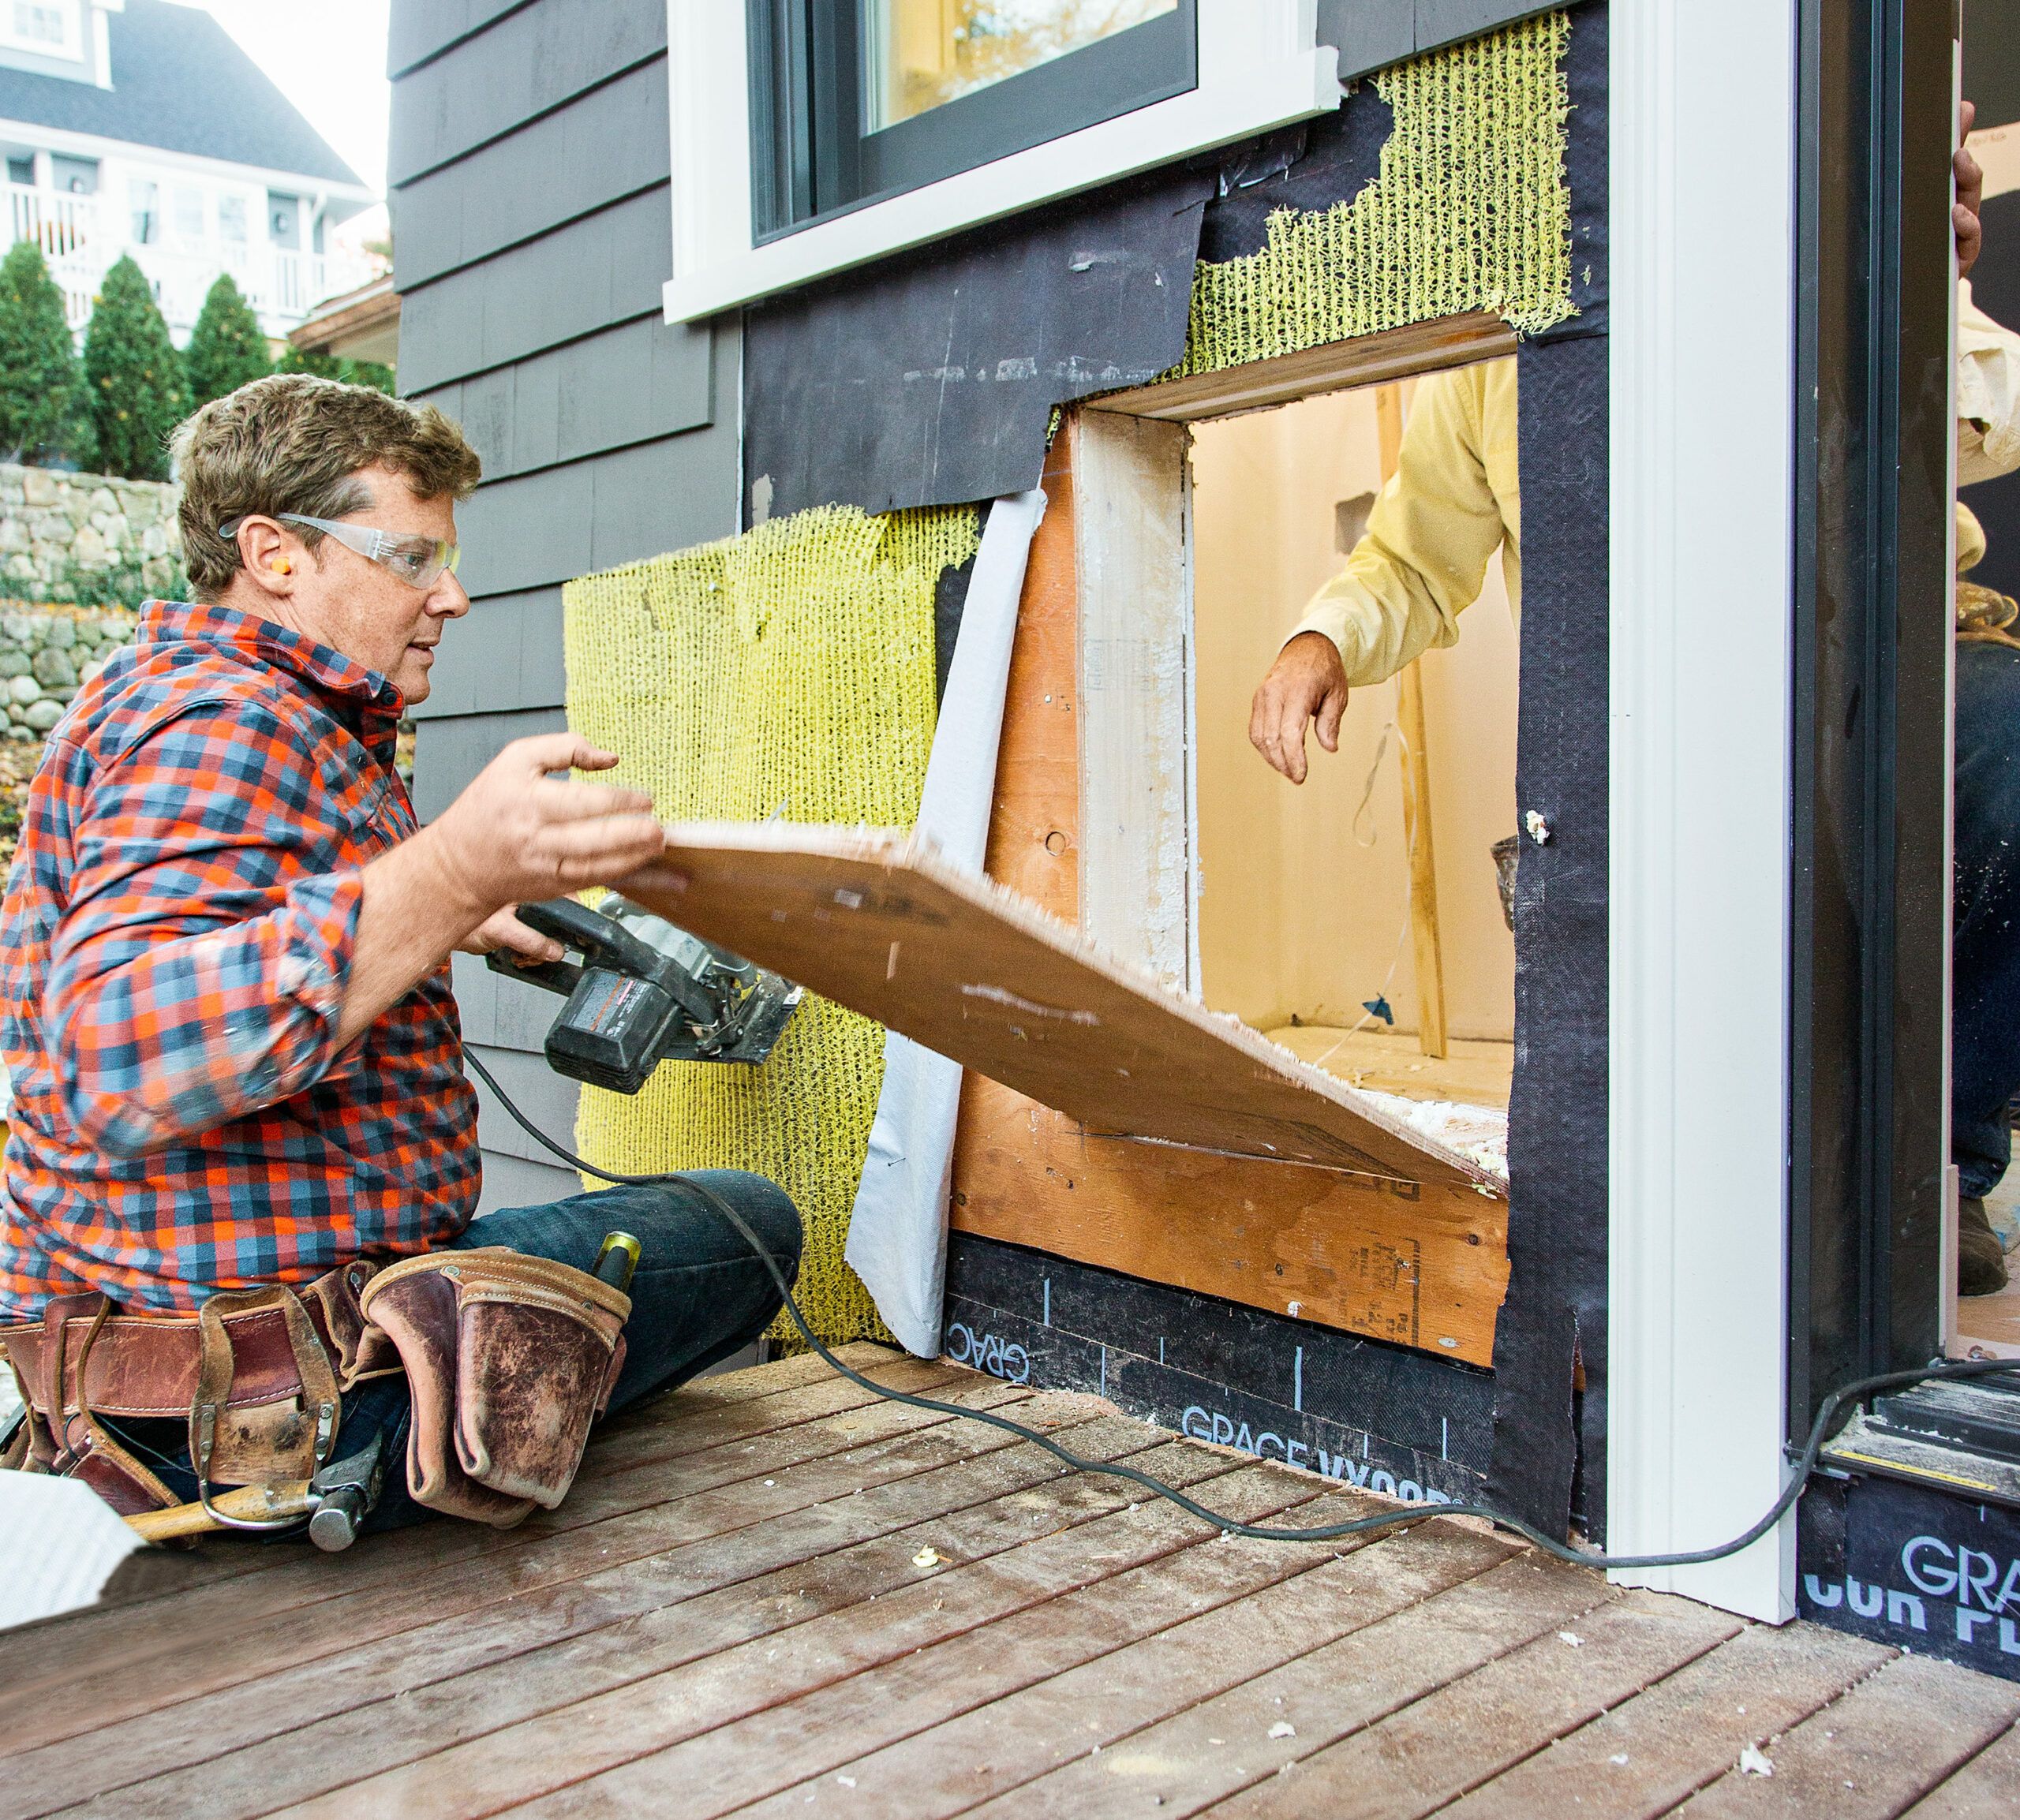
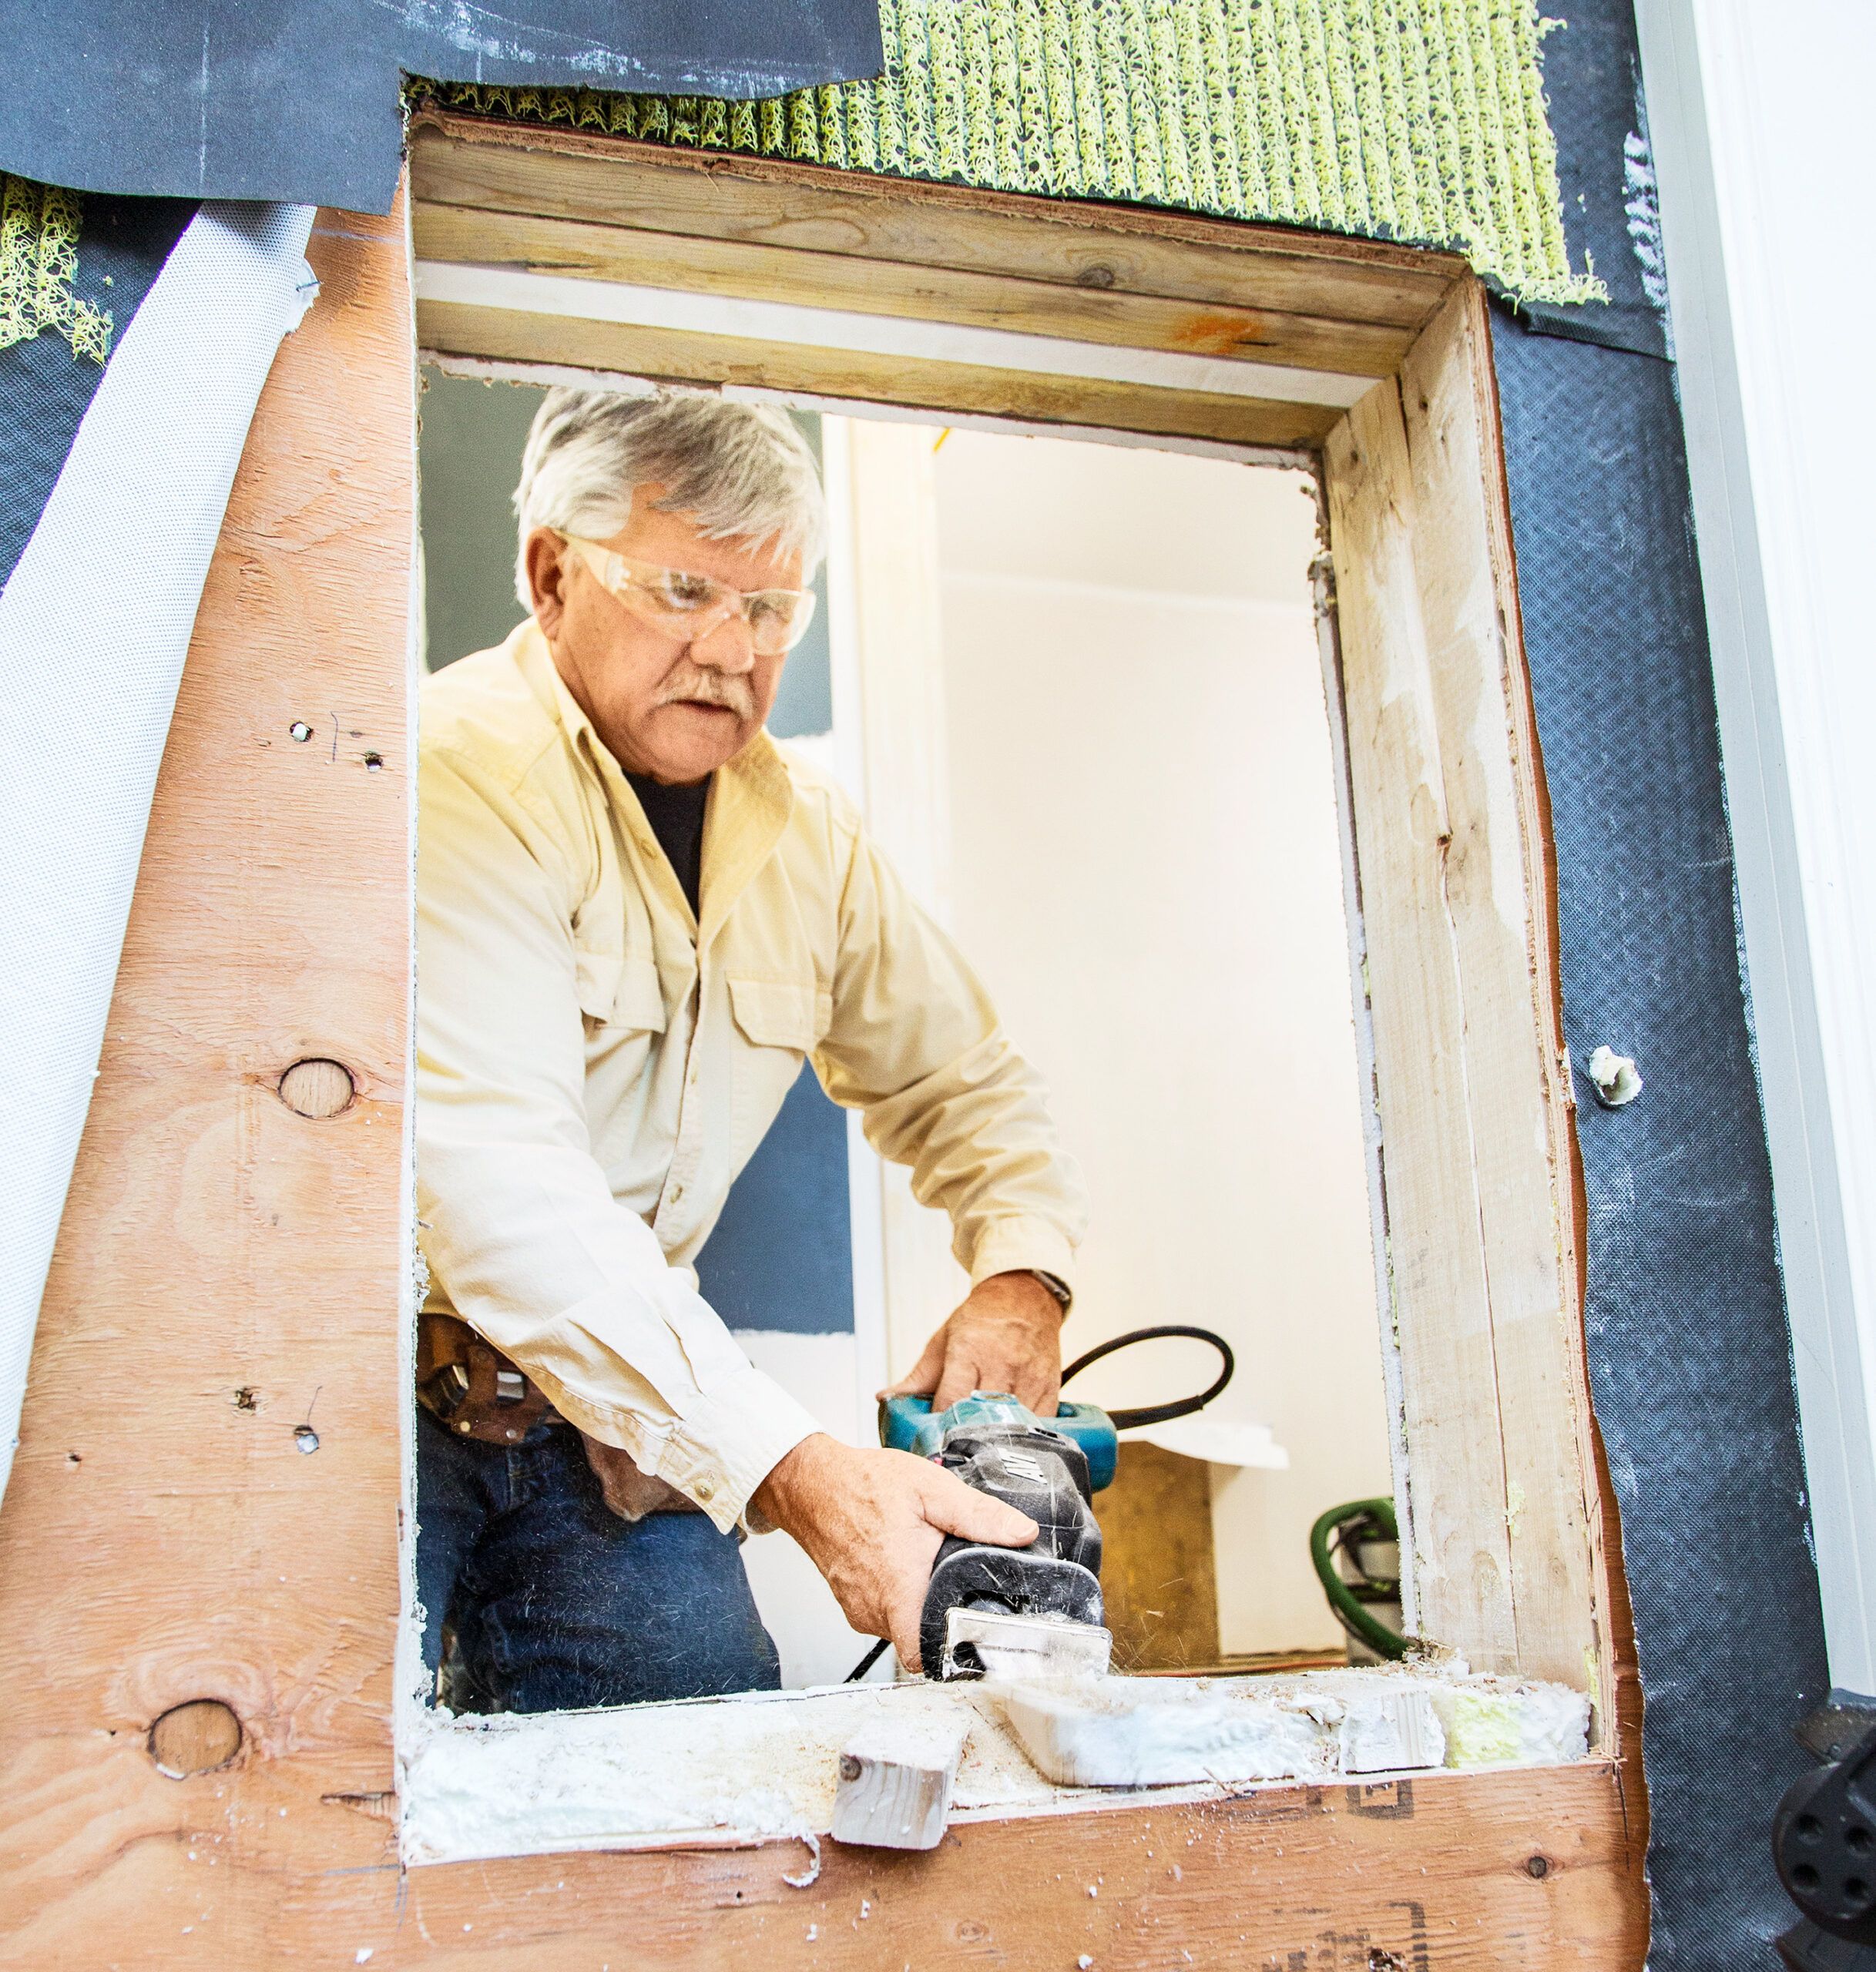
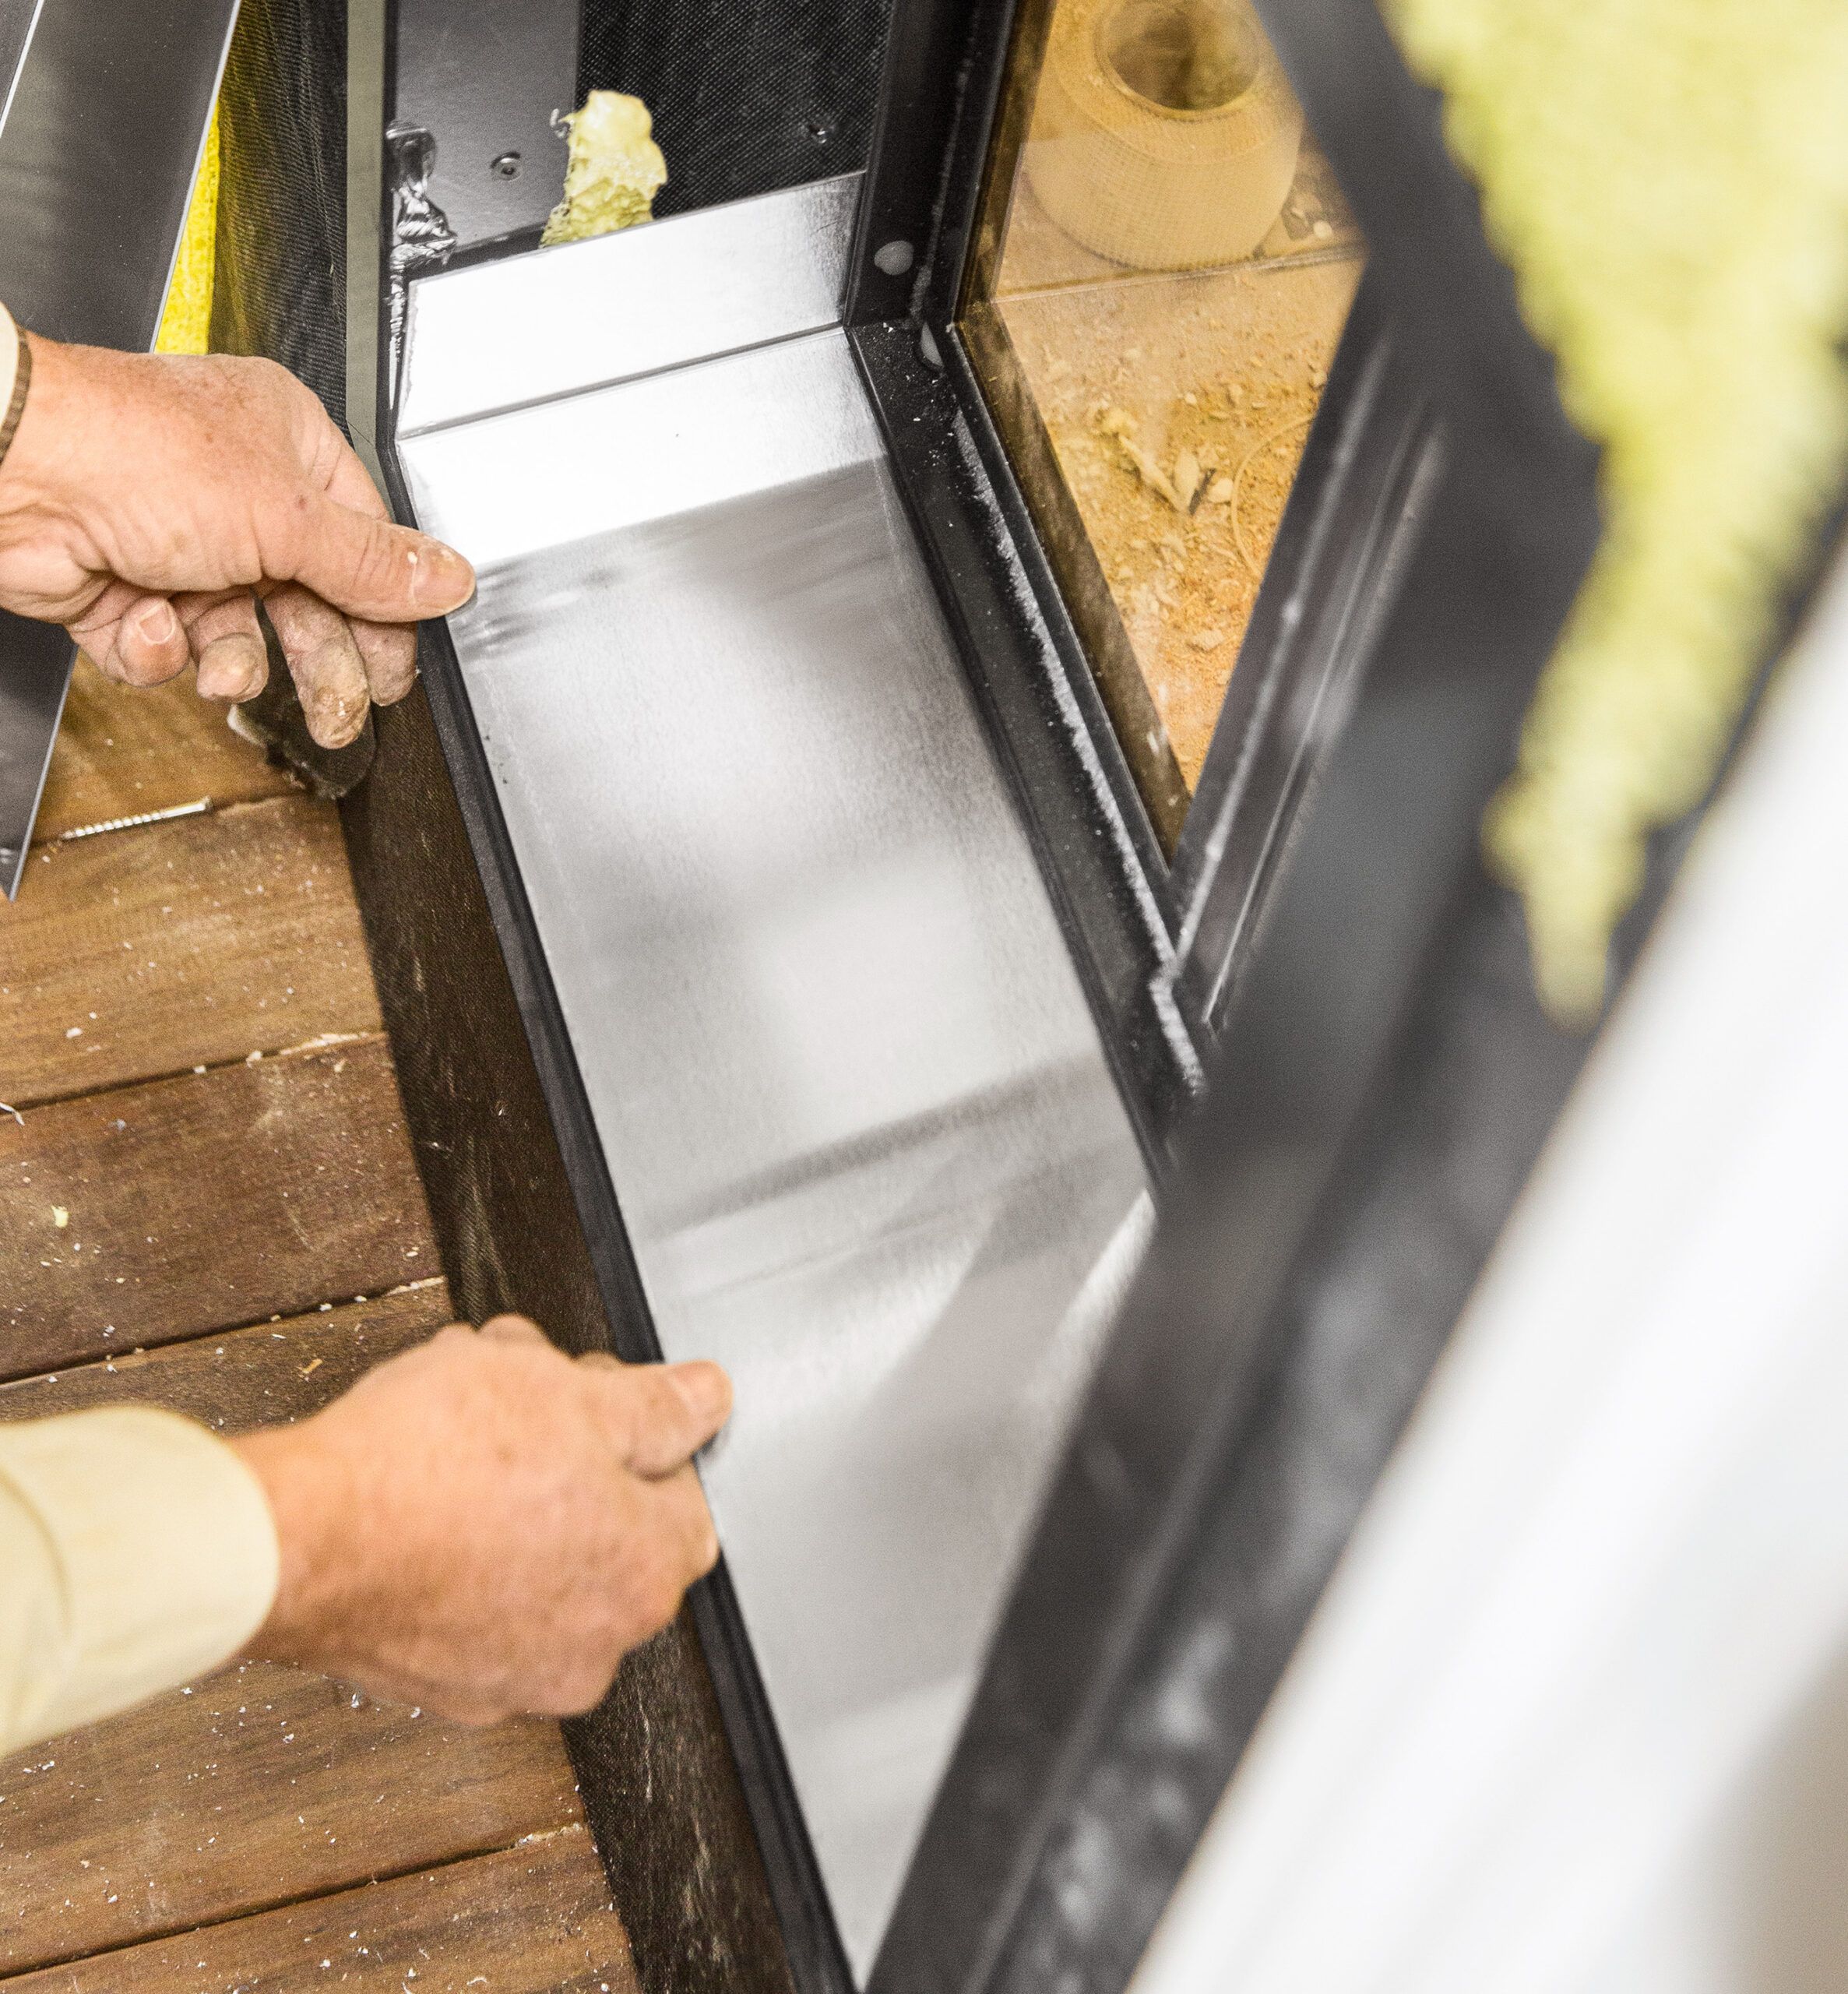
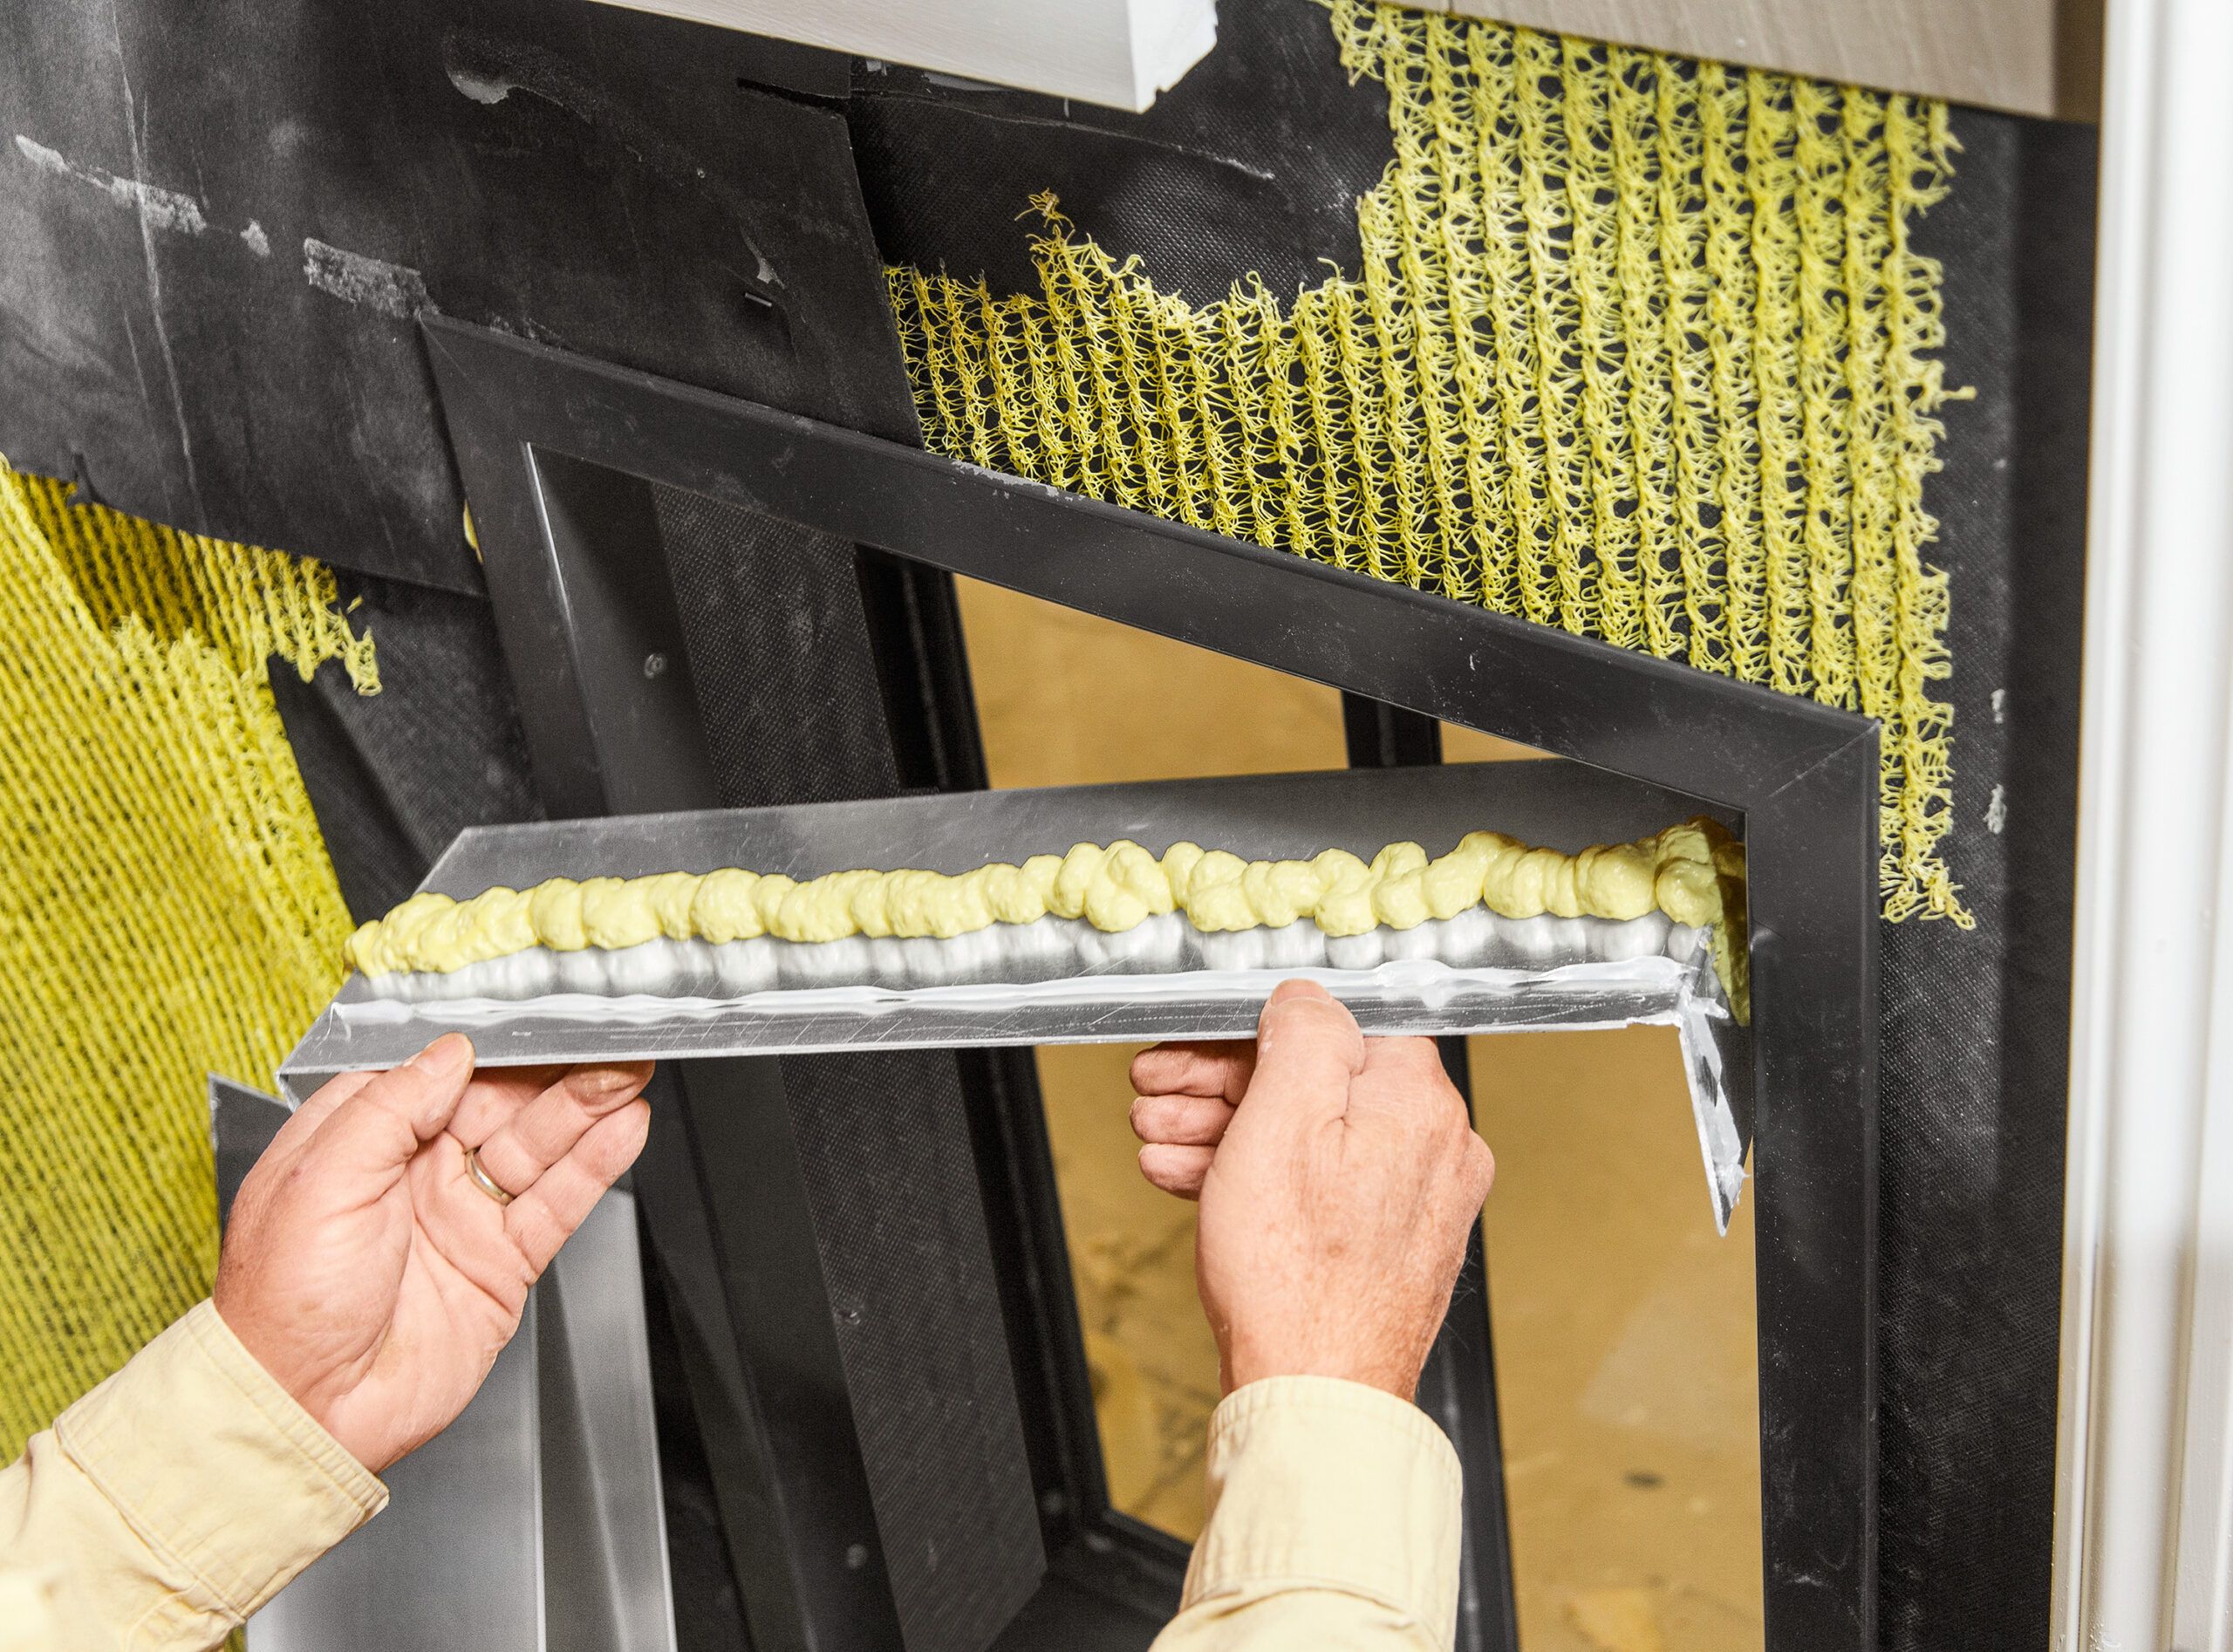
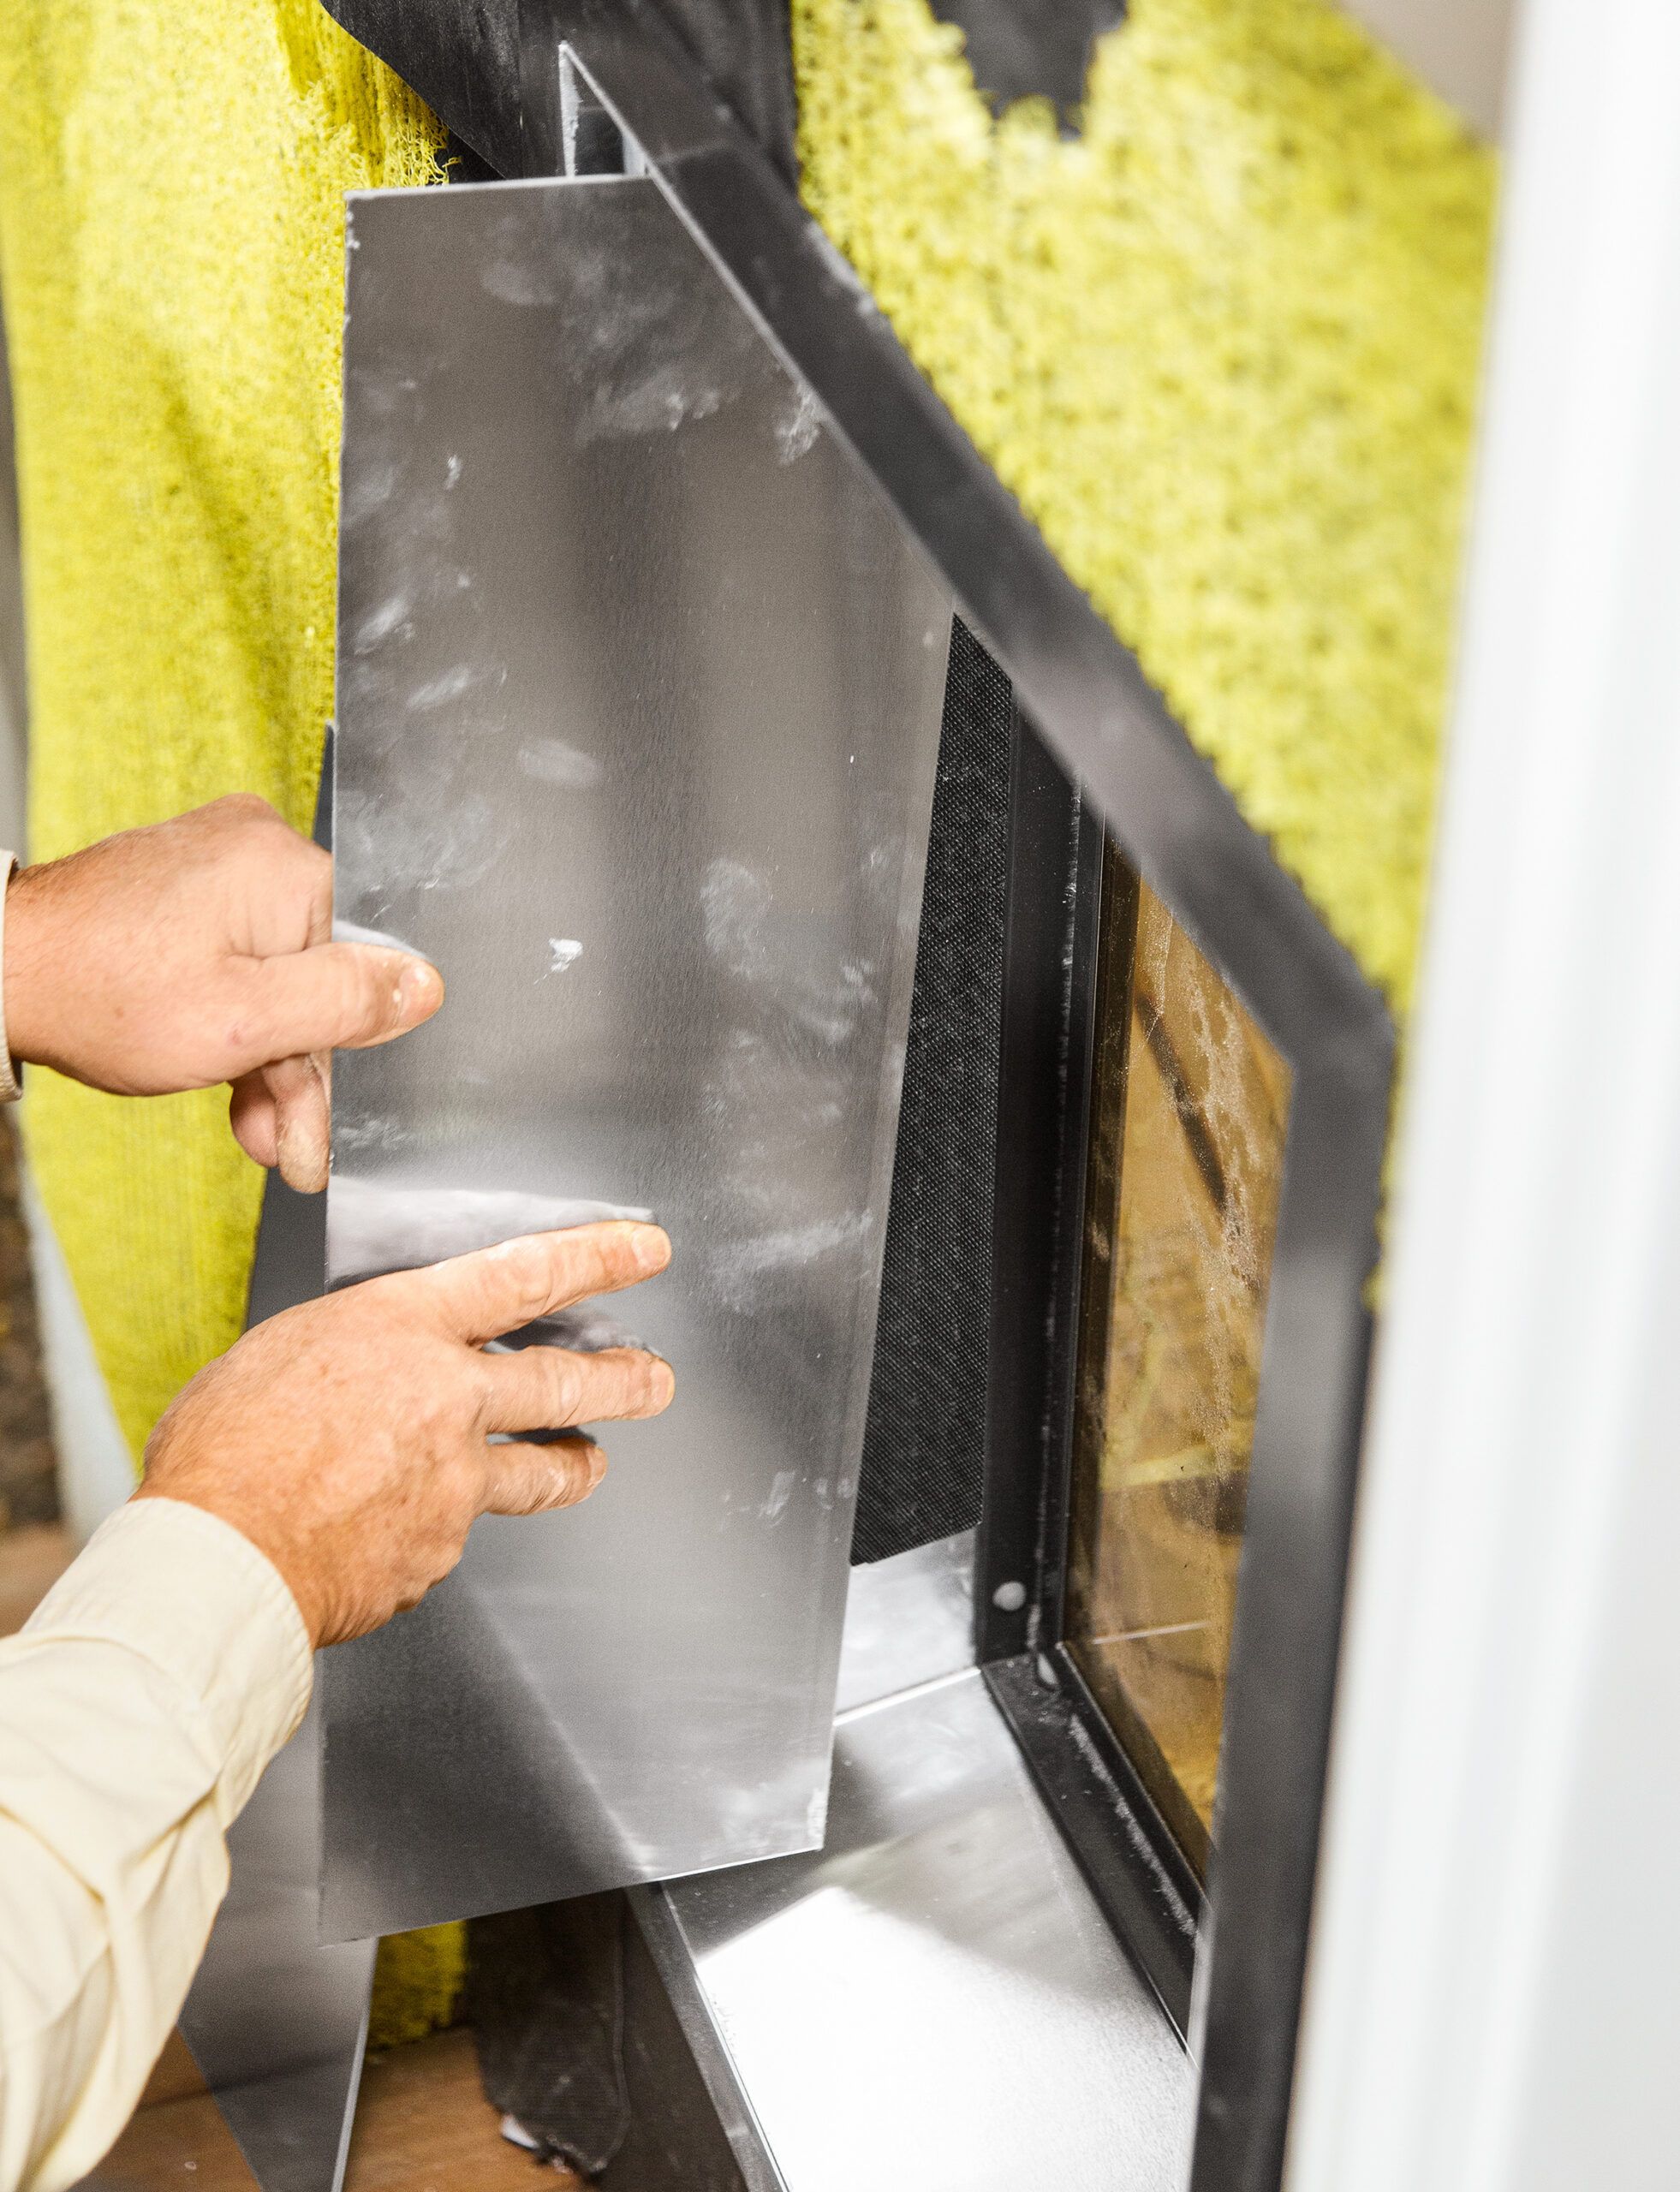
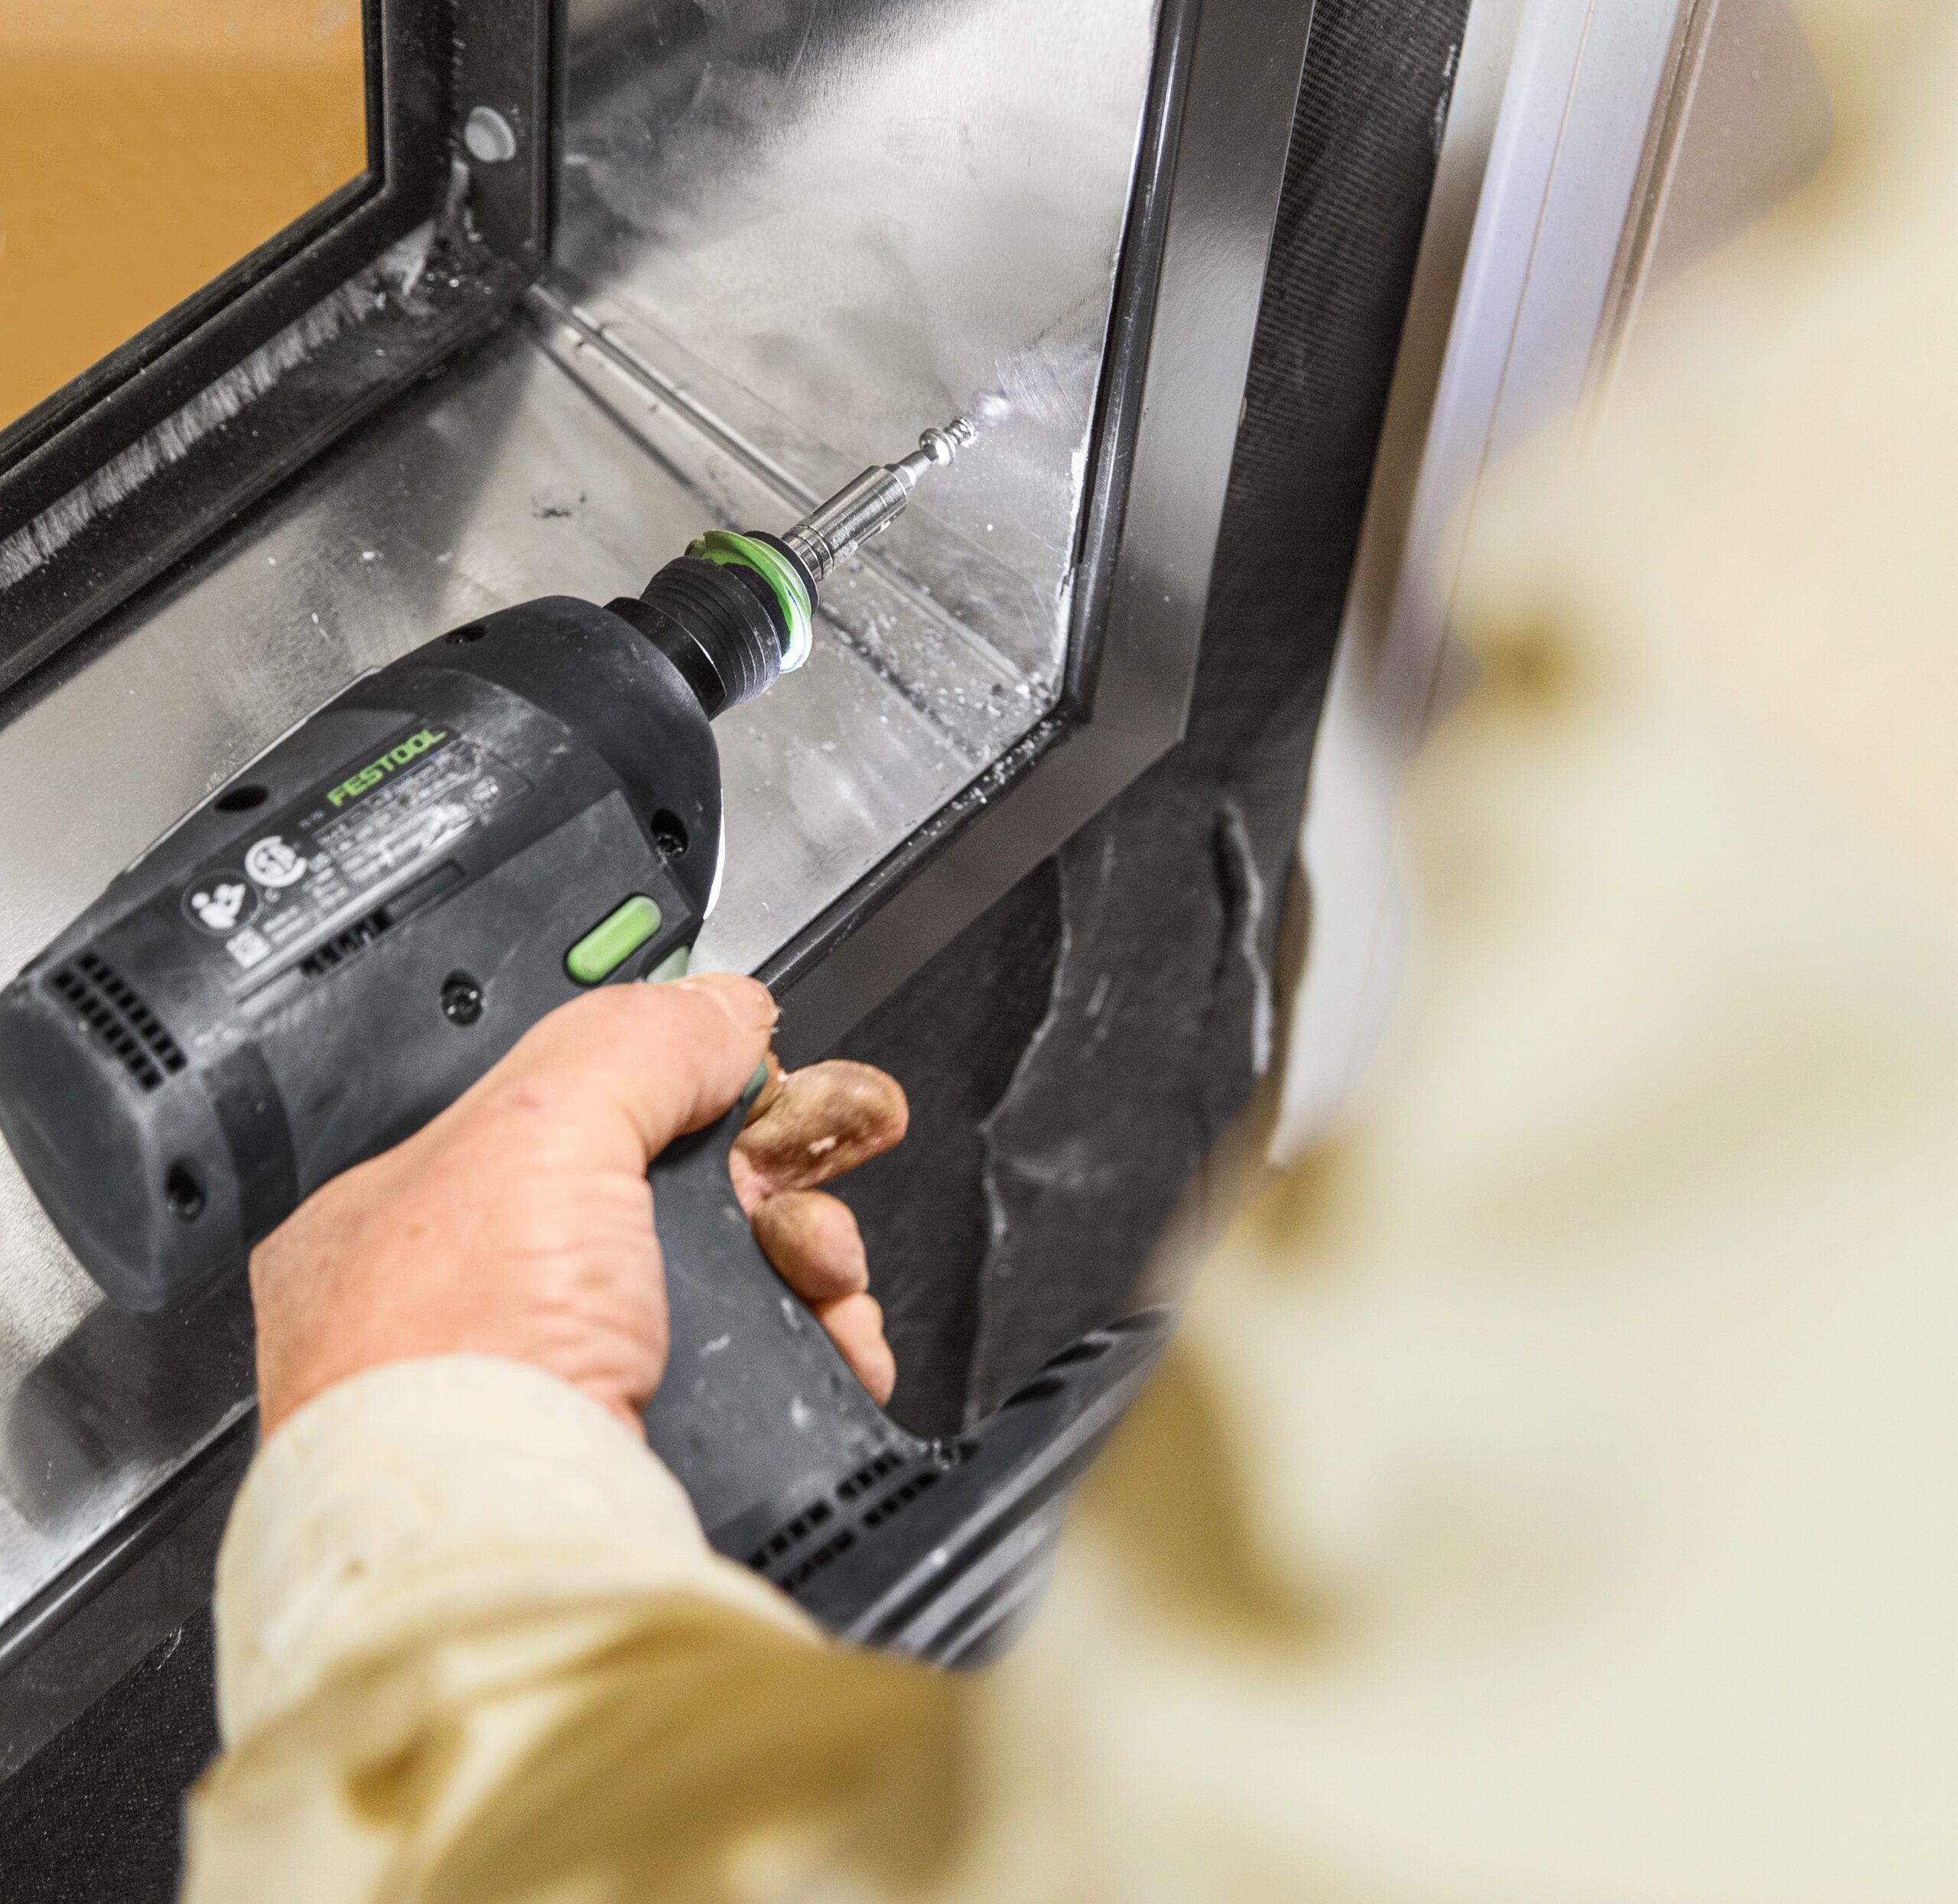
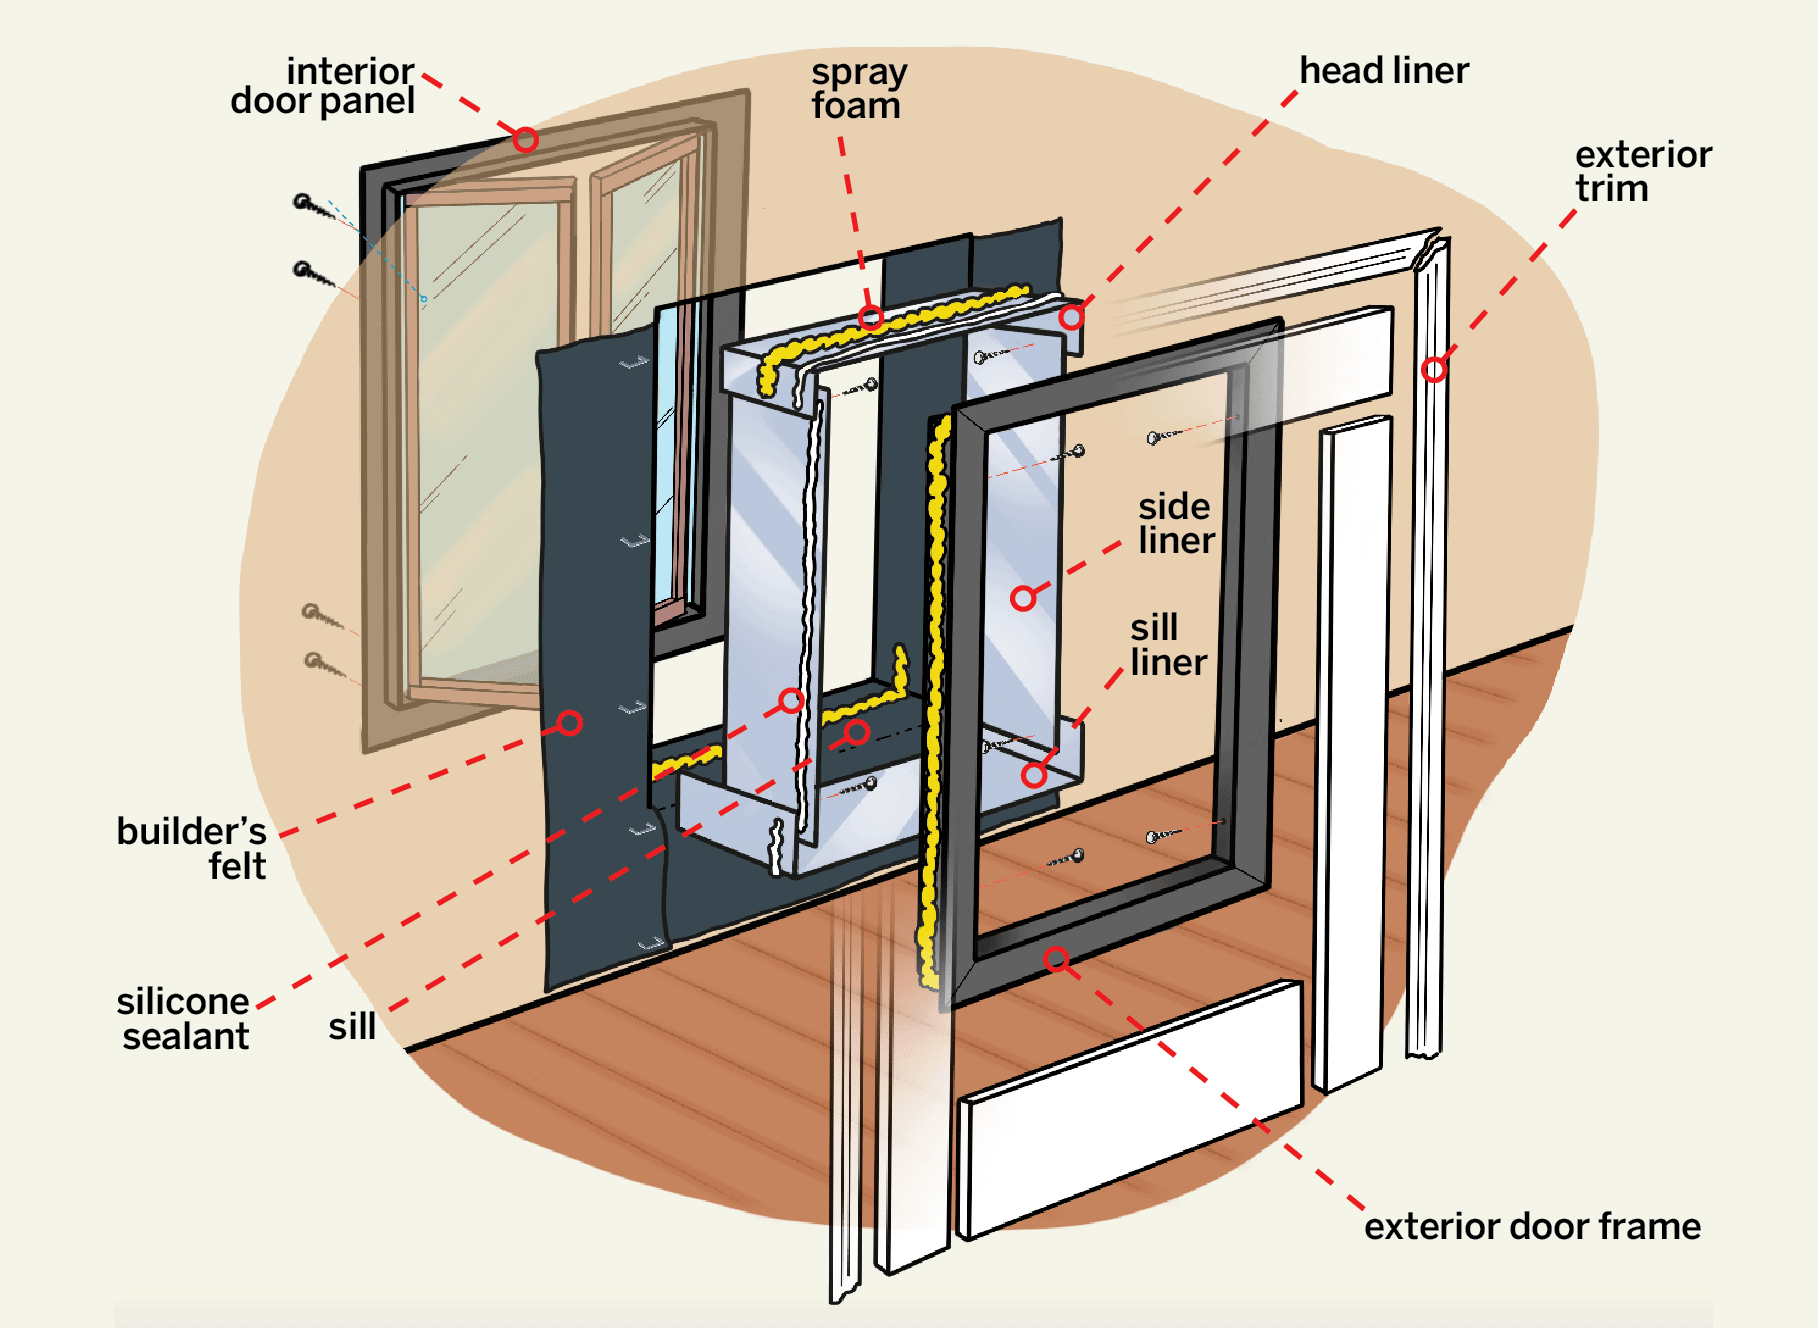
Installing in a Wall
Installing a dog door in a wall can be more complex than installing one in an existing door. Here is an overview of the process:

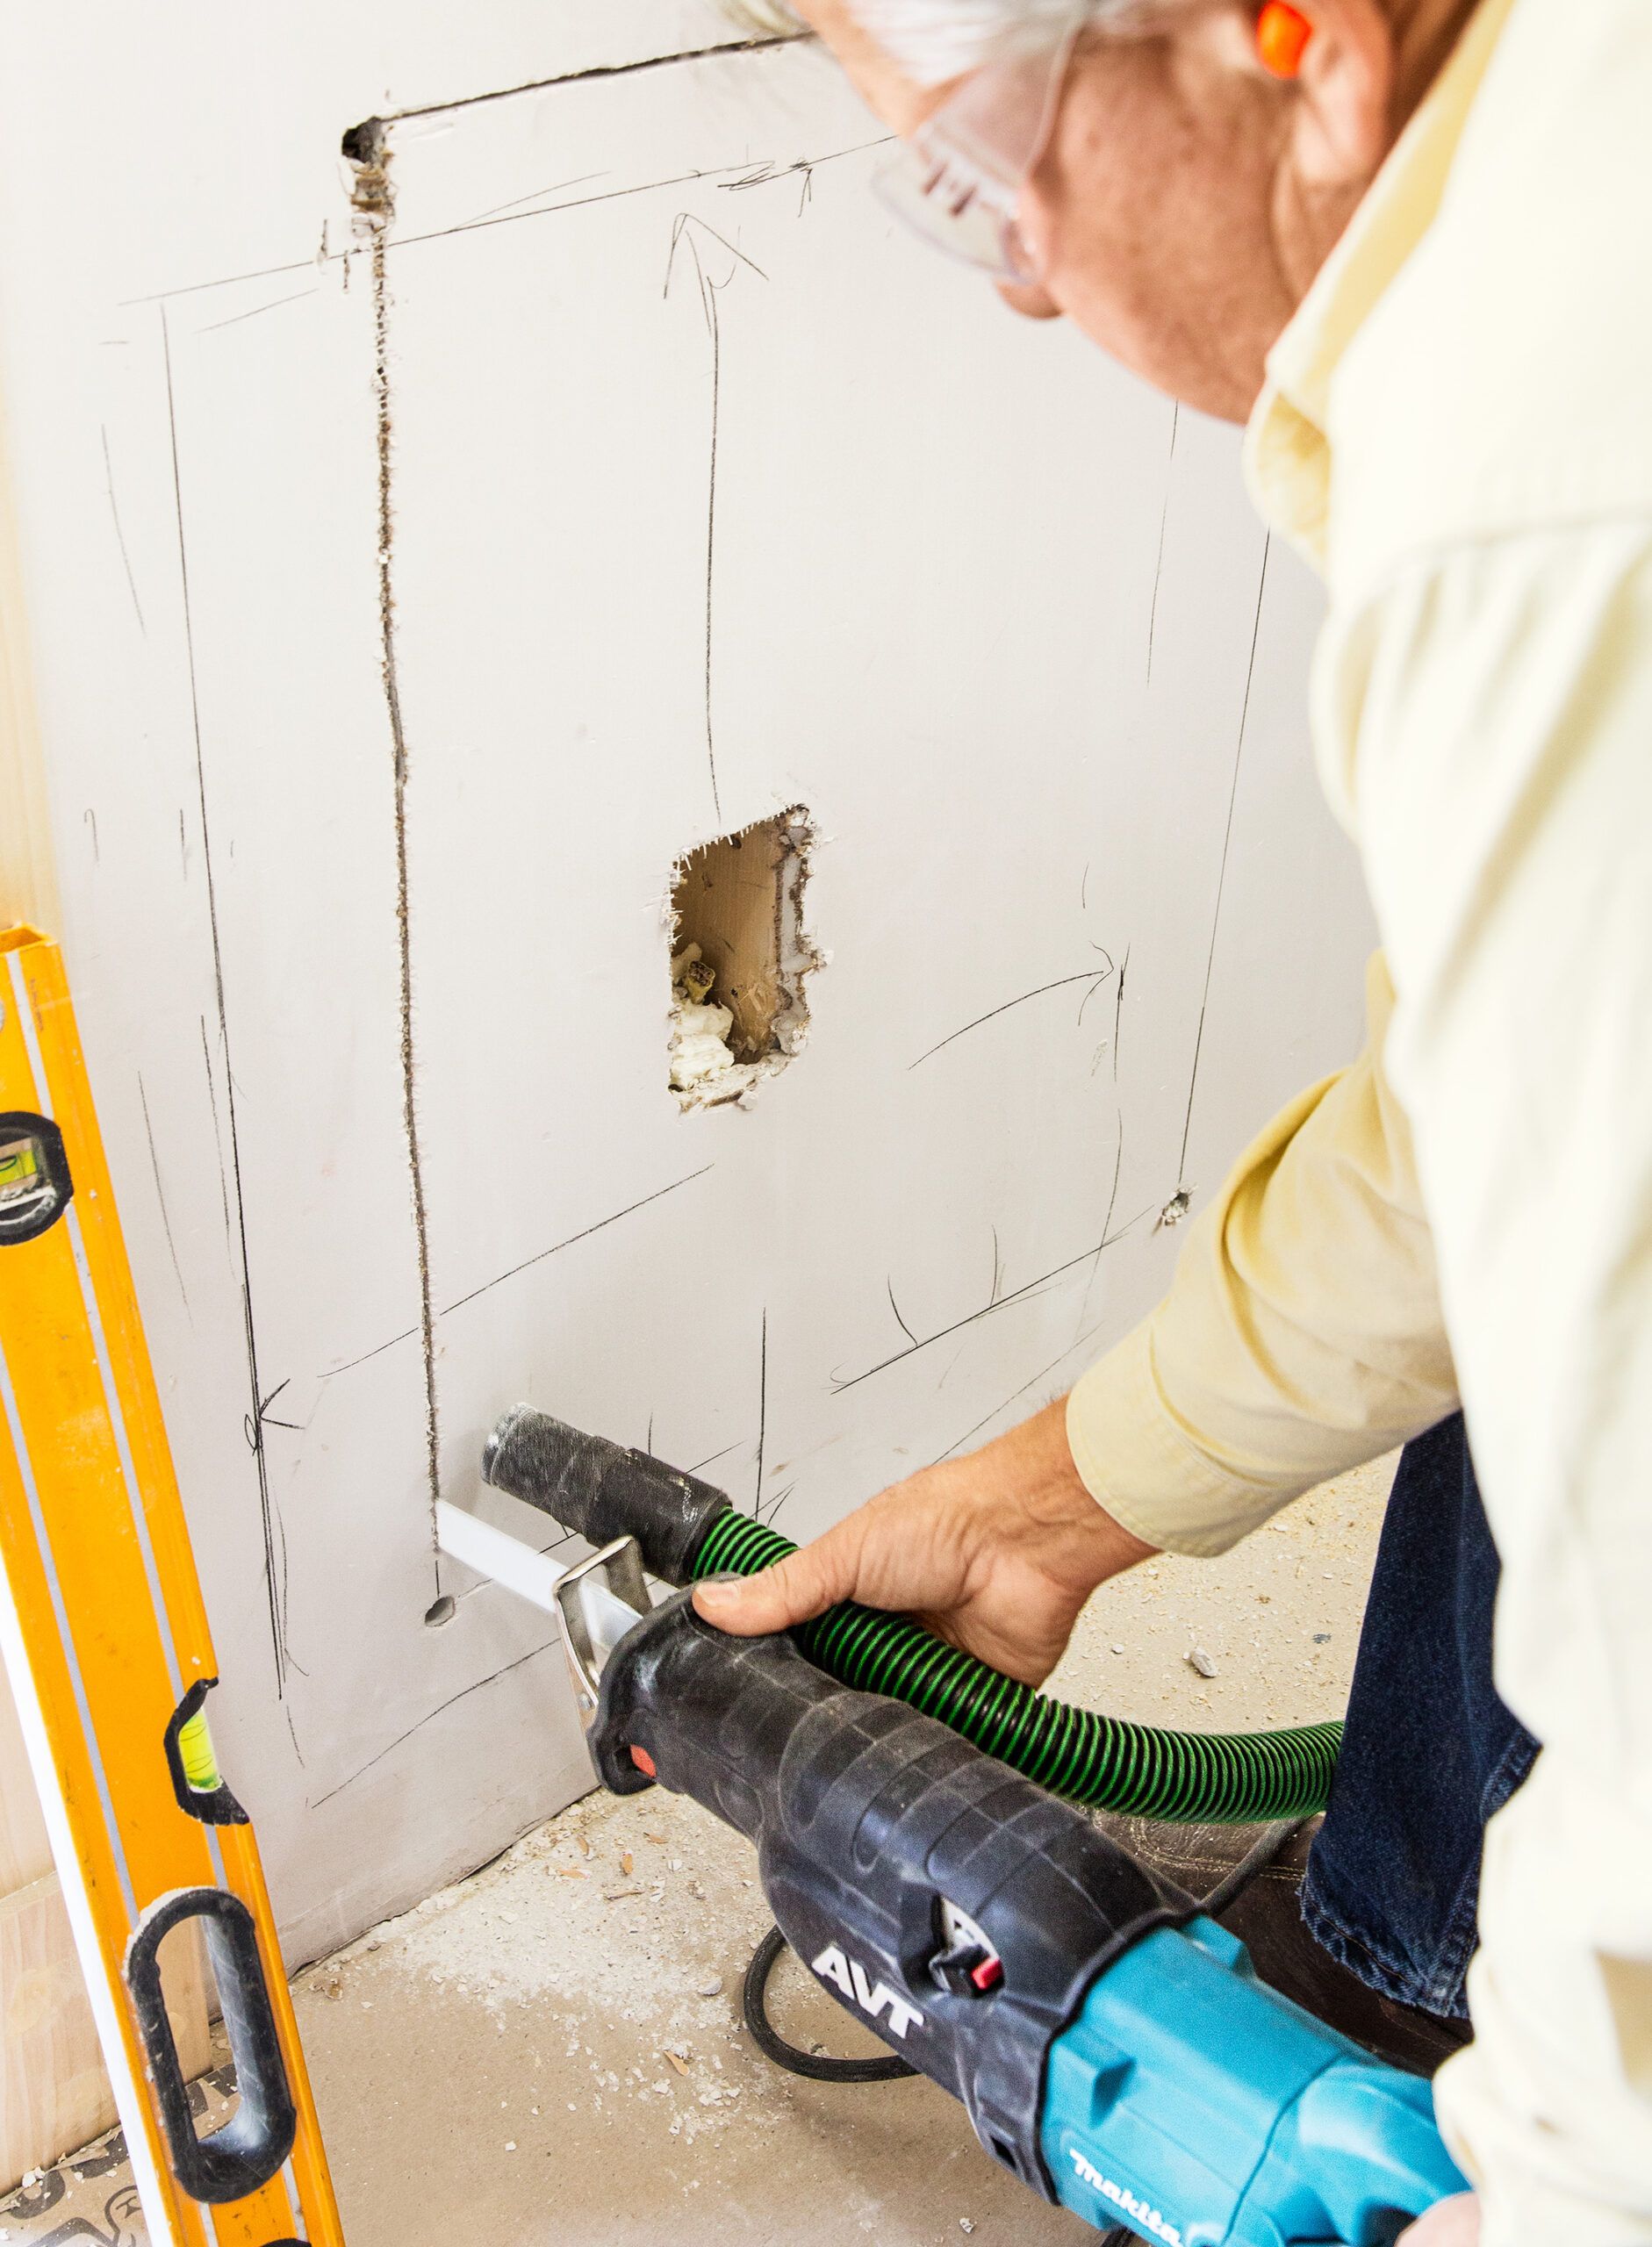
- Use a stud finder to locate studs and electrical wires in the wall. It’s important to avoid cutting through any electrical wiring.
- Mark the opening and cut through the drywall using a reciprocating saw.
- Create a frame within the wall to support the dog door, using additional supports if needed.
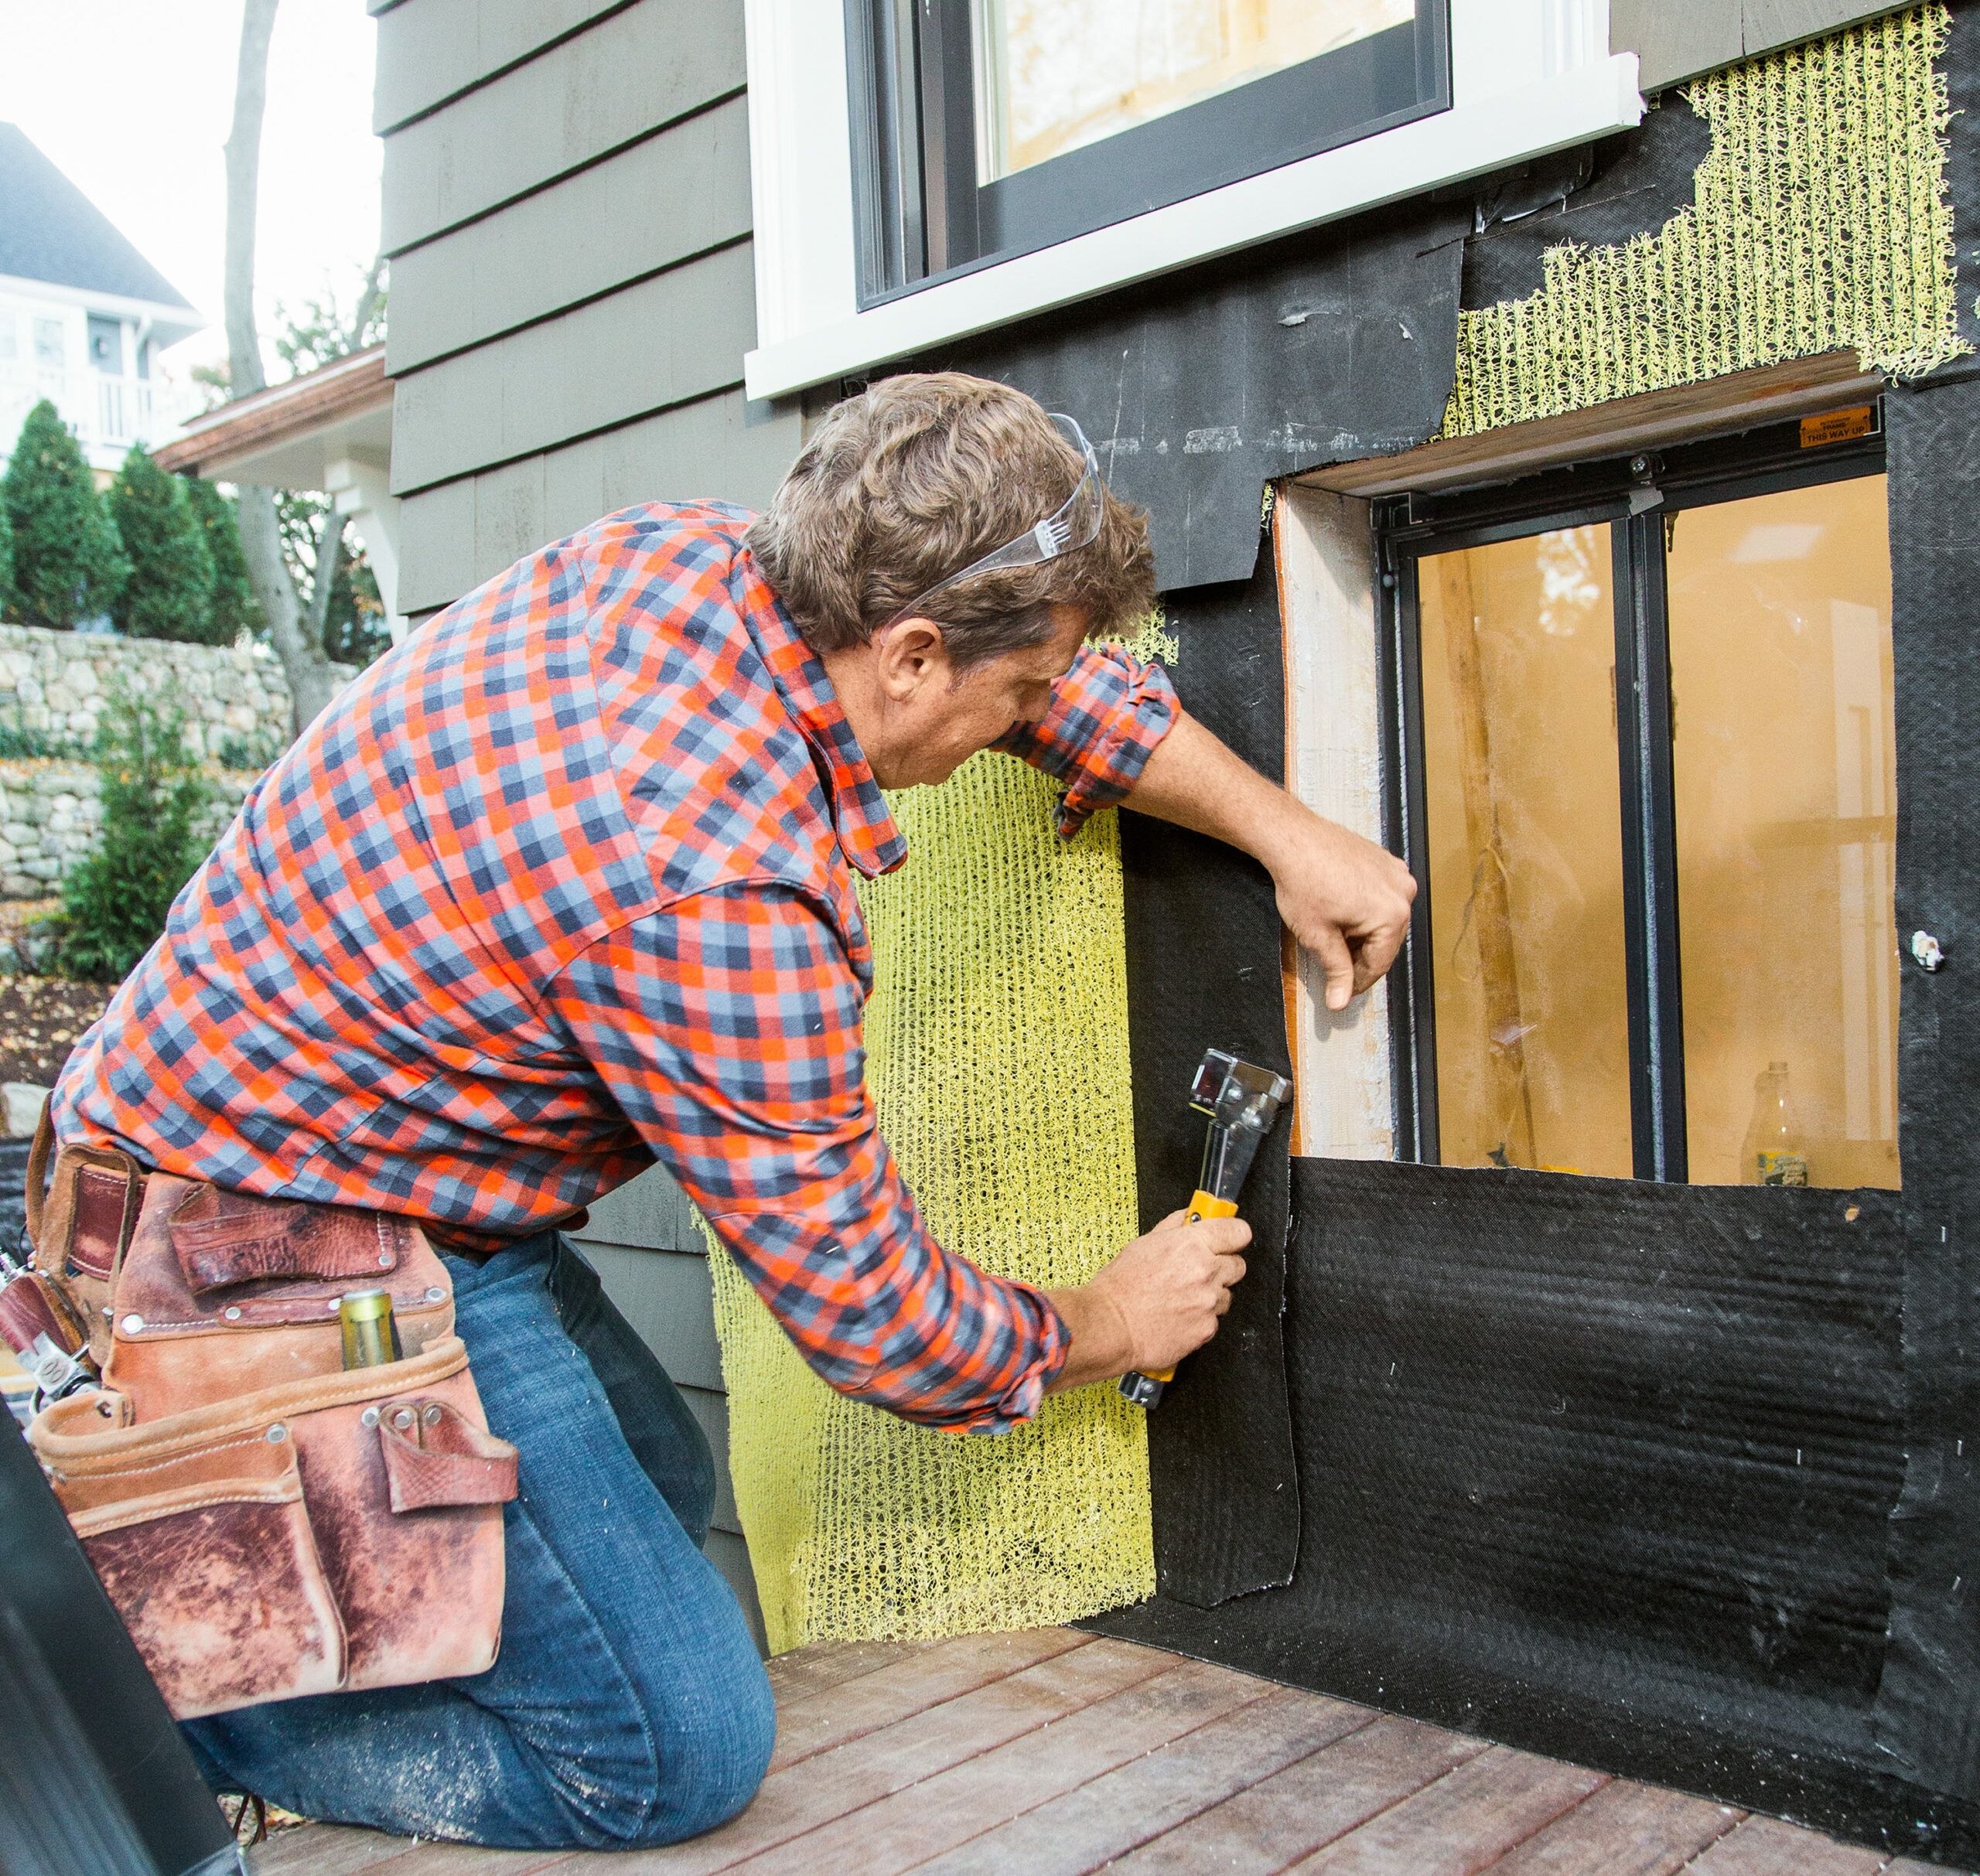
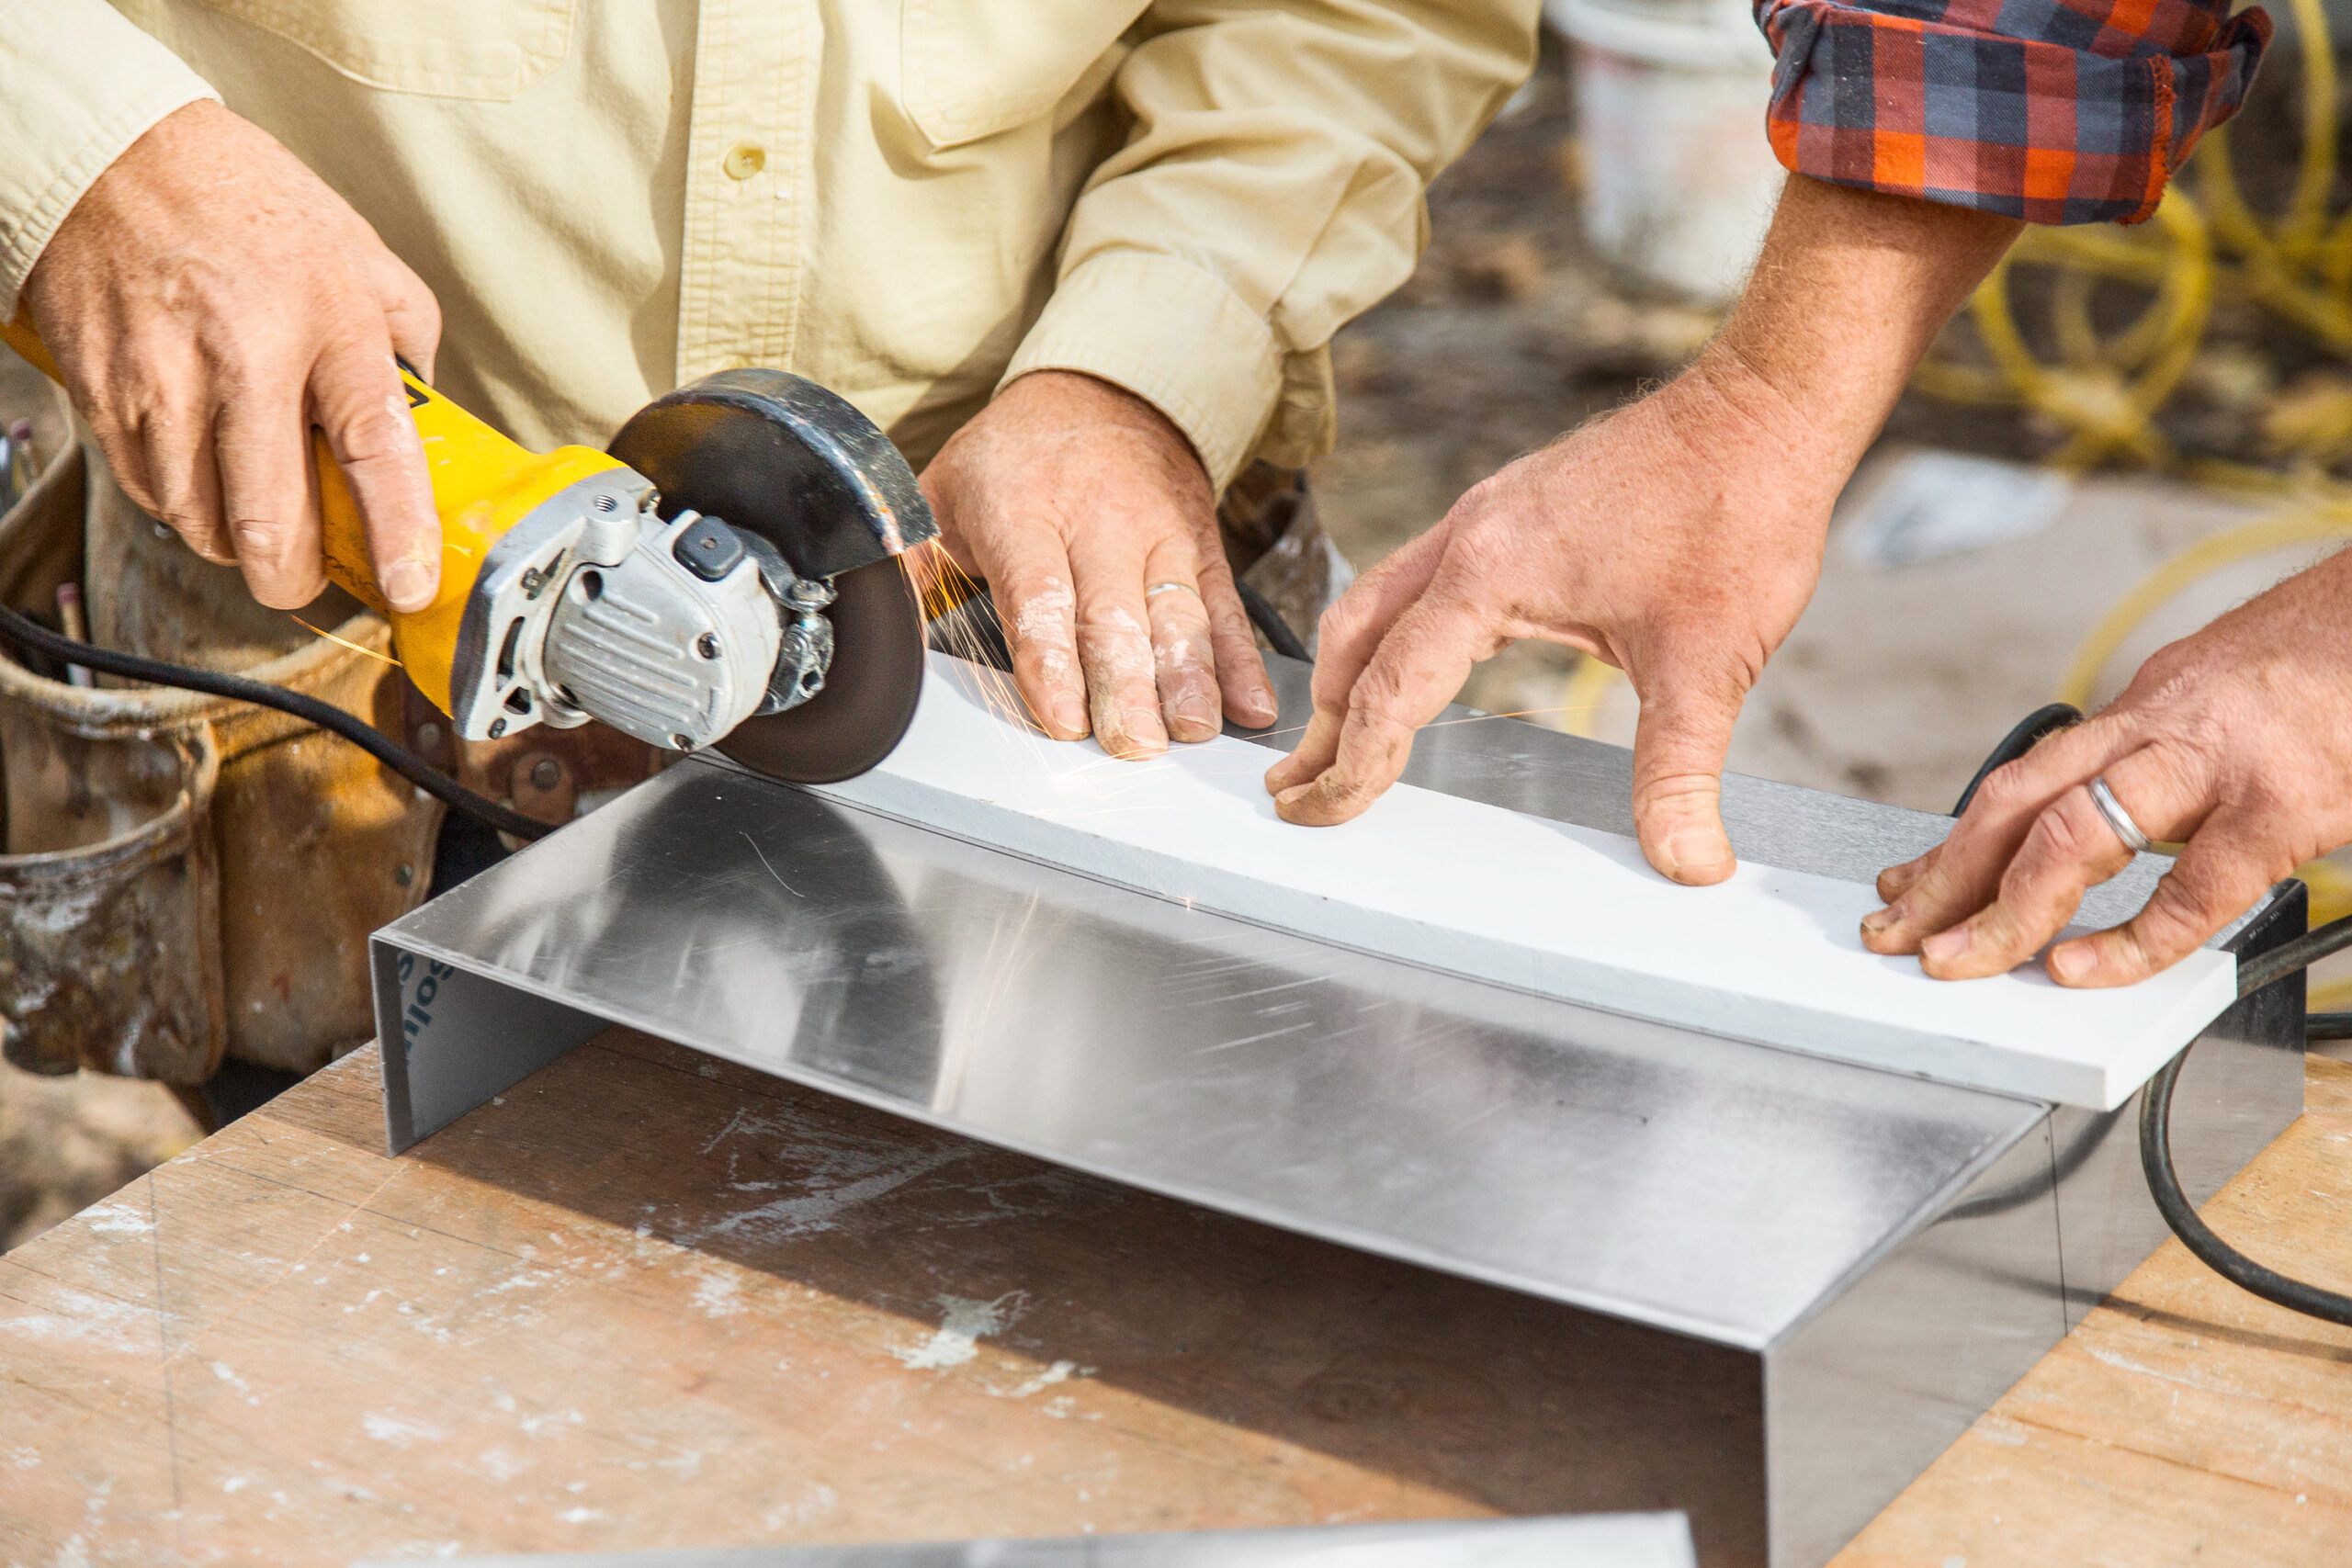
- Cut through the exterior siding and sheathing.
- Install flashing to prevent water infiltration.
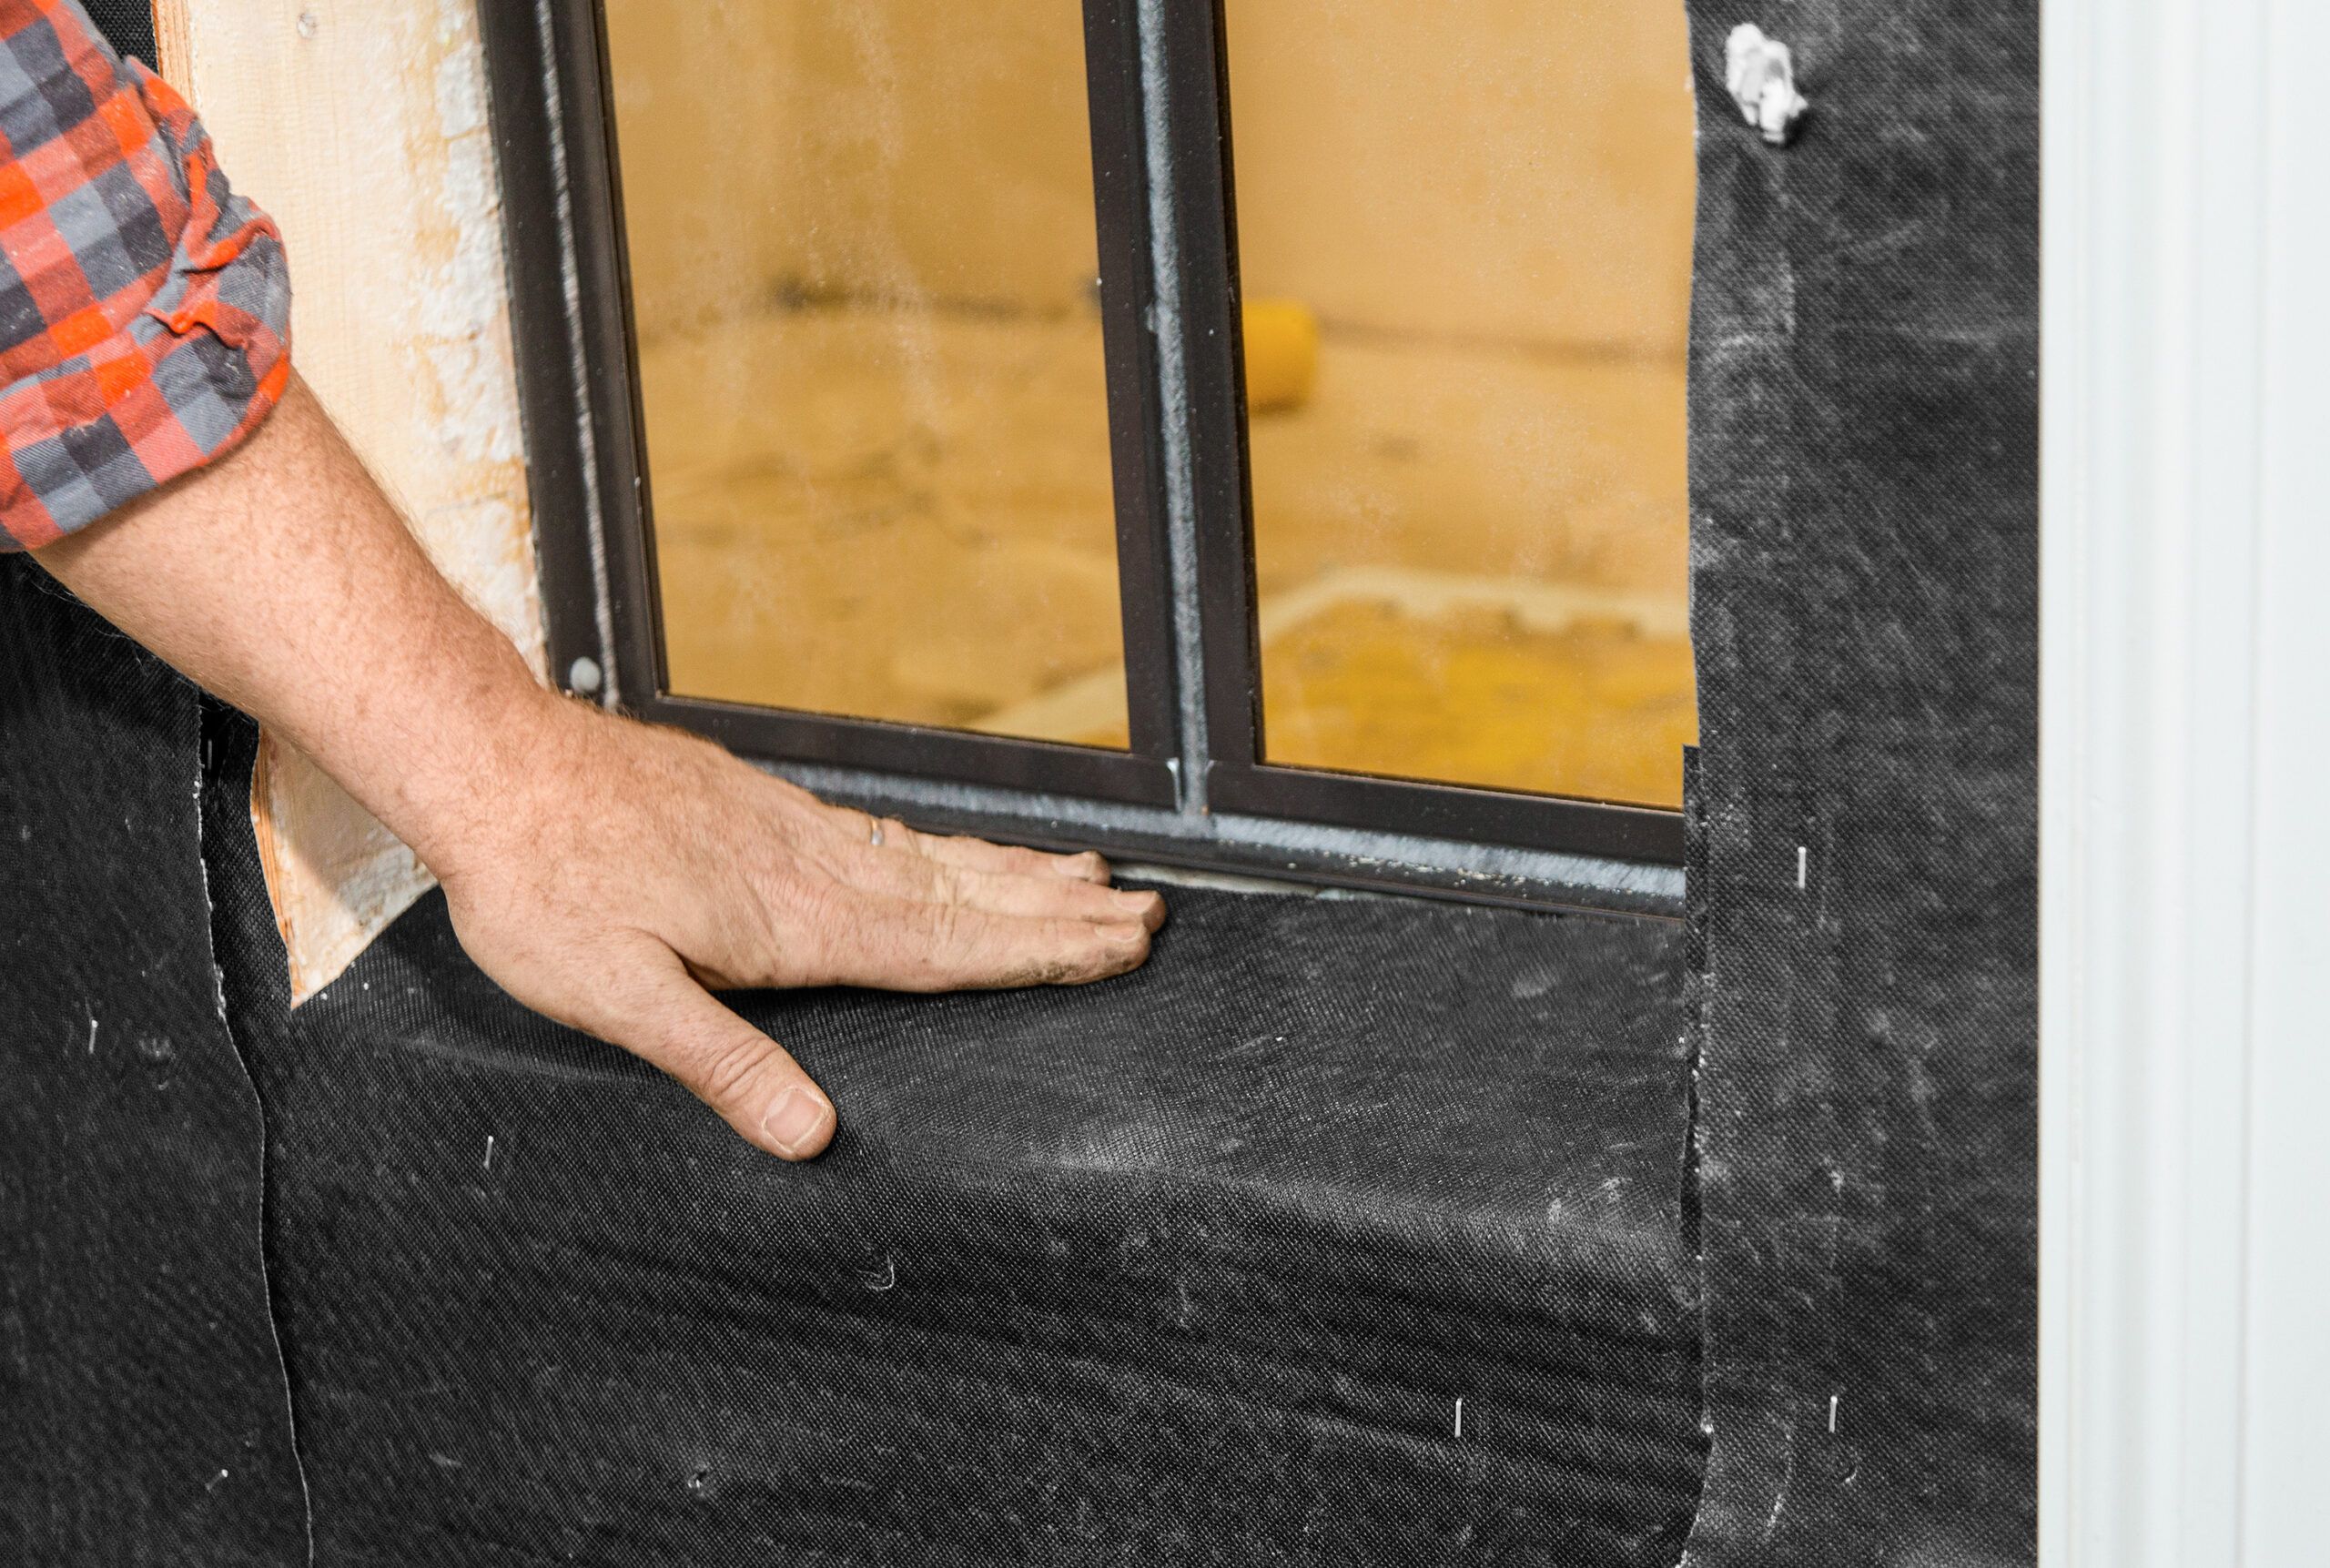
- Insert the dog door tunnel and frame, securing it to the wall. Follow the kit instructions closely for proper installation.
- Apply caulk and weather stripping for a tight seal.
- Finish the interior and exterior with trim as needed.
Weatherproofing Your Dog Door
Here are some techniques and considerations that promote a well-sealed and energy-efficient dog door.
Sealing and Insulation Techniques
Consider the following recommendations:
- Use high-quality weatherstripping around the frame.
- Apply silicone caulk to seal any gaps.
- Install a brush seal along the bottom of the flap for added insulation.
Energy Efficiency Considerations
To minimize energy loss through your dog door, think about these options:
- Choose a door with double flaps or a magnetic seal.
- Install an insulated cover for use during extreme weather.
- Consider an electronic door that only opens when activated by your pet.
Training Your Dog To Use the New Door
Introducing your dog to their new door may require patience and consistent positive reinforcement. Follow these tips for a smooth transition.
Positive Reinforcement Methods
Training your dog to use the new door can be straightforward if you use positive reinforcement methods:
- Start by propping the flap open and encouraging your dog to pass through.
- Use treats and praise to reward your dog for using the door. Positive reinforcement helps build the desired behavior.
- Gradually lower the flap to help them get used to pushing through the door independently.
Troubleshooting Common Issues
If your dog is hesitant to use the new door, try these troubleshooting tips:
- Try using a favorite toy to entice them through. Sometimes, a little extra motivation is all it takes.
- Practice during calm times of the day to reduce anxiety. Relaxed dogs are more receptive to training.
- Consider temporarily taping the flap open to build confidence. Once your dog is comfortable with the opening, you can gradually reintroduce the flap.
Maintenance and Care for Your Dog Door
Here are some tips for cleaning and knowing when to replace parts.
Cleaning Tips
Keeping your dog door clean promotes proper operation and hygiene:
- Wipe down the flap and frame regularly with a mild soap solution.
- Check and clean the tracks of sliding or electronic doors.
- Inspect weather stripping and seals for wear and tear.
When To Replace Parts
Here are some signs it’s time to replace components:
- Cracks or tears in the flap
- Loose or broken hinges
- Worn weather stripping that no longer seals effectively
Alternative Solution To Dog Doors: Sliding Glass Door Inserts
If a traditional dog door isn’t suitable for your home, alternative solutions exist. For homes with sliding glass doors, panel inserts provide a convenient and non-permanent solution:
- There will be no permanent modifications to your door
- Easy to install and remove
- Available in various sizes to fit standard patio doors
Our Conclusion
By allowing your furry friend to come and go as needed, you’ll reduce stress and potential accidents while saving time and energy. With patience and positive reinforcement, your dog will soon enjoy its newfound independence.
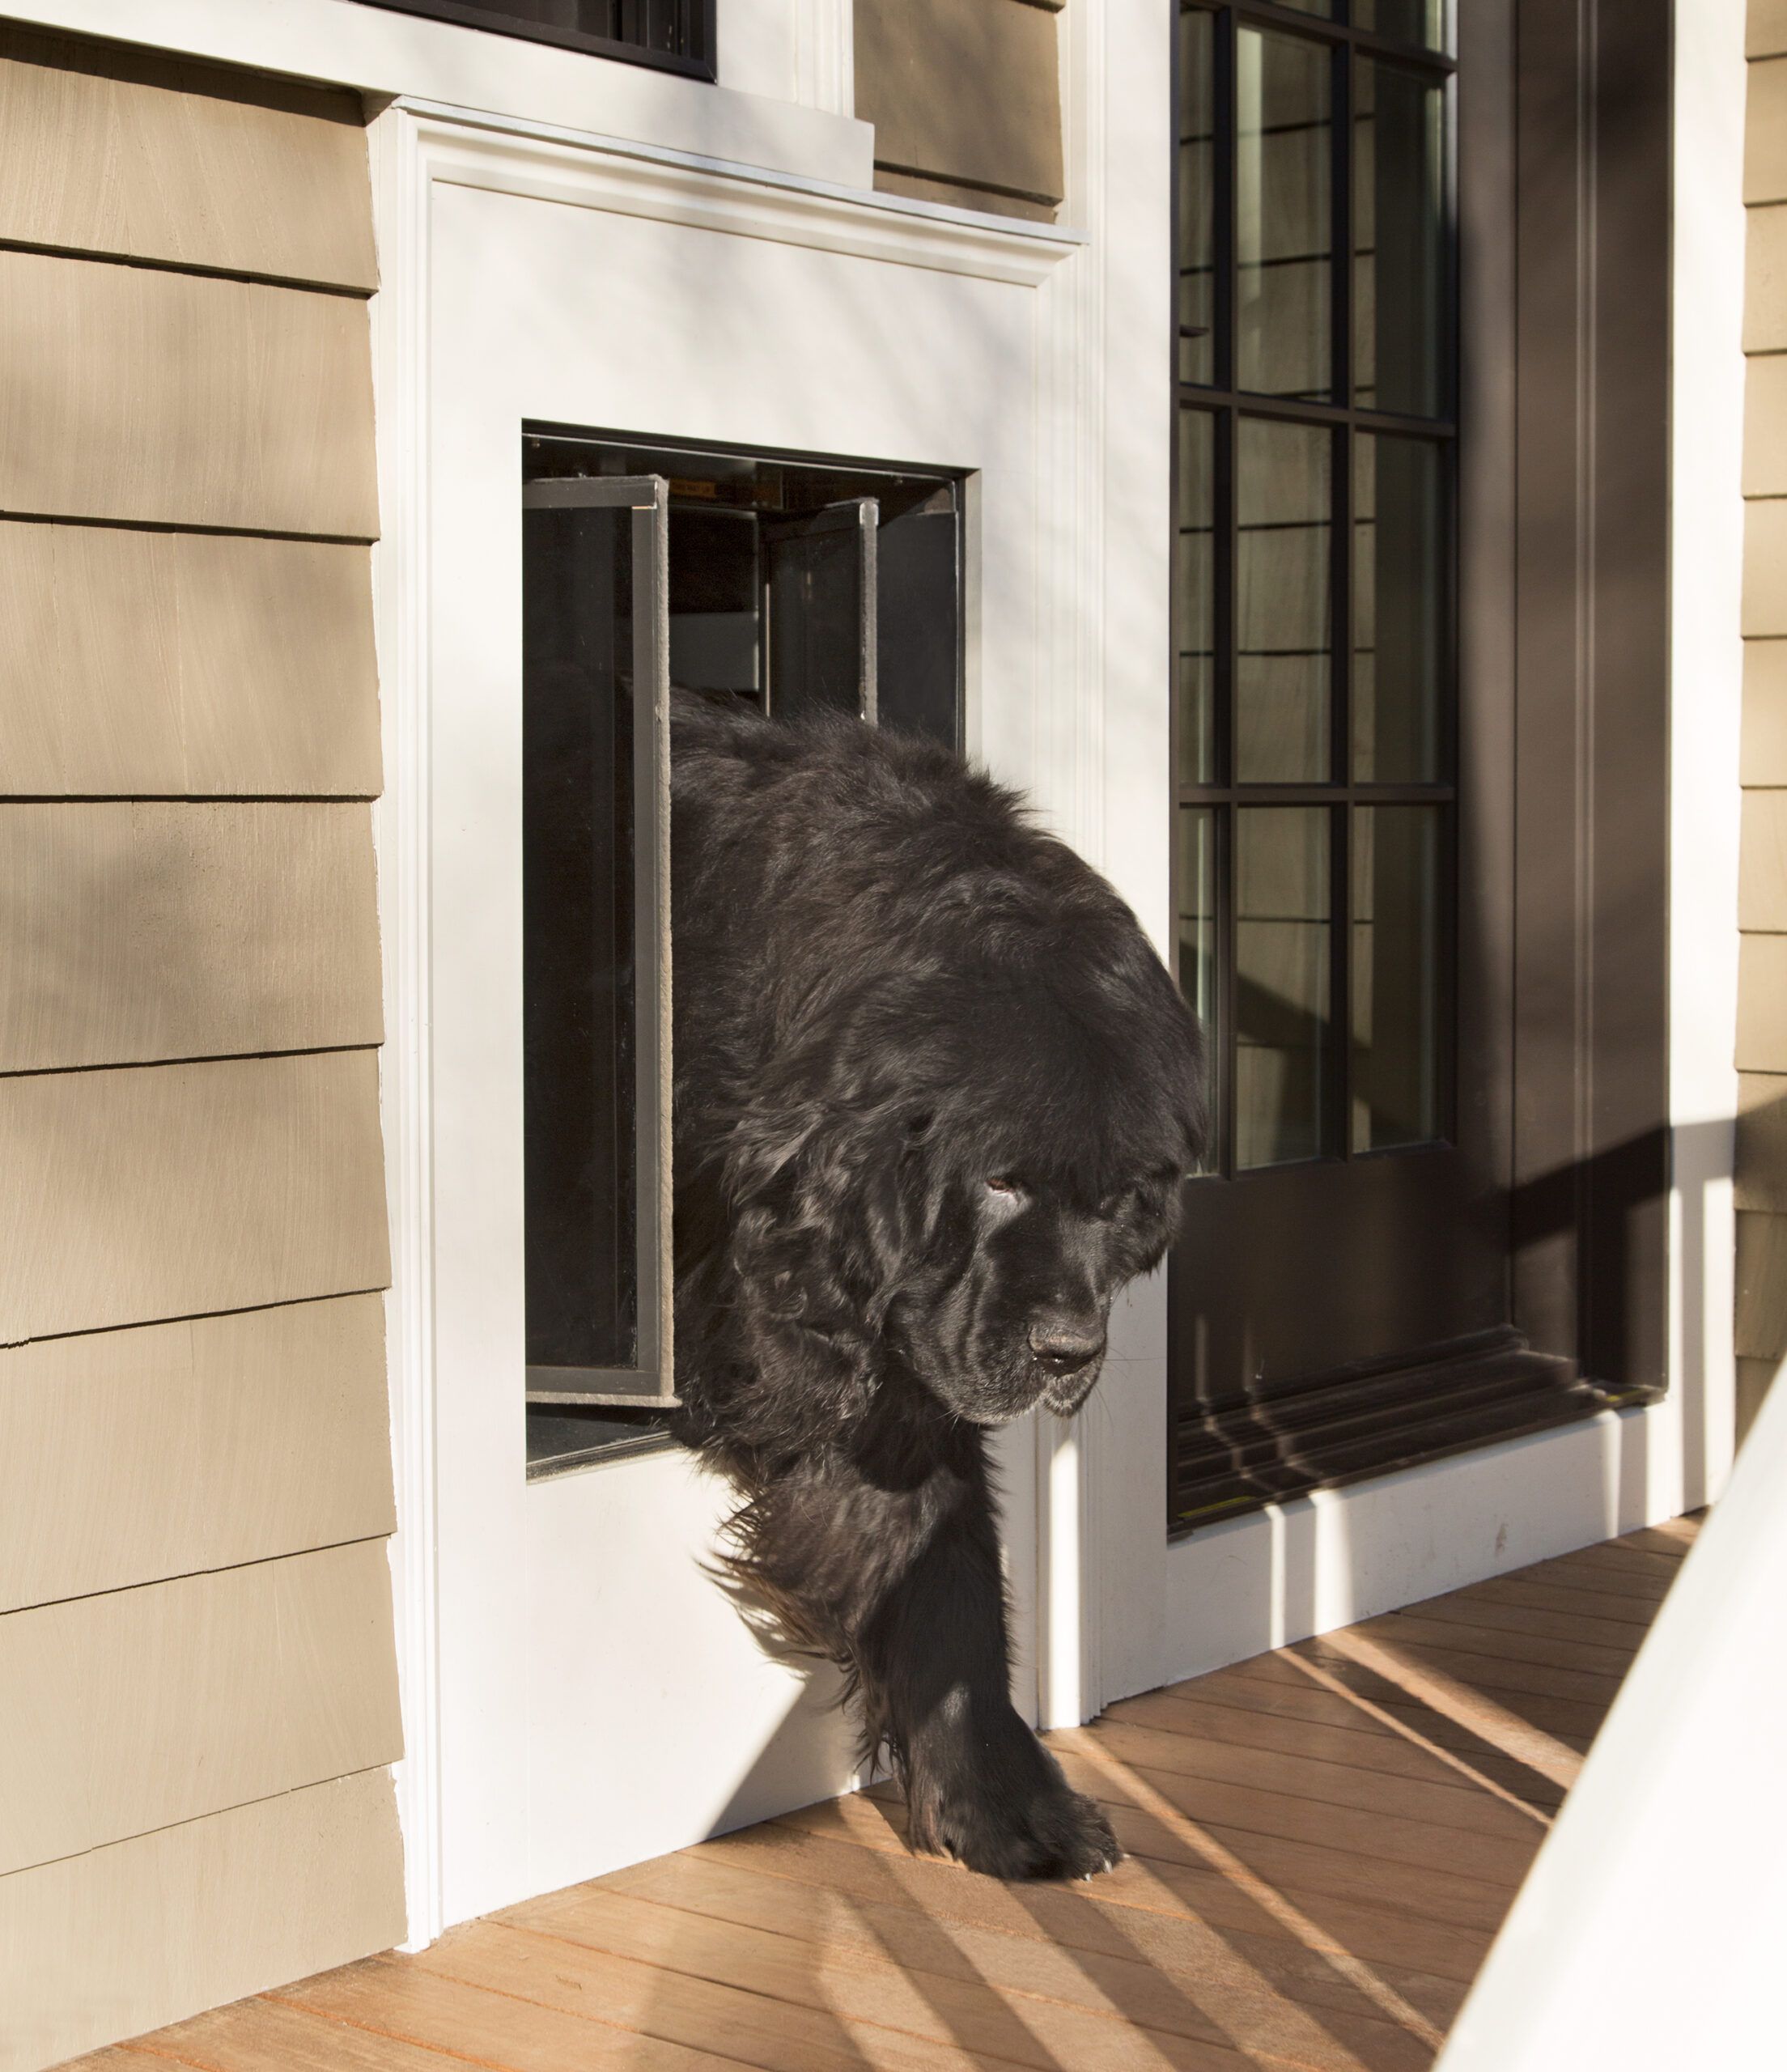
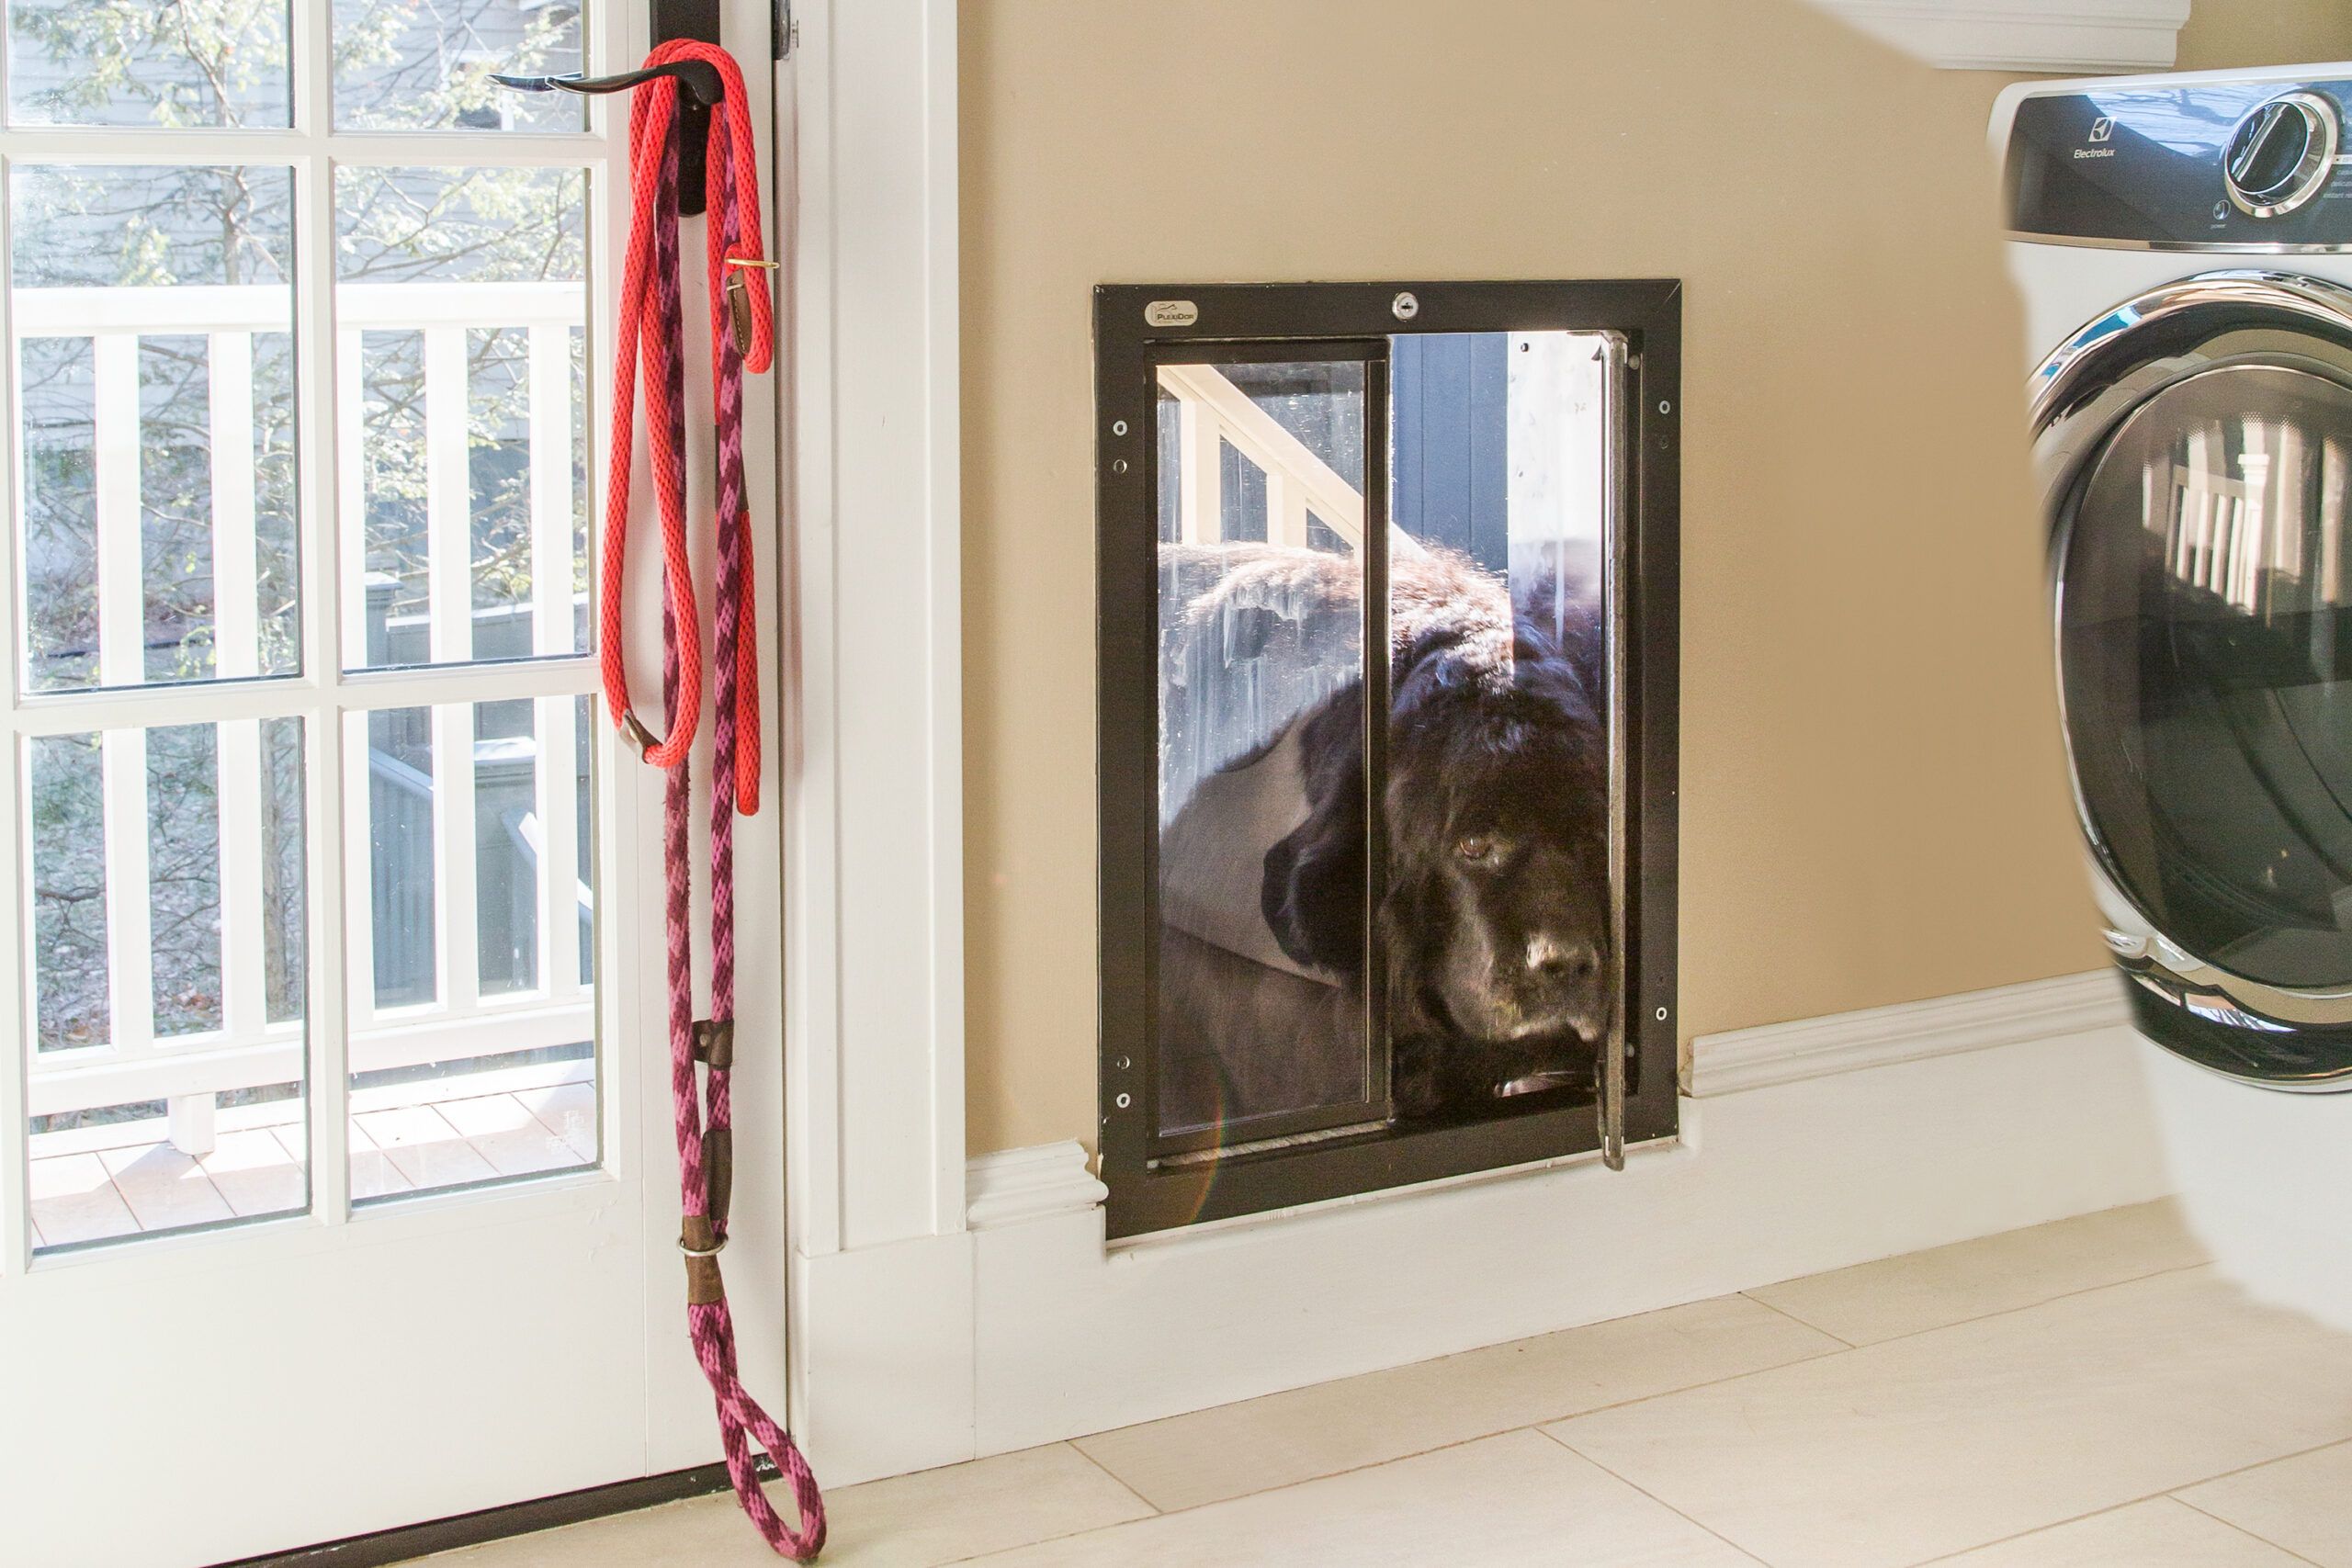
Photo Gallery: Dog Door Installation
Check out the photos below to see our experts install a dog door.