Tools
Choose the right tools for your next do-it-yourself (DIY) project with expert reviews, buying guides, and step-by-step instructions.

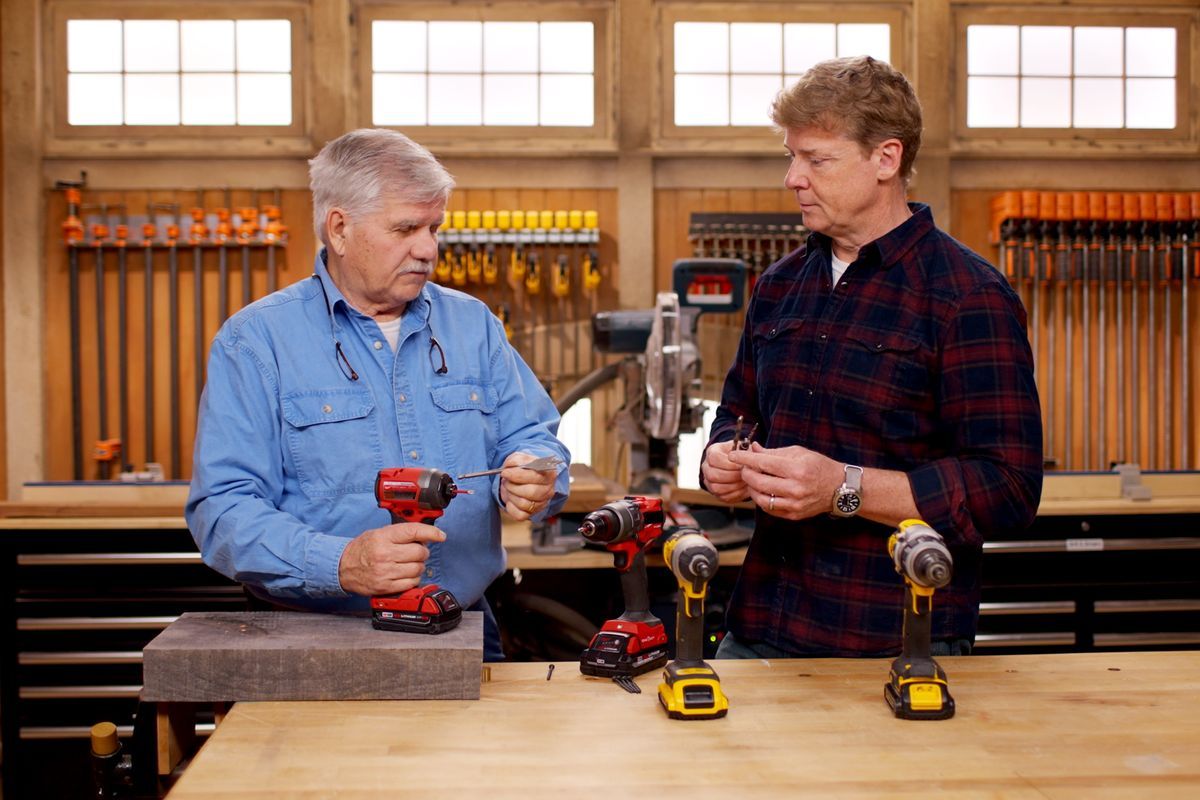
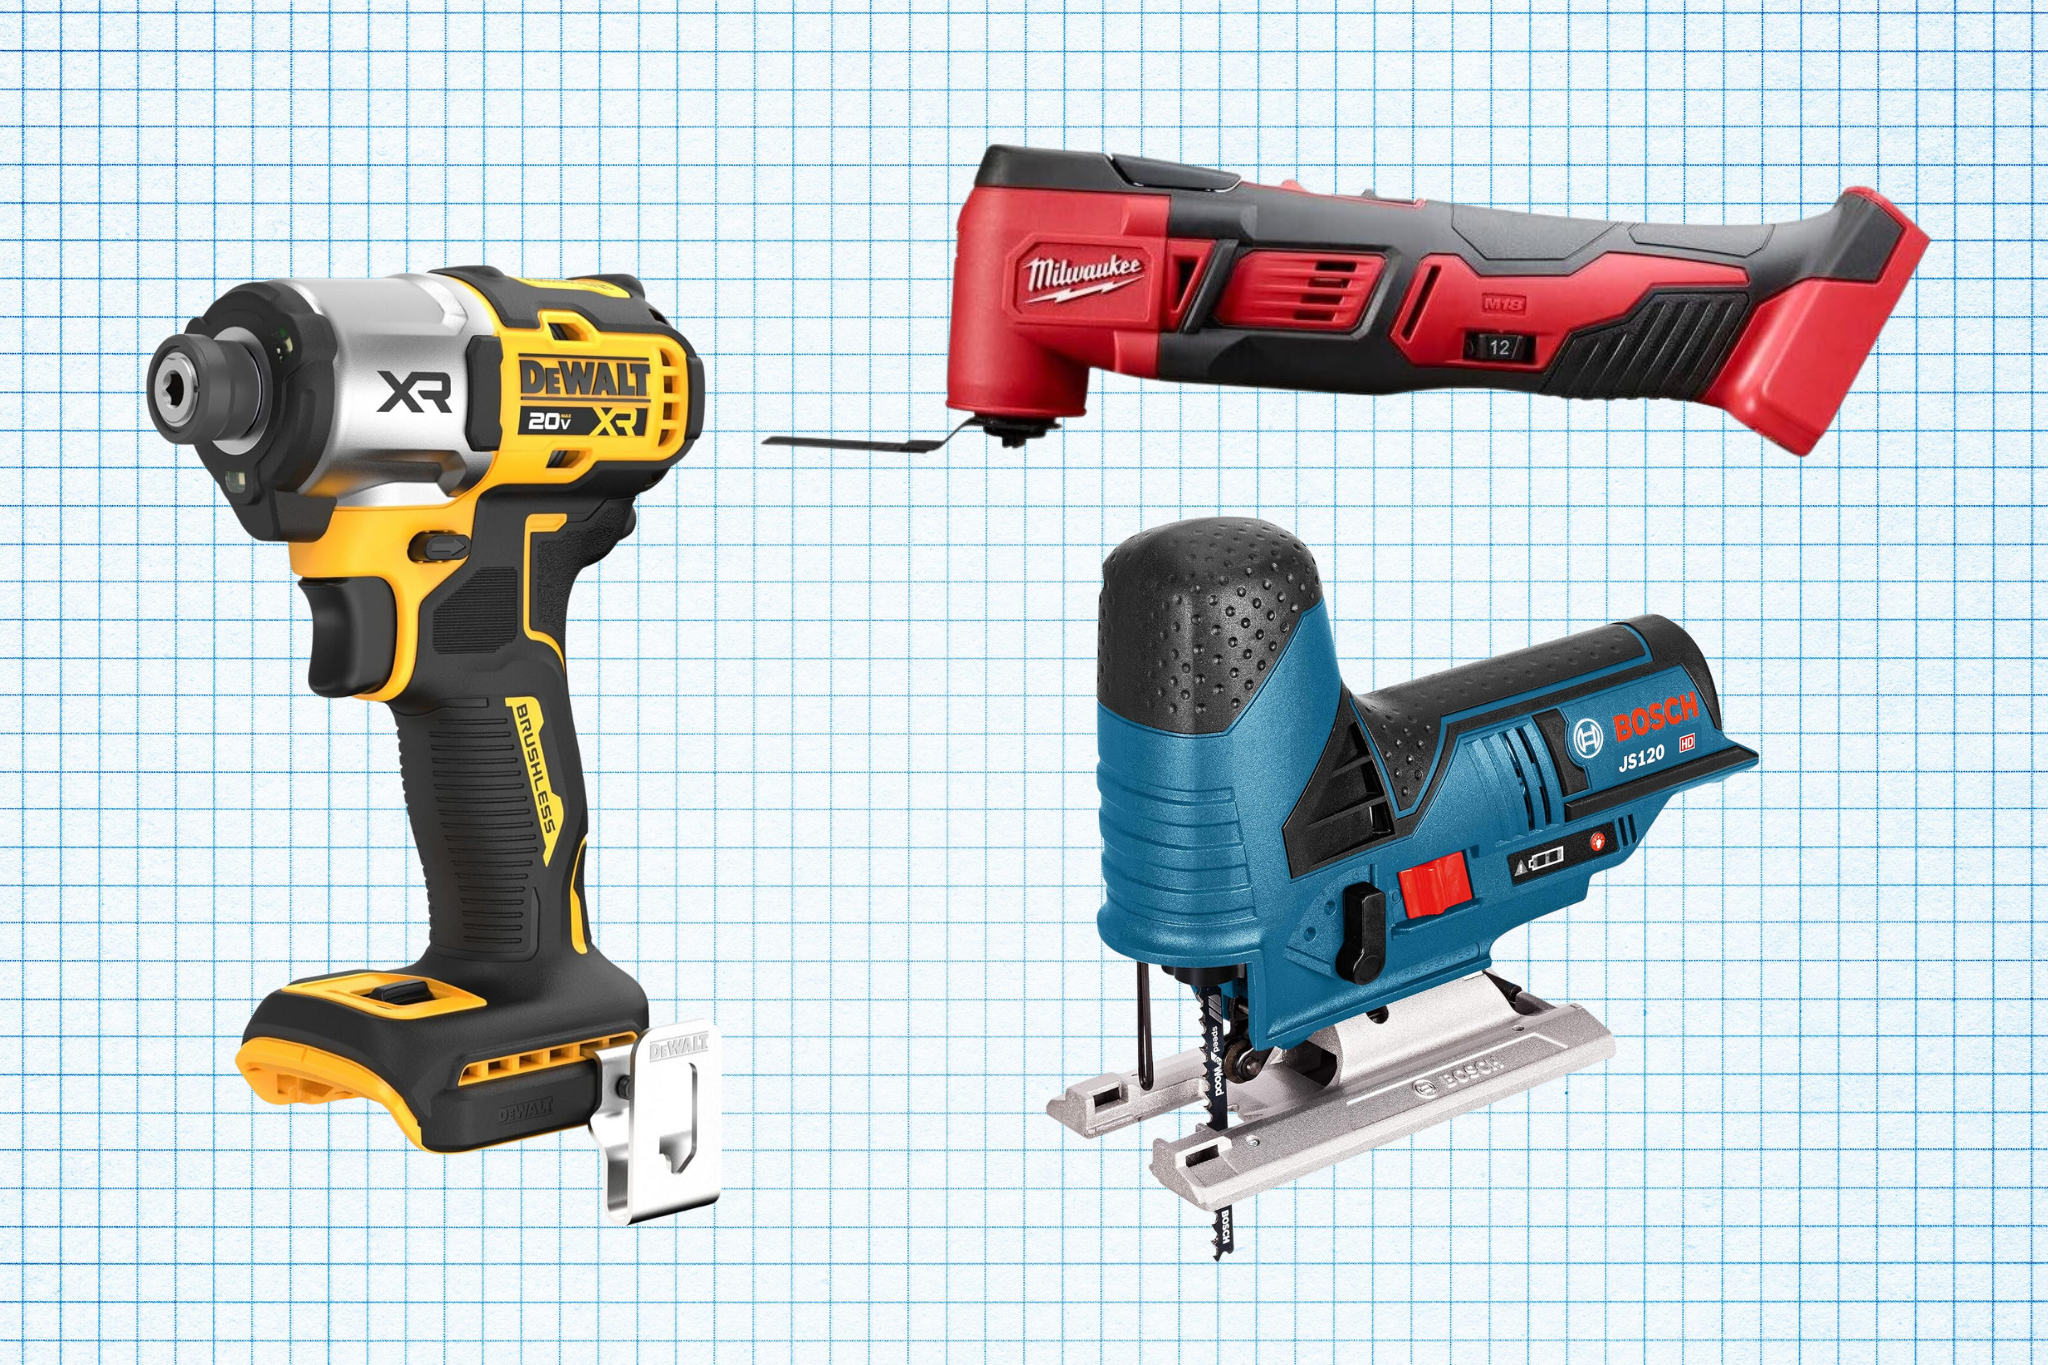
When to Use an Impact Driver vs a Drill
General contractor Tom Silva shows host Kevin O’Connor the differences between impact drivers and drills before explaining when to use one or the other.

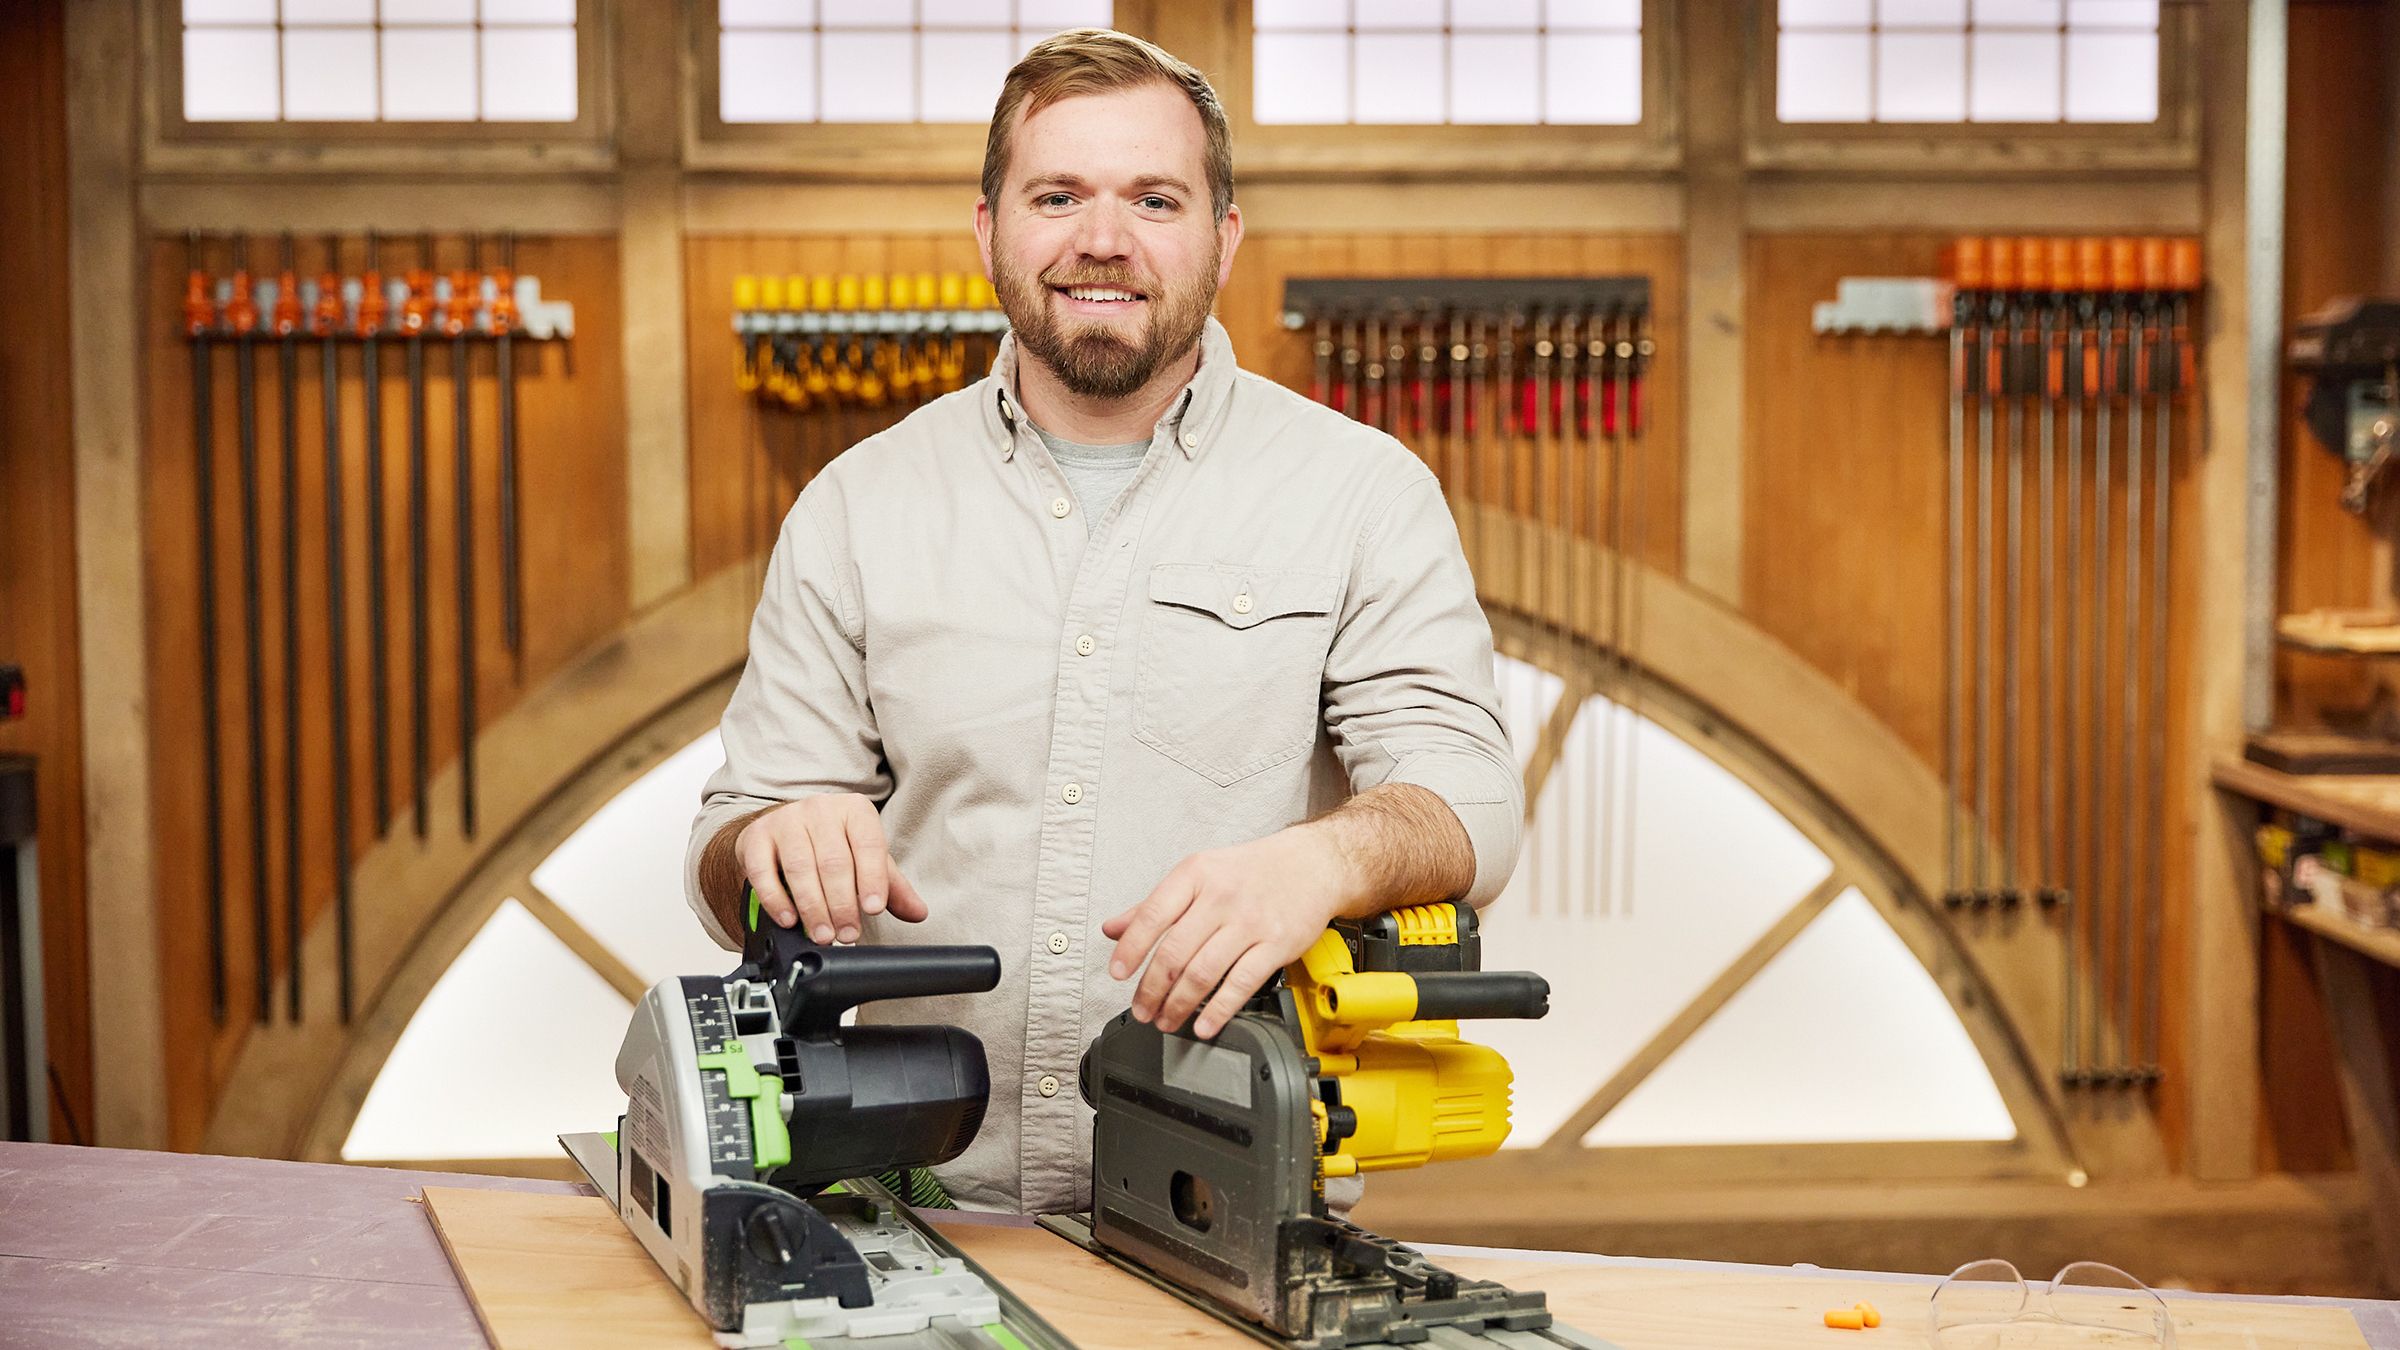
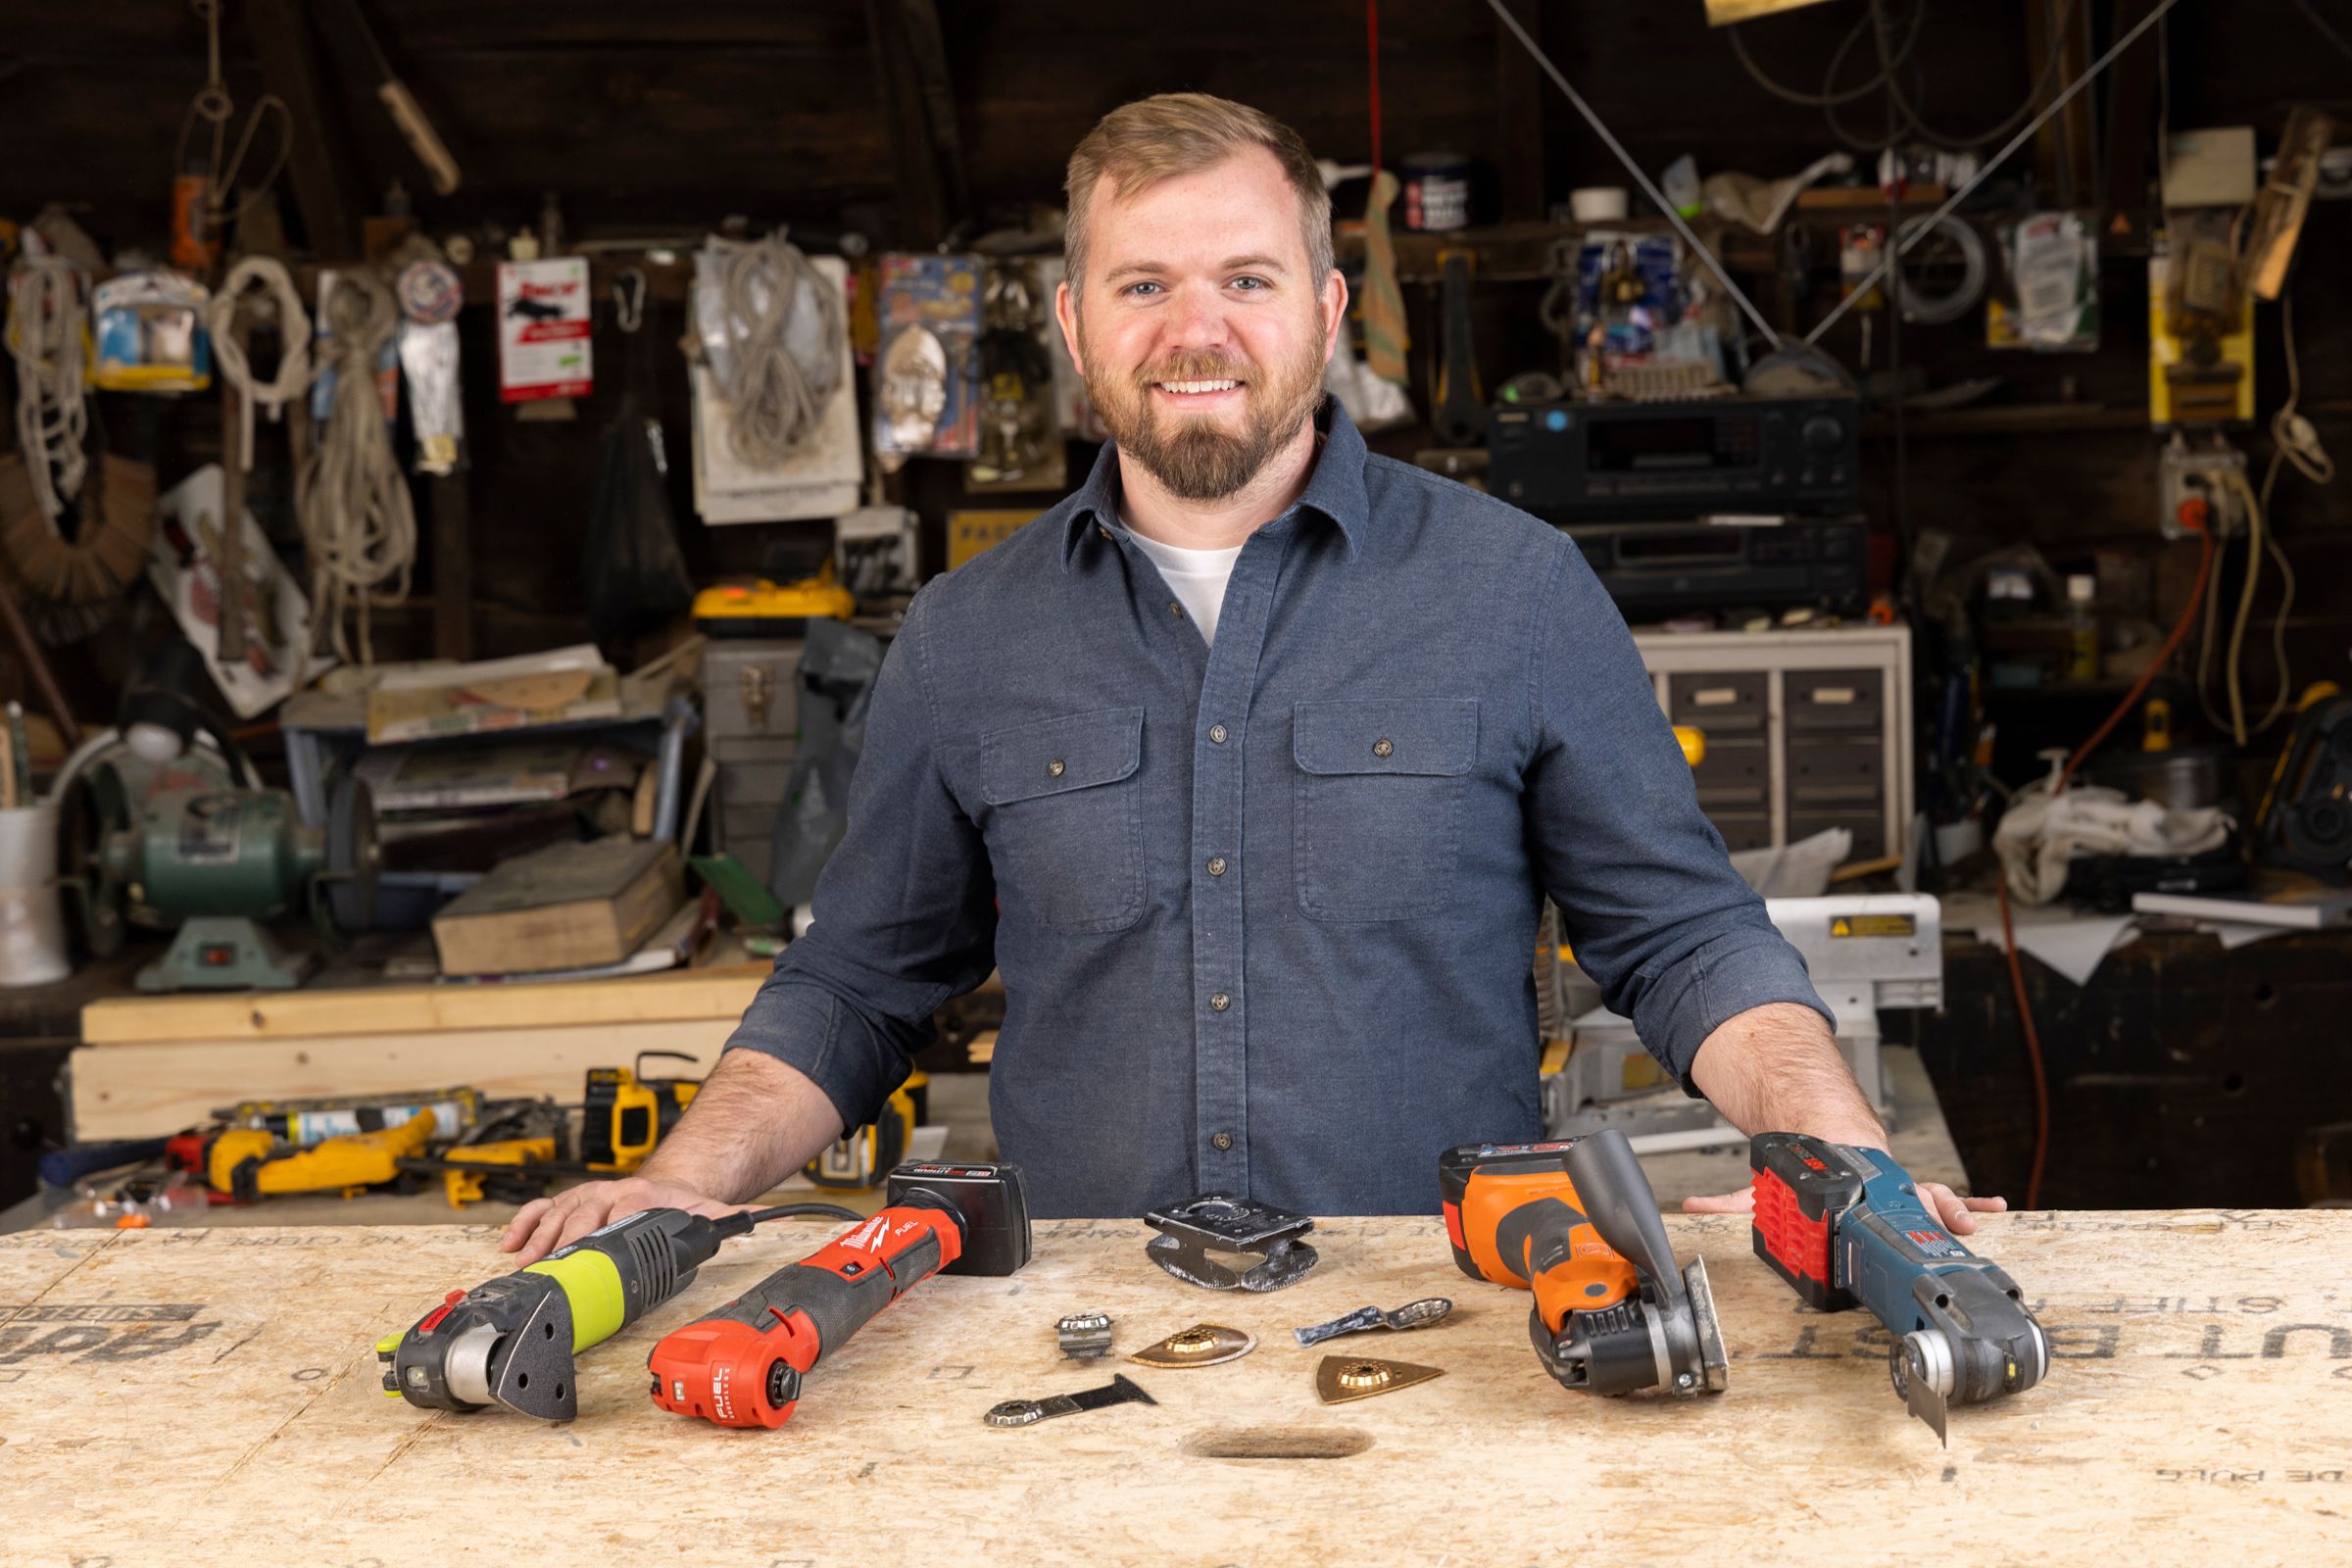
How To Select and Use a Track Saw | Tool Lab
A track saw is an incredibly useful tool to have in your DIY arsenal. Find out more about these tools at this link.
Read the article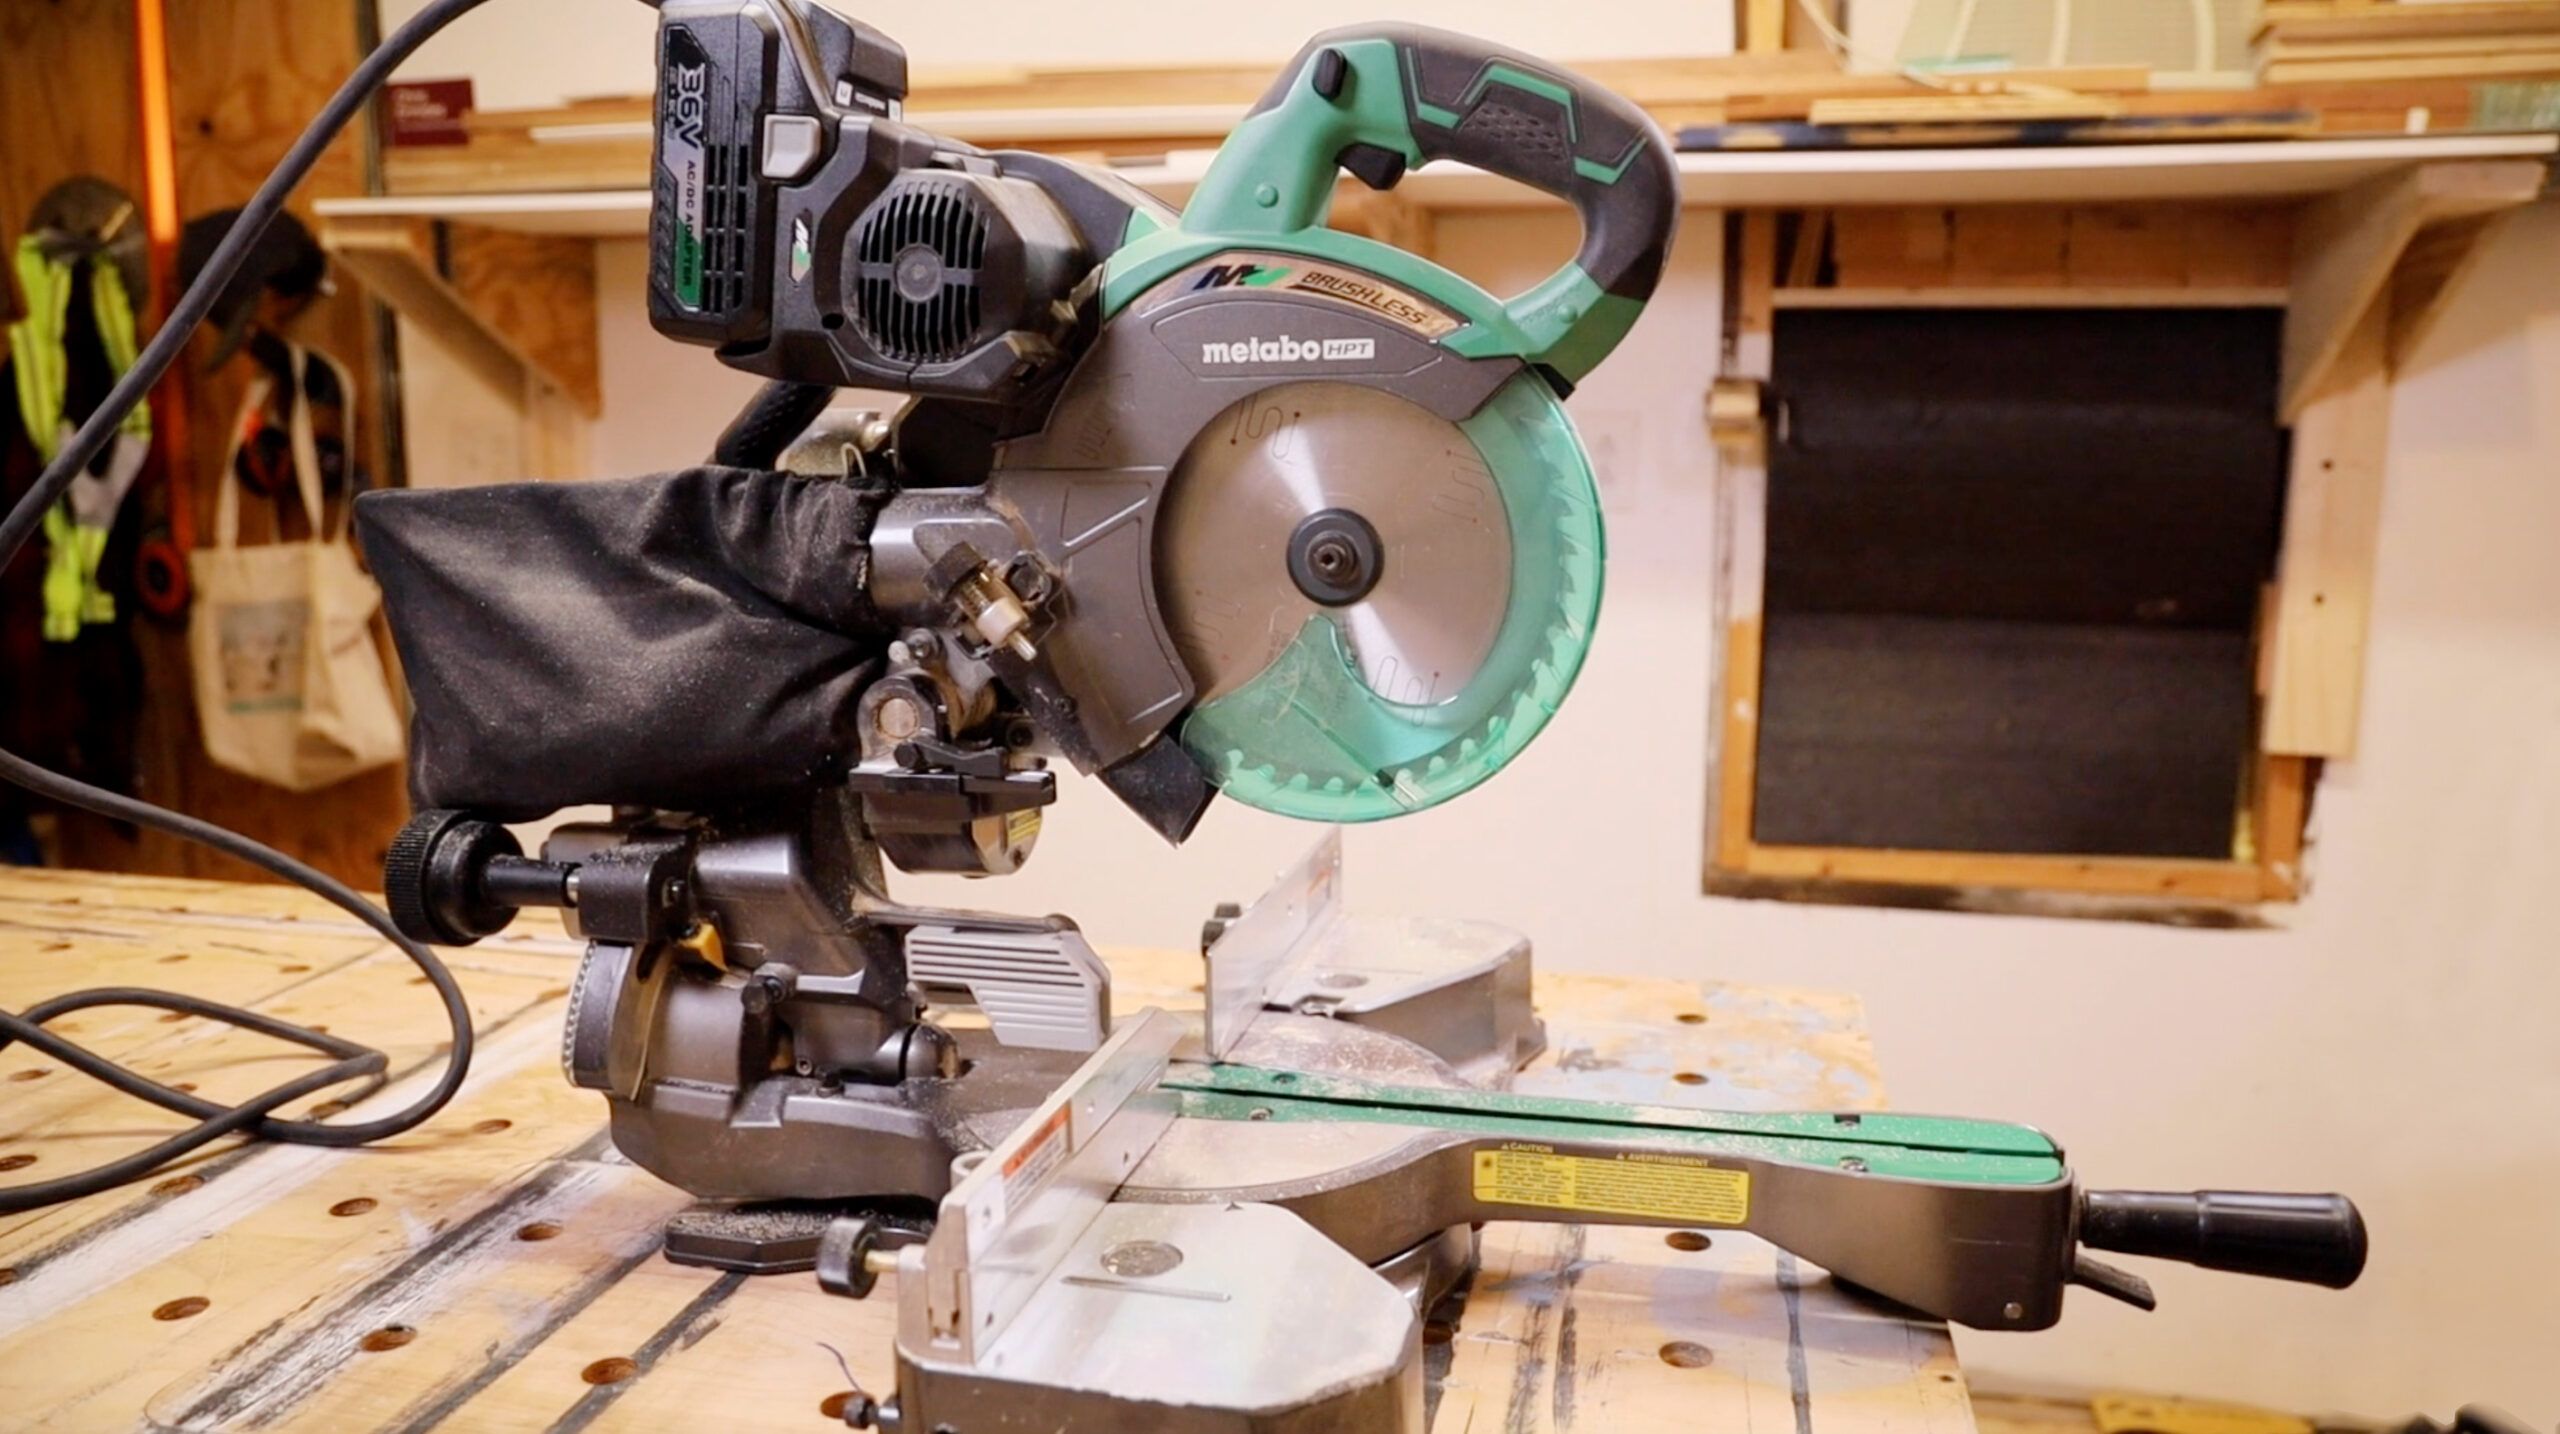
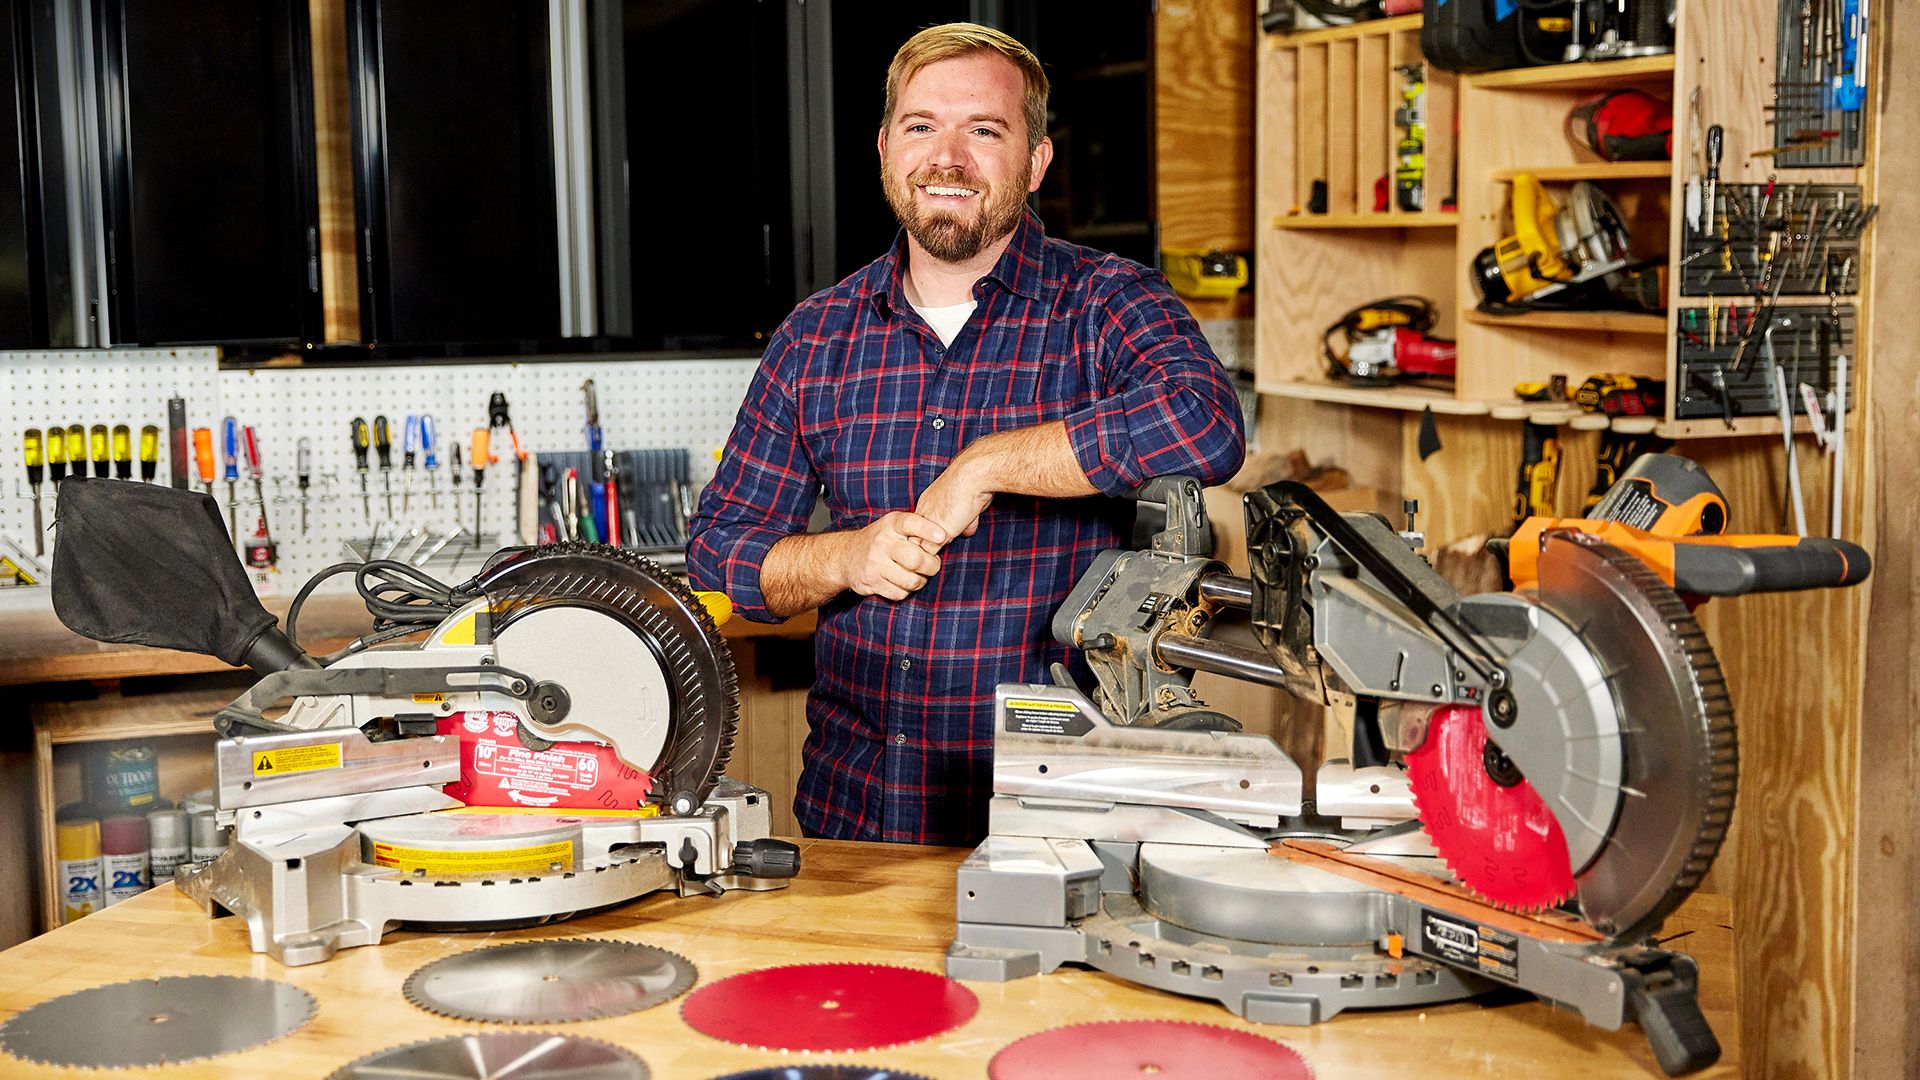
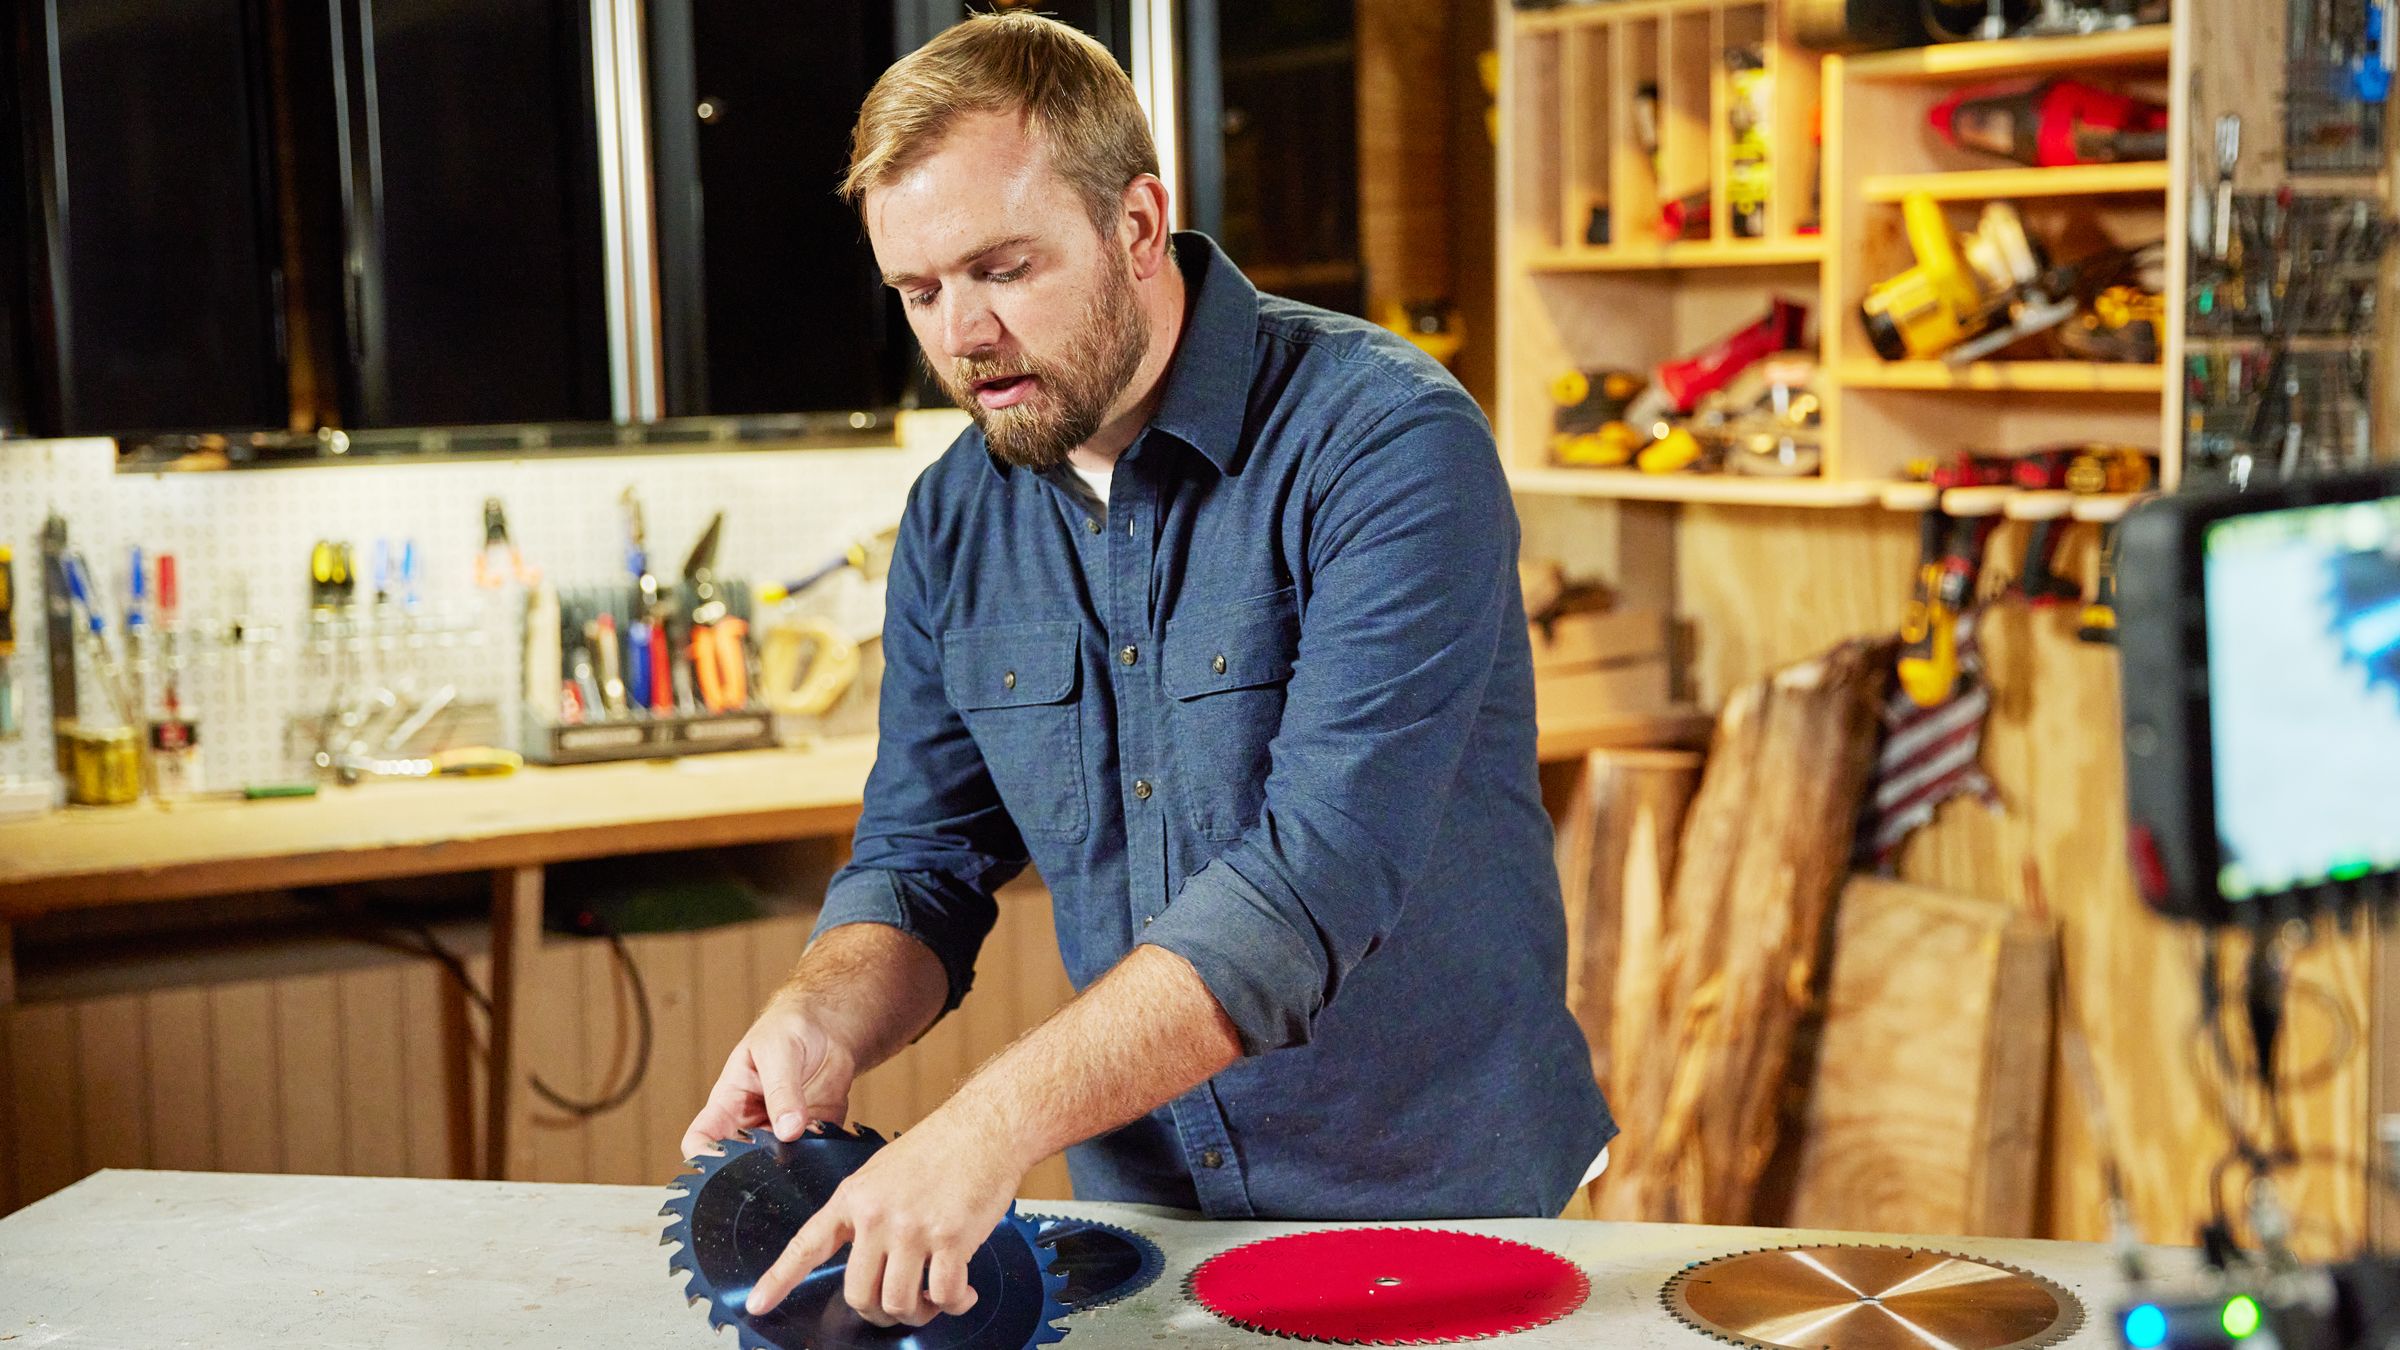
What to Know About Sliding Compound-Miter Saws
Looking for the right sliding compound-miter saw to add to the workshop? Read this guide to get the lowdown on choosing and using these versatile power players.
Read the article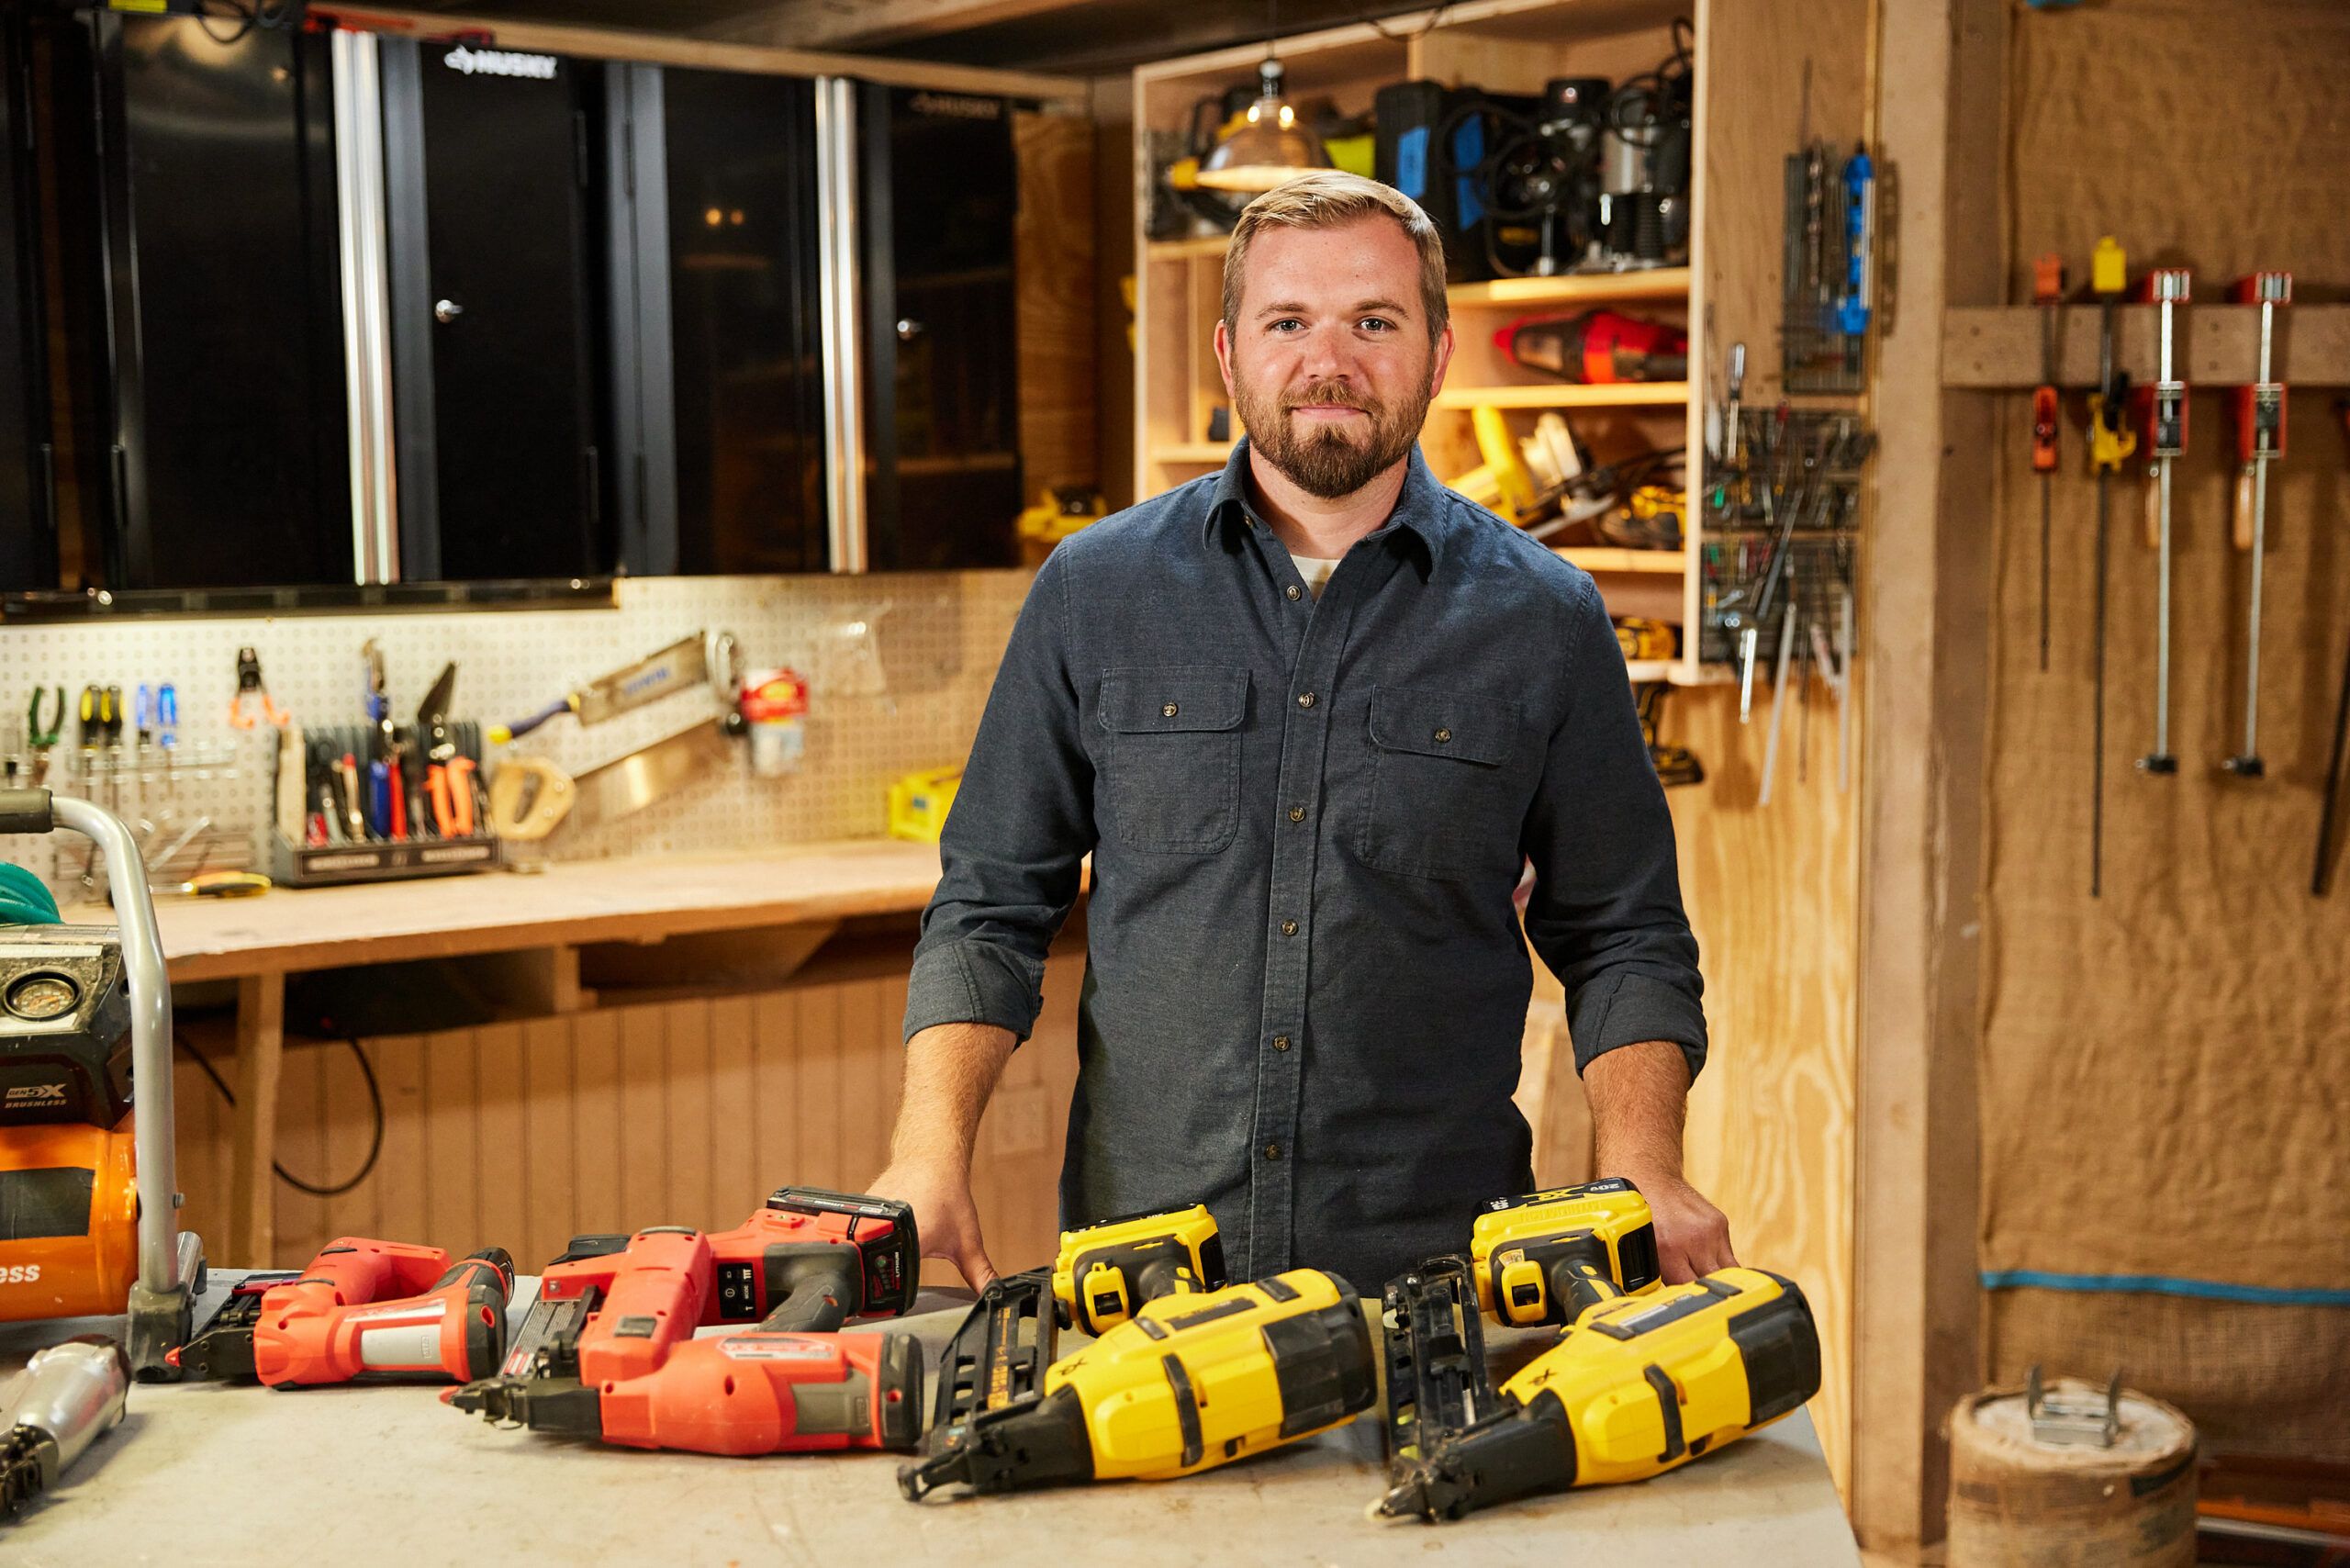
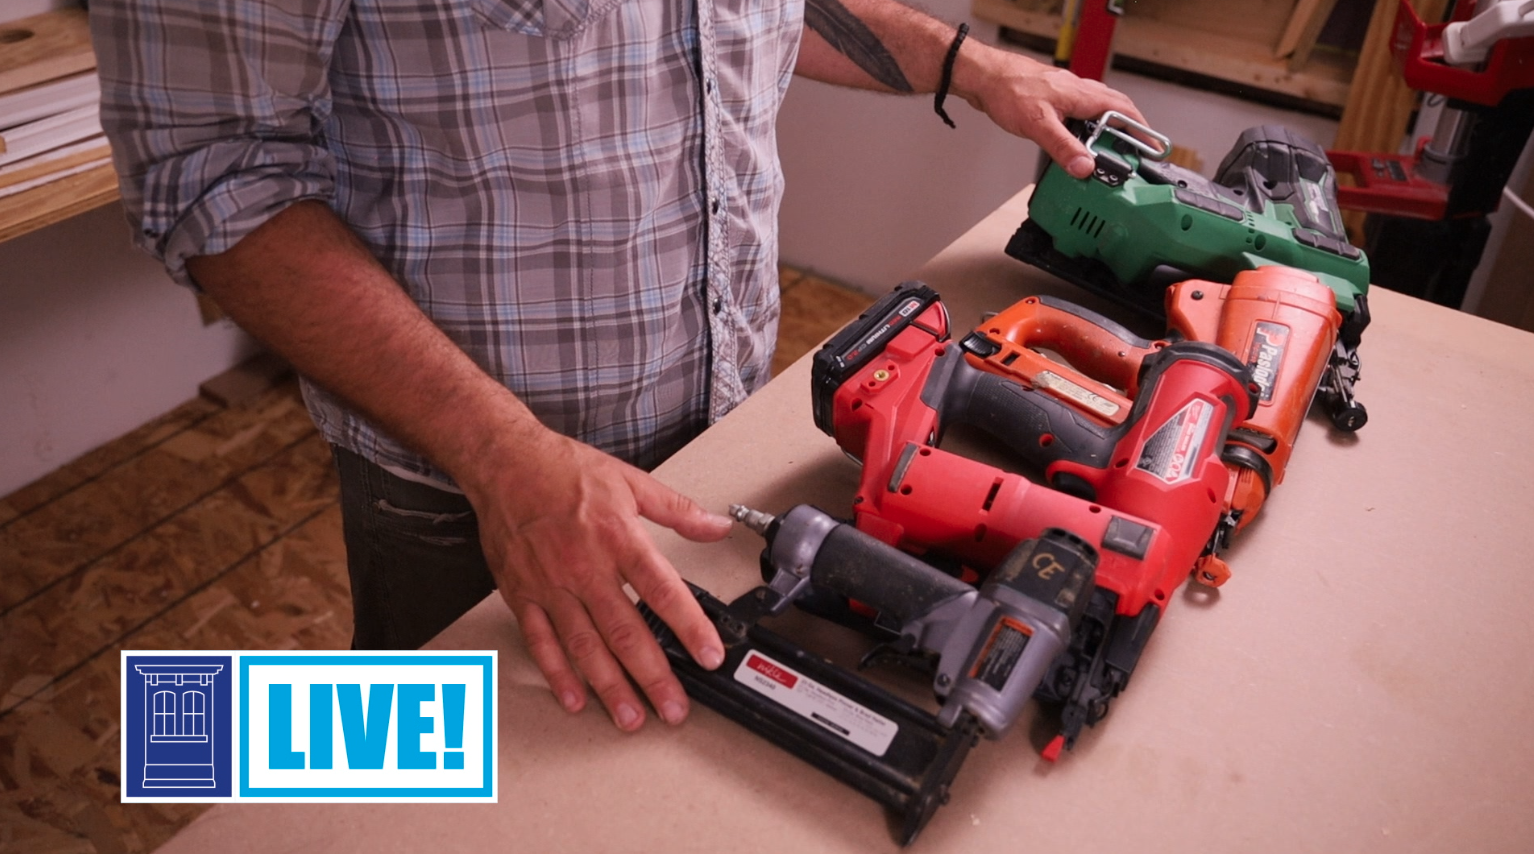
Your Guide to Cordless Finish Nailers
Ask This Old House carpenter Nathan Gilbert has the lowdown on choosing and using the right cordless finish nailer to best suit your needs.
Read the article
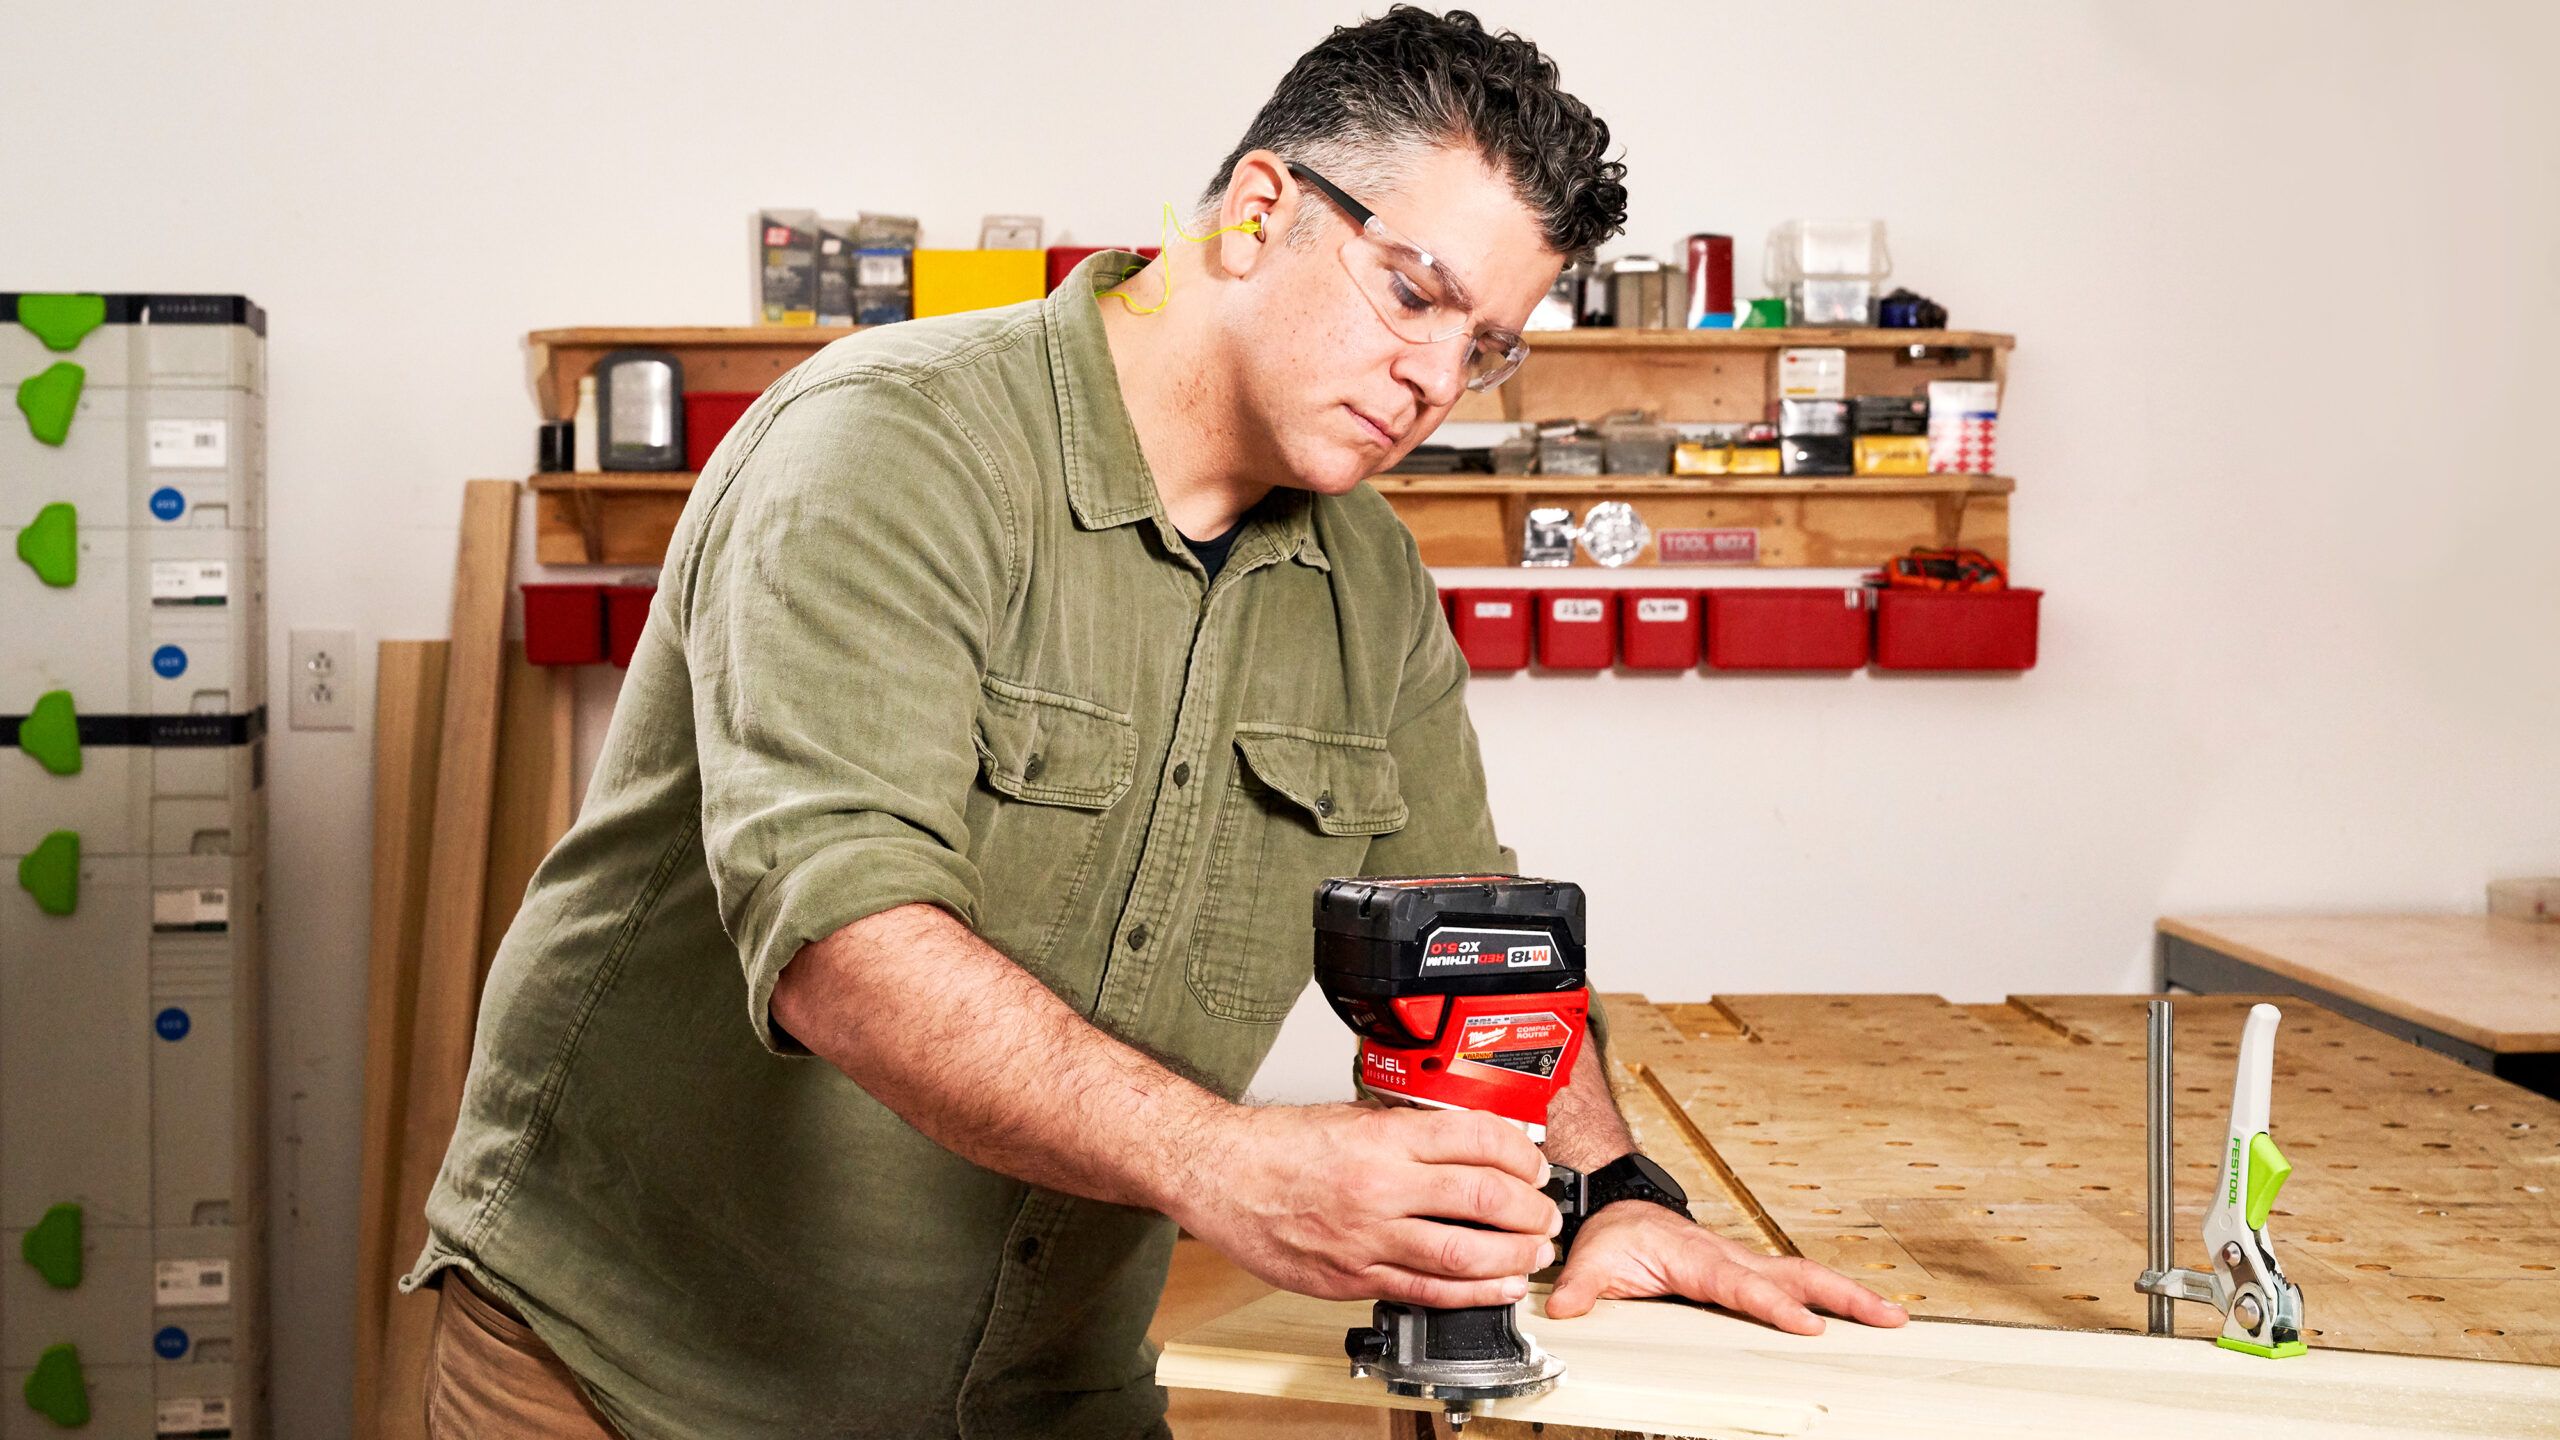
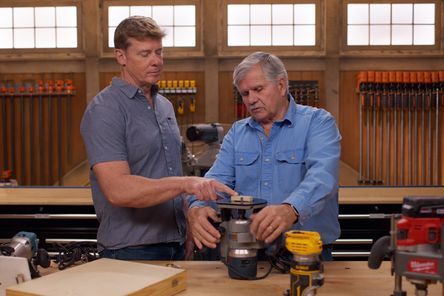
Bosch Compact Cordless Router Review
The Bosch GKF12V-25N 12V router packs a lot of punch in a small, well-balanced footprint. See our Tool Lab review to learn more about its features, specs, and performance.
Read the article