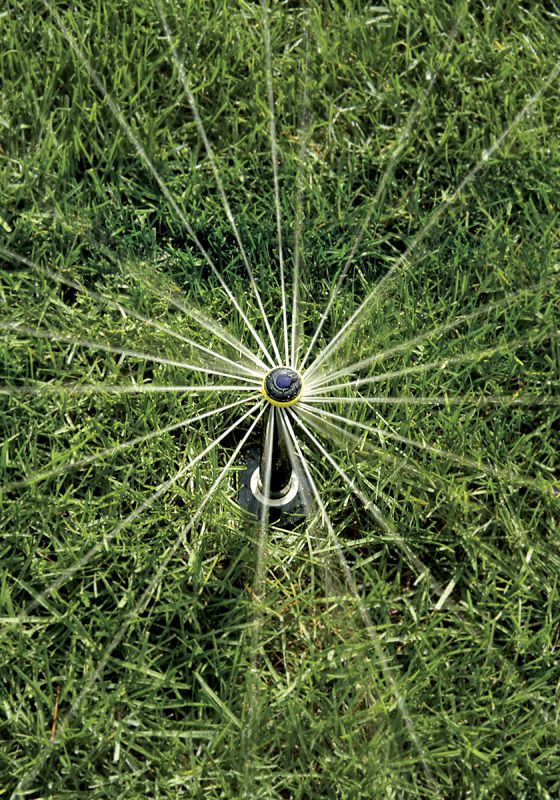
A well-functioning sprinkler system will help you maintain a lush, healthy lawn. Sprinkler heads can sink or become damaged over time, which affects their performance. Whether you’re dealing with sunken heads or need to replace old ones, this guide will walk you through the process of raising or replacing sprinkler heads to ensure your irrigation system works efficiently.
Common Sprinkler System Problems
As sprinkler systems age, several problems can develop:
- Broken or cracked heads: Lawnmowers and other impacts can cause physical damage to sprinkler heads.
- Clogged nozzles: Dirt and debris can accumulate and block water flow.
- Sunken heads: Soil settling and foot traffic can cause sprinkler heads to sink below the lawn surface.
- Worn internal parts: Regular use can lead to wear and tear on internal components.
Signs It’s Time To Replace or Raise a Head
Look out for these signs that indicate your sprinkler heads need attention:
- Heads barely popping up above the grass
- Leaks around the base of the sprinkler
- Visibly damaged or broken heads
- Water spraying unevenly or not reaching certain areas
Tools and Materials Needed
Gather these tools and materials for the repair process:
- Shovel or trowel
- Stiff brush
- Pliers
- Screwdriver
- Tape measure
- Replacement sprinkler heads (if necessary)
- Cutoff risers with tapered male threads
- Pipe thread sealant (optional)
- Extra soil or sand for leveling
Preparing for the Job
Start by running your irrigation system to identify all the sprinkler heads in the area you’ll be working on. Mark their locations with small flags or stakes to make them easy to find.
Always turn off the water supply to your irrigation system before beginning any work. Locate the main valve for your sprinkler system and shut it off completely. This step prevents water damage and makes your job easier.
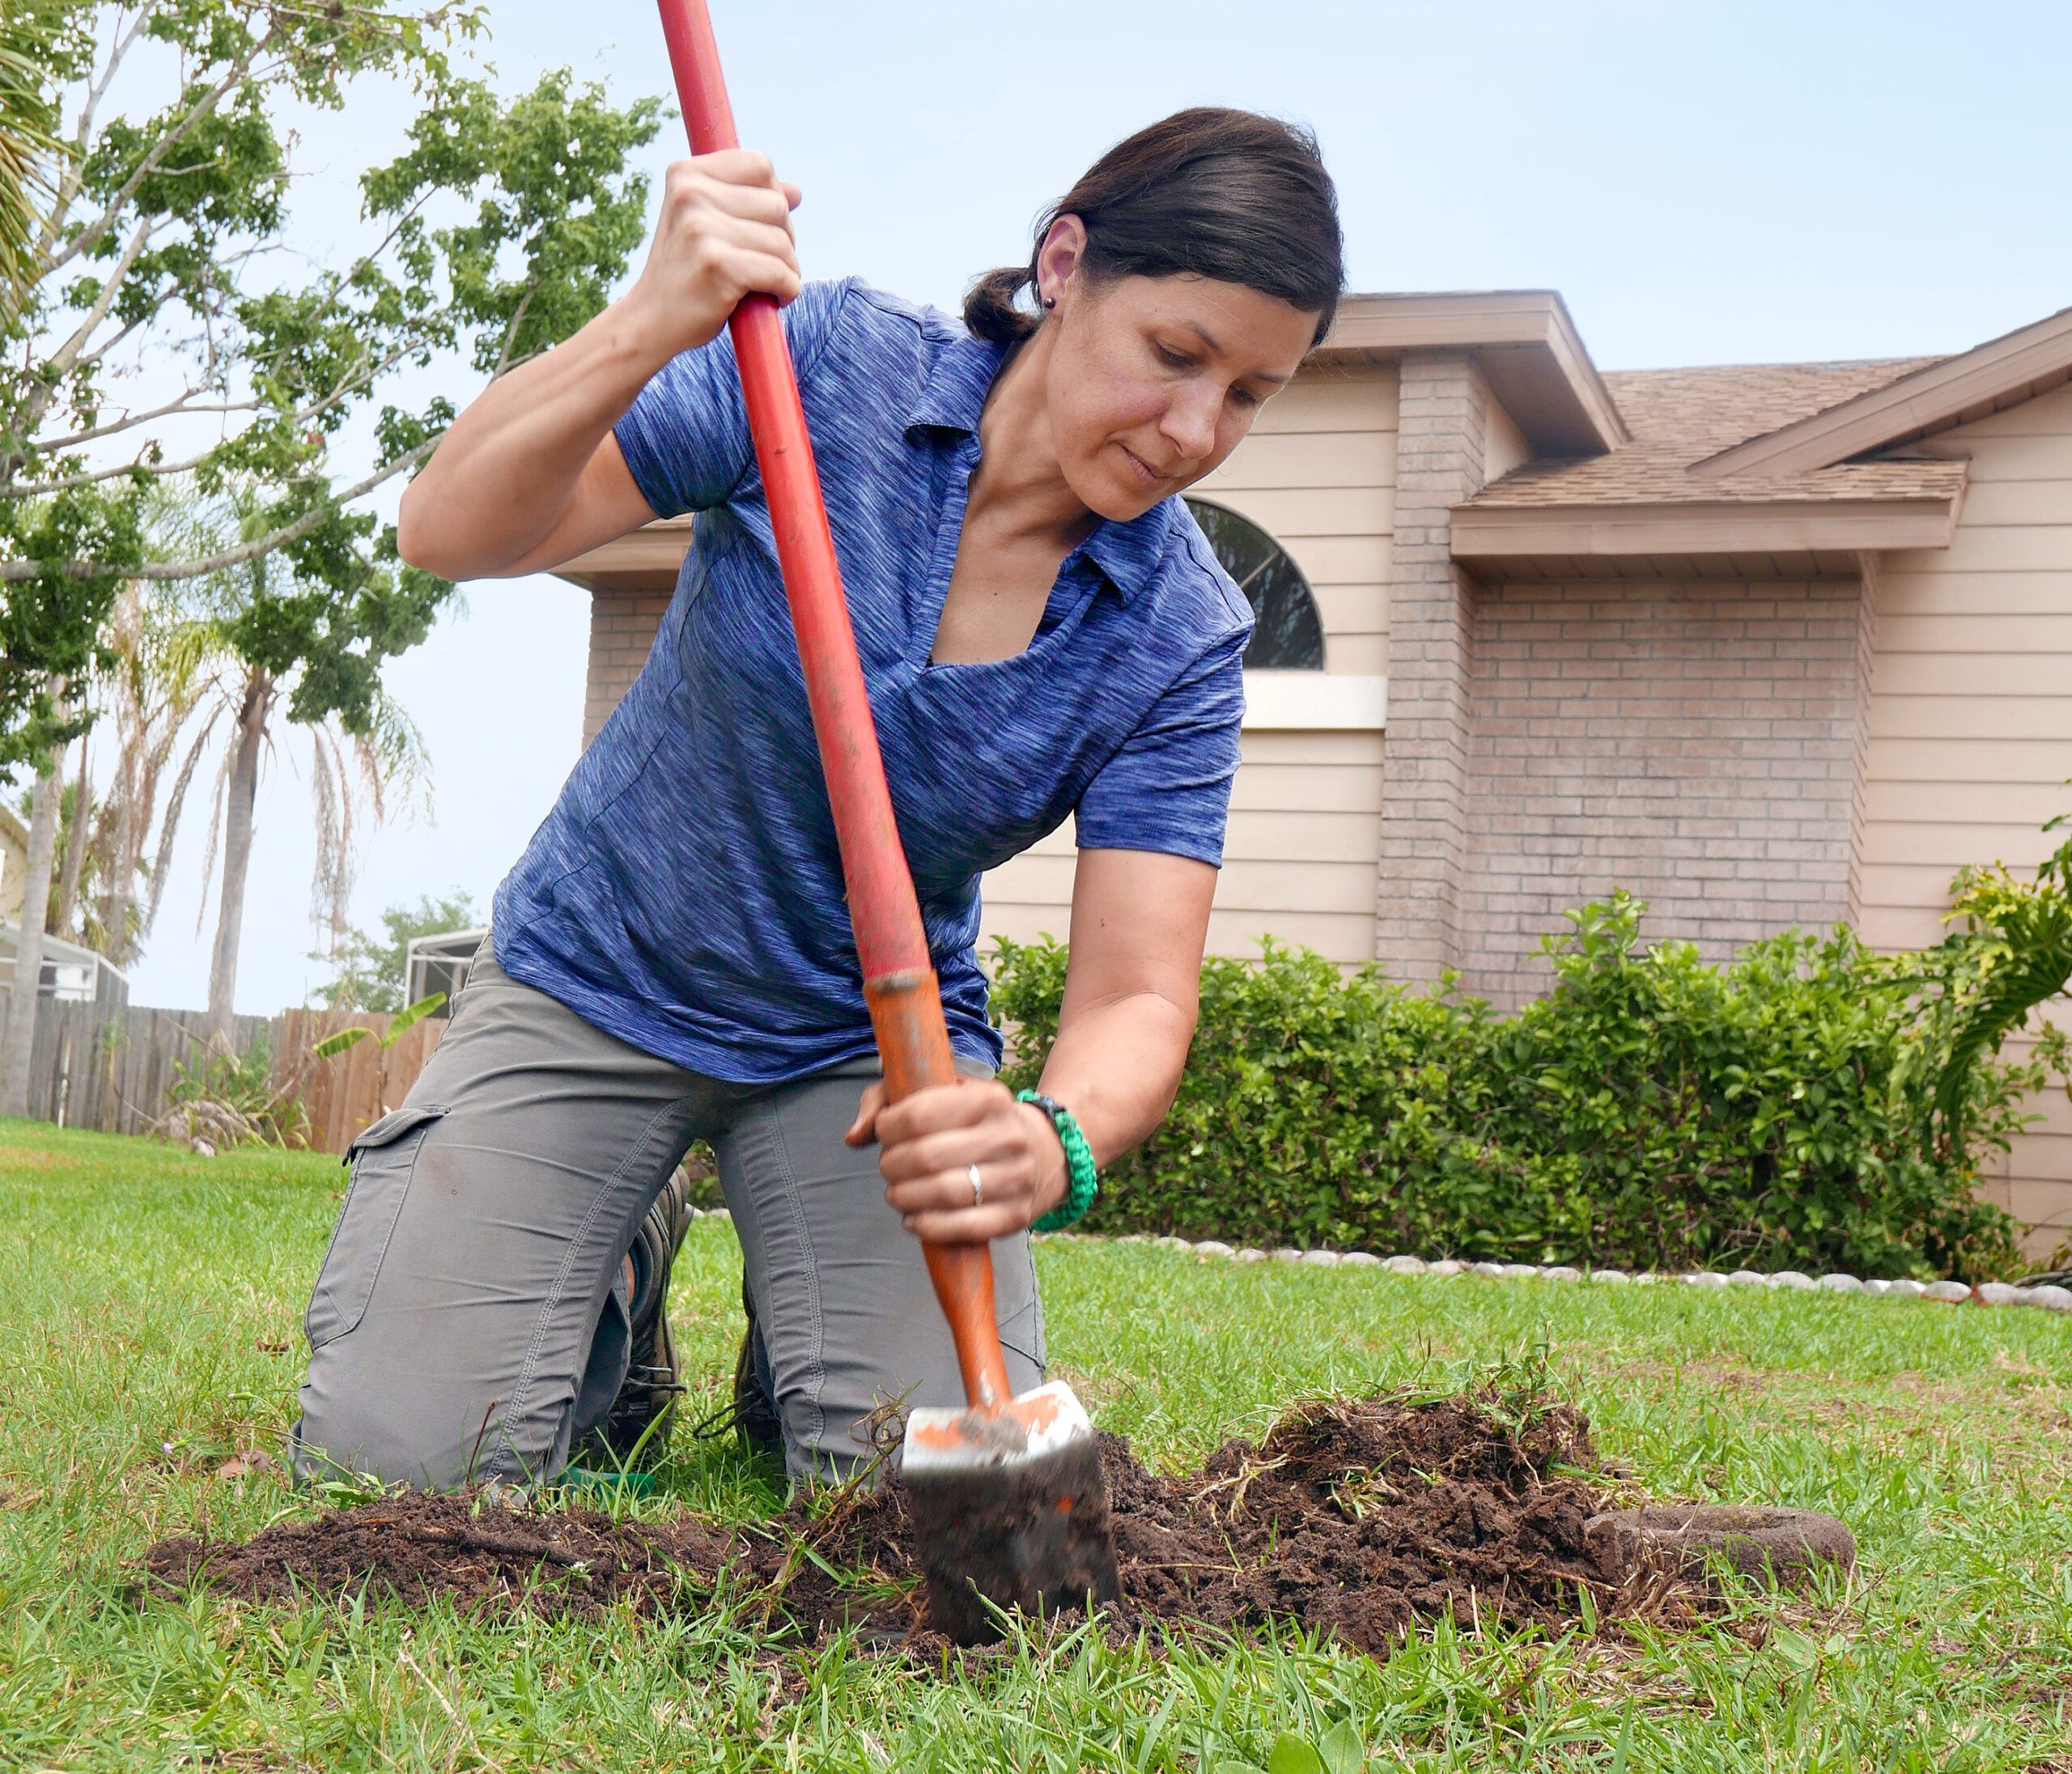
Raising a Sprinkler Head
To raise a sprinkler head, start by carefully digging around the sprinkler head using a shovel or trowel. Create a hole about 6 inches in diameter and deep enough to expose the irrigation line and T fitting (a threaded pipe fitting that connects irrigation systems).
Clear away soil from around the head and fittings using a stiff brush and damp rag. Unscrew the sprinkler head from the T fitting by turning it counterclockwise. You may need pliers for stubborn heads, but be careful not to damage the threads.
Now, it’s time to install the riser. Here’s how:
- Measure how much the sprinkler head needs to be raised. For heads sunk by 1/2 inch or more, use a cutoff riser.
- Cut the riser to the appropriate length, ensuring you have enough threaded sections to connect to both the T fitting and the sprinkler head.
- Screw the riser into the T fitting by hand until it’s snug.
To reattach the sprinkler head, screw it onto the riser. There’s usually no need for plumber’s tape or pipe dope, as the tapered threads provide a good seal.
Before refilling the hole, turn on the water supply to check for leaks. If you notice any, retighten the connections. Once you’re satisfied that there are no leaks, fill in around the raised sprinkler head with soil so it’s level with the surrounding lawn.
Replacing a Sprinkler Head
Raising a head isn’t always enough to fix your sprinkler, and full replacement may be necessary. Replace your sprinkler head if you notice any of the following:
- Internal parts that no longer function properly
- Outdated models that are less efficient than newer options
- Visible cracks or breaks in the housing
When selecting a new sprinkler head, match the type and brand to your existing system for compatibility. You may want to upgrade to more efficient models if your system is more than 10 years old. Make sure the new head has the same spray pattern and range as the old one.
Follow these steps to install a new sprinkler head:
- Follow the steps for removing the old head as described earlier.
- Clean the threads on the riser or T fitting.
- Apply pipe thread sealant to the threads if desired (though this isn’t always necessary).
- Screw on the new head, tightening it by hand.
- Align the head properly for optimal coverage.
- Test the system and adjust as needed before refilling the hole.
Troubleshooting Common Problems
Even after raising or replacing your sprinkler heads, you might encounter leaks, uneven spray patterns, or stuck heads. If you notice water seeping from the base of the sprinkler head, follow these steps:
- Turn off the water supply.
- Unscrew the head and check for debris in the threads.
- Clean the threads and reapply thread sealant if necessary.
- Reattach the head.
If your sprinklers aren’t distributing water evenly, check for and clear any debris clogging the nozzle. Check that the head is level with the ground and adjust the arc or radius settings if your model allows.
If a sprinkler head doesn’t pop up or retract, gently clean around the head to remove any obstructing soil or grass. Check for small rocks or debris inside the sprinkler body. If cleaning doesn’t solve the issue, the internal spring may be damaged, requiring head replacement.
Maintaining Your Sprinkler System
Regular maintenance can prevent many common sprinkler issues and extend the life of your system. Run your system monthly to check for proper operation. Look for heads that are tilted, sunken, or spraying incorrectly, and clear away grass or plants that may be blocking sprinkler heads.
In colder climates, winterizing your sprinkler system can prevent damage caused by freezing temperatures. Take these steps to safeguard your irrigation system:
- Drain the system: Fully drain all the water from your sprinkler lines to prevent freezing and cracking.
- Blow out the system: If your area experiences severe winters, use an air compressor to blow out any remaining water from the system.
- Use insulation: Wrap exposed pipes with insulating material to protect them from the cold.
Upgrading Your Irrigation System
Newer sprinkler heads offer several advantages, such as improved water distribution, more durable materials, and better adjustability for precise coverage.
Modern irrigation systems can also incorporate smart controllers that adjust watering based on weather data, feature drip irrigation for targeted watering, and have rain sensors to prevent unnecessary watering. For irrigation systems that are more than 10 years old, you can reduce water usage by replacing all the existing heads with newer rotary nozzles (Rain Bird).
If upgrading your system seems daunting, hiring a professional can ensure the job is done right. Professional irrigation specialists can evaluate your existing system, recommend upgrades, and install modern components.
Our Conclusion
Maintaining and upgrading your sprinkler system is a valuable investment in your lawn’s health and water conservation efforts. Whether you’re raising sunken heads or replacing outdated ones, this is a manageable project for homeowners with basic DIY skills. If you’re unsure about any part of the process or encounter complex problems, don’t hesitate to consult a professional irrigation specialist.